All opinions are our own.
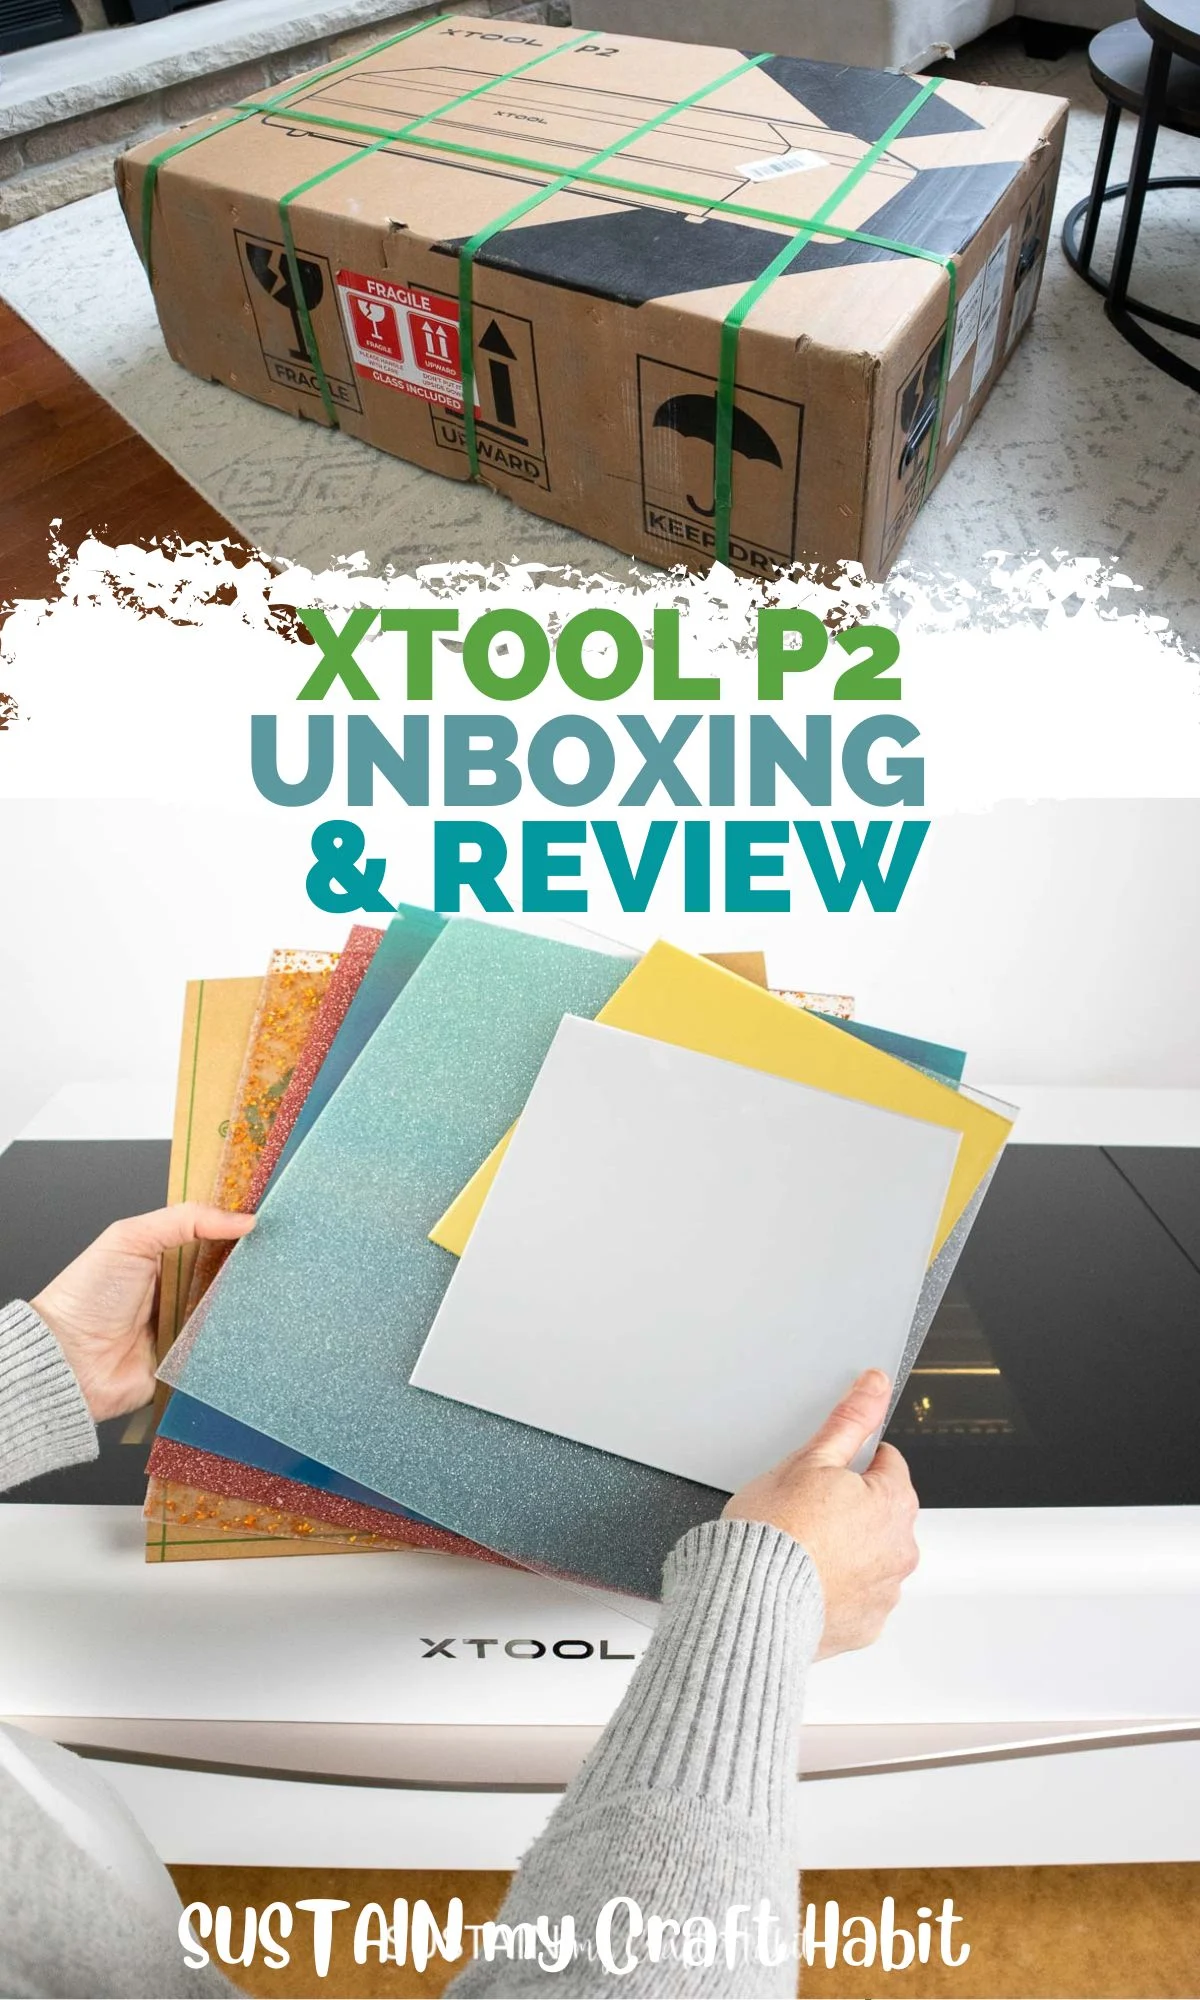
What is the xTool P2 Machine?
At an impressive 55W, it is xTools most powerful desktop laser cutter.

With the RA2 Pro rotary accessory you might also engrave on cylindrical objects such as glasses and tumblers.
xTool offers three package options with the P2: Standalone; Versatile Bundle; or All-in-1 Bundle.
However, both of these can later be added to your xTool P2 machine if you choose.
Be sure to check out our full review and demonstration over on YouTube!
The xTool P2 is at the highest price point of all their models but is definitely the most functional.
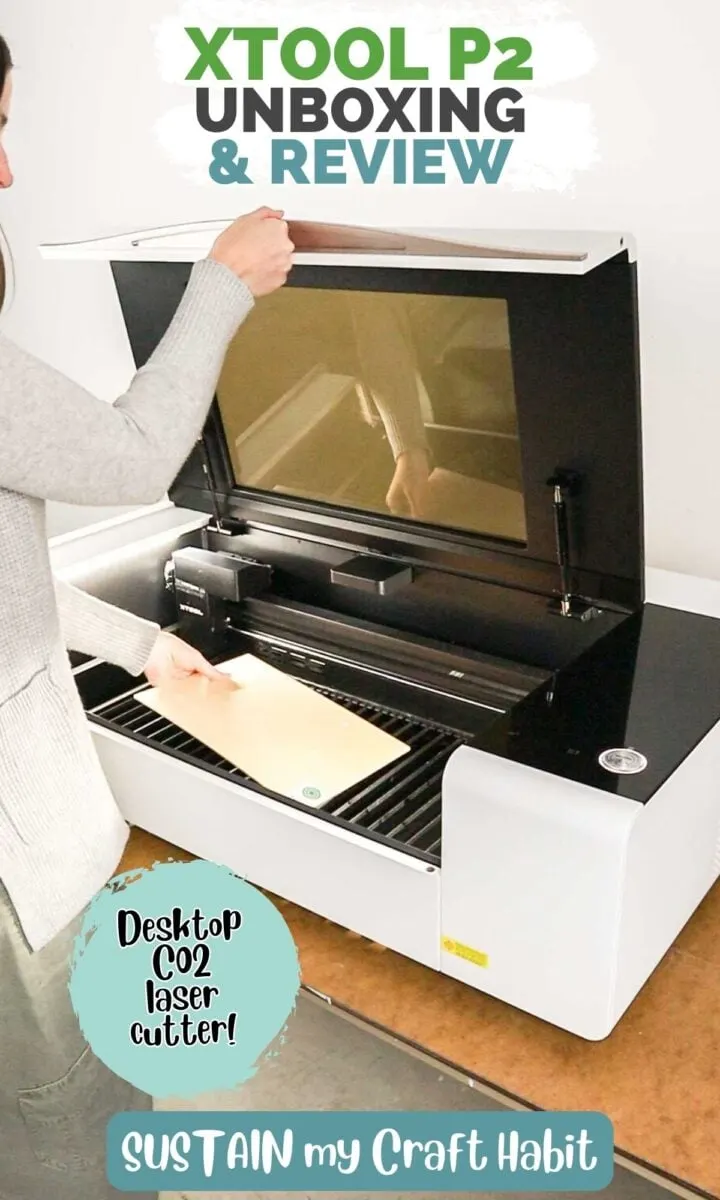
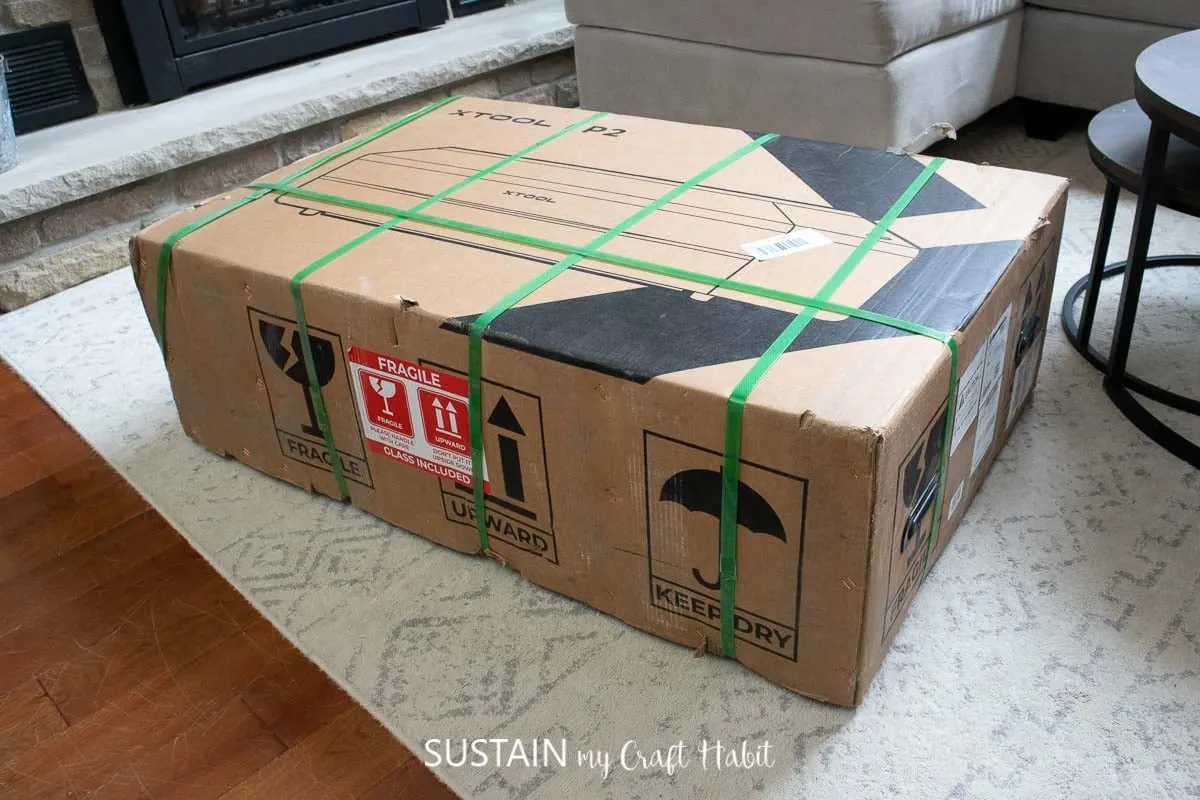
Although it is a desktop laser machine, it is not at all portable.

Trust us, you wont really want to move the machine after youve unboxed it.
The xTool P2 itself is available in two colors: space gray and pearl white.
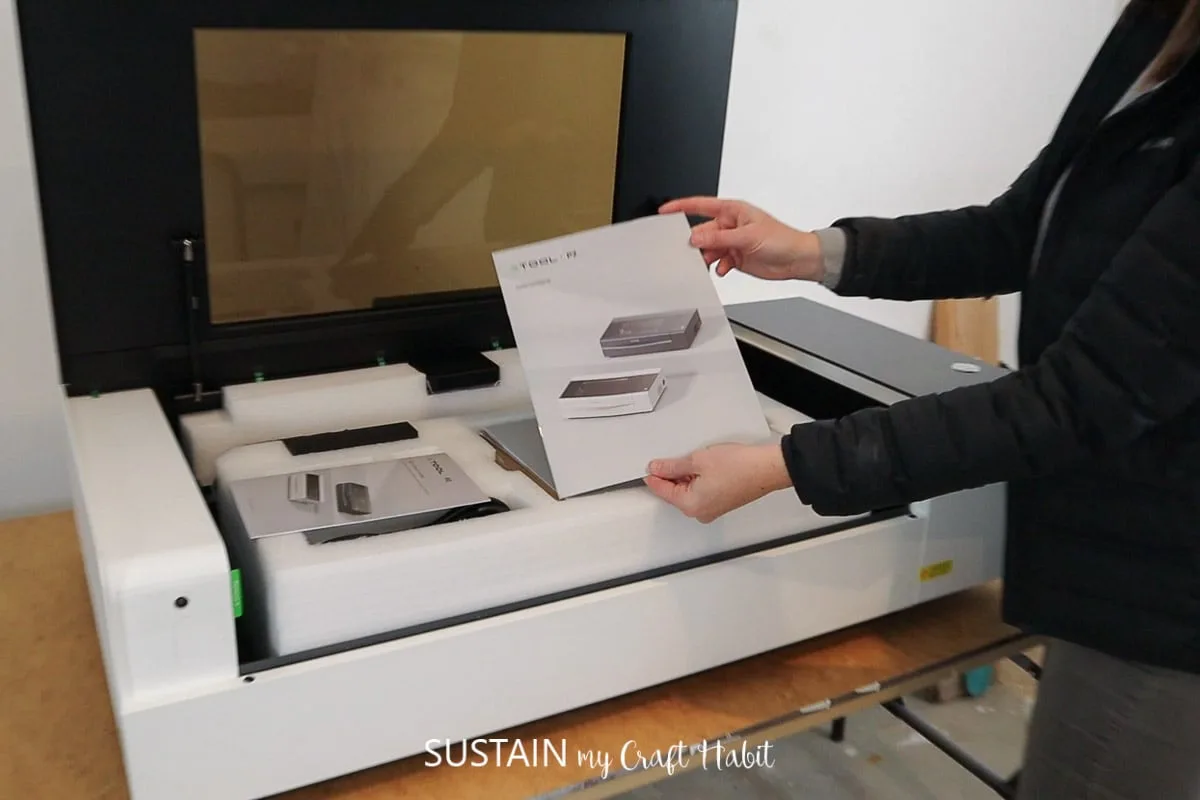
xTool P2 Set Up
A step-by-step instruction booklet made setting up the machine relatively straight forward.

There were a few points we got stuck on which weve noted below.
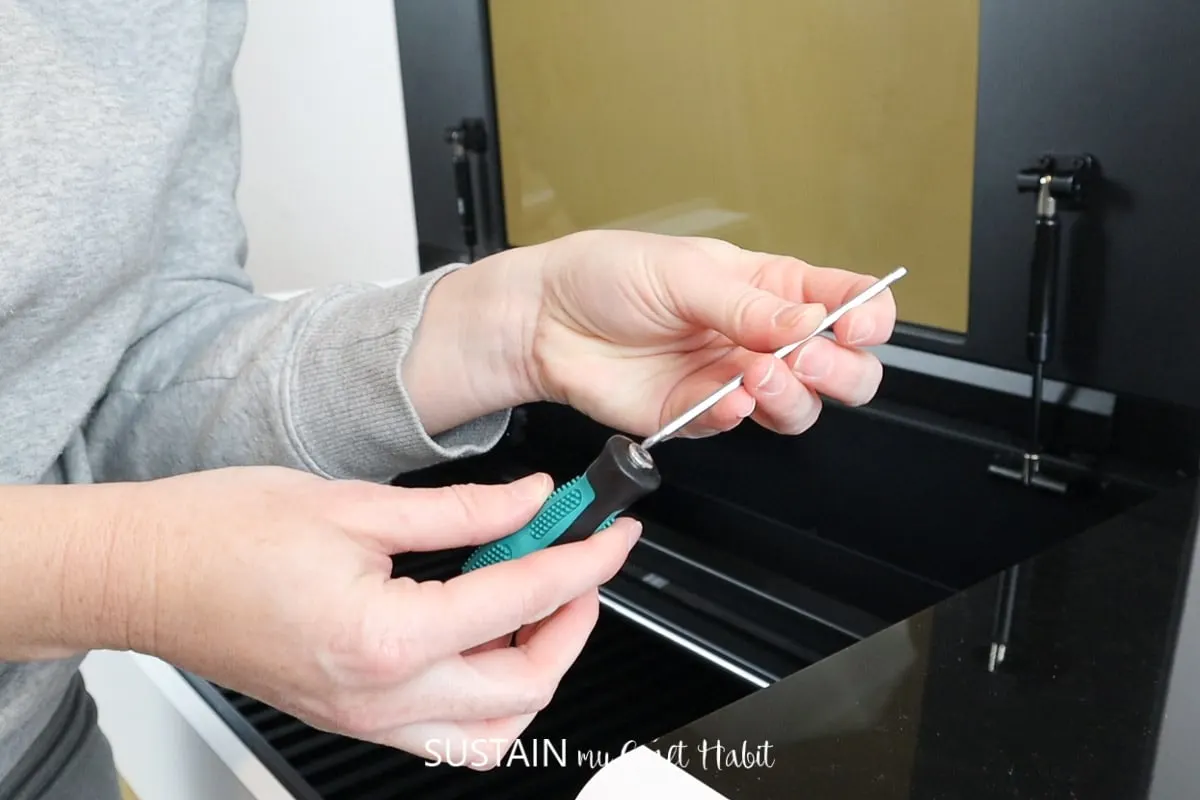
Next, we removed the internal items like the metal brackets, foam and stickers.
From one beginner to another, note that the mini screwdriver has dual heads!

On to the next step of filling the machine with antifreeze and purified water.
It is tricky to remove so be gentle and take your time.
The antifreeze and funnel is included with the machine.

Carefully pour the antifreeze and then the distilled water into the tank and terminate the cap securely.
We did get a red exclamation mark error on the display screen after filling the machine with antifreeze.
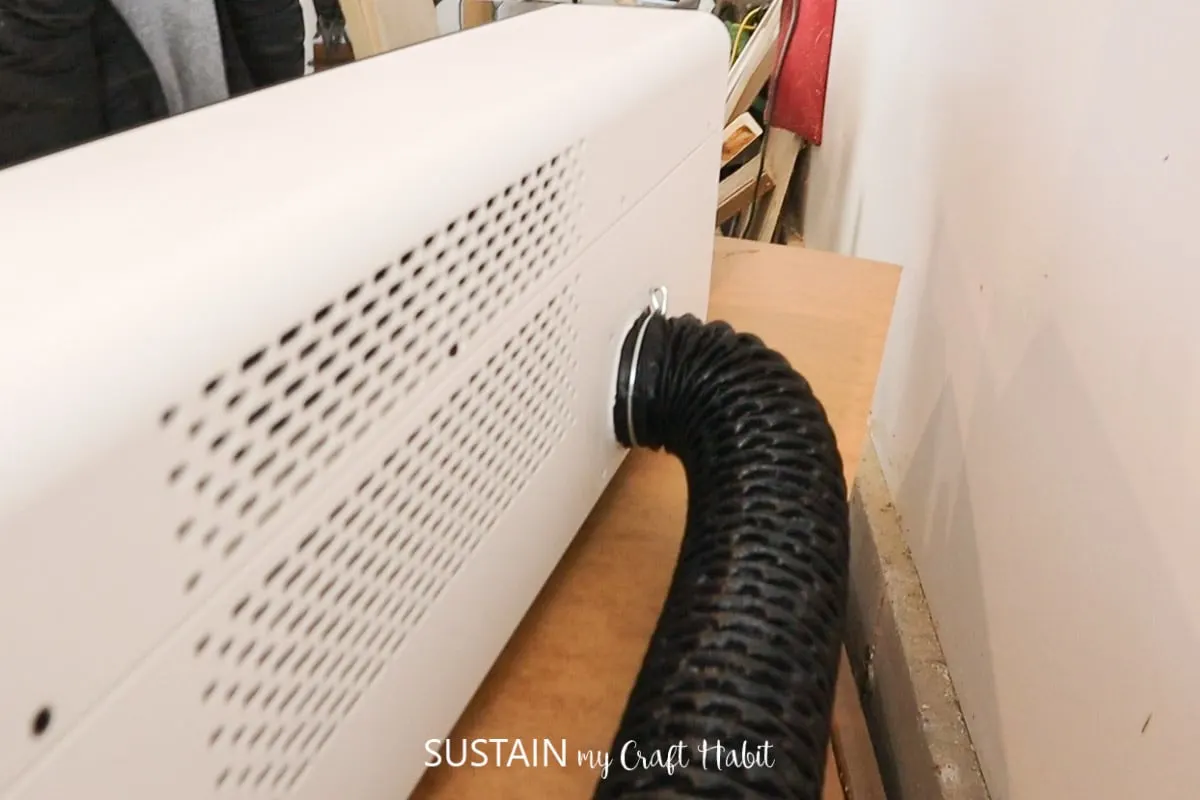
Attach the smoke exhaust pipe to the machine using the clamp provided.

It took a few tries to get it clamped on correctly.
The vent hose pulls out the smoke and debris produced during the laser engraving and cutting process.
The other end of the vent hose should be placed outdoors through a window or door.

We purchased an extra hose to extend the length to reach the window.
Now its time to calibrate the laser path and perform a pulse test.
You will need some masking tape to perform this calibration (not included with the machine).

Although I love having my P2 in our garage work space, it does pose a temperature challenge.
We purchased an electric heater to keep running on the colder days.
for operate the xTool P2 machine youll need to load the free xTool Creative Space Software onto your PC.
Youll then connect it to the machine with either the USB cable provided or via WIFI Connection.
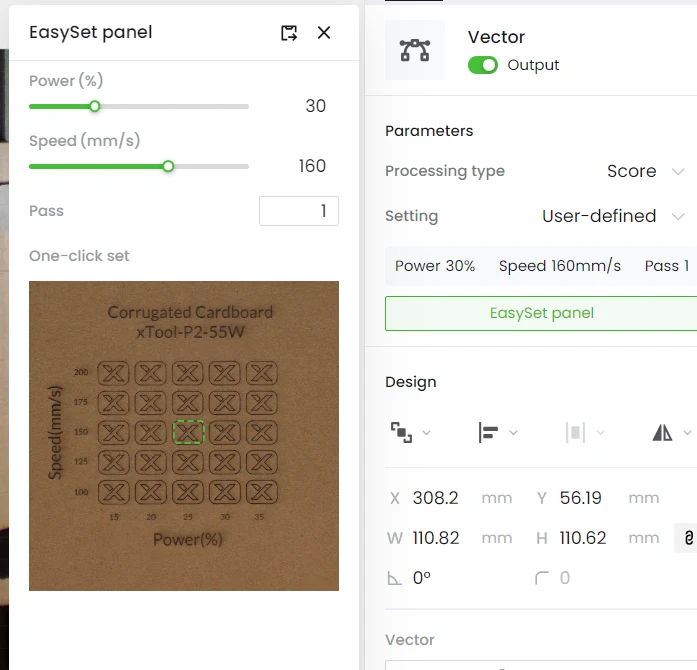
Once installed you will open up the canvas which looks like this…
This is the command center from where youll tell your machine what to do.

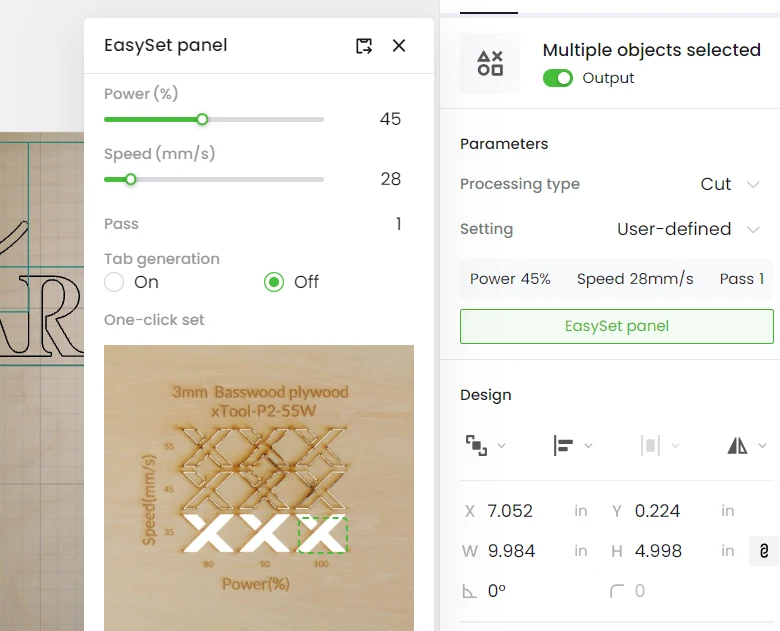
It is very important to always do a test cut for any new material you use.
After running some test cuts, we found knicks in the slats.
Although this is ok, it can be minimized with adjusting the parameter prefs (example less power).
Hit the process button and follow the prompts on the screen to complete your cutout.
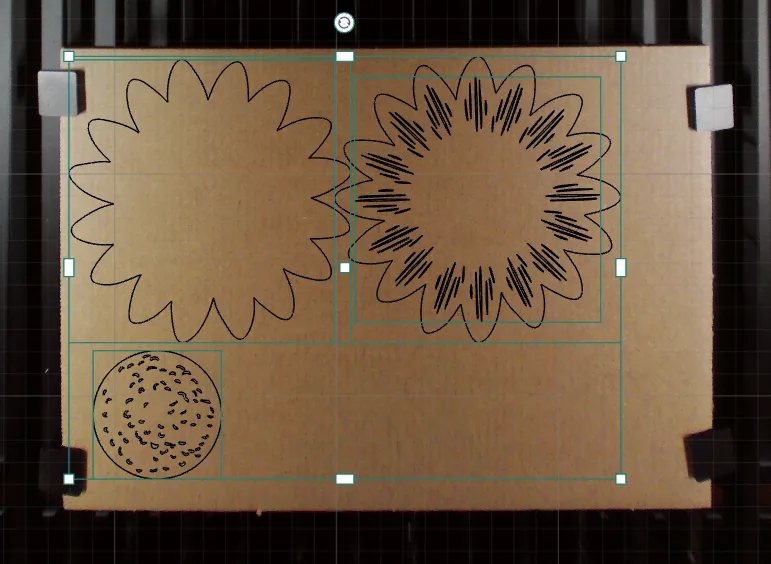
I started by uploading the Sunflower SVG onto the canvas.
I placed the cardboard into the machine and closed the lid.

This project has the added step of scoring the petal details on to the cardboard.
Hit the process button and follow the prompts on the screen to complete your sunflower shapes.
I started by uploading theHappy Birthday Cake Topper SVGonto the canvas.
Next, I placed the acrylic into the machine and closed the lid.
Weve alreadylaunched a new productin our shop with the help of our xTool P2!
A few quick impressions:
Overall we think the xTool P2 is a great value for the functionality.

Thank you to xTool for the opportunity to review the P2 carbon dioxide laser.
Were looking forward to using it for all sorts of upcoming projects and sharing them with you all.
Pin it for later!