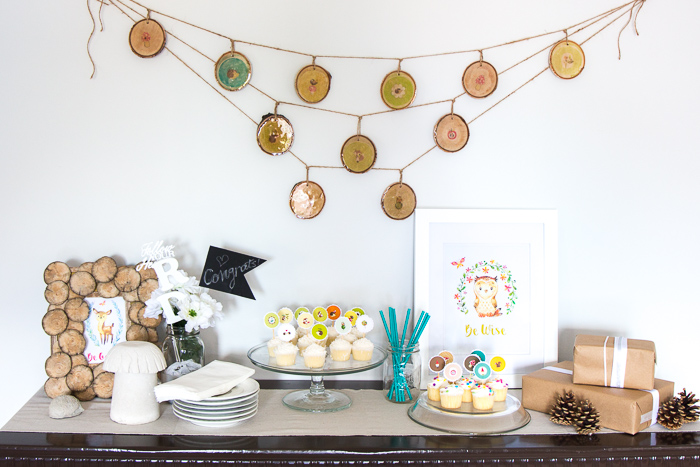
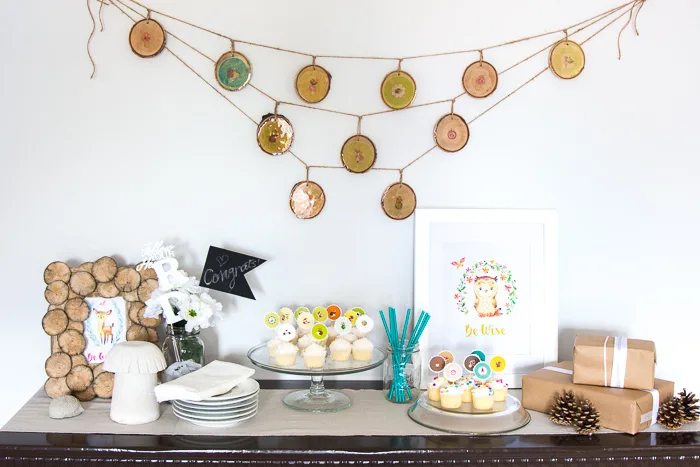
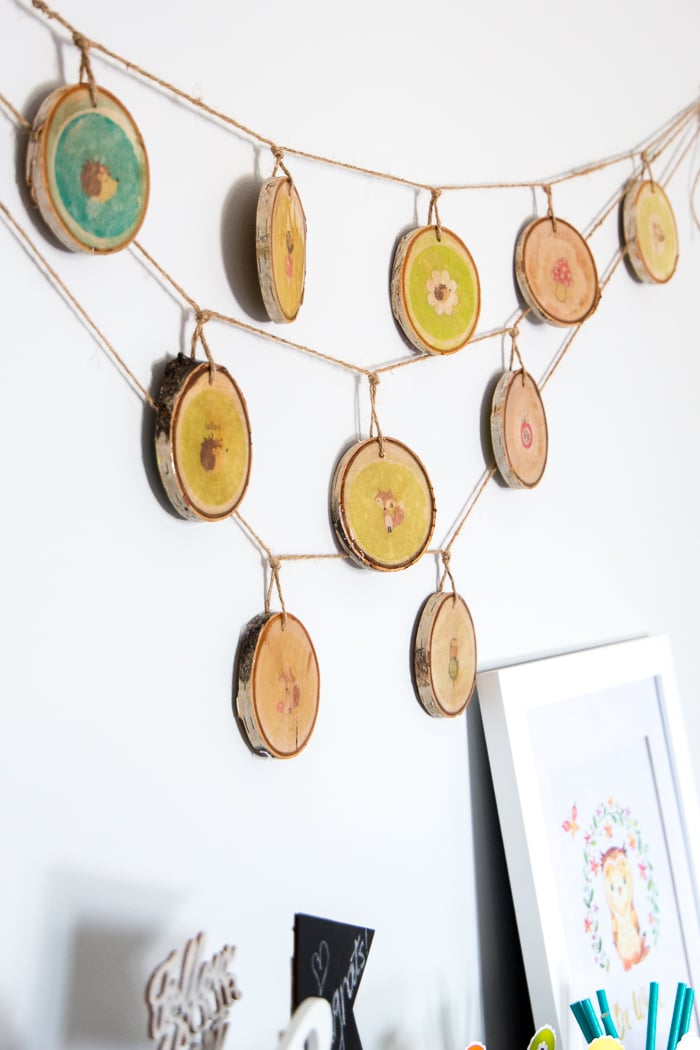
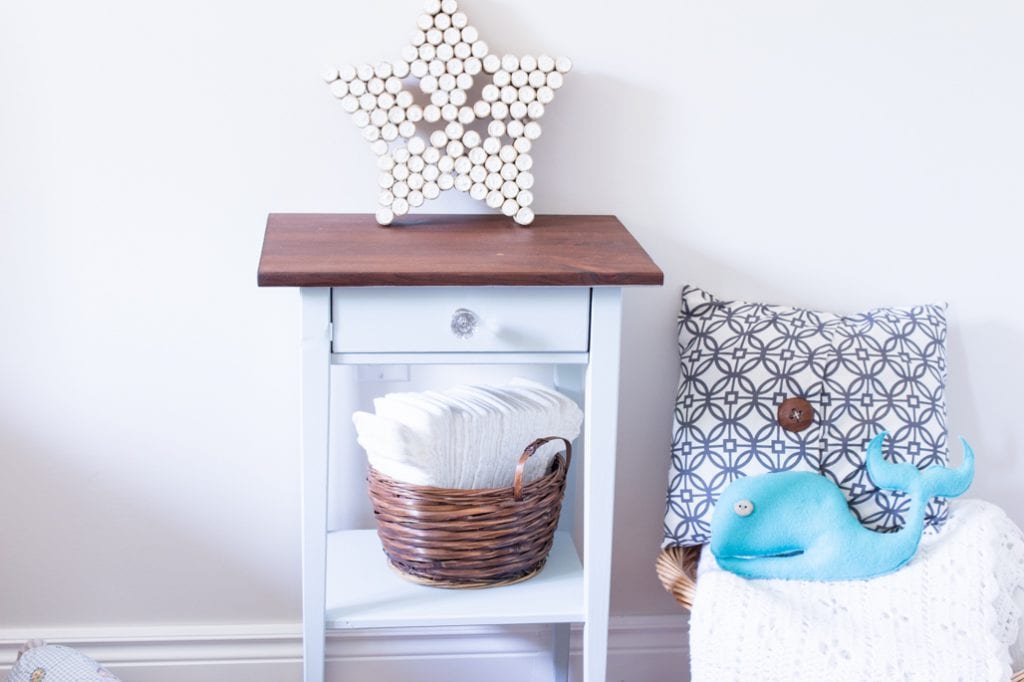
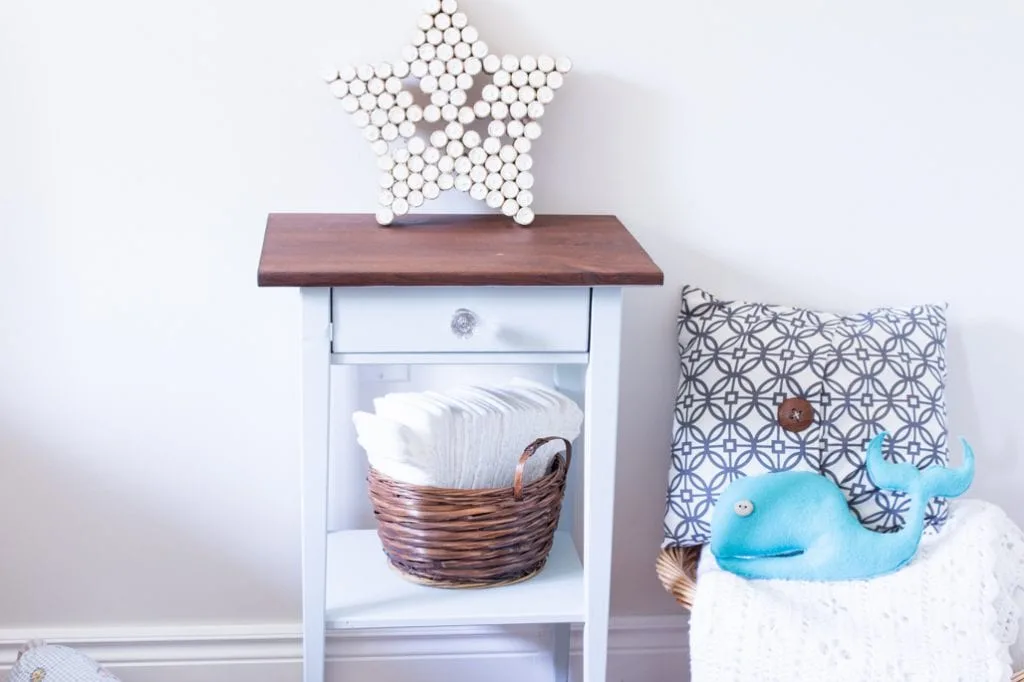
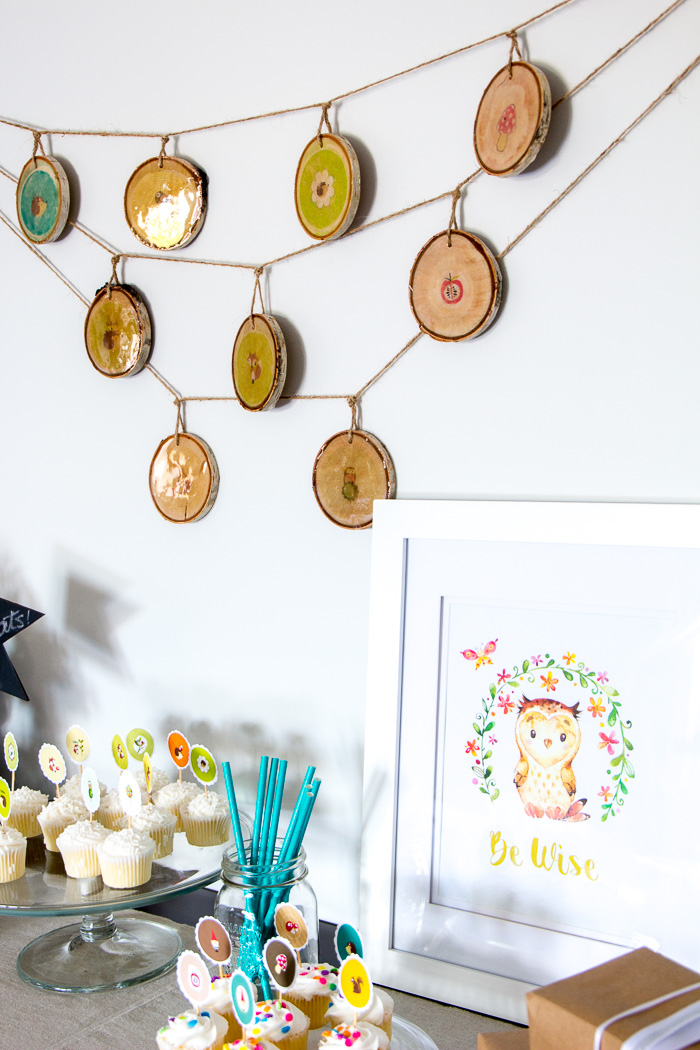
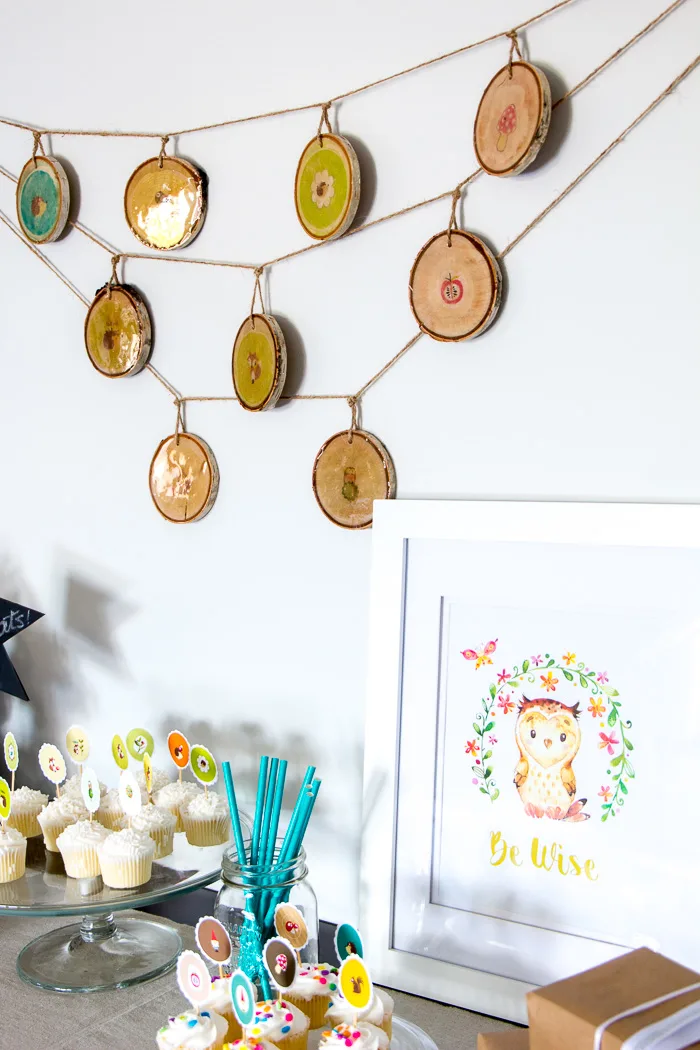
Its the perfect addition to any woodland nursery decor or sweet woodland-themed party!
There are something so sweet and playful about this theme that brings a smile to my face.
Its no wonder its so popular for a babies nursery or baby shower.
Woodland Animals
Ive even had a woodland theme for my Christmas tree for the last several years!
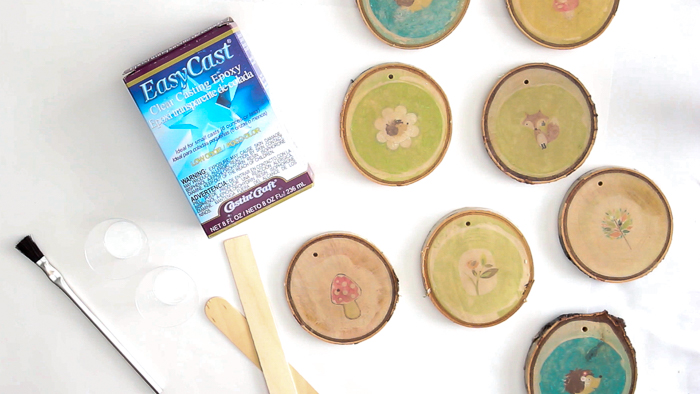
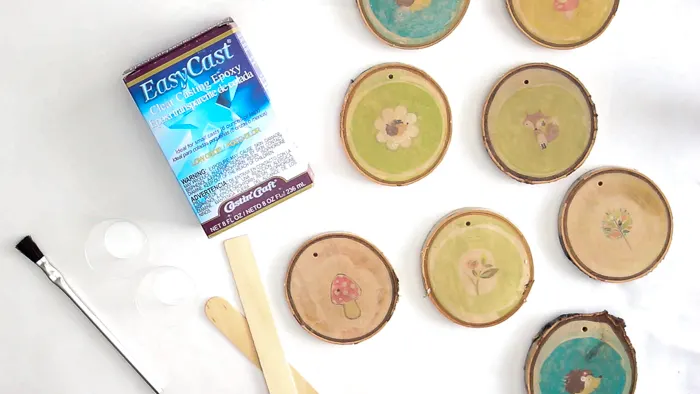
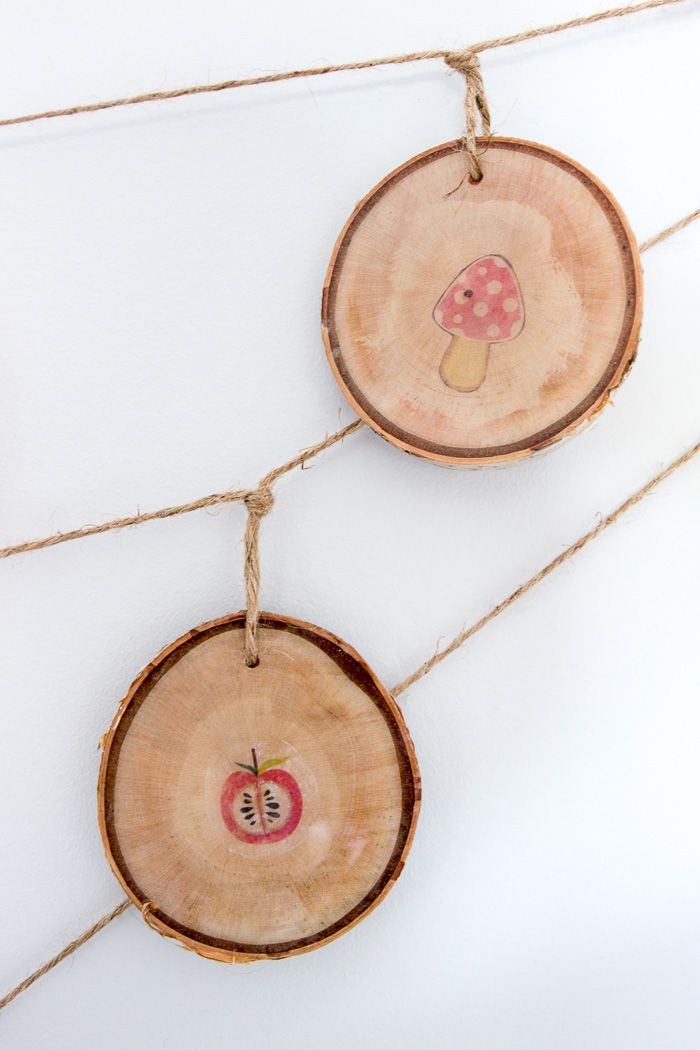
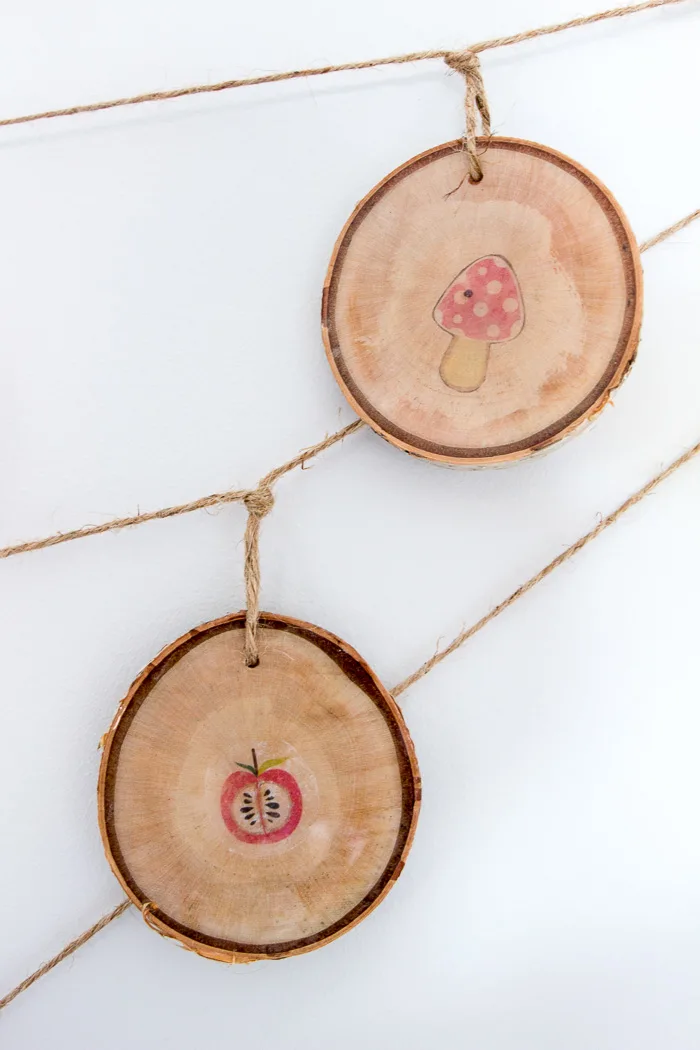
Just look at that shine!
Materials Needed:
Disclosure: This post contains affiliate links for your shopping convenience.
you might readour full disclosure here.
And then cut around each image so they fit on to the slice.
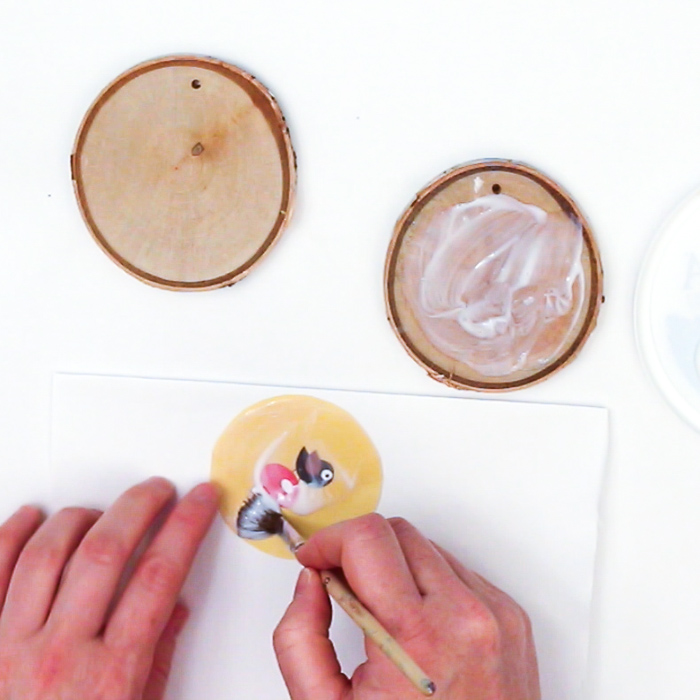
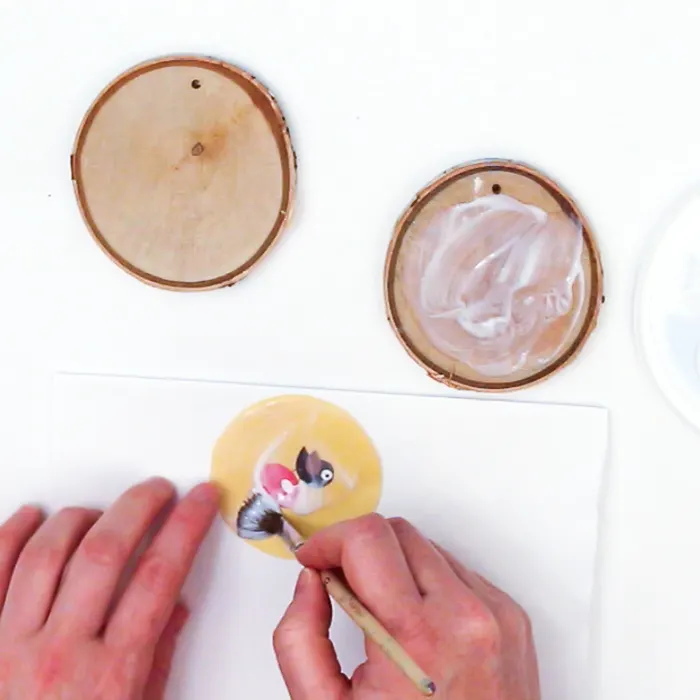
Apply the image to the wood slice face side down.
Smooth out any air bubbles and wipe away excess medium with a damp cloth.
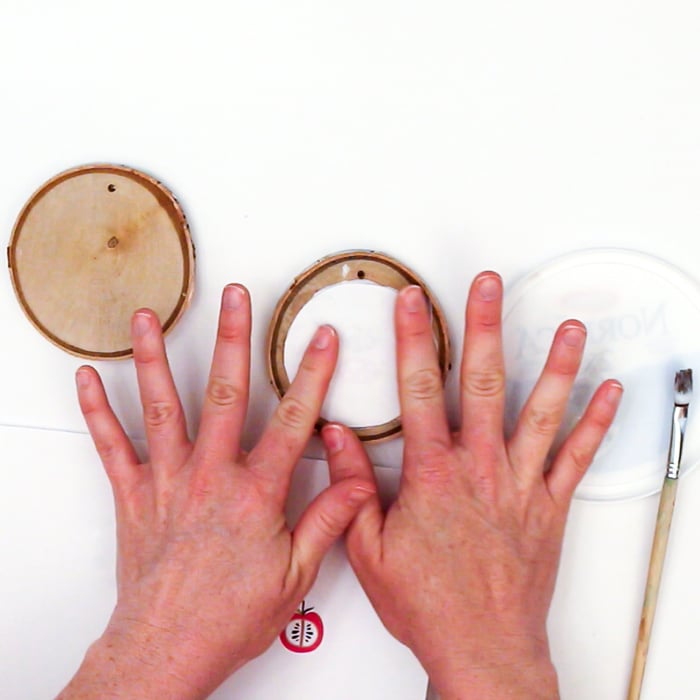
Let dry completely as per instructions on the image transfer medium (left mine overnight).
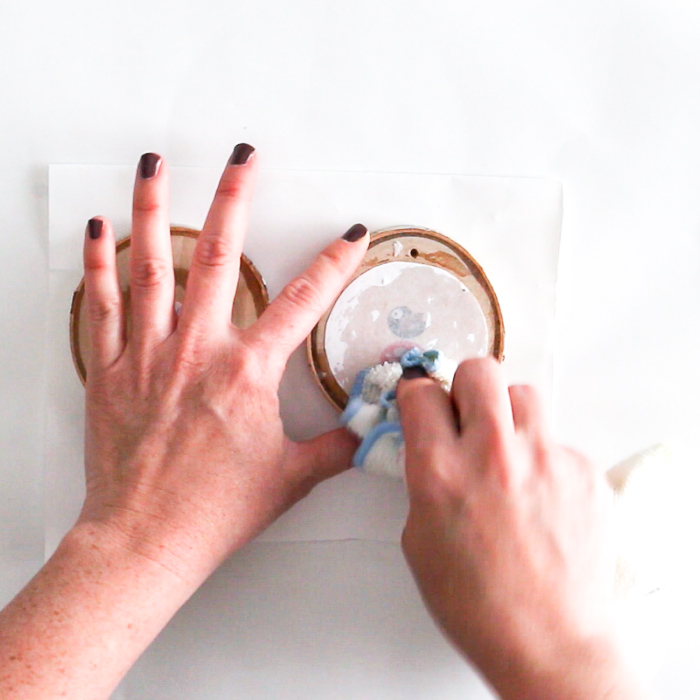
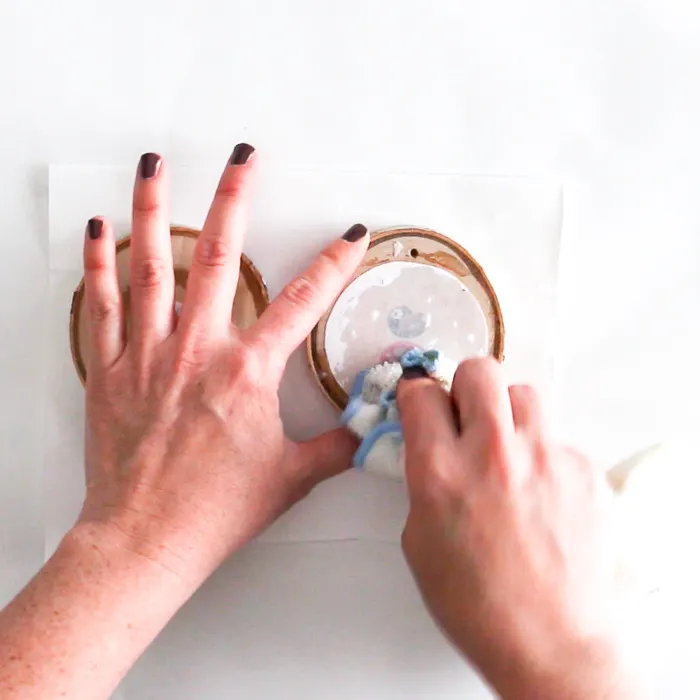
Wet the paper with a damp cloth and let sit for a few minutes.
Gently rub off the paper with your finger or the cloth.
The more you rub, the fainter the image will be.
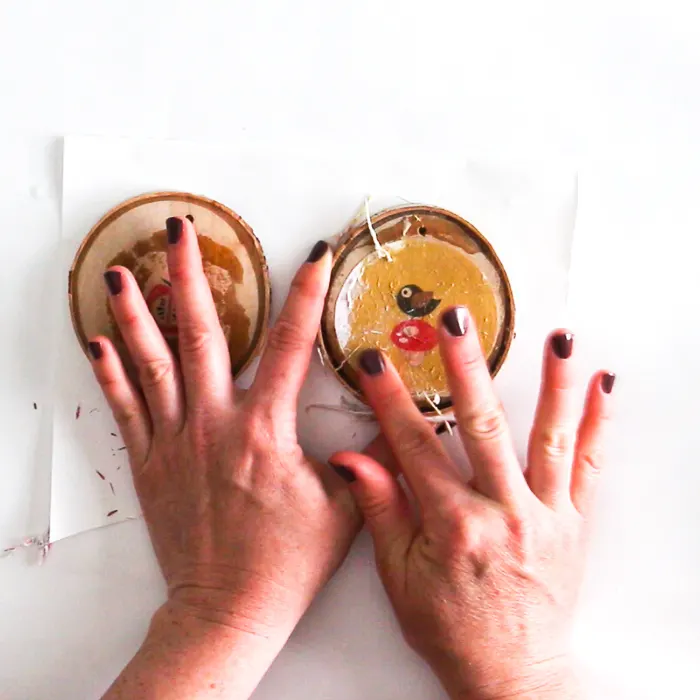
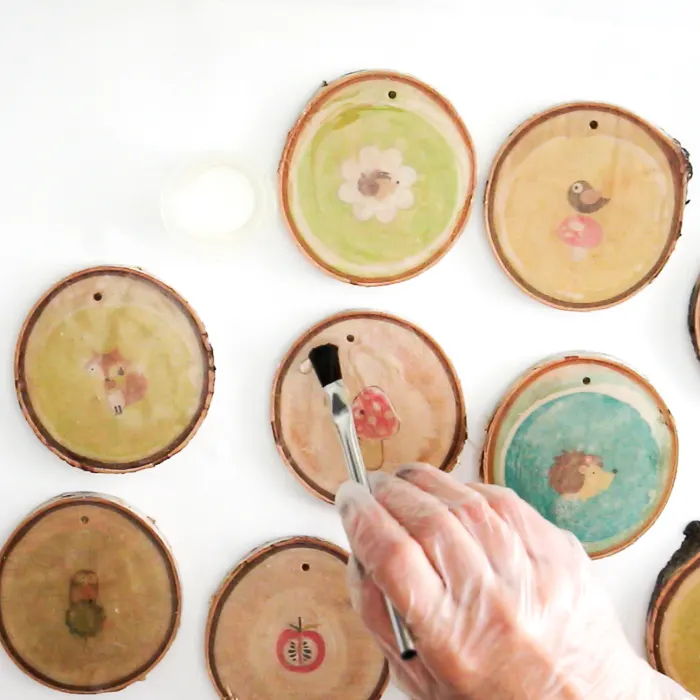
Coat the entire surface of the wood include the transferred image with a sealer.
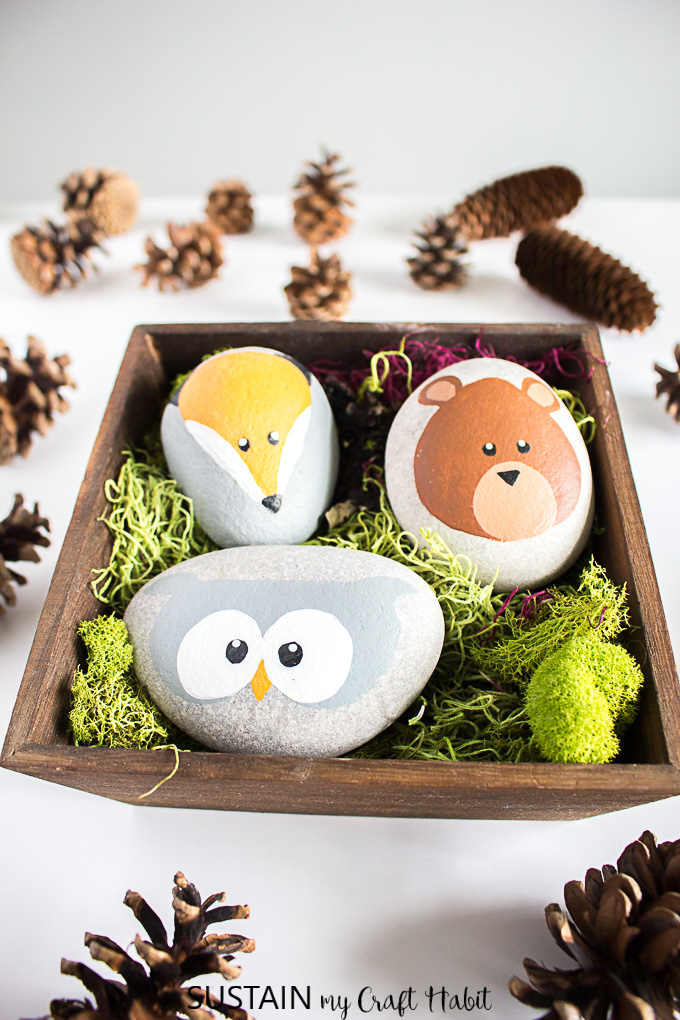
Woodland Animals
Let dry completely (ideally overnight).
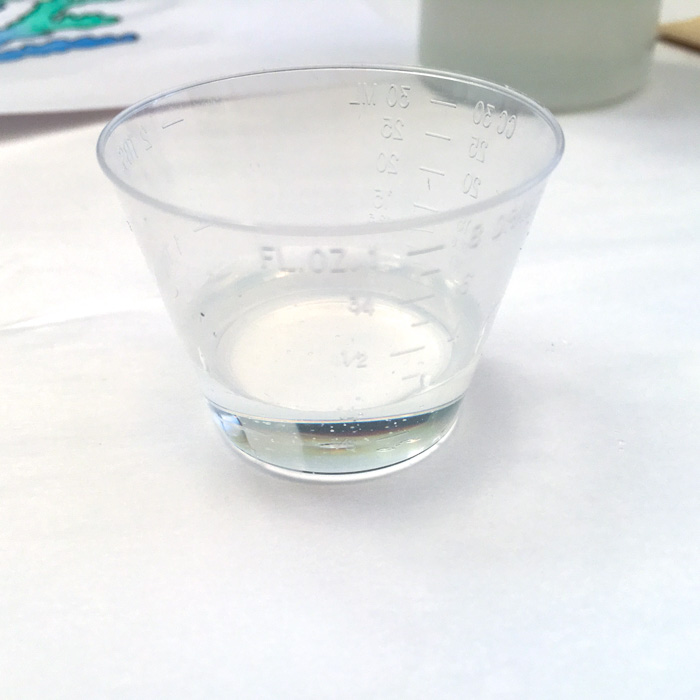
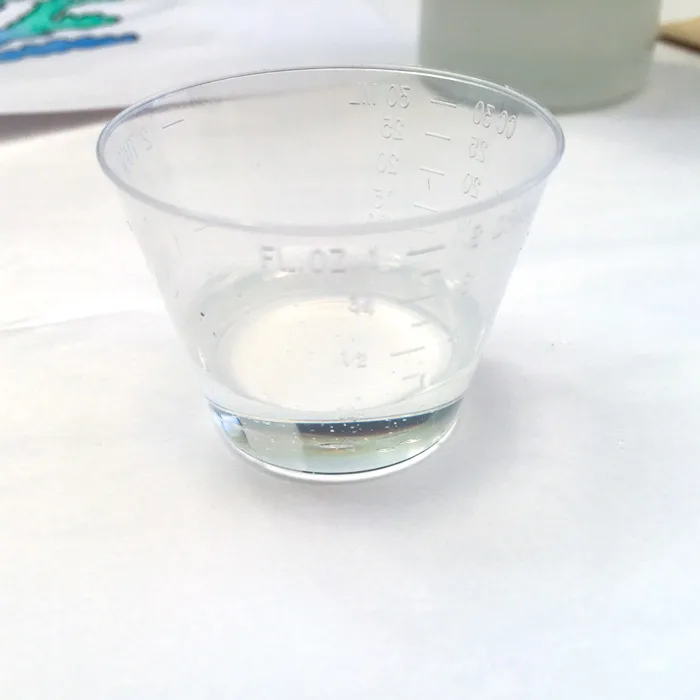
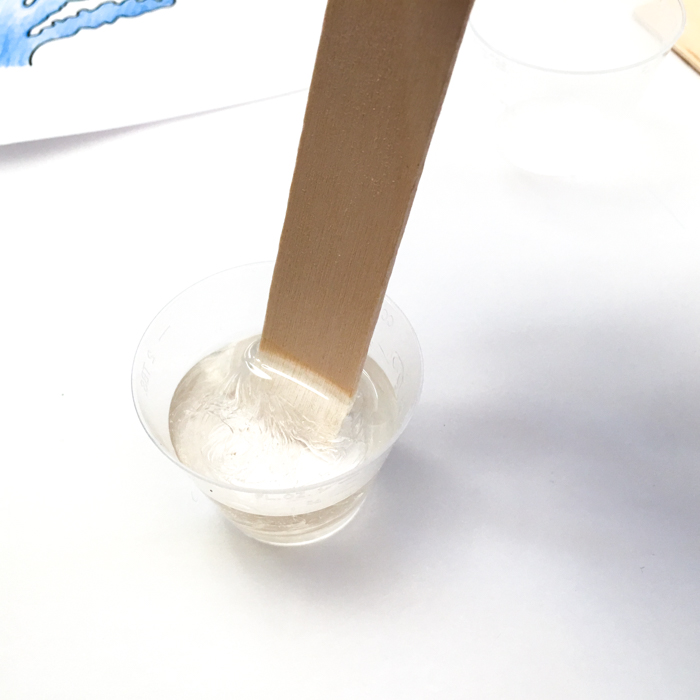
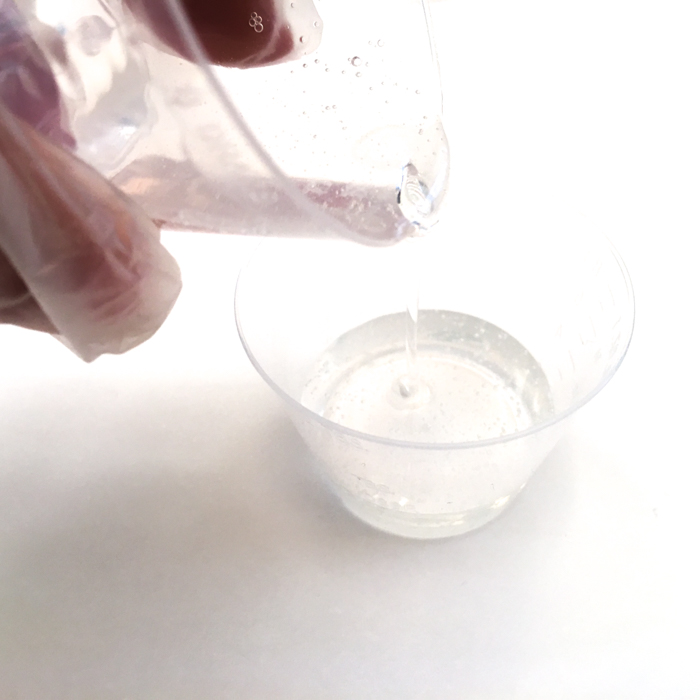
Mix equal amounts of the EasyCast Clear Casting Epoxy Resin and Hardener into a small measuring cup.
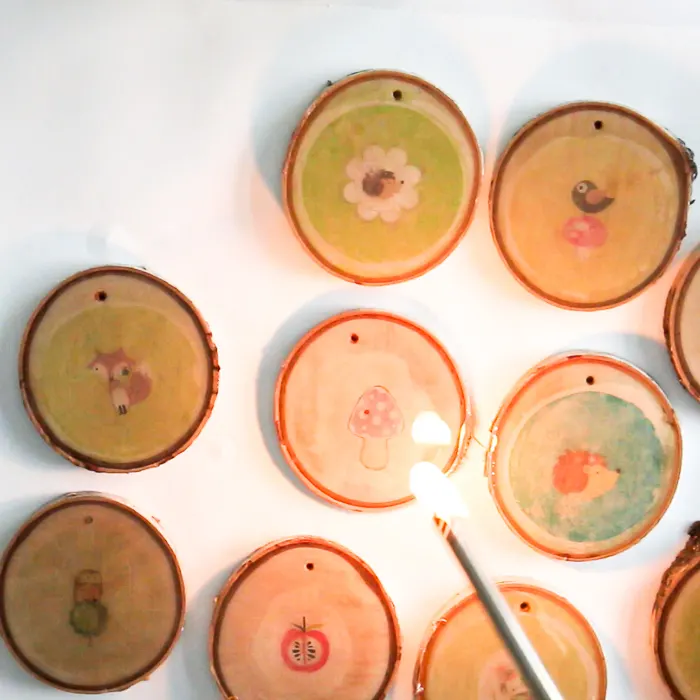
You could also use a straw and gently blow over the slices.

Once cured for 2 hours, repeat with second side if desired.
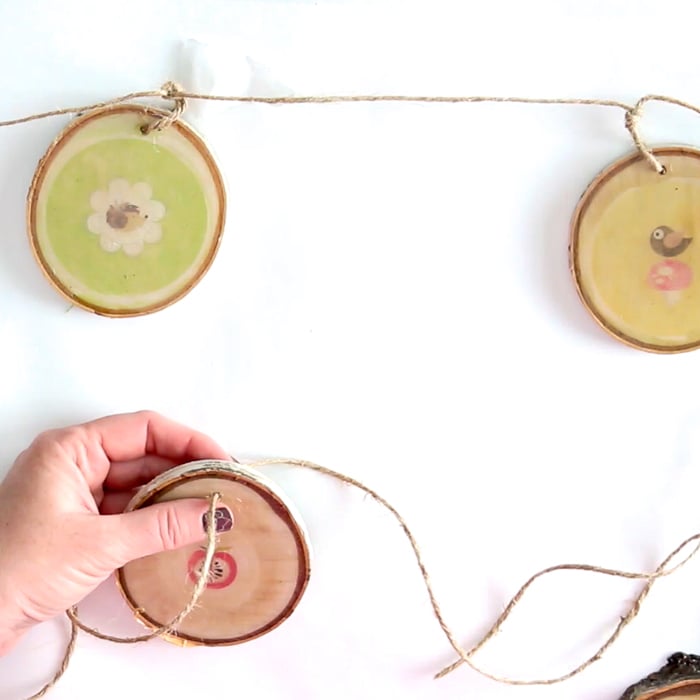
Cut 3 pieces of twine each 75 long.
Strong and tie the wood slices on the twine in your desired pattern.
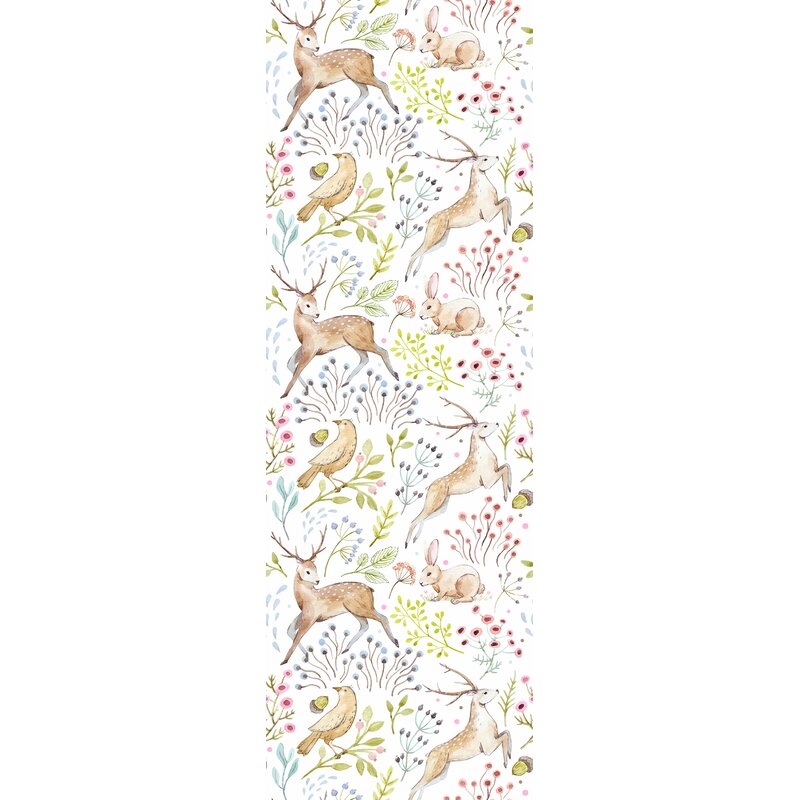
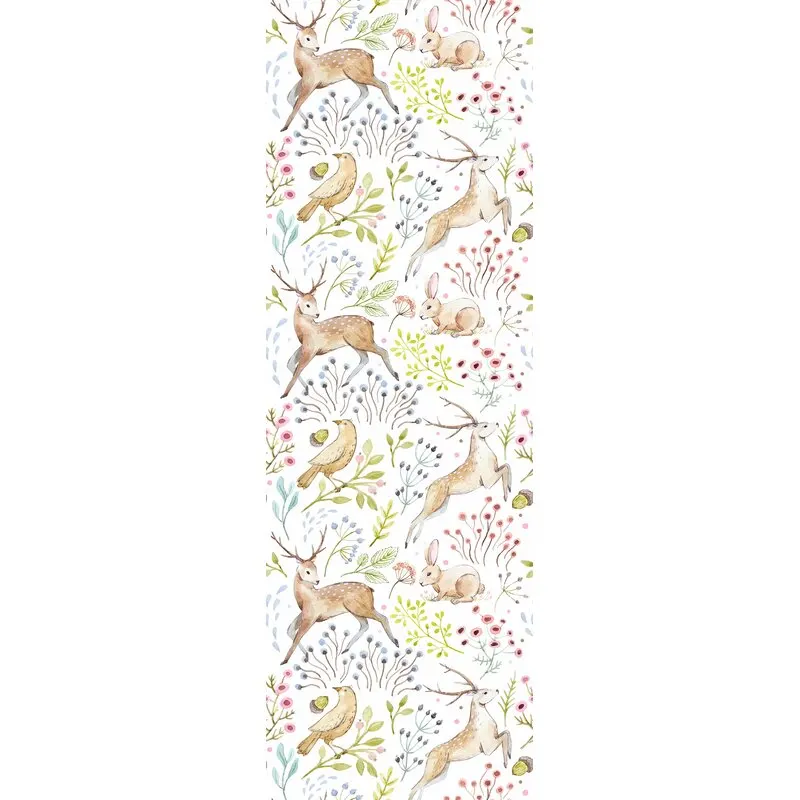
Removable Woodland Wall Paper
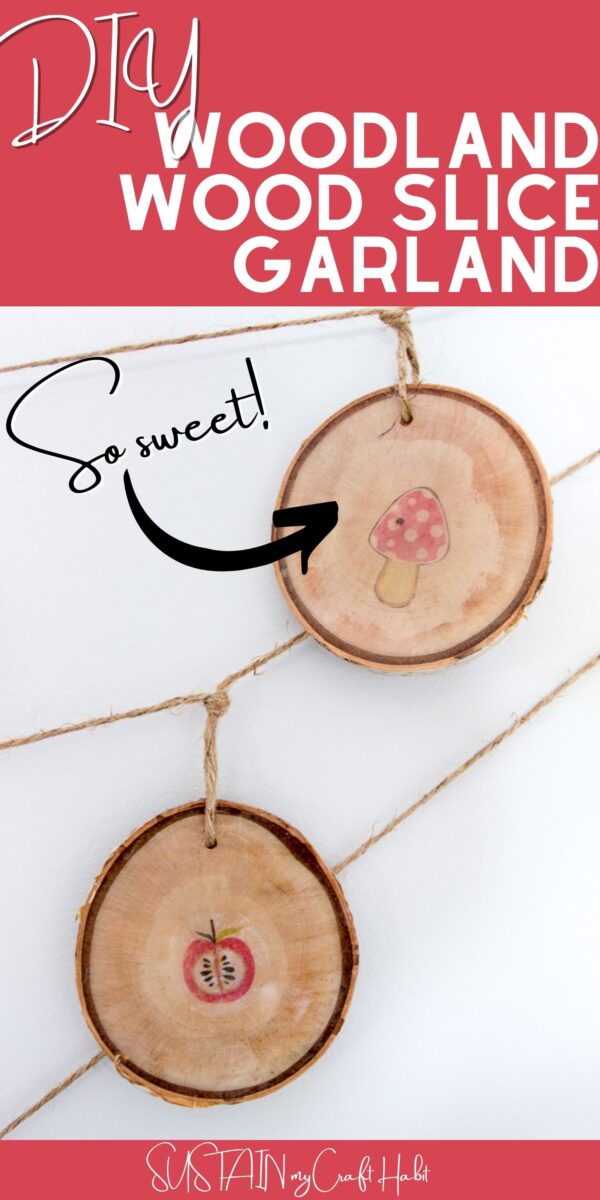
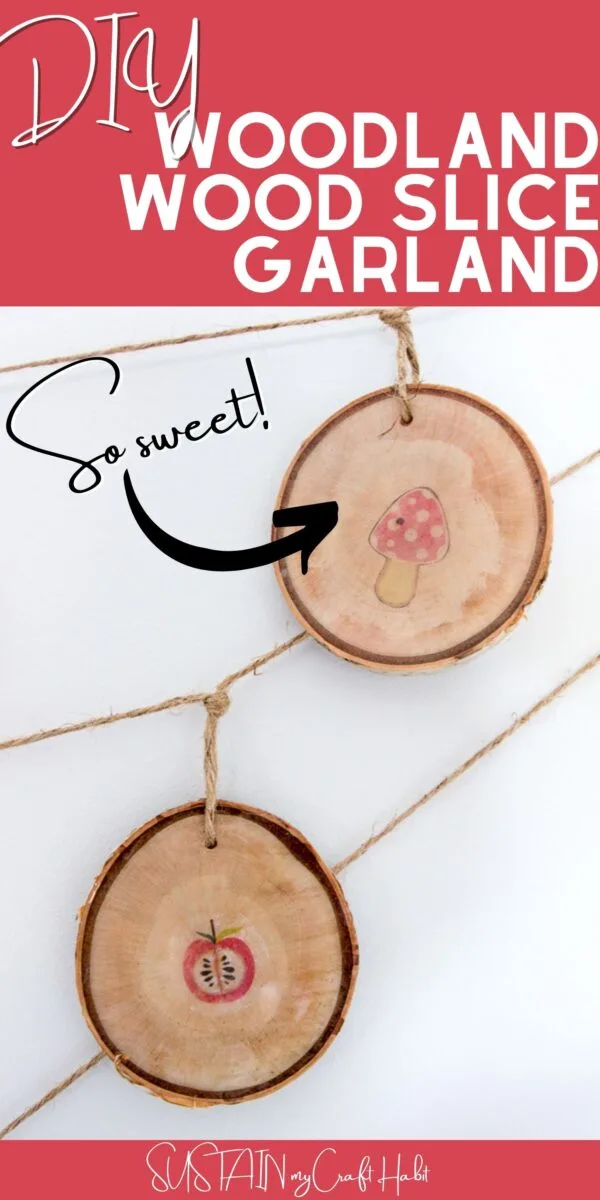
And with that, the garland is complete!
This project originally appeared onResin Crafts Blog project gallery.
Pin if for later!
Woodland Nursery Decor with Wood Slice Garland
Materials
Instructions

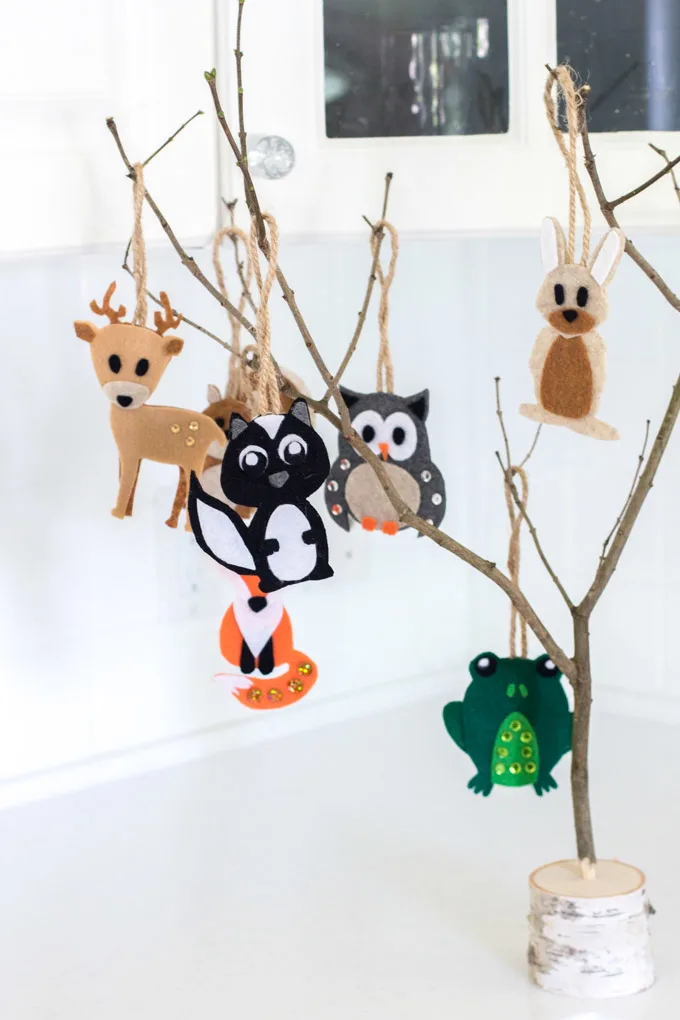
Woodland themed twiggy center piece
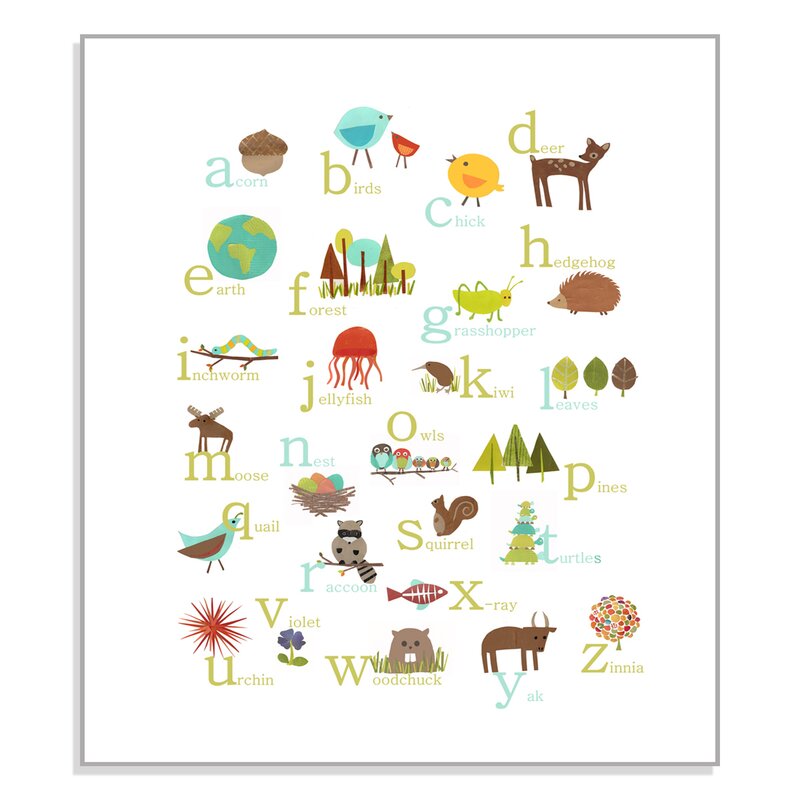
Woodland Alphabet Art