Are you ready to try wood burning?
I give you my top tips in this article, and show you how I made a monogram plaque.
I absolutely love the results!
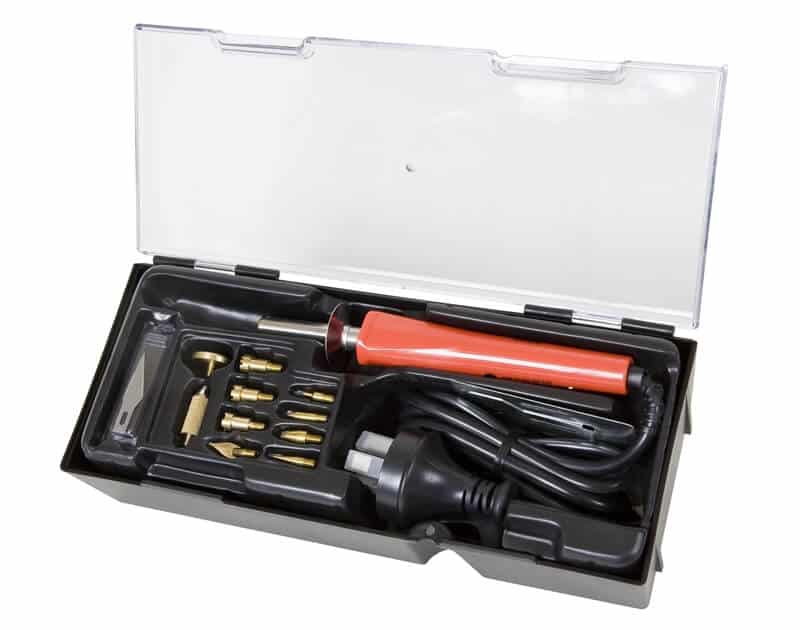
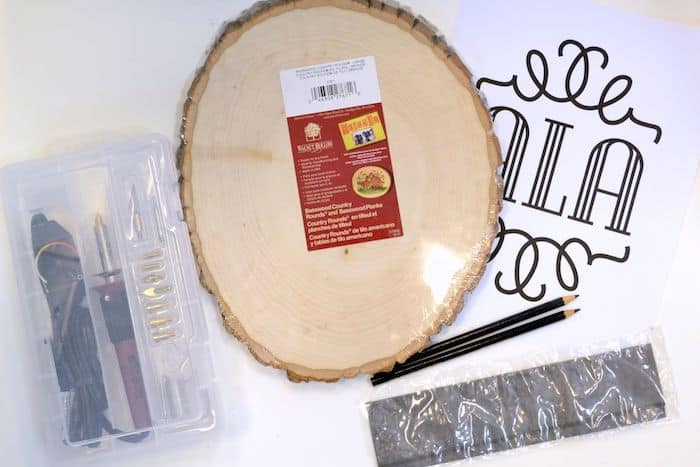
Wood Burning Kit
Lets start with tools, before we get to my tips.
Youll need a wood surface for burning, but youre also going to need a tool.
The tools are relatively inexpensive which is nice.
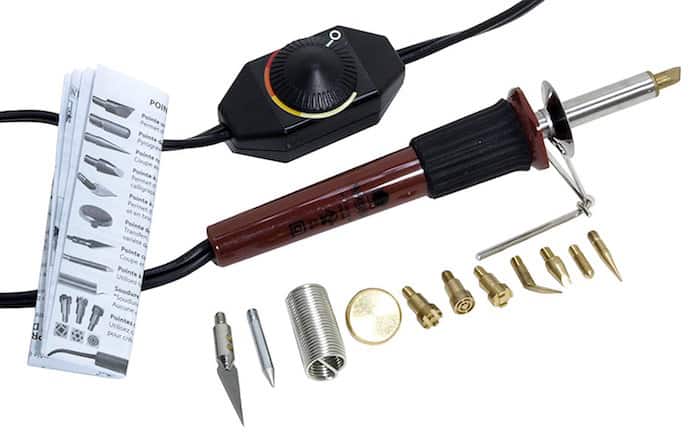
Its the one I use.
In addition to a wood burning tools above, there are also accessories you could get that I love.
you’re able to use these to stamp letters instead of drawing them!
On the right aretip and stencil kits.
There are a variety online for a great price.
My first thought was how to change the letters on a hot tool while working?
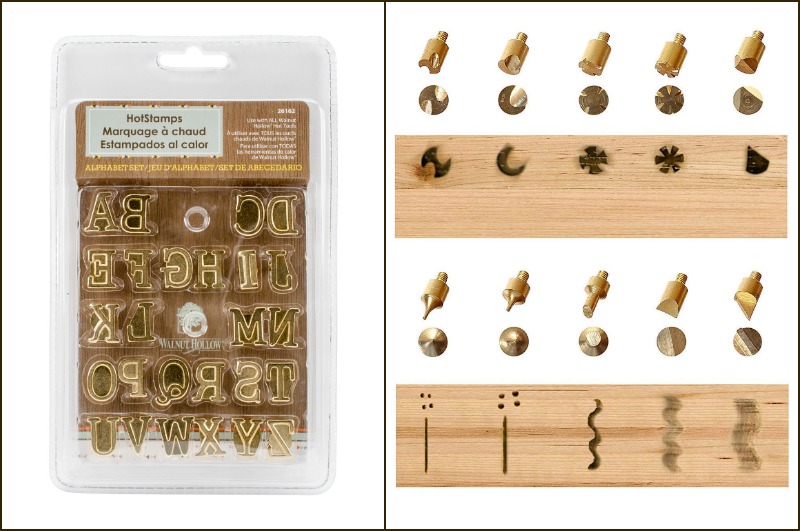
You do it with pliers.
I find both of these kits to be invaluable!
They are nice little accessory kits to add to your craft.
So, those are the tools.
Are you ready to burn (that sounds so ominous)??
How Do You Start Wood Burning?
The best way to get started with pyrography is to jump in.
Grab a scrap piece of wood and just play!
Make lines, circles .
push harder and then use a lighter touch.
Get use to the tool and gliding it along the surface.
Just so you know, during my first project I learned a lot about how to wood burn.
After you practice for a while, youre going to have a blast I promise!
Here are my tips!
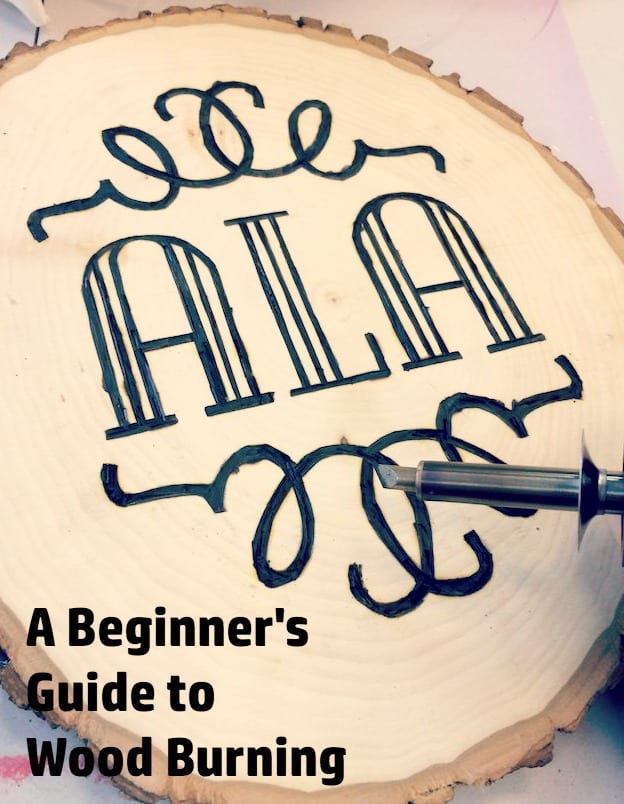
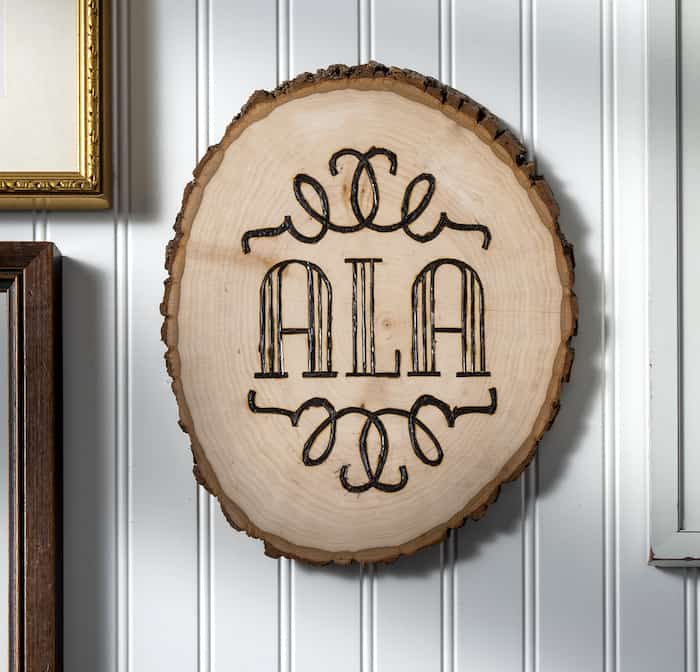
I particularly love the wood plaque that I used for the burning.
Its a real slice of a tree, with the bark and everything!
It adds a woodsy and natural touch to any decor .
and it smells good while you are burning it!

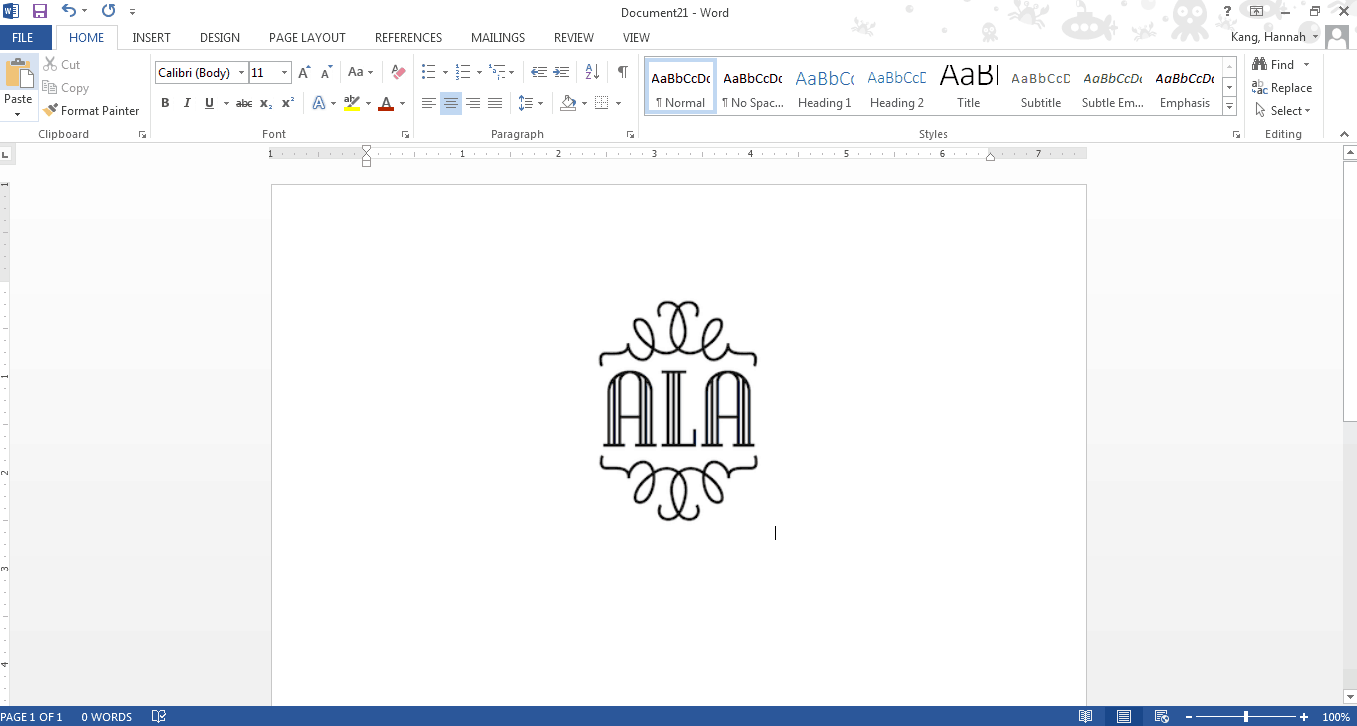
I didnt resize the paper; I left it the exact size to fit an 8.5 x 11 sheet.
This is your chance to get creative, play, and have fun!
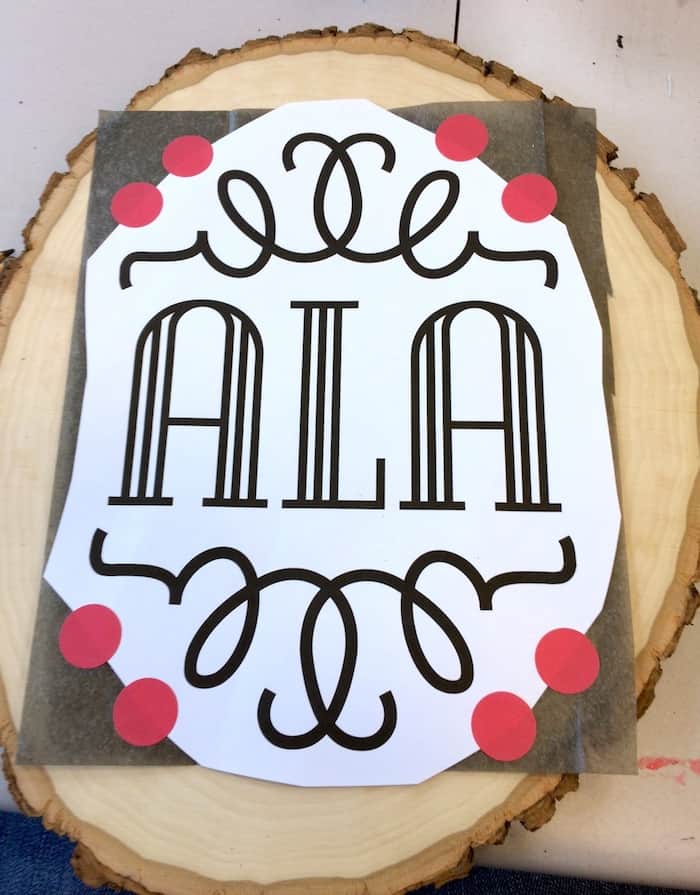
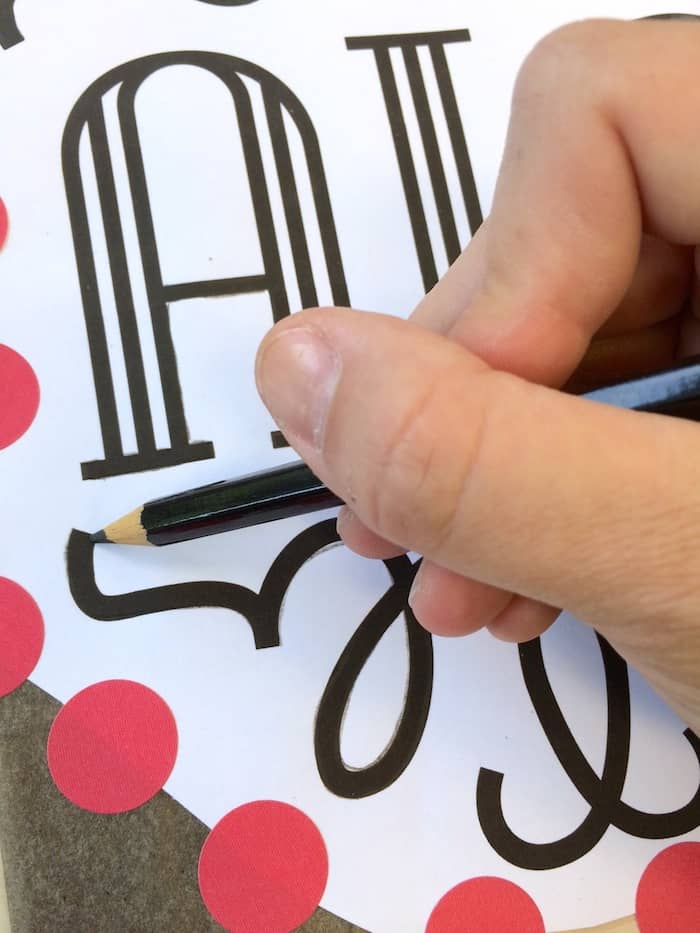
Step 2Print out your monogram and trim around the edge with the scissors.
Place a piece of transfer paper between the monogram sheet and the plaque and tape down.
TIP #2: Placement is important.
Lay down the monogram and transfer where you want the design to get burned on.
This will provide a guide for your wood burning.
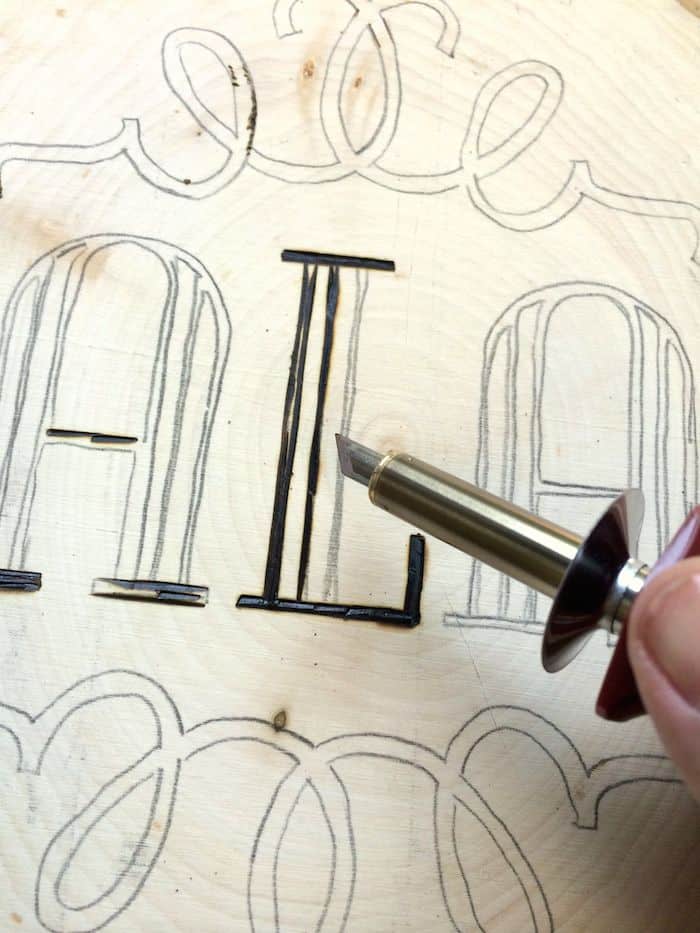
Step 4When you lift up your transfer paper, this is what your plaque will look like.
The pencil transferred the graphite from the transfer paper to your plaque!
Now you have a guide for wood burning.
check that you read the instructions on your wood burning tool carefully before beginning.
This tool gets hot, so be careful and use all of the recommended precautions!
Once your tool is heated, begin burning.
Start with straight areas to get practice, and then work up to the curved areas.
I also had the best results at the highest heat setting!
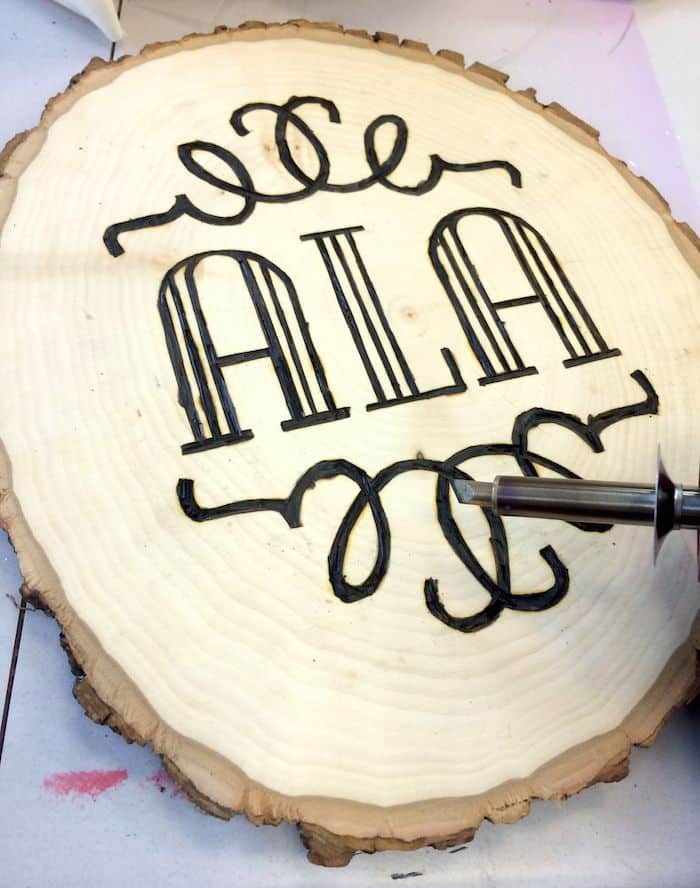
Step 6Continue burning the wood until you have completed the plaque.
Wood burning is a slow process so do not attempt to rush it or you will make mistakes.
Take a break if you better.
I love the finished result, and I have to say, Im addicted to burning wood now!
I cant wait to try some other patterns on wood plaques .
even beyond letters.Id love for you to check out mywood slice ornamentswhere I did some burning as well.
Leave me a comment and let me know what you think!
