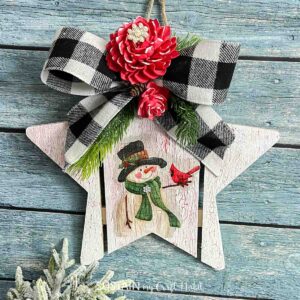
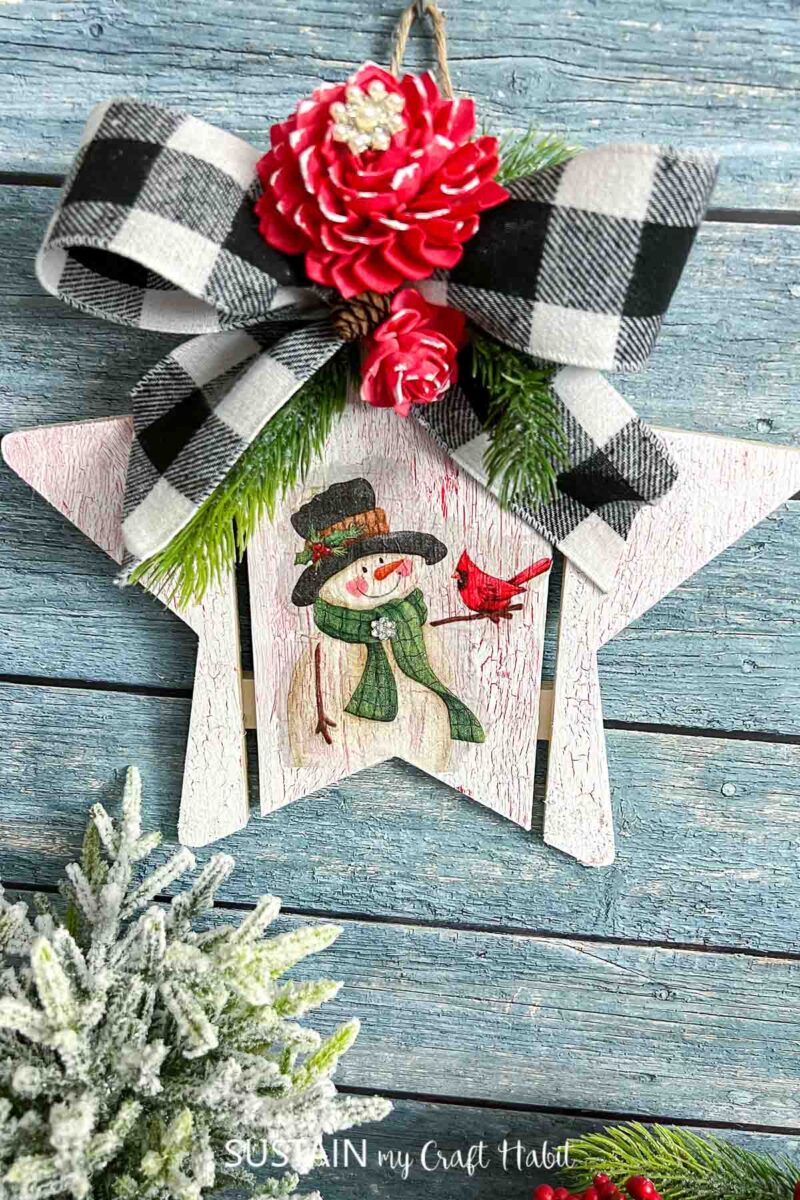
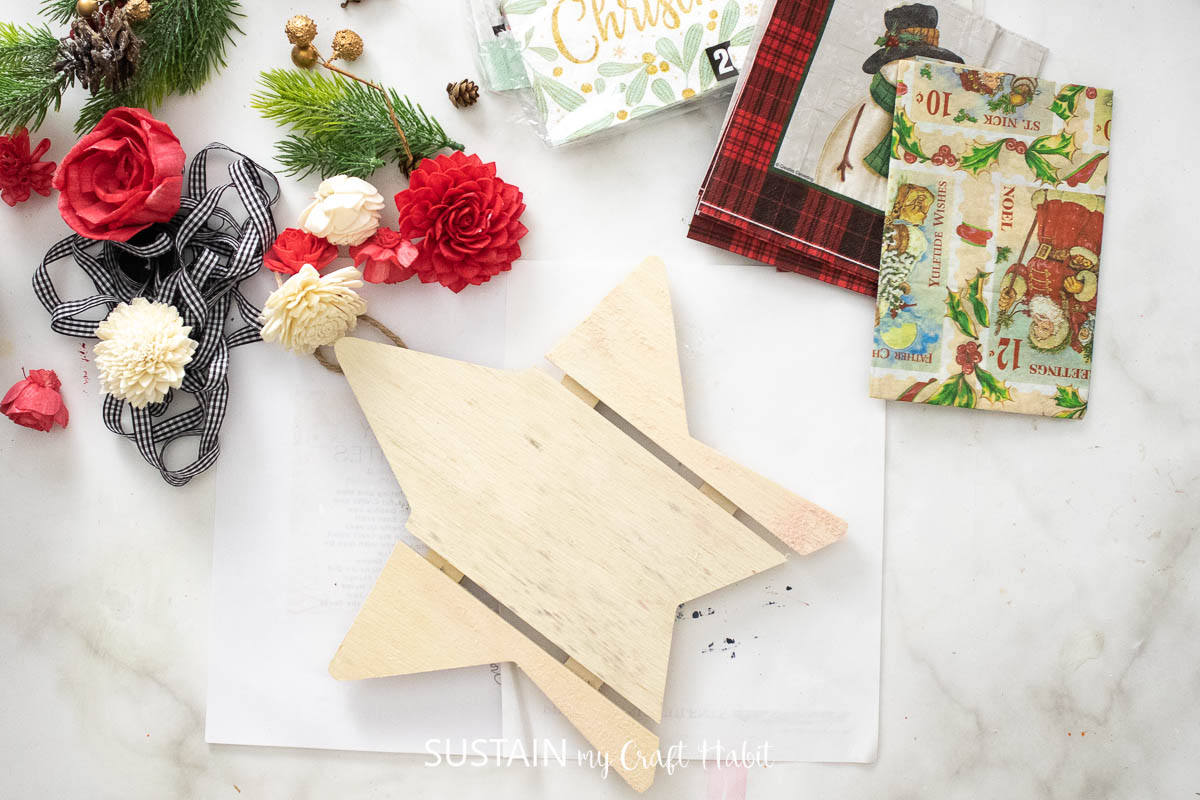
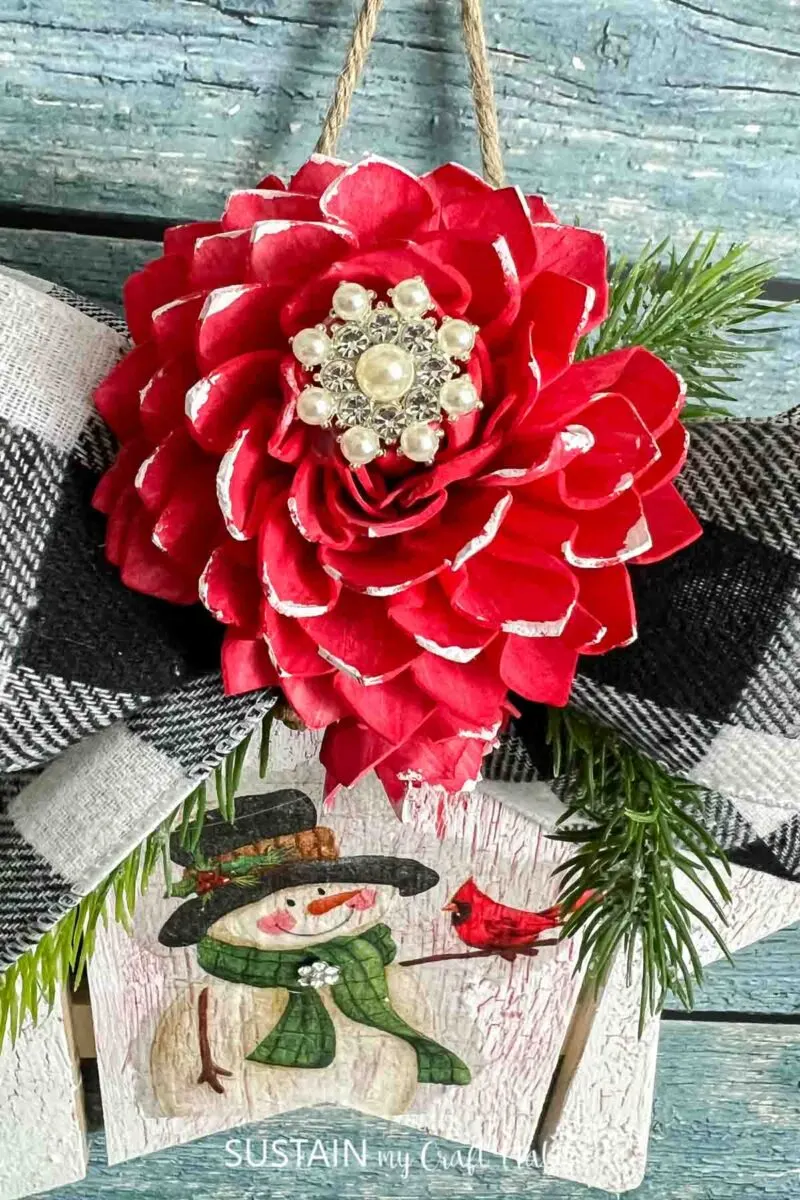
This wooden star surface is ideal for adding a bit of Winter fun and festivity to craft time.
Wooden stars for crafts- perfect for the winter season!
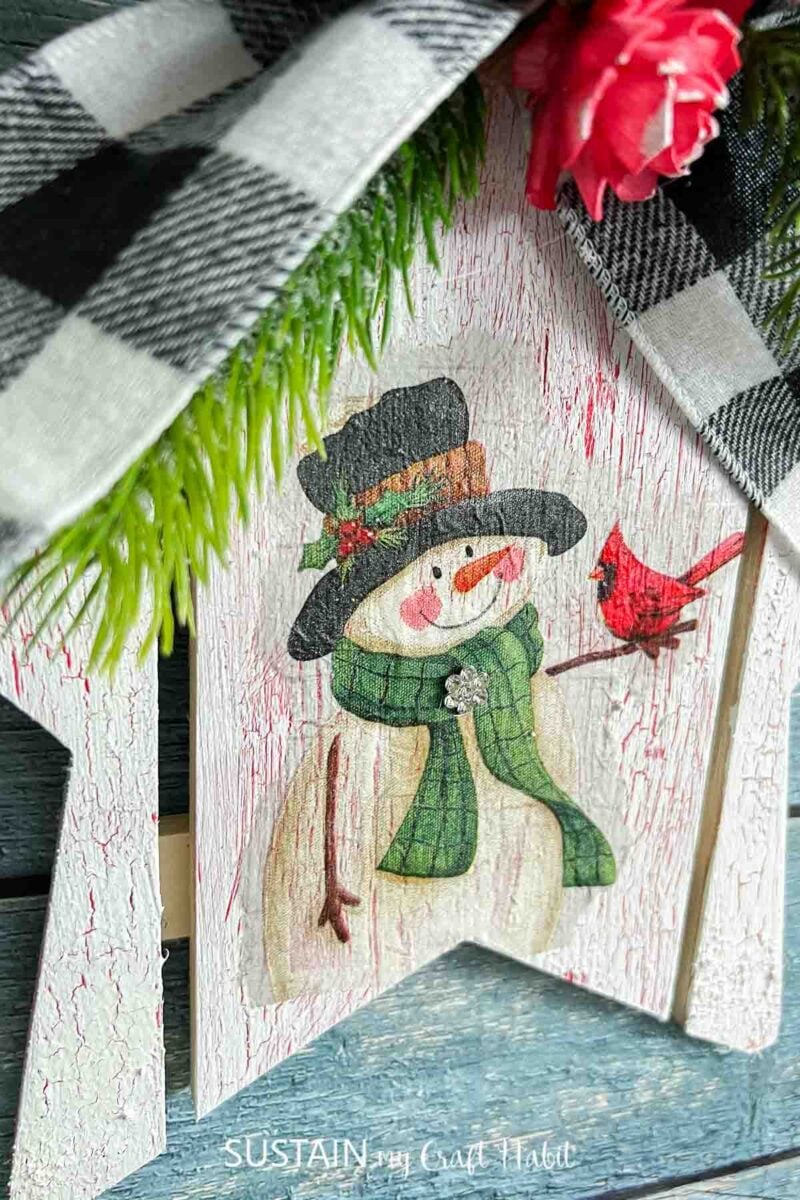
And adding some decorative paper napkins truly brings out the uniqueness of the craft and adds great seasonality.

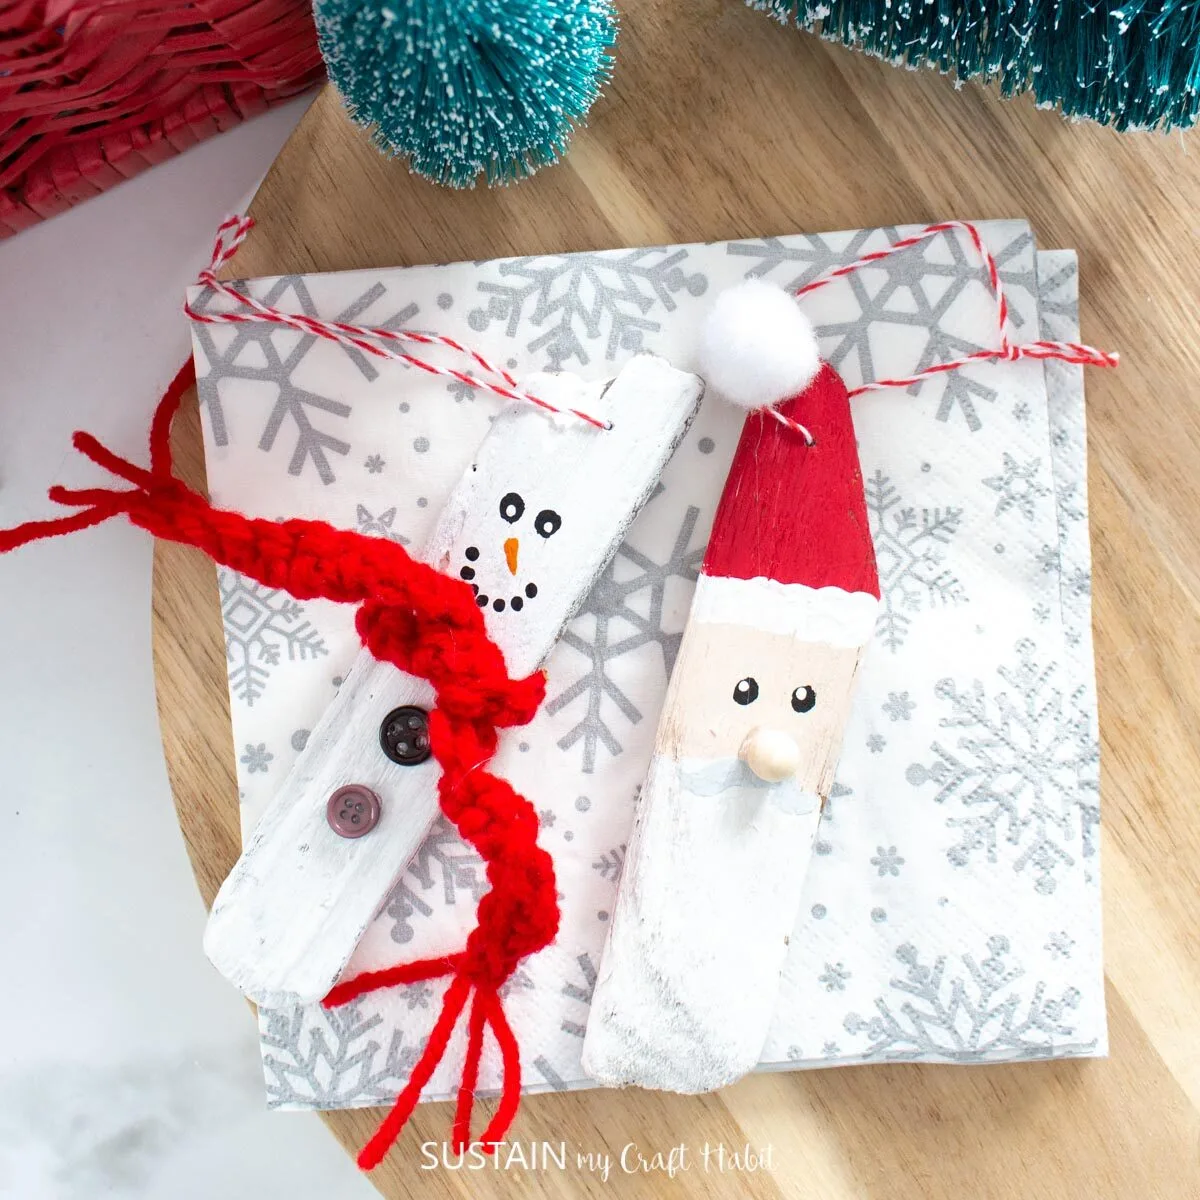
Snowman Decor
If you love to decoupage, this is definitely the craft for you!
I believe the beauty of these wooden stars is in the details.
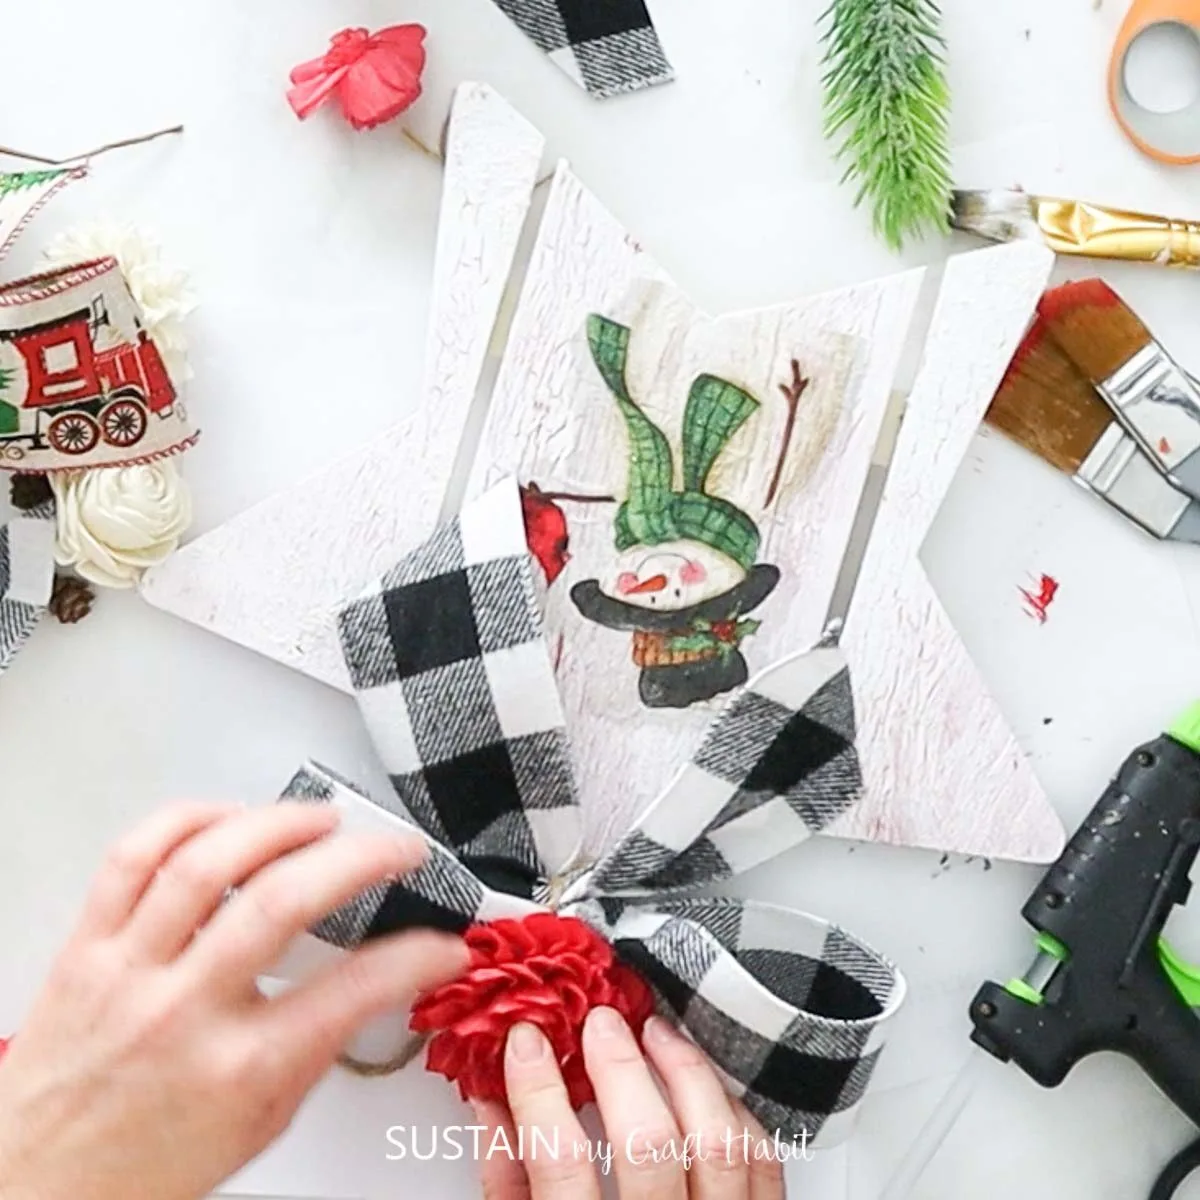
Adding embellishments to the craft and giving it the fine touches is wonderful.
If you are turning these into gifts, the embellishments can make each gift different.
So can the fun holiday napkins!
Want to receive a ton of inspiration and money saving ideas for decorating, gift-giving and crafting?
Materials Needed
Disclosure: This post contains affiliate links for your shopping convenience.
it’s possible for you to readour full disclosure policy here.
But if you prefer the photo tutorial, continue reading below.

Let it dry completely
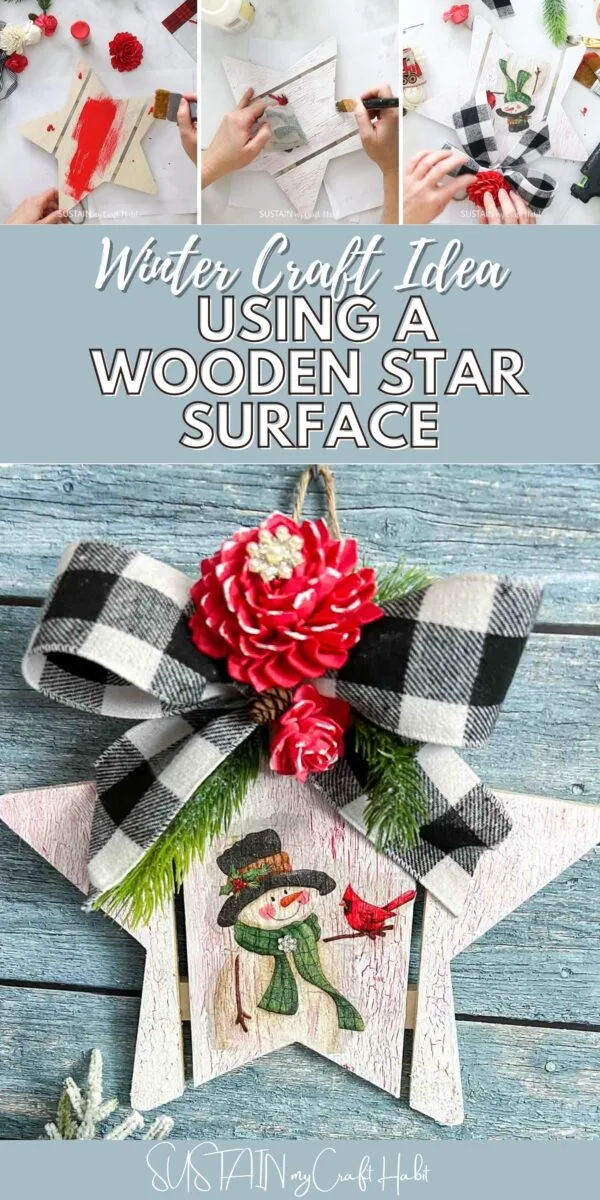
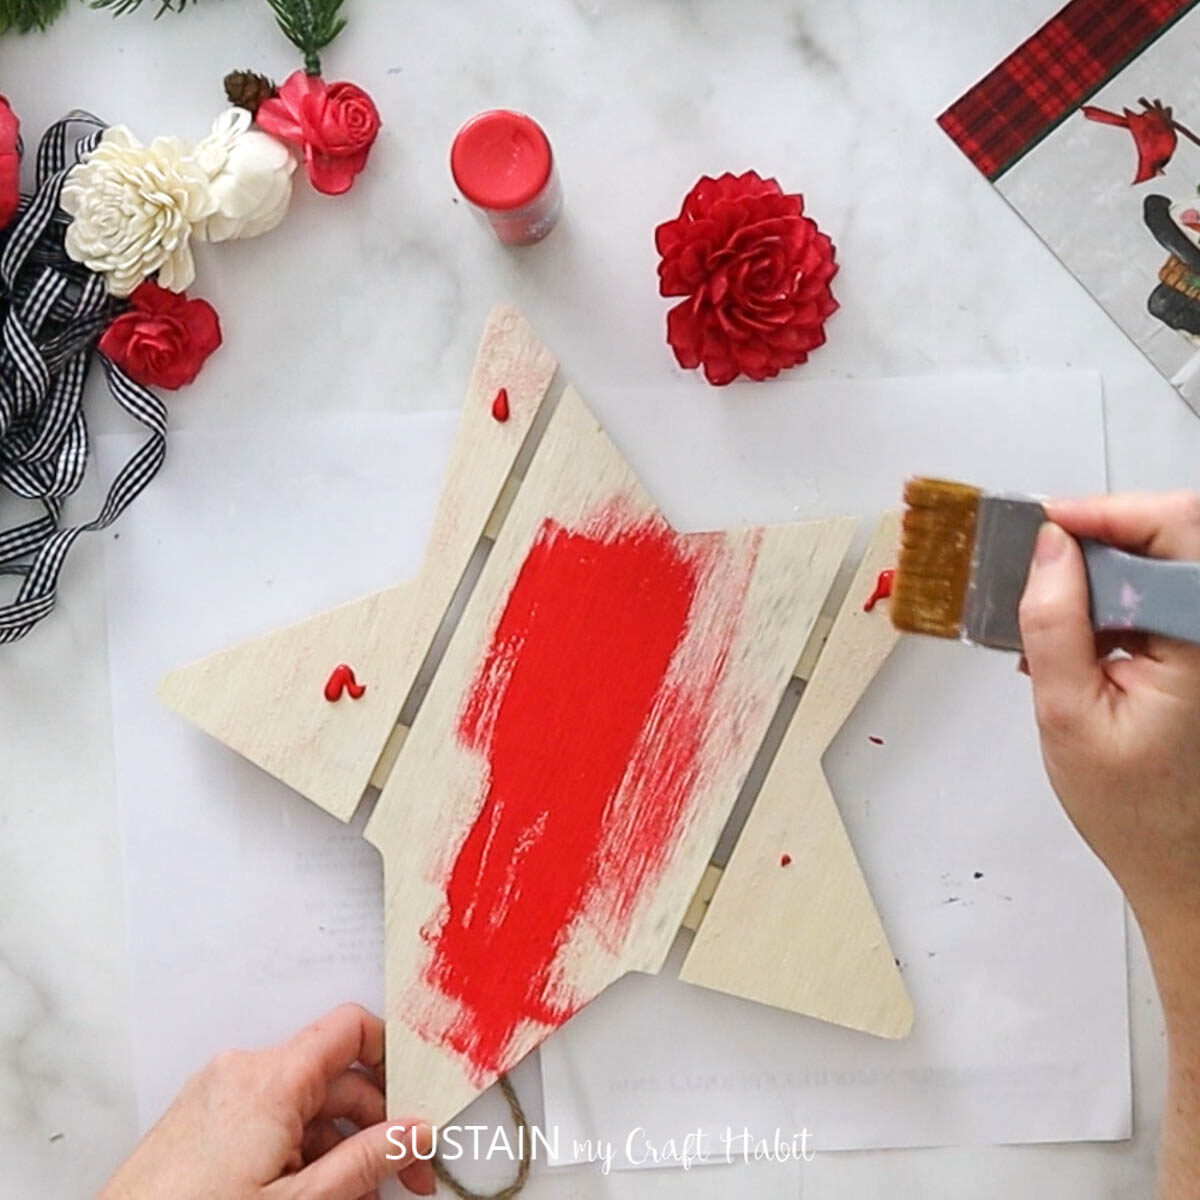
Paint a generous coat of school glue onto the surface.
Brush it in one direction for best results.
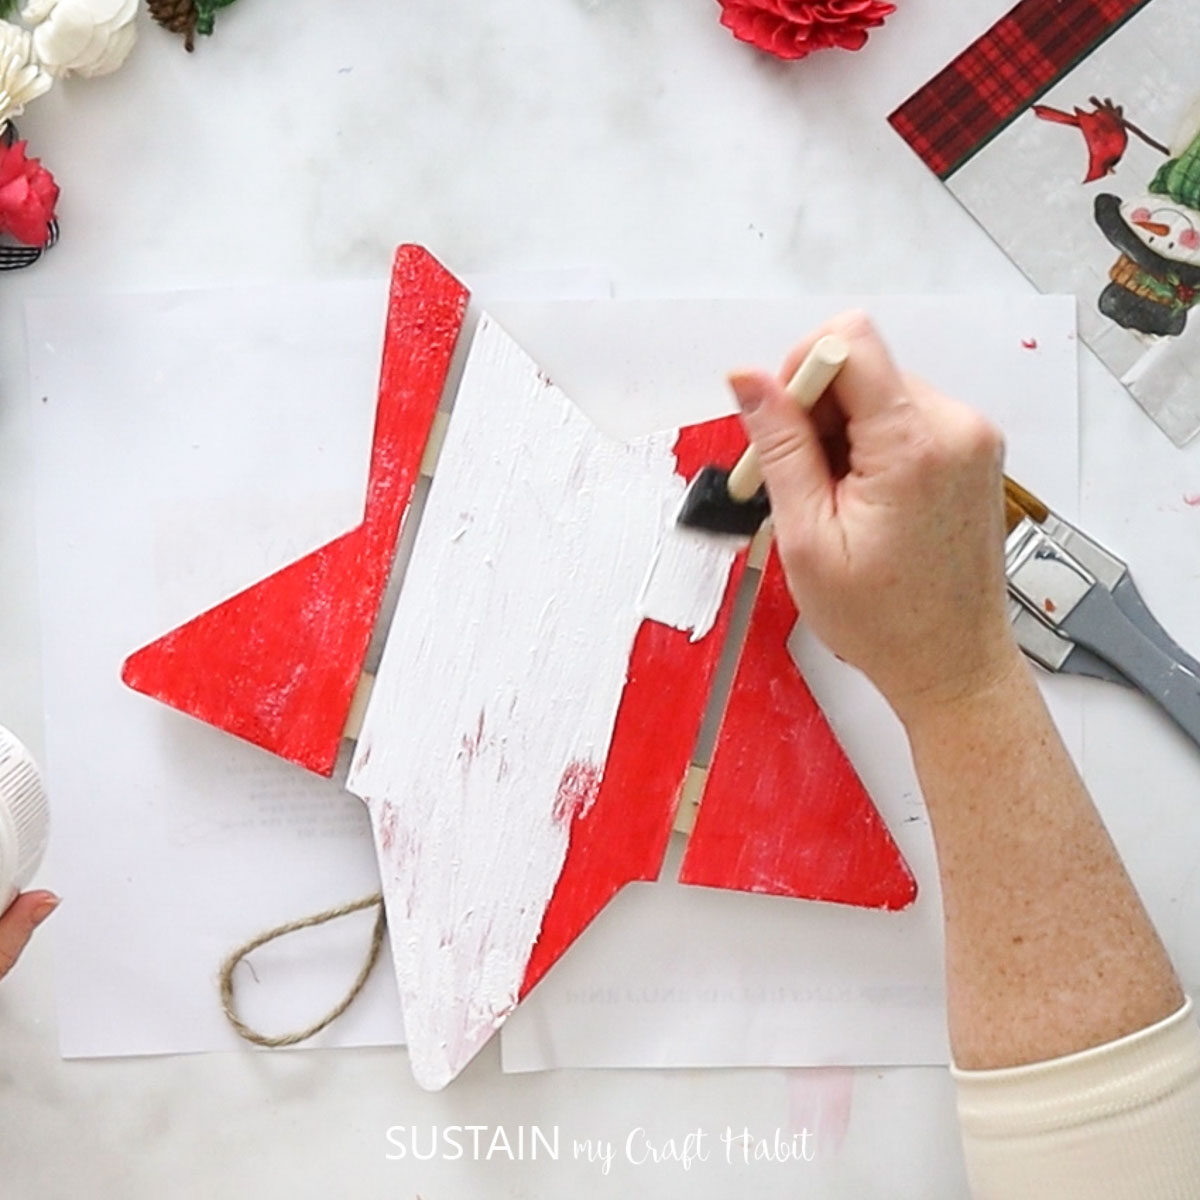
While the glue is still tacky, brush the white paint over it.
As the paint dries, the crackle finish will form like magic!
Let the paint and glue dry completely.
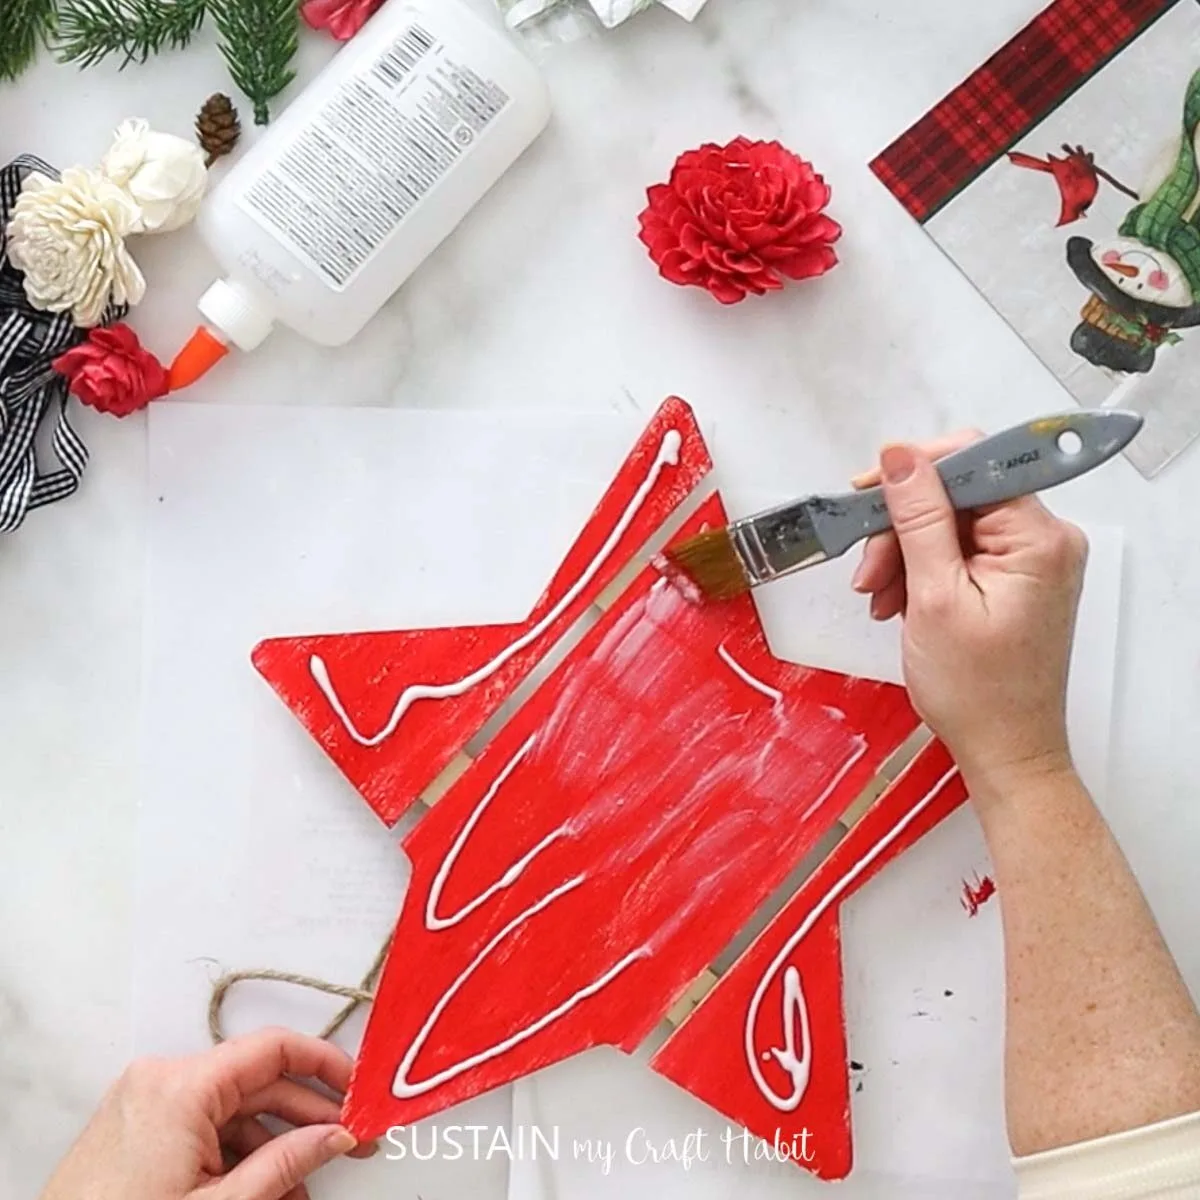
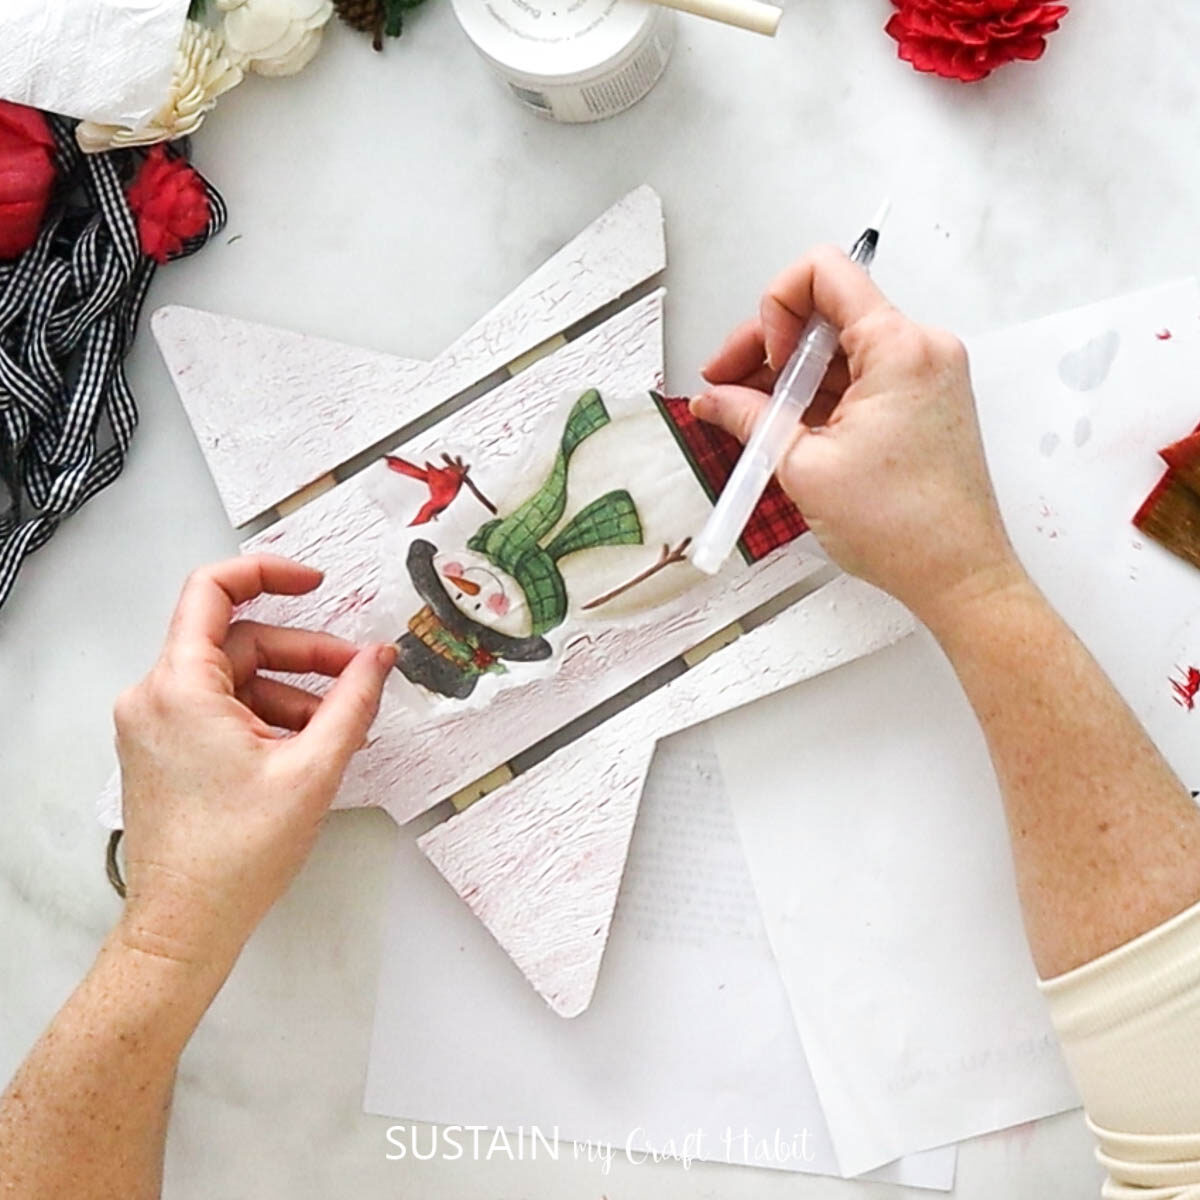
Peel the ply off the napkins and carefully cut out your image.

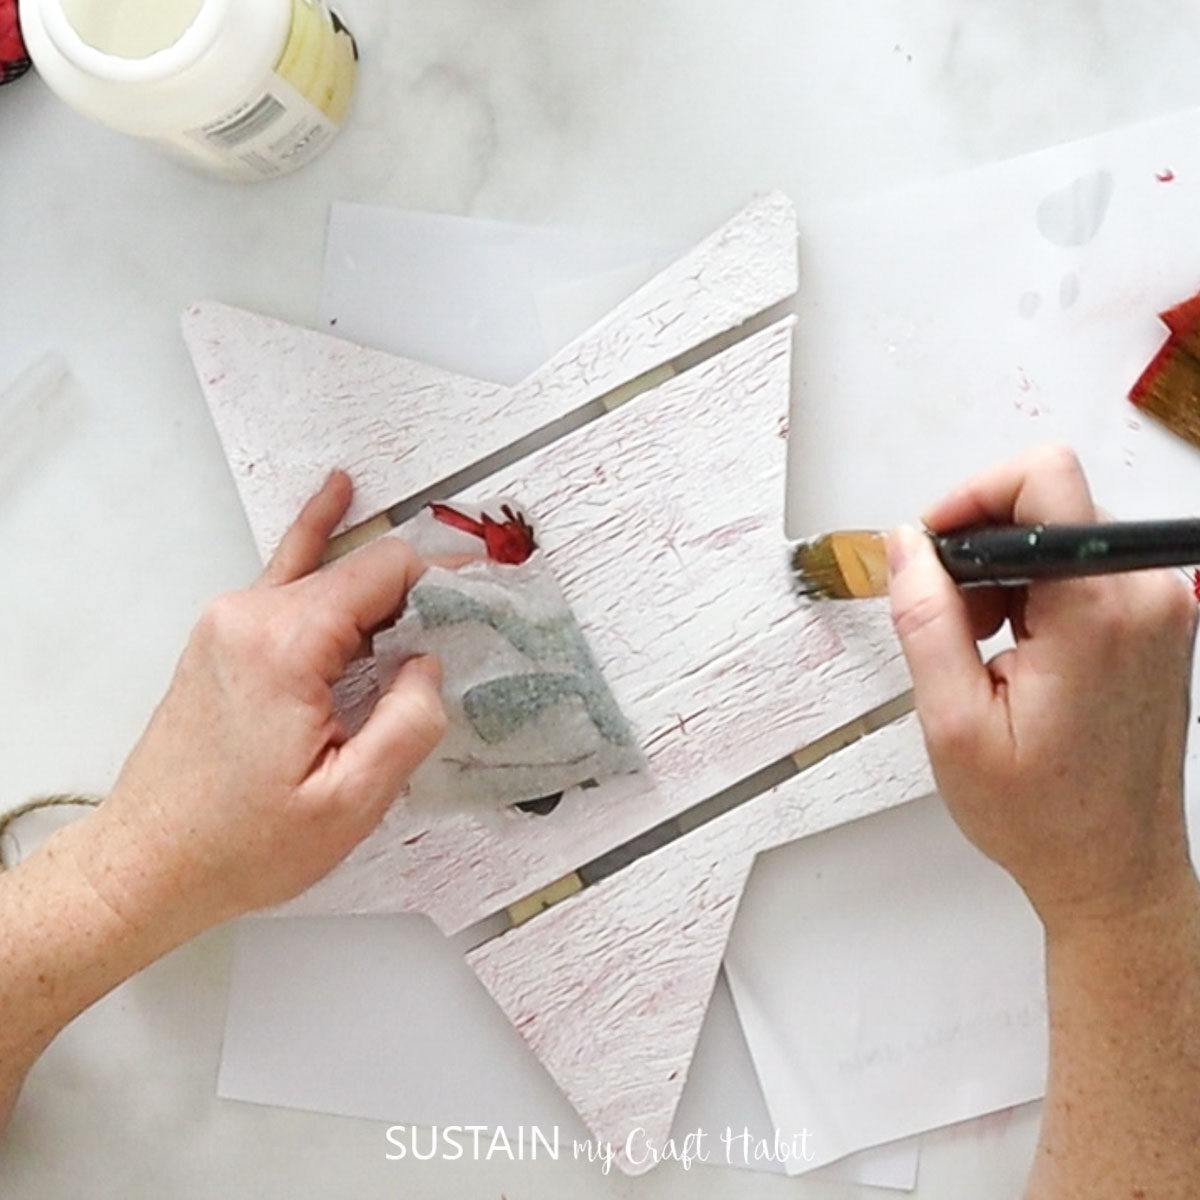
Brush a layer of decoupage or Mod Podge onto the star and press the paper on top.
Gently press the paper napkin down to verify the surface is covered.
Hot glue the bow and any embellishments onto the top of the star.
The craft is complete and ready to be displayed.
Stay in the know on our latest crafts, special offers and freebies byjoining our mailing list.
How did your wooden star craft turn out?

check that to show it off to us!
Tag us onFacebookorInstagram we cant wait to see it!
Pin it for later!
Winter Craft Idea Using a Wooden Star Surface
Materials
Instructions


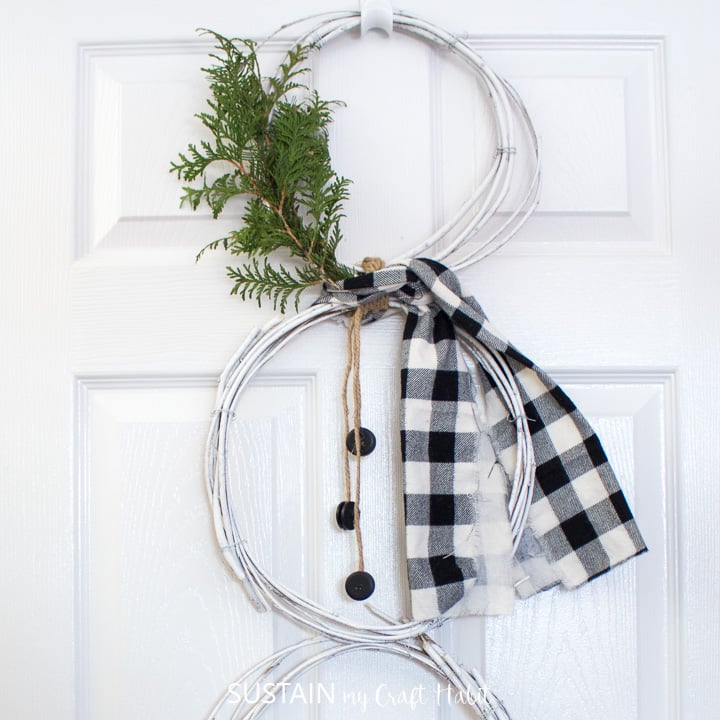
Snowman Decor
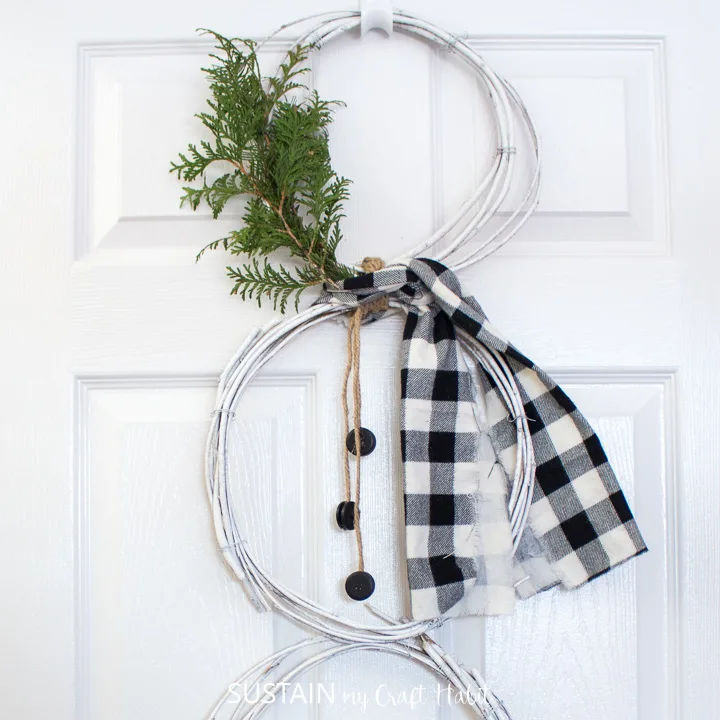

Wood Block Snowman

Christmas Ornaments
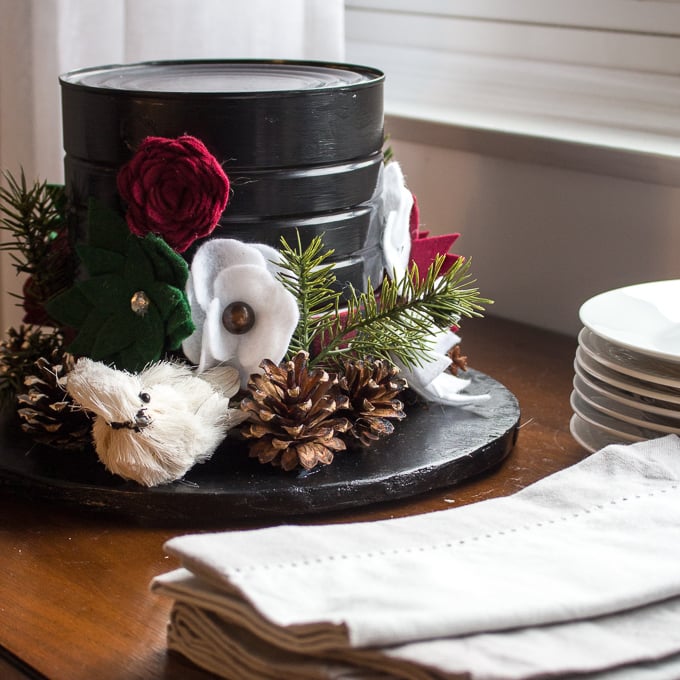
Upcycled Coffee Tin Winter Centerpiece

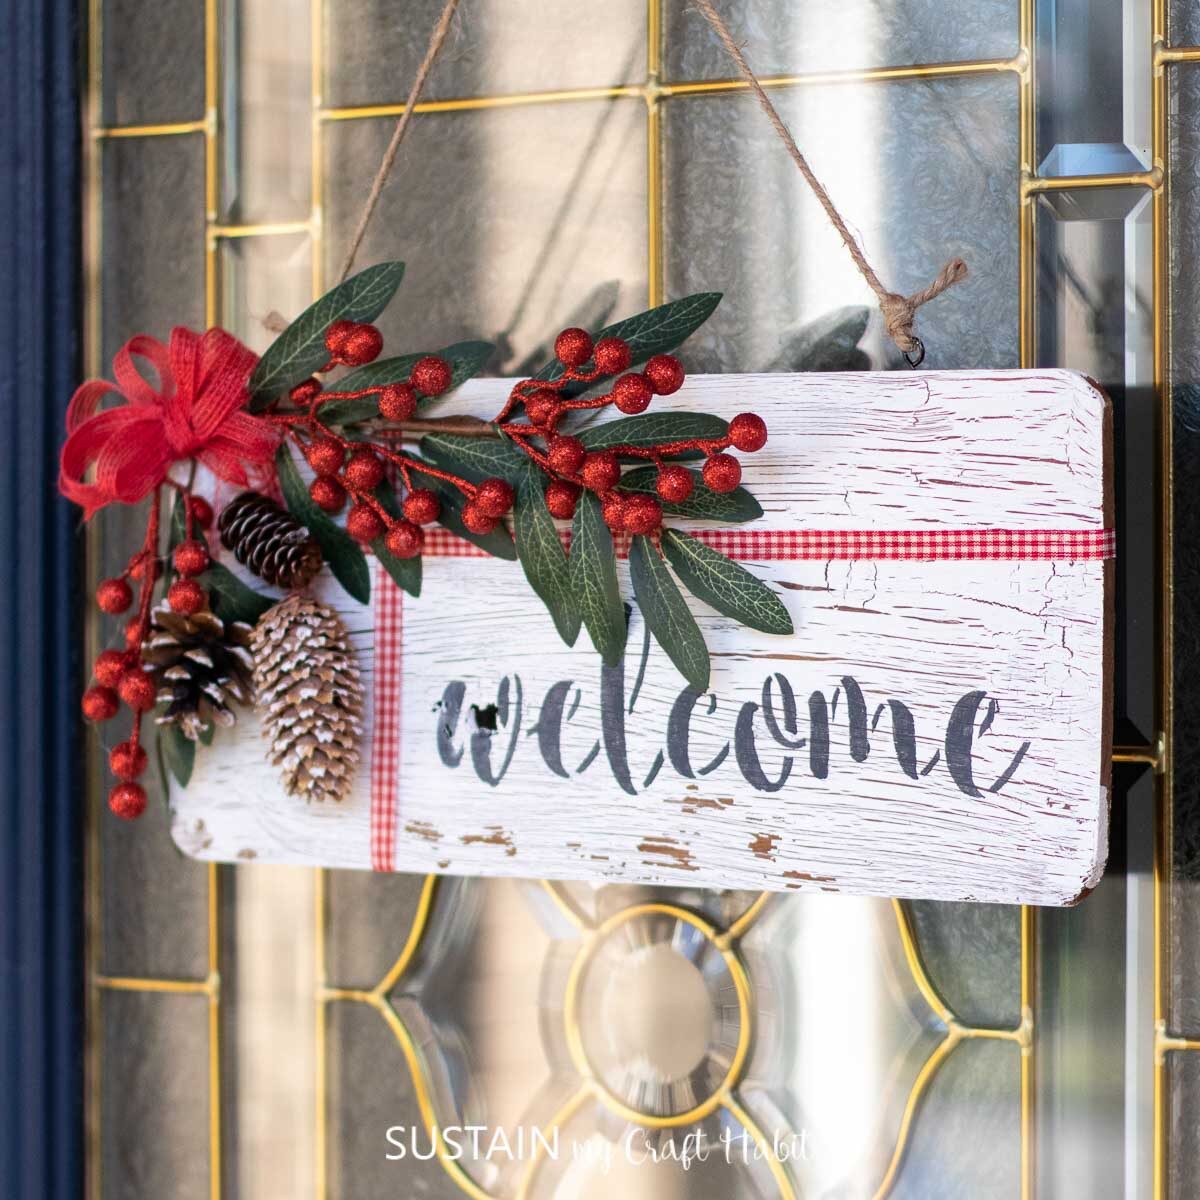
Winter Welcome SIgn