Learn how to make a wine cork skeleton craft that is perfect for your Halloween decor!
Its an easy and budget friendly holiday project.
Youll be gluing and painting corks, as well as cutting apopsicle stickand attaching screw eyes.
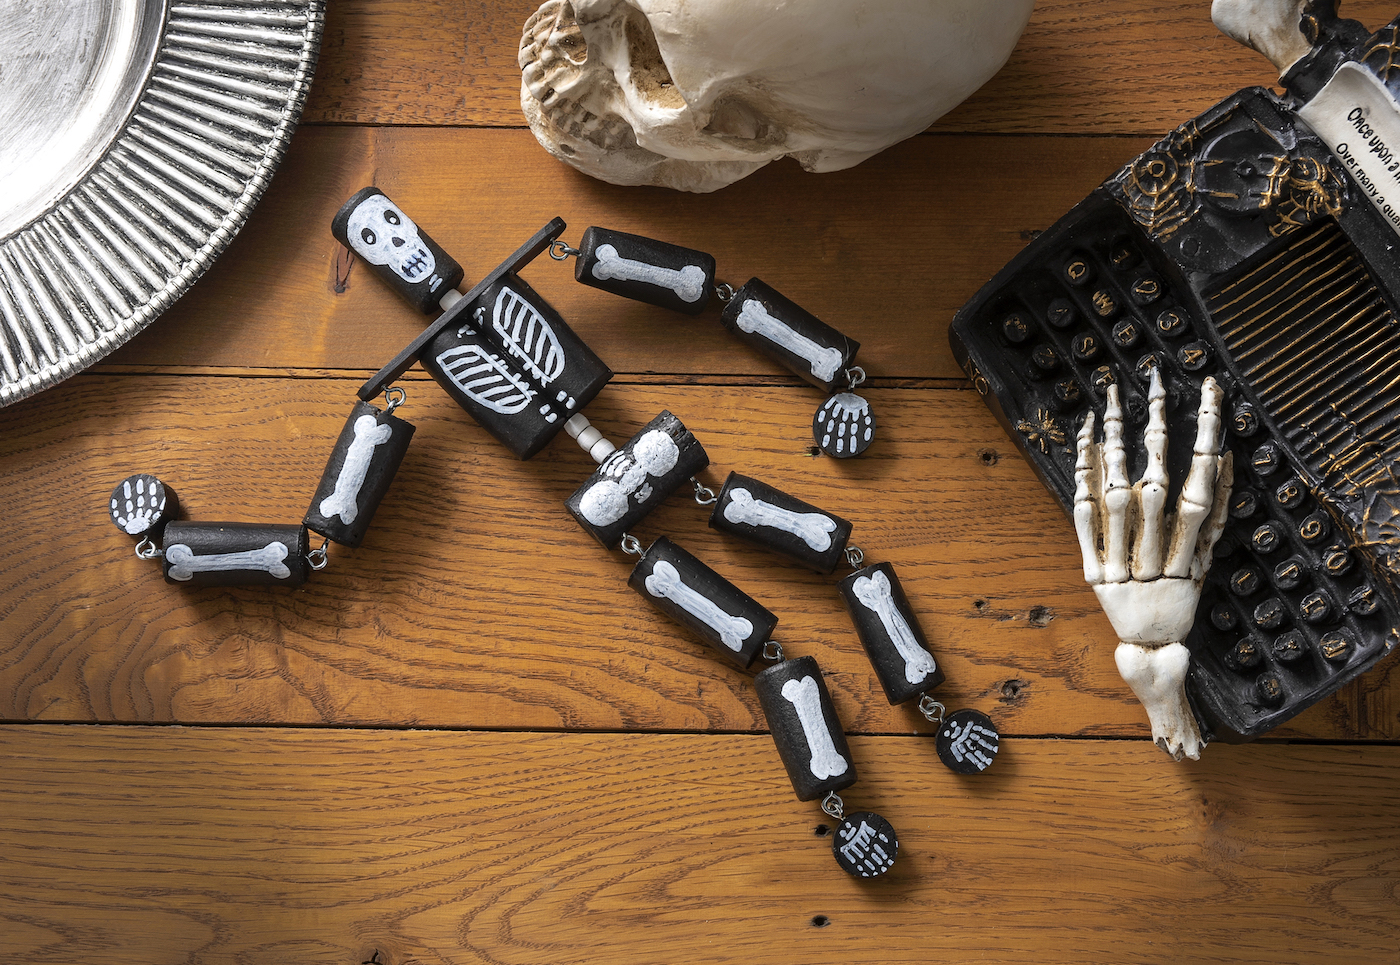
This skulligan is pretty simple if you work slowly and follow the steps.
Weve done a lot ofwine cork craftsaround here, and the truth is, they arereallyfun.
Theyre very versatile as a crafting supply.
There was thewine cork wreath, and then thewine cork pumpkinsfor fall.
And since I love skeletons, it was time to take that love of cork into aHalloween decorproject.
And thats how this winecorkskeleton was born!

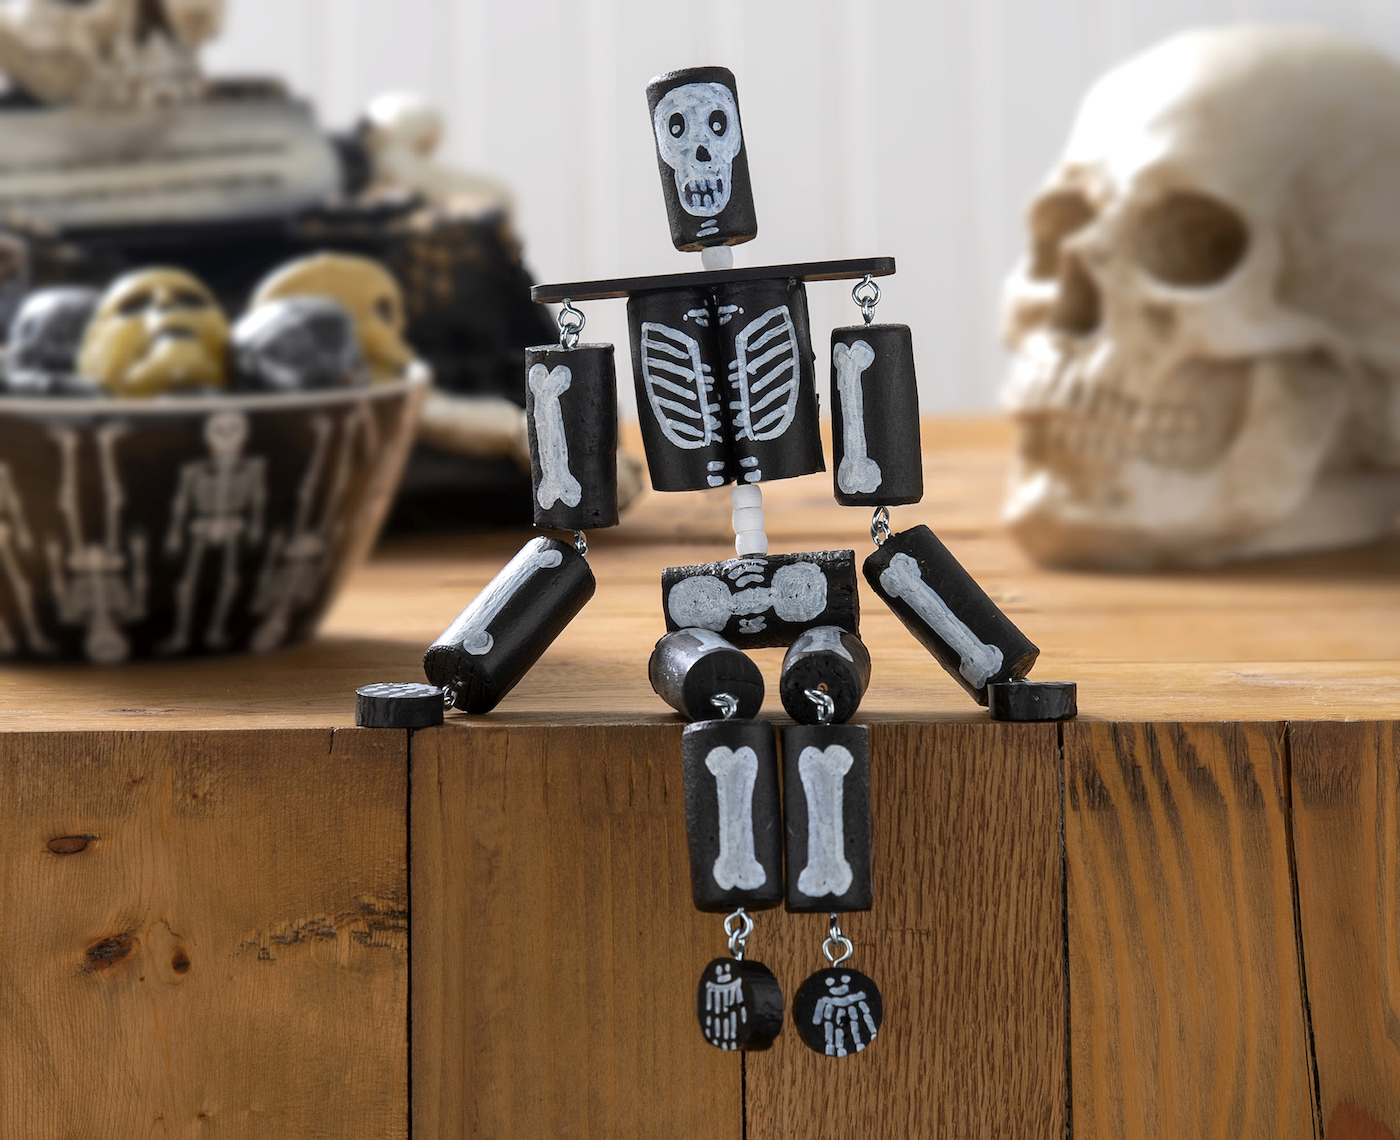
This guy is very casual and just loves to hang out anywhere you put him.
Hes an awesomerecycled Halloween craft!
Not only does he use wine corks, but he also has popsicle stick shoulders.
This is actually a really budget friendly craft!
I had everything but the screw hooks on hand, which I got in about two seconds at Lowes.
This happy Halloween dude is made in a reasonable amount of steps.
Youll have to do some gluing, cutting, and assembling with the screw hooks.
Im excited to show you how its made below.
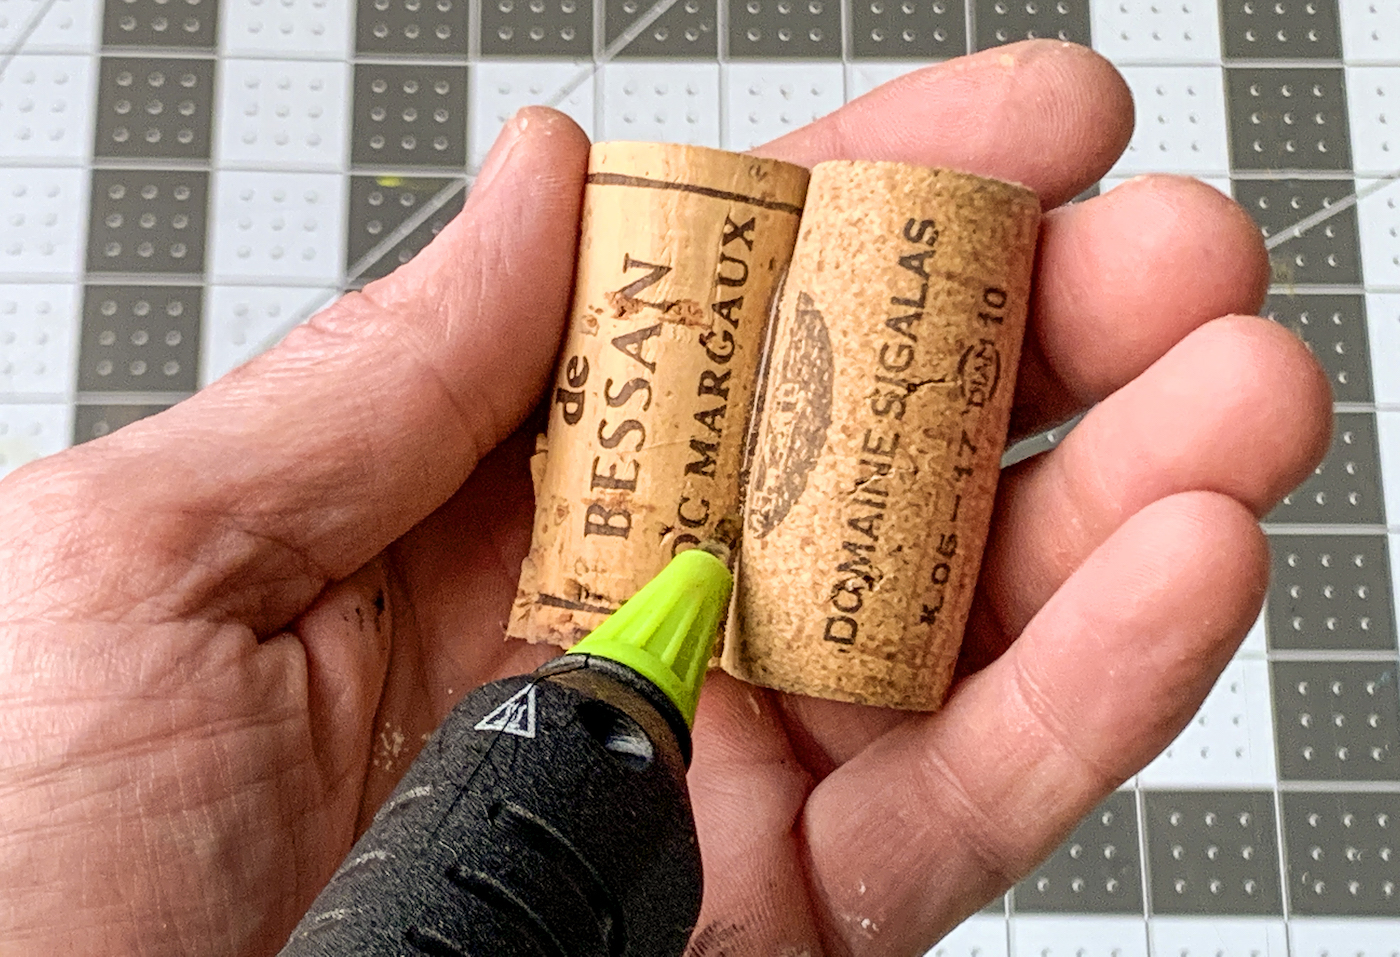
Then cut with a knife into four equal pieces (it will cut very easily).
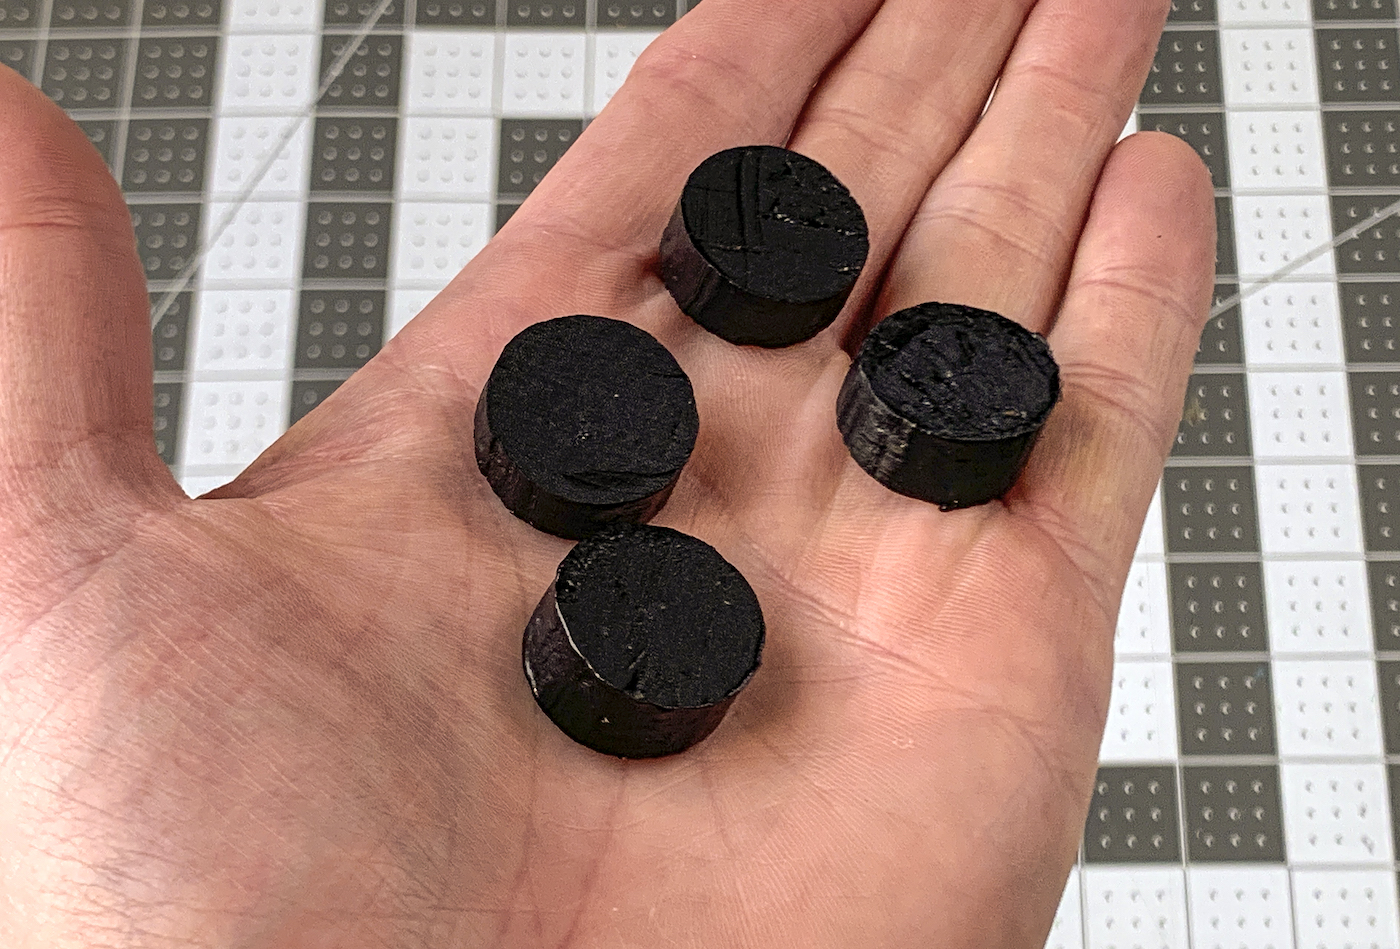
Set the pieces aside to let cool and dry.
Glue and Paint the Corks
Hot glue two corks together to act as a rib cage.
Place a line of glue down the side of one and press the corks together and hold.
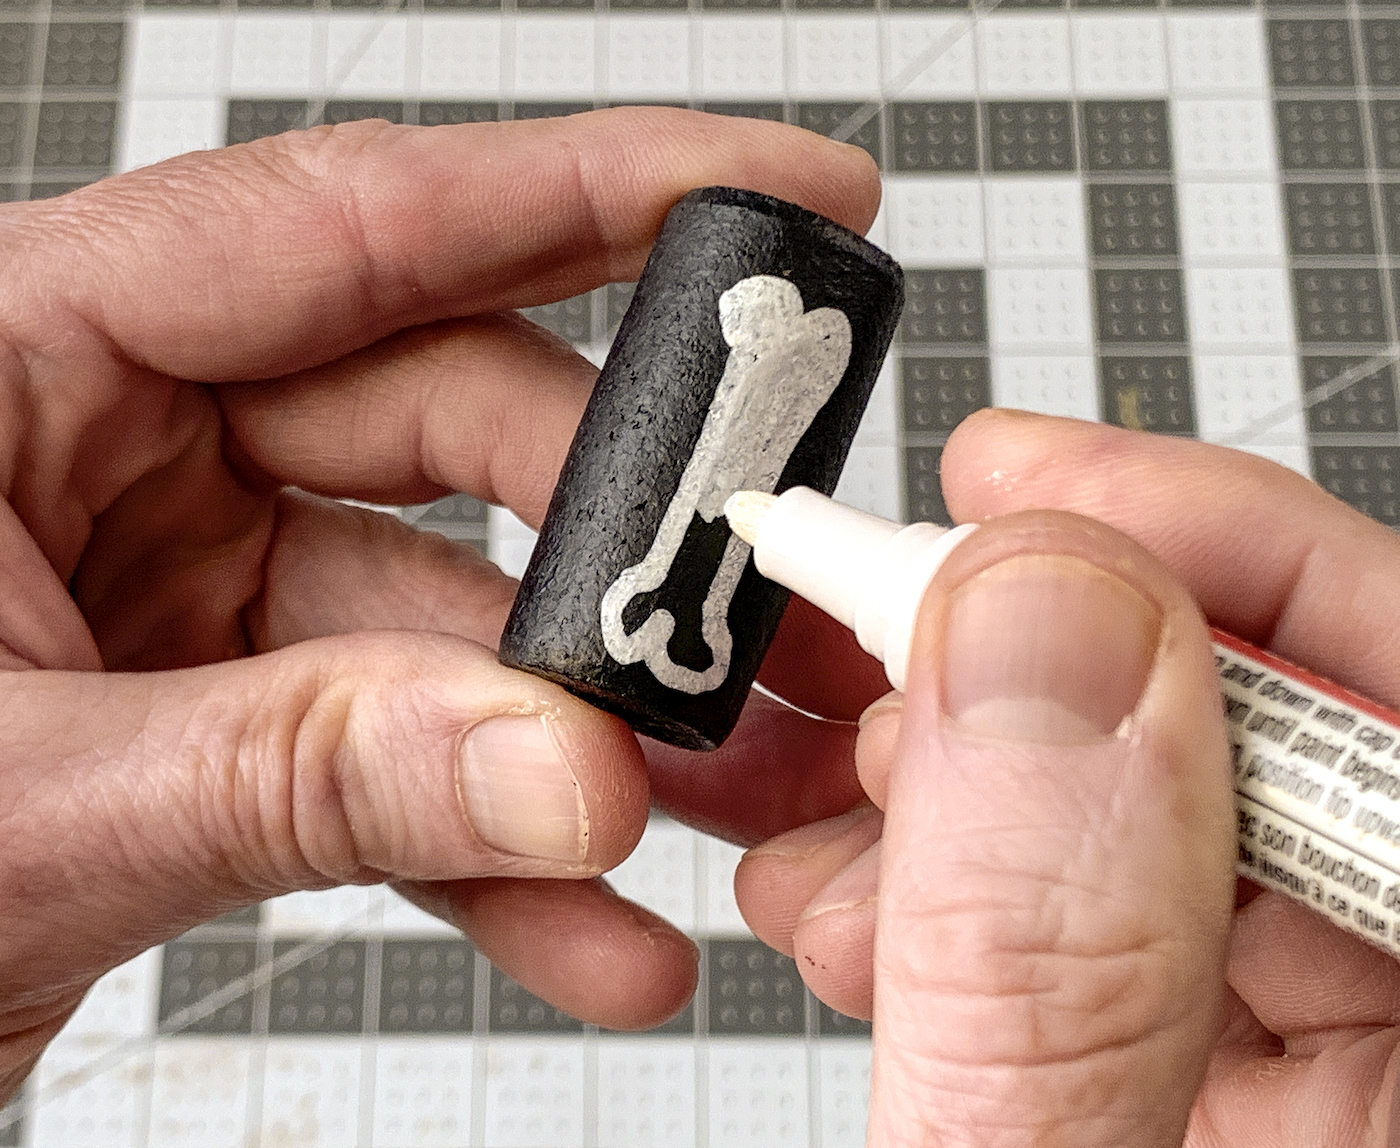
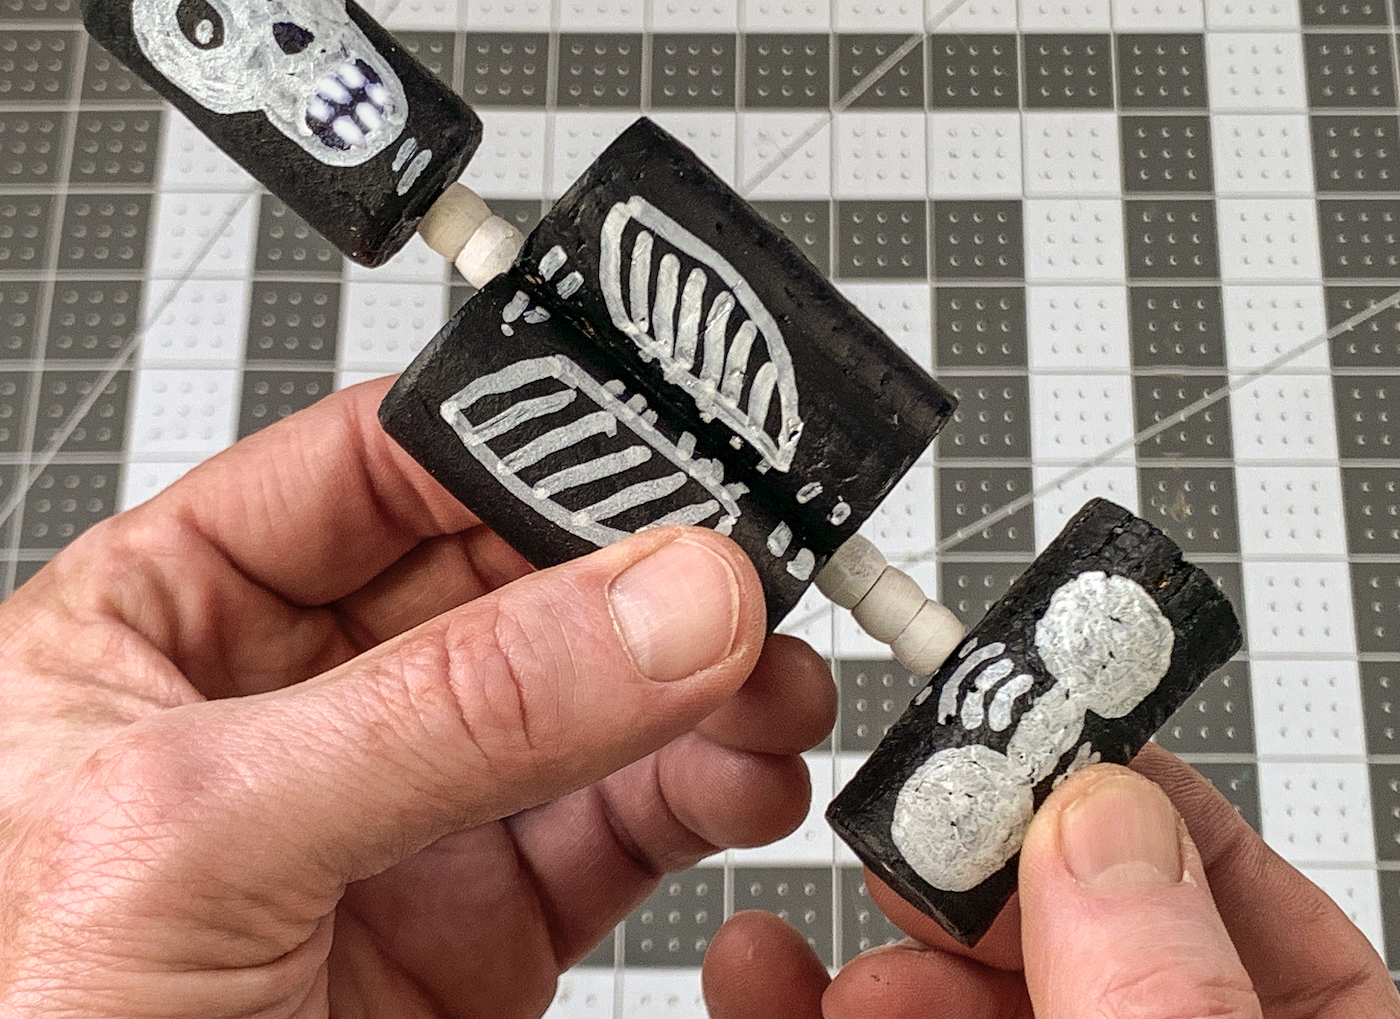
Paint the rib cage with black craft paint.
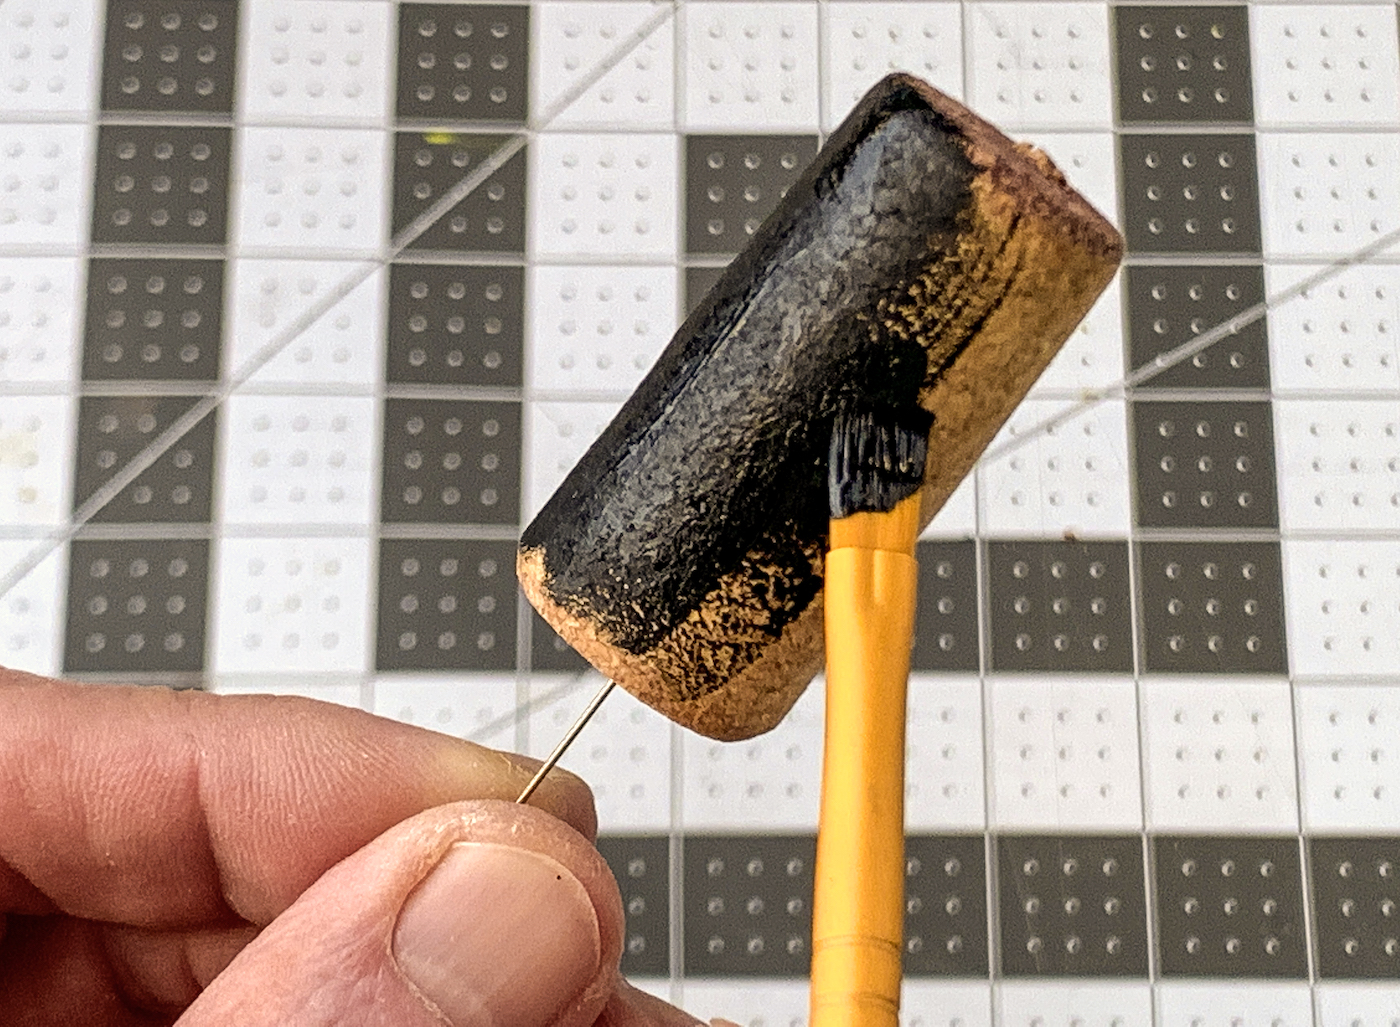
Youre also going to paint all of the corks with the black craft paint.
The easiest way to do this is to place a cork on the end of a pin and paint.
Youll need about two coats per cork.
Be sure to paint the four pieces as well.
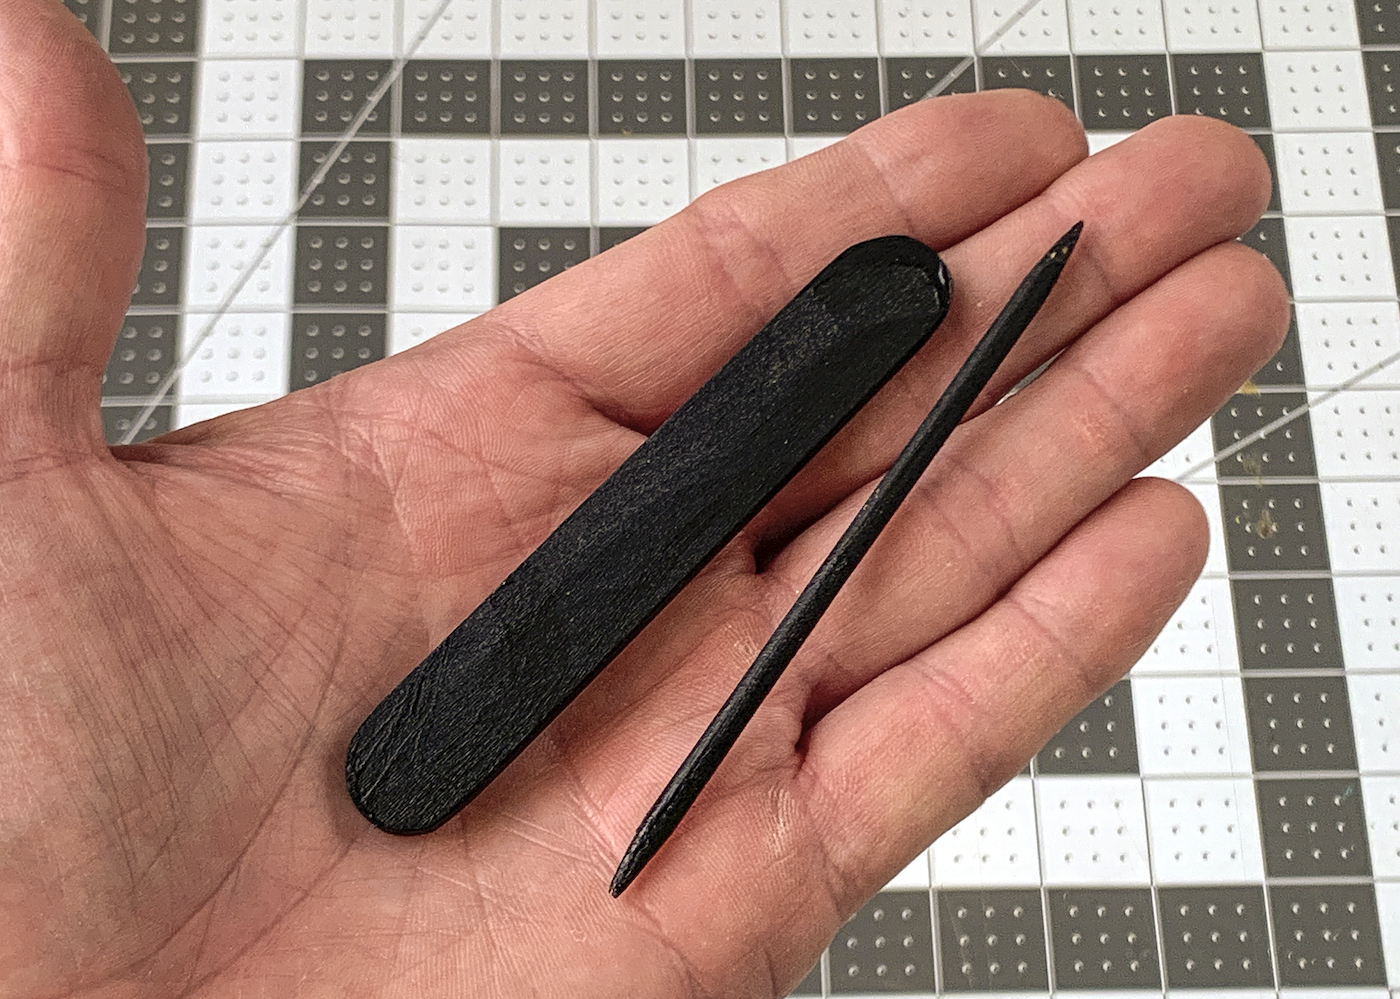
Prep the pen following the instructions on the package.
so you know how long to make the BBQ skewer.
Then paint both of these items with black paint and let dry.
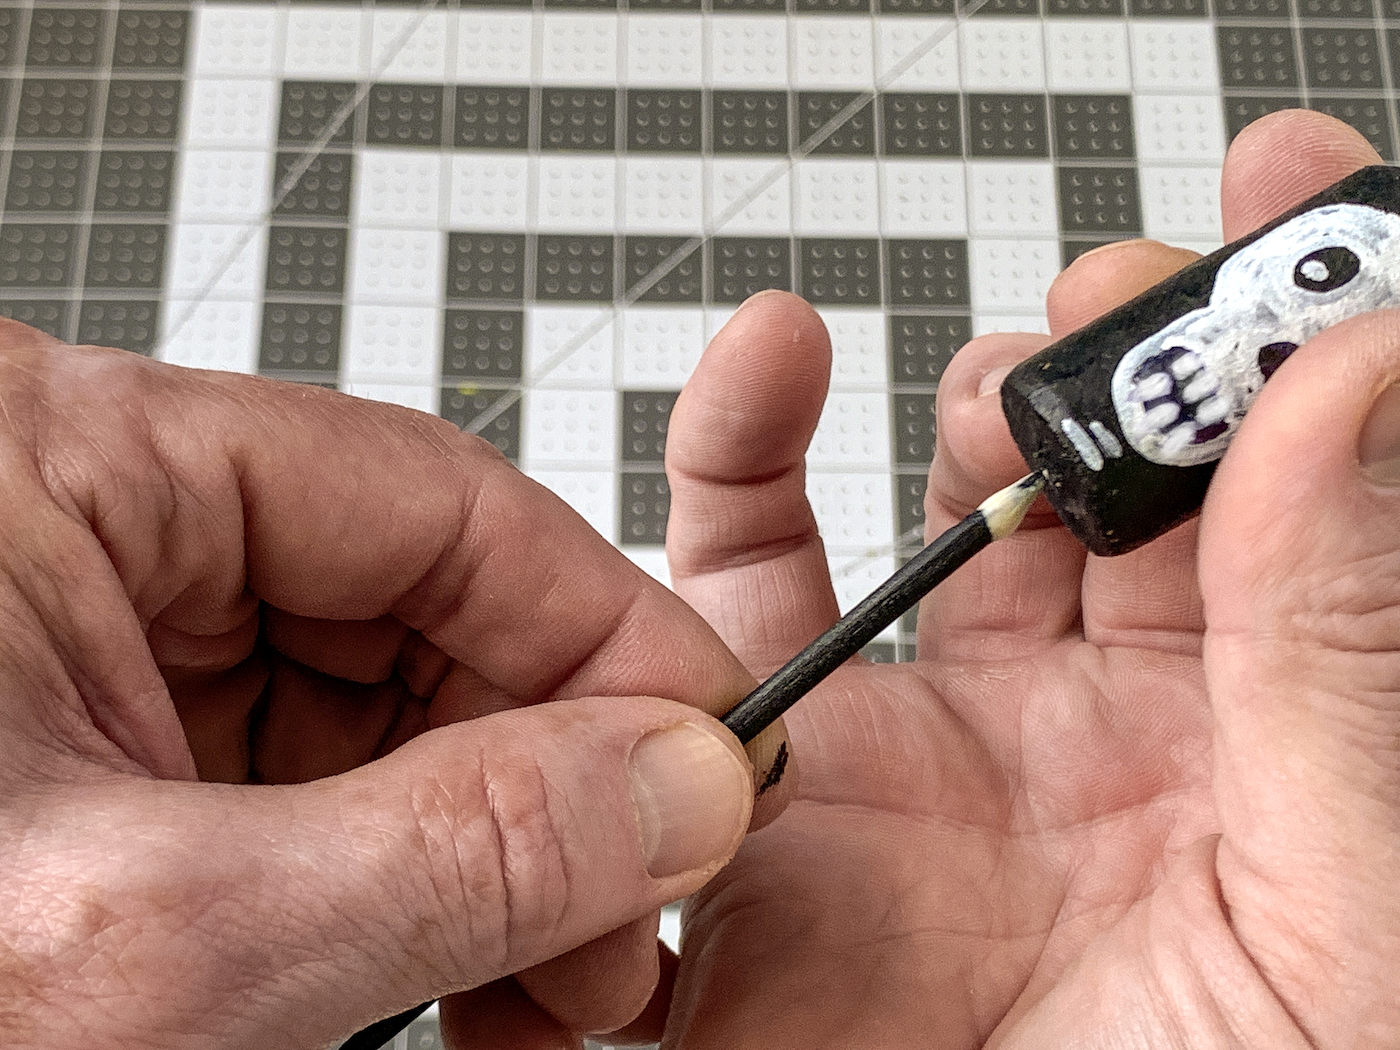
Slide the head down onto the skewer.
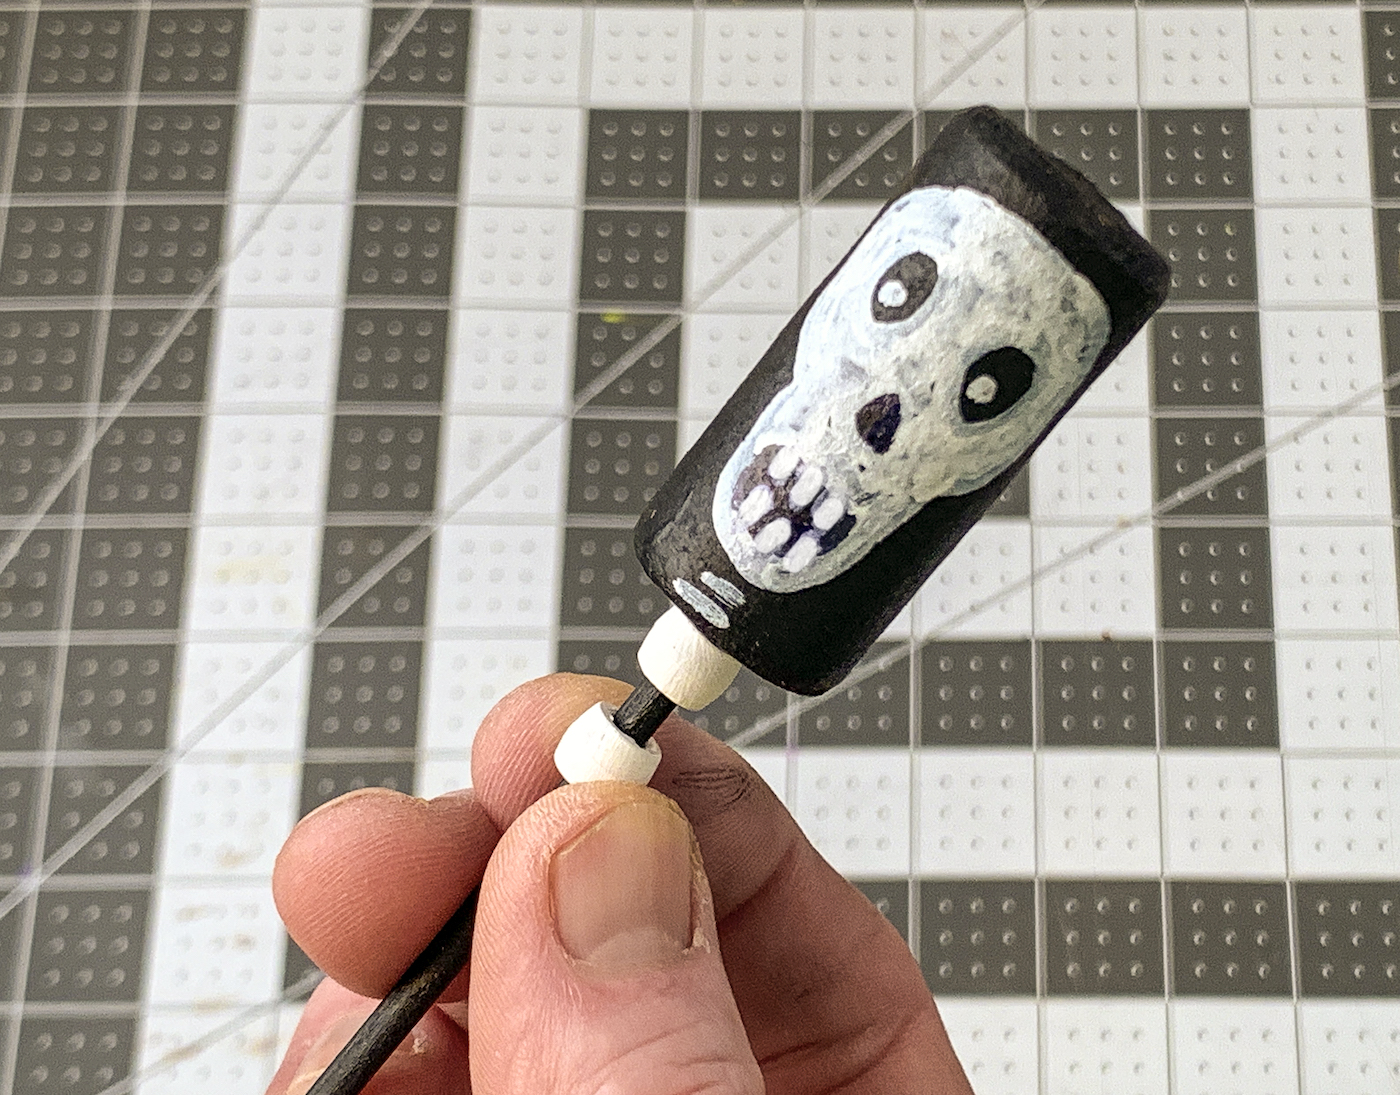
Add two pony beads onto the neck to act as vertebrae.
If you didnt take anatomy, dont worry neither did I.
Were making a spine, people.
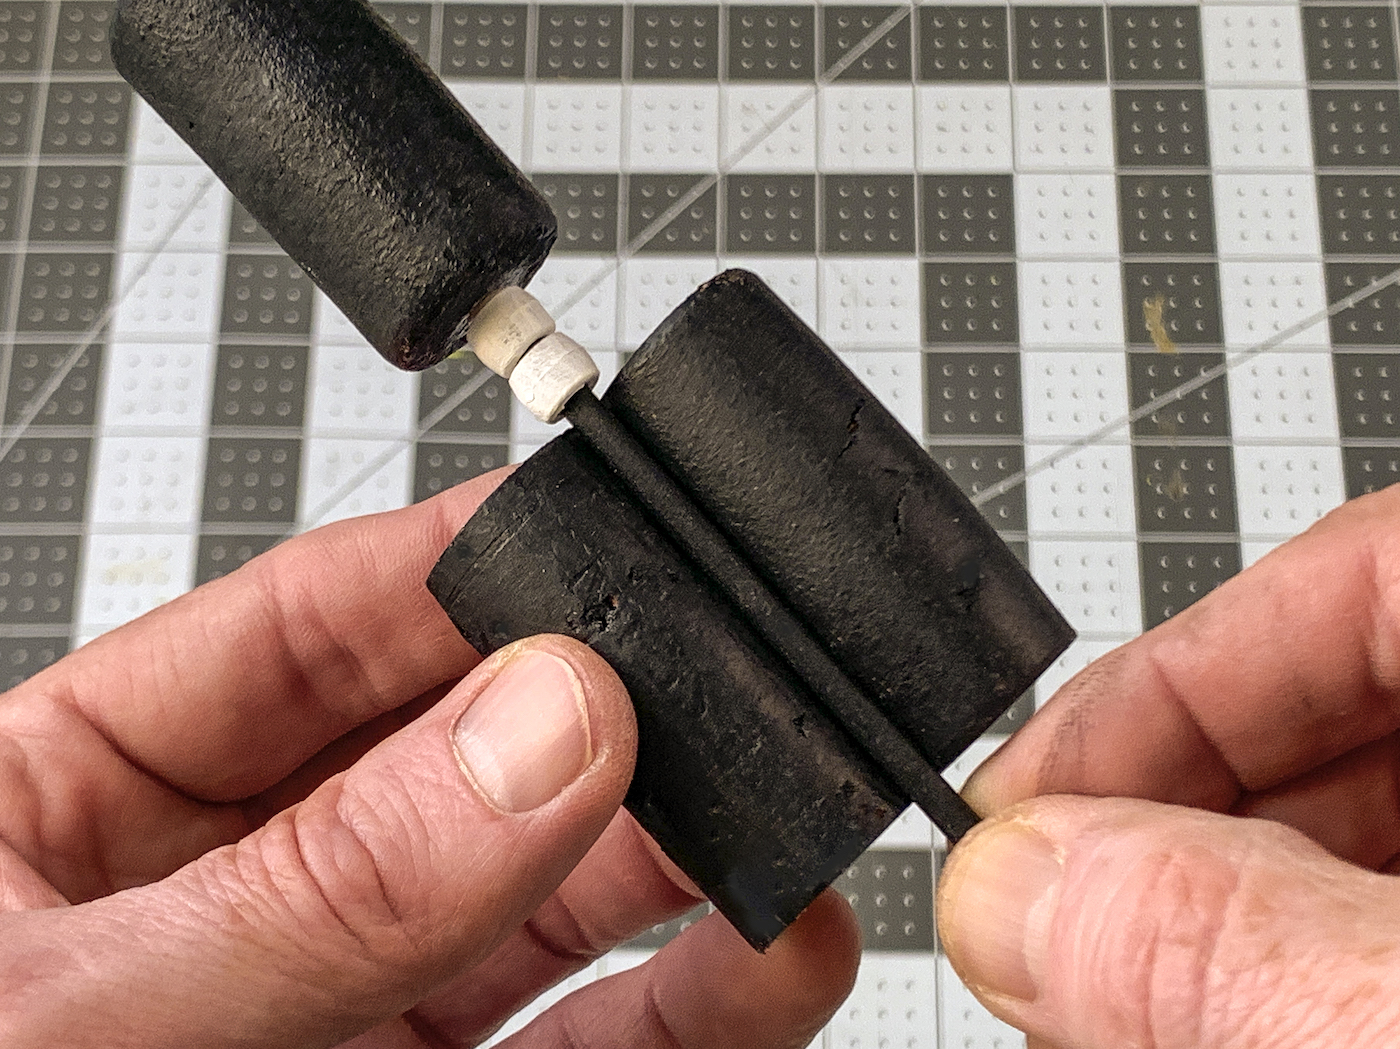
Use the hot glue gun to glue the cork ribs onto the skewer, right below the vertebrae.
The base of the body is now assembled, and the rest is easy!
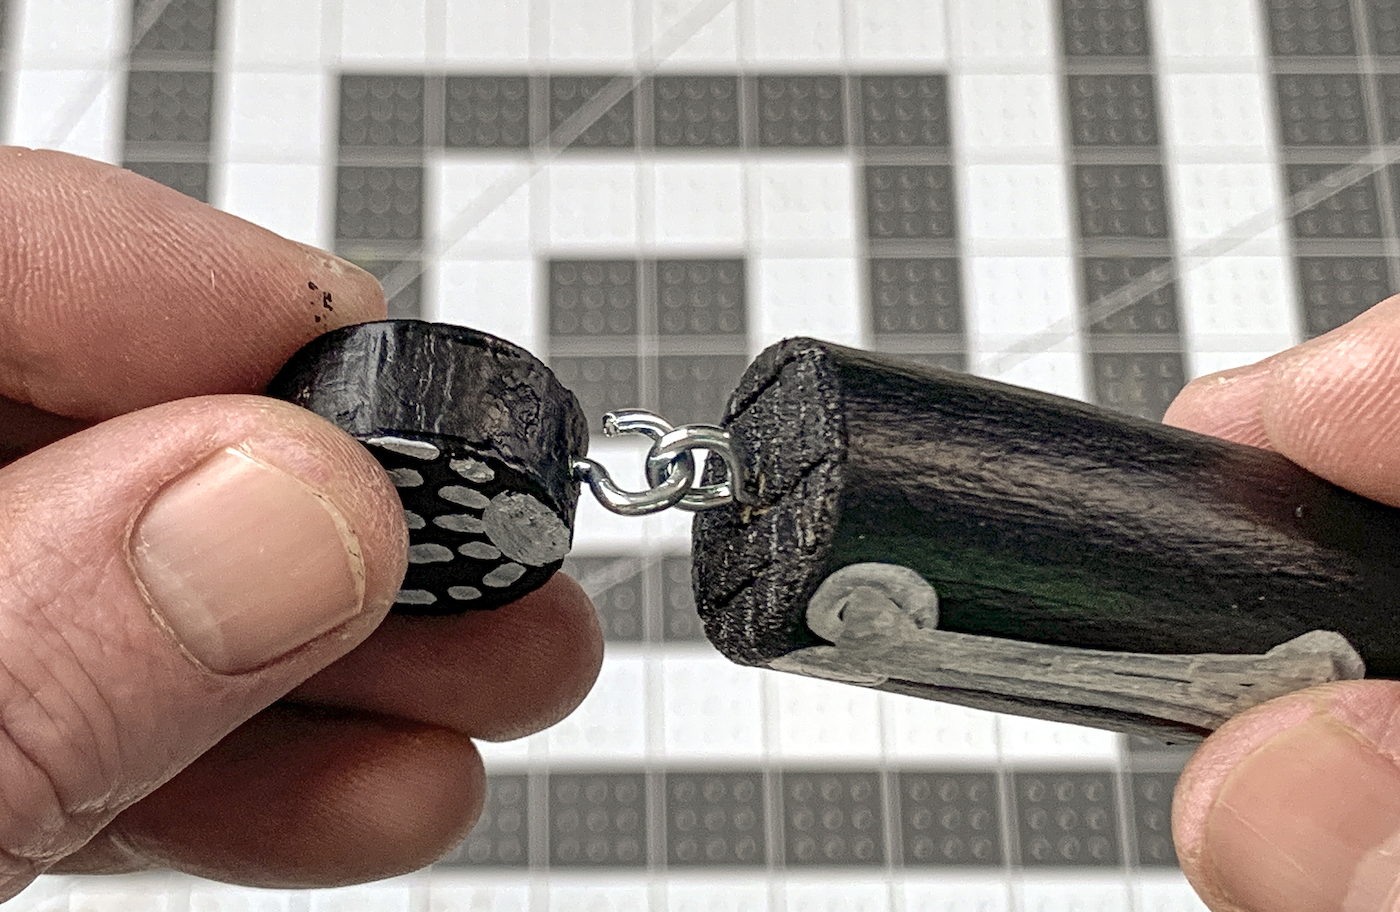
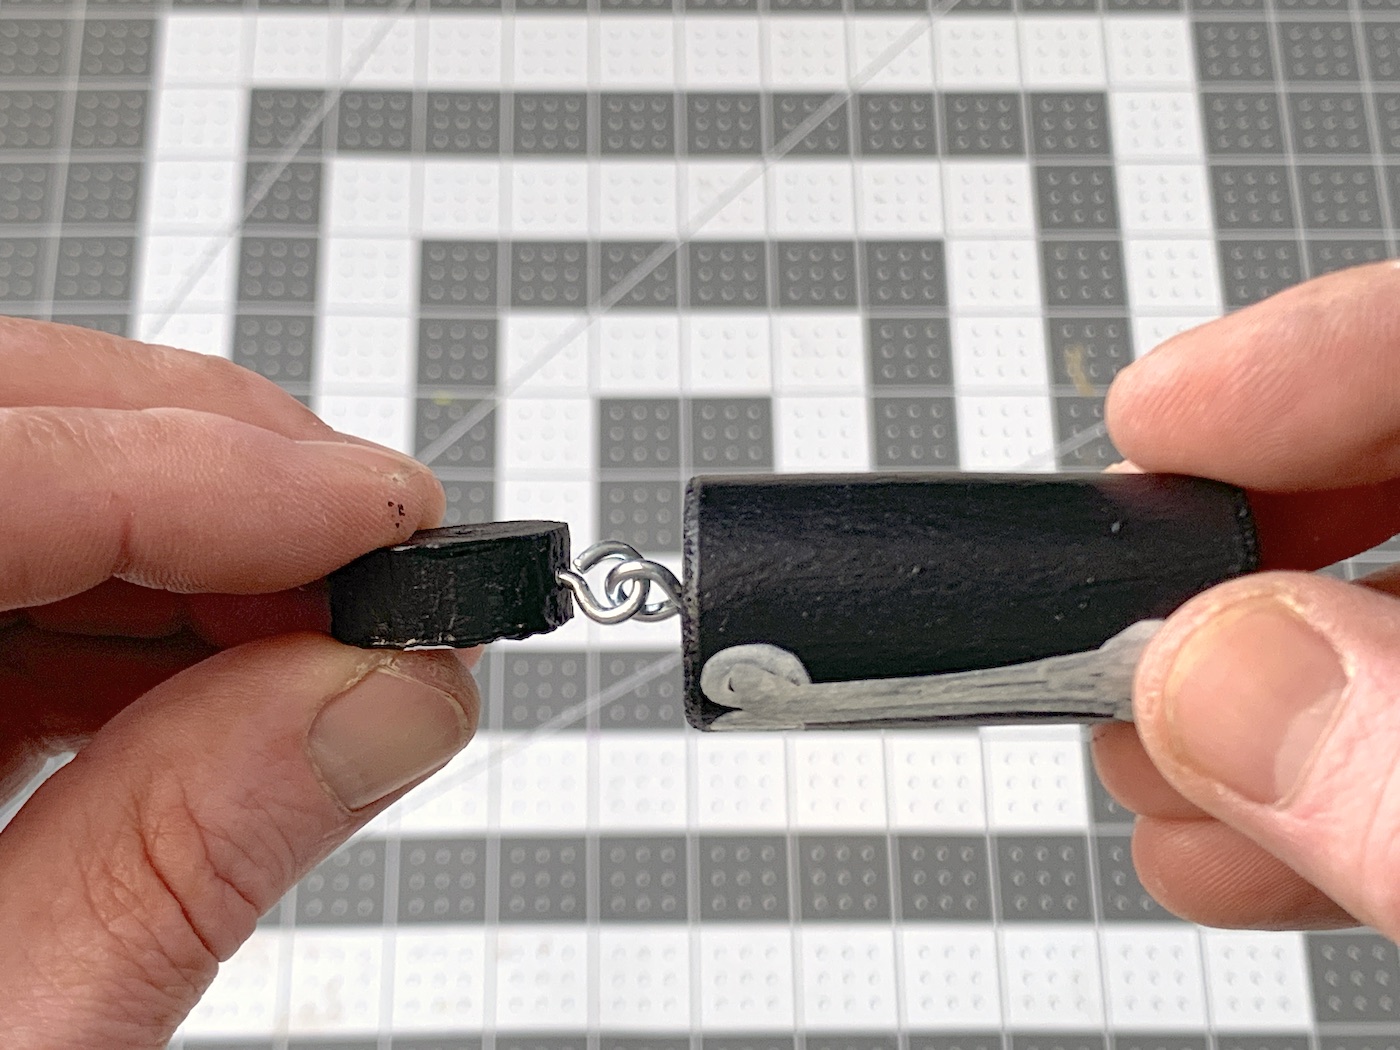
They screw easily into the cork.
Then youll use the pliers to open them .
Youll attach, and then wrap up the screw hooks with the pliers.
Once all the appendages are attached, theres only one last step.
Its optional, but I think youre going to want to do it.
it’s possible for you to cut the ends of those screws off with a Dremel!
To make the shoulders flat on top.
Theres less movement, but its easier.
Look how cute my cork friend is!
