Learn how to make the cutest DIY fall gnomes to accent your seasonal decor!
These are such an easy autumn project great for kids or adults.
Youll be doing some cutting (using templates), painting, and attaching things using adhesive.
Actually there are a lot more things you should know about me, but its September .
so this is what on my mind!
Once fall hits, I get the crafting bug bad.
I craft all year, but my desire and enthusiasm definitely increases toward the end of the year.
I also love the decorating!
And lately Ive realized that myautumn decorisnt quite up to snuff.
I wanted to make something easy, which is how these DIY fall gnomes came about.
I only had a few criteria for my project.
I wanted it to:
I think I did okay!

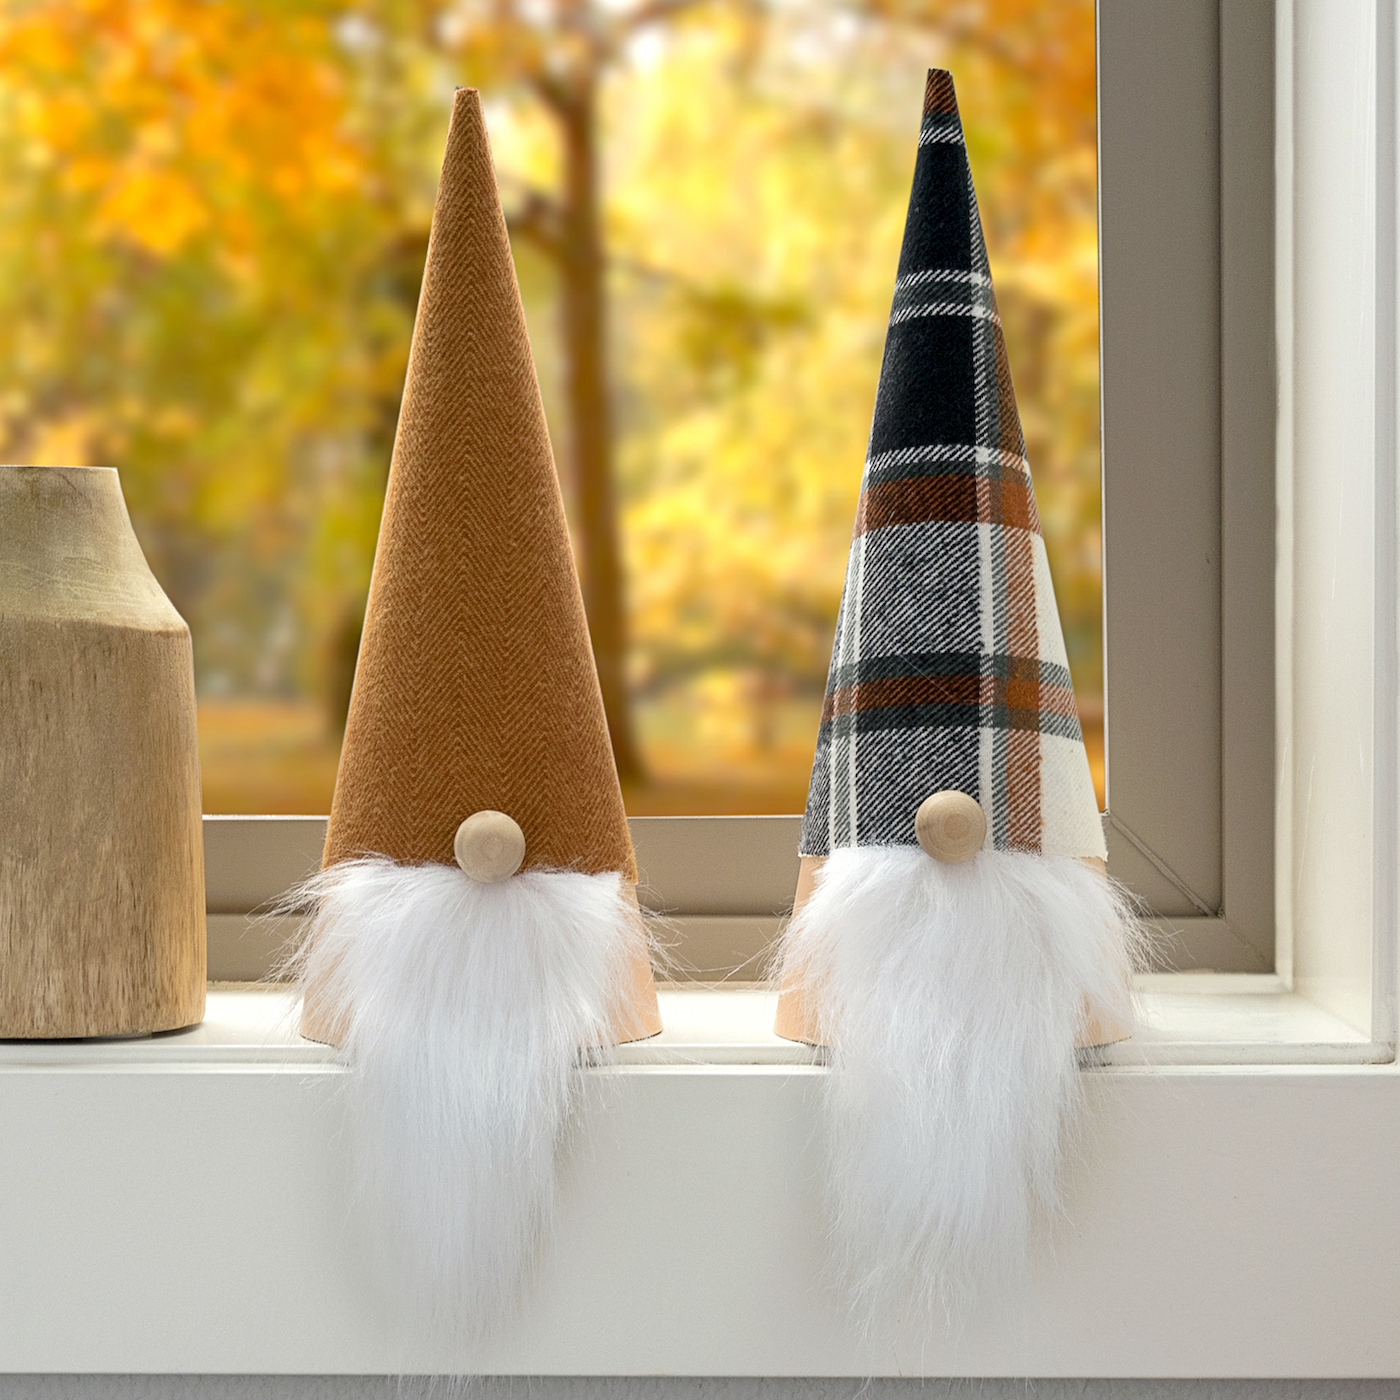
I love my little autumn gnomes and how they turned out.
Im hoping that you want to make them too, and Im going to show you how below.
you’re able to make a gnome in a few simple steps!
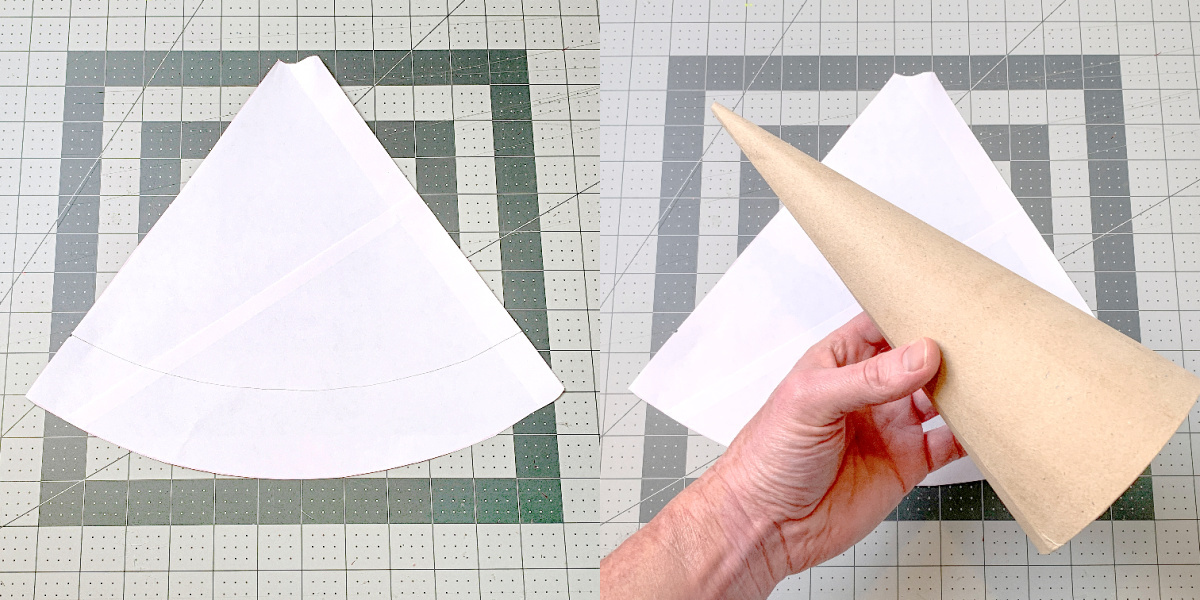
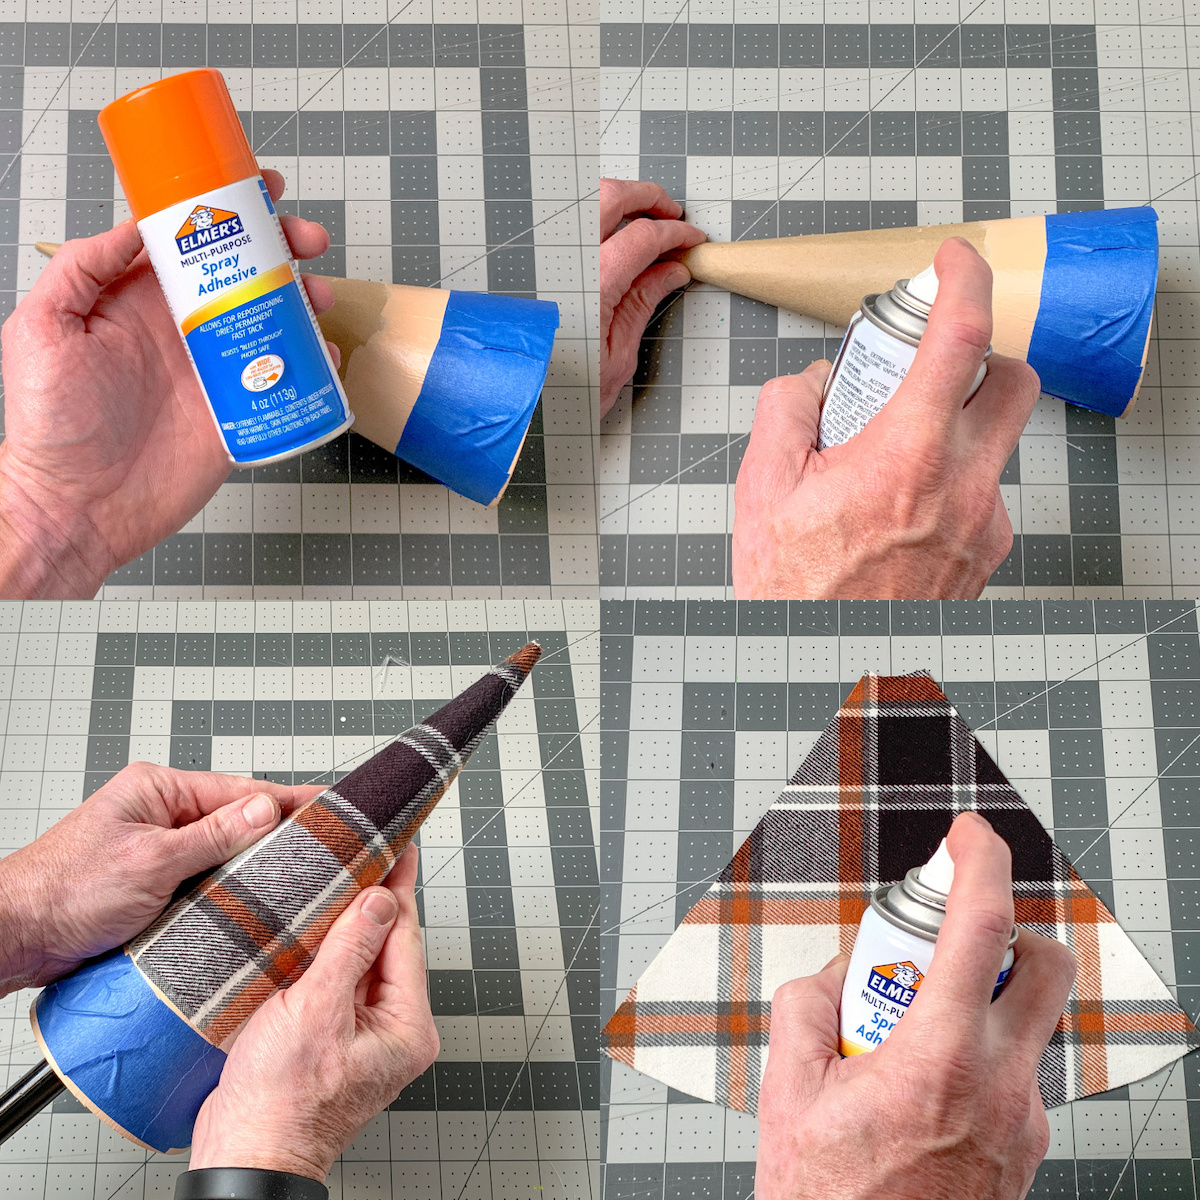
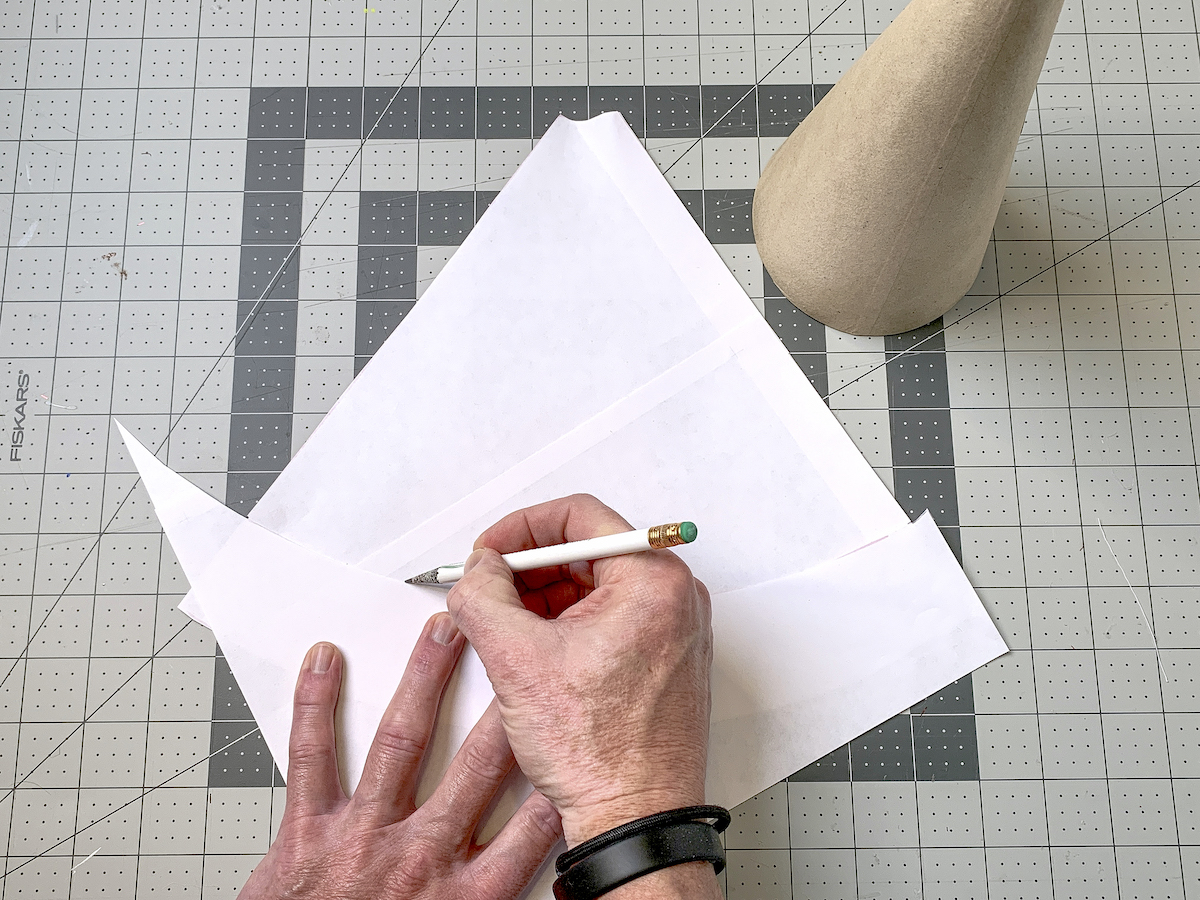
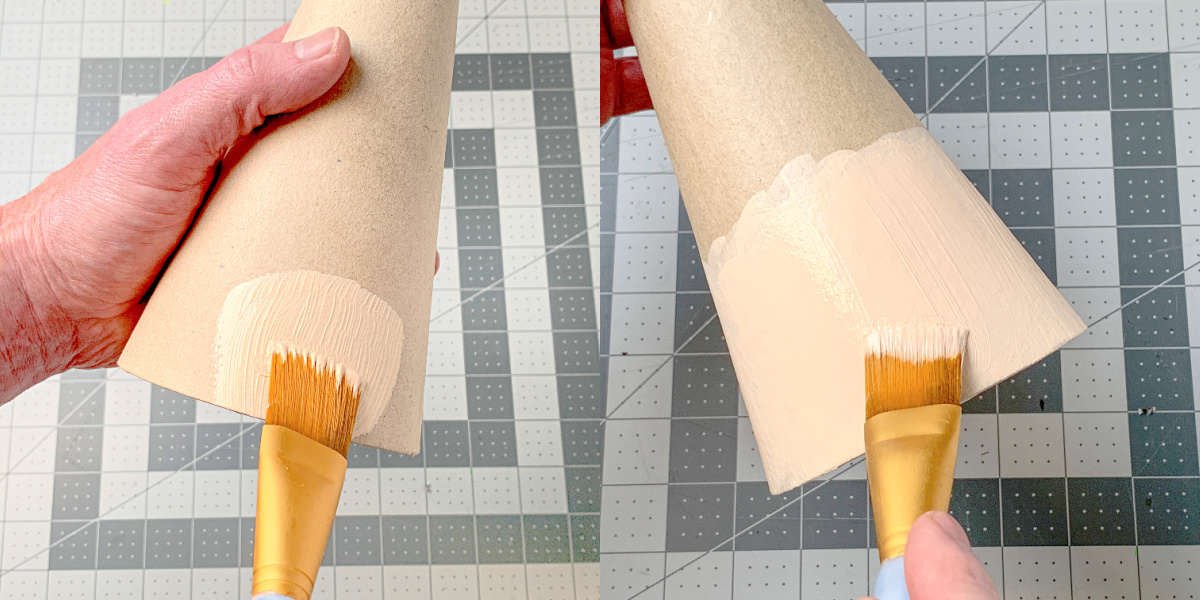
Youre going to make the template, then set aside and paint the cone.
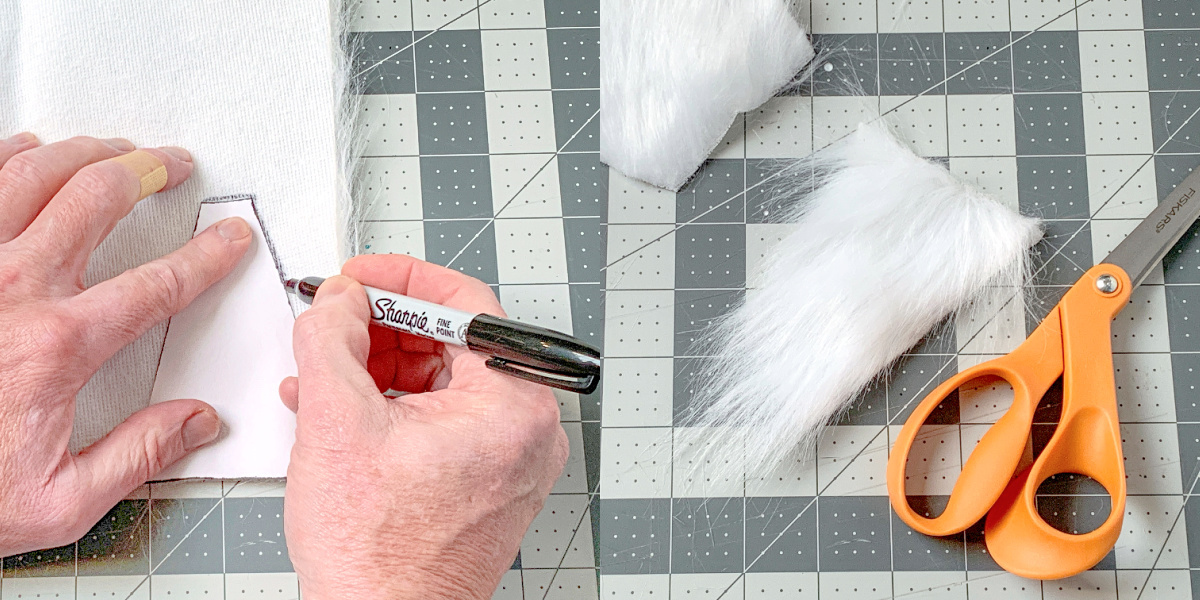
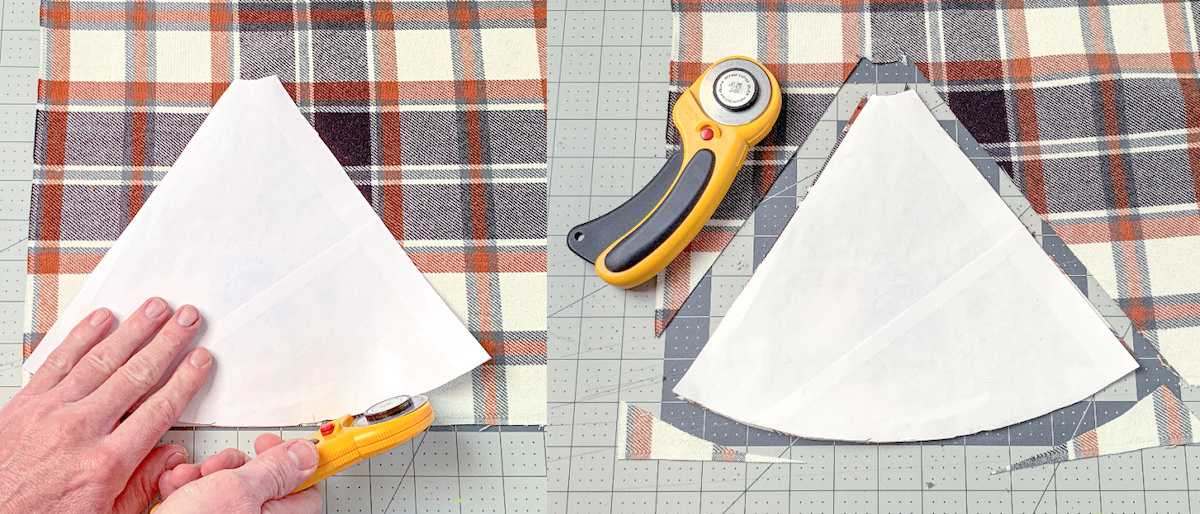
Youll cut out the hat fabric.
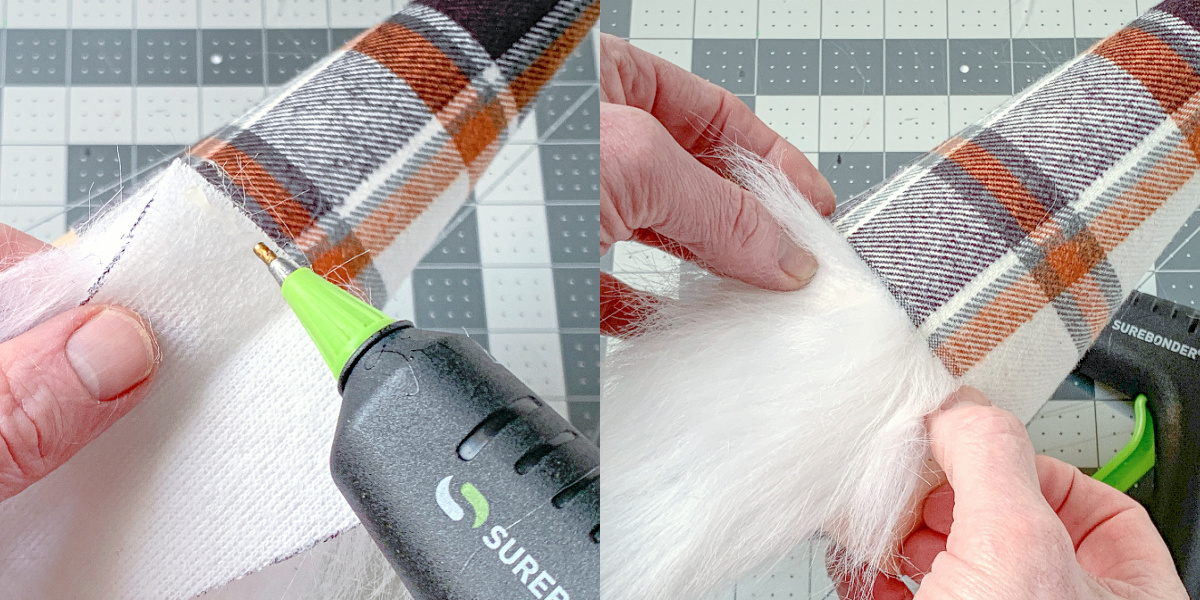
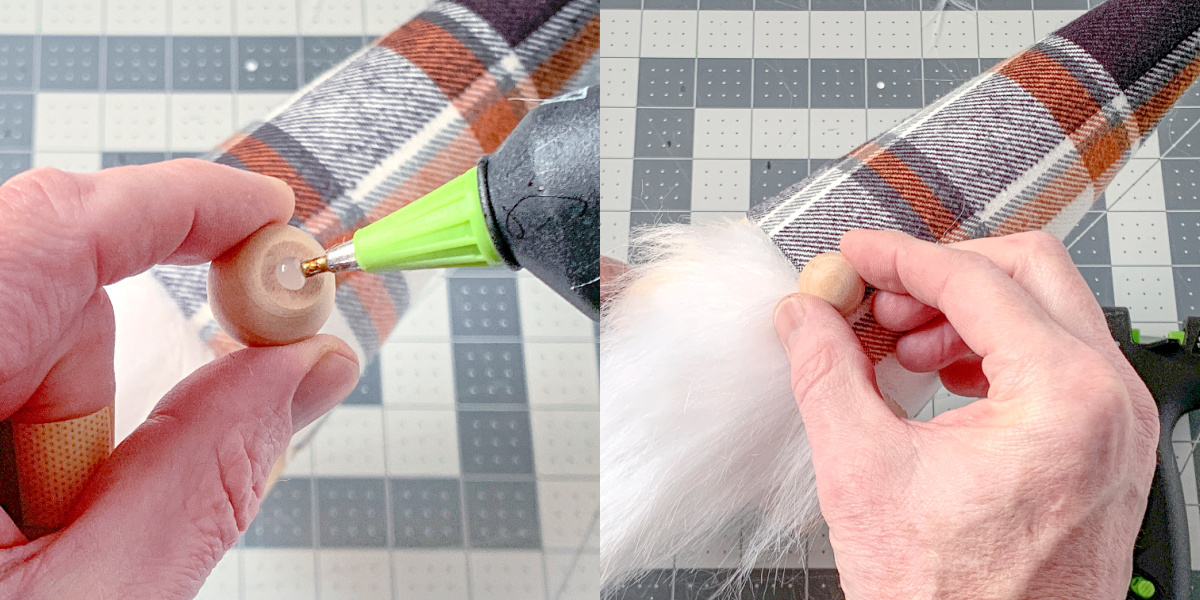
Then youll attach the fabric, then the beard, and then the nose.
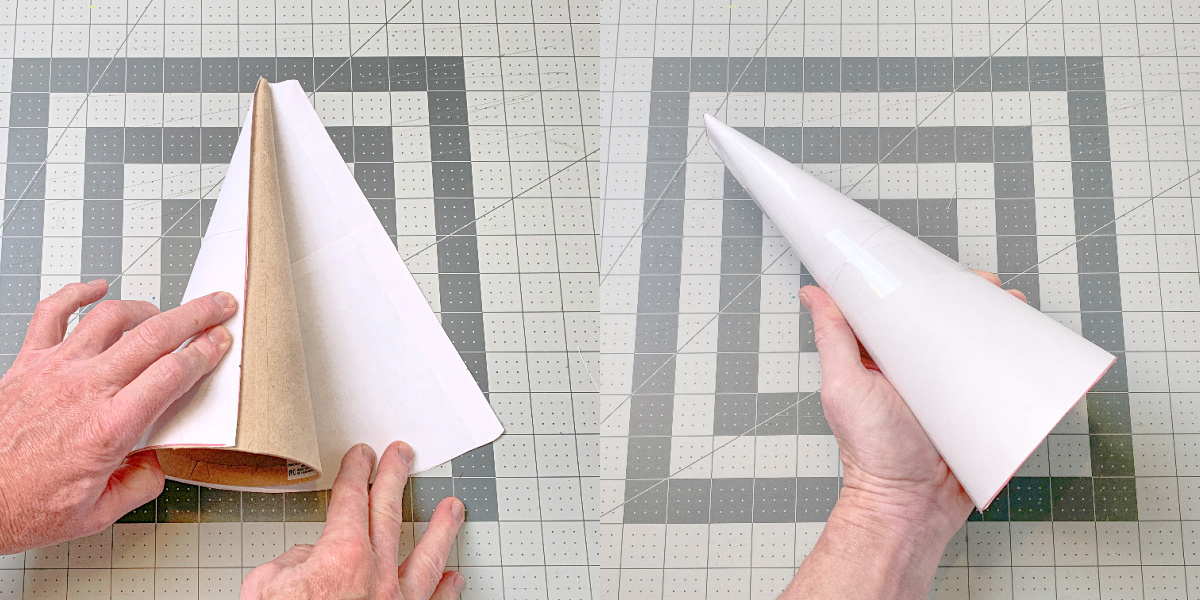
The paper mache cones for my base can be foundhere.
They are 10.63 x 4.
I prefer the look of the paper mache, but you’re free to also usefoam cones.
To be honest, they are a little bit cheaper and more readily available.
Are you ready to learn how to make fall gnomes?
Gather These Supplies
Make as many gnome as you like!
Pick fun fabrics, and even add fun embellishments if you like.
Im thinking I shouldve added someleavesortwigsto the hats.
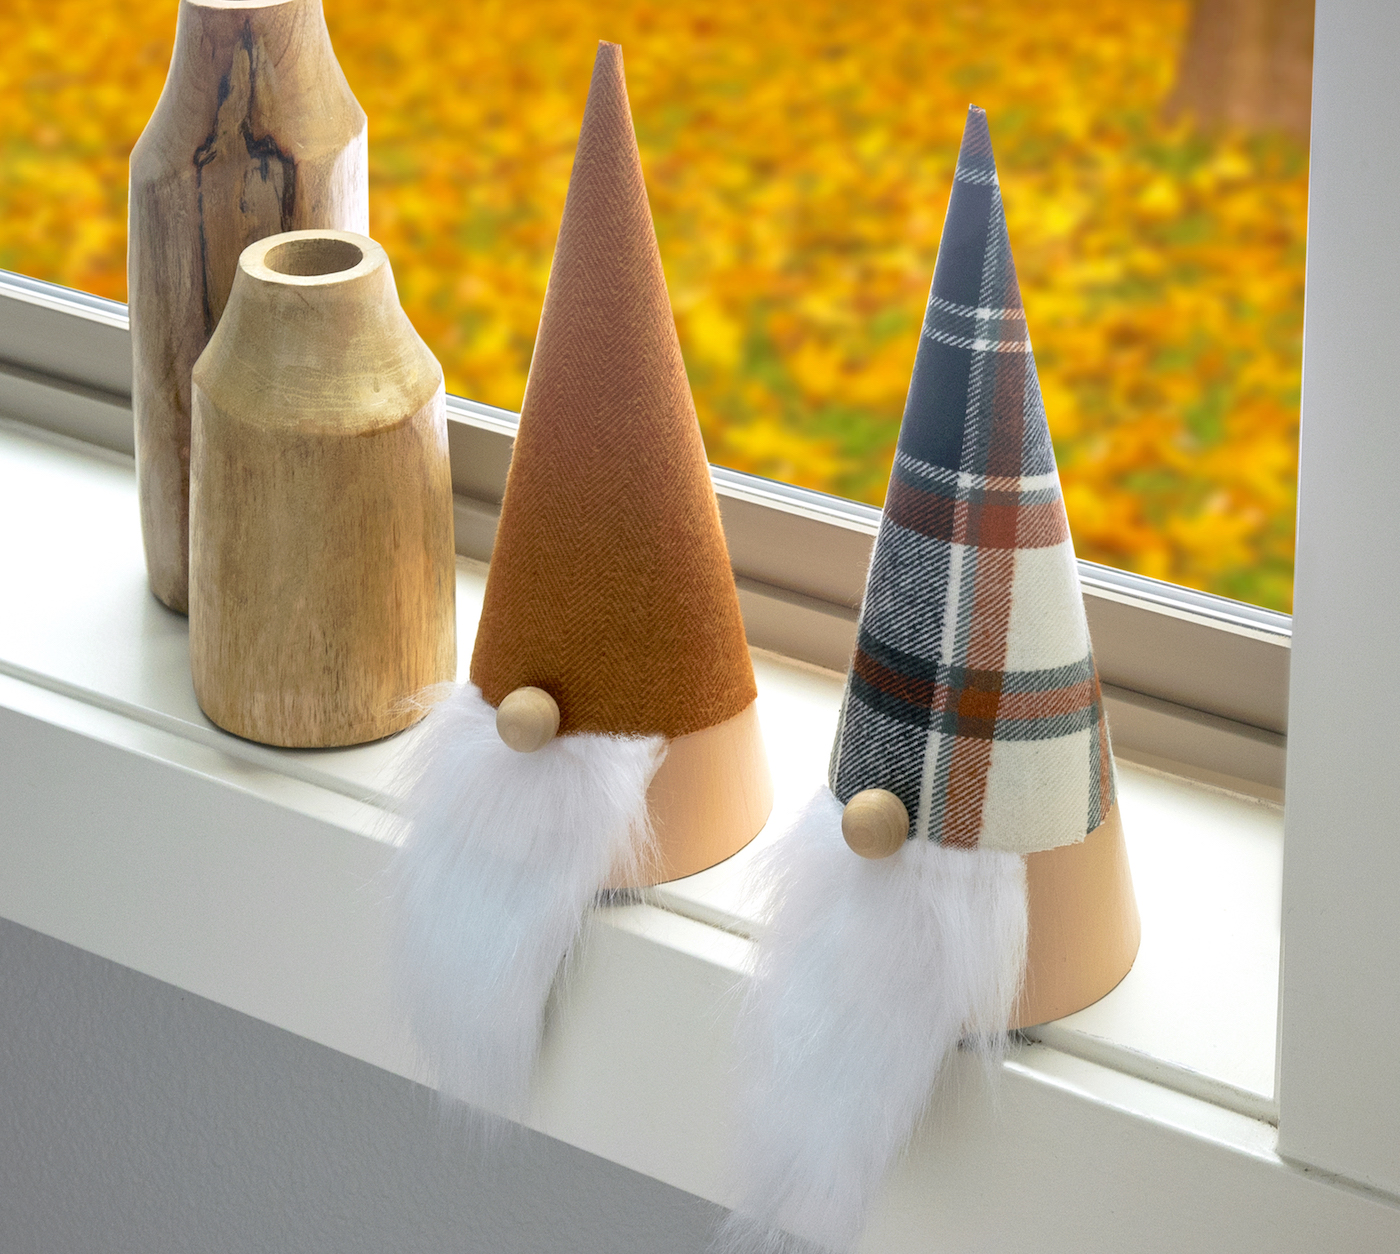
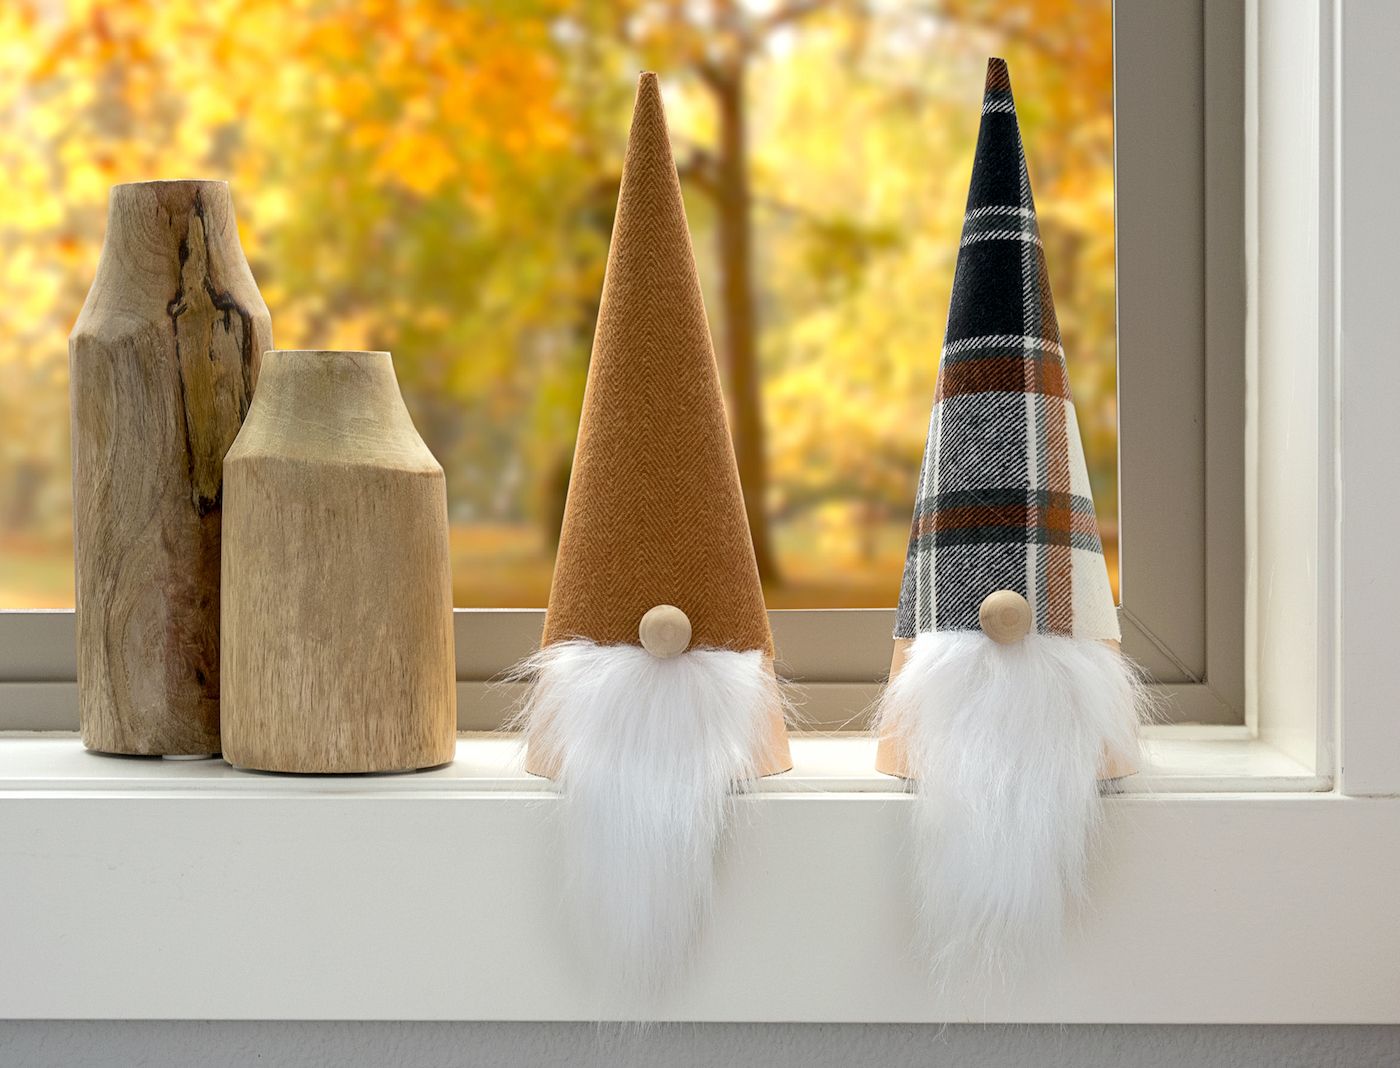
Display these bad boys anywhere you like.
Along with apumpkin garland.
I love my new decor!