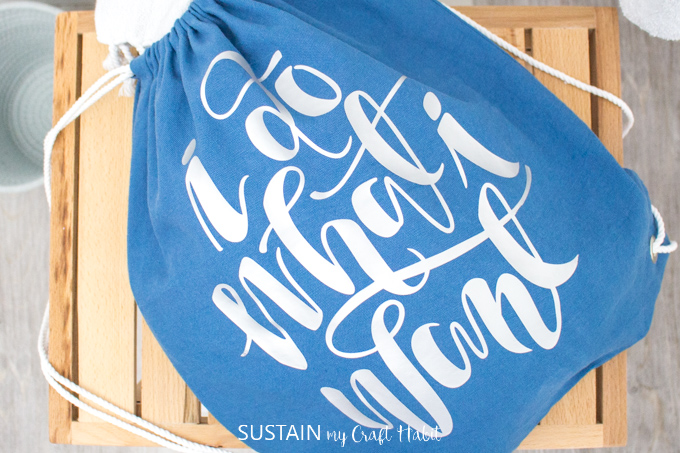
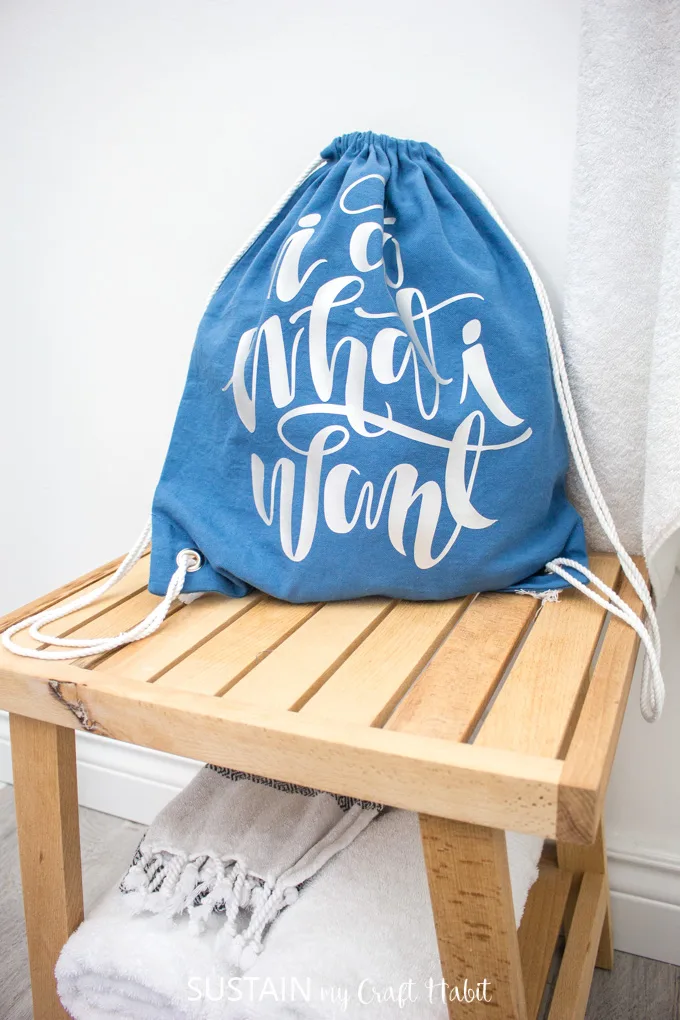
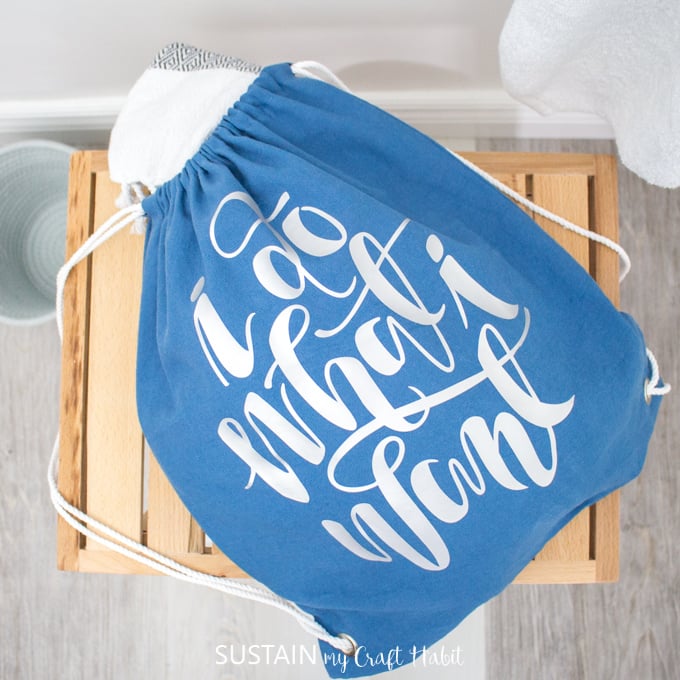
The gift bag turned out perfectly so we knew it would be a great option for this drawstring bag.
We used some left over canvas from oursewn utility apronsto sew this useful little bag.
There are so many fun options to choose from off of Design Space.
Readour full disclosure statement here.
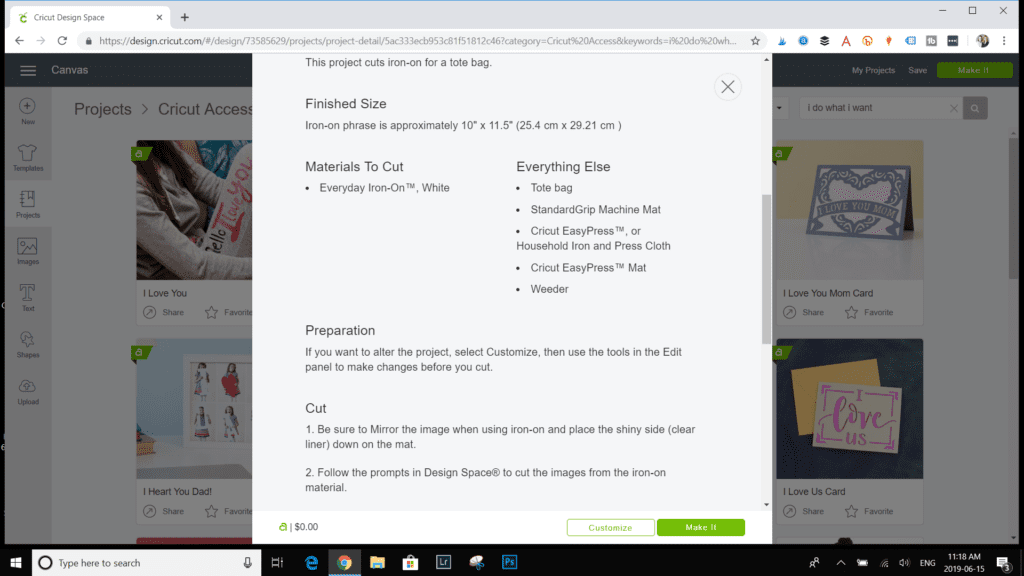
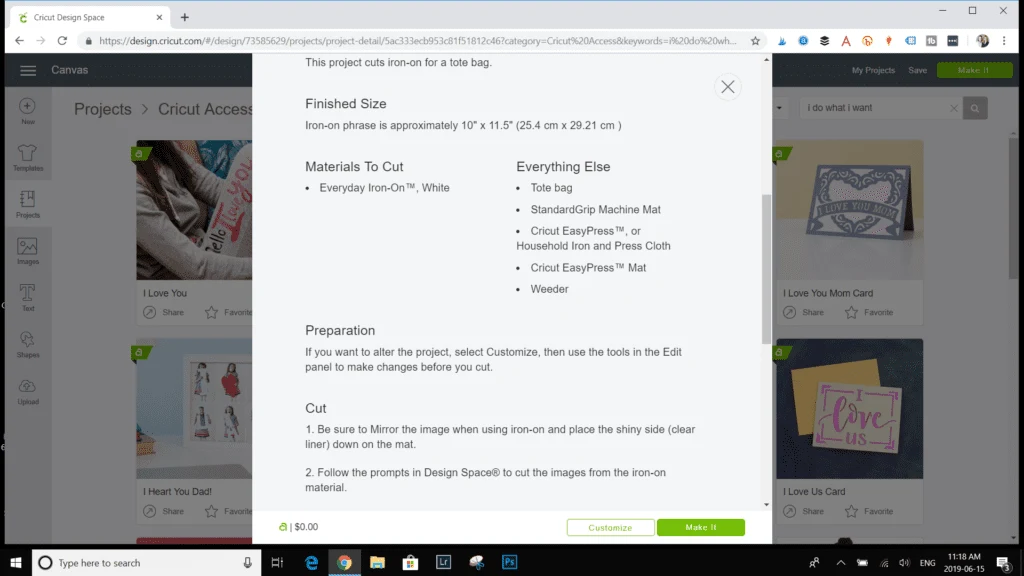
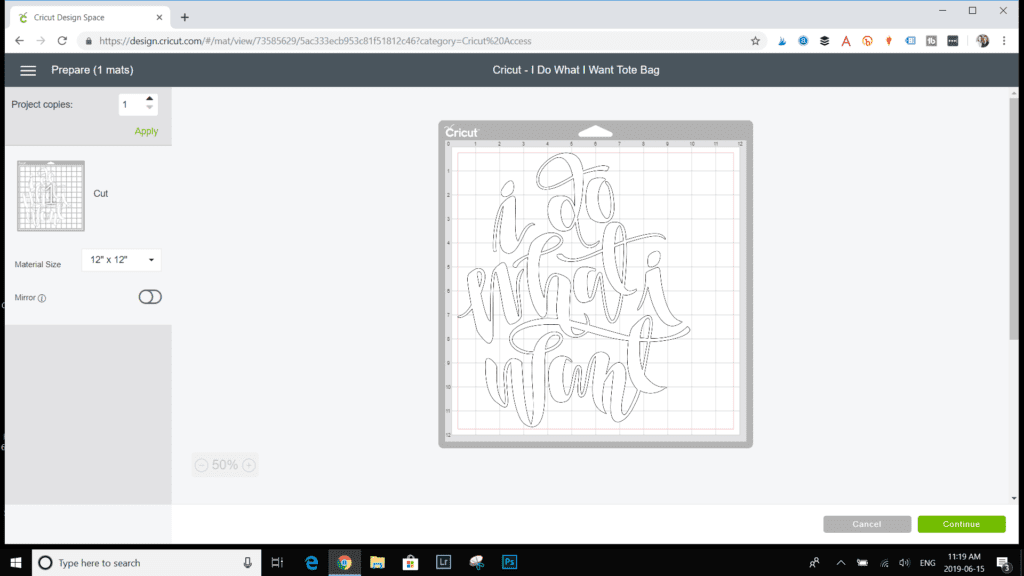
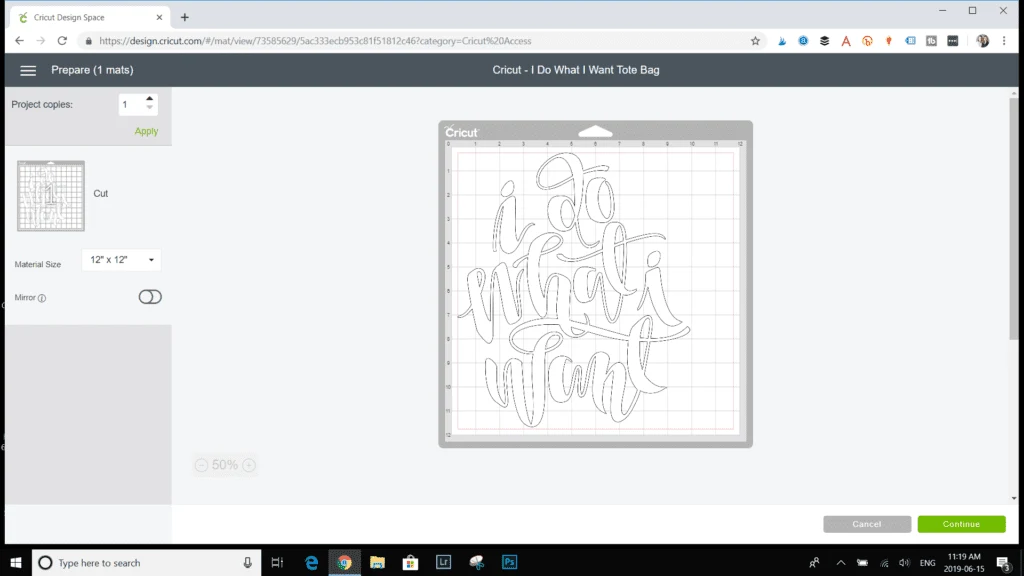
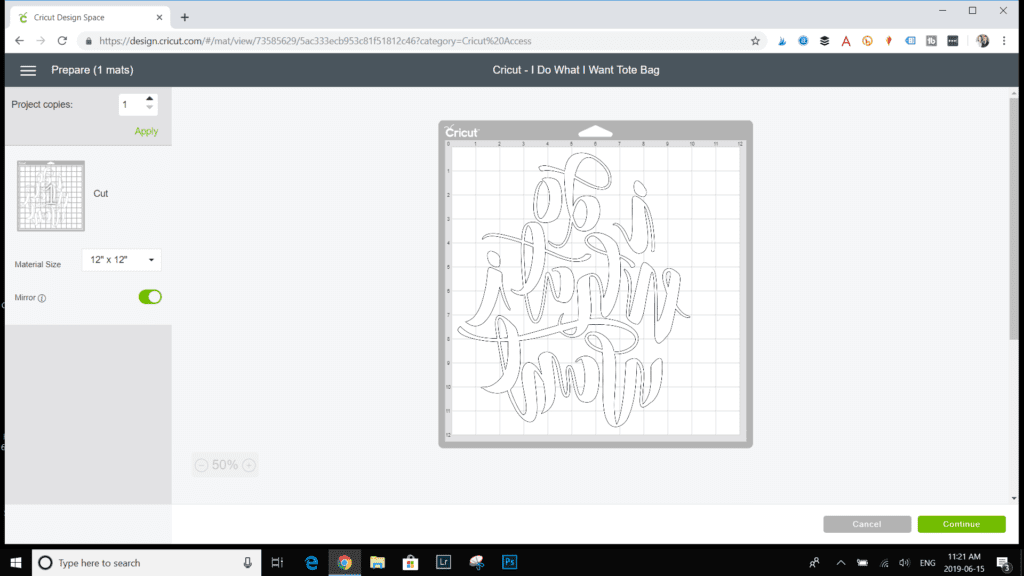
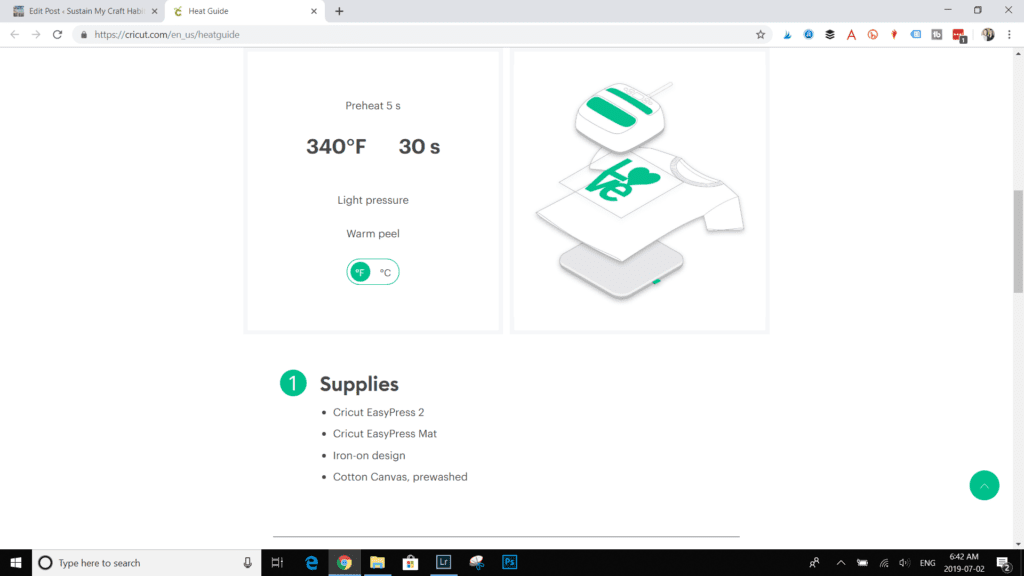
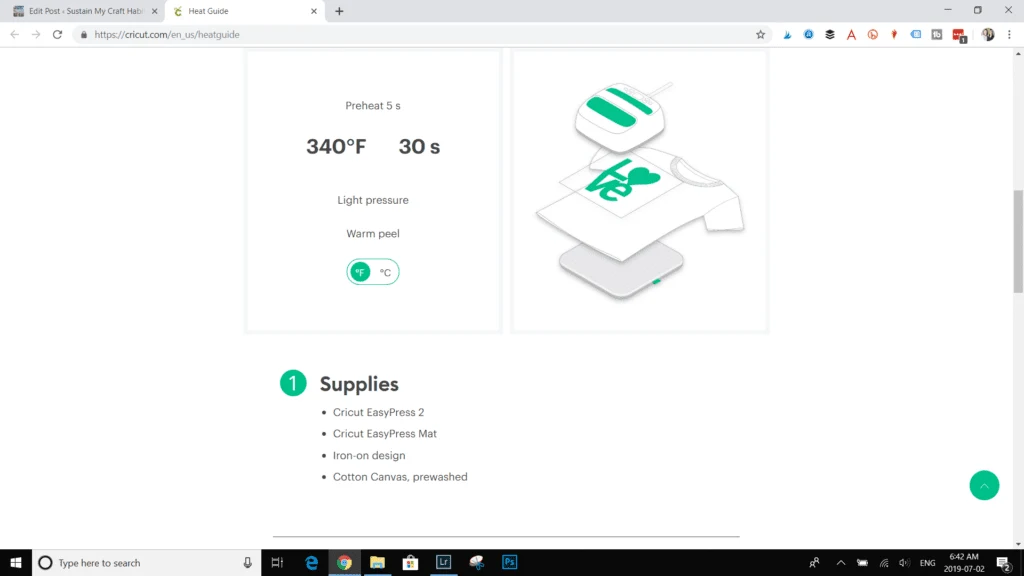
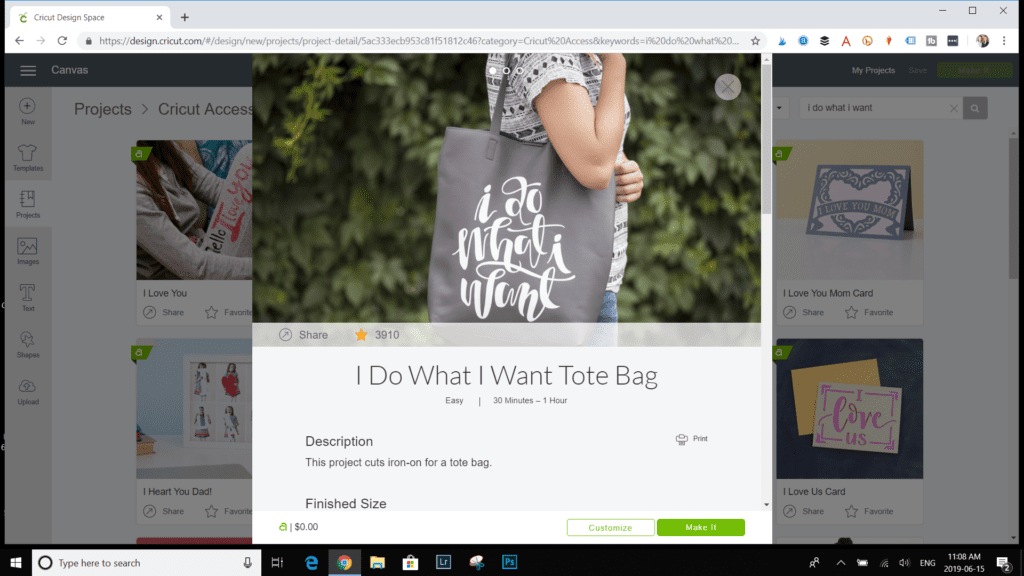
The actual size of the lettered phrase measures approx.
10 wide x 12 high so it fits on the drawstring bag without the need to adjust.
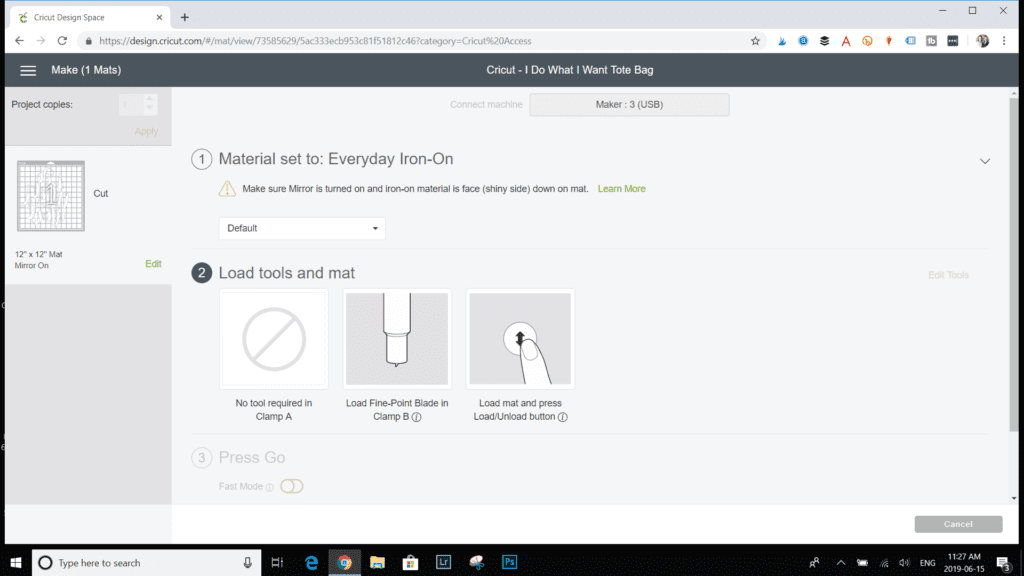
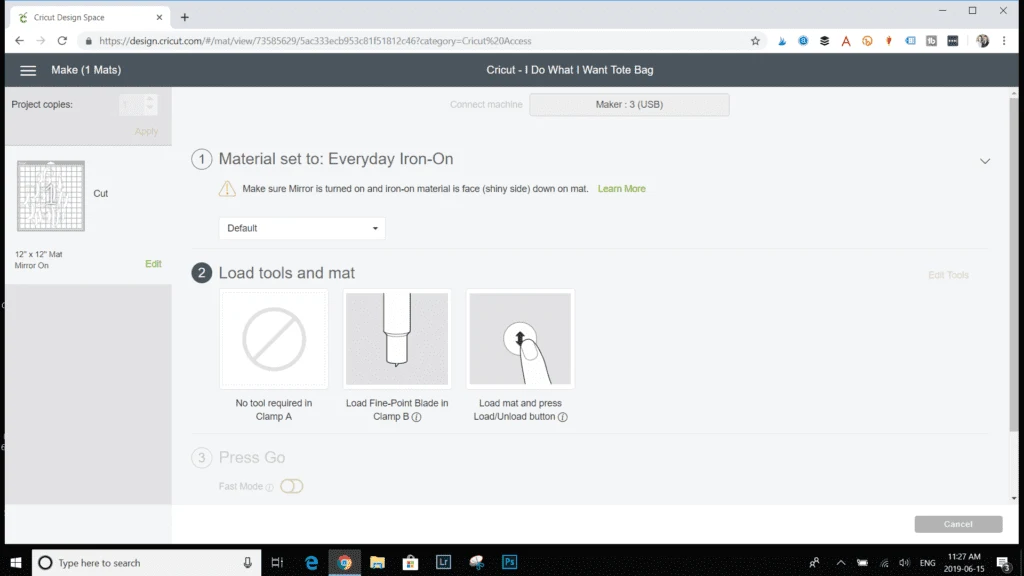
choose the Mirror toggle button to flip the lettering.
This is a necessary step for all iron-on lettering otherwise the image will appear backwards when pressed on.
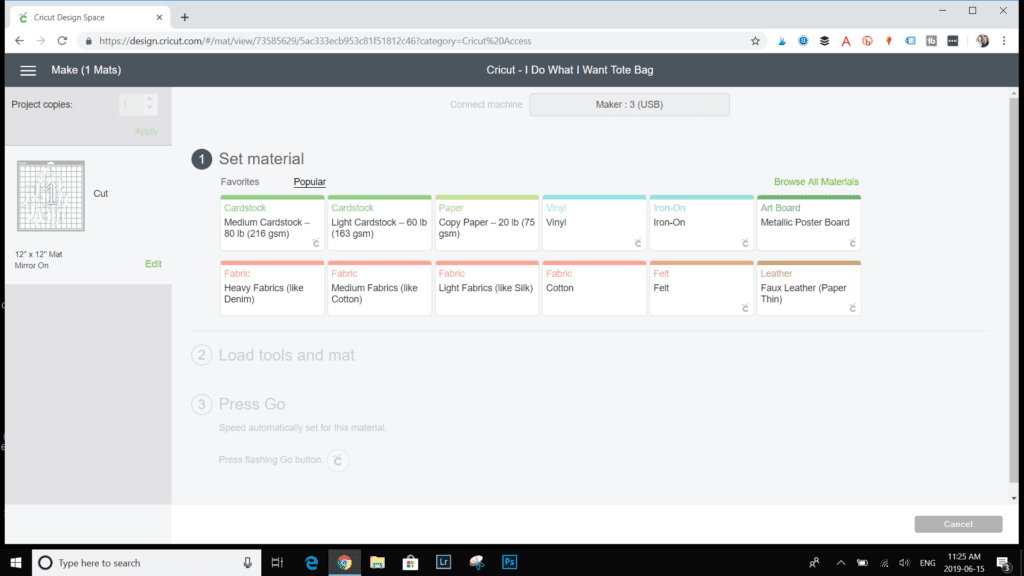
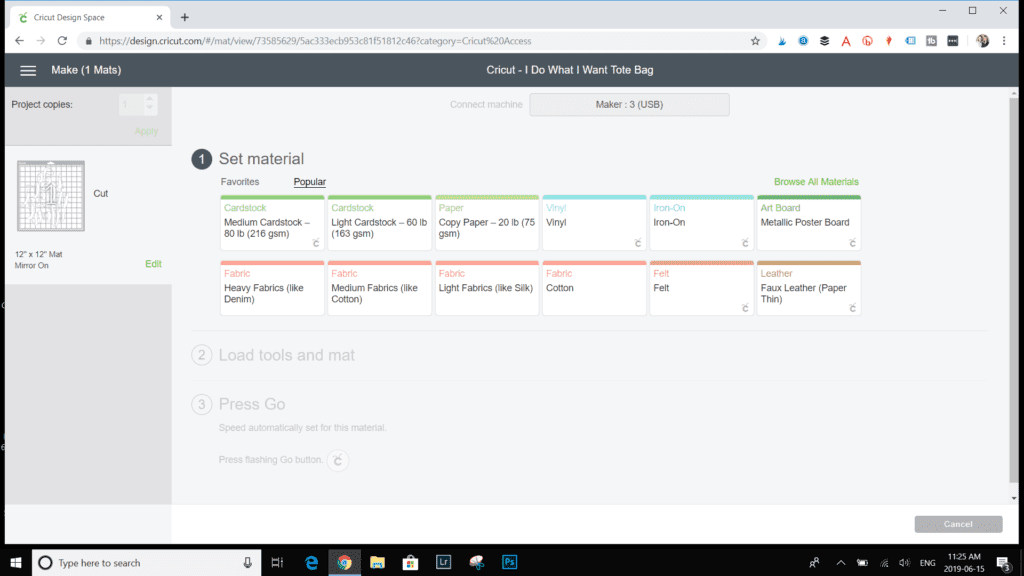
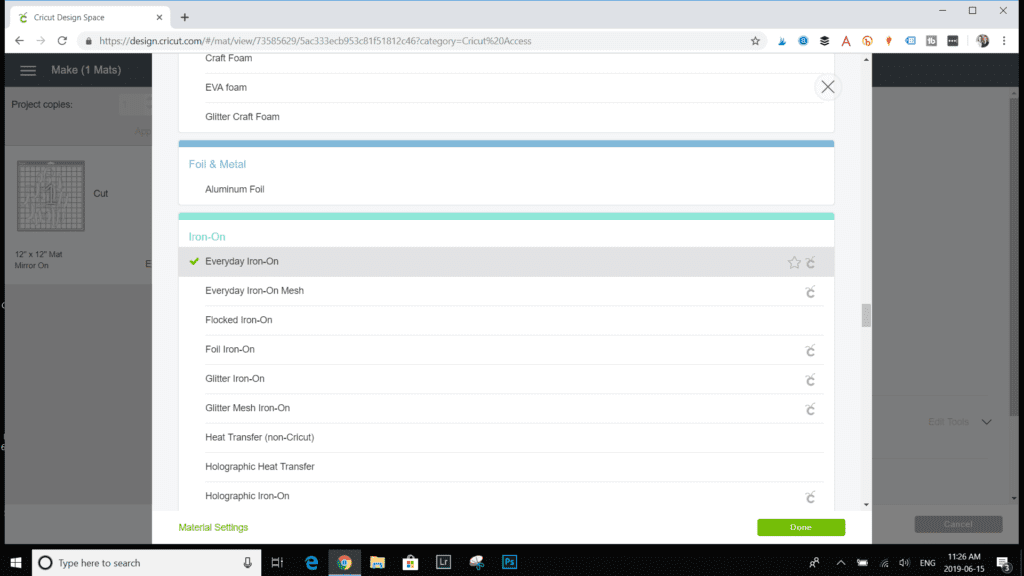
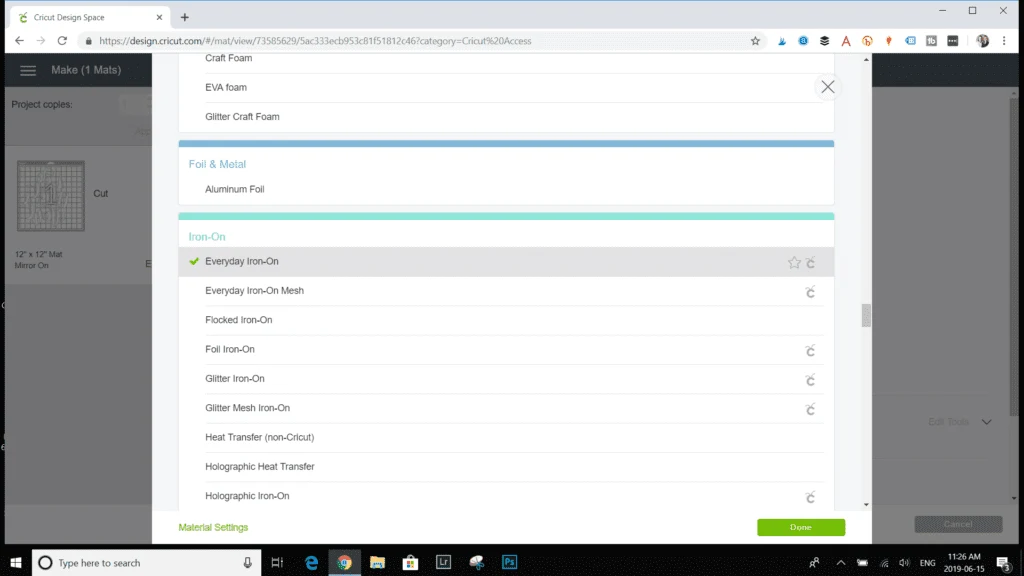
go for the materials from the list of options provided.

tap on Iron-On (the 5th tab from the left).
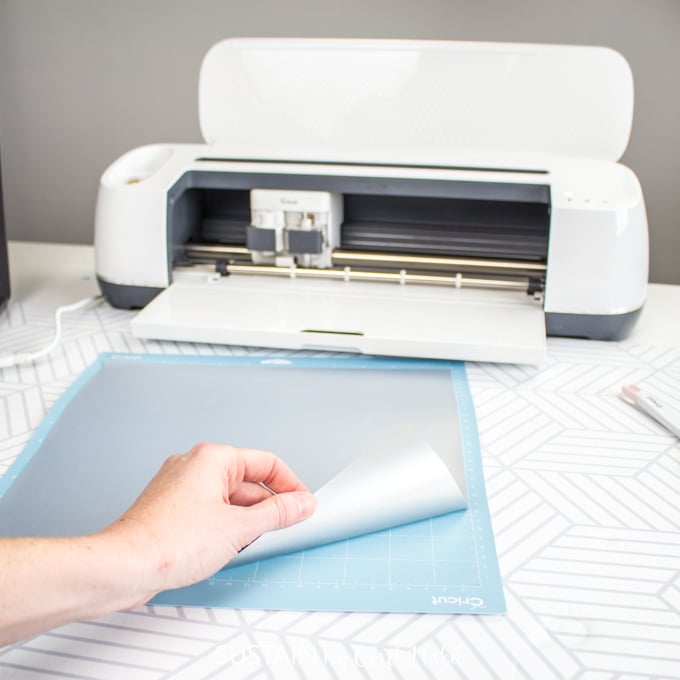
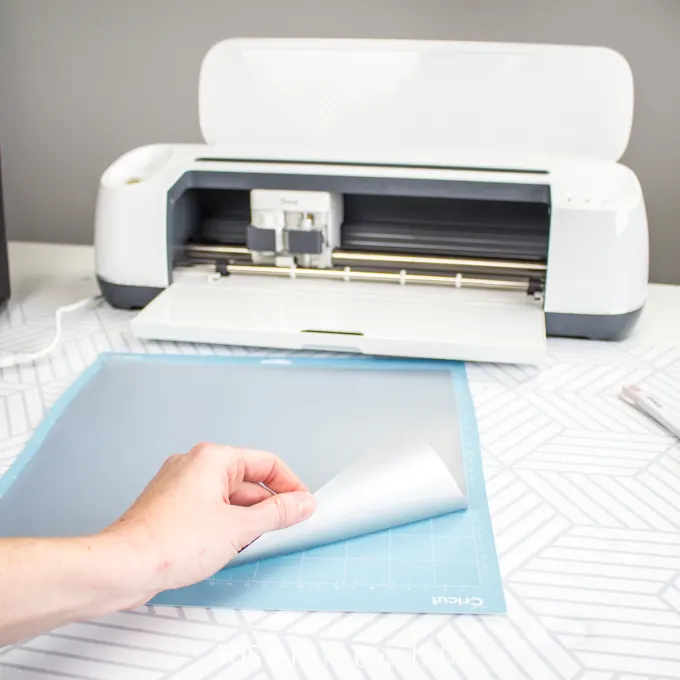
Ensure the correct blade is inserted into the Cricut Maker.
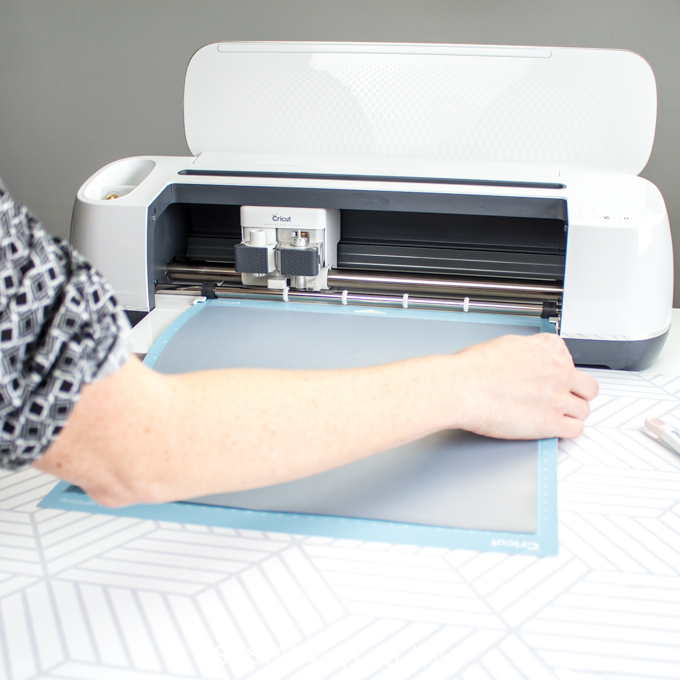
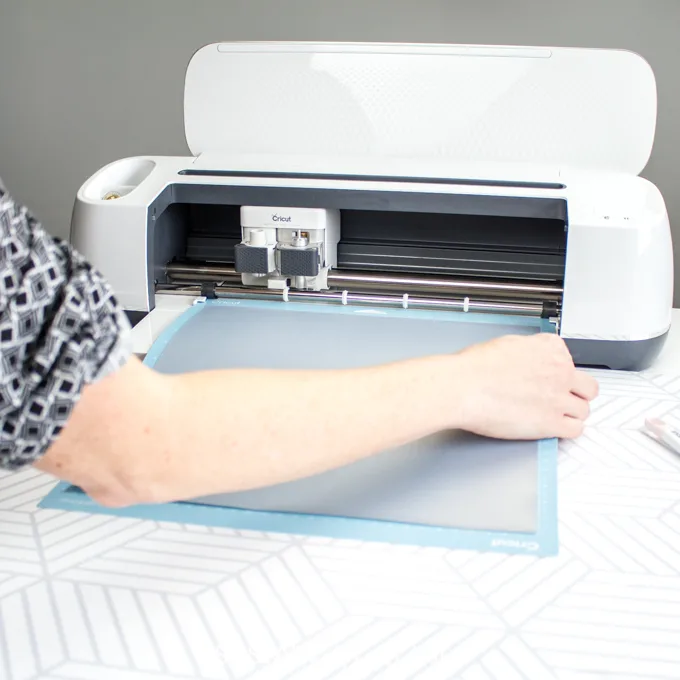
Press the flashing green button on the Maker to load the mat.
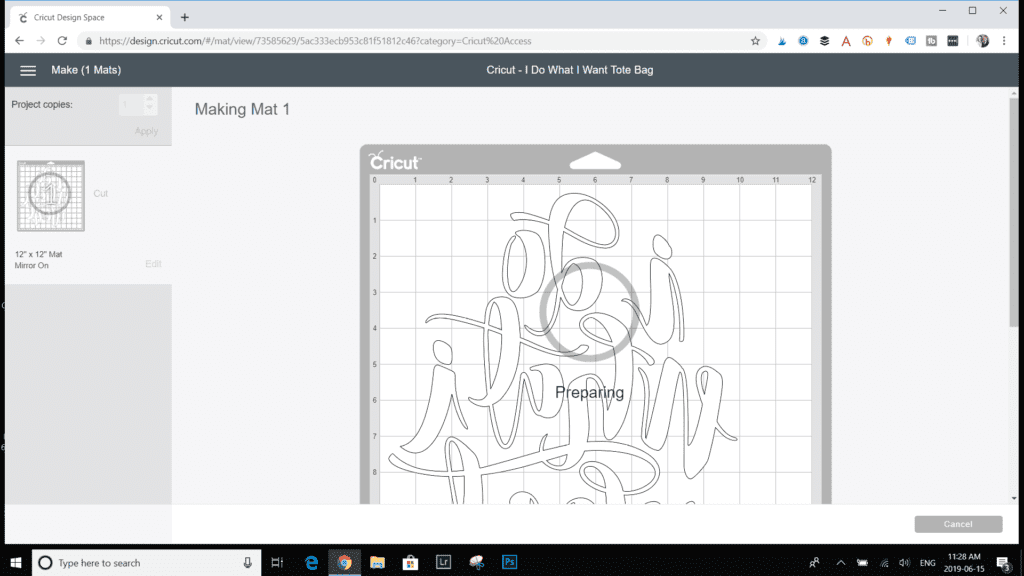
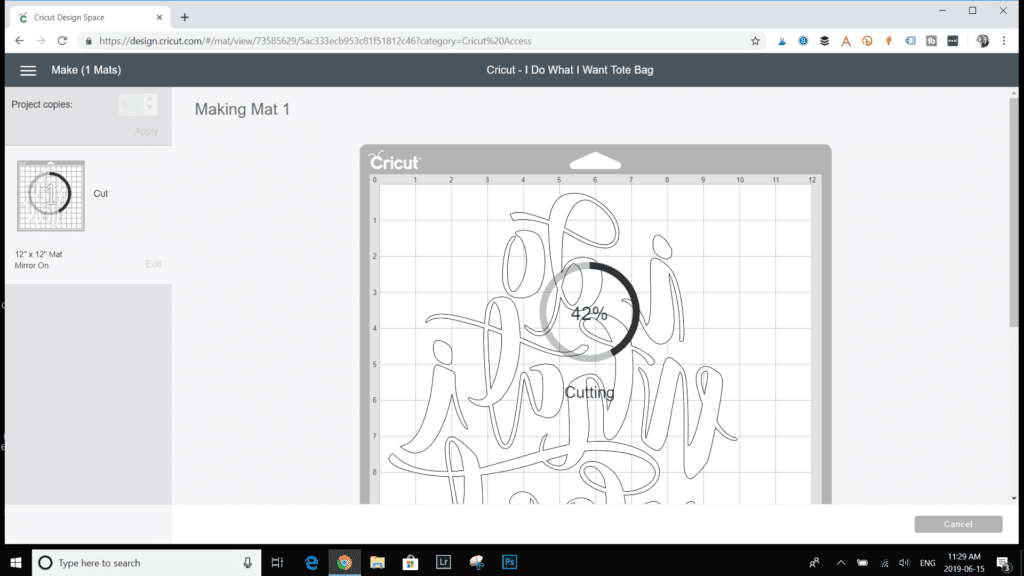
The Cricut Maker will begin preparing to cut the vinyl.
Itll take a few minutes to cut out the iron-on vinyl showing you the status on your screen.
Once done, itll prompt you to unload the mat.
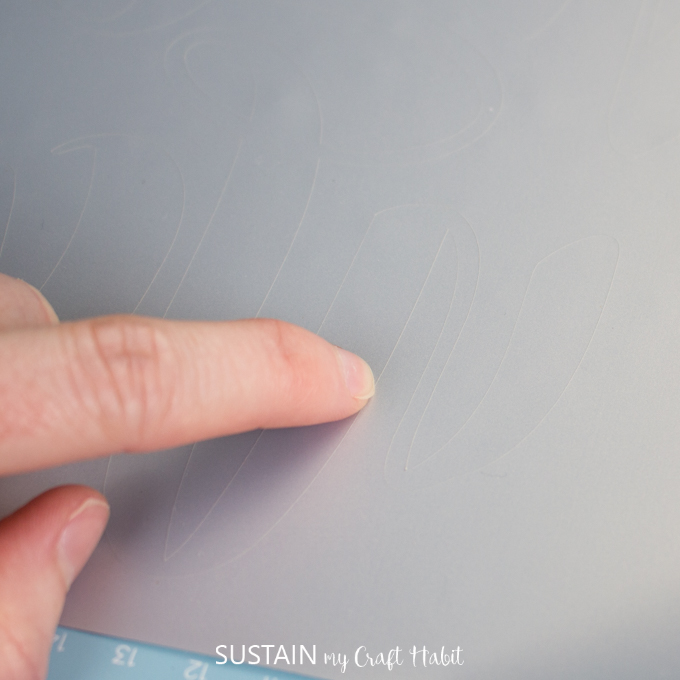
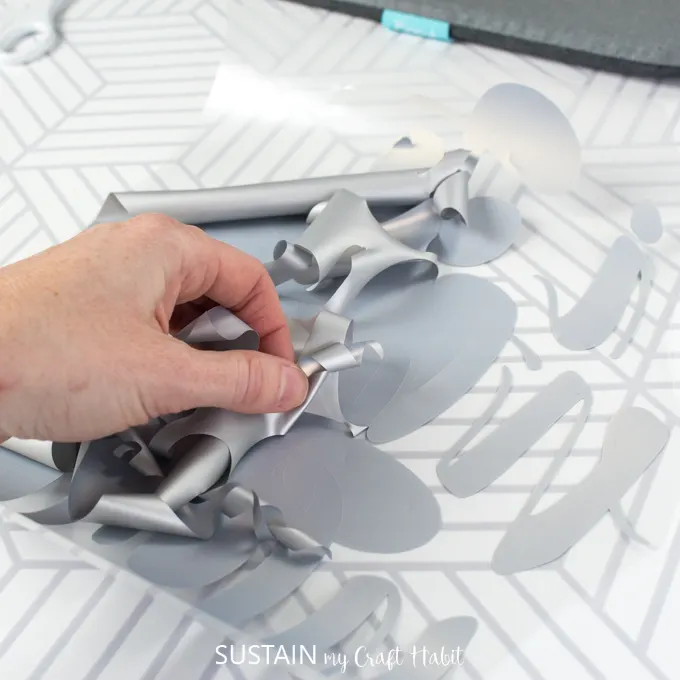
Pull off the vinyl from the cutting mat to weed and discard the unwanted sections of the vinyl.
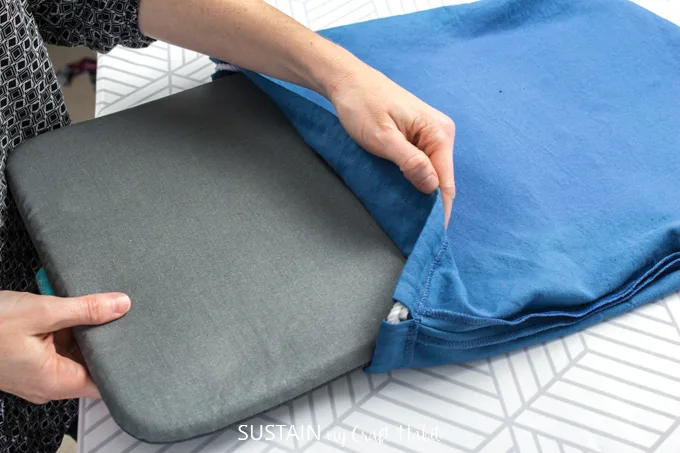
Position the mat on a flat surface.
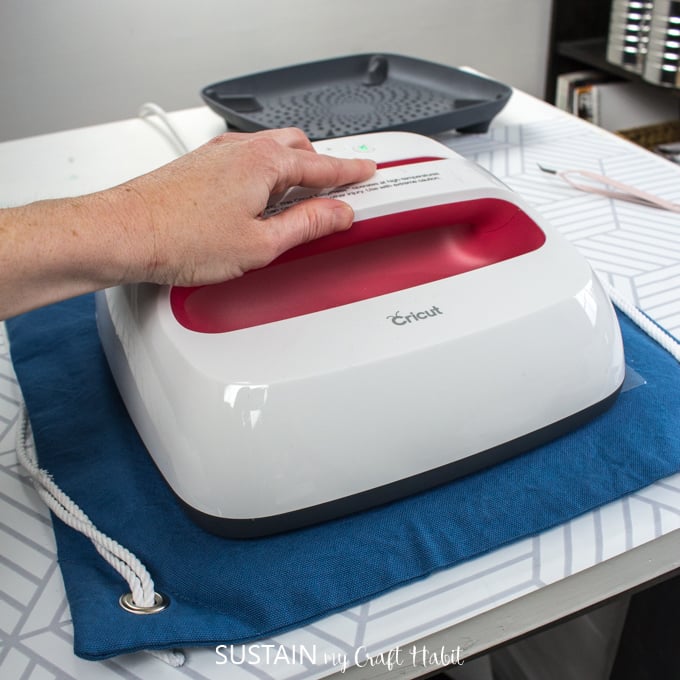
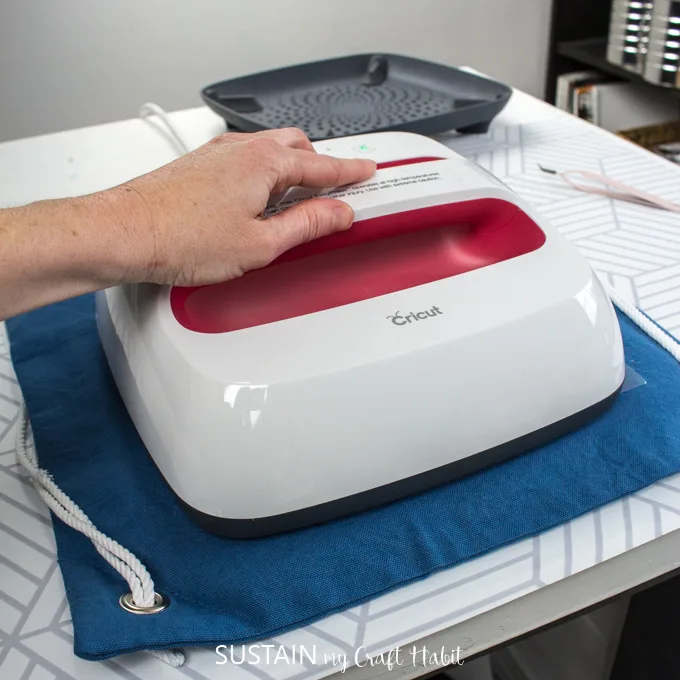
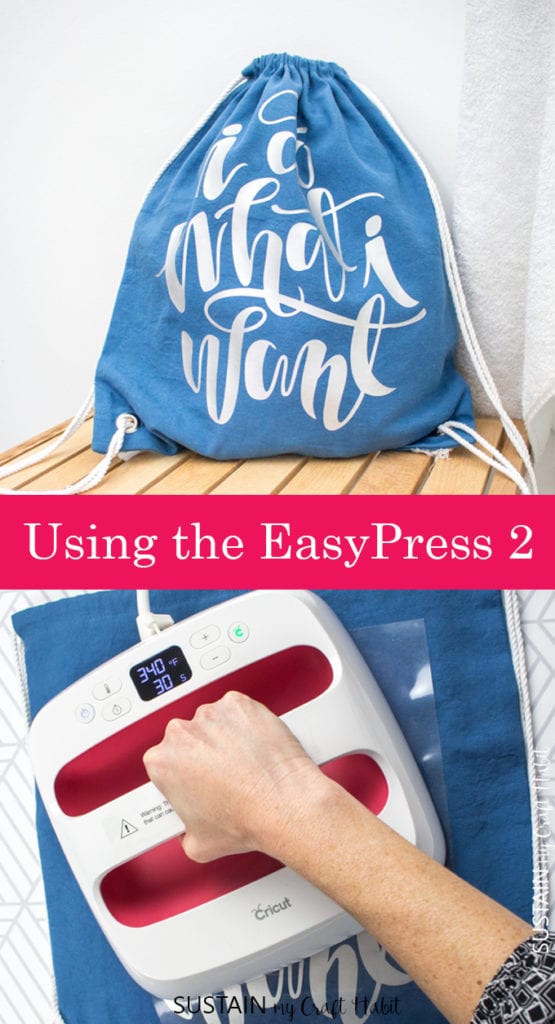
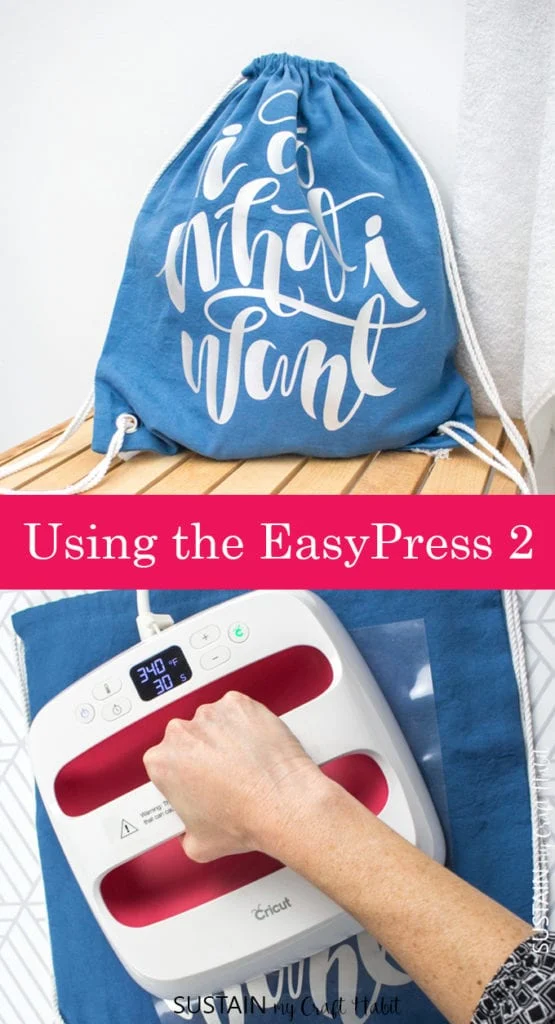
Turn on the EasyPress 2.

Always test a scrap piece of material and vinyl beforehand.
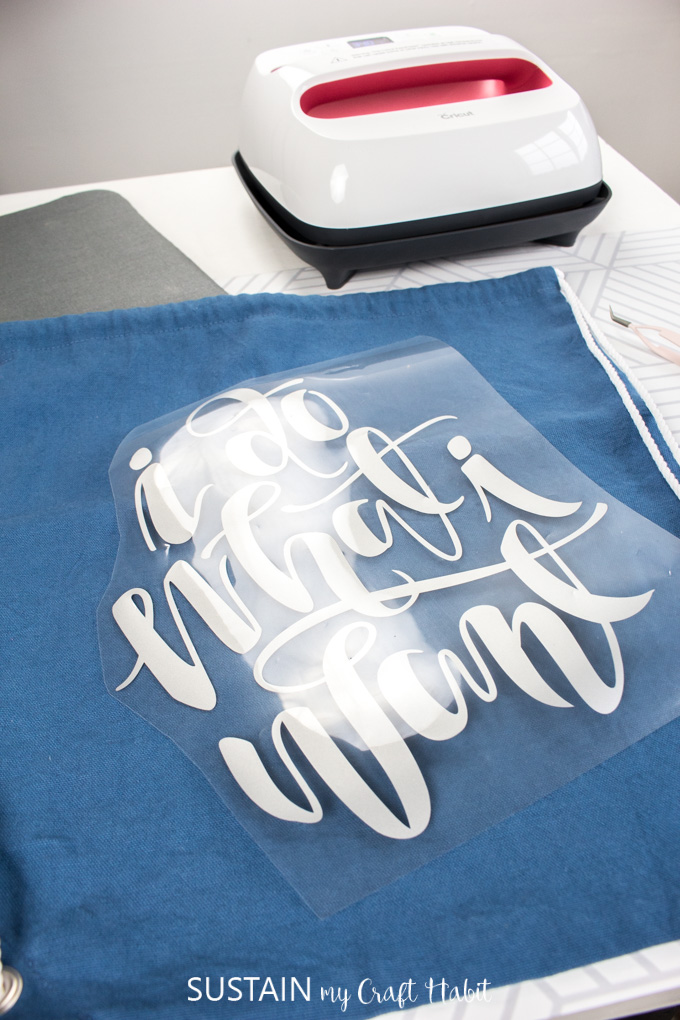
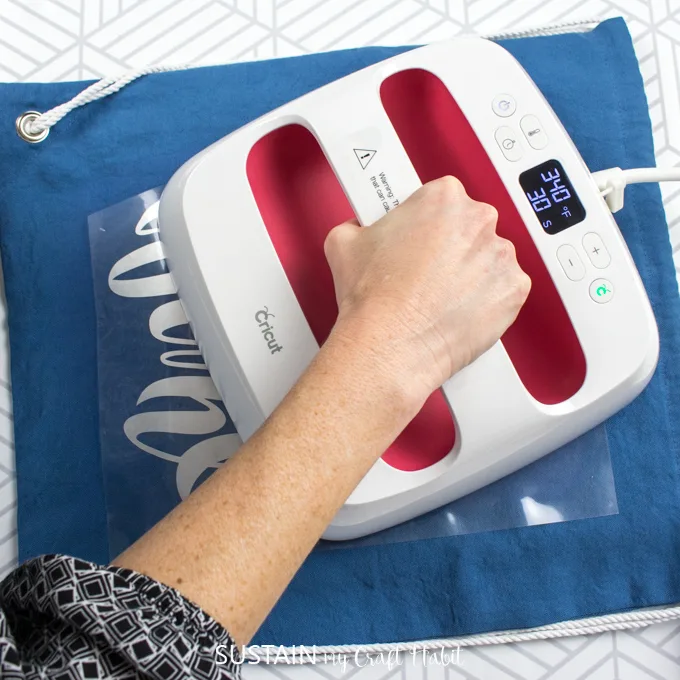
Place the vinyl on the bag with the liner side up and apply heat with a light pressure.
Since the design was larger than our EasyPress 2 size, we applied heat in two separate sections.
Turn the bag inside out and apply more heat.
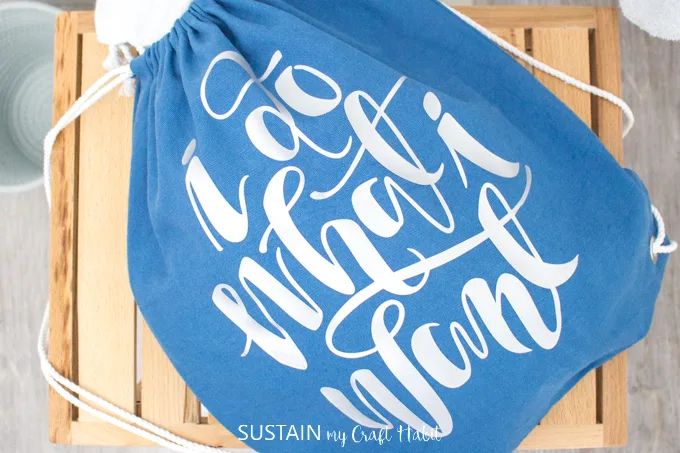
Allow the vinyl to cool for about 30 seconds before carefully peeling away the plastic liner.
Did you know you’re able to also use the EasyPress 2 on wood?

Pin it for Later!