I could definitely use some more organization in my life (who cant, really?)
It drives me crazy!
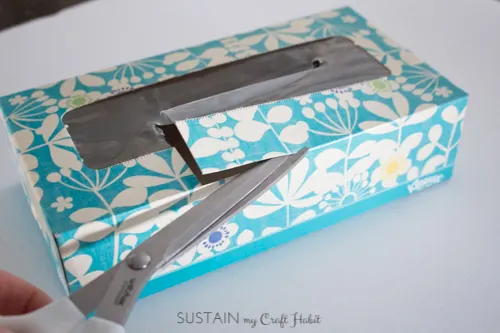
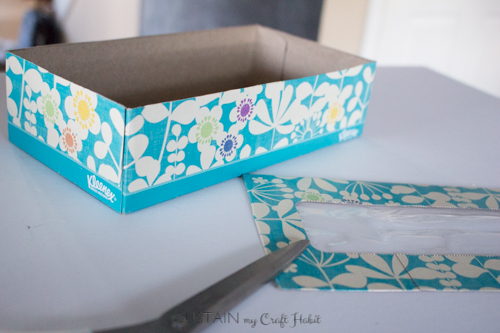
So this tissue box makeover was going to be my inexpensive DIY fix to this clutter problem.
ORGANIZING PROJECTS: Get 7 days of free tips and resources for organizing any room in your home.
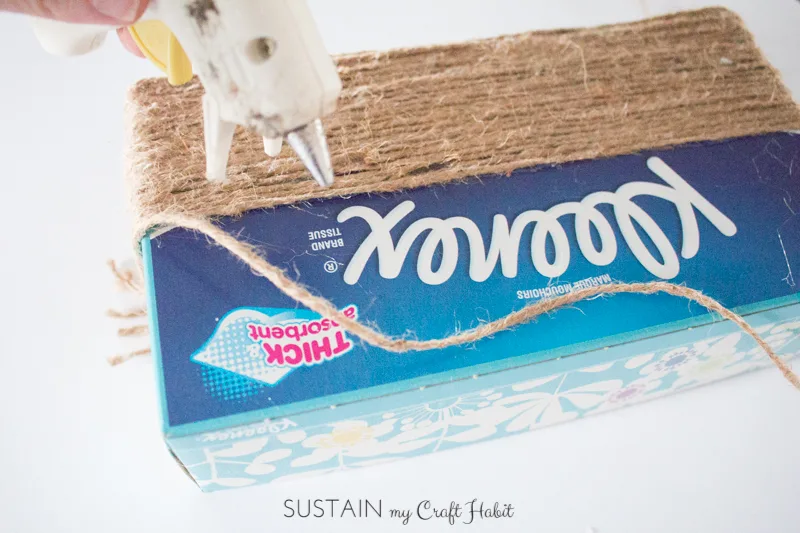
Heat your glue gun.
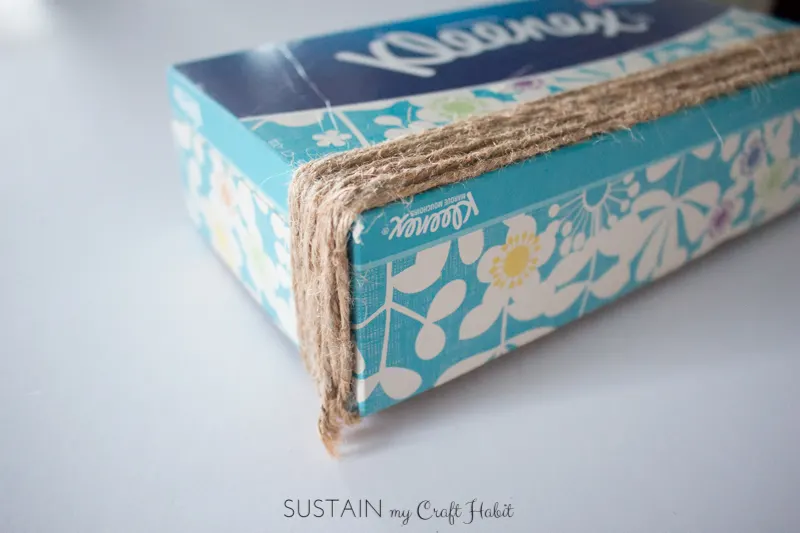
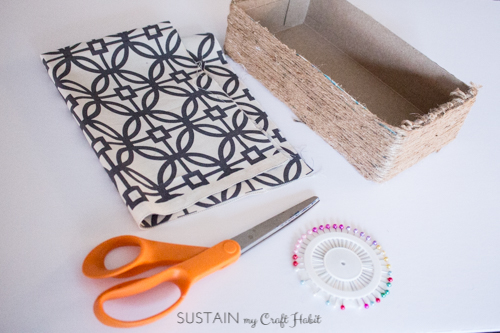
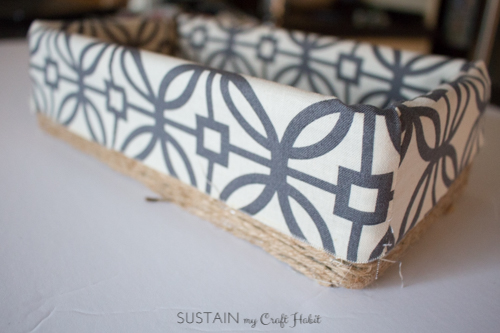
With the twine and glue gun in hand begin to conceal the bottom of the tissue box.

Work quickly and press the twine in place.
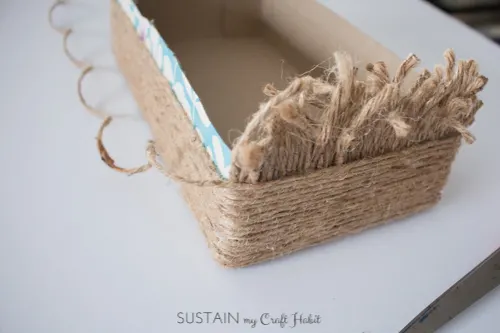
Continue this step until the entire bottom is covered.
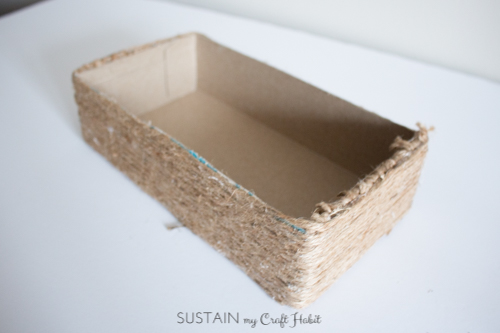
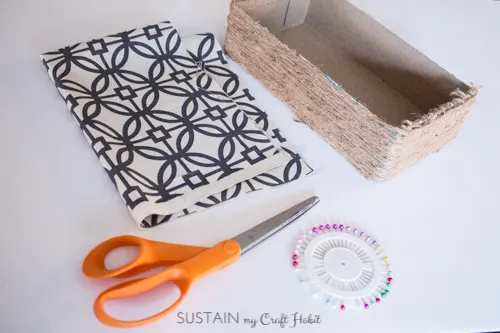
The box is now ready for the liner!
To create the liner, there are a couple of options:
A.
It will be so easy!
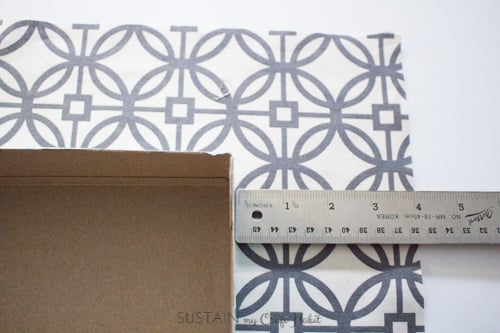
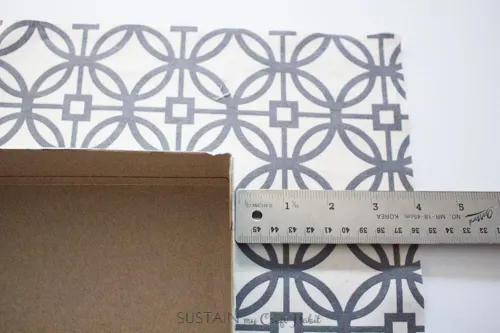
Note the fabric piece needed for this sized box is 18 long x 13 wide.

For boxes of any other size: Start by placing your fabric on your work surface right side up.
Position your empty box in the middle of the fabric.
Center the box so that an even amount of fabric extends on all sides.
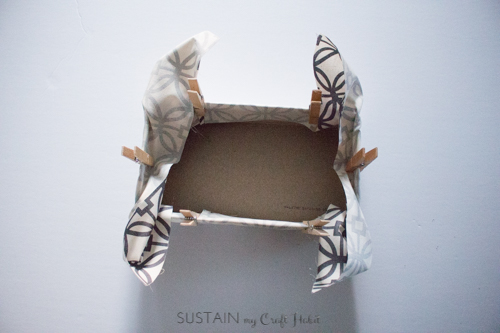
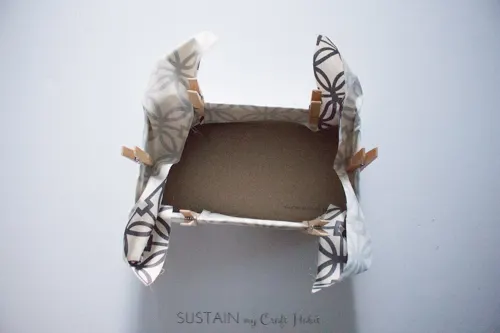
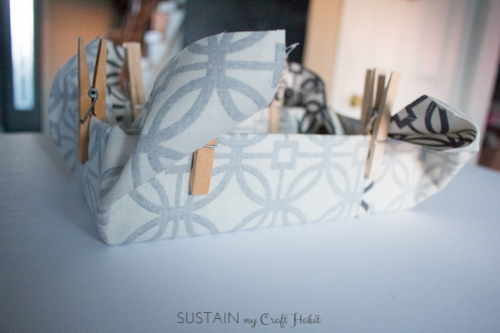
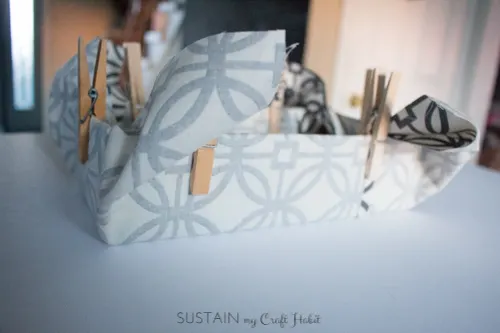
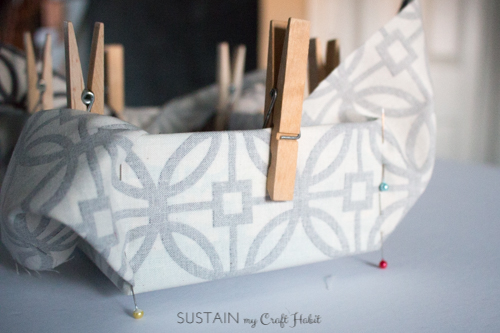
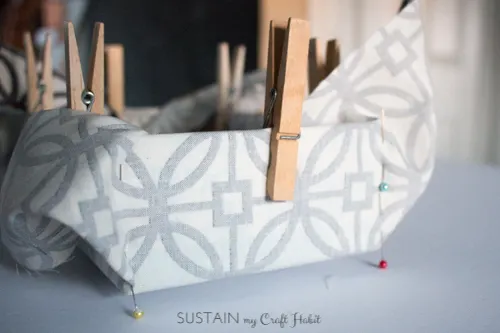
Fold up the fabric on all four sides and clamp in place.
This amount will vary depending on the size of your basket.
Allow an additional 1 seam allowance for finishing the top edge.
Using straight pins, begin to pin the fabric corners flush with the box.
This will be your stitching guide.
Repeat on all four corners.

Remove pinned liner from box.
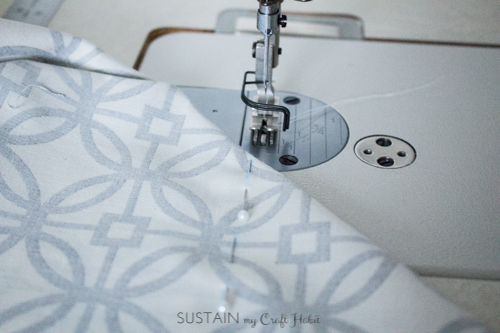
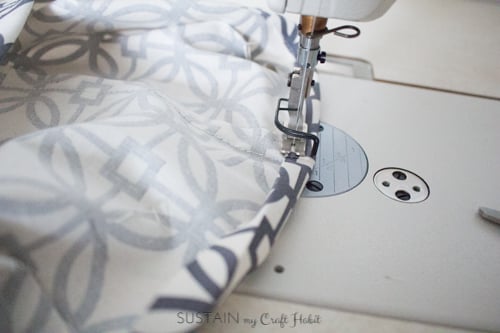
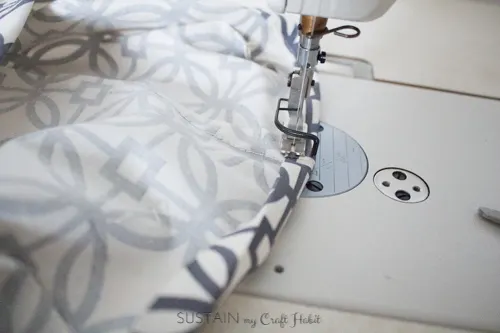
Using a lockstitch machine, sew a single stitch along the pinned lines at all four corners.
Check the fit of the liner before proceeding.
If the liner fits well, trim off the excess seam allowance at the corners.
The last step is to finish the top edge of the liner.
Double turn the edge and press with iron before single stitching in place.
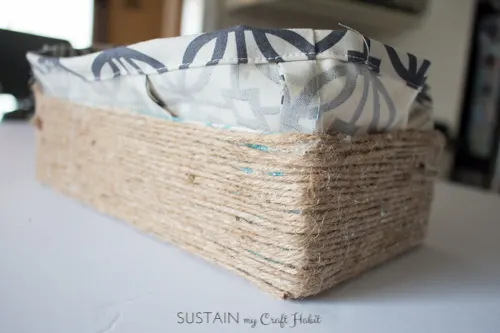
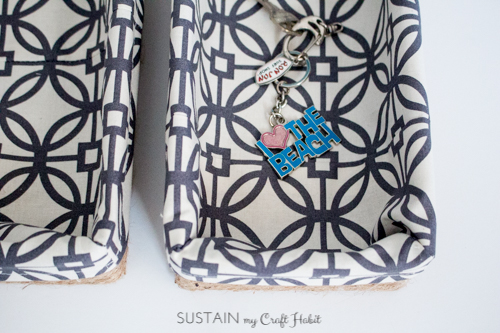
Put the new liner into your finished basket and fold over the liner edges.
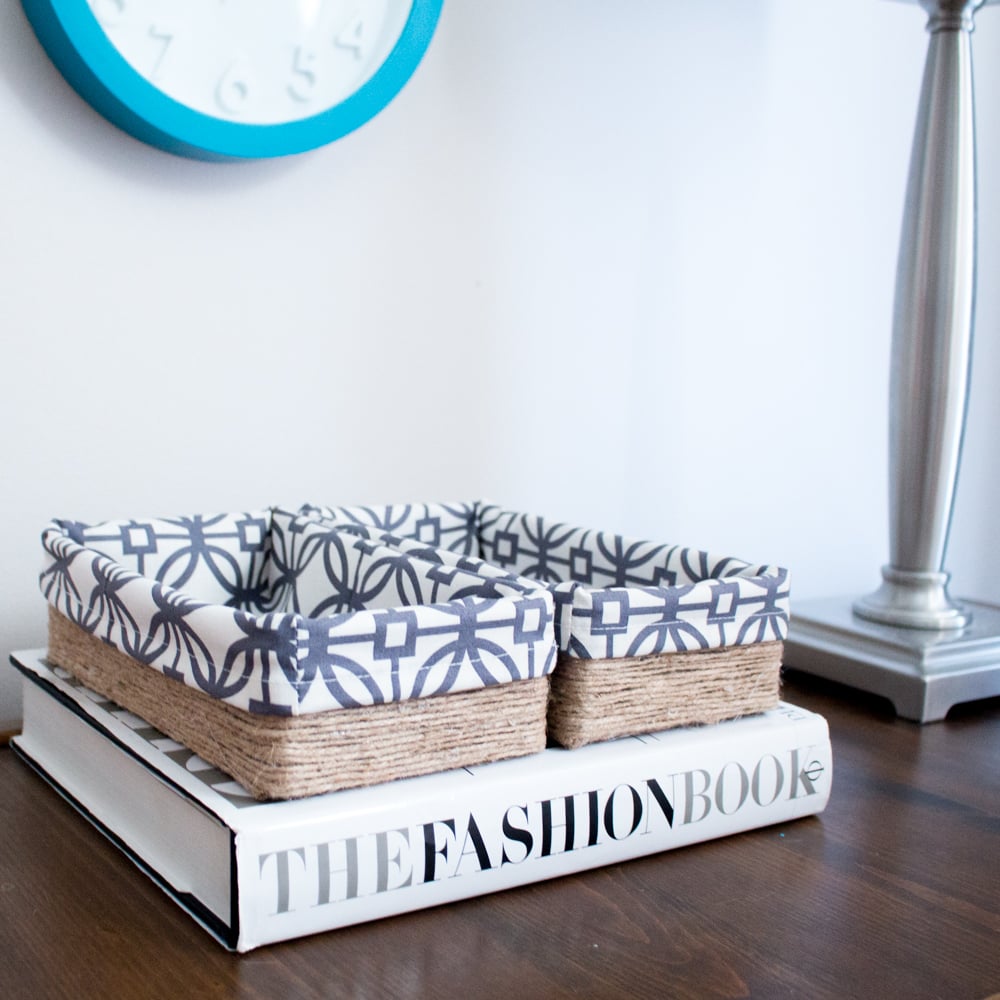
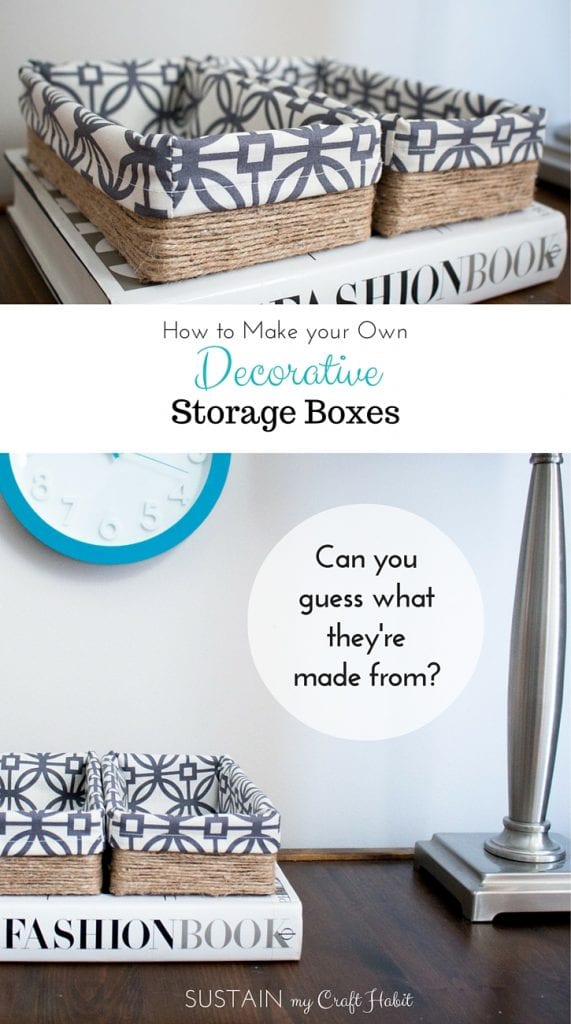
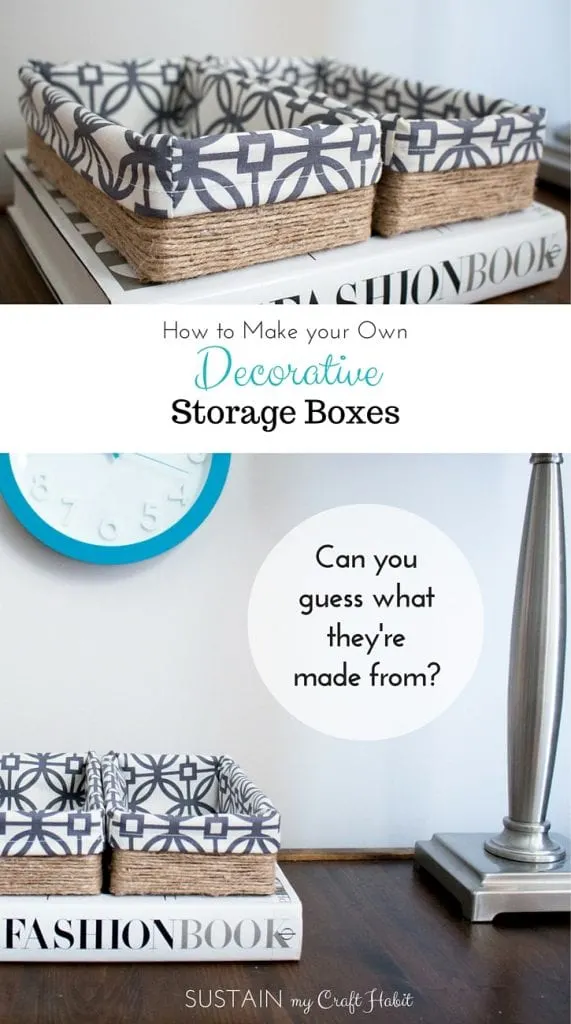
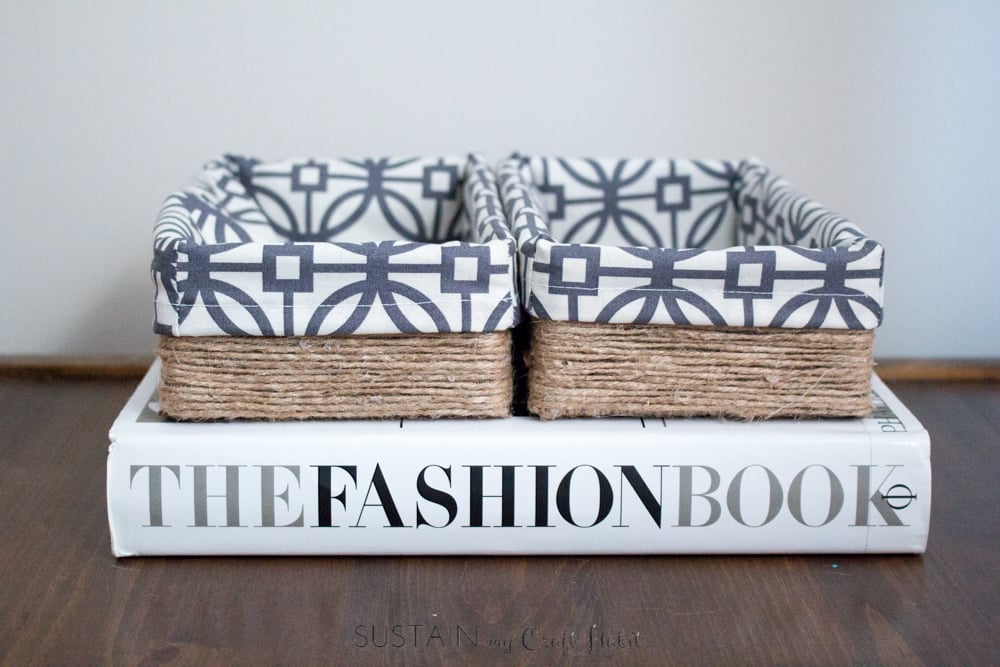
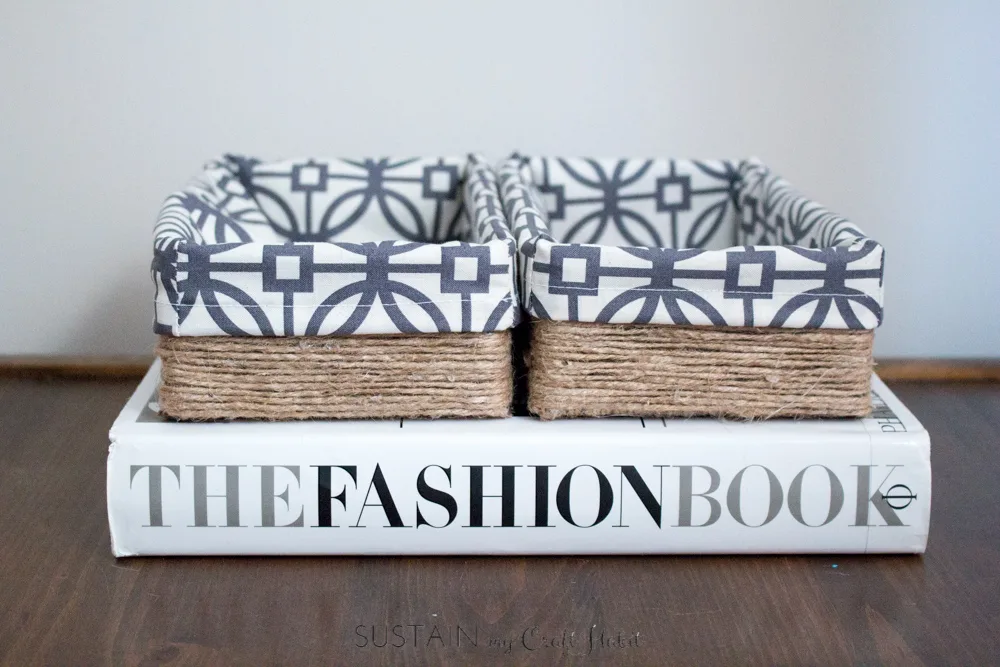
My new clutter-busting DIY home organization idea is done!
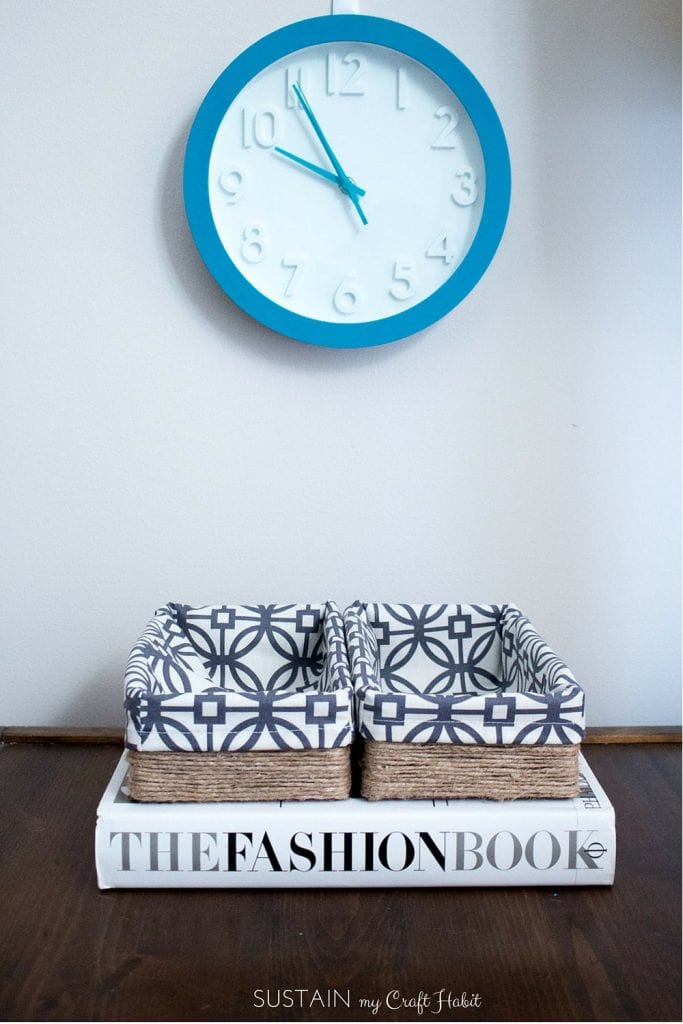
Im loving these decorative storage boxes.

They not only look great but theyre so useful and cheap to make!
Would you be able to tell these were upcycled tissue boxes?
What clever DIY storage ideas have you come up with to bring more organization in your life?