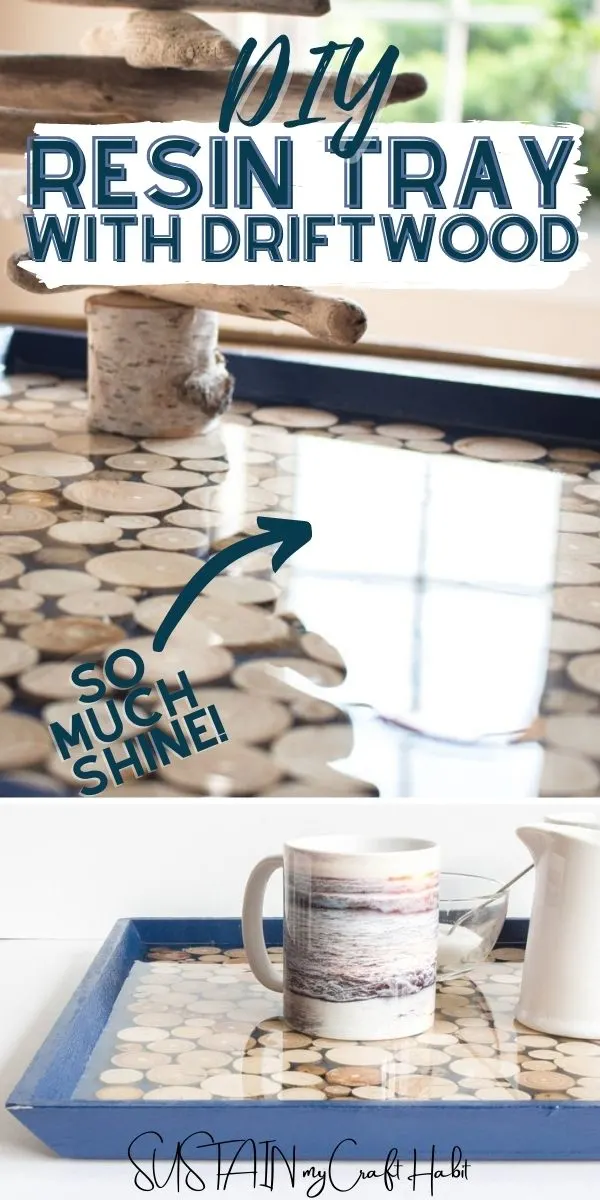
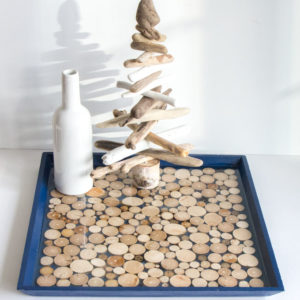
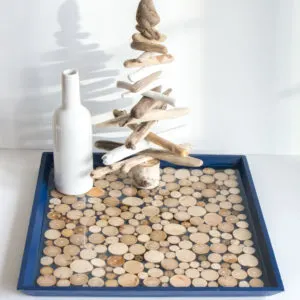
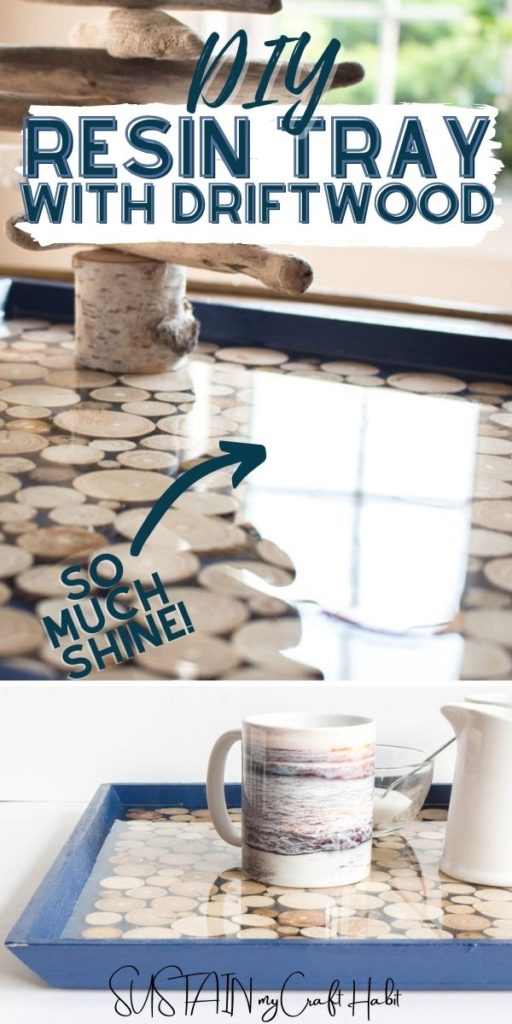
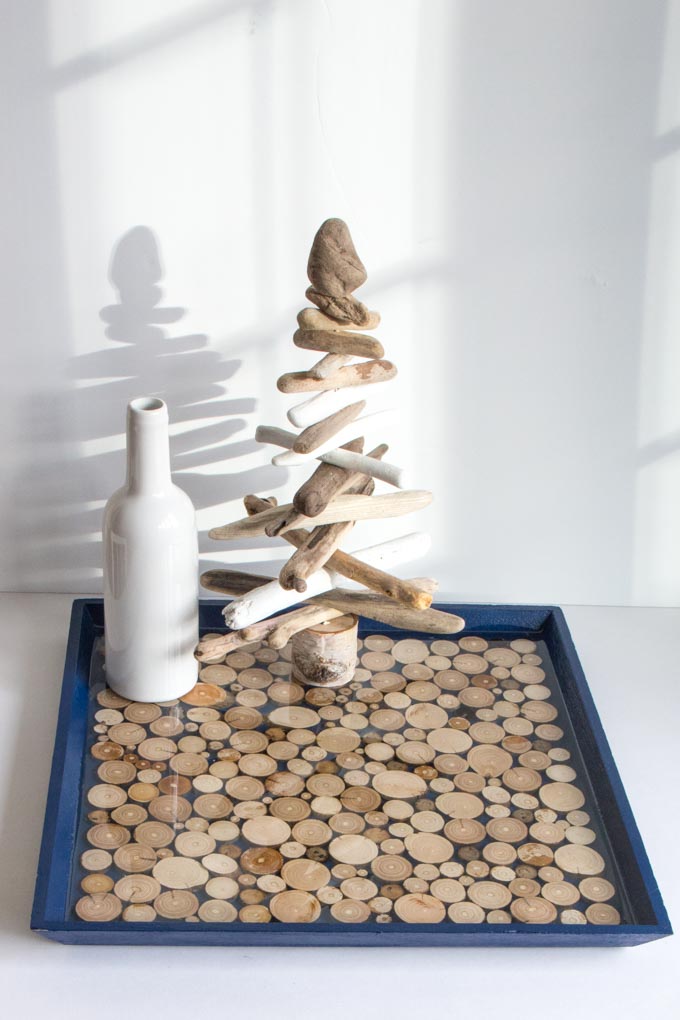
Makes gorgeous beachy decor for your home or cottage.
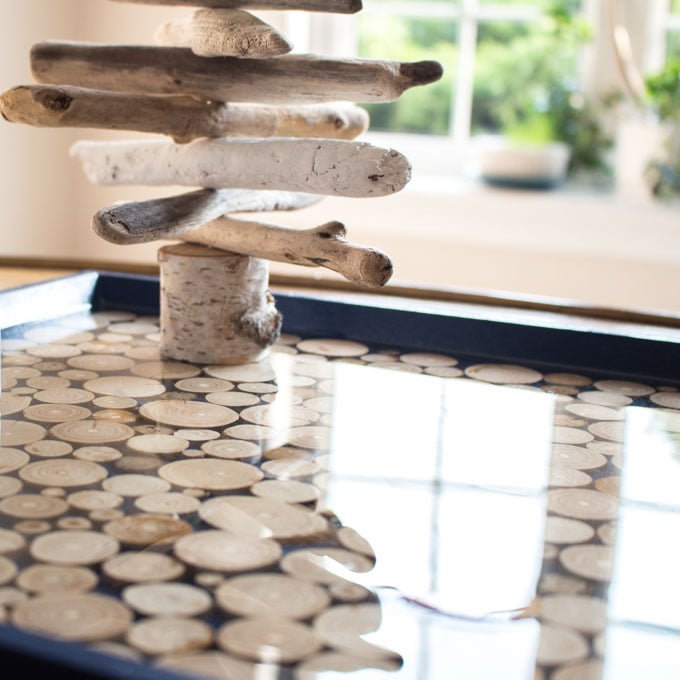
Having made this DIY resin tray several years ago, Im happy to report its still in great condition!
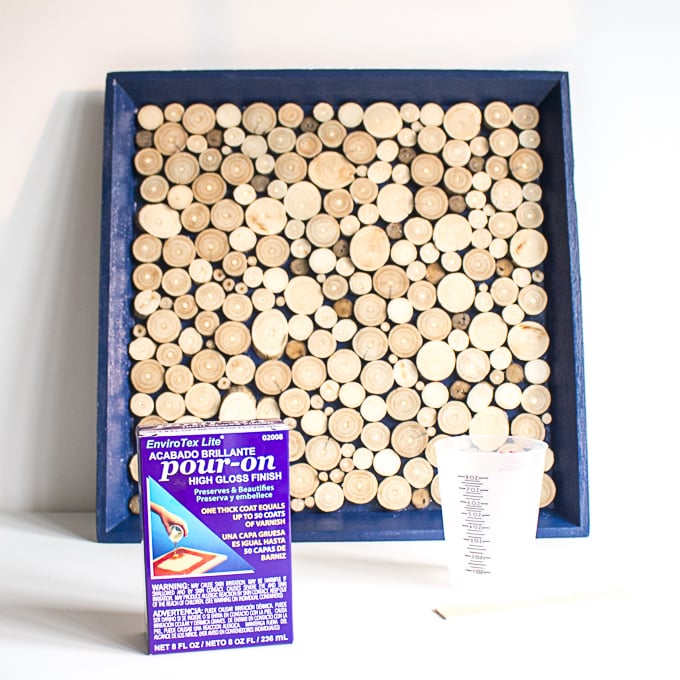
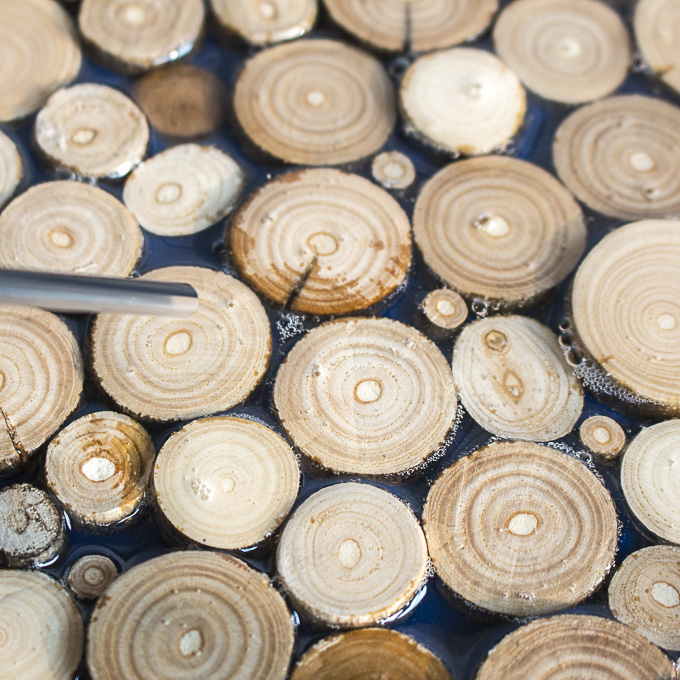
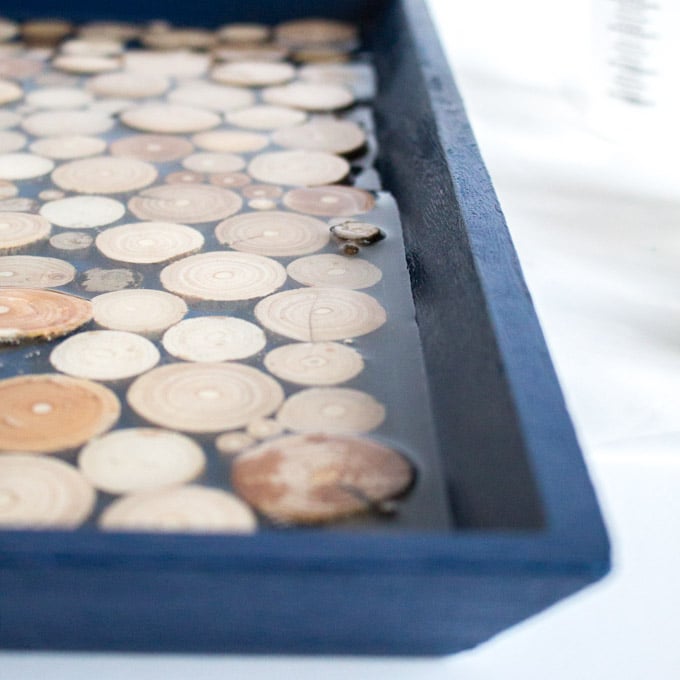
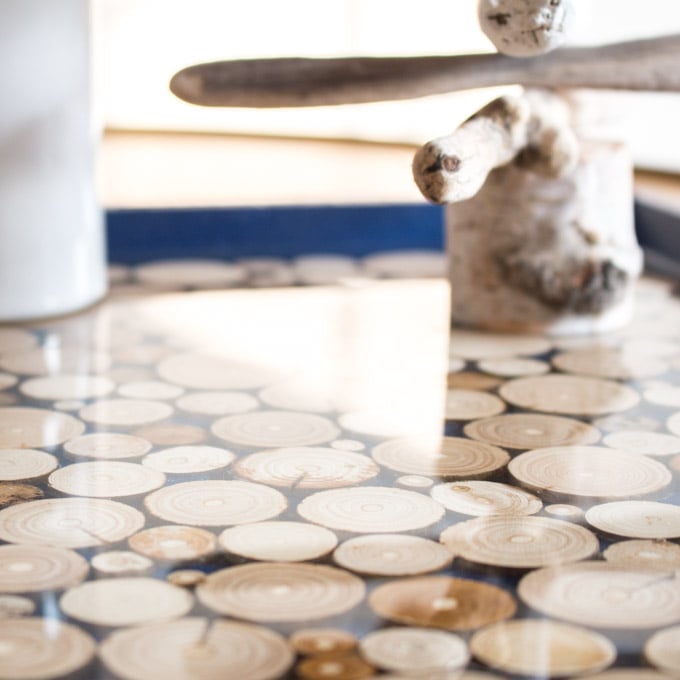
I personally love all the driftwood slices preserved inside the Envirotex Lite Pour-On resin.
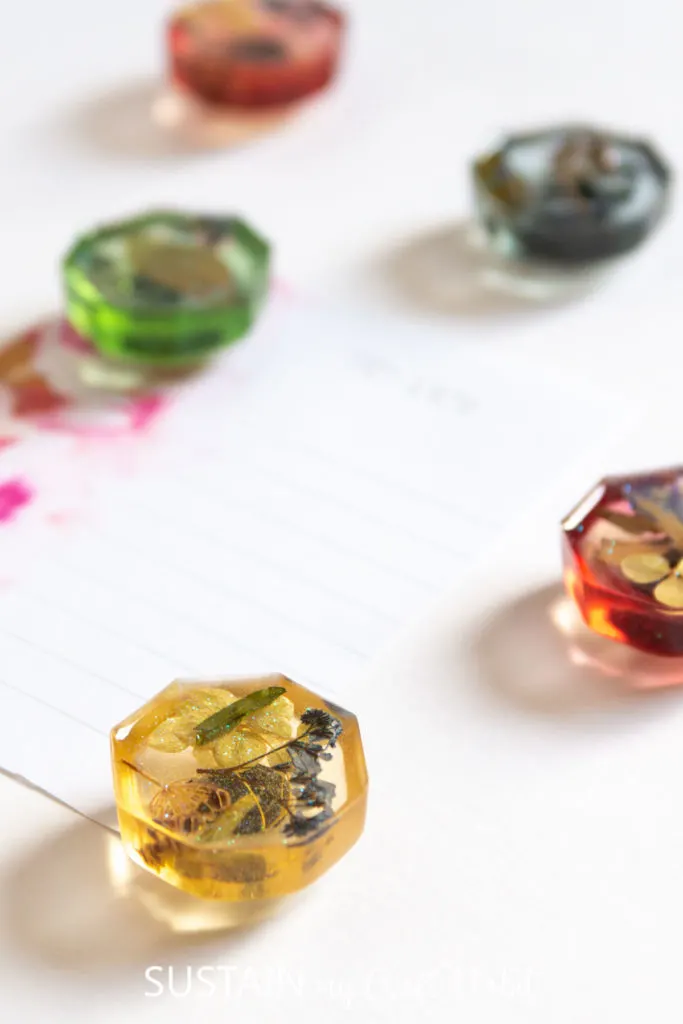
Pressed Flower Resin Magnets
Each piece was collected on the beach near our family cottage and then cut into these various shaped slices.
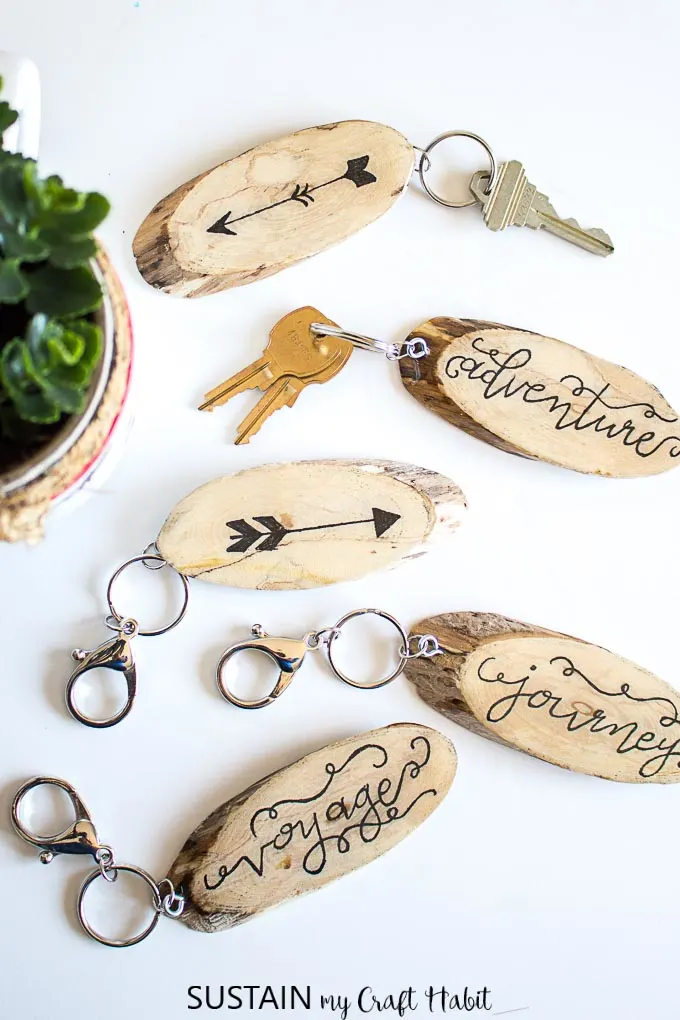
Similarly, weve also used this resin to make thesehand lettered rustic driftwood keychains.
you could readour full disclosure policy here.

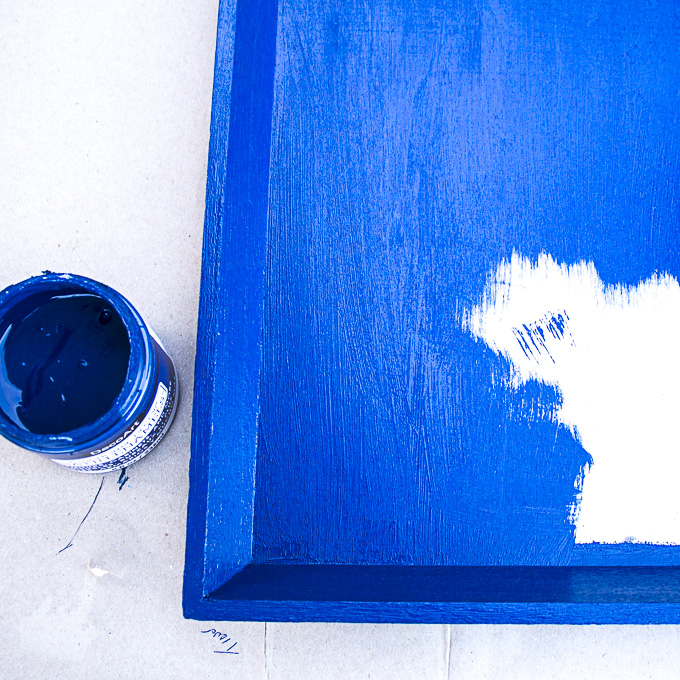
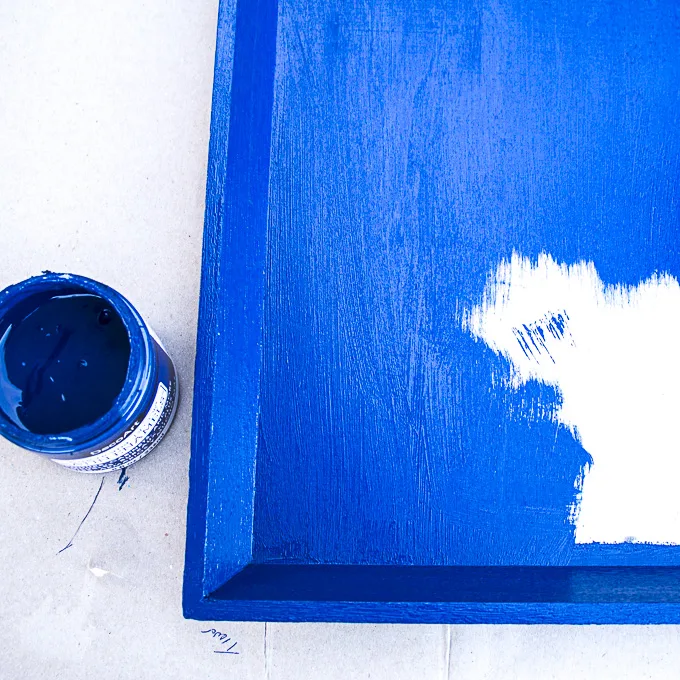
Once painted, put it aside to dry fully before moving onto the next step.
Its important to use driftwood formed from hardwood versus softwood to get a smooth surface.
Cut enough slices to fully cover your tray.
Its a bit of a jigsaw puzzle so be sure to cut extra pieces for working with.
Sand the rough cut edges of the driftwood slices and wipe away any sawdust.
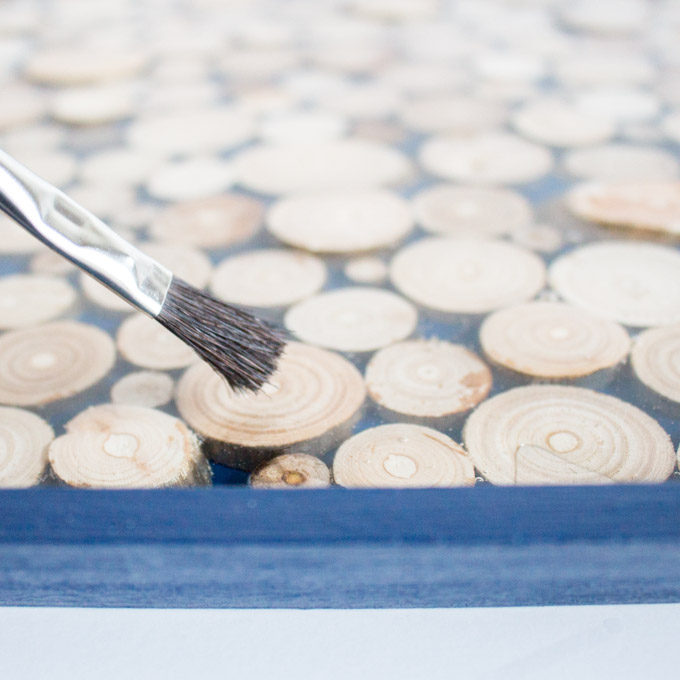
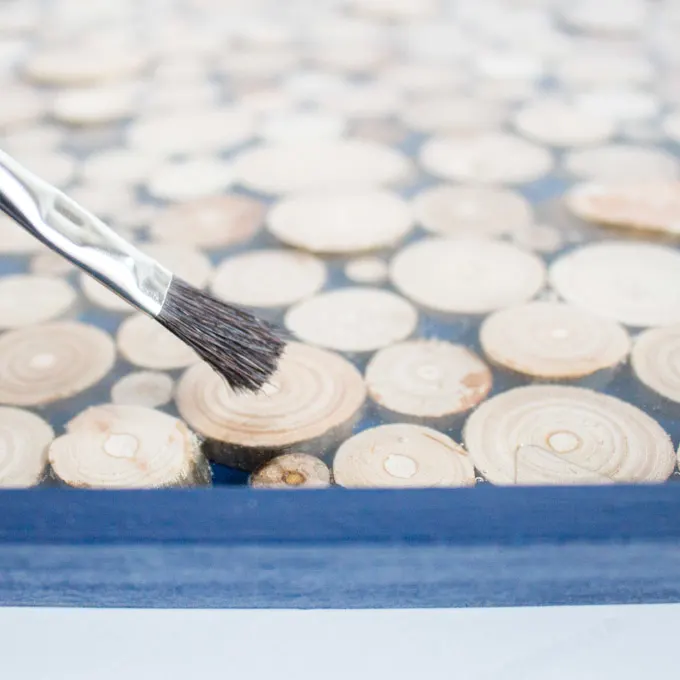
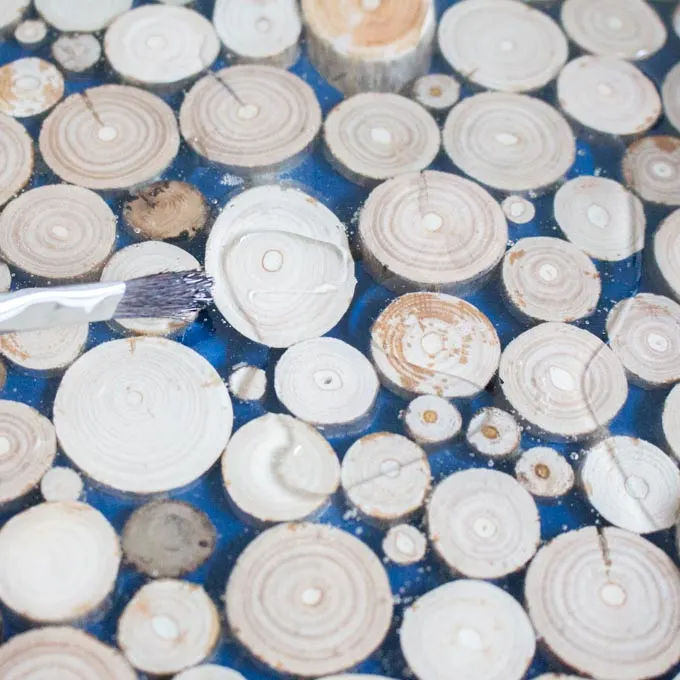
Apply one generous coat of all-purpose sealer to the inside of your serving tray.

Leave it to dry.
Continue to coat and position driftwood slices until your serving tray is fully covered.
Get creative with the placement and mix a variety of different sized slices.
Take your time with this step to ensure you dont miss any pieces.
Once the piece is fully sealed, leave it to dry completely before moving on to the next step.
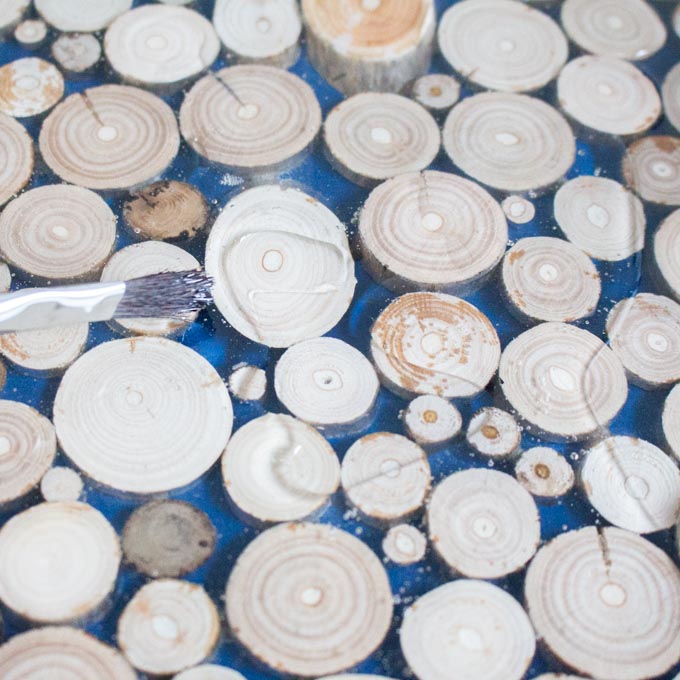
Work in layers until your piece is fully covered.

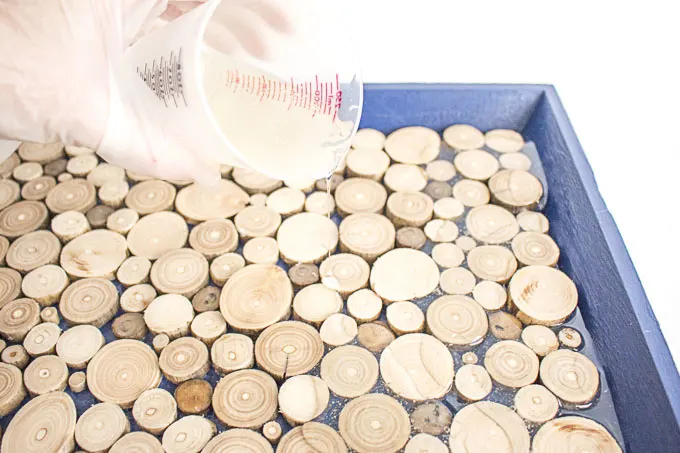
For best results be sure to read the instructions provided in the EnviroTex Lite Pour On packaging.
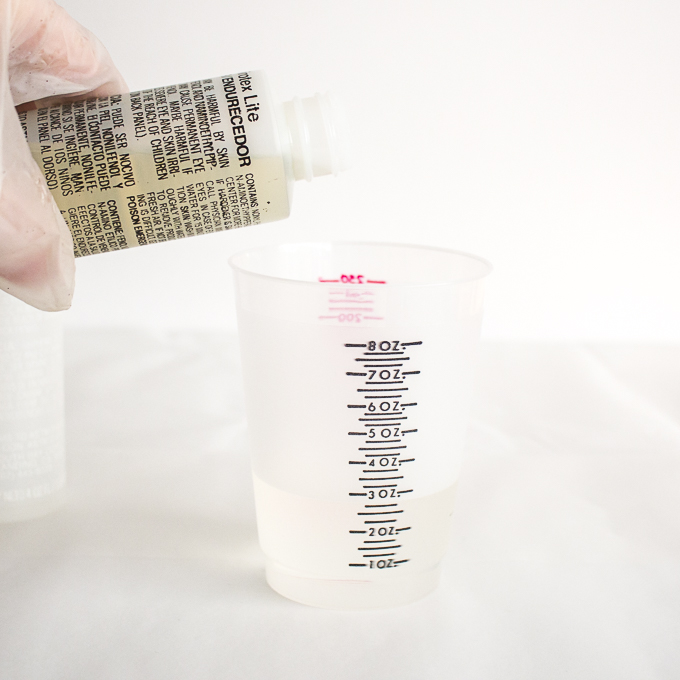
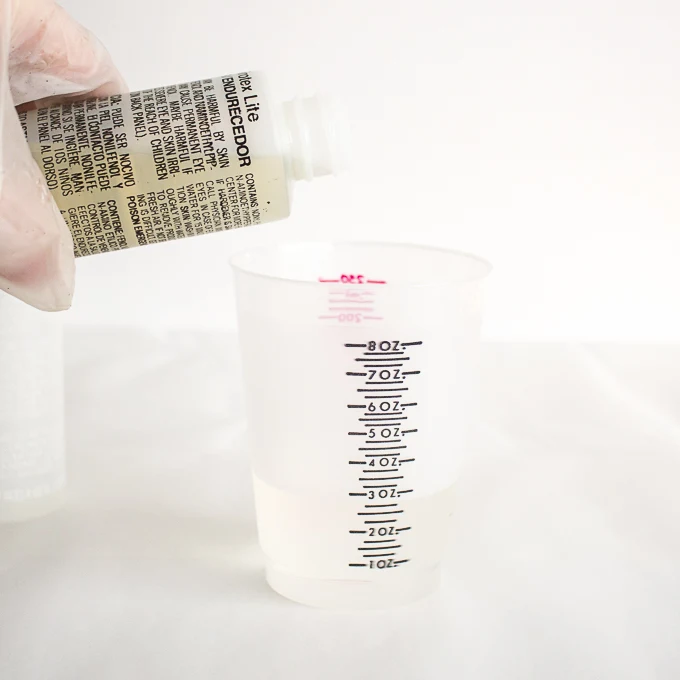
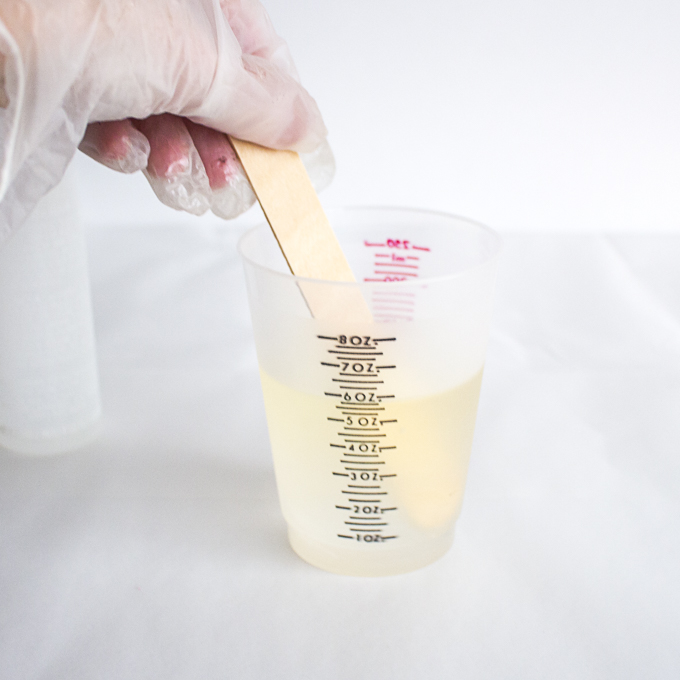
Ensure your resin and hardener are at room temperature or warmer before mixing.
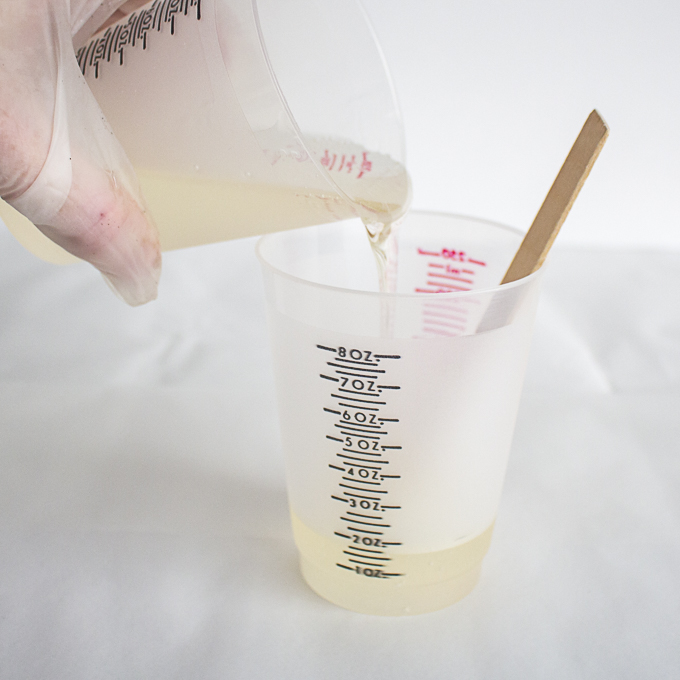
Mix exactly equal amounts of Resin and Hardener into one measuring cup.

Pressed Flower Resin Magnets
The size of your piece will determine how much resin you need.
Stir continuously for 2 minutes, scraping the sides of the container.
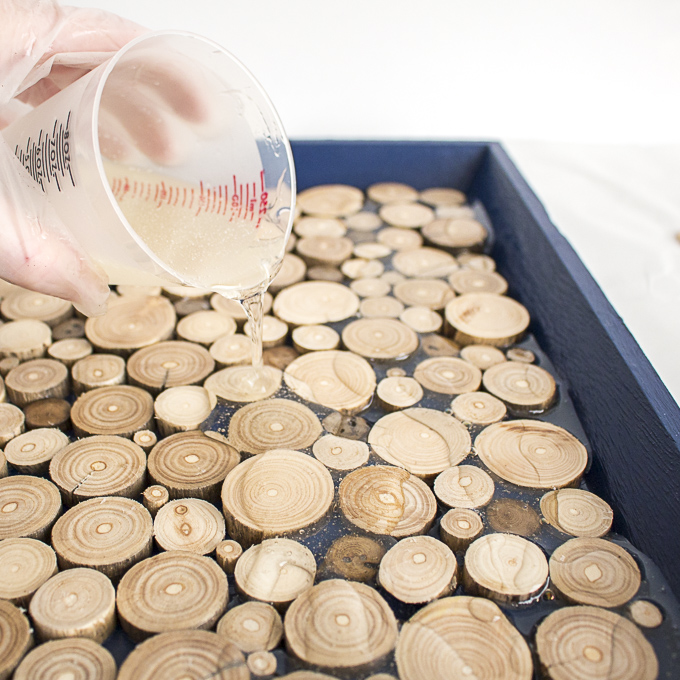
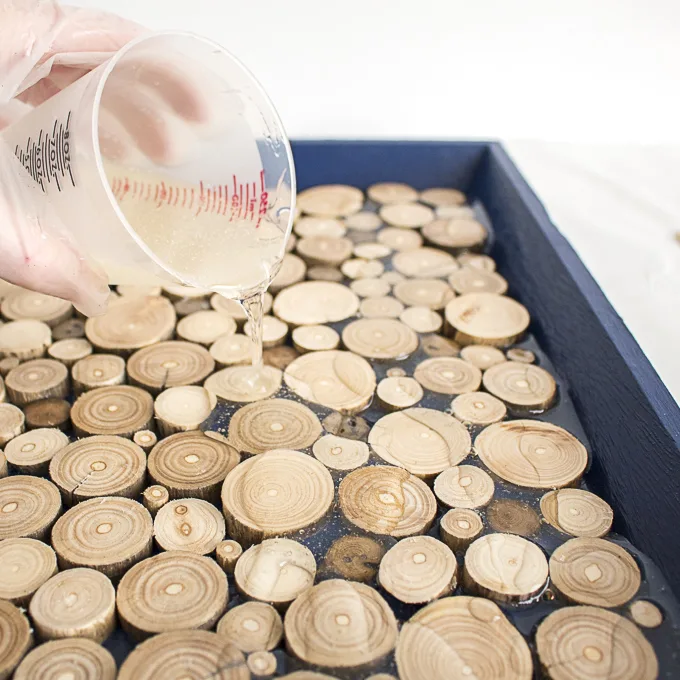
Pour evenly from one side to the next.
Lift the tray and tilt it back and forth to help the resin level out.
Cover to keep dust from settling in.
Ensure your tray is placed on a level surface.

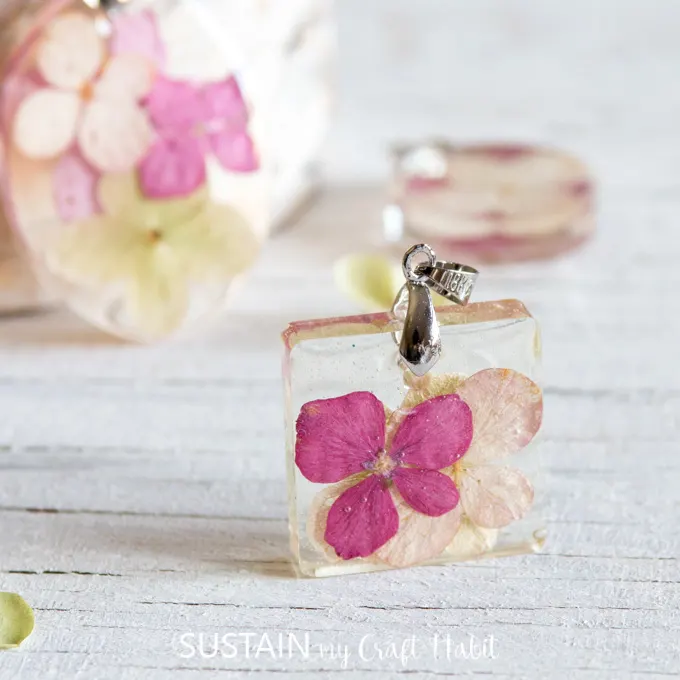
Pressed Flower Jewelry Pendants
Repeat if necessary after another 15 minutes and up to about an hour to ensure no bubbles have formed.
Cover and allow to cure overnight.
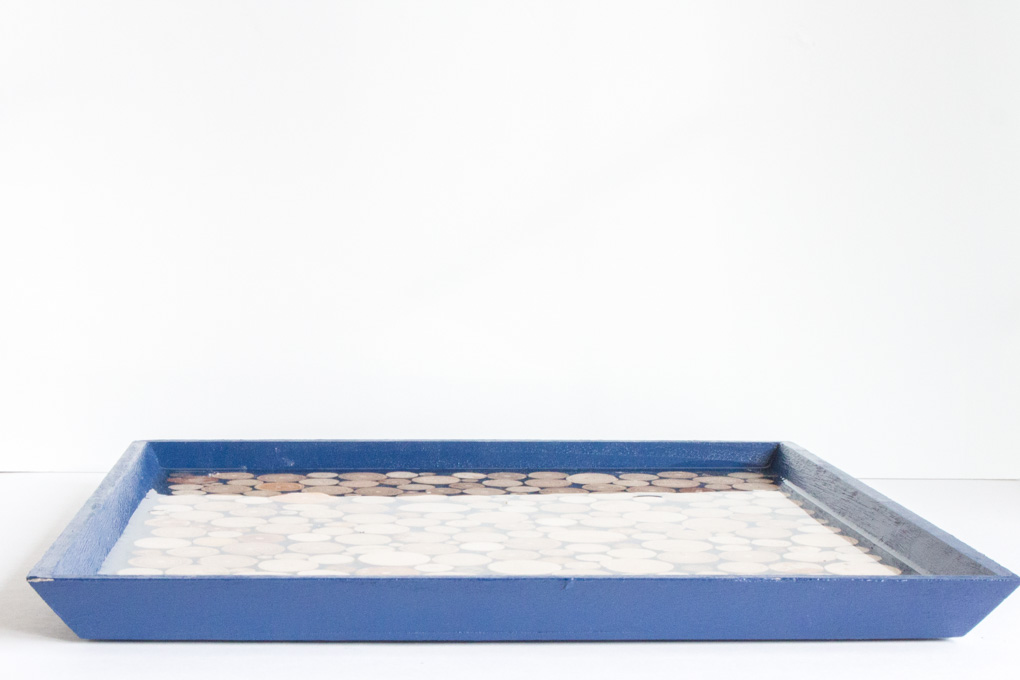
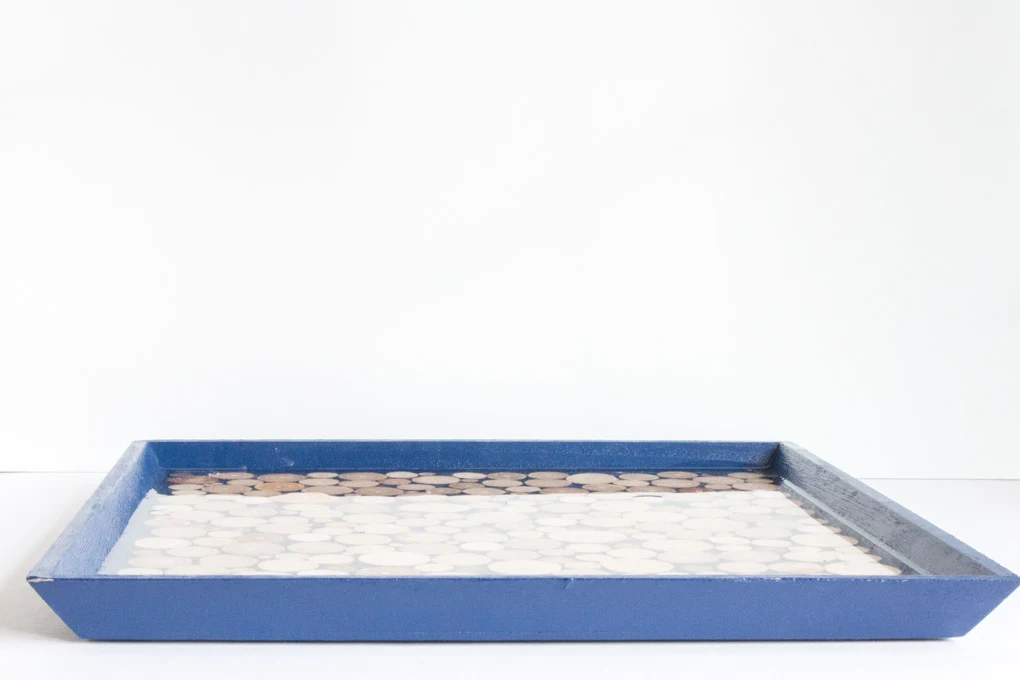
Check your piece to see if the driftwood pieces are fully covered.
If the resin surface is smooth and flat, then there is no need for another layer of resin.
Since some of my driftwood pieces were pretty thick, I ended up needing a 3rd layer of resin.
you might see how the surface was not level even after 2 layers of resin.

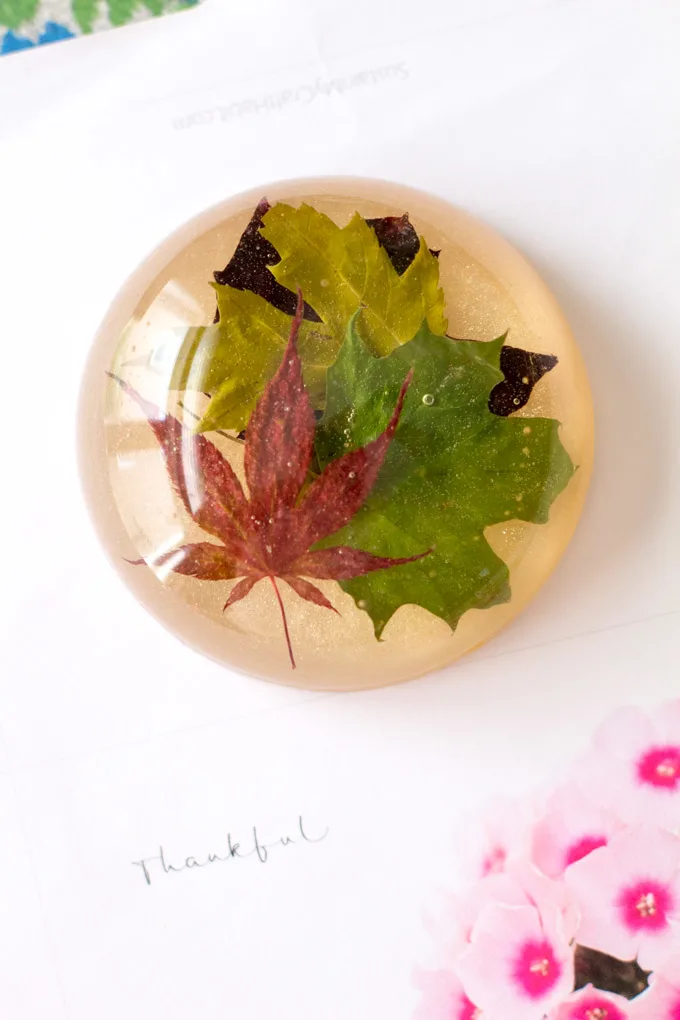
Leafy Resin Paperweights
I repeated the 1st layer steps from the previous days to add my final layer of Envirotex Lite resin.
Cover and allow the resin to cure overnight before using.
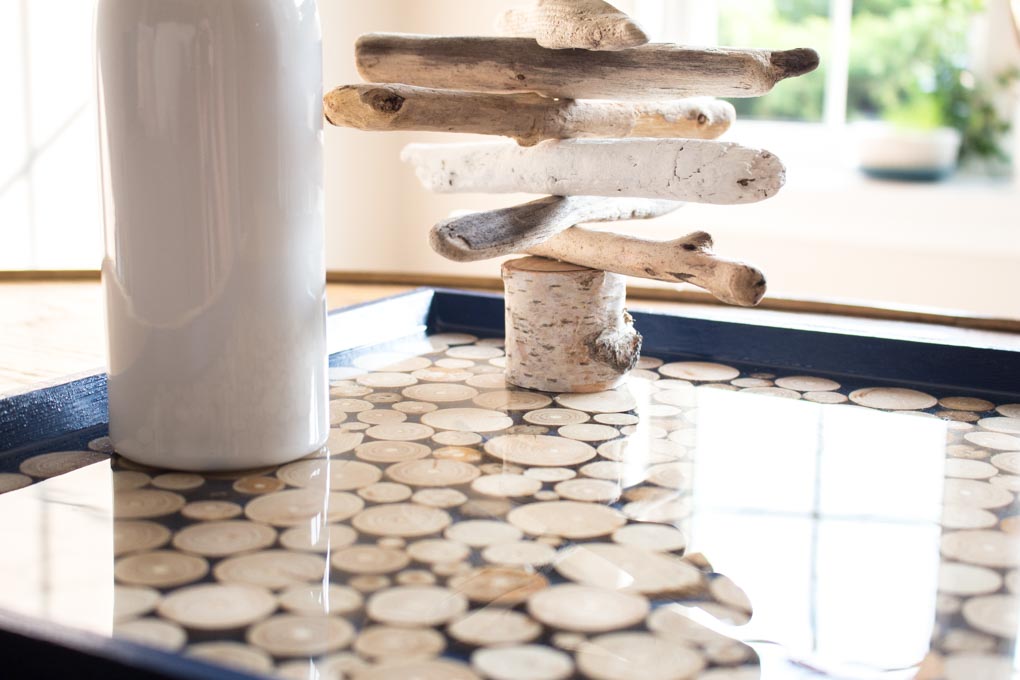
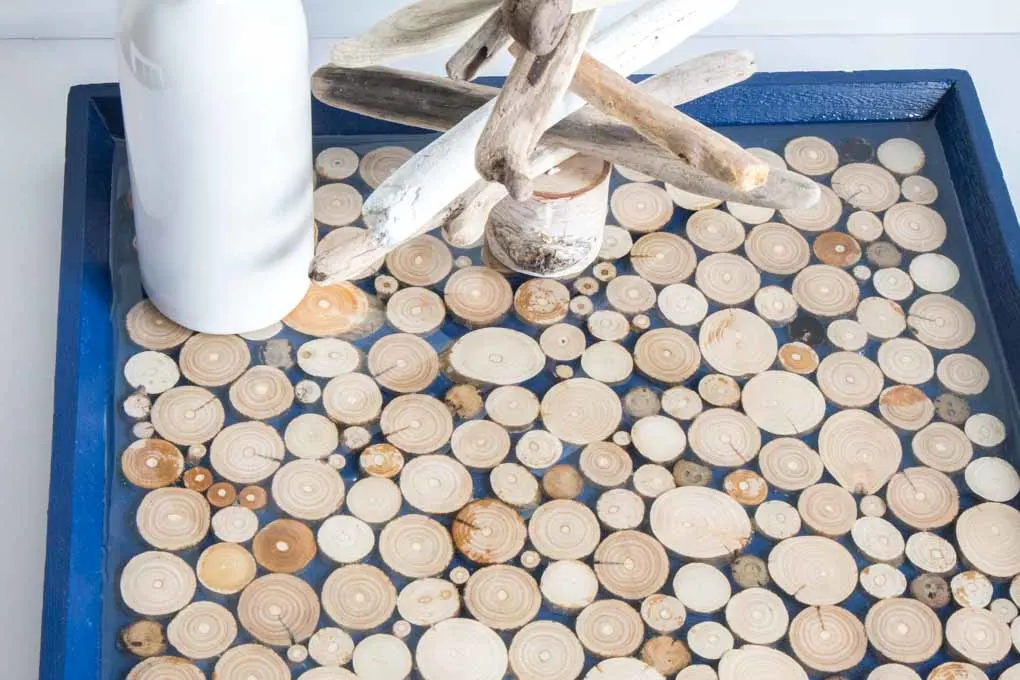
Once fully cured, the resin tray is ready for using.
Can you believe that sheen?
It really shows off the beautiful cut pieces of driftwood.
This project originally appeared onResin Crafts Blog project gallery.
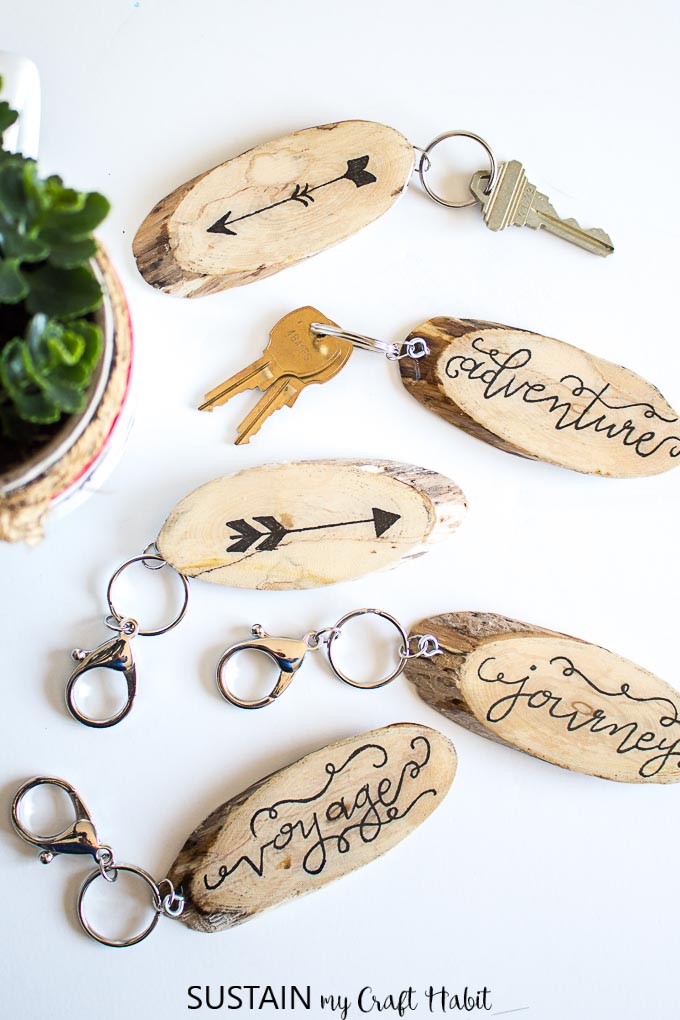
Driftwood and Resin Keychains
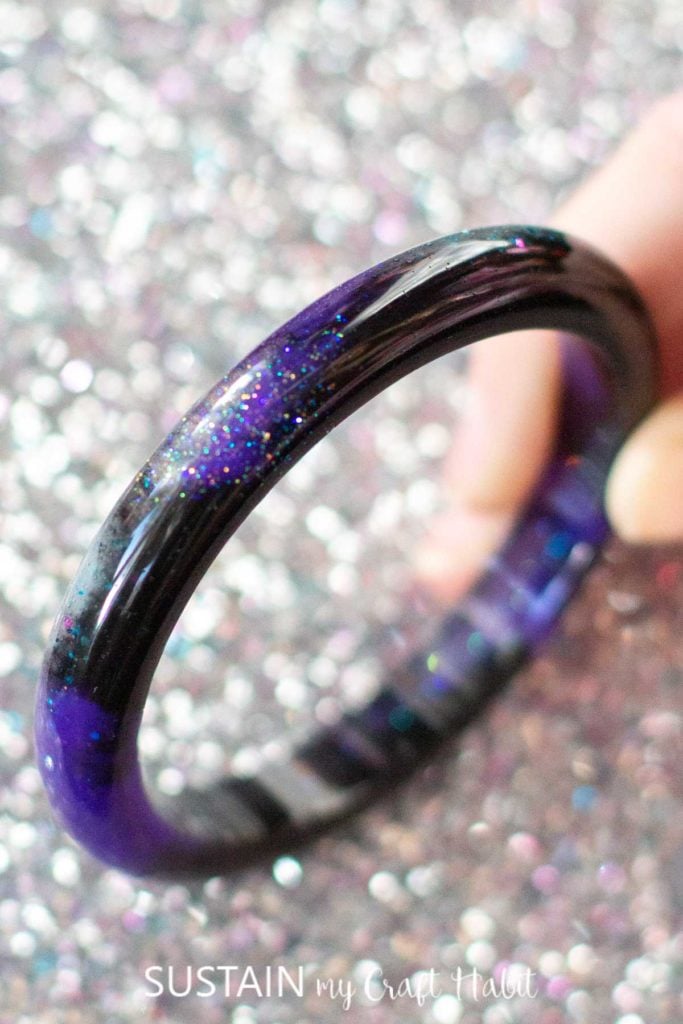
For more Envirotex Lite resin projects check out this calmingseashore resin art, photocoasters with resinandresin galaxy bracelet.
Pin it for later!
Upcycled DIY Resin Tray with Driftwood
Materials
Instructions