Tissue paper bleeding art is an easy and fun craft for all ages.
Its simple, cheap and super cool!
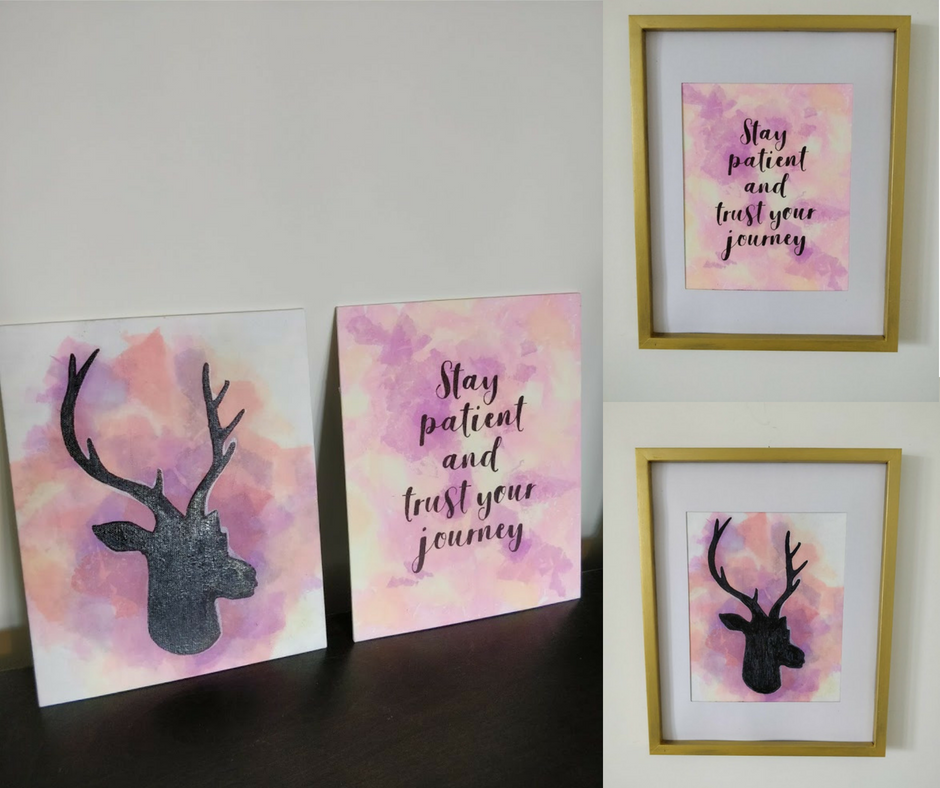
I loved the tissue art technique so much I made 3 projects.

Ill provide instructions on each, since they were done slightly different.
If youve never heard of tissue paper art before, your in for a treat.
Heres the basics…
You know that tissue paper you use in gift bags?
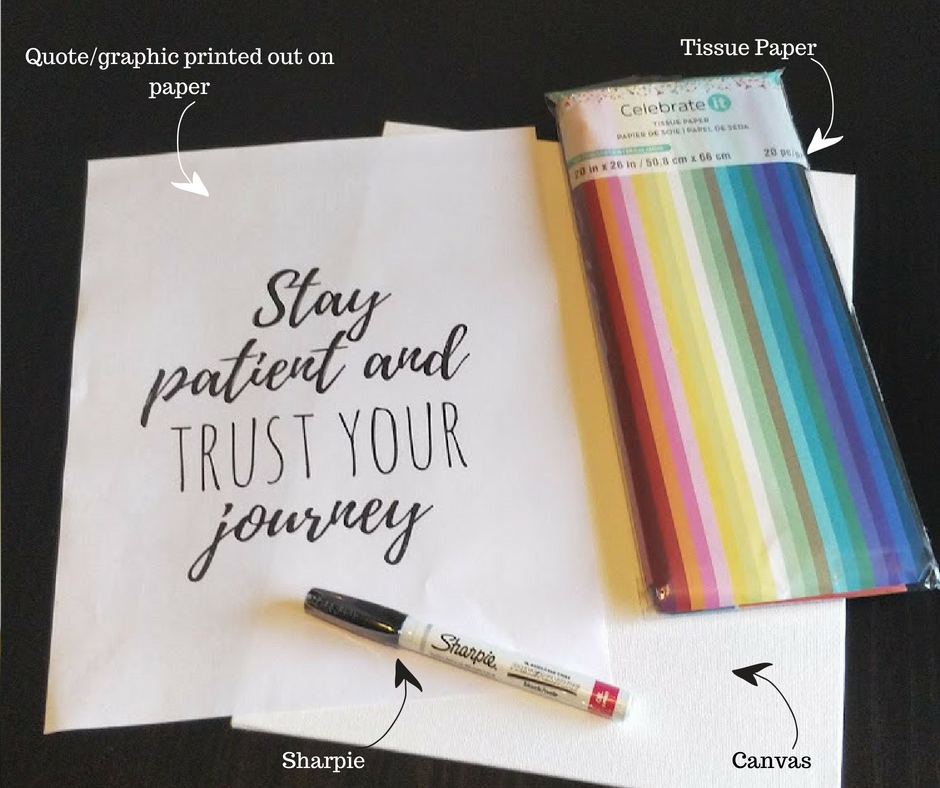
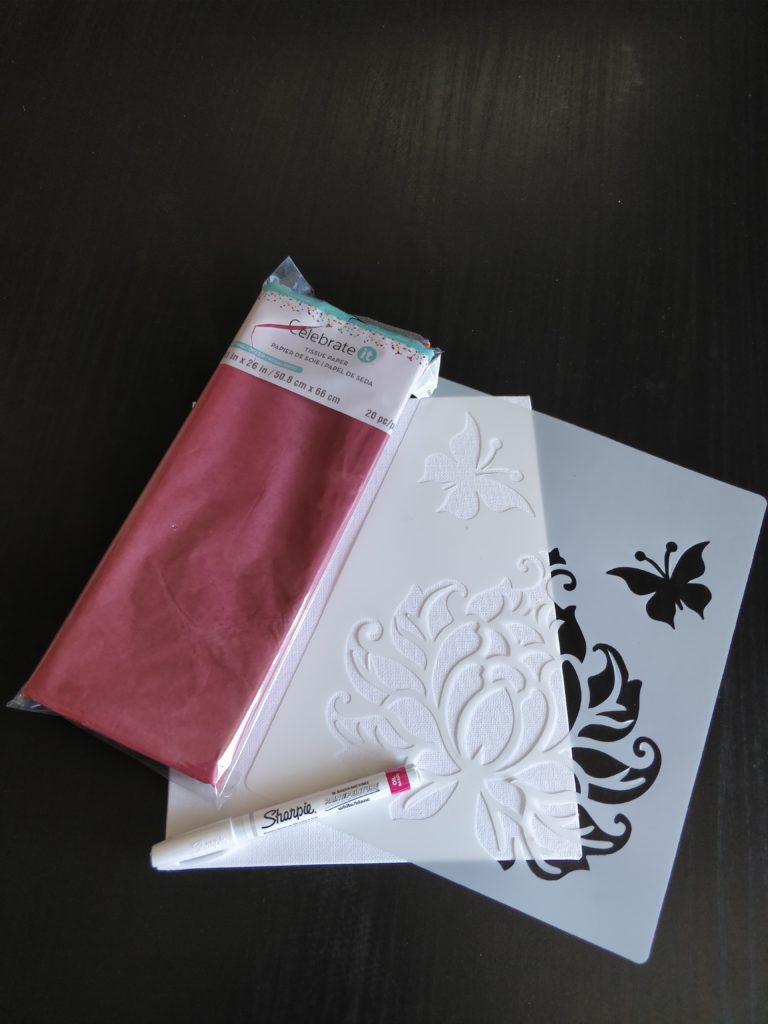
I got mine from Michaels ( Celebrate it!
I tried the Dollarstore kind but it didnt bleed.
If you buy online I have heardthisparticular brand works well.

FREE Printables at the end of post.
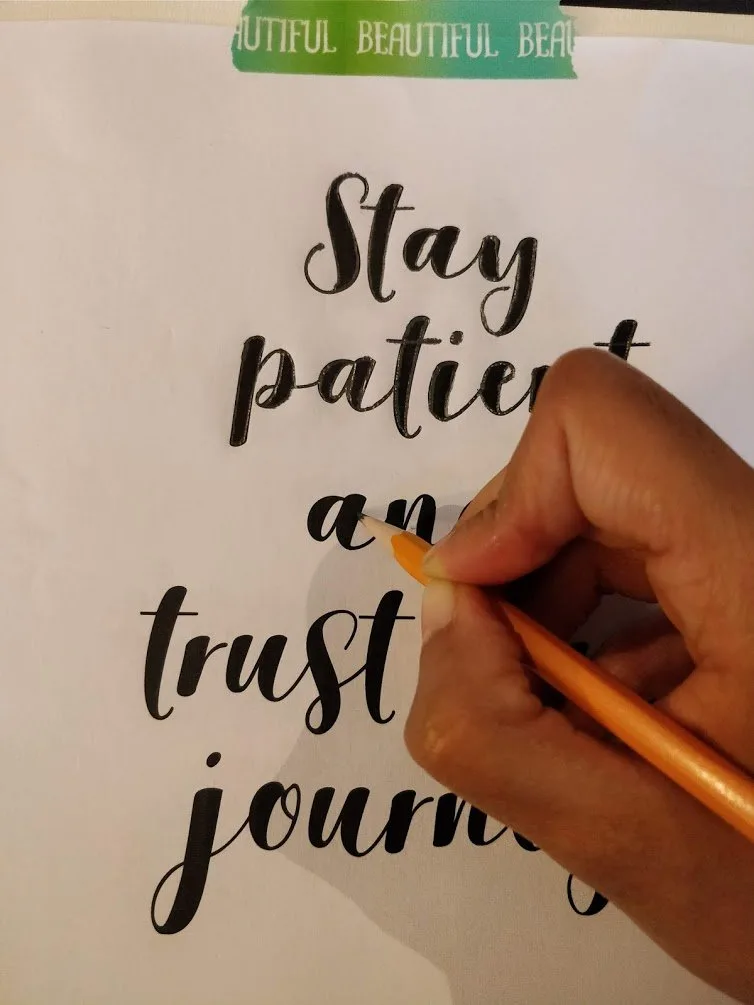
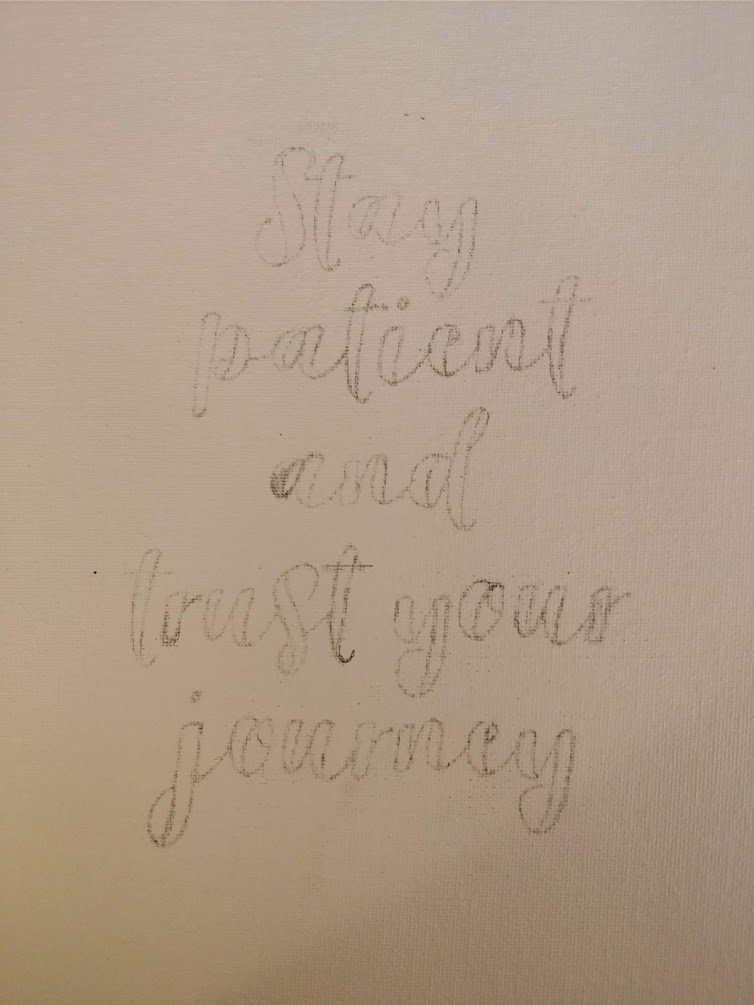
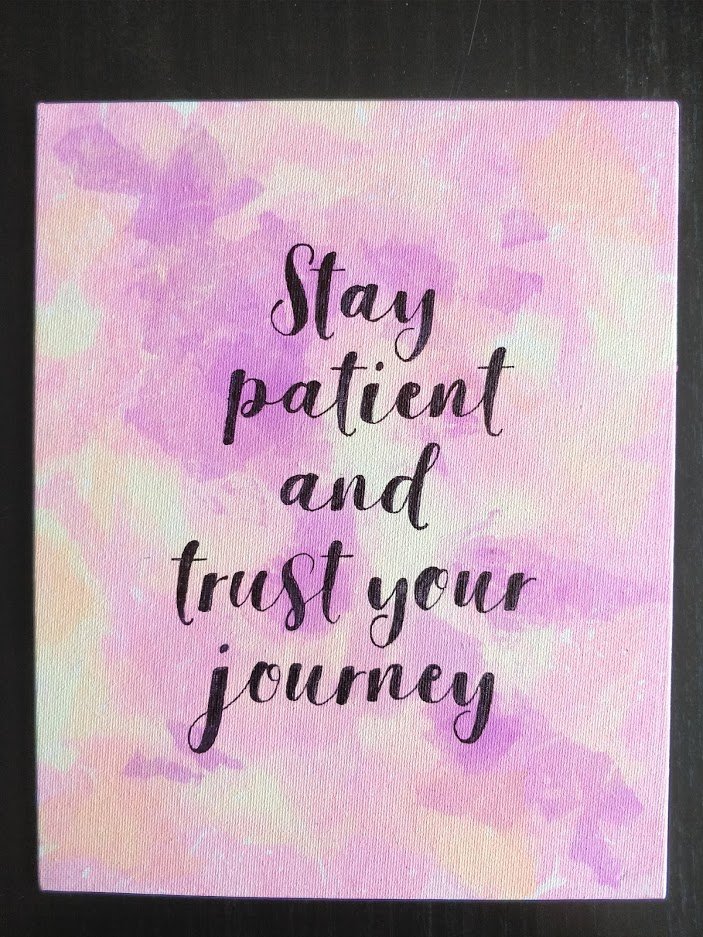
Heres the step by step instructions onhow to transfer your image to canvas, if you want more detail.
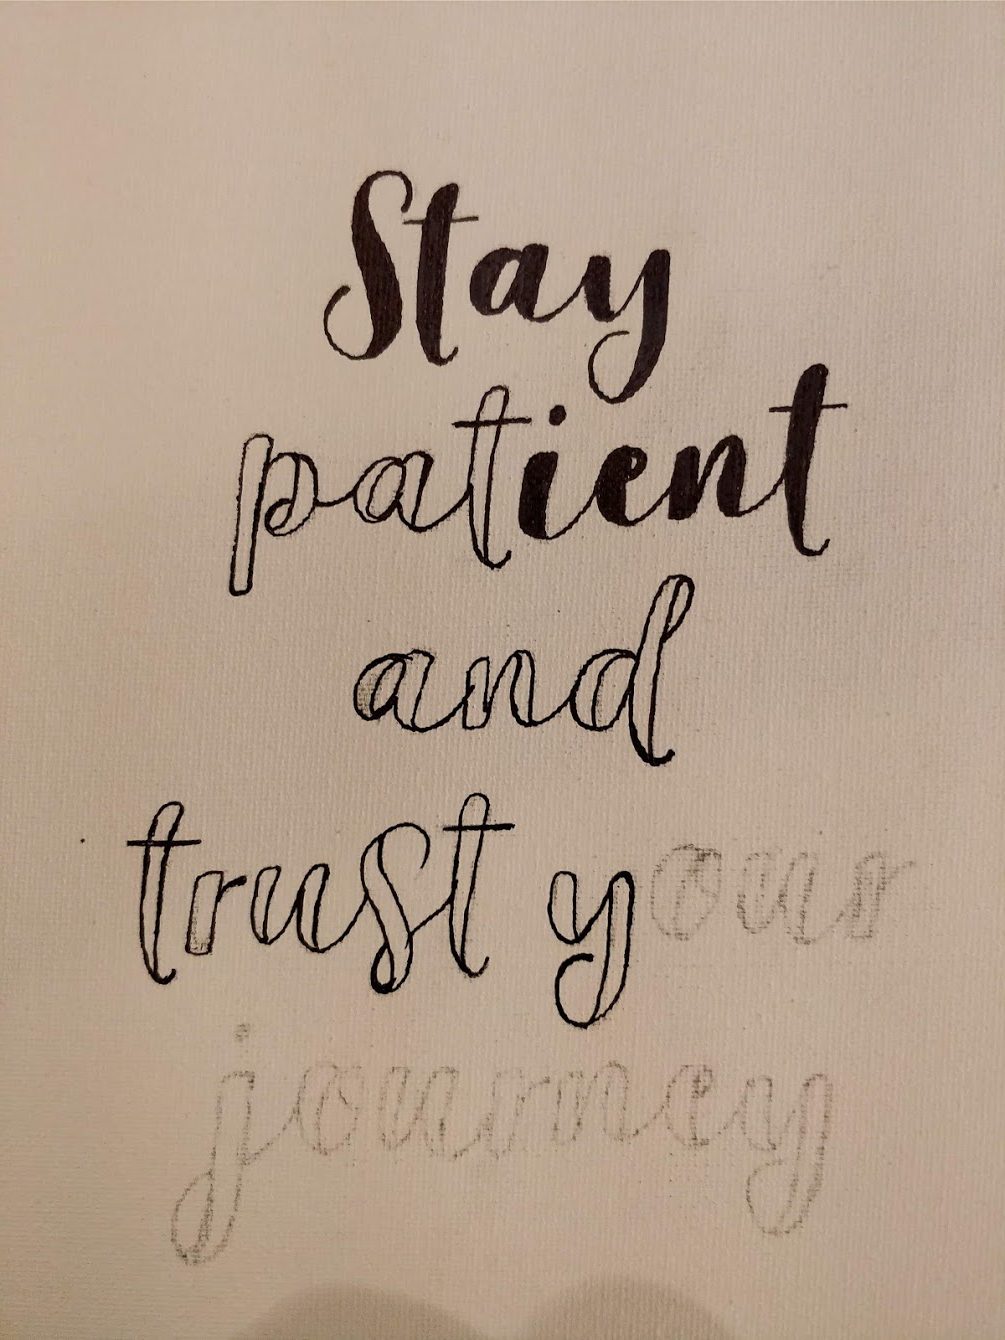
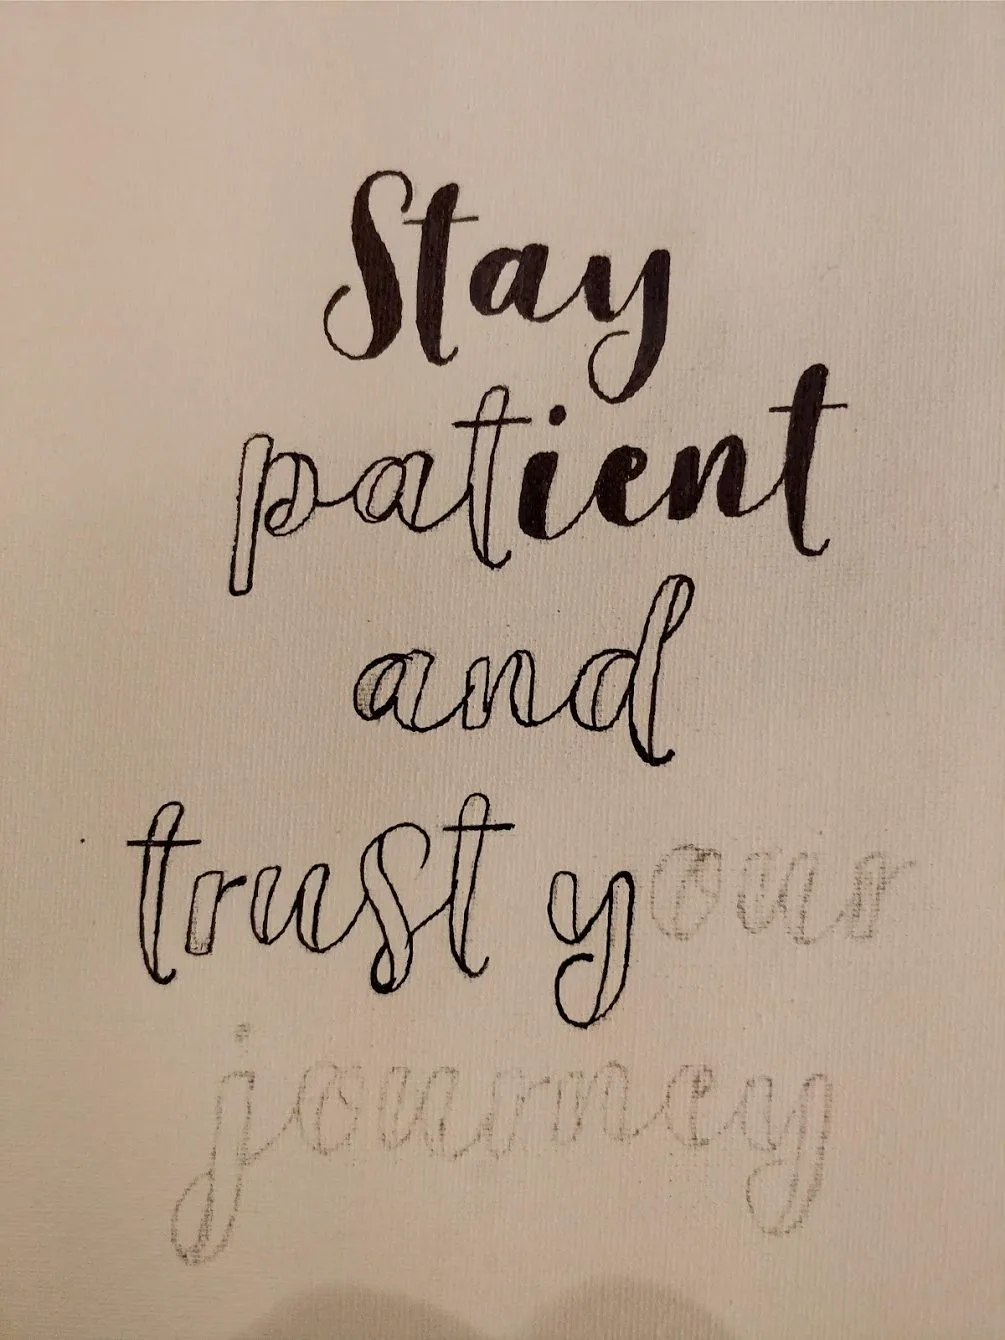
Take your Sharpie and fill in the design on the canvas.

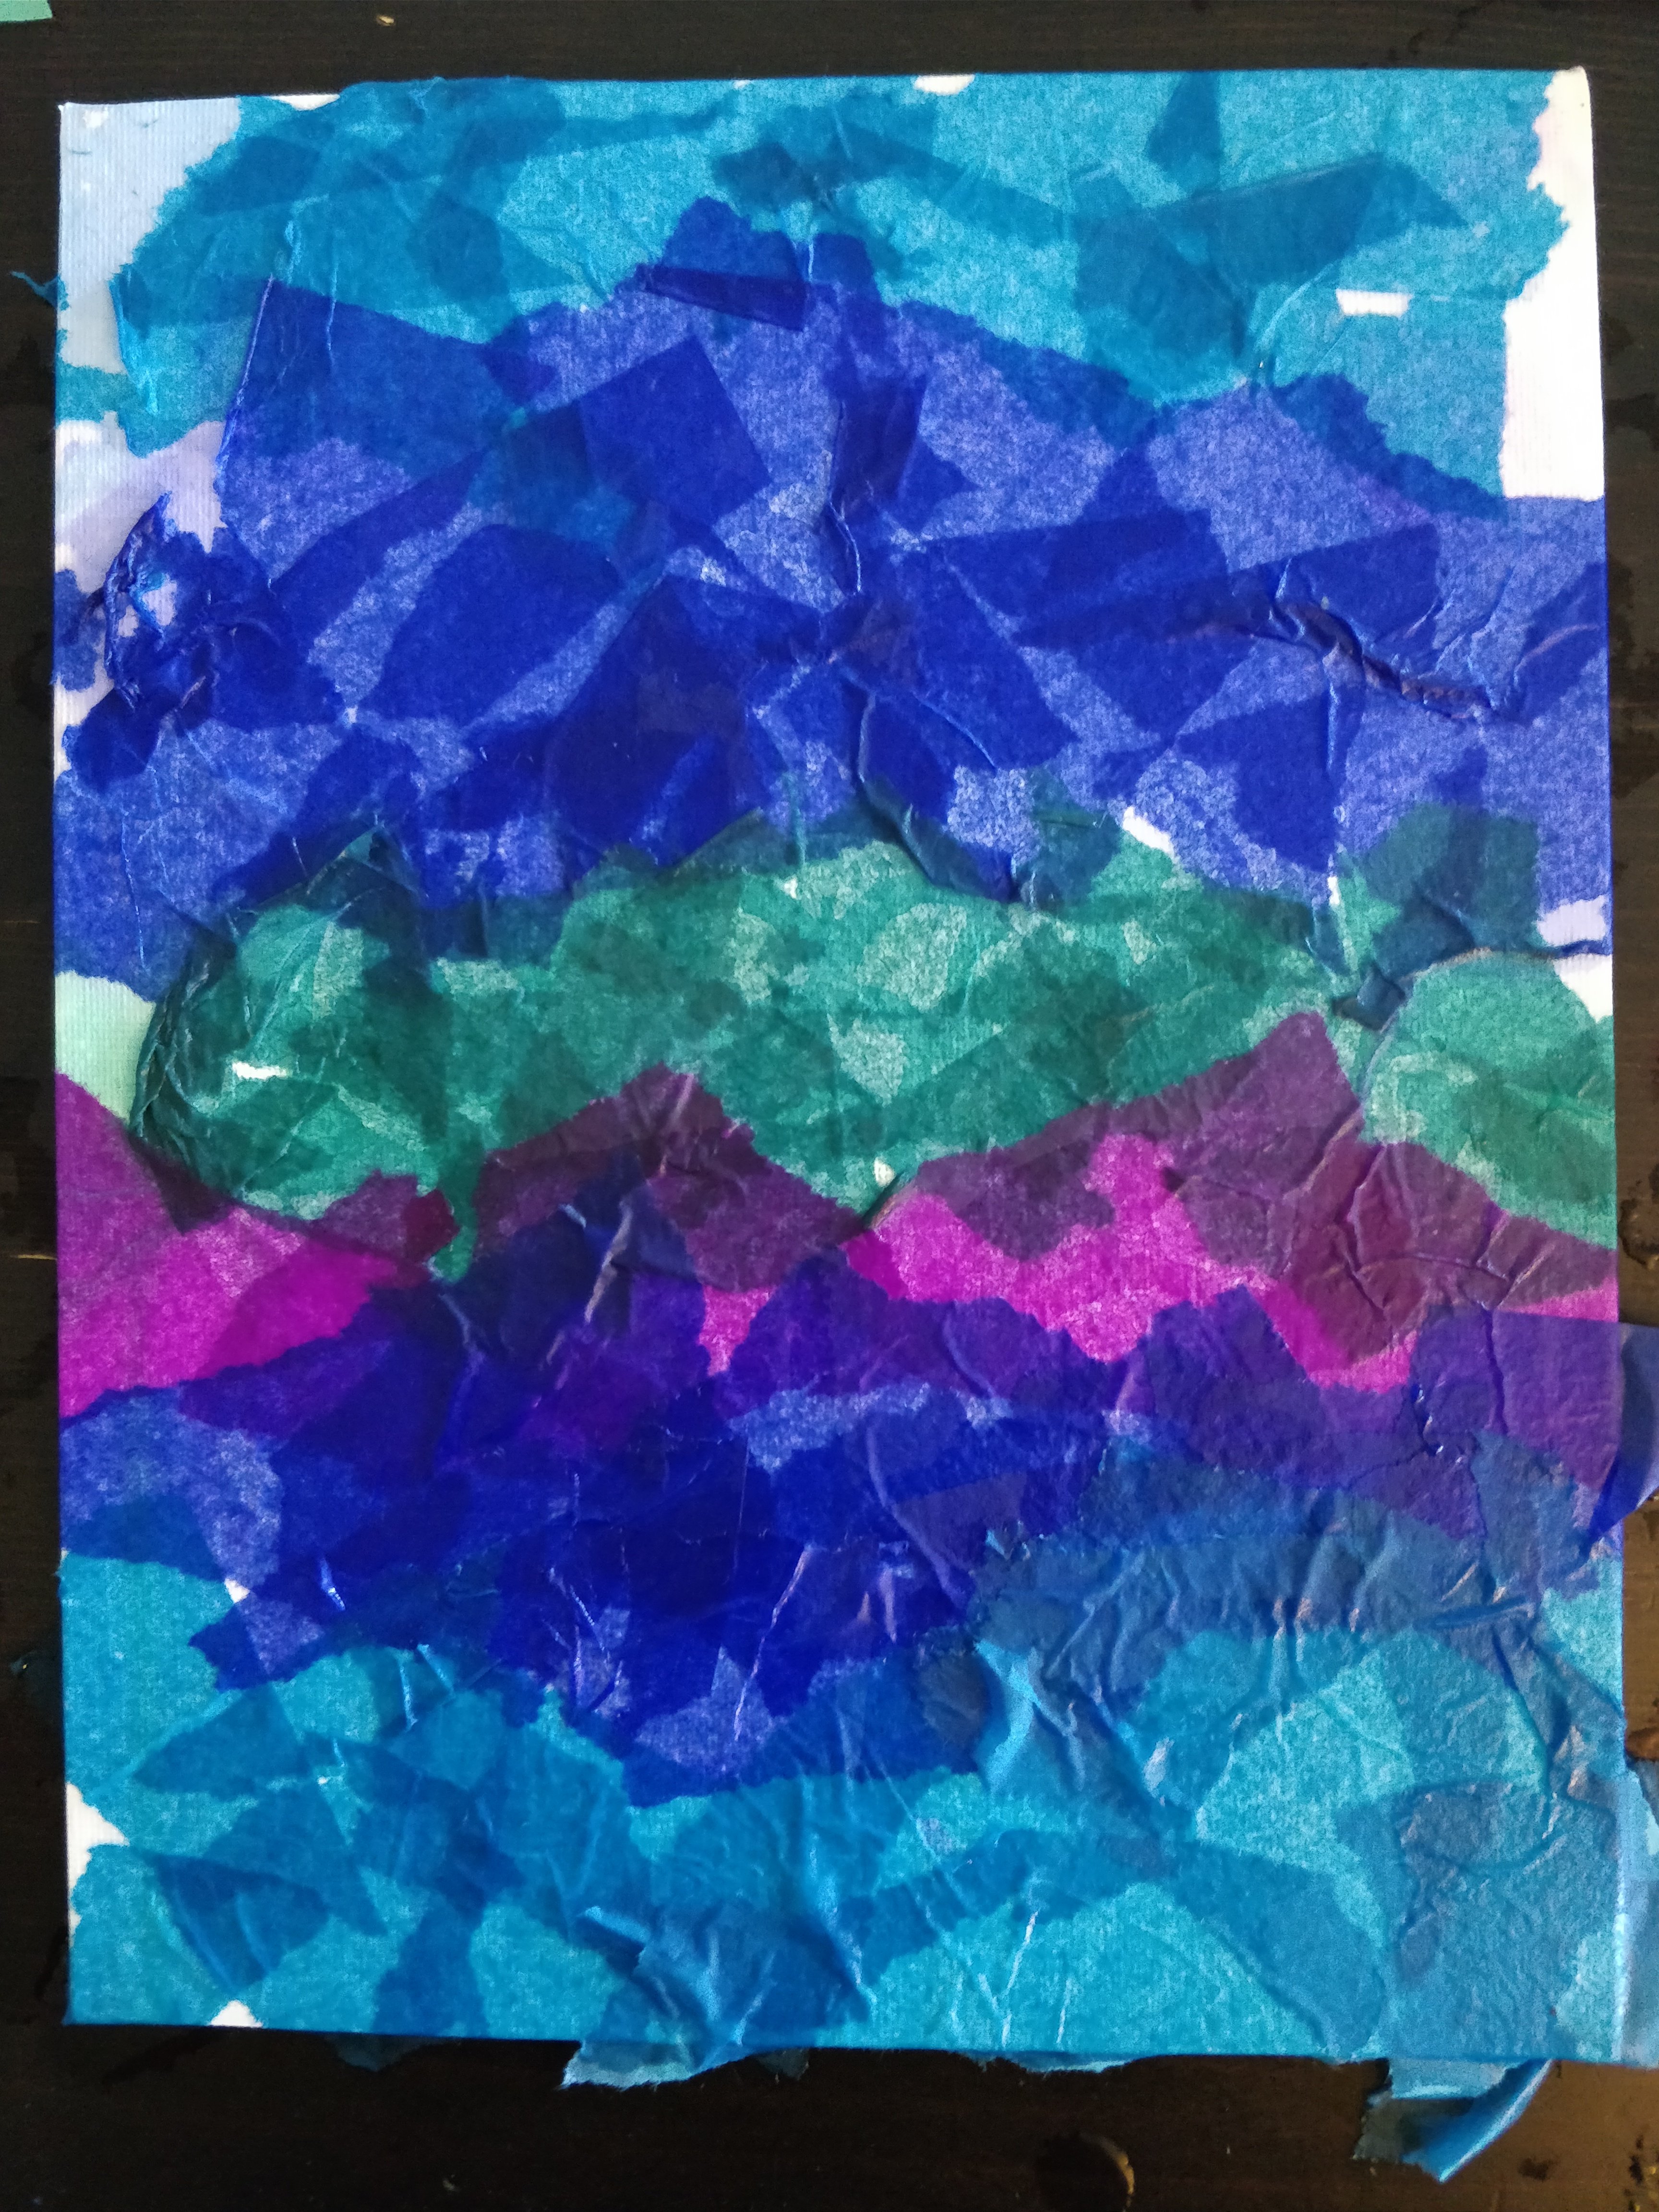
Try not to think too much in this part and lay your tissue in random places.
This was my favorite part of the project!
1.Tissue paperthat bleeds
2.

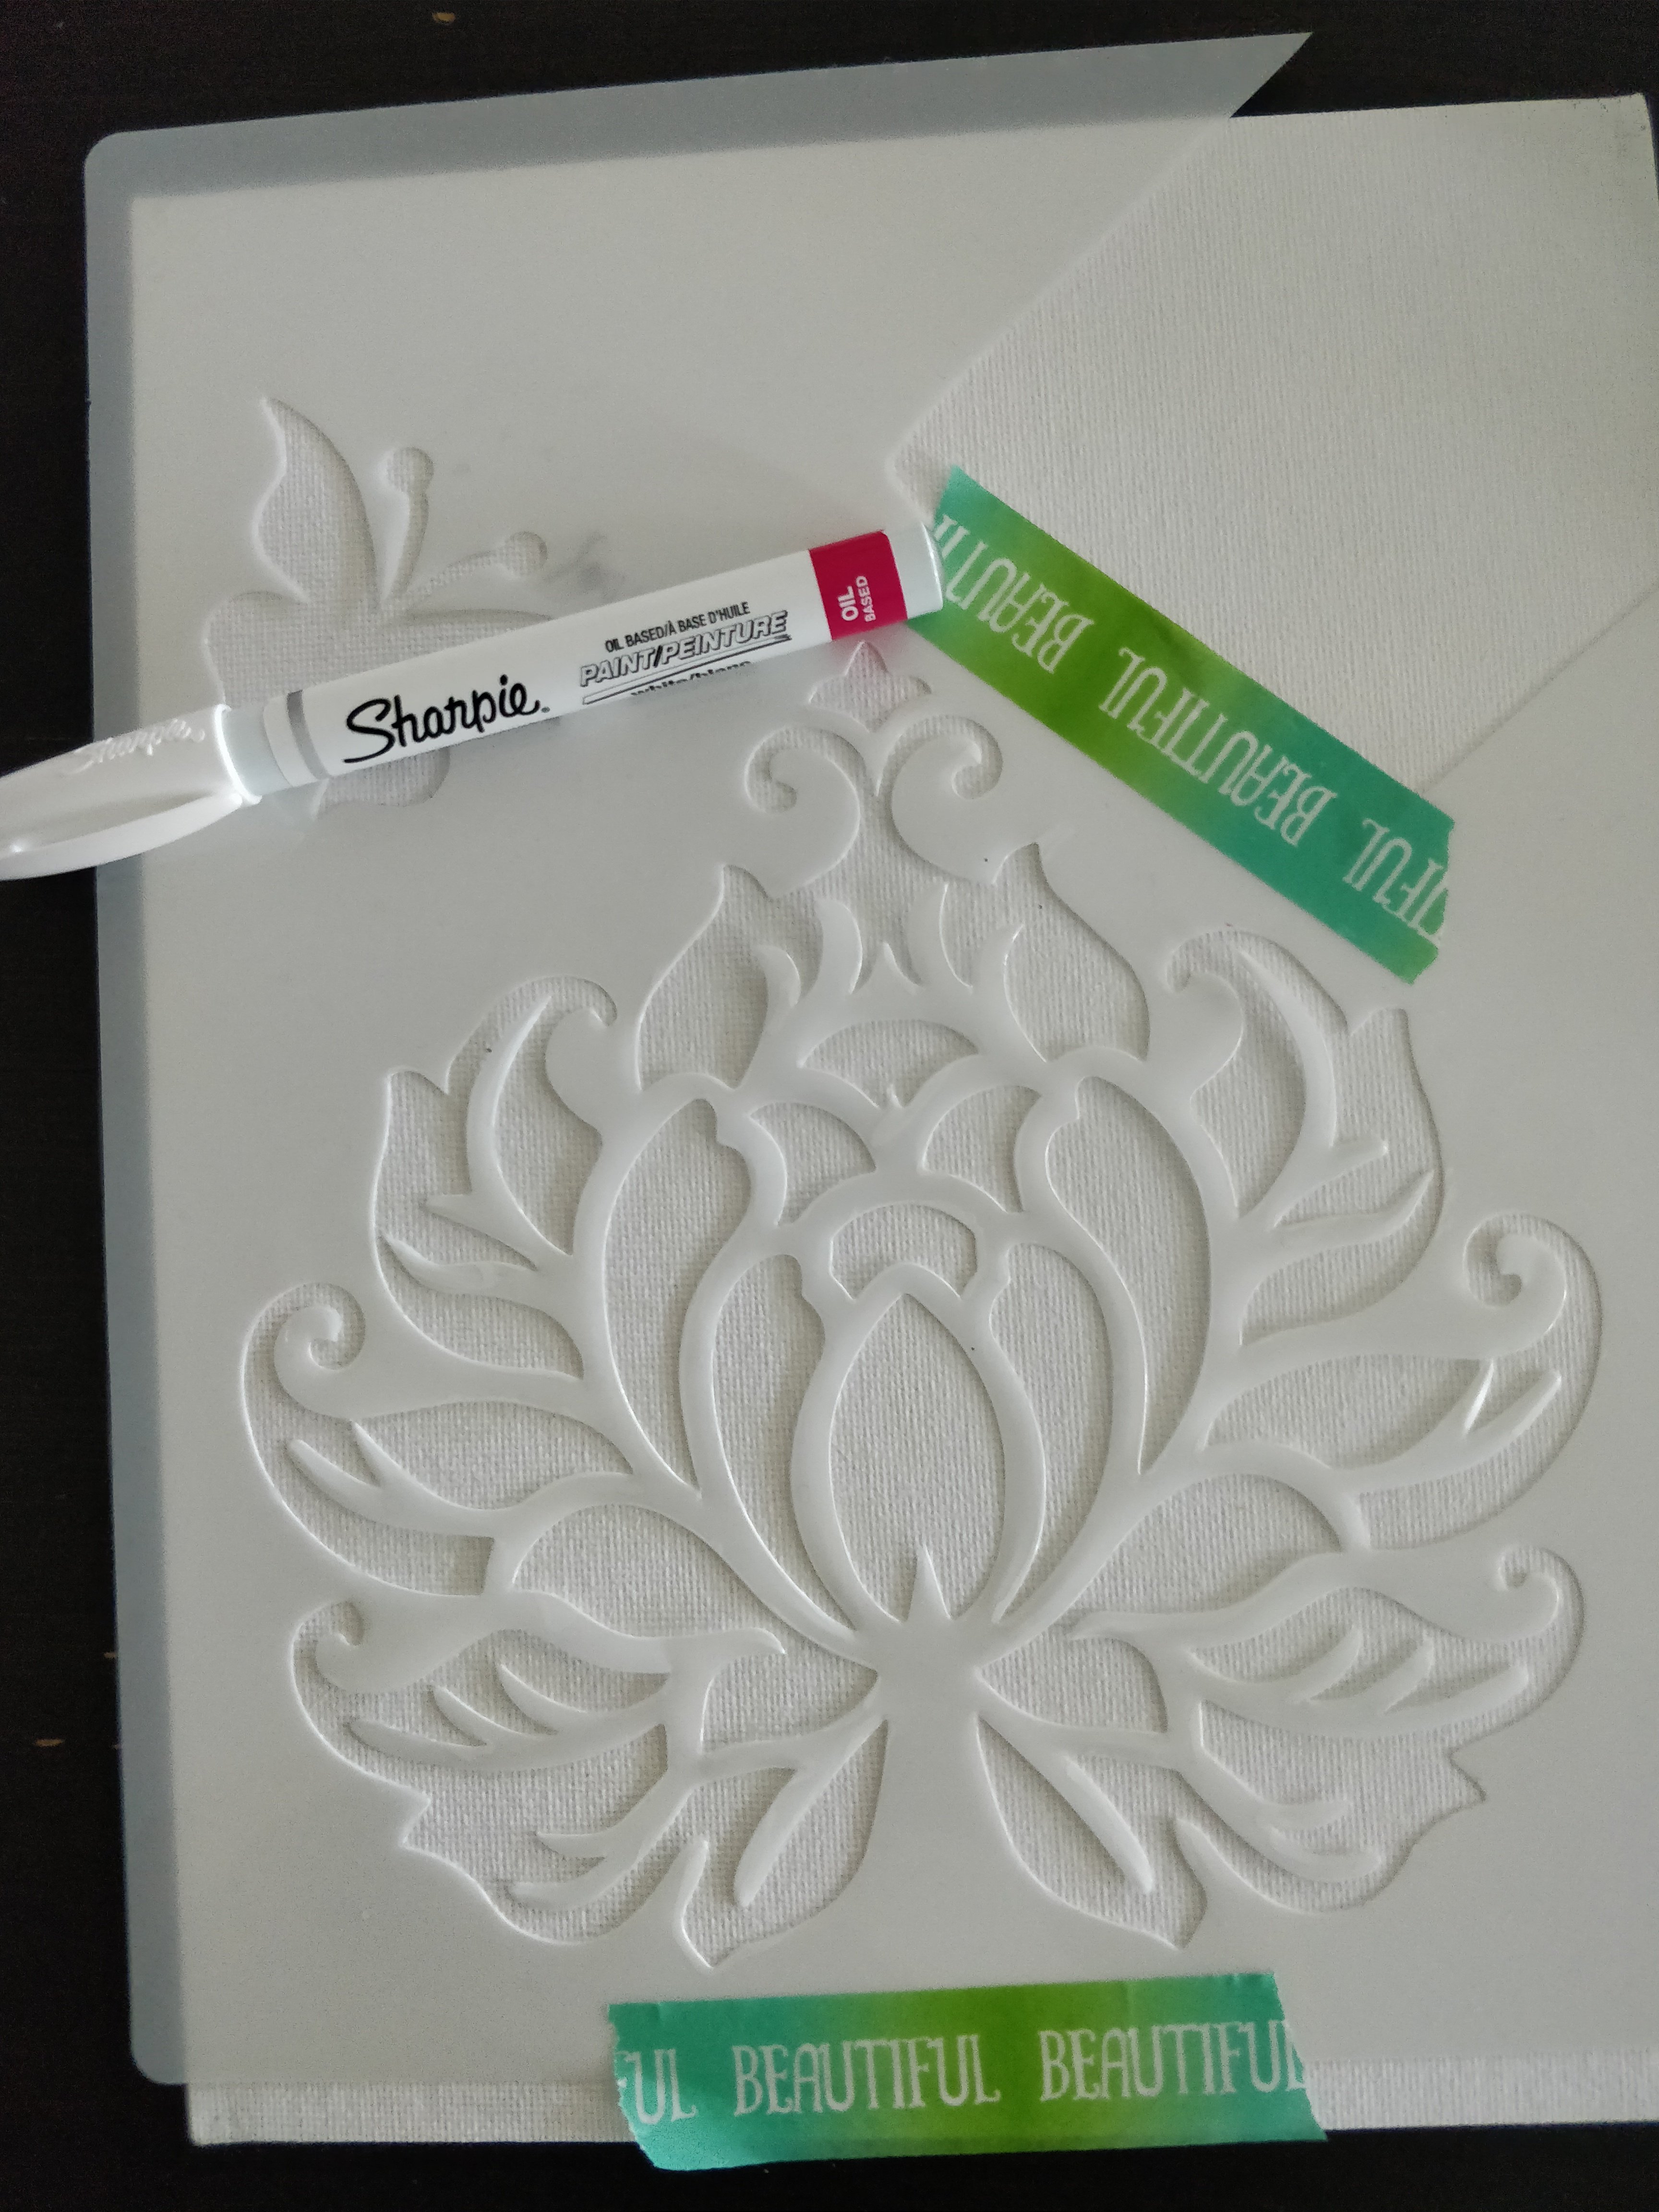
WhiteOil based Sharpie marker
3.Canvas board
4.
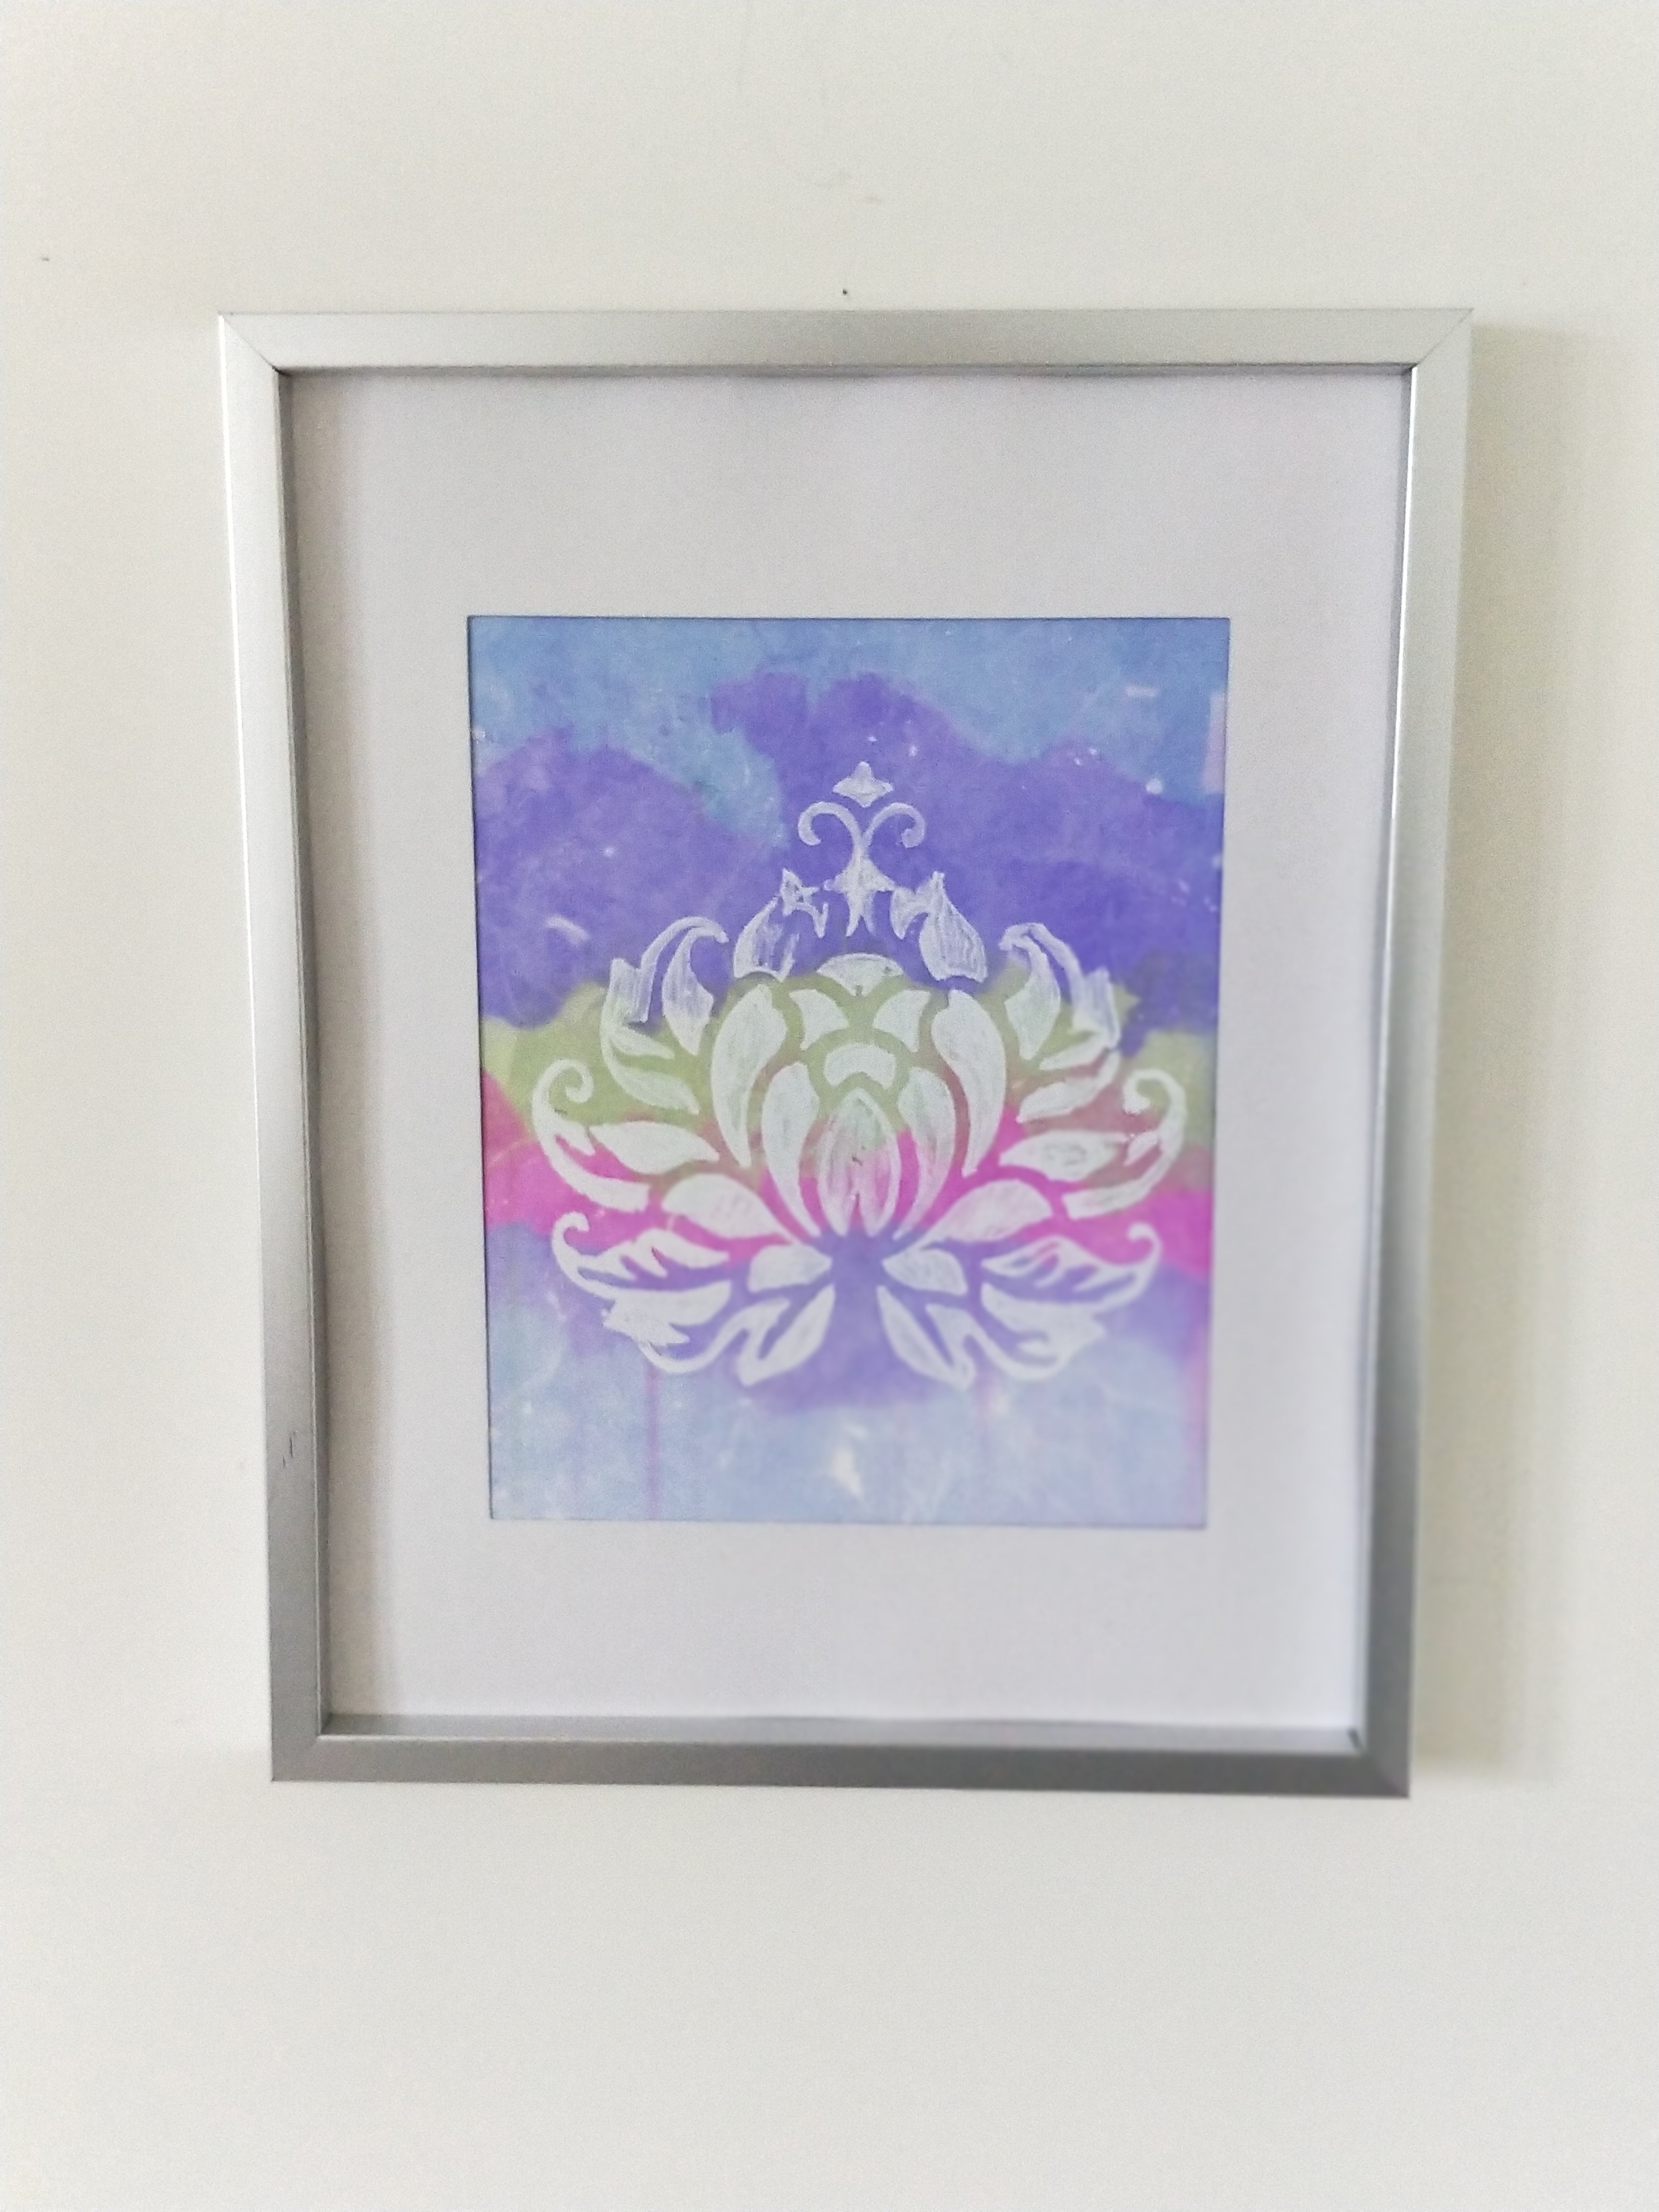
Take your white Oil based Sharpie and color in your stencil onto the canvas board.
Like in the previous project, wet your canvas lightly with water.
Take your torn up tissue paper pieces and put them on your wet canvas.
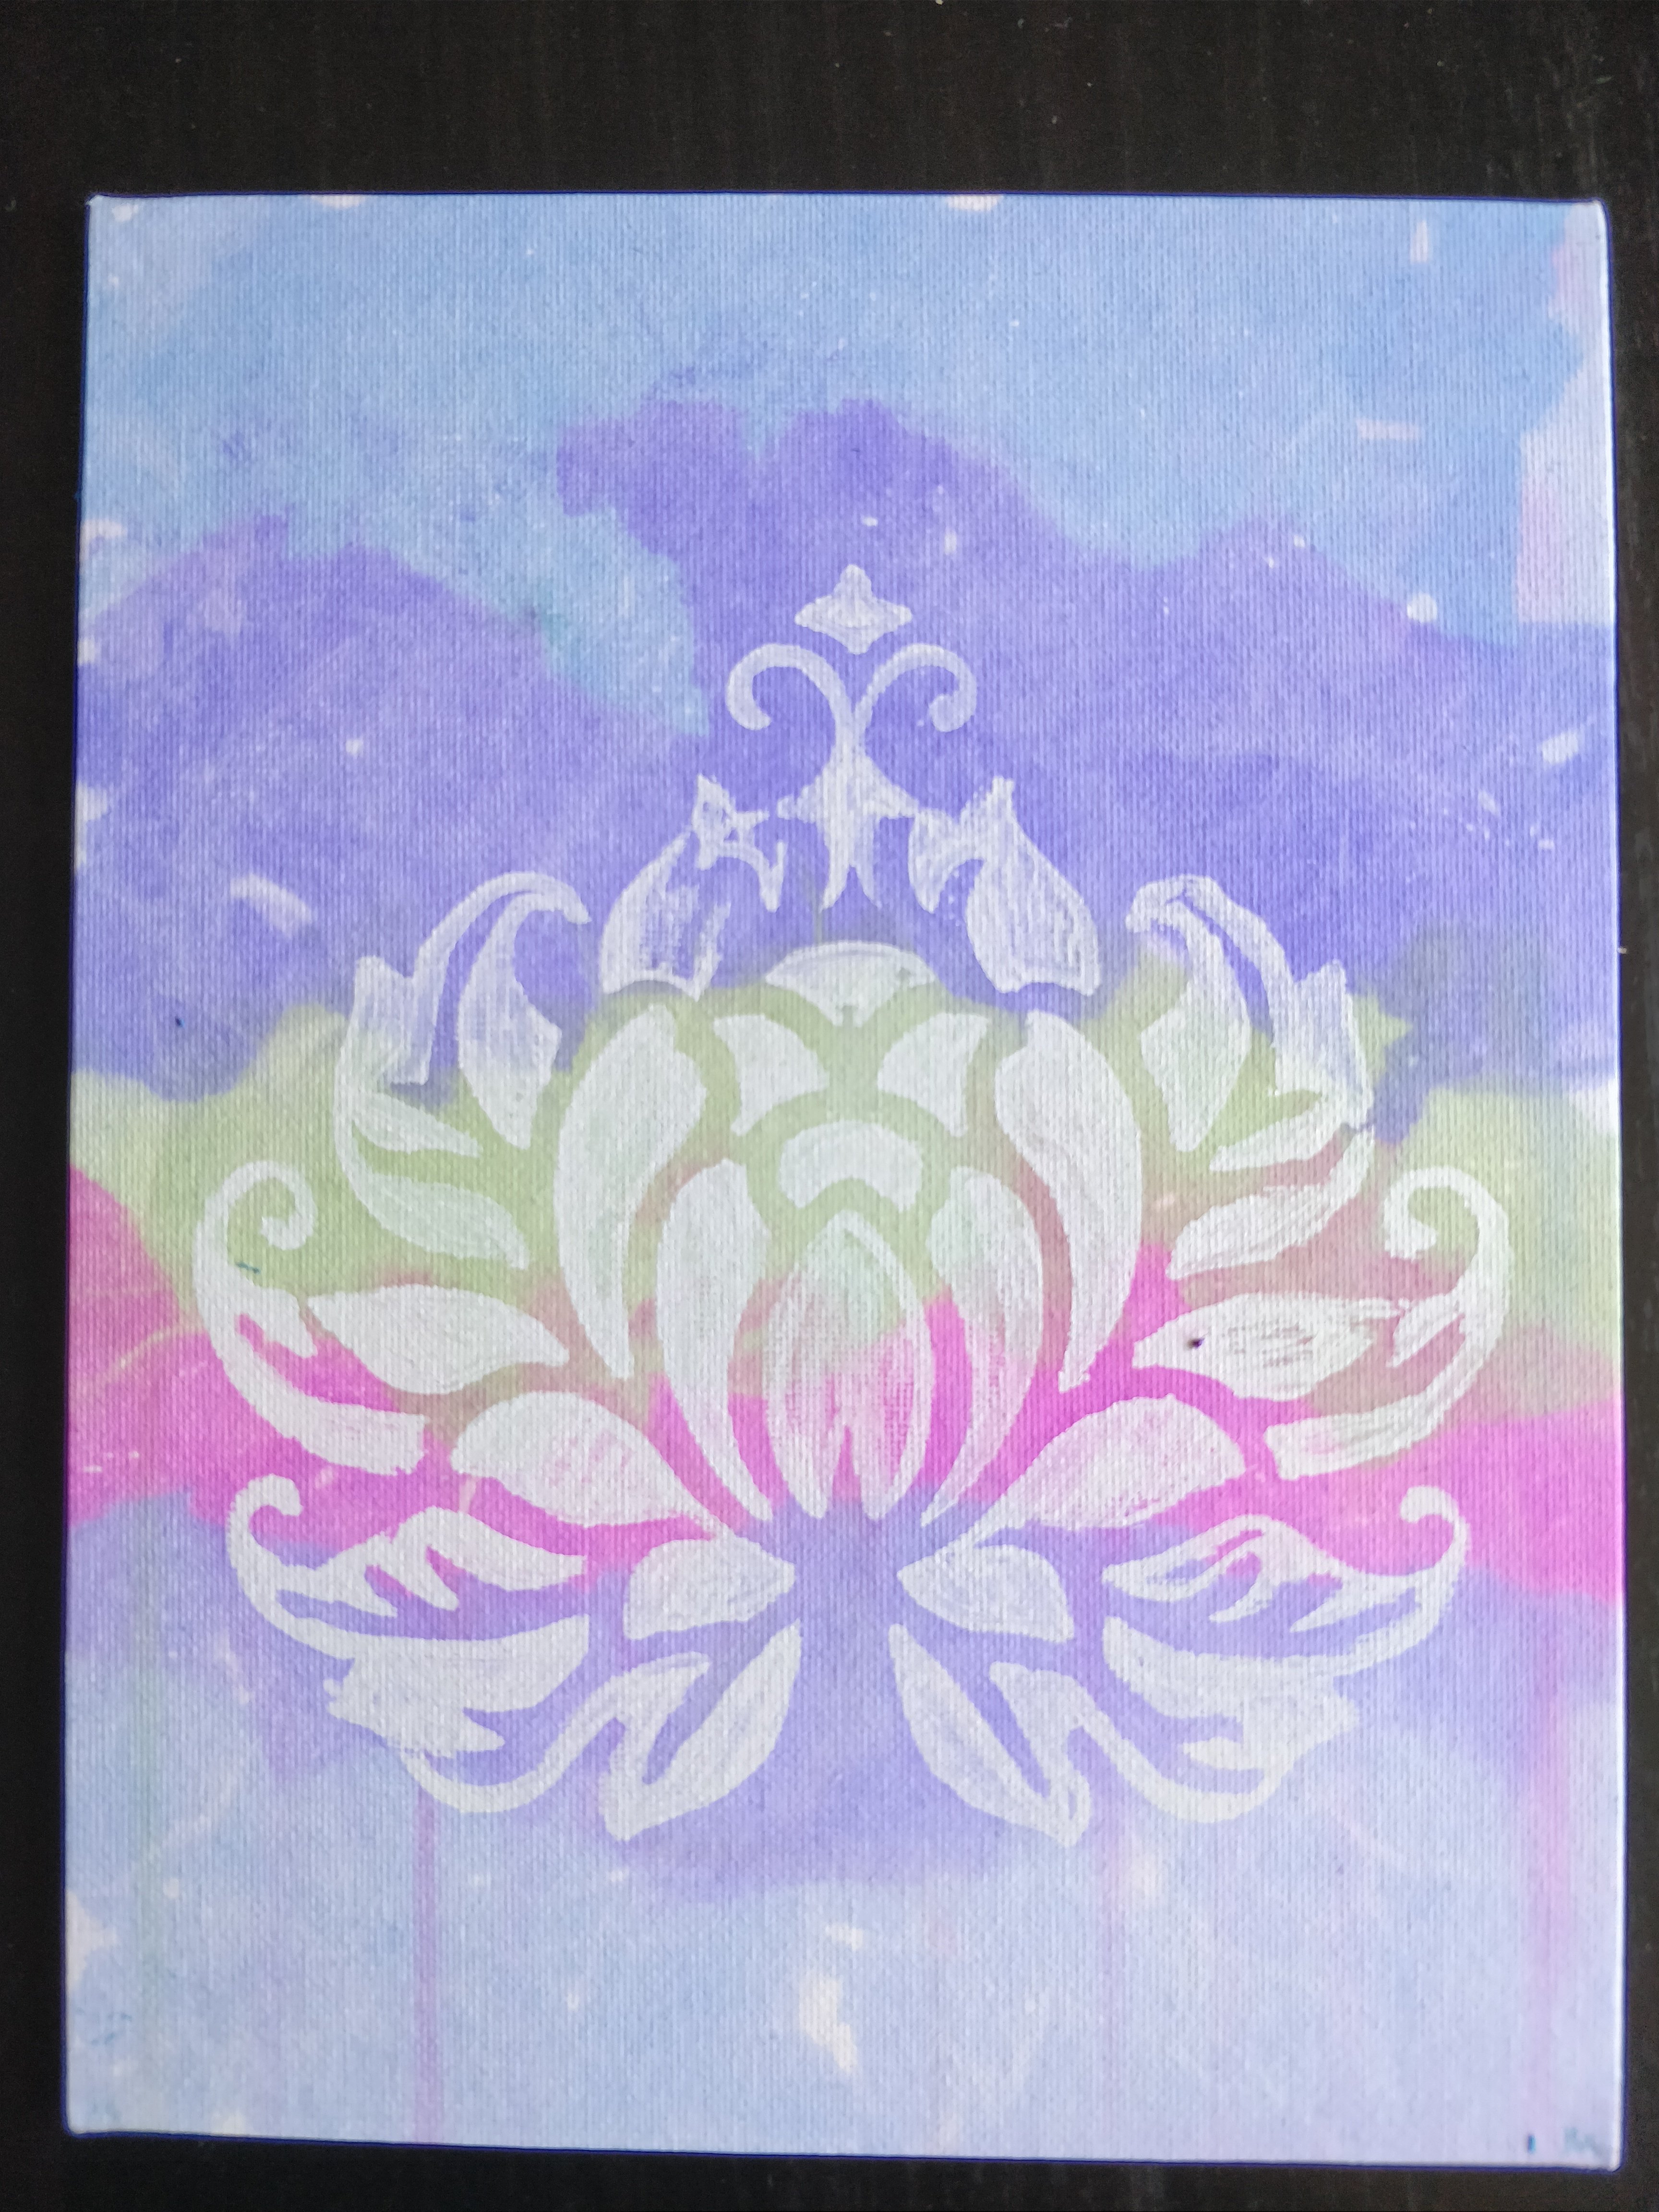
Let the tissue paper dry at least 5 Minutes ( completely dry to get the most vibrant color).
The pattern/ stencil work with your white Sharpie is now visible.

There you you have it, 2 easy peasy tissue paper bleeding art projects for you to try.
If you liked this tissue paper art step by step guide, kindly pin it.
Until next time time, stay Nifty!