Use scalloped wooden trim and magnets to make the most budget friendly DIY poster hanger ever!
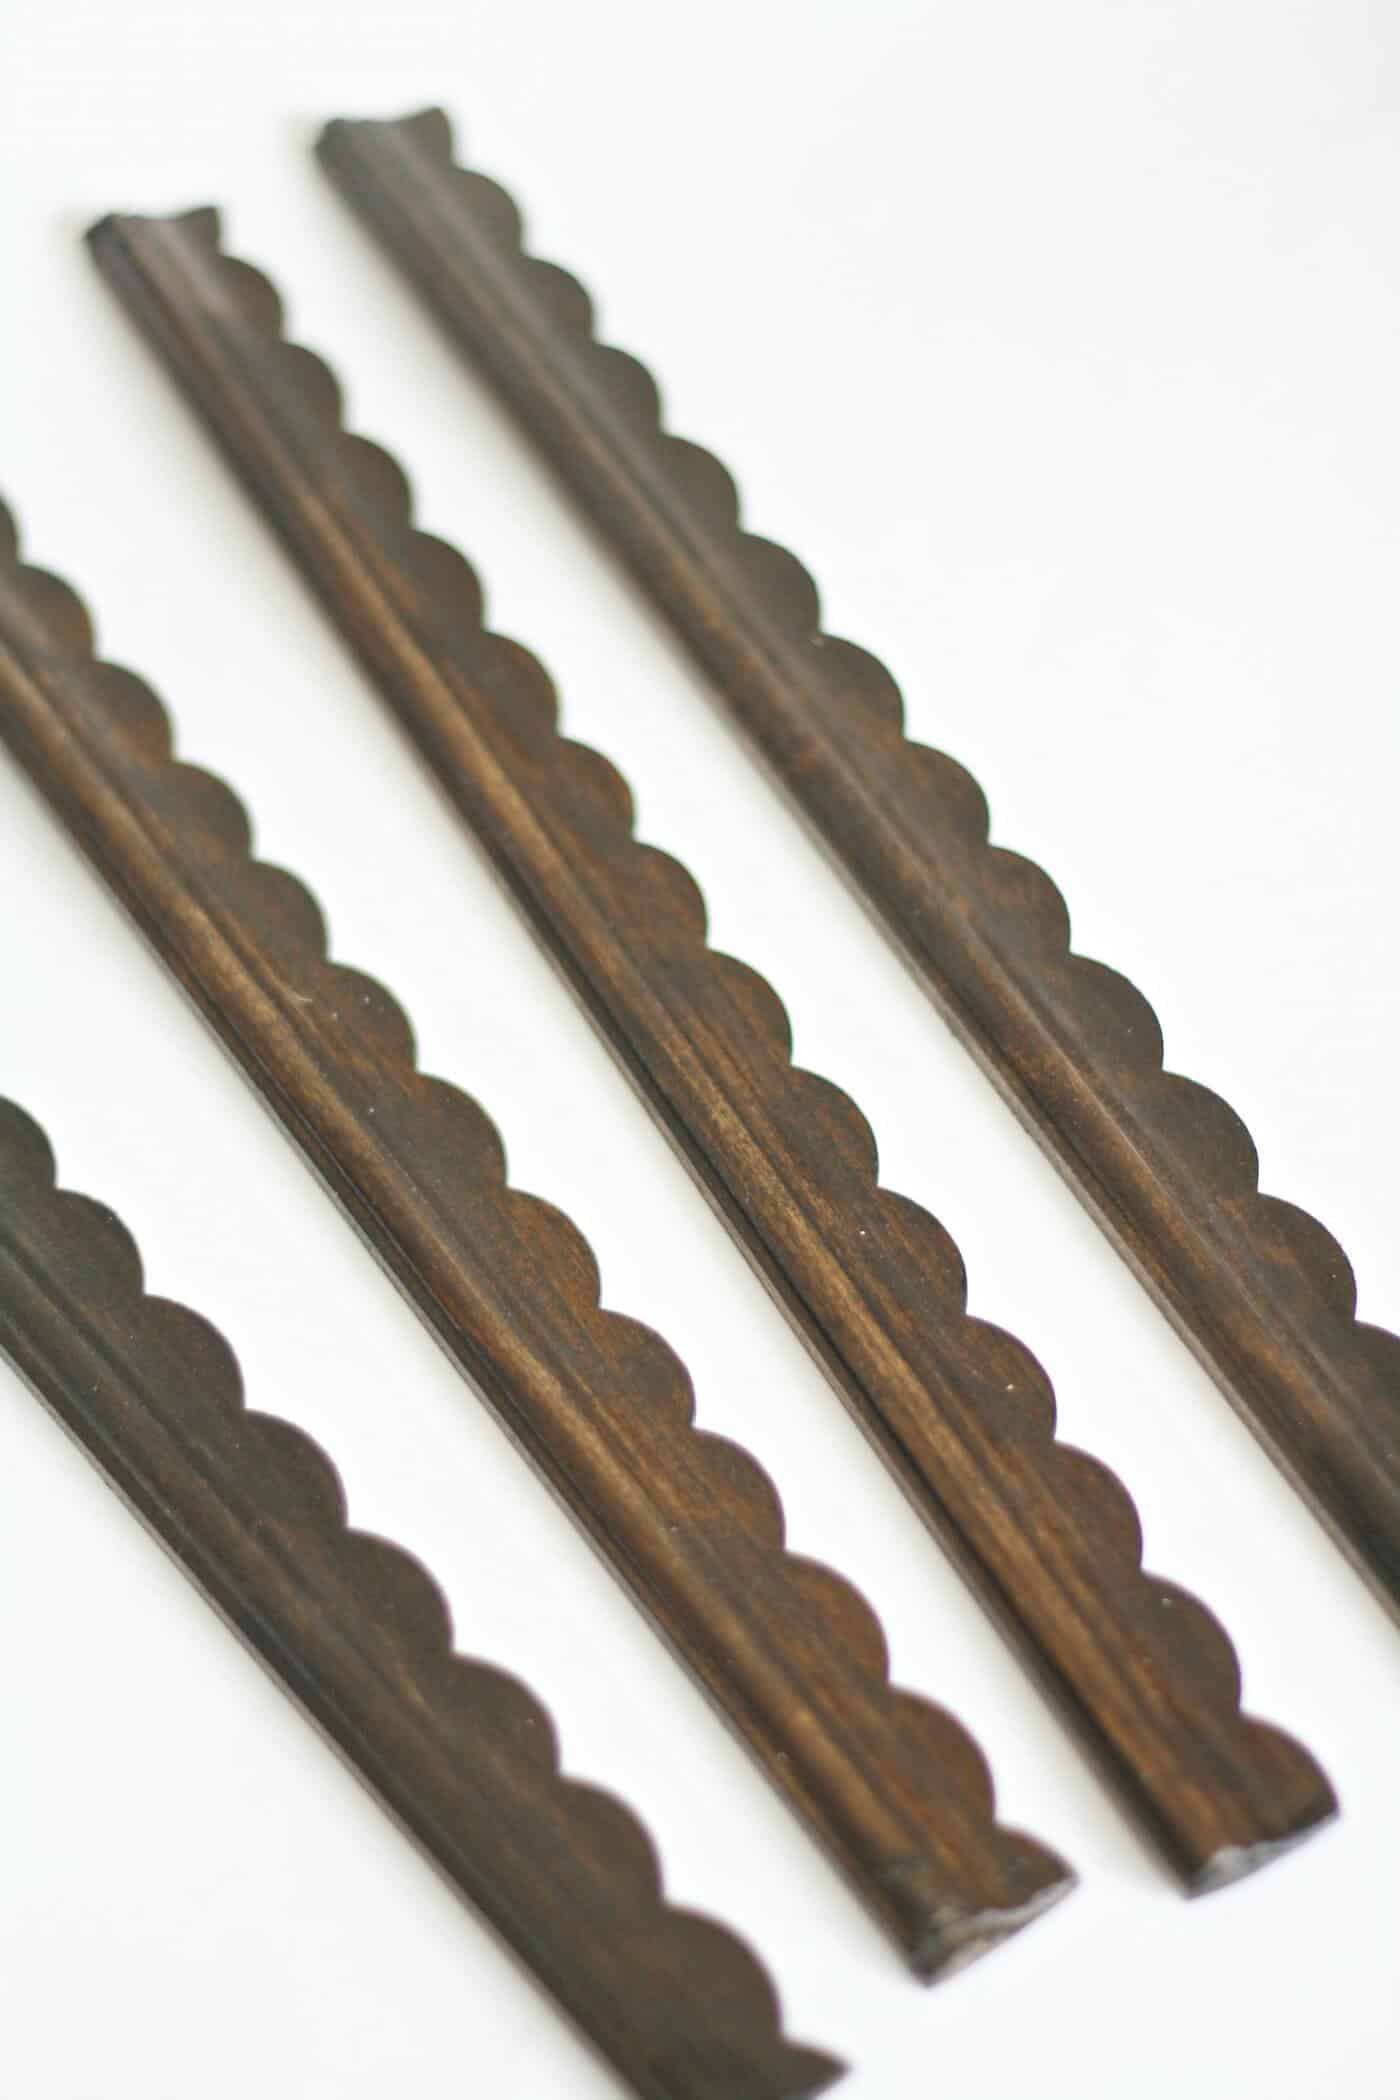
Get any trim you like and your favorite stain color to customize.
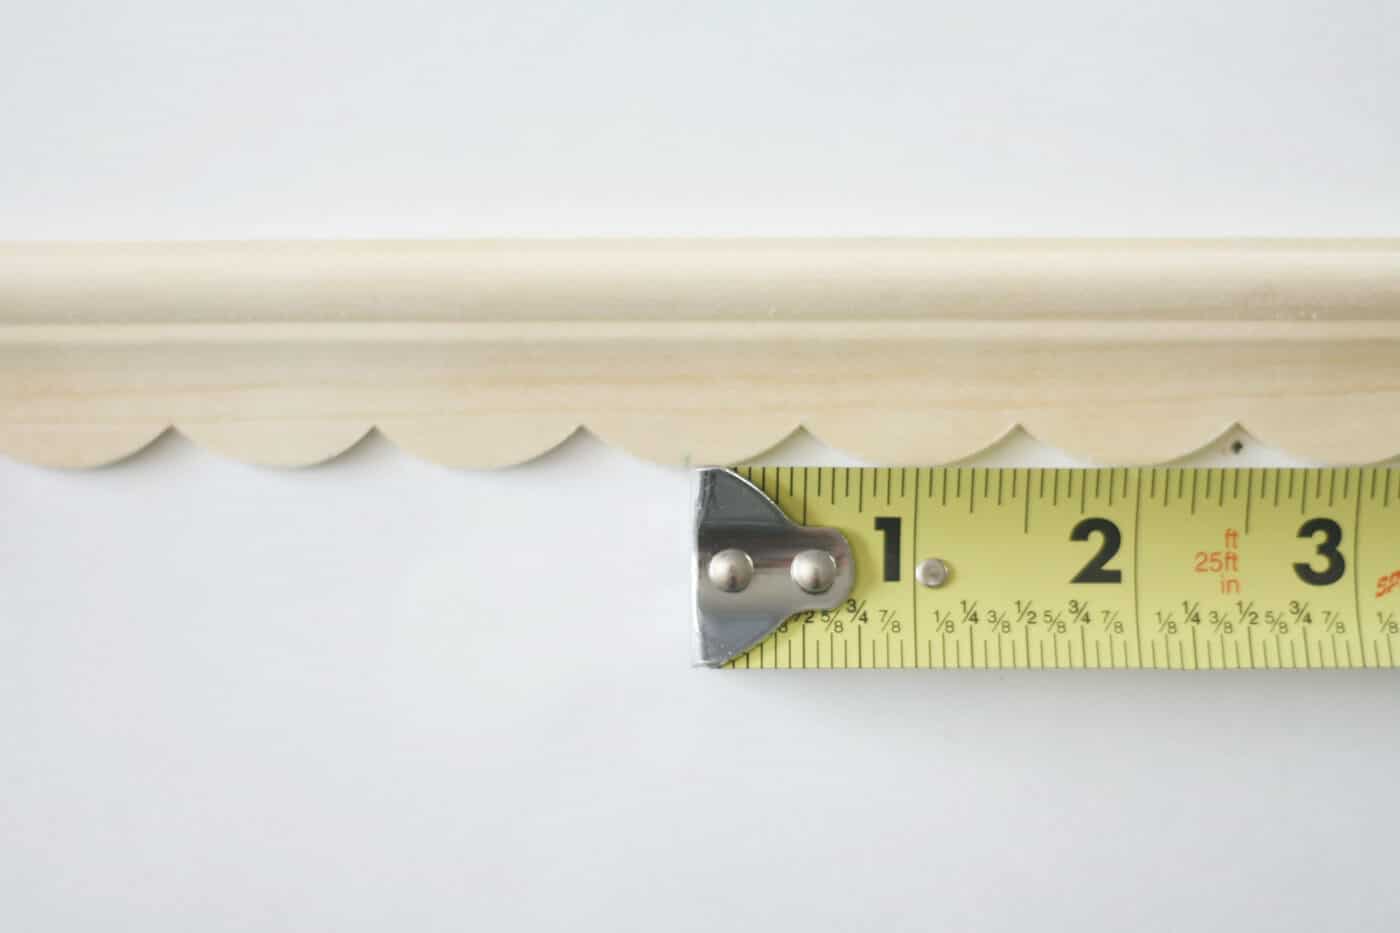
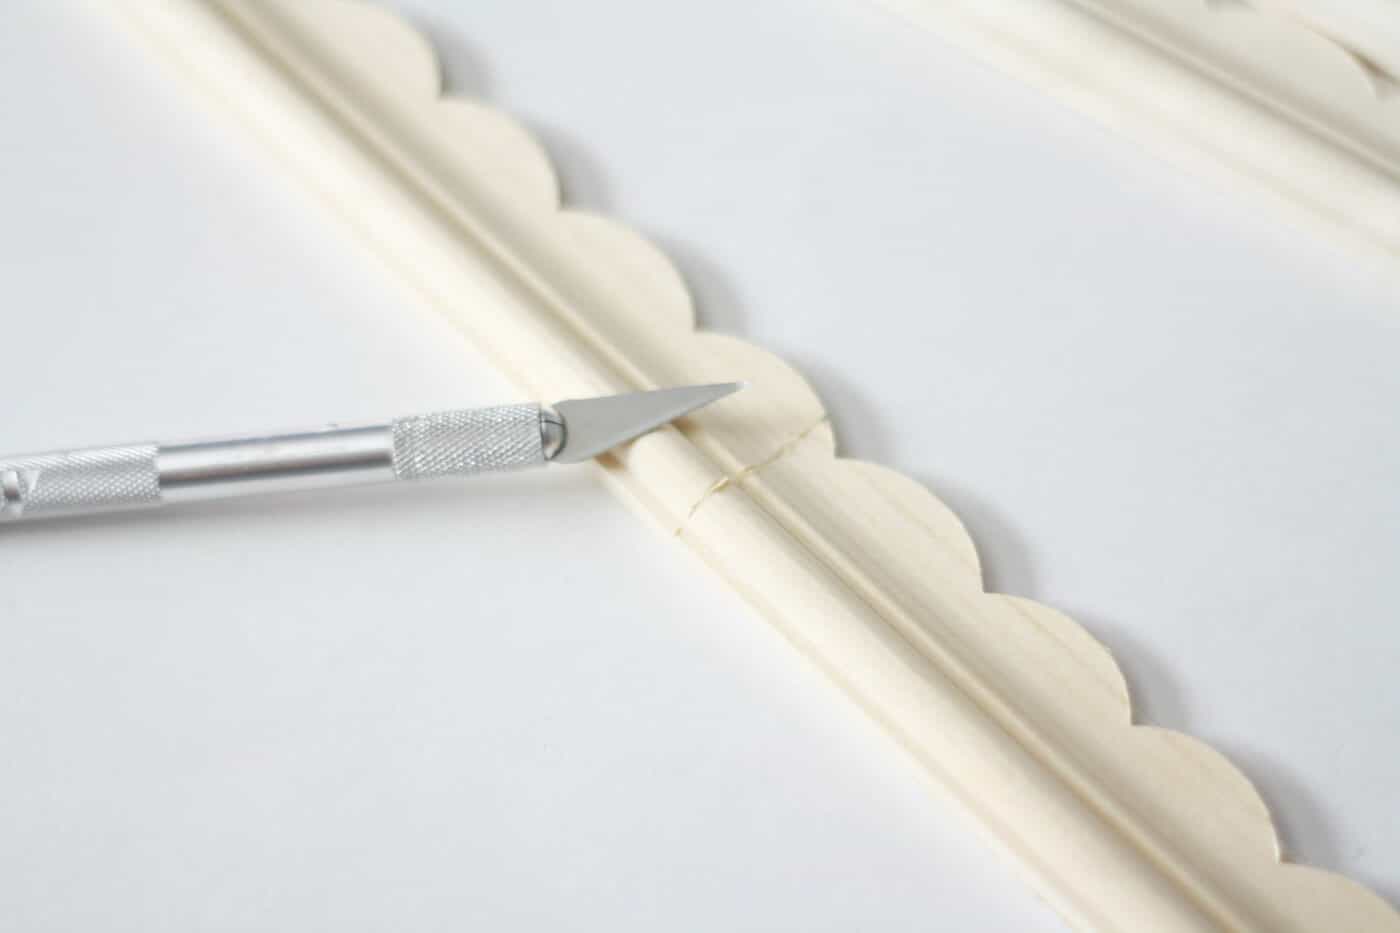
Skills Required: Beginner.Youre going to be cutting wood with a craft knife, and then staining it.
If can use a craft knife and a bottle of glue, youll do well with this project.
This is one of the easiest projects I have ever made, but I love how it looks!
Its also very versatile.
you’re able to put it in thekitchen, a bedroom, the living room.
That choices comes down to a matter of style and cost.
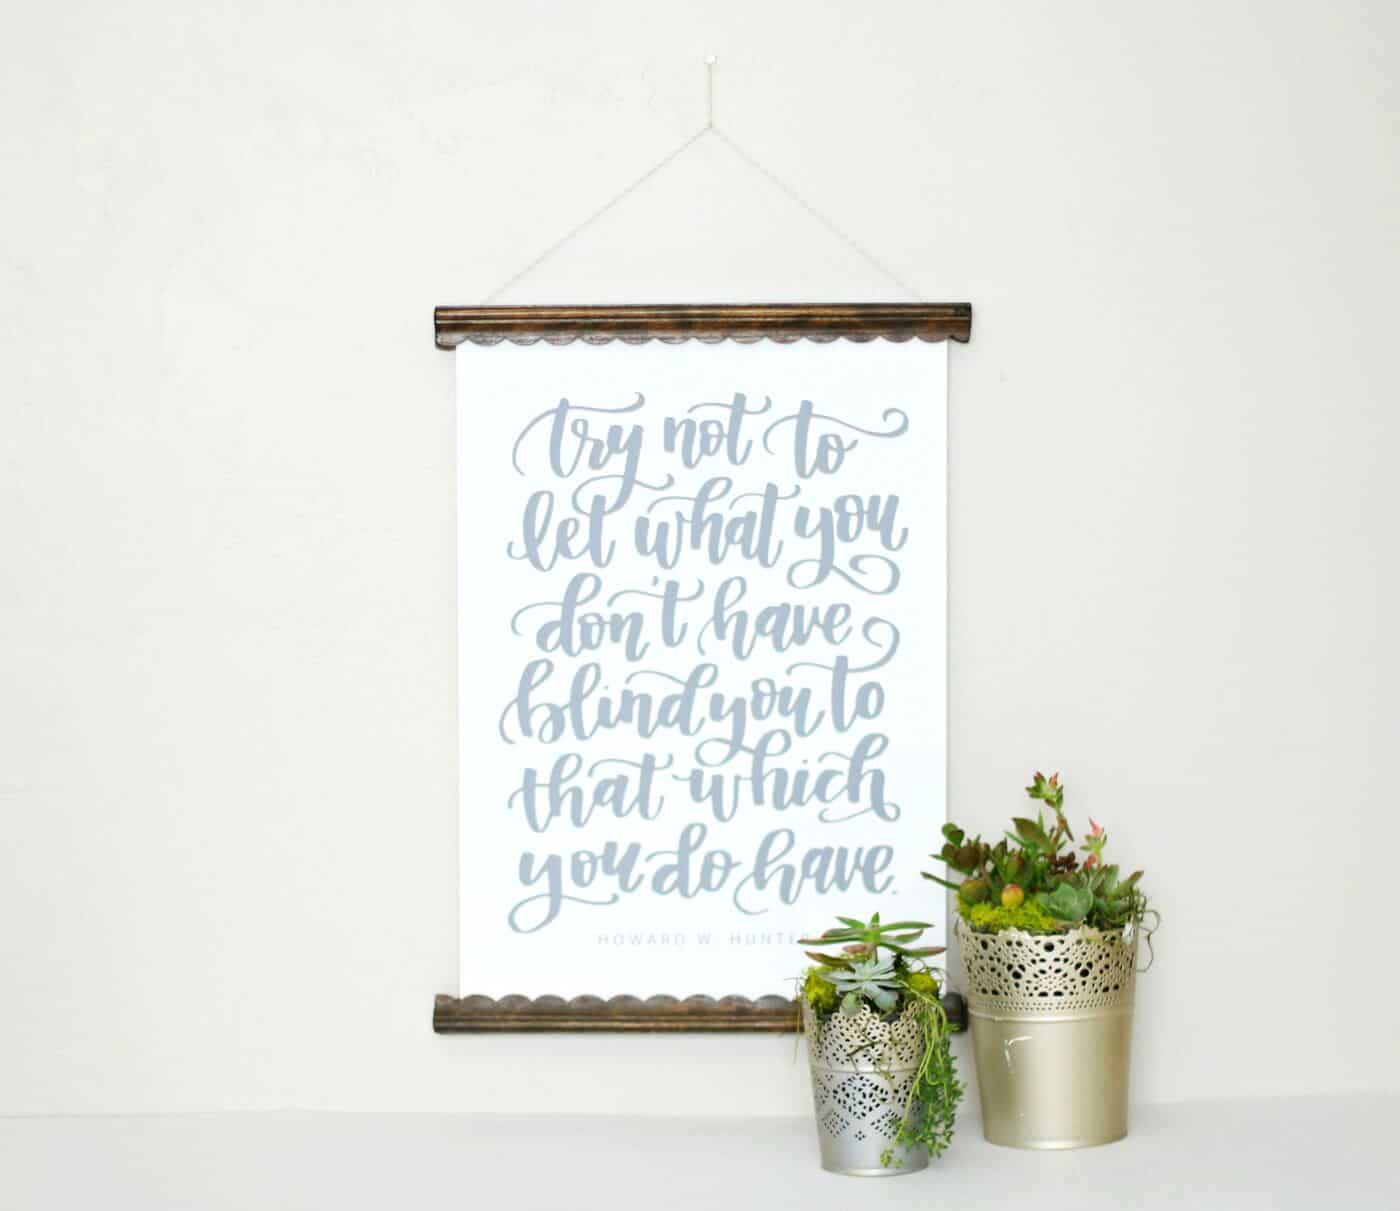
In terms of aesthetics, thiswall hangingis just another way of putting a poster on the wall.
Its interesting, unique, dimensional .
and easy to change the posters in and out.
This is a great alternative to custom framing, and it still looks great.

As far as cost, this method is a LOT less expensive than purchasing a frame.
Of course its so cheap, it doesnt even compare to custom framing.
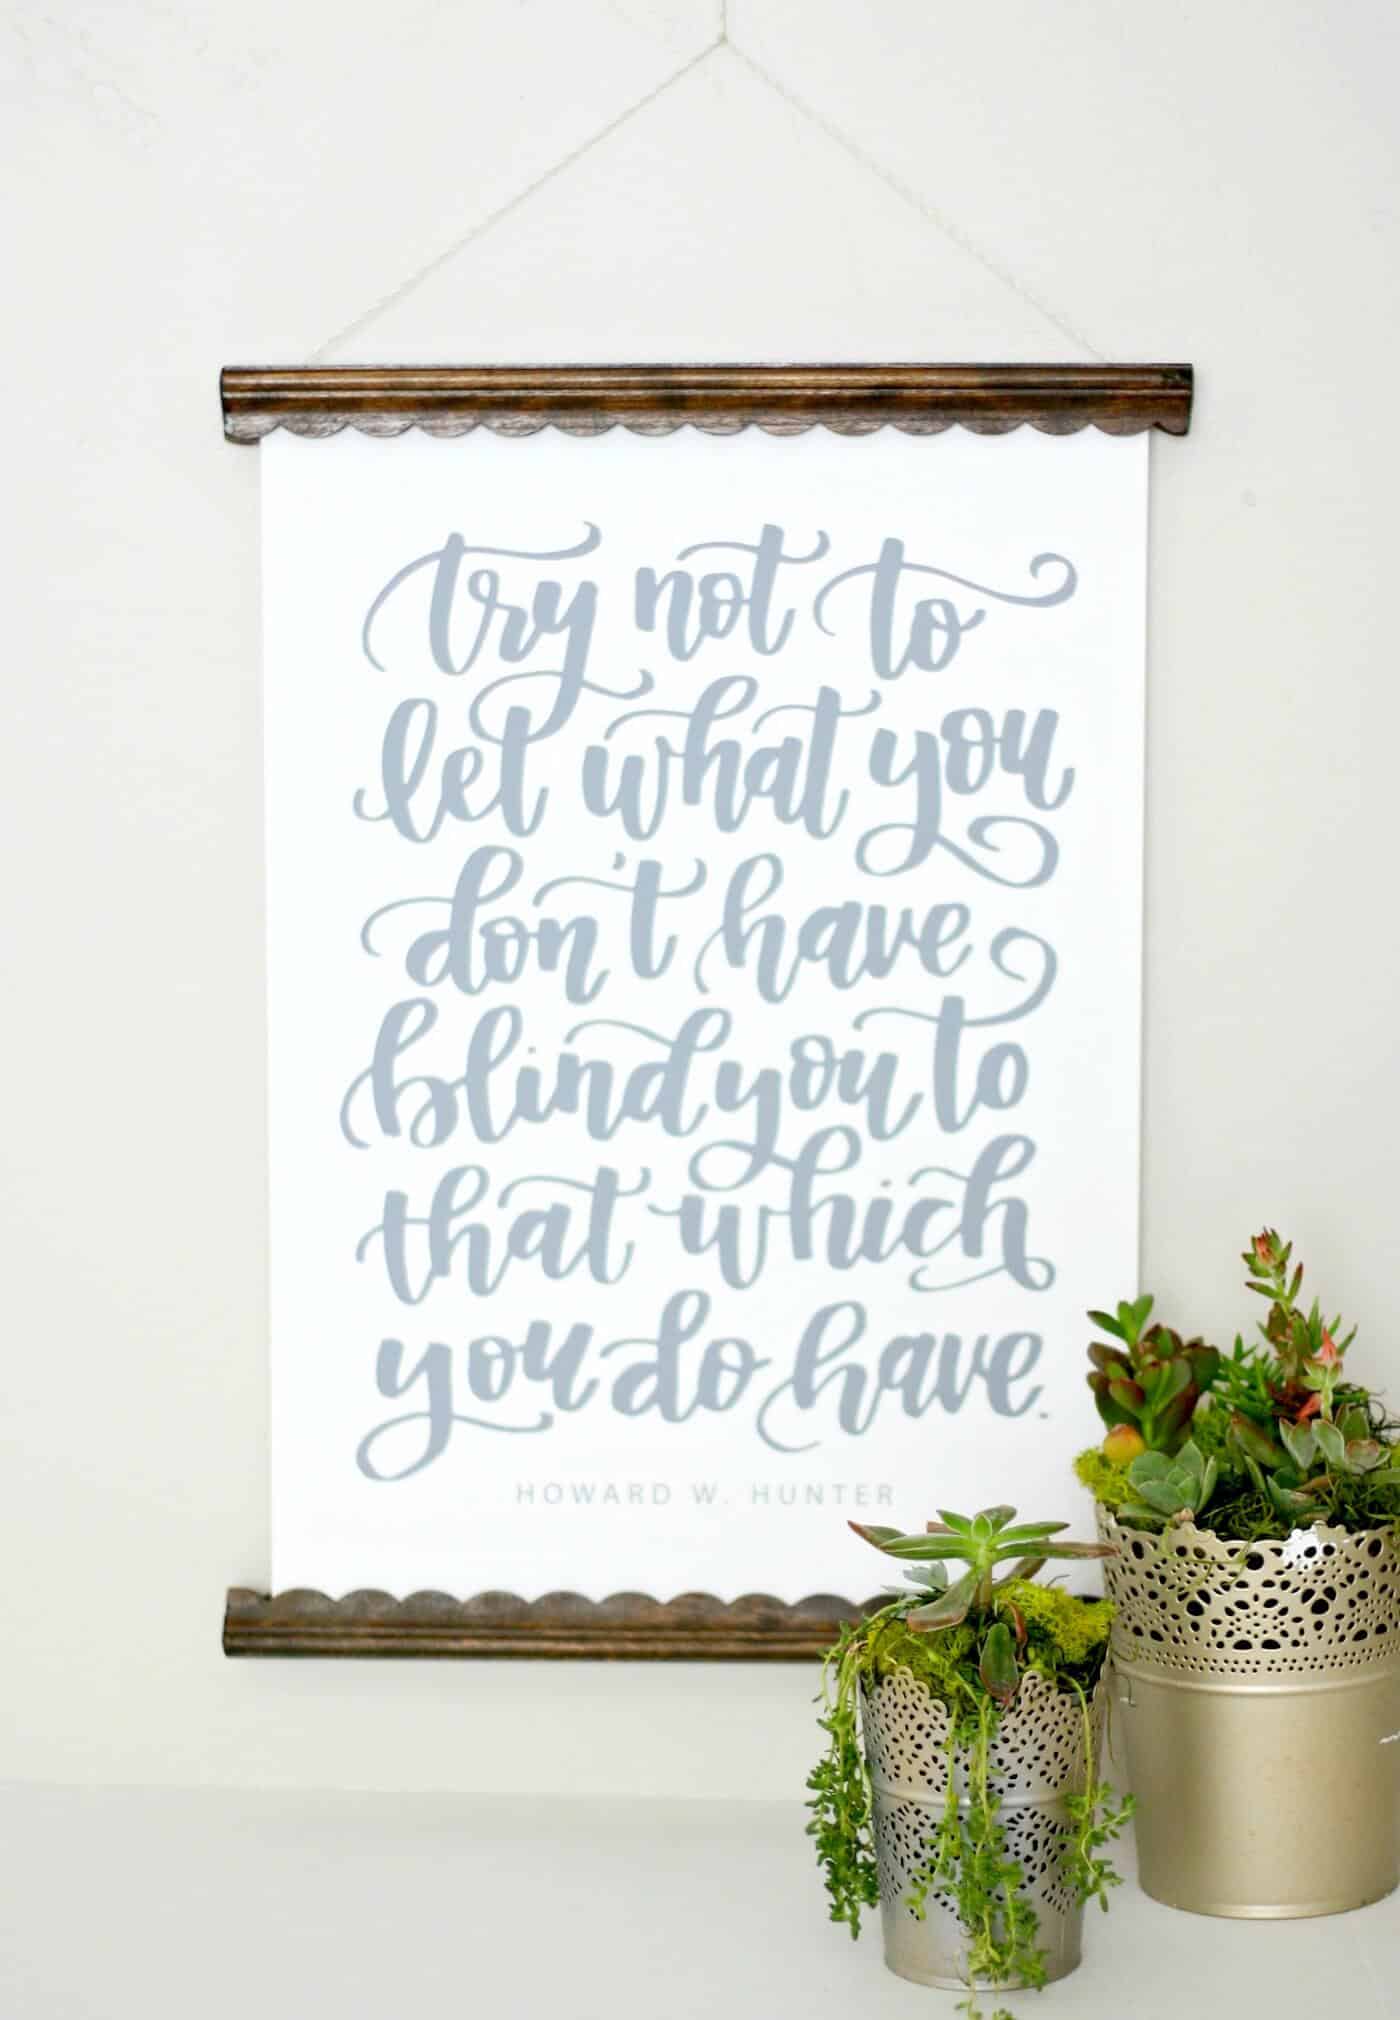
With a lot of prints, I actually prefer this method as opposed to a frame.
I just love the way it looks!
), you might end up with a ruined print or fingerprints.
Neither of which you really want.
So just keep that in mind!
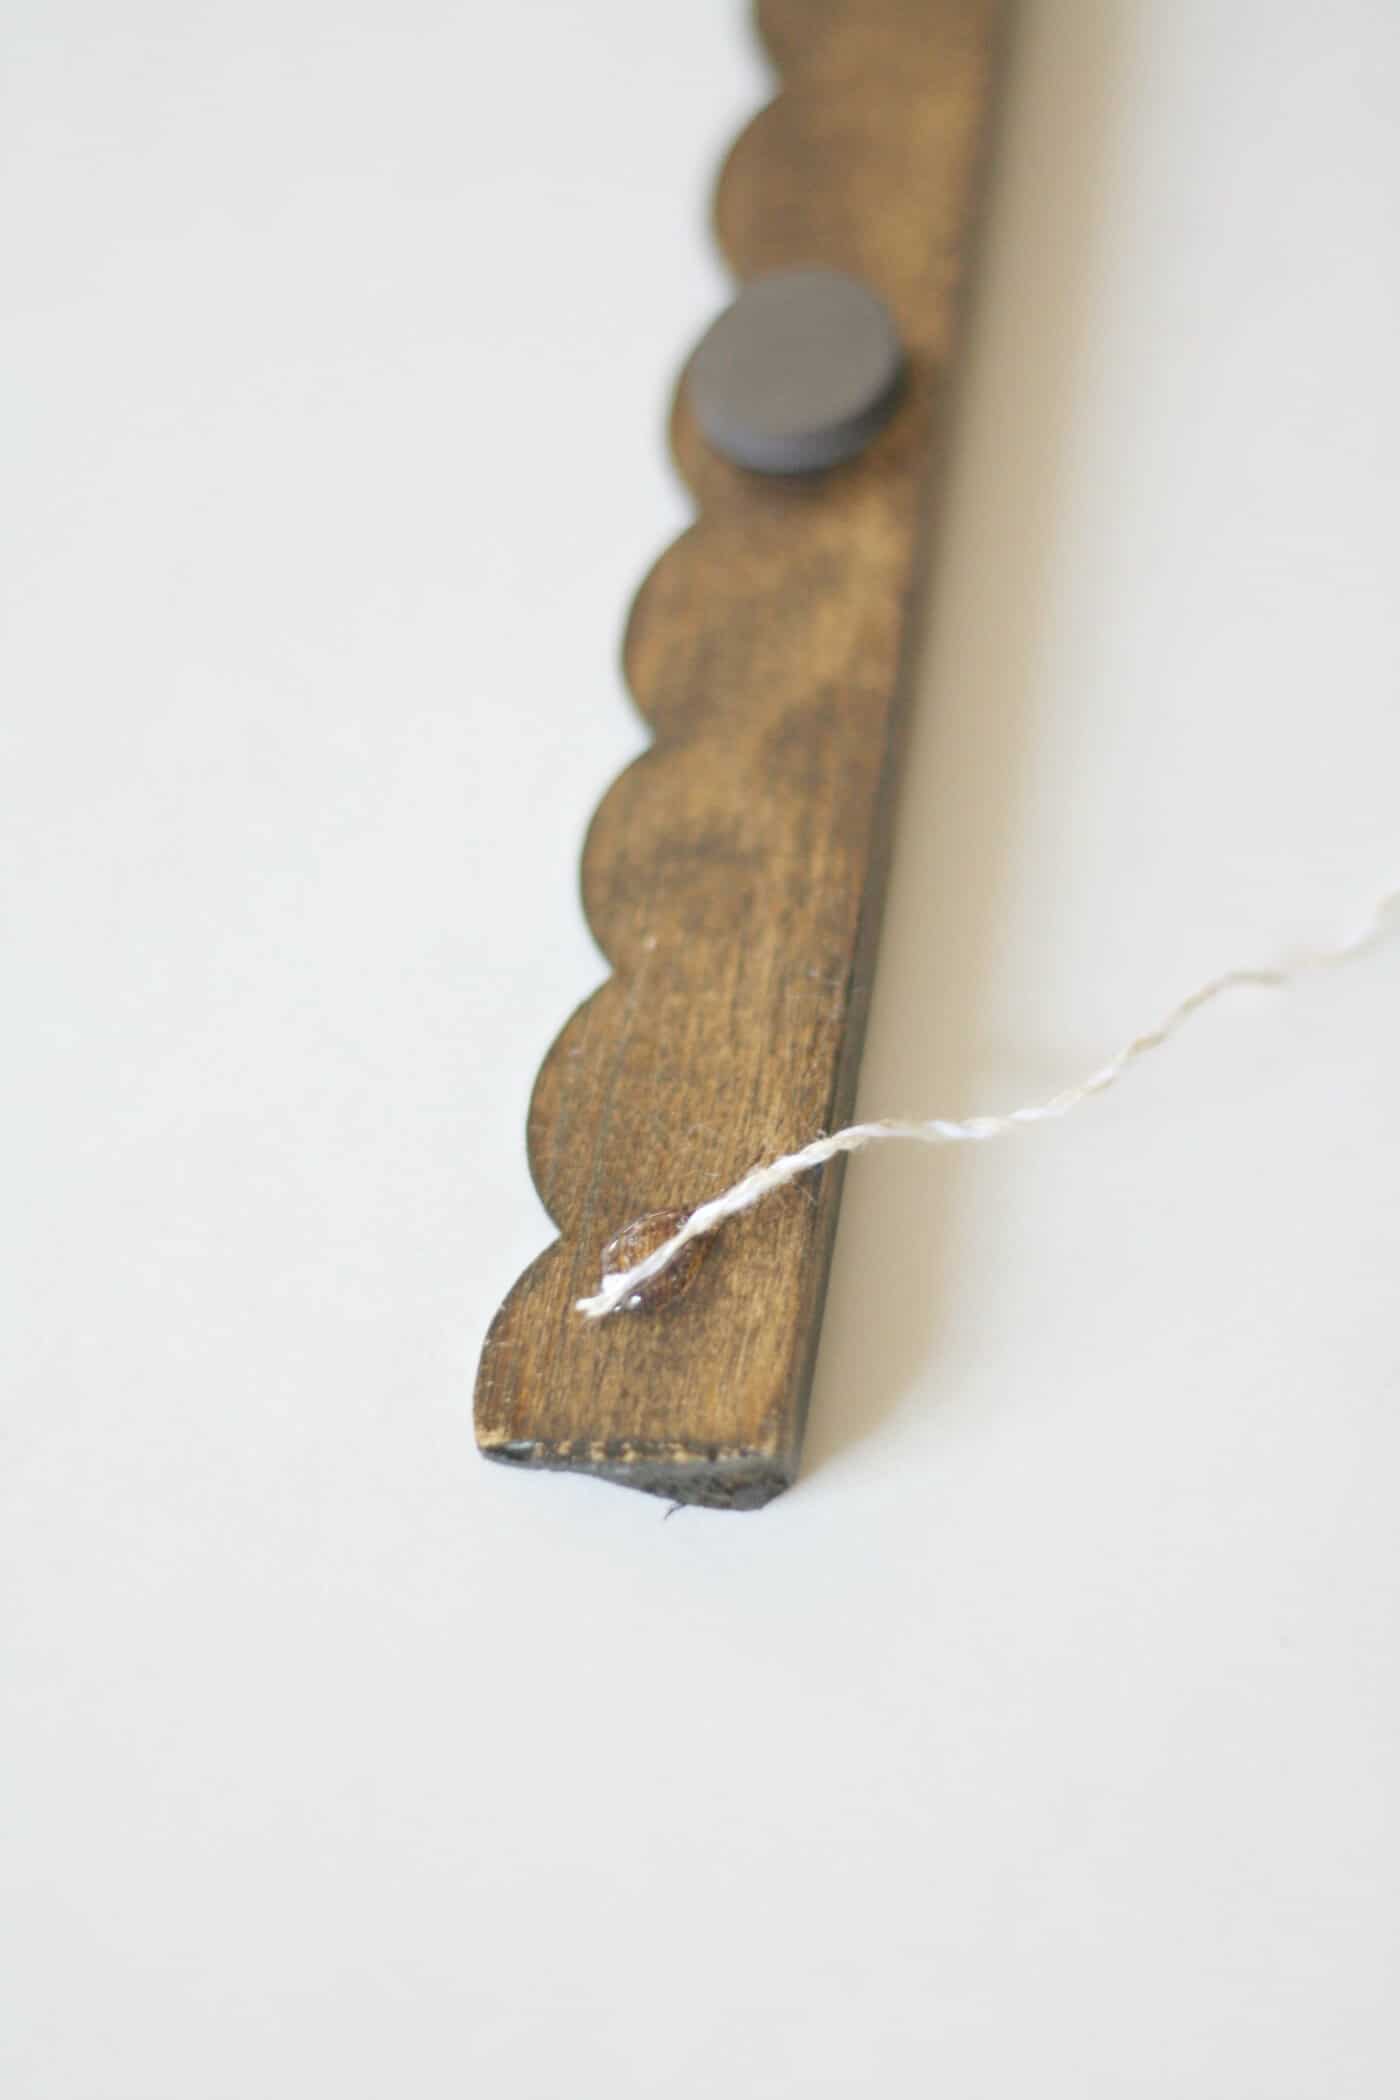
Your print will be sandwiched between the magnets.
There will be trim at both ends, and youll glue twine to one end.
The print will hang from the trim at the top.
The trim at the bottom is decorative and keeps the print from blowing around.
I really love how this hanger displays a poster fromLatter Day Home.
Im so excited to share this tutorial with you!
Here is how I made thisDIYposter hanger.
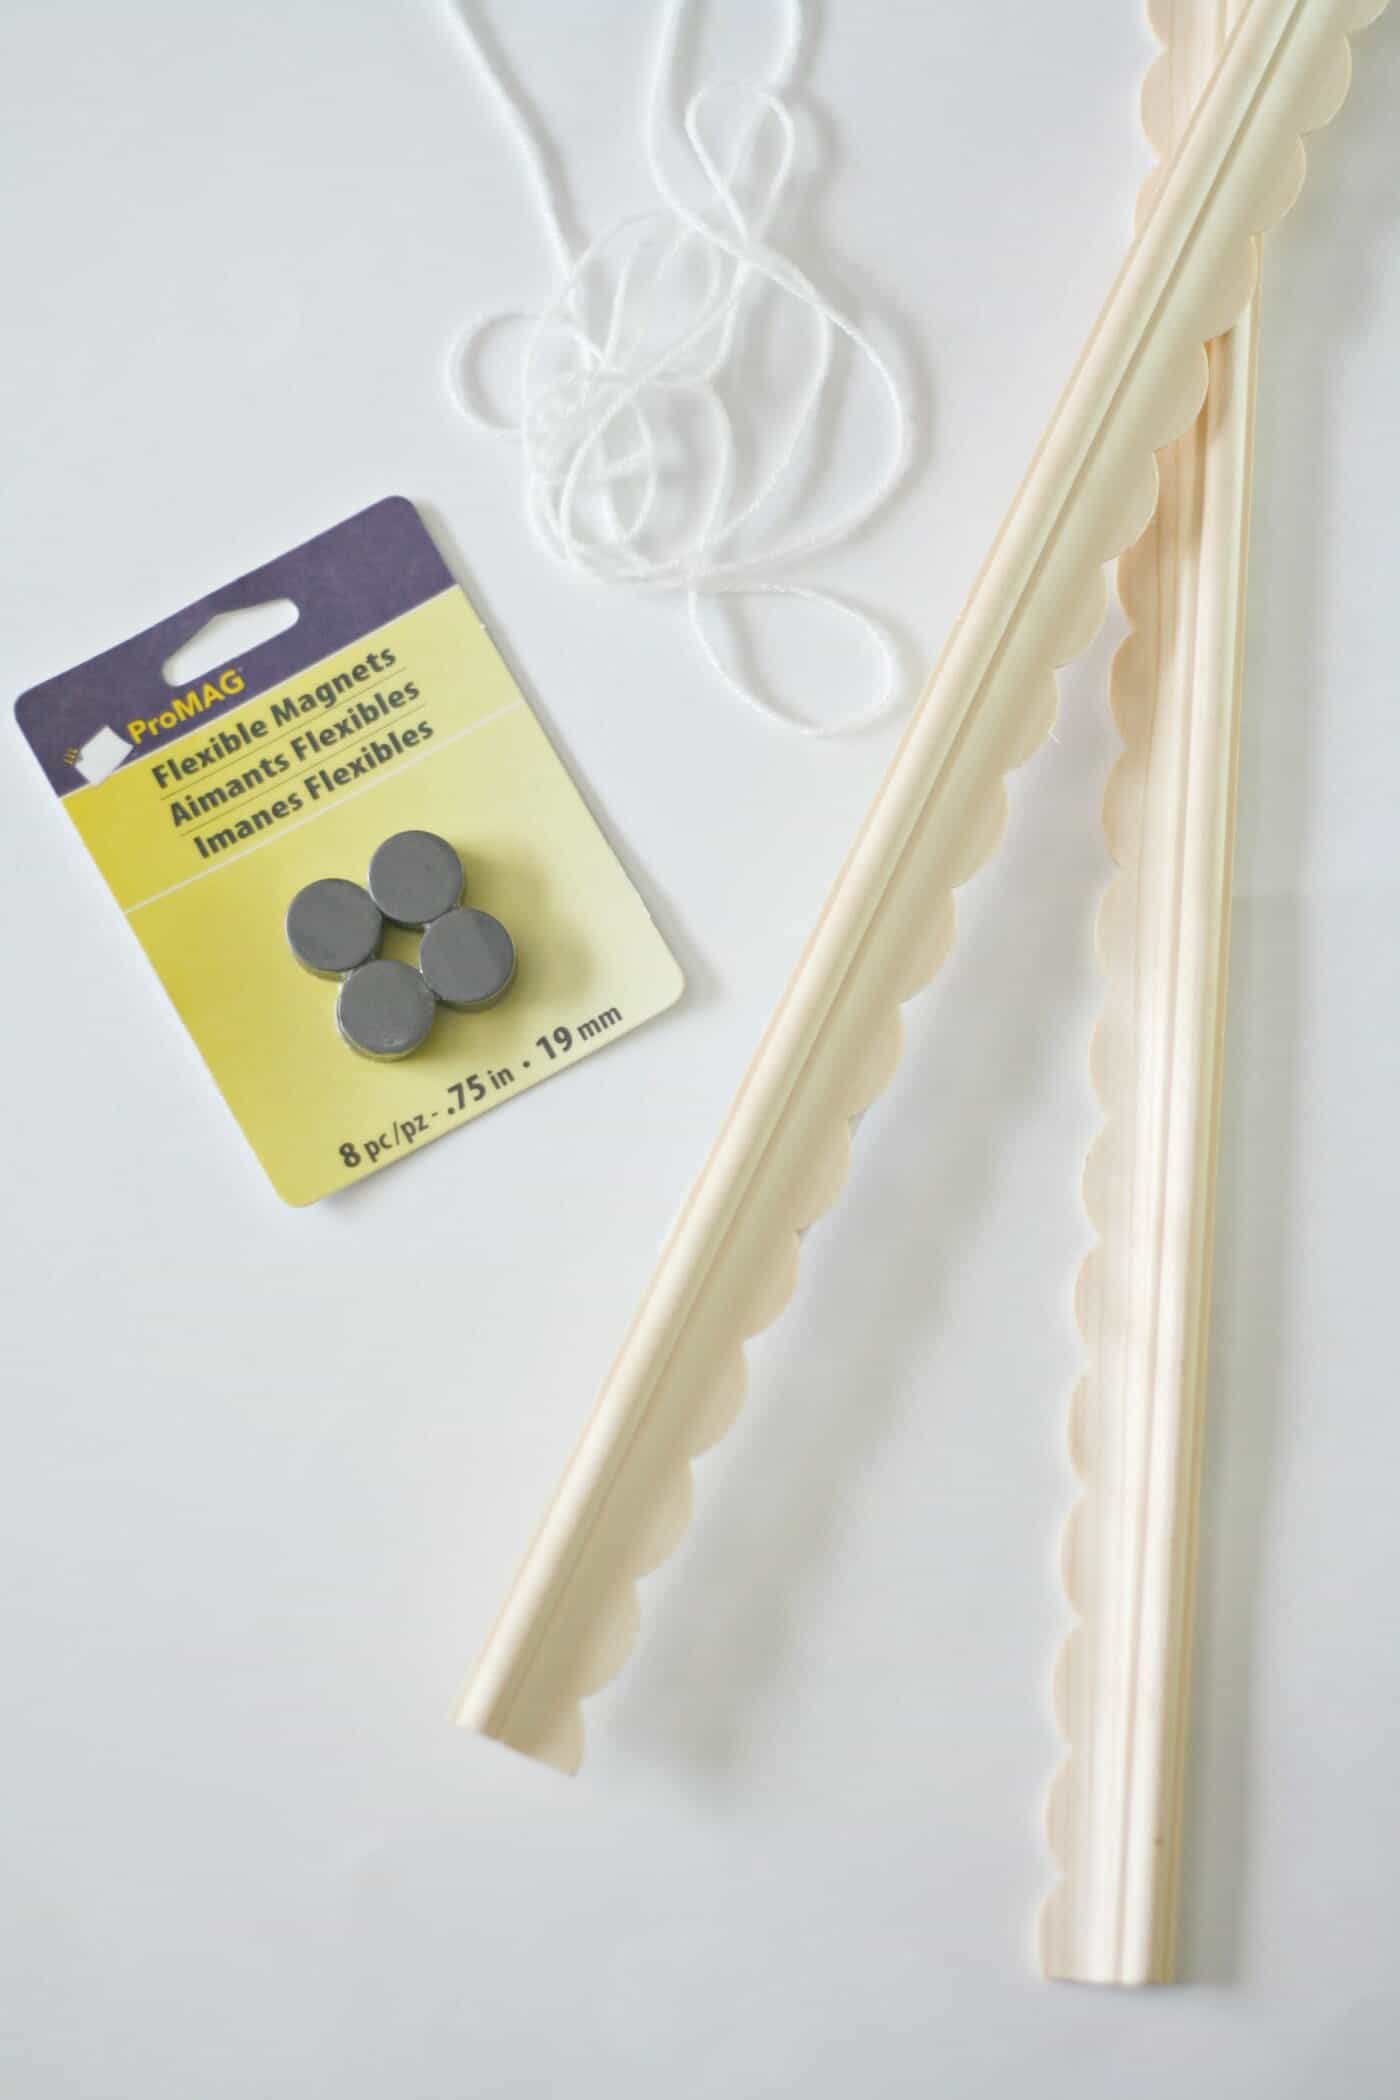
If youre ready to begin this project, grab the following goodies!

Gather These Supplies
Thoughts About This Project:
I just love the way this project turned out.
Get the printable how to card below!
DIY Poster Hanger
Equipment
Materials
Instructions
Happy crafting!