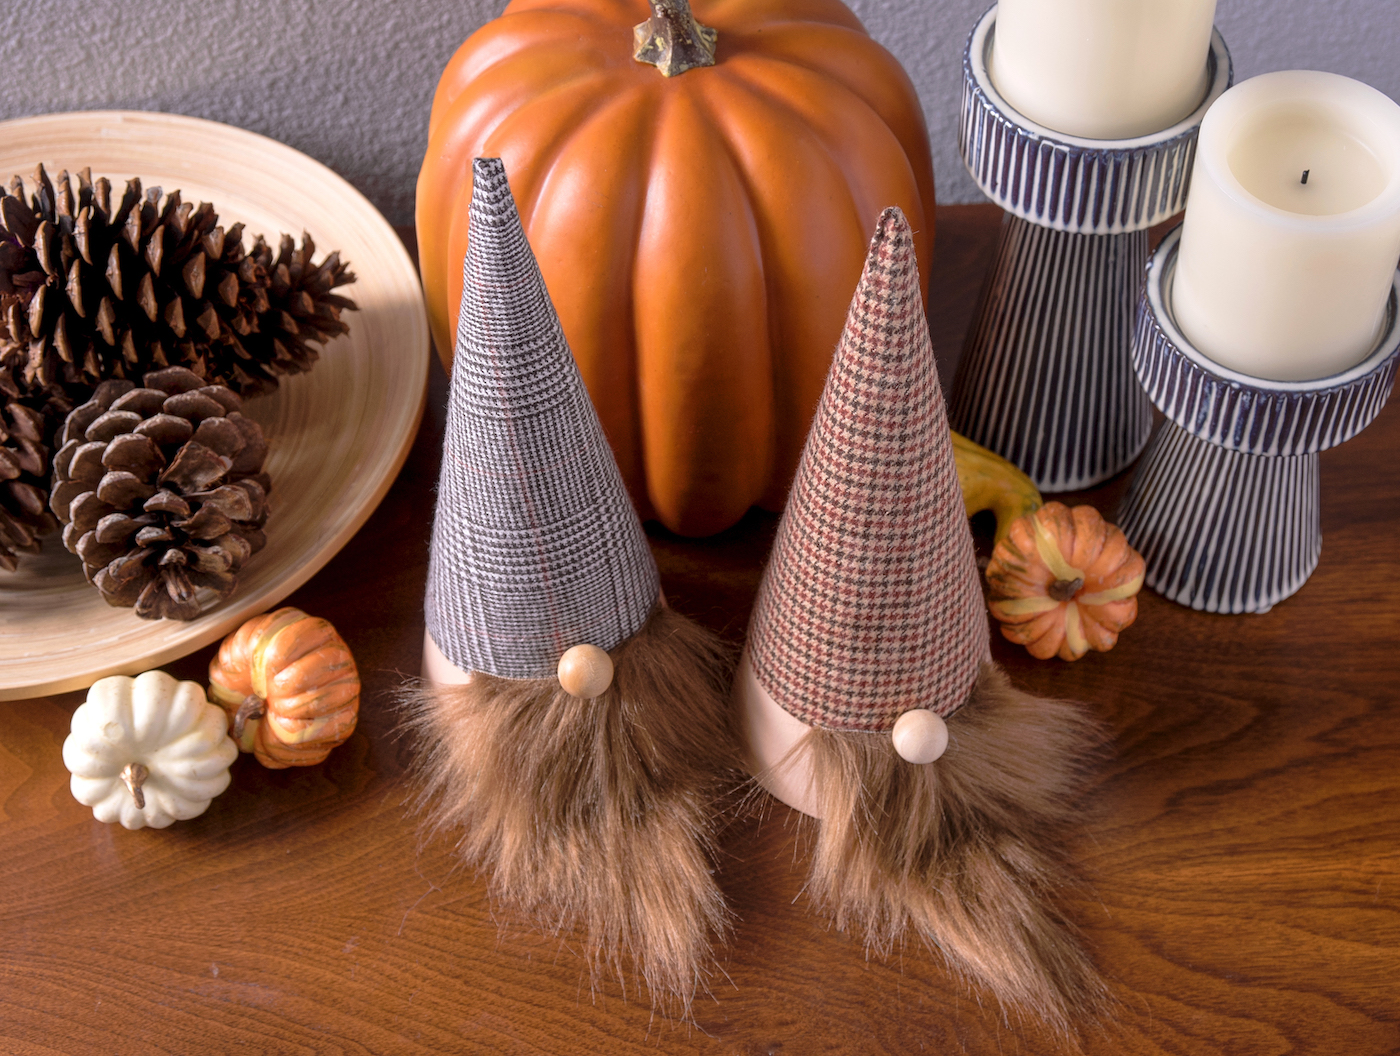
Learn how to make Thanksgiving gnomes to accent your holiday decor!
These are such an easy autumn project great for kids or adults.
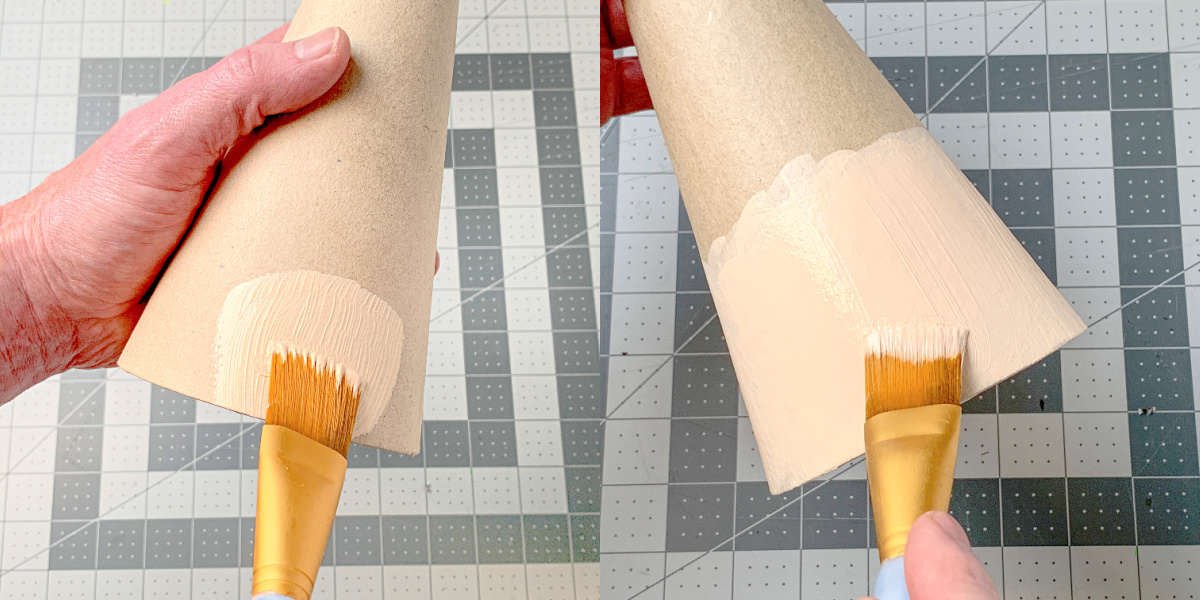
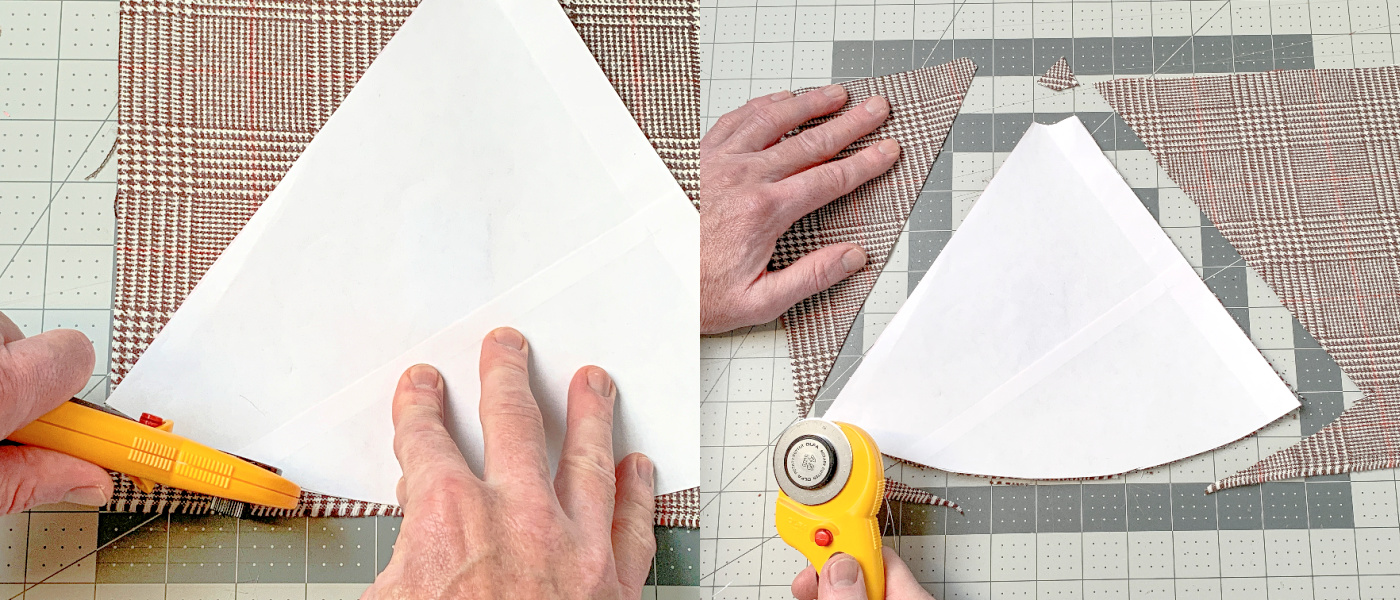
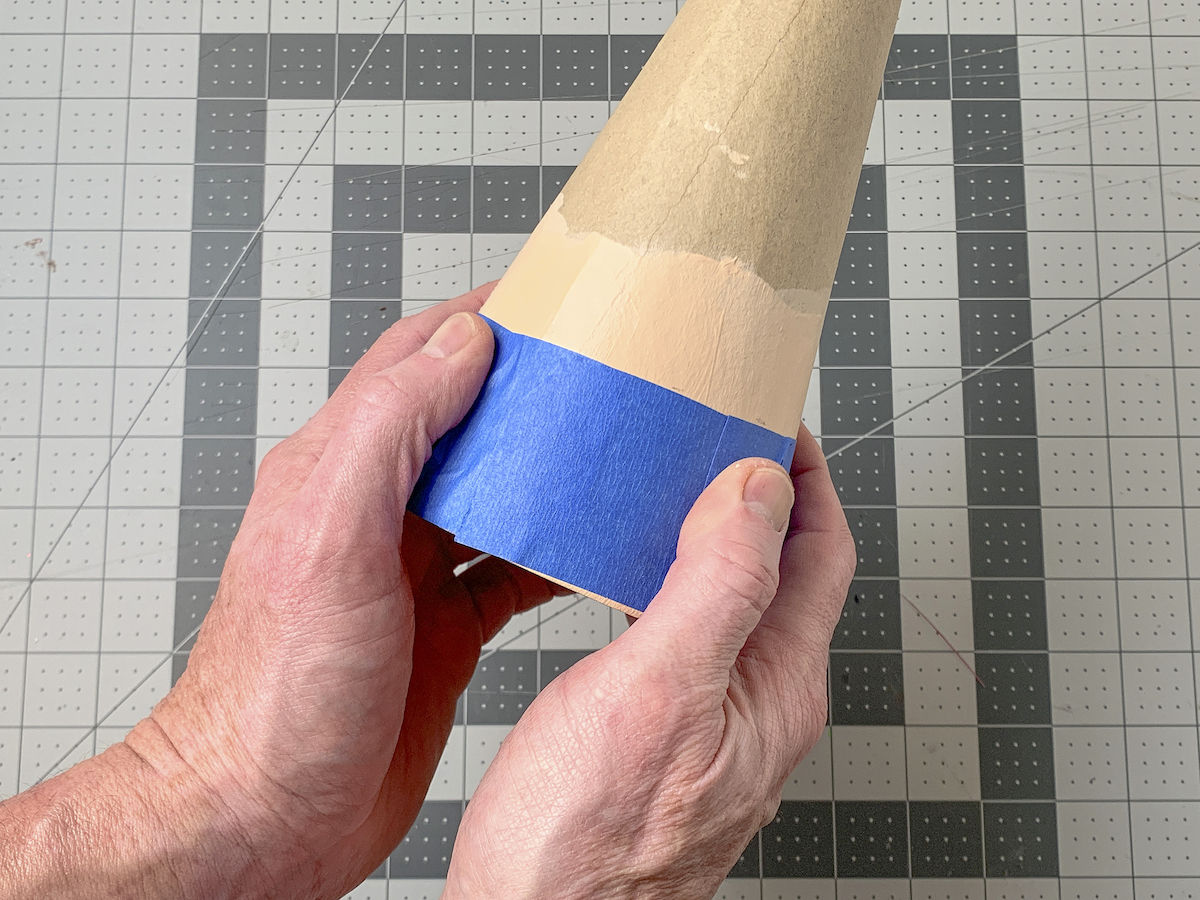
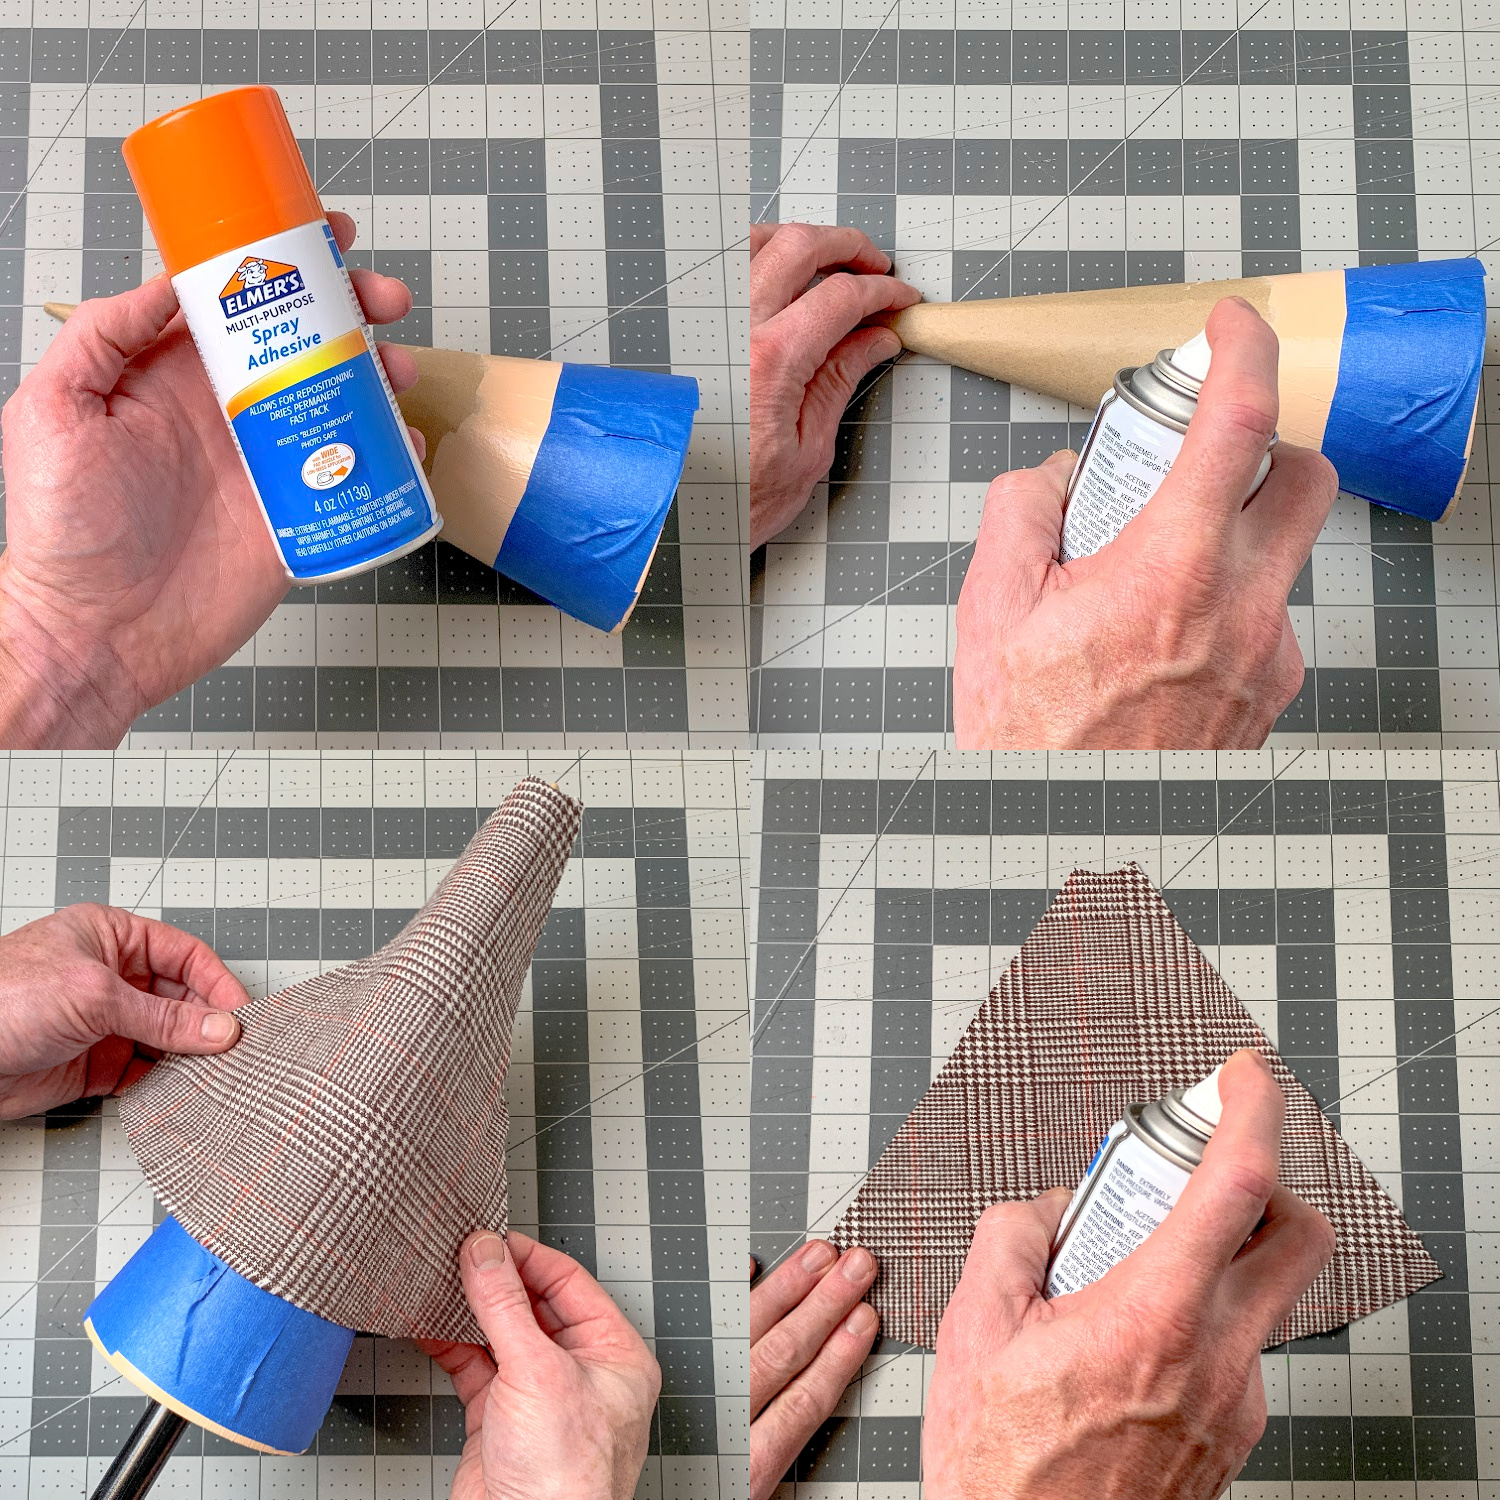
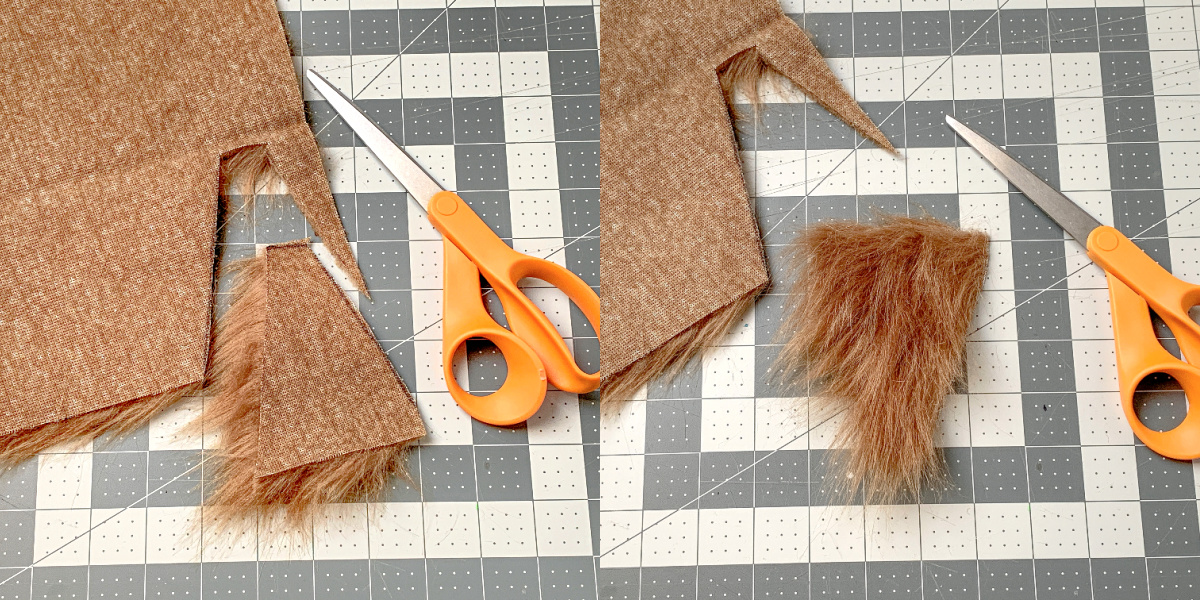
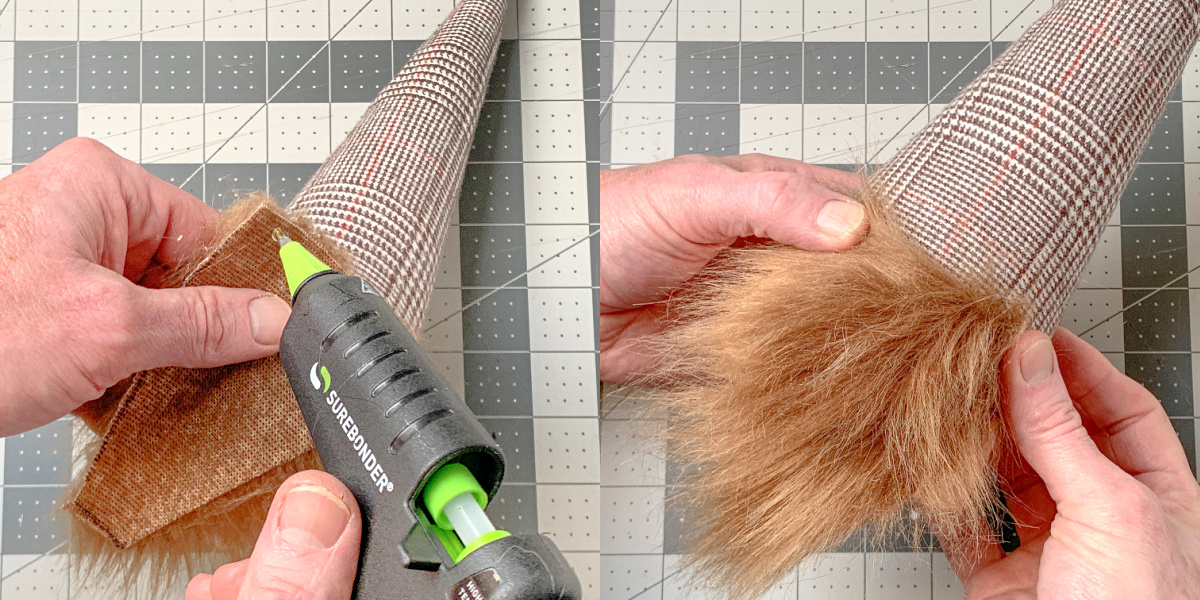
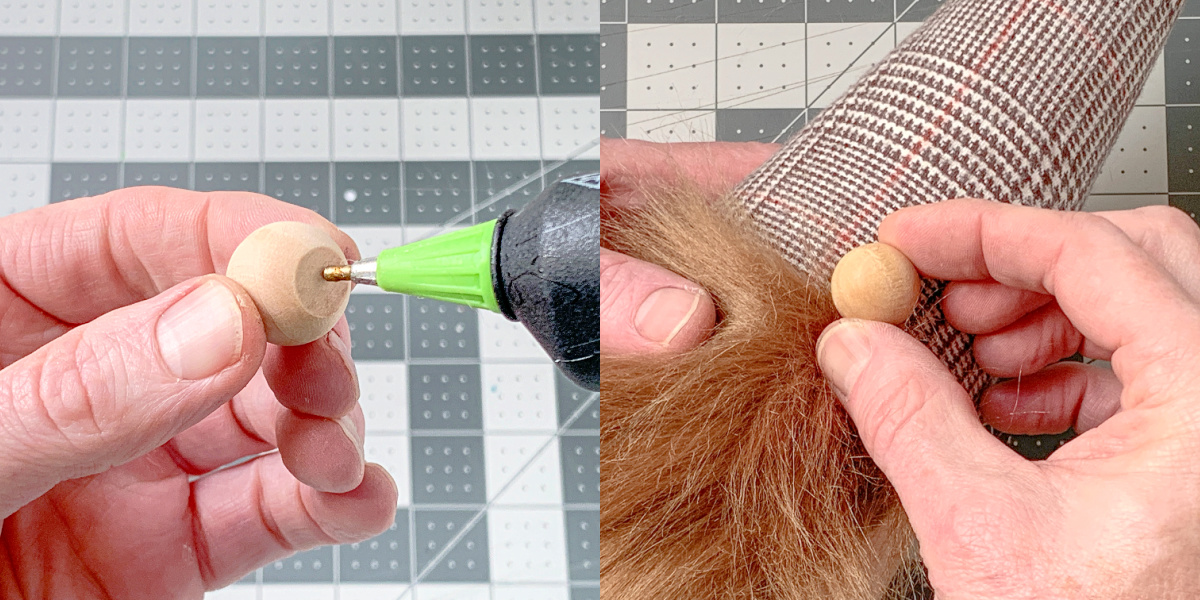
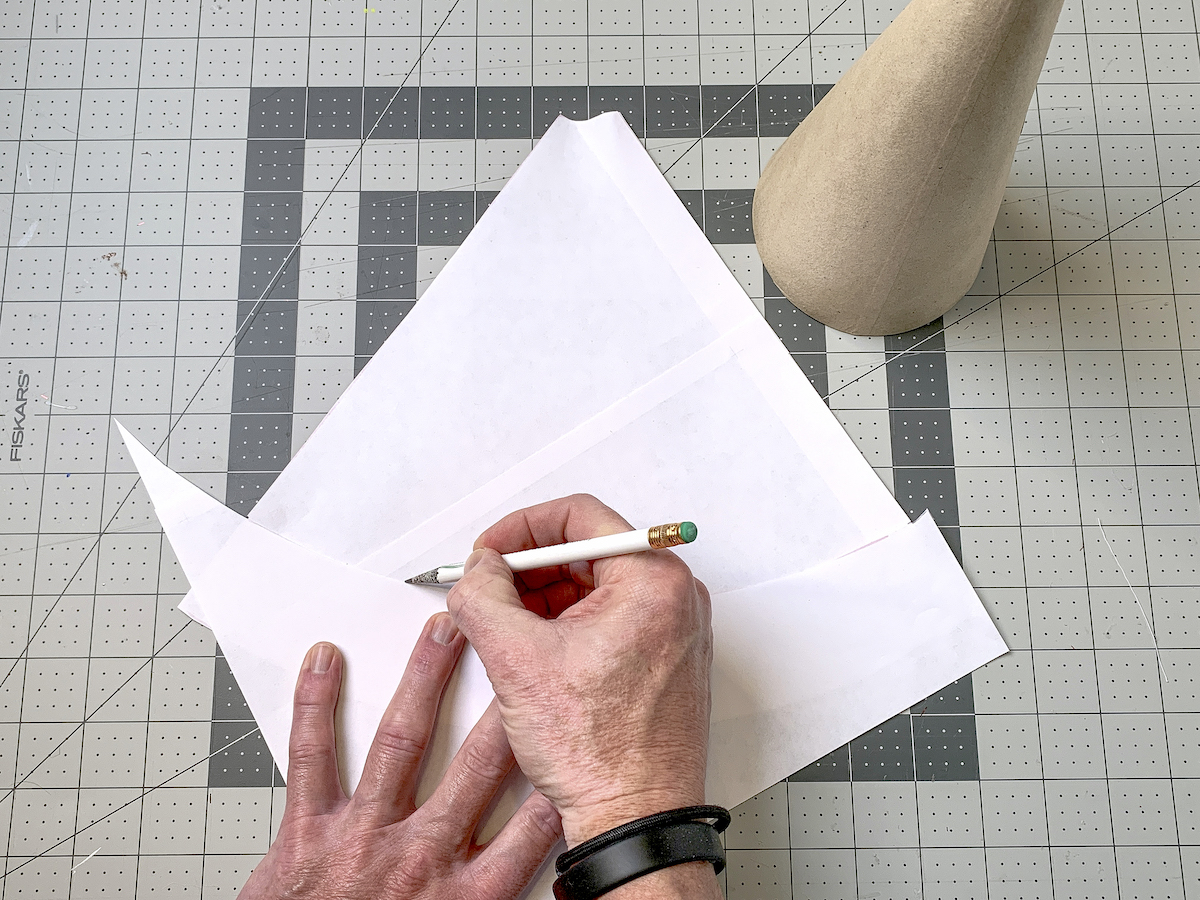
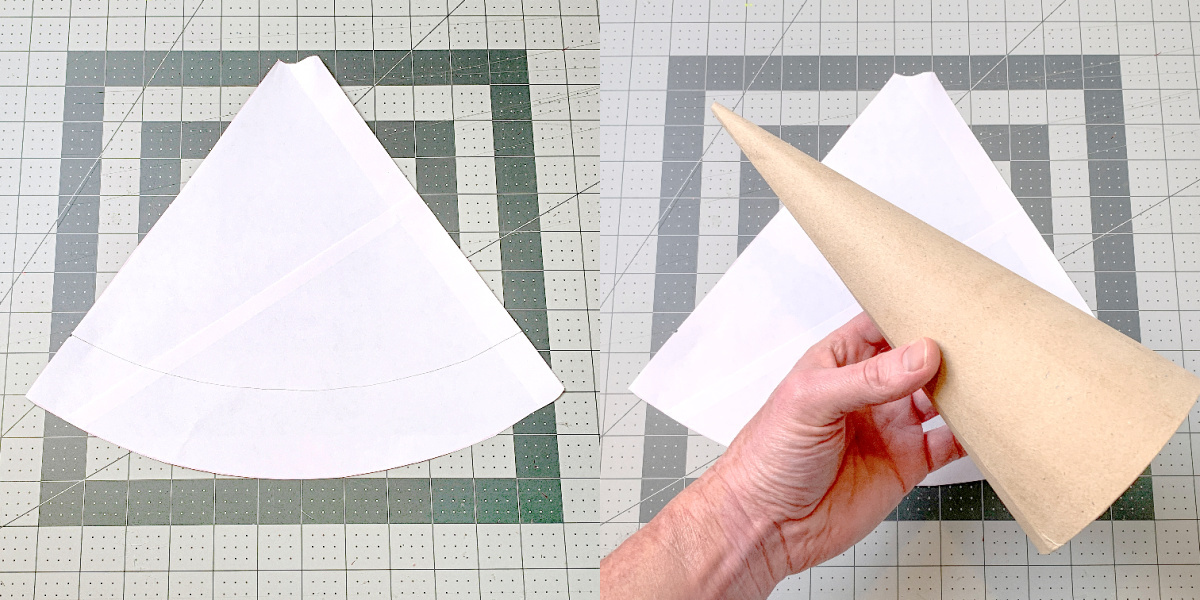
Youll be doing some cutting (using templates), painting, and attaching things using adhesive.

Sandwiched in-between Halloween and Christmas, it hardly ever gets the attention it deserves.
Ive noticed that people are bringing out theirChristmas decorearlier than ever!
No judgements here, but I just dont think Im ready to give up myfall decorations.
I do love me some brown and orange.
What Im saying is I want to keep the harvest mood going just a bit longer.
Im not sure how fabric can remind me of November, but can you disagree with me?
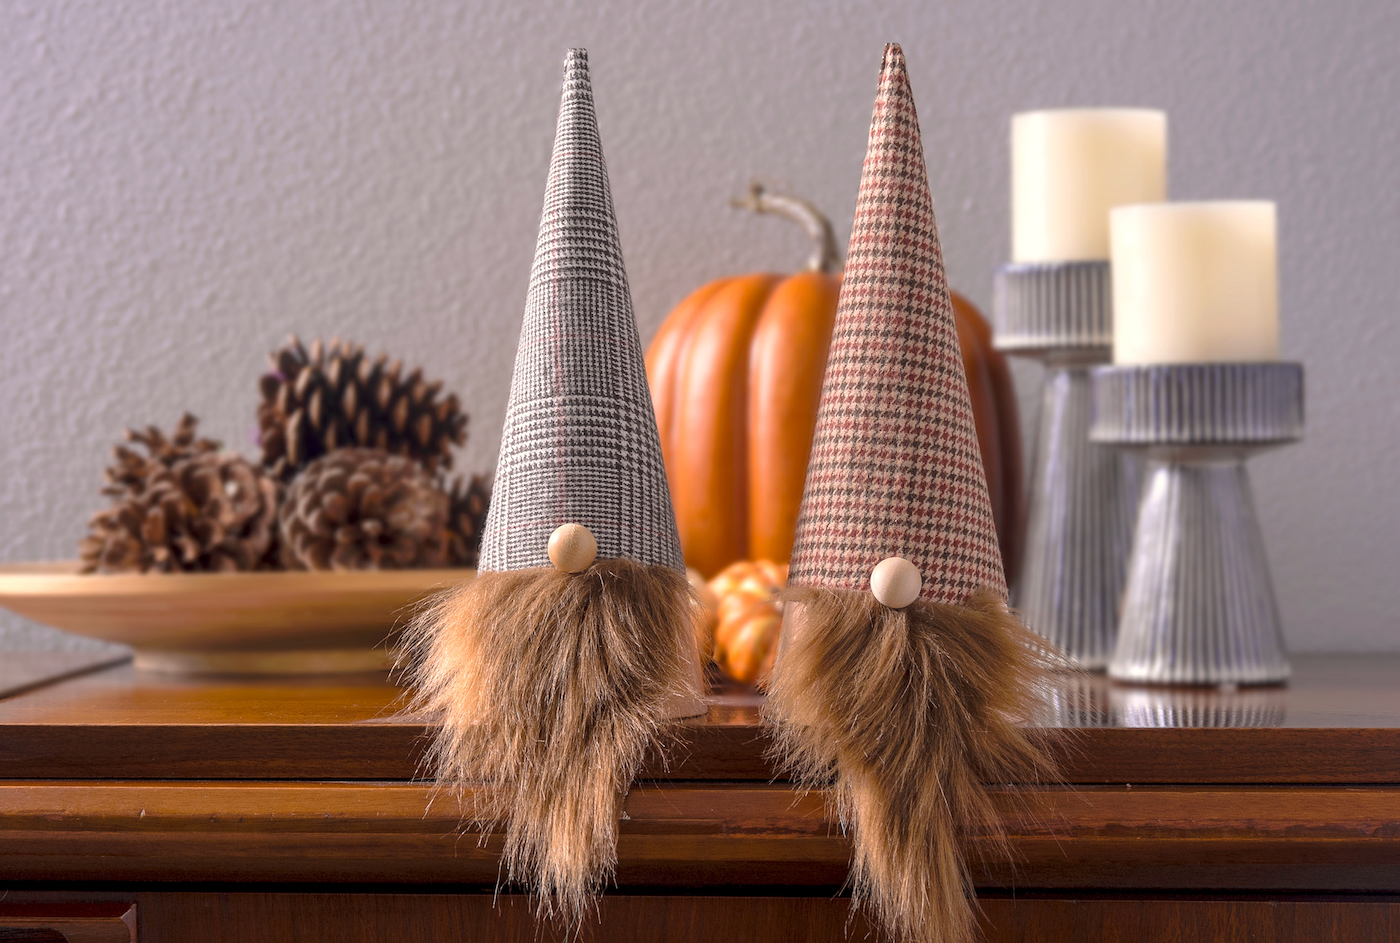
These stay out on my mantel or side table until theChristmas gnomescome out to play for the year.
If youve never made them before .
youre going to be shocked at how easy they are!

Cones to Use
The paper mache cones for my base can be foundhere.
They are 10.63 x 4.
To be honest, they are a little bit cheaper and more readily available.
Gather These Supplies
Make as many gnome as you like!
Pick fun fabrics, and even add fun embellishments if you like.
Heres how mine turned out.