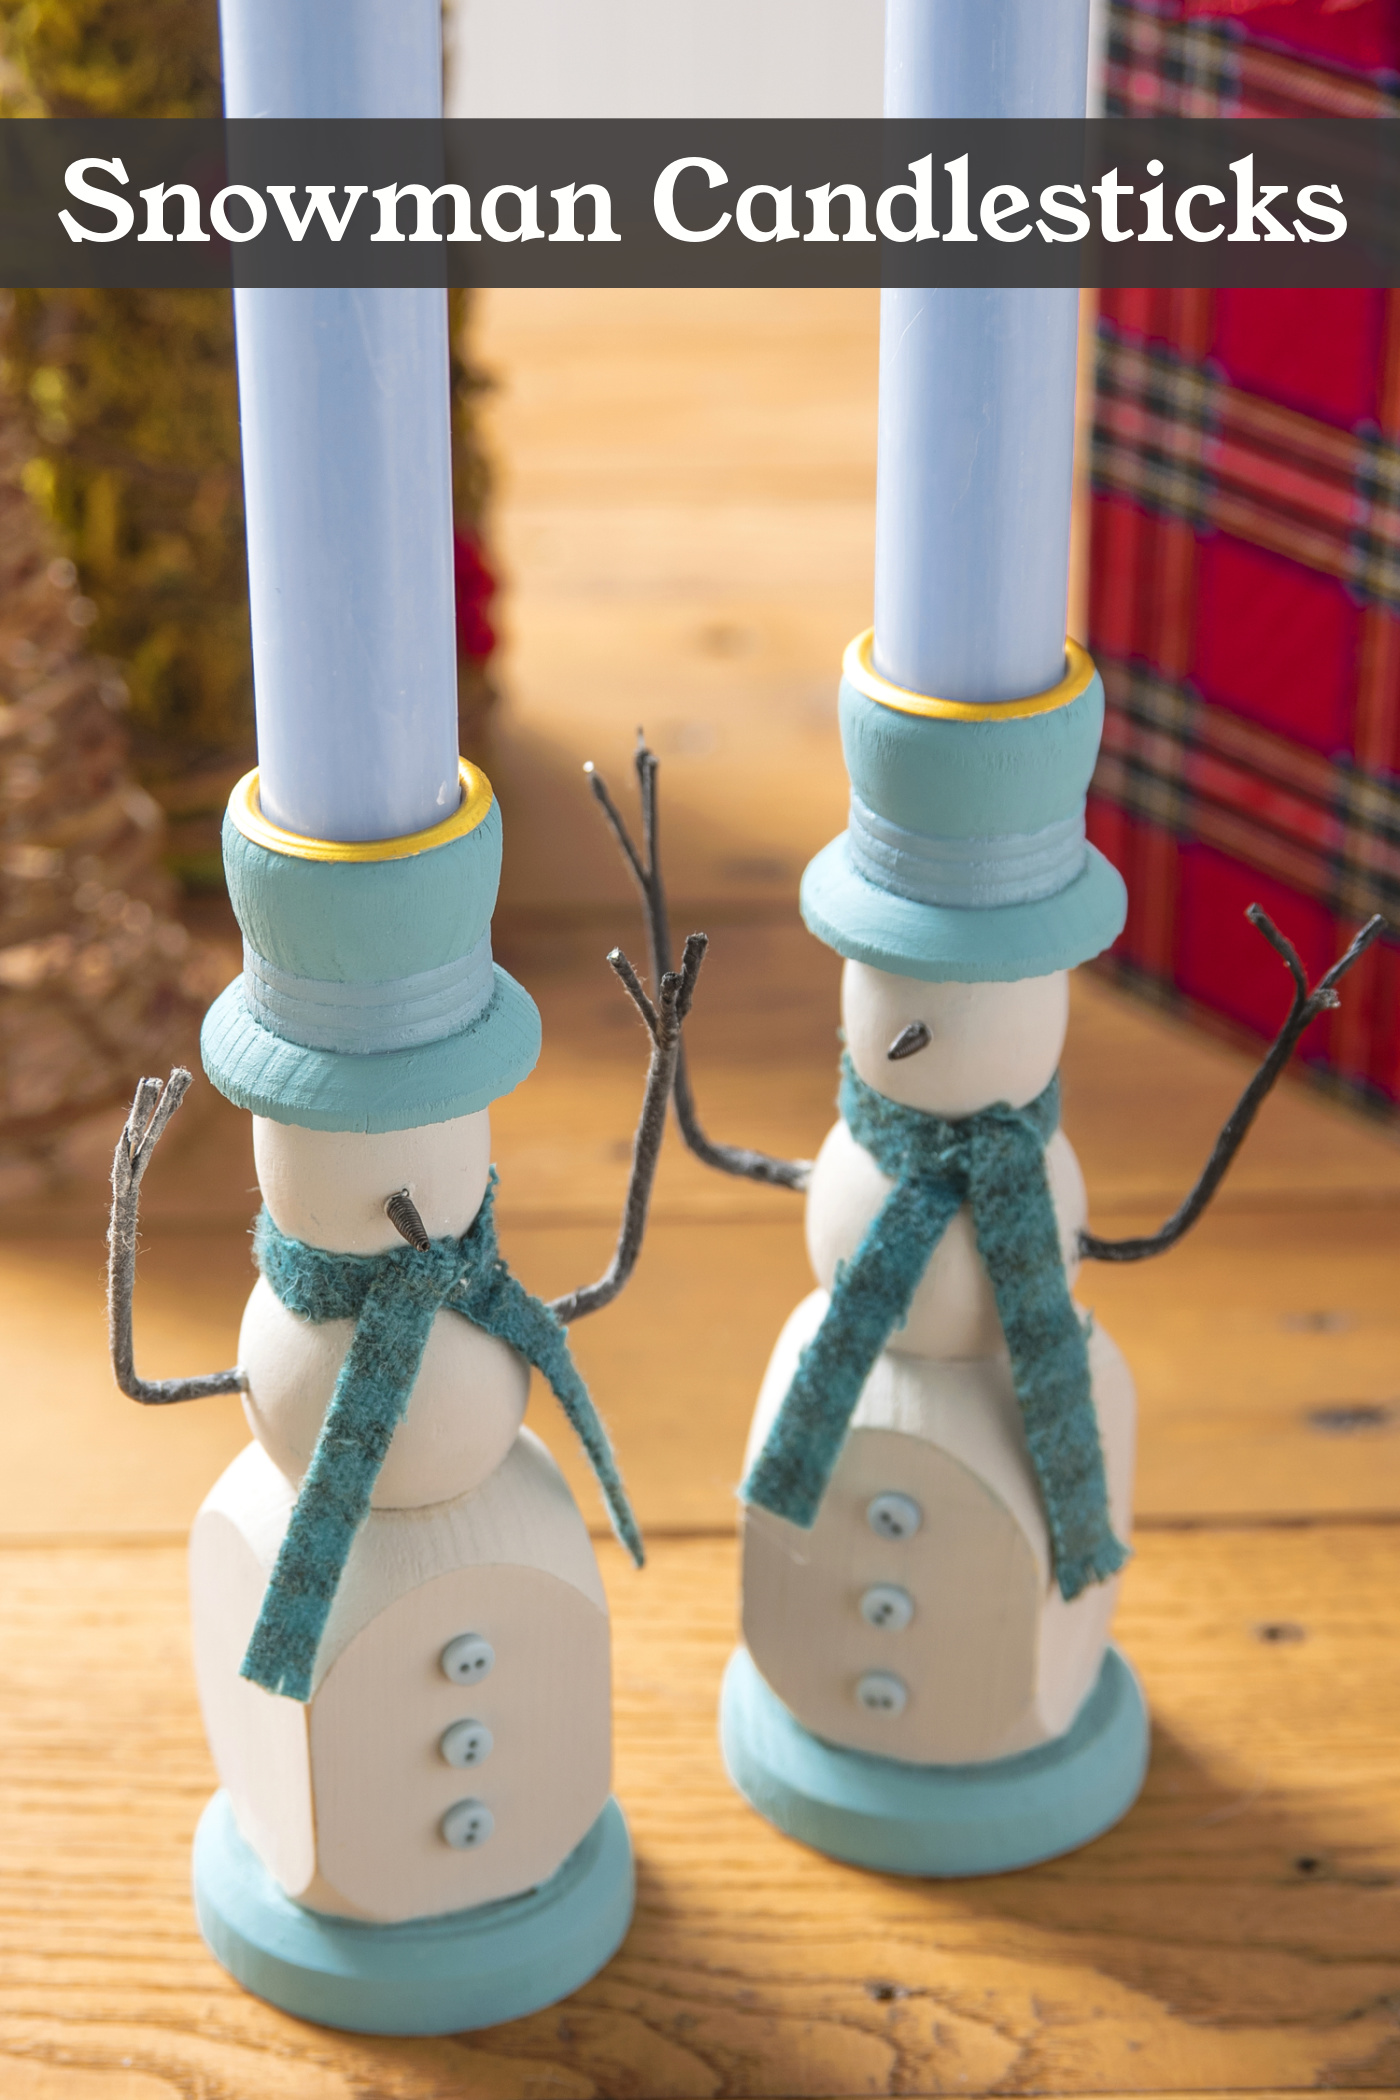
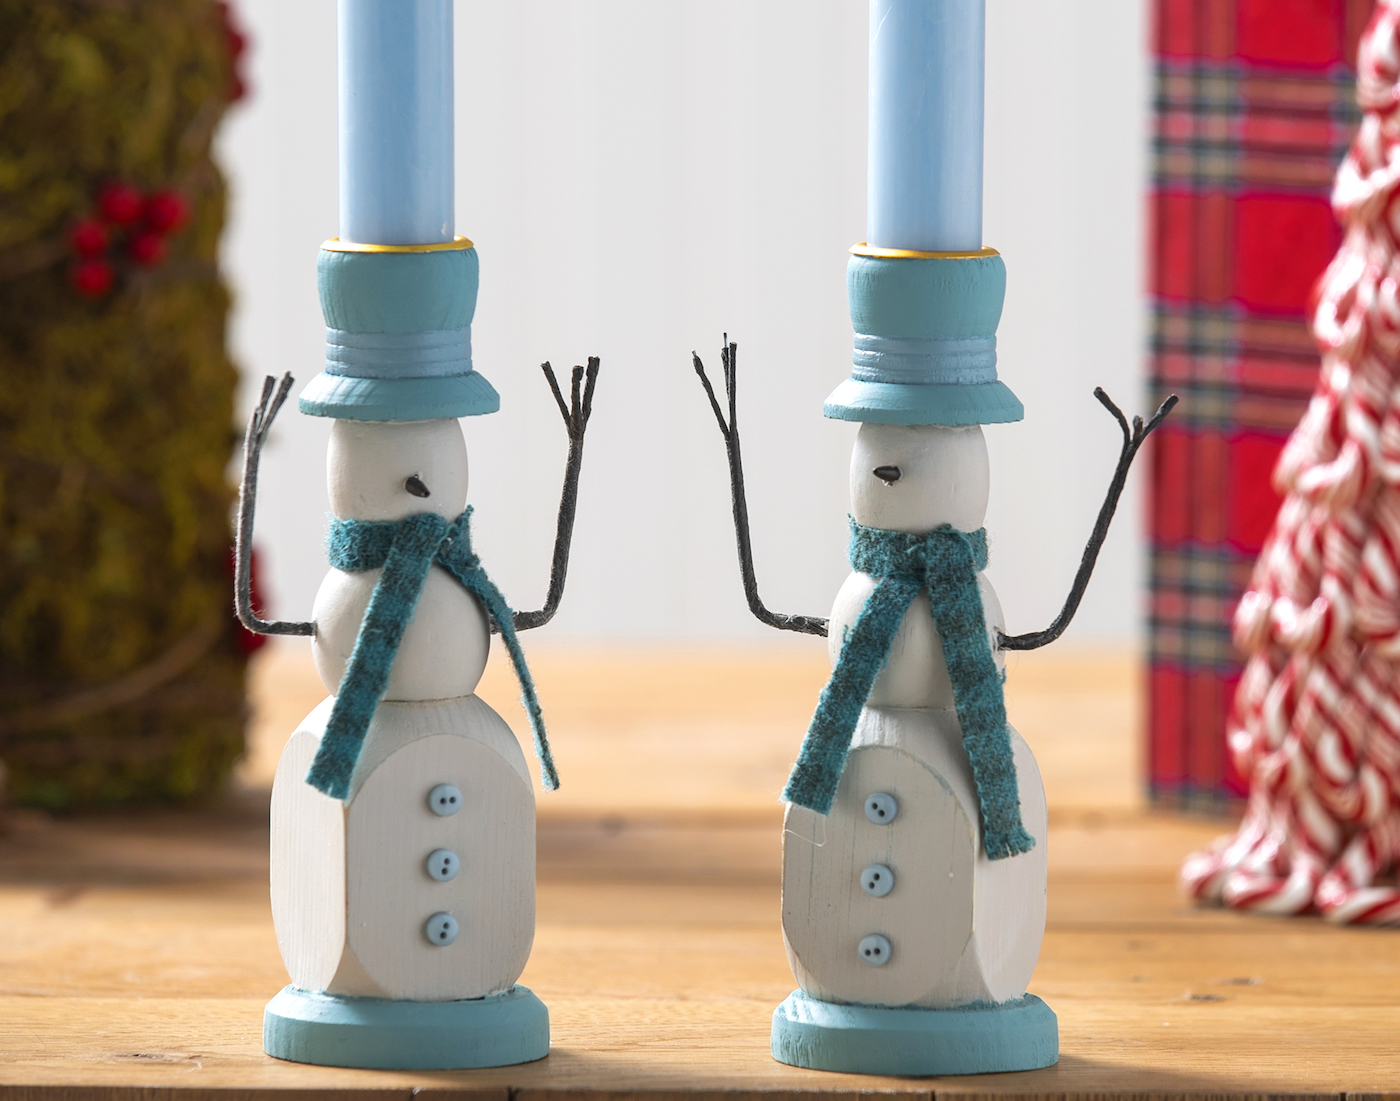
Learn how to decorate wood snowman candlesticks that are perfect for winter!
Use paint and craft supplies to make this simple project.
Skills Required: Beginner.Youre going to be painting, sanding, and adding some embellishments to your candlestick.
Its pretty easy, even if youve never crafted before.
Sometimes I get inspired by colors or an idea .
but I also get inspired by surfaces too.
And whatever the surface is, I have to have it.And decorate it.
Which is exactly what happened with these snowman candlesticks!
One thing I really love aboutwinter craftsis the ability to use various shades of blue.
I love any chance to use my blue paints!
Or any snowman themed surface you like!
you’re able to also get the exact same ones I used in the supply list below.
Learn how to paint and decorate these candlesticks with simple craft supplies.
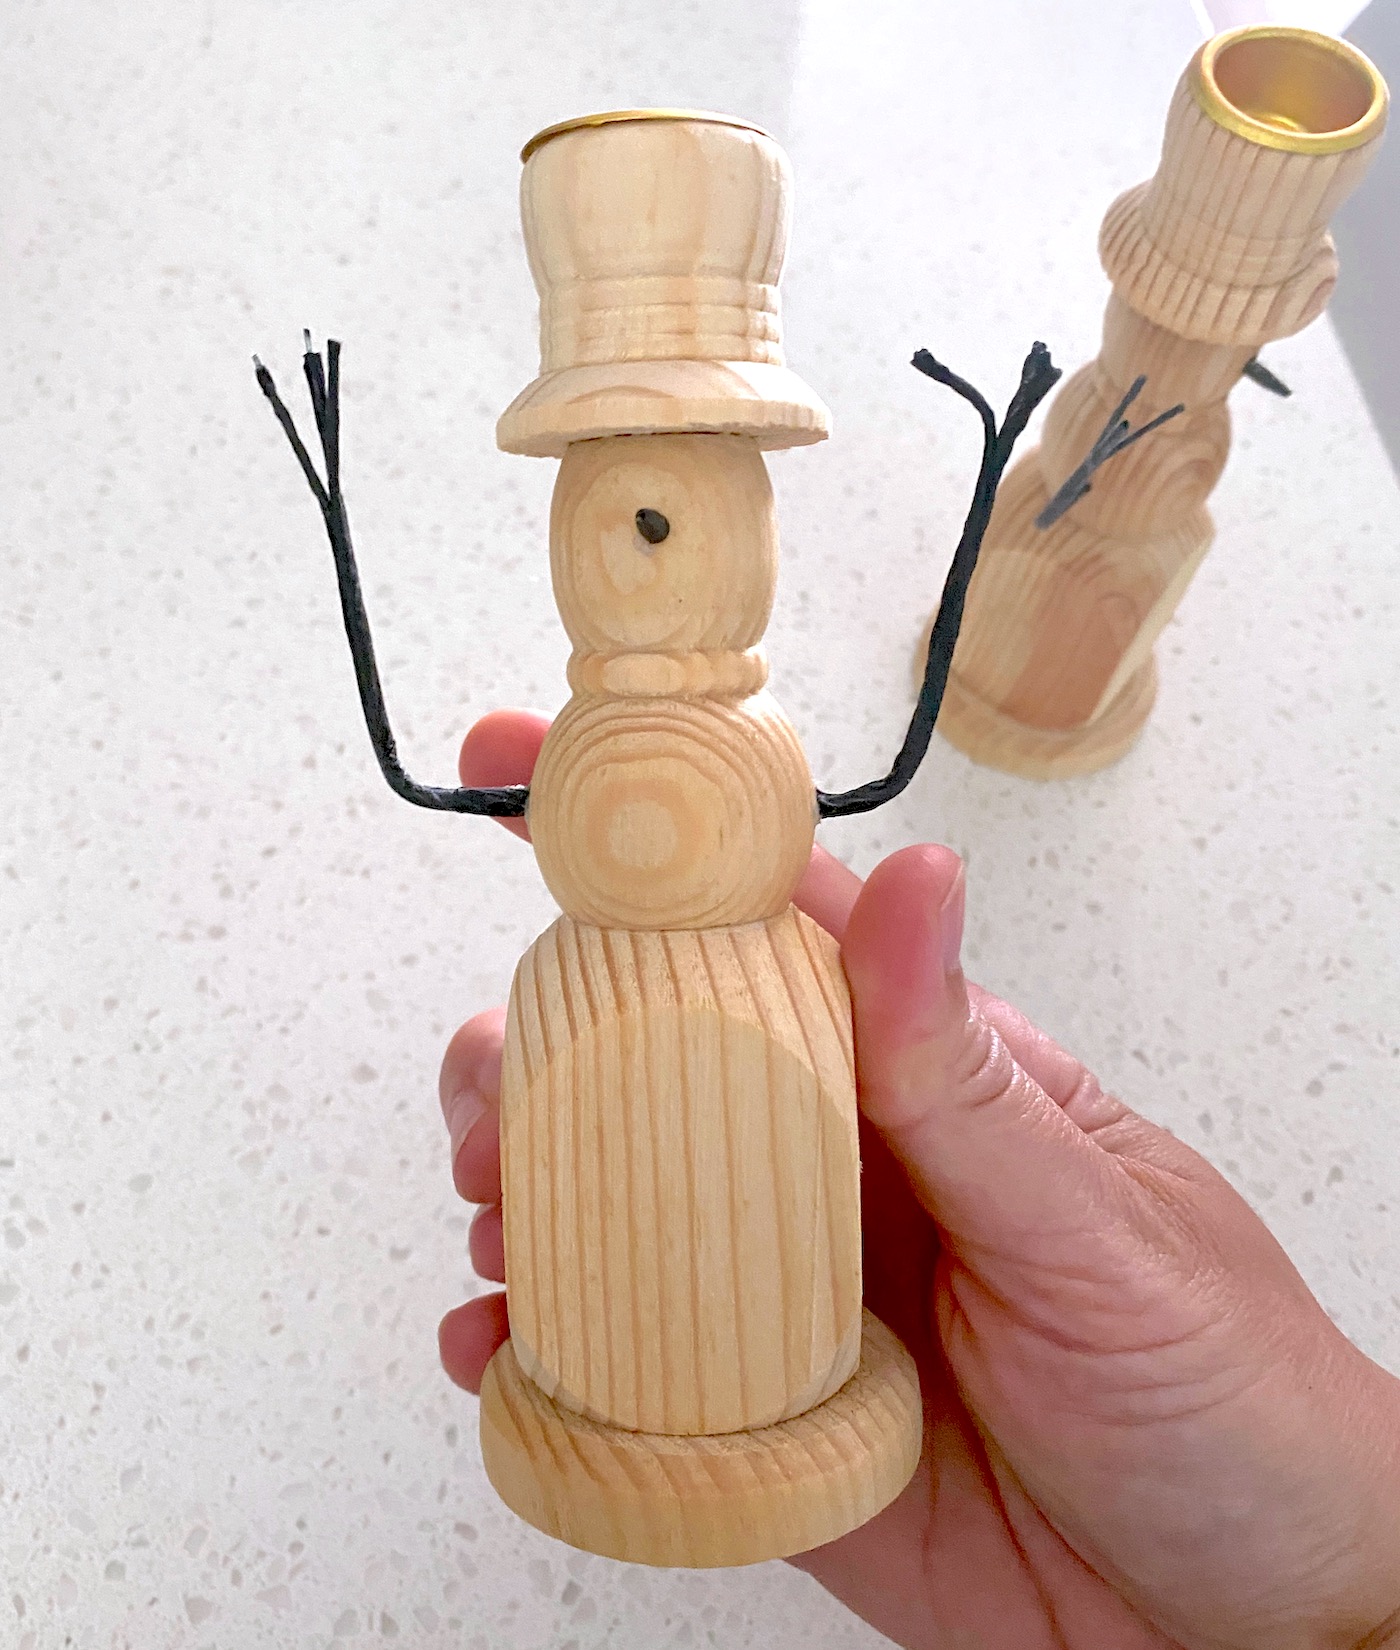
Heres how they were made.
To begin, youll sand away any rough spots on the wood and remove sanding dust.
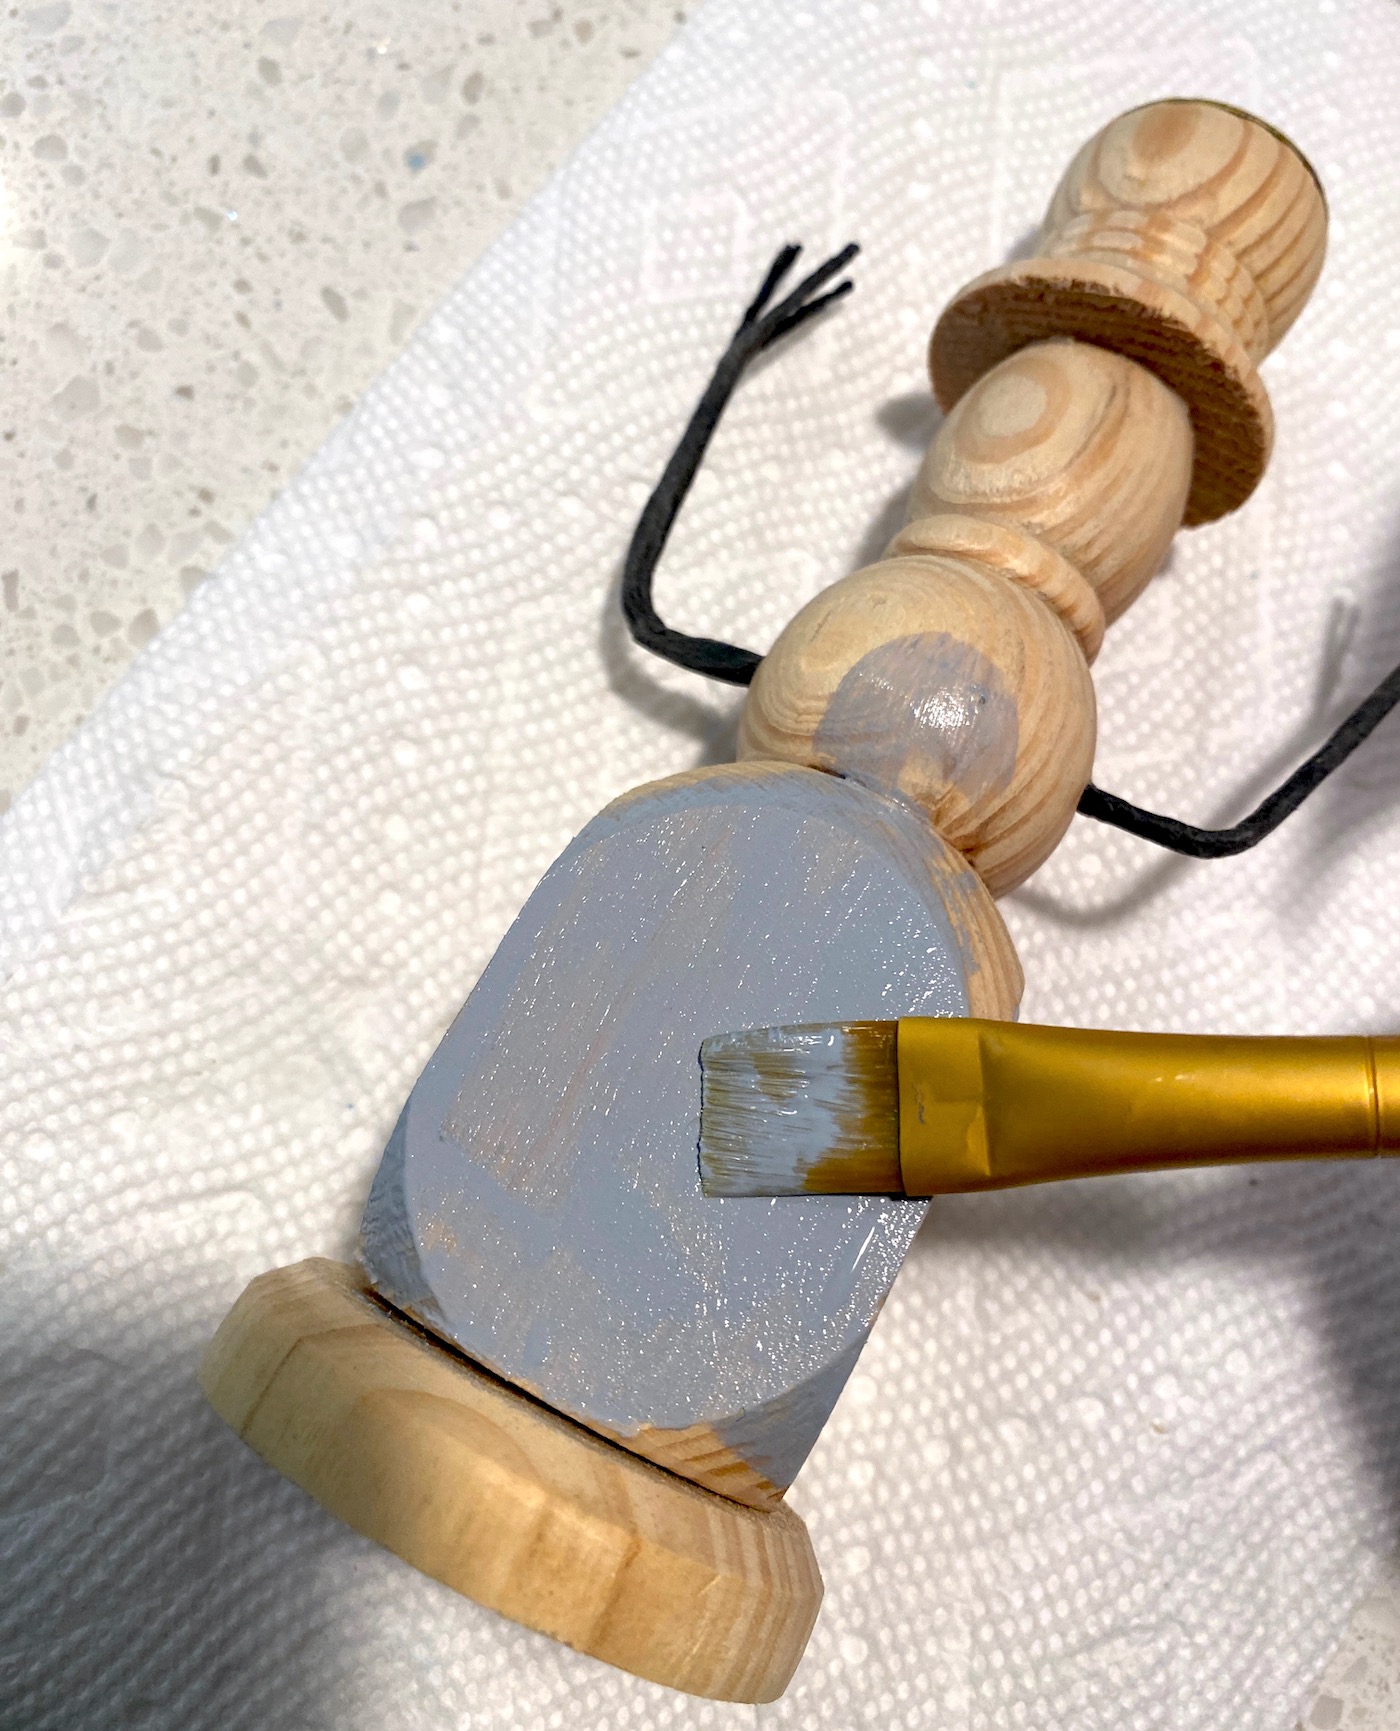
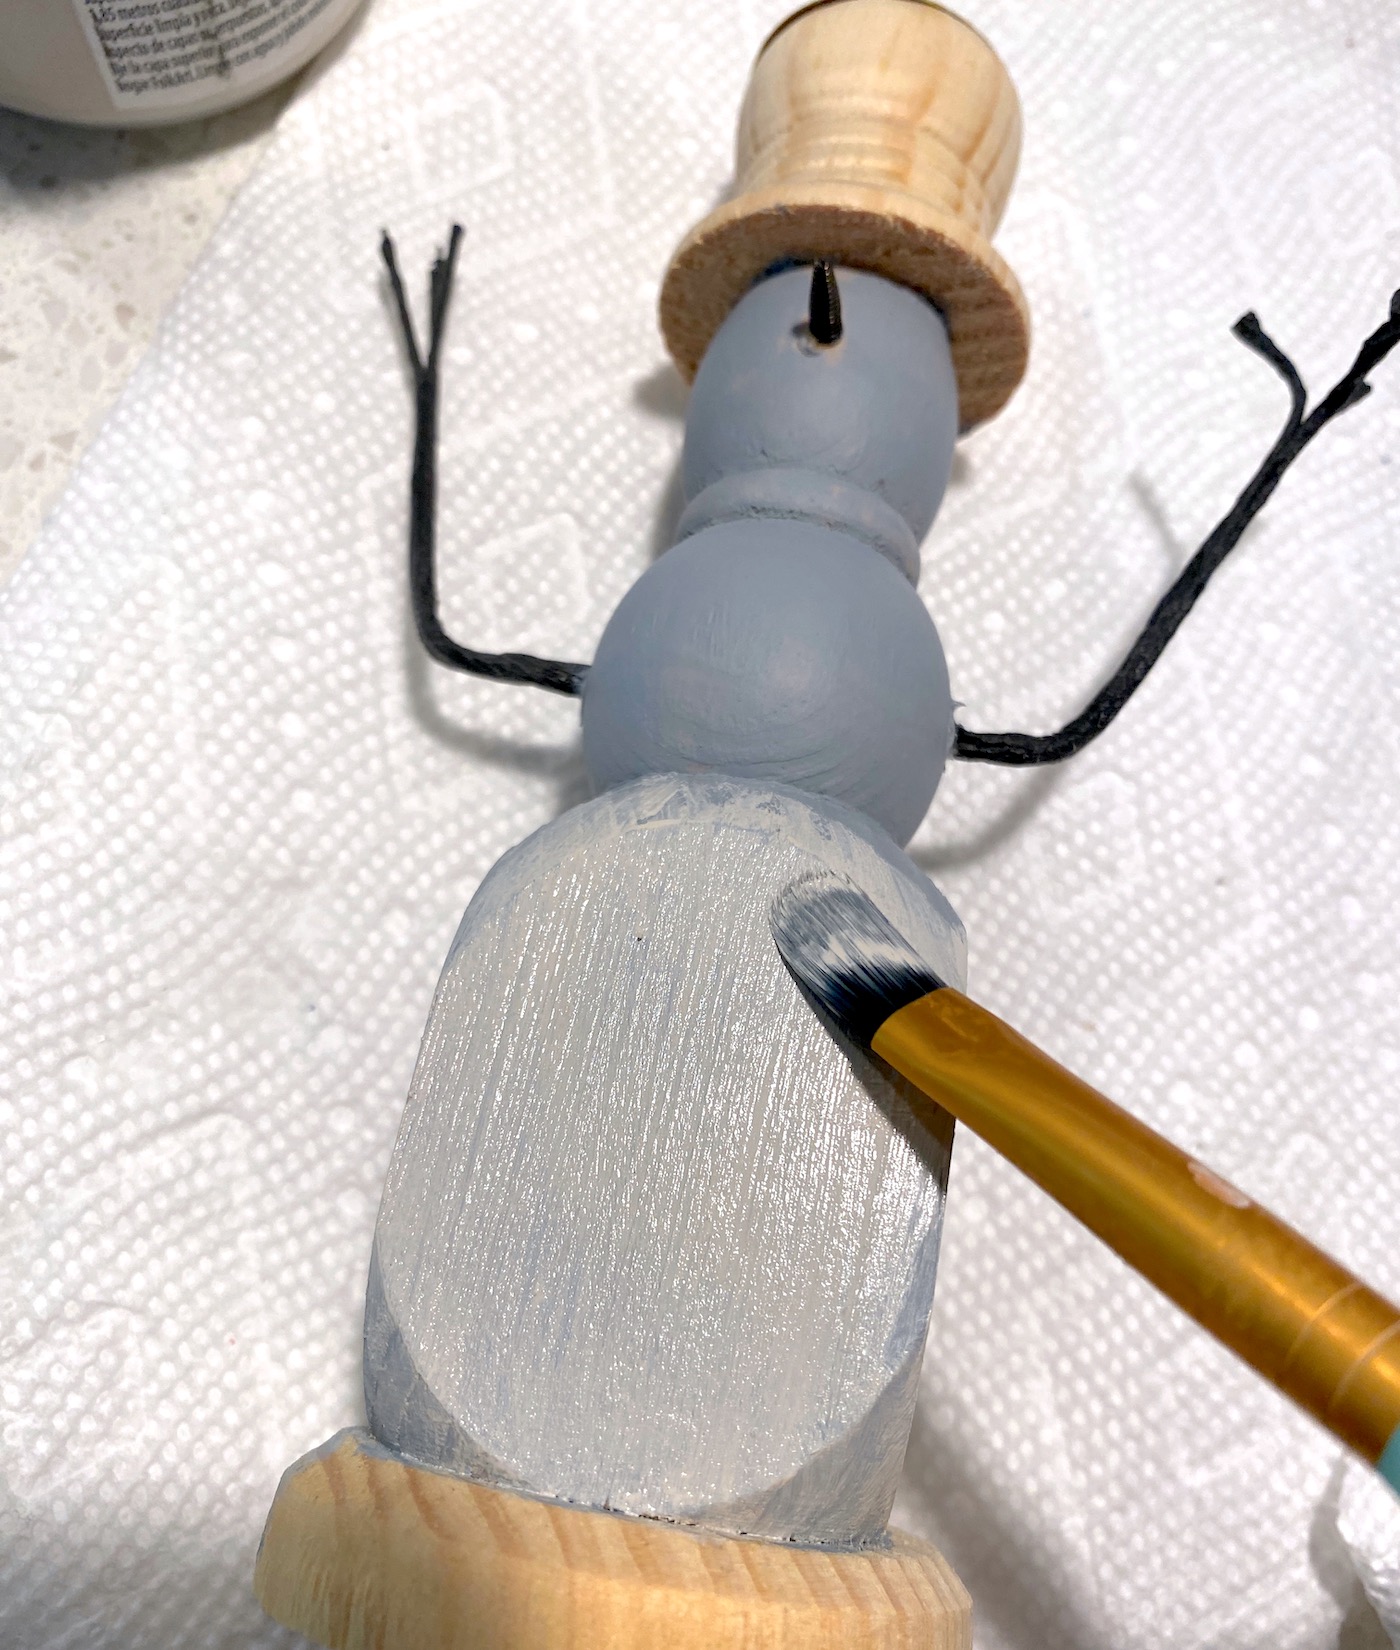
Start by basecoating the candlesticks in medium gray.
Just paint the body of the candlesticks, not the hat or base.
Paint one medium layer, let dry, and then paint another layer.
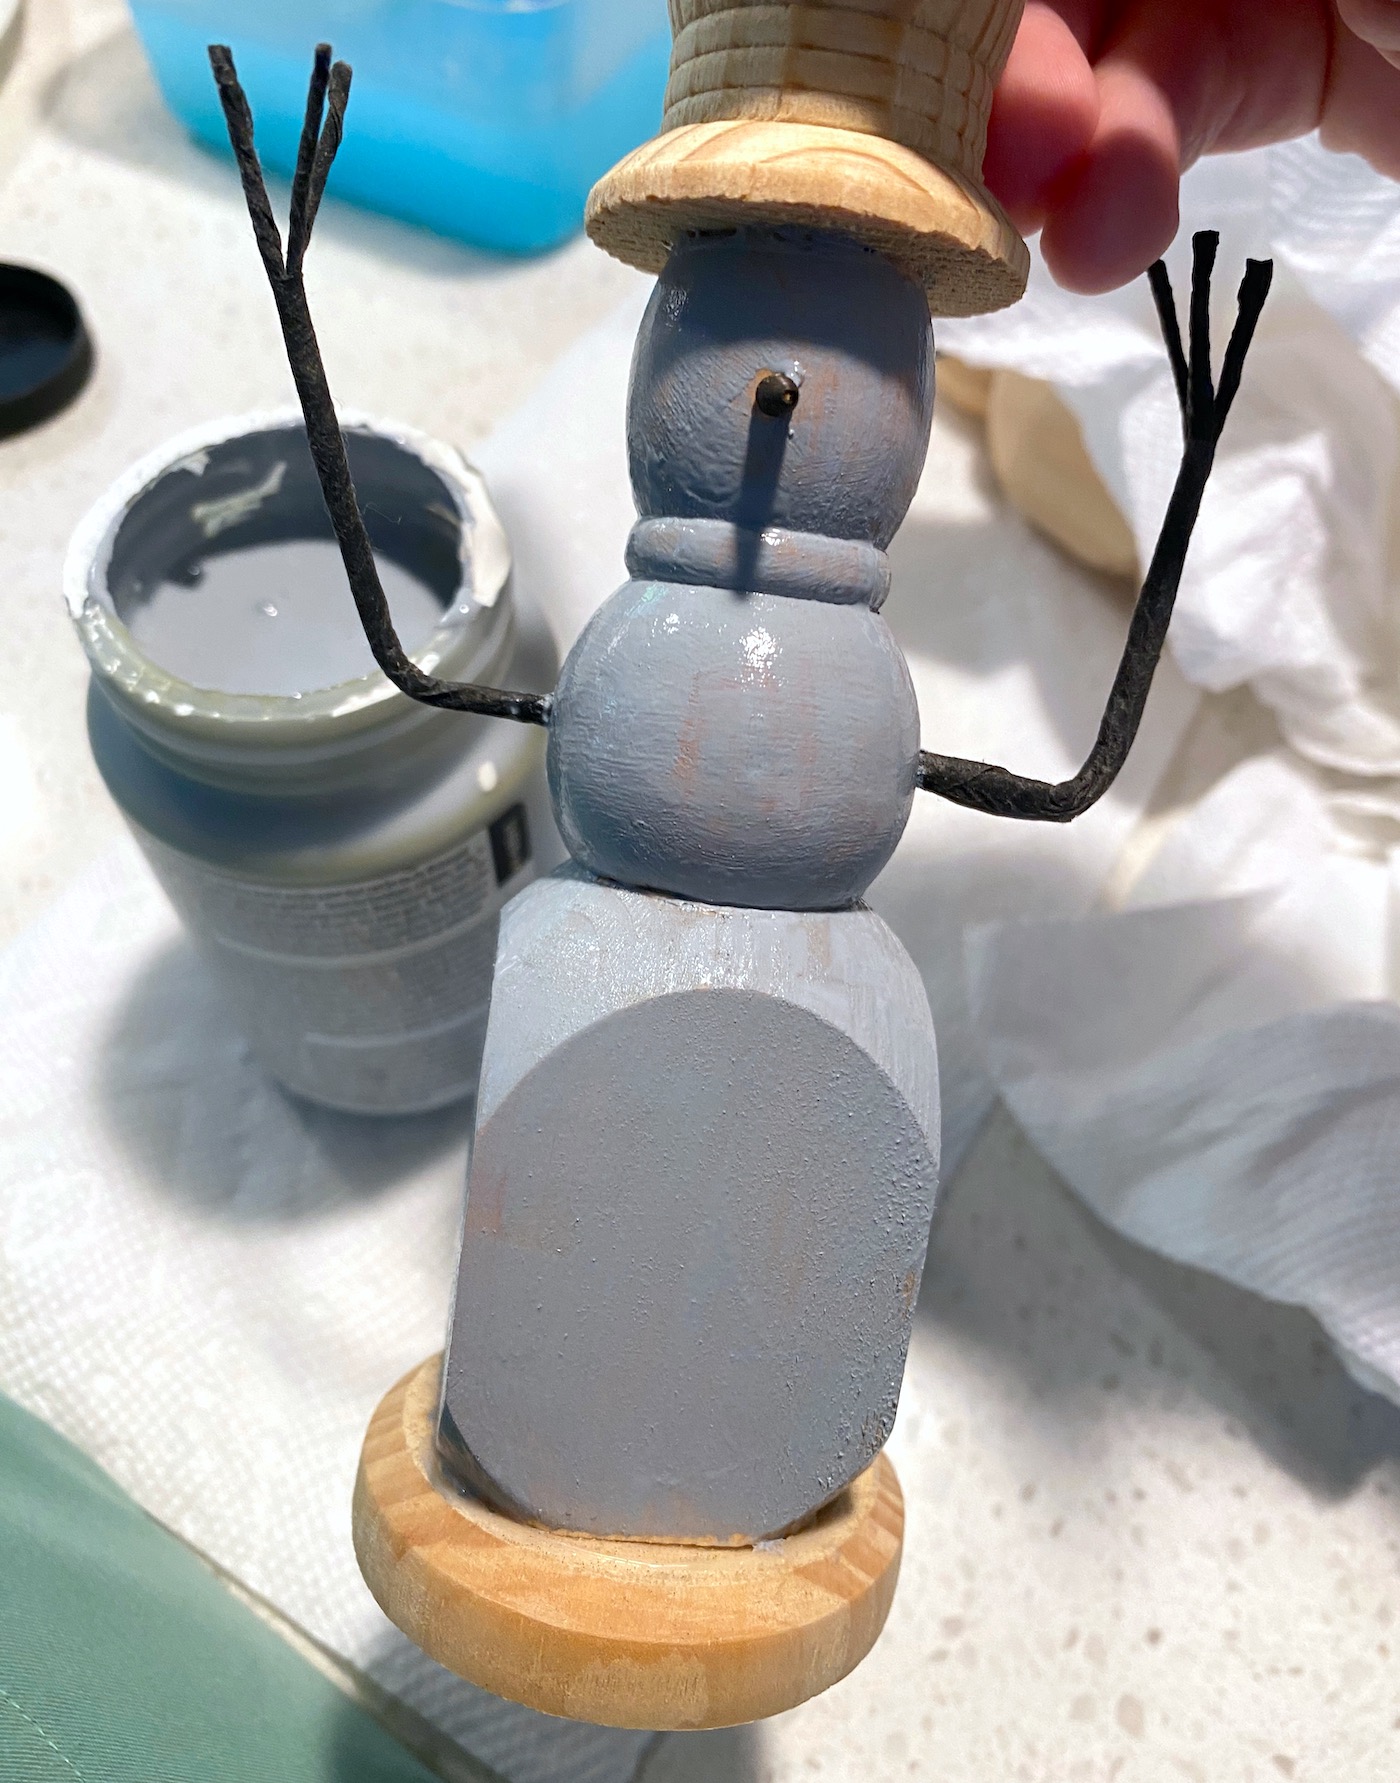
Paint and Distress
Chalk paint is really easy to distress!
To do it, paint a layer of lighter gray over the top of the medium gray.
Paint a coat and let dry completely.
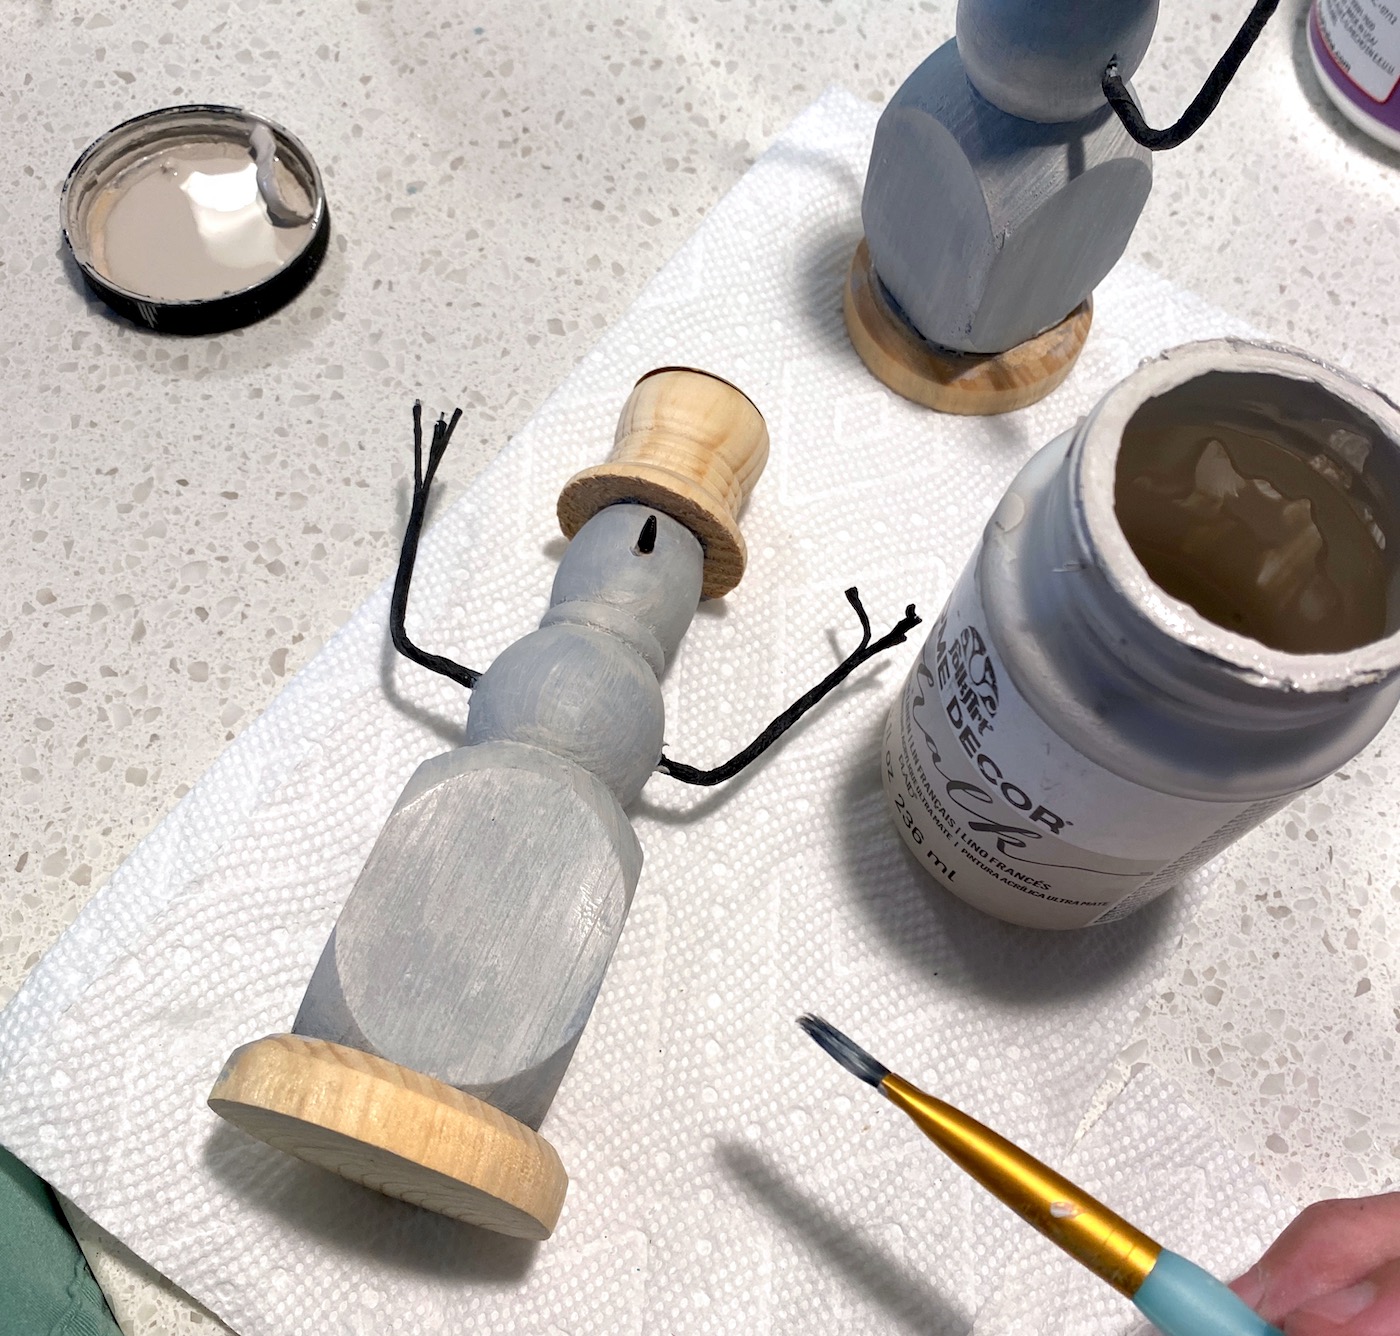
Depending on how well it goes on, you might need a second coat.
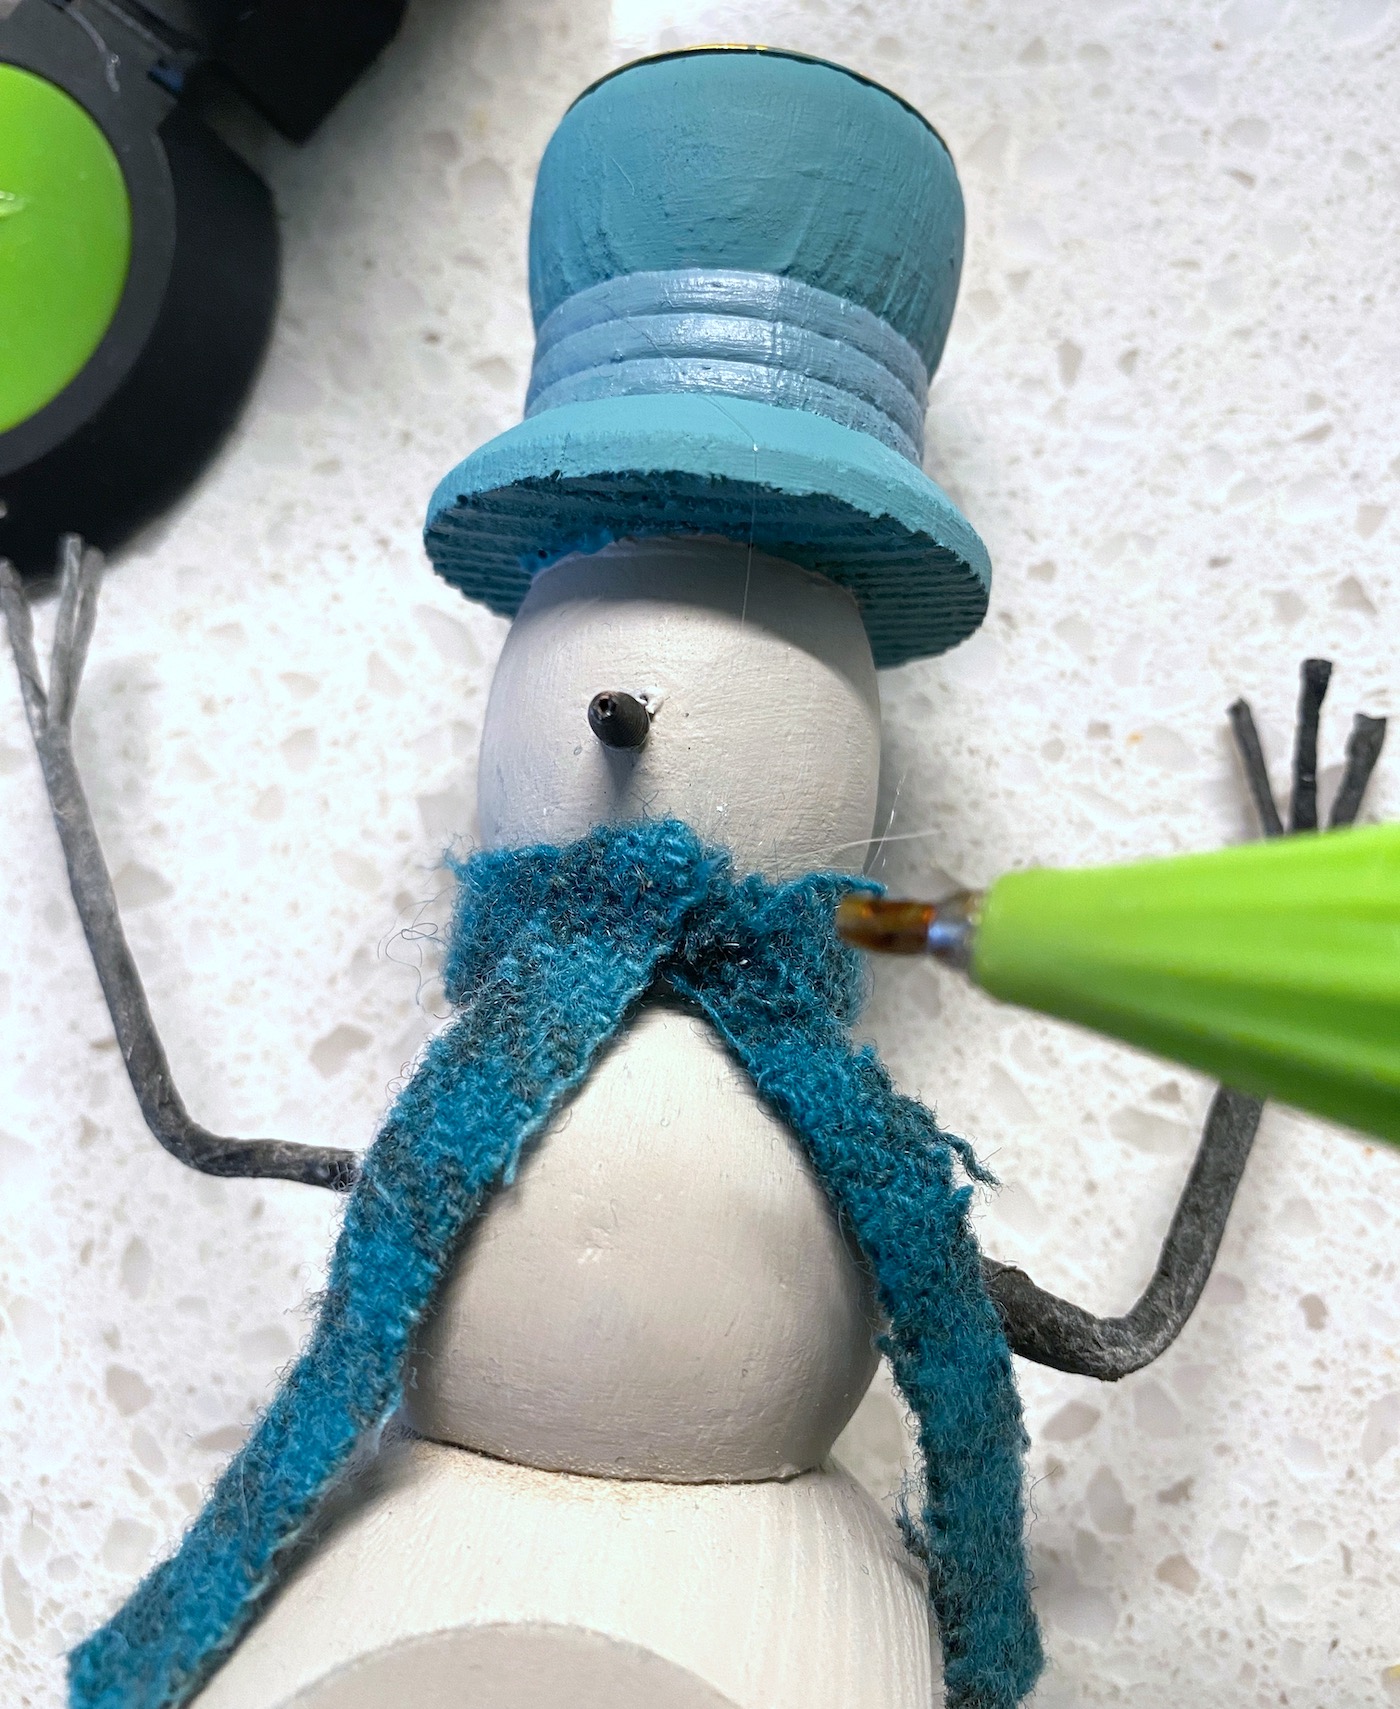
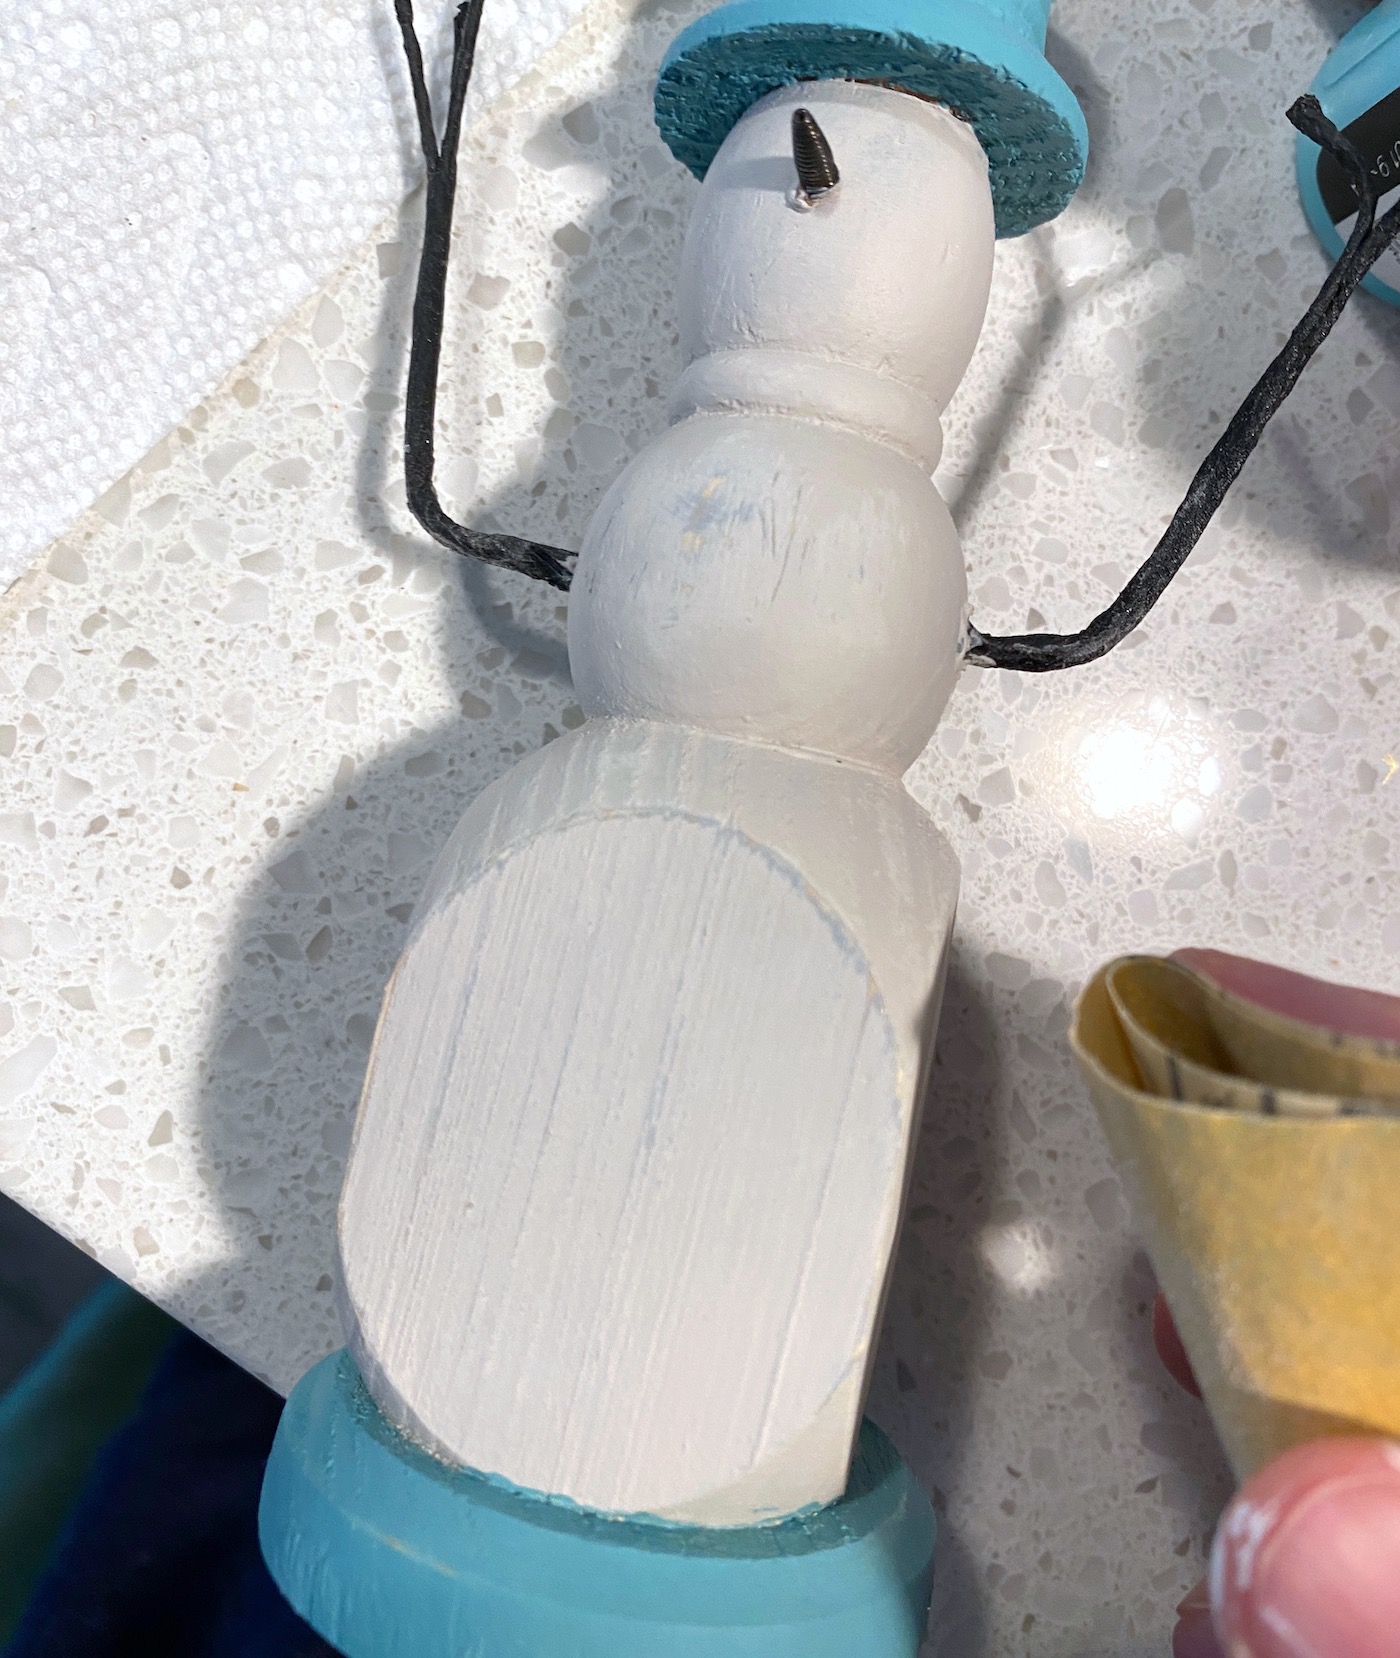
After the second layer of paint was dry, I painted the hat and base with a steel blue.
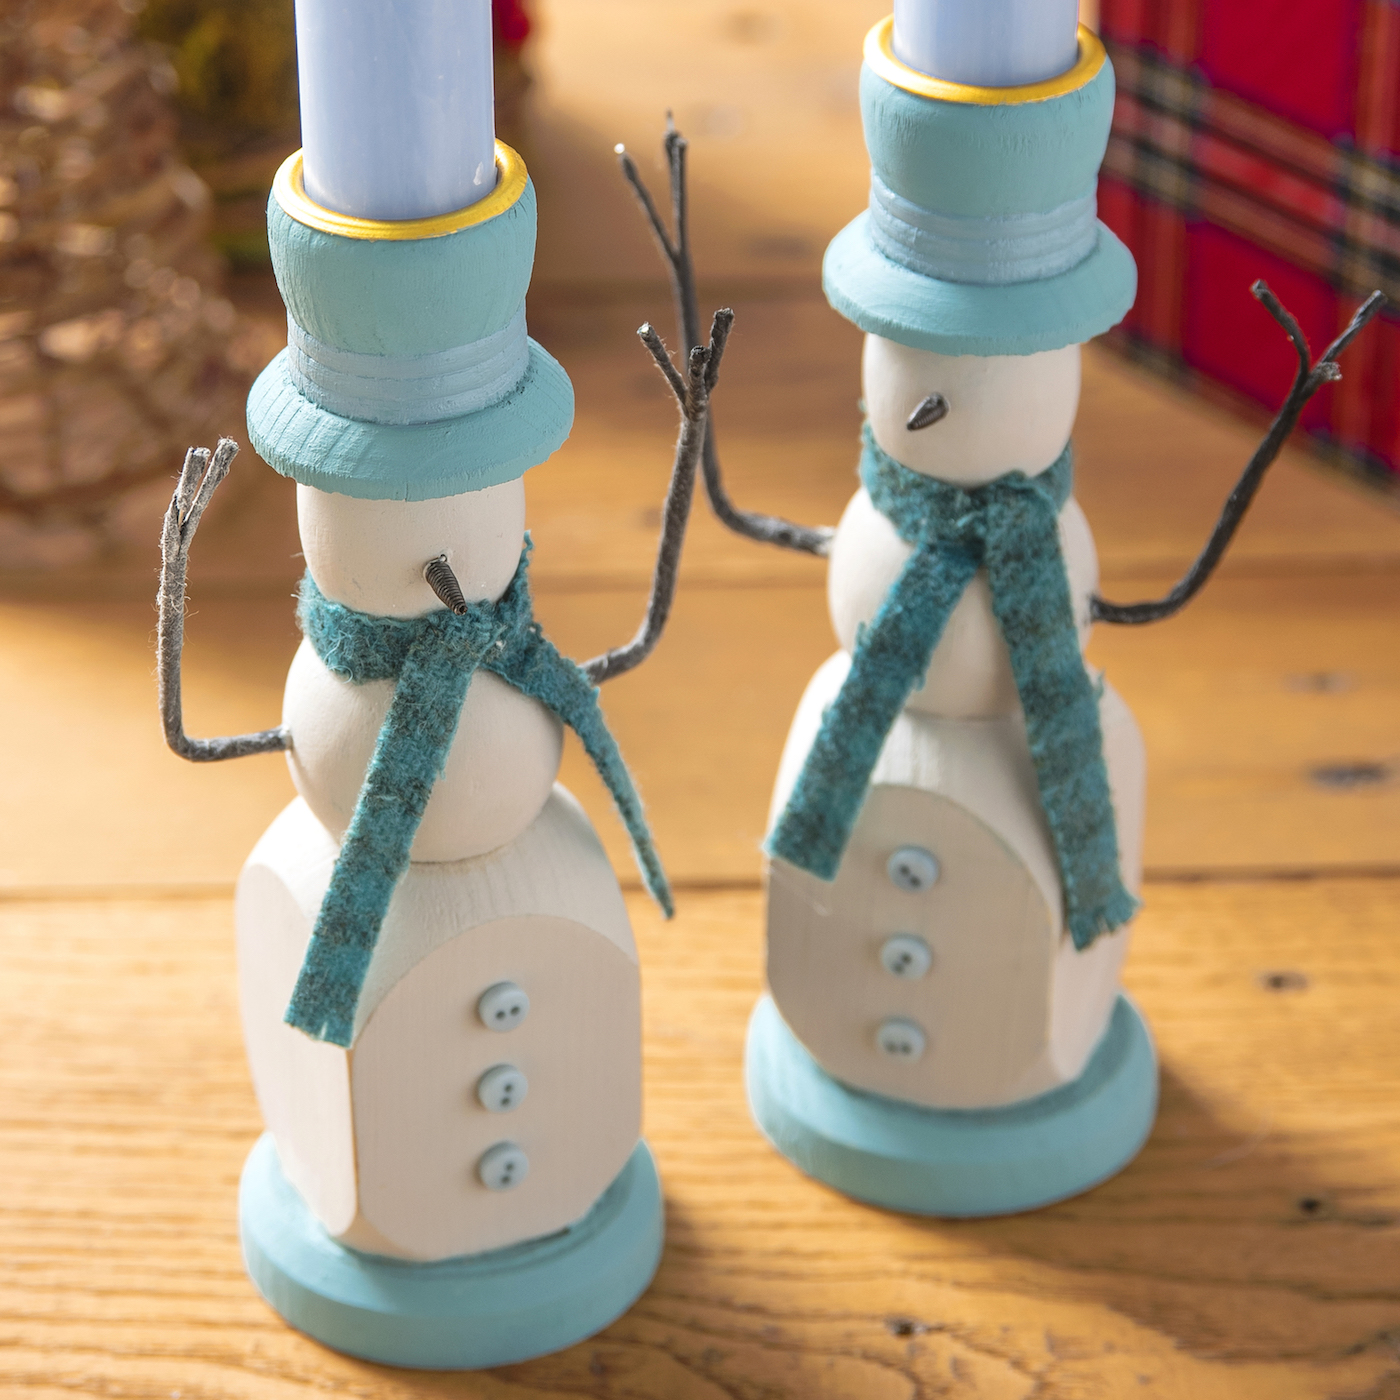
LOVE how the colors come together!

Once dry, I sanded the edges and midsection of my snowman to distress.
you’re able to see the medium gray peeking through the light.
To finish off the hat, I painted the hat band with a lighter blue.
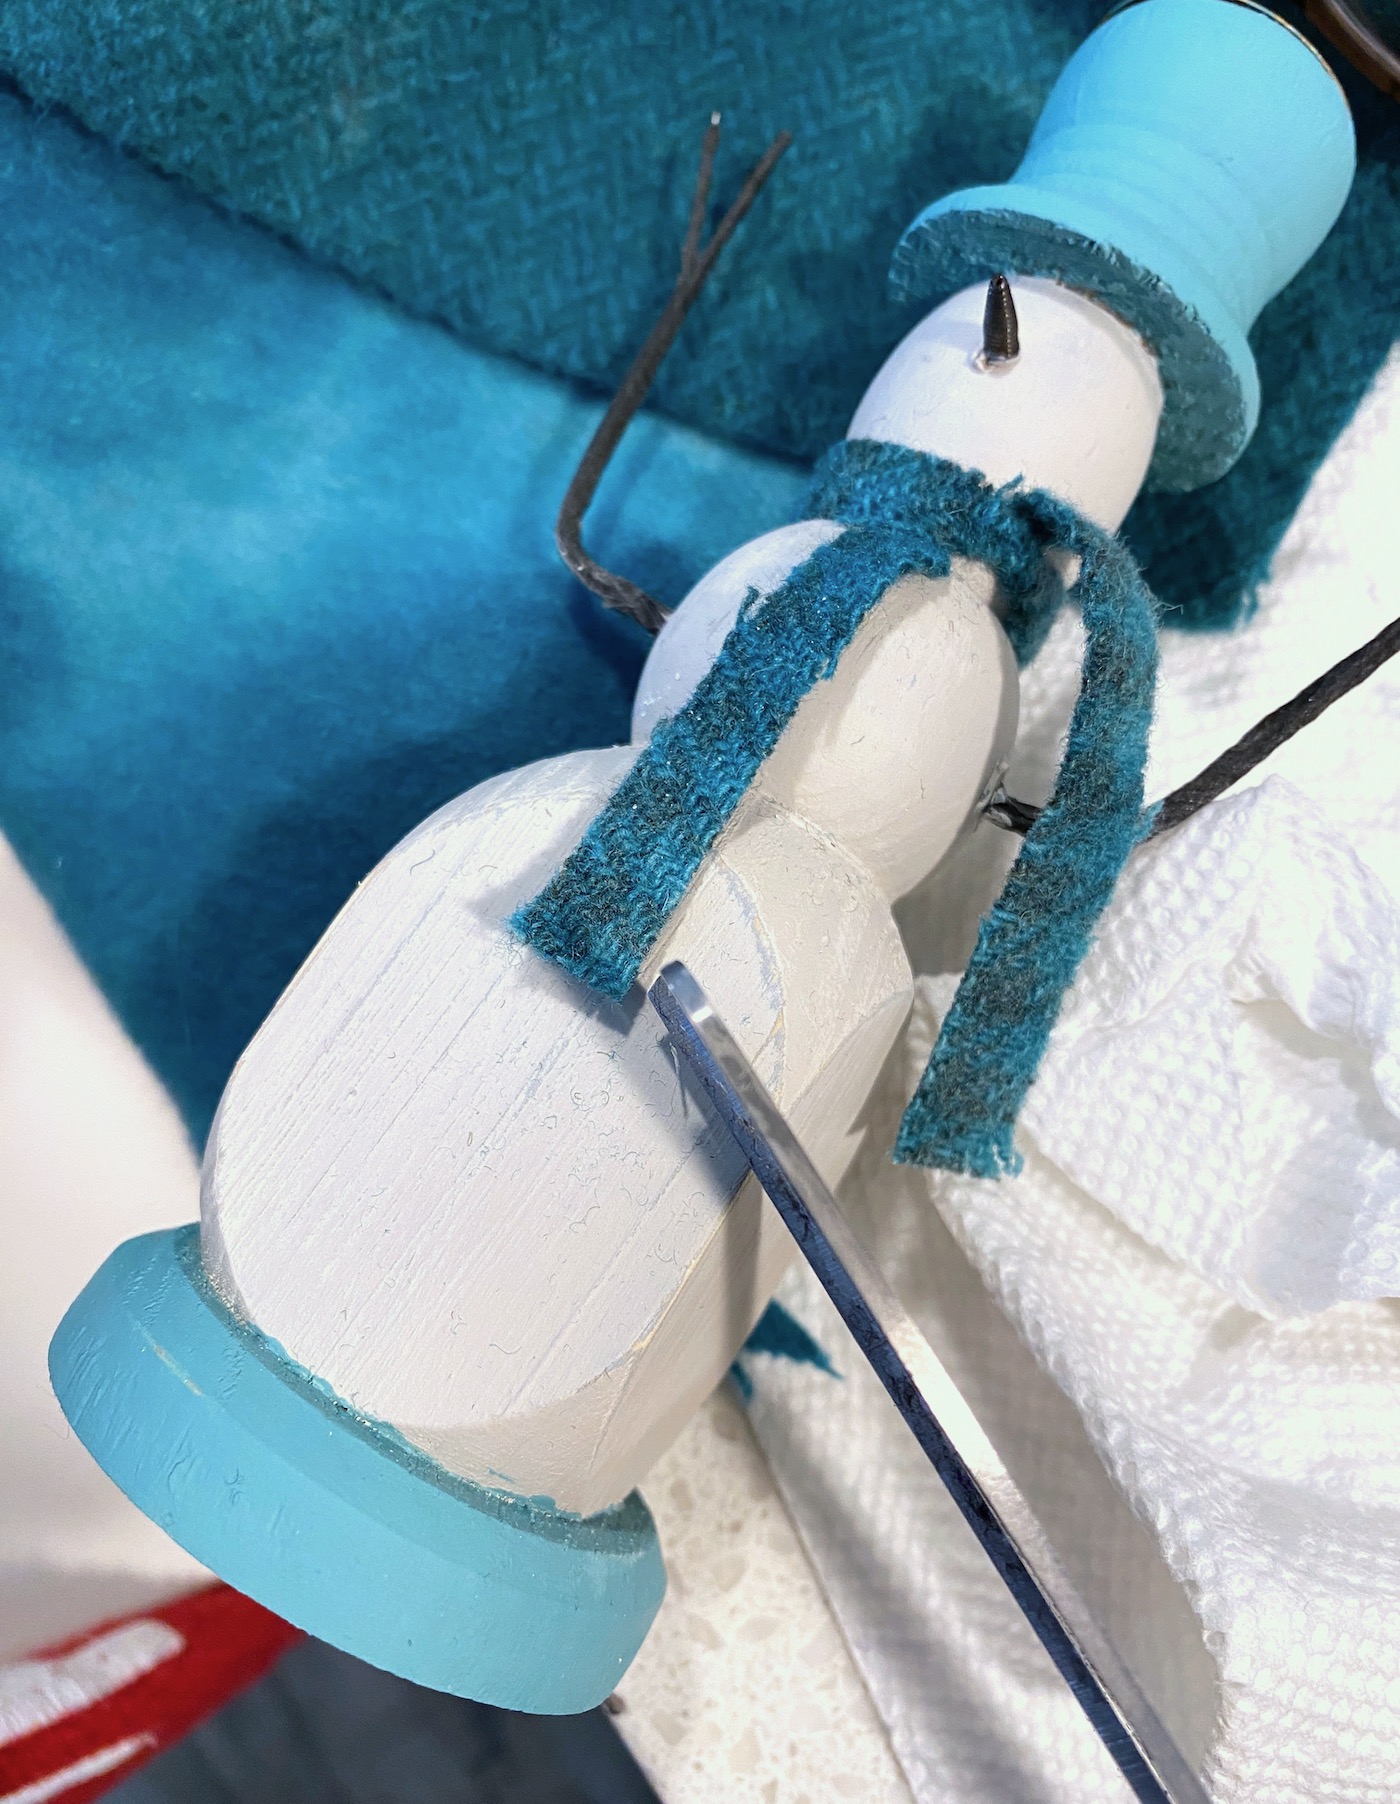
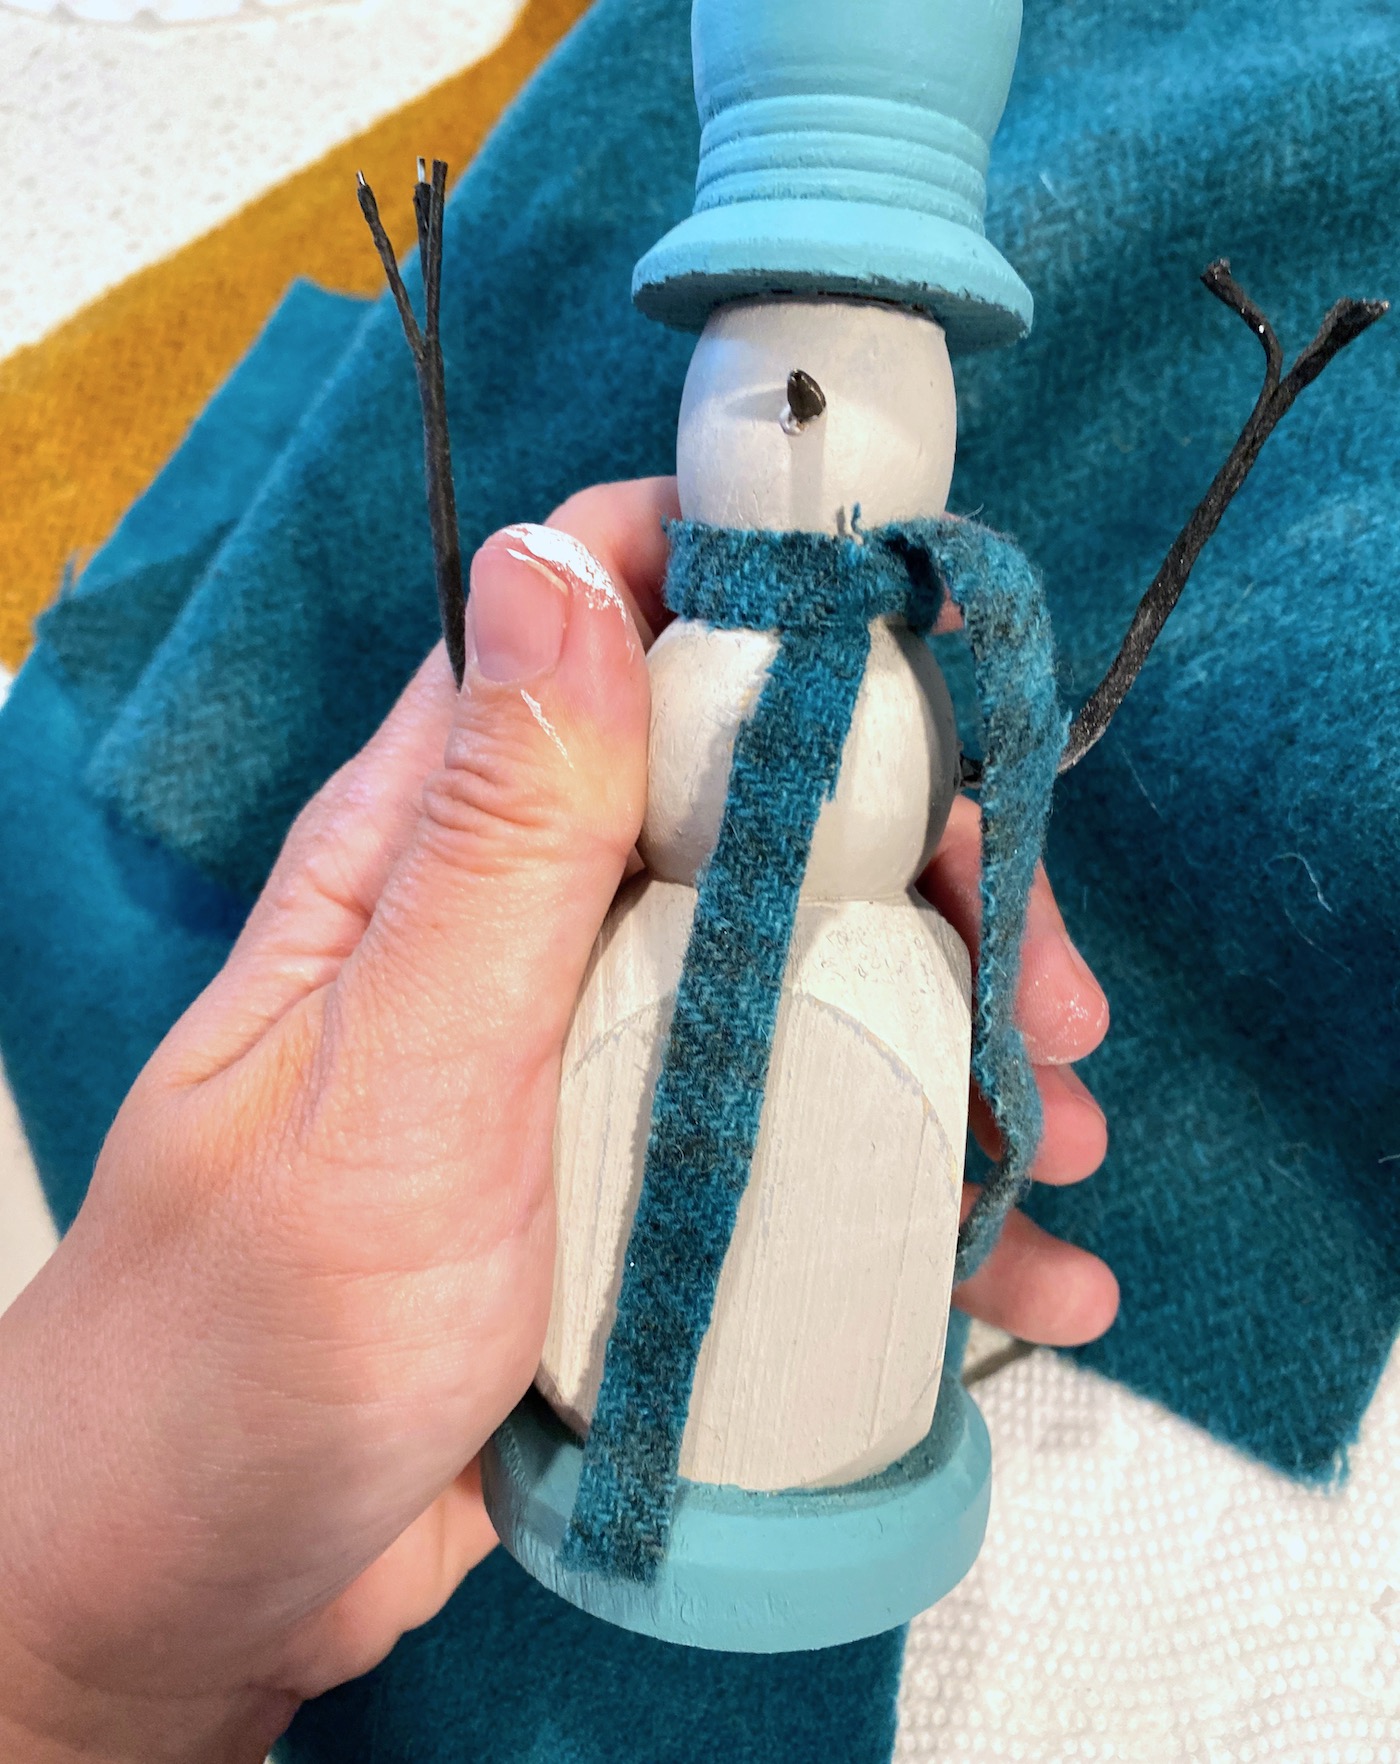
Youll see in the image above, my snowman candlestick has a scarf.
This was something fun I decided to add and it was really easy.
you’re free to usually get similar on Etsy (I got mine from a craft fair).
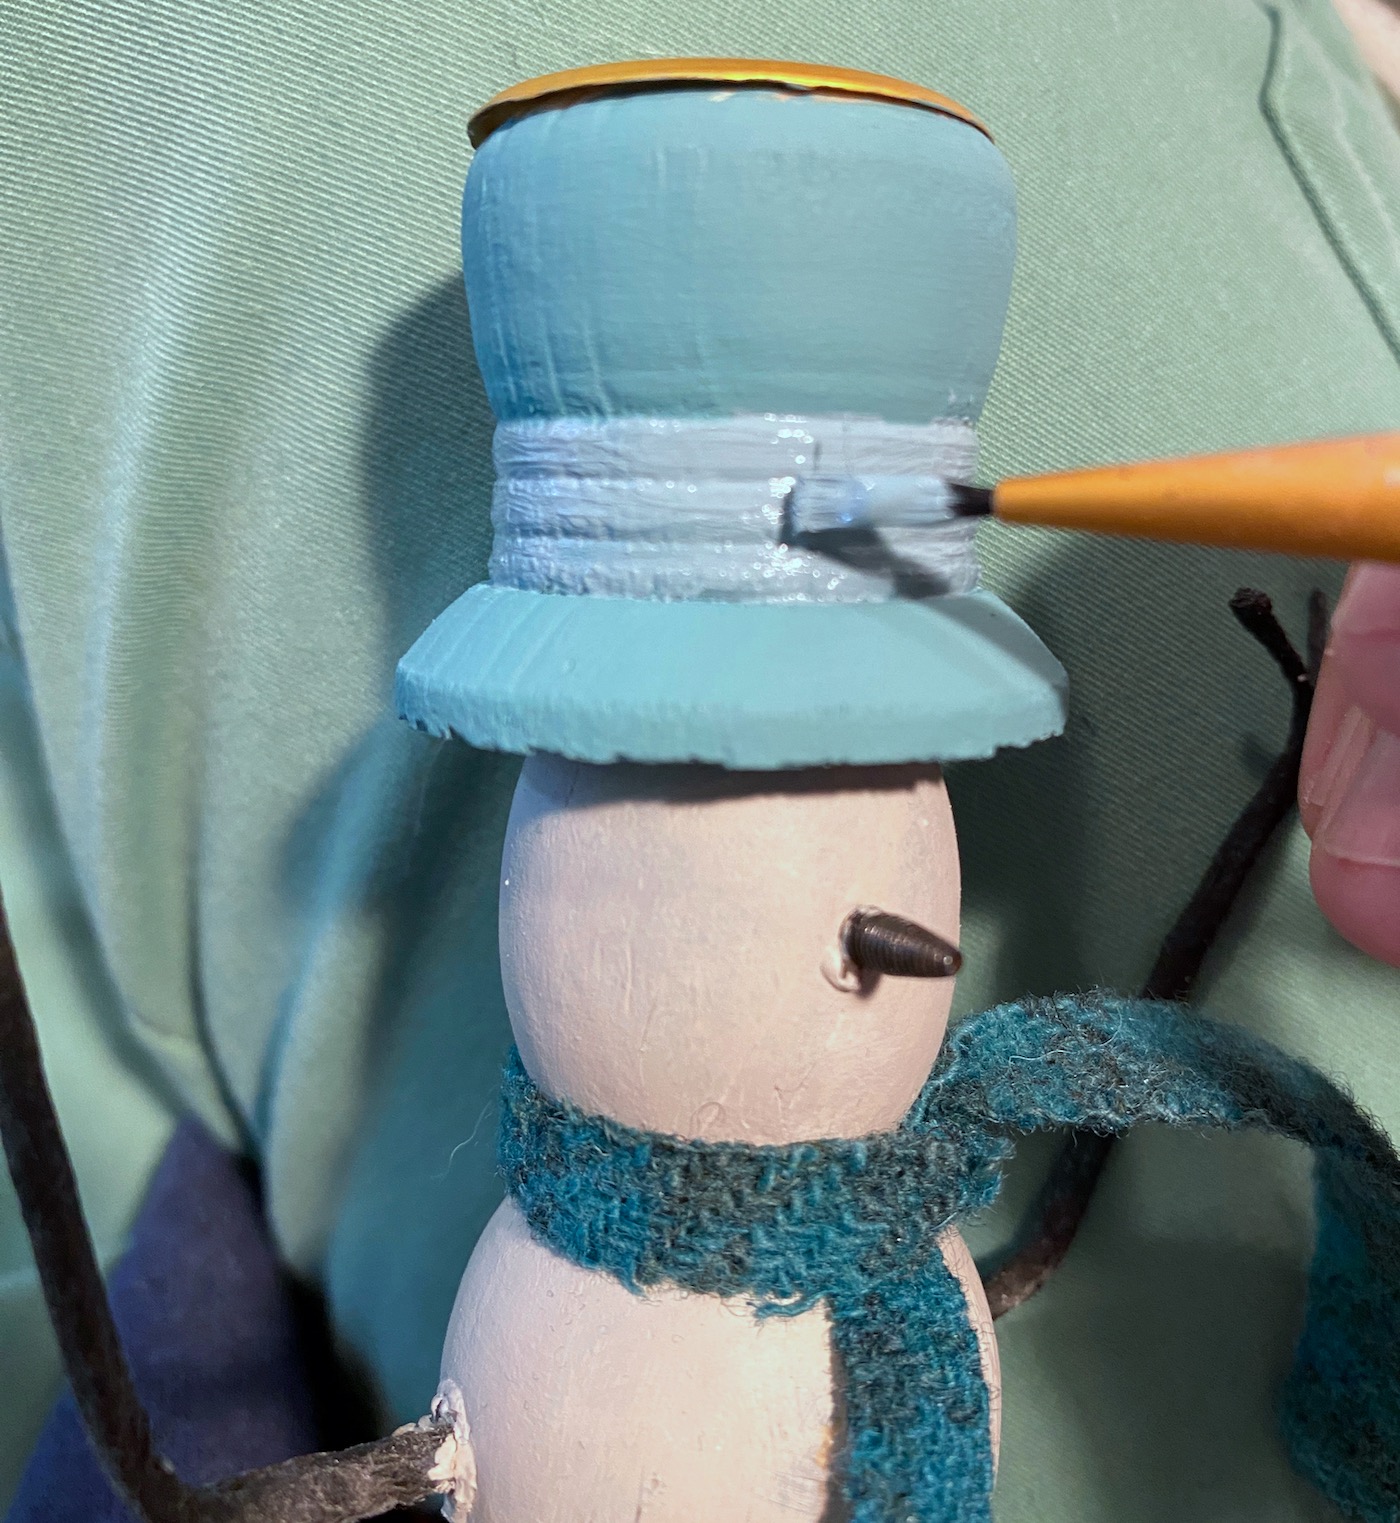
Cut a thin strip 1/4 or so and tie around your snowmans neck.
Trim off to the final length.
Glue down and let set.
Didnt they turn out cute?