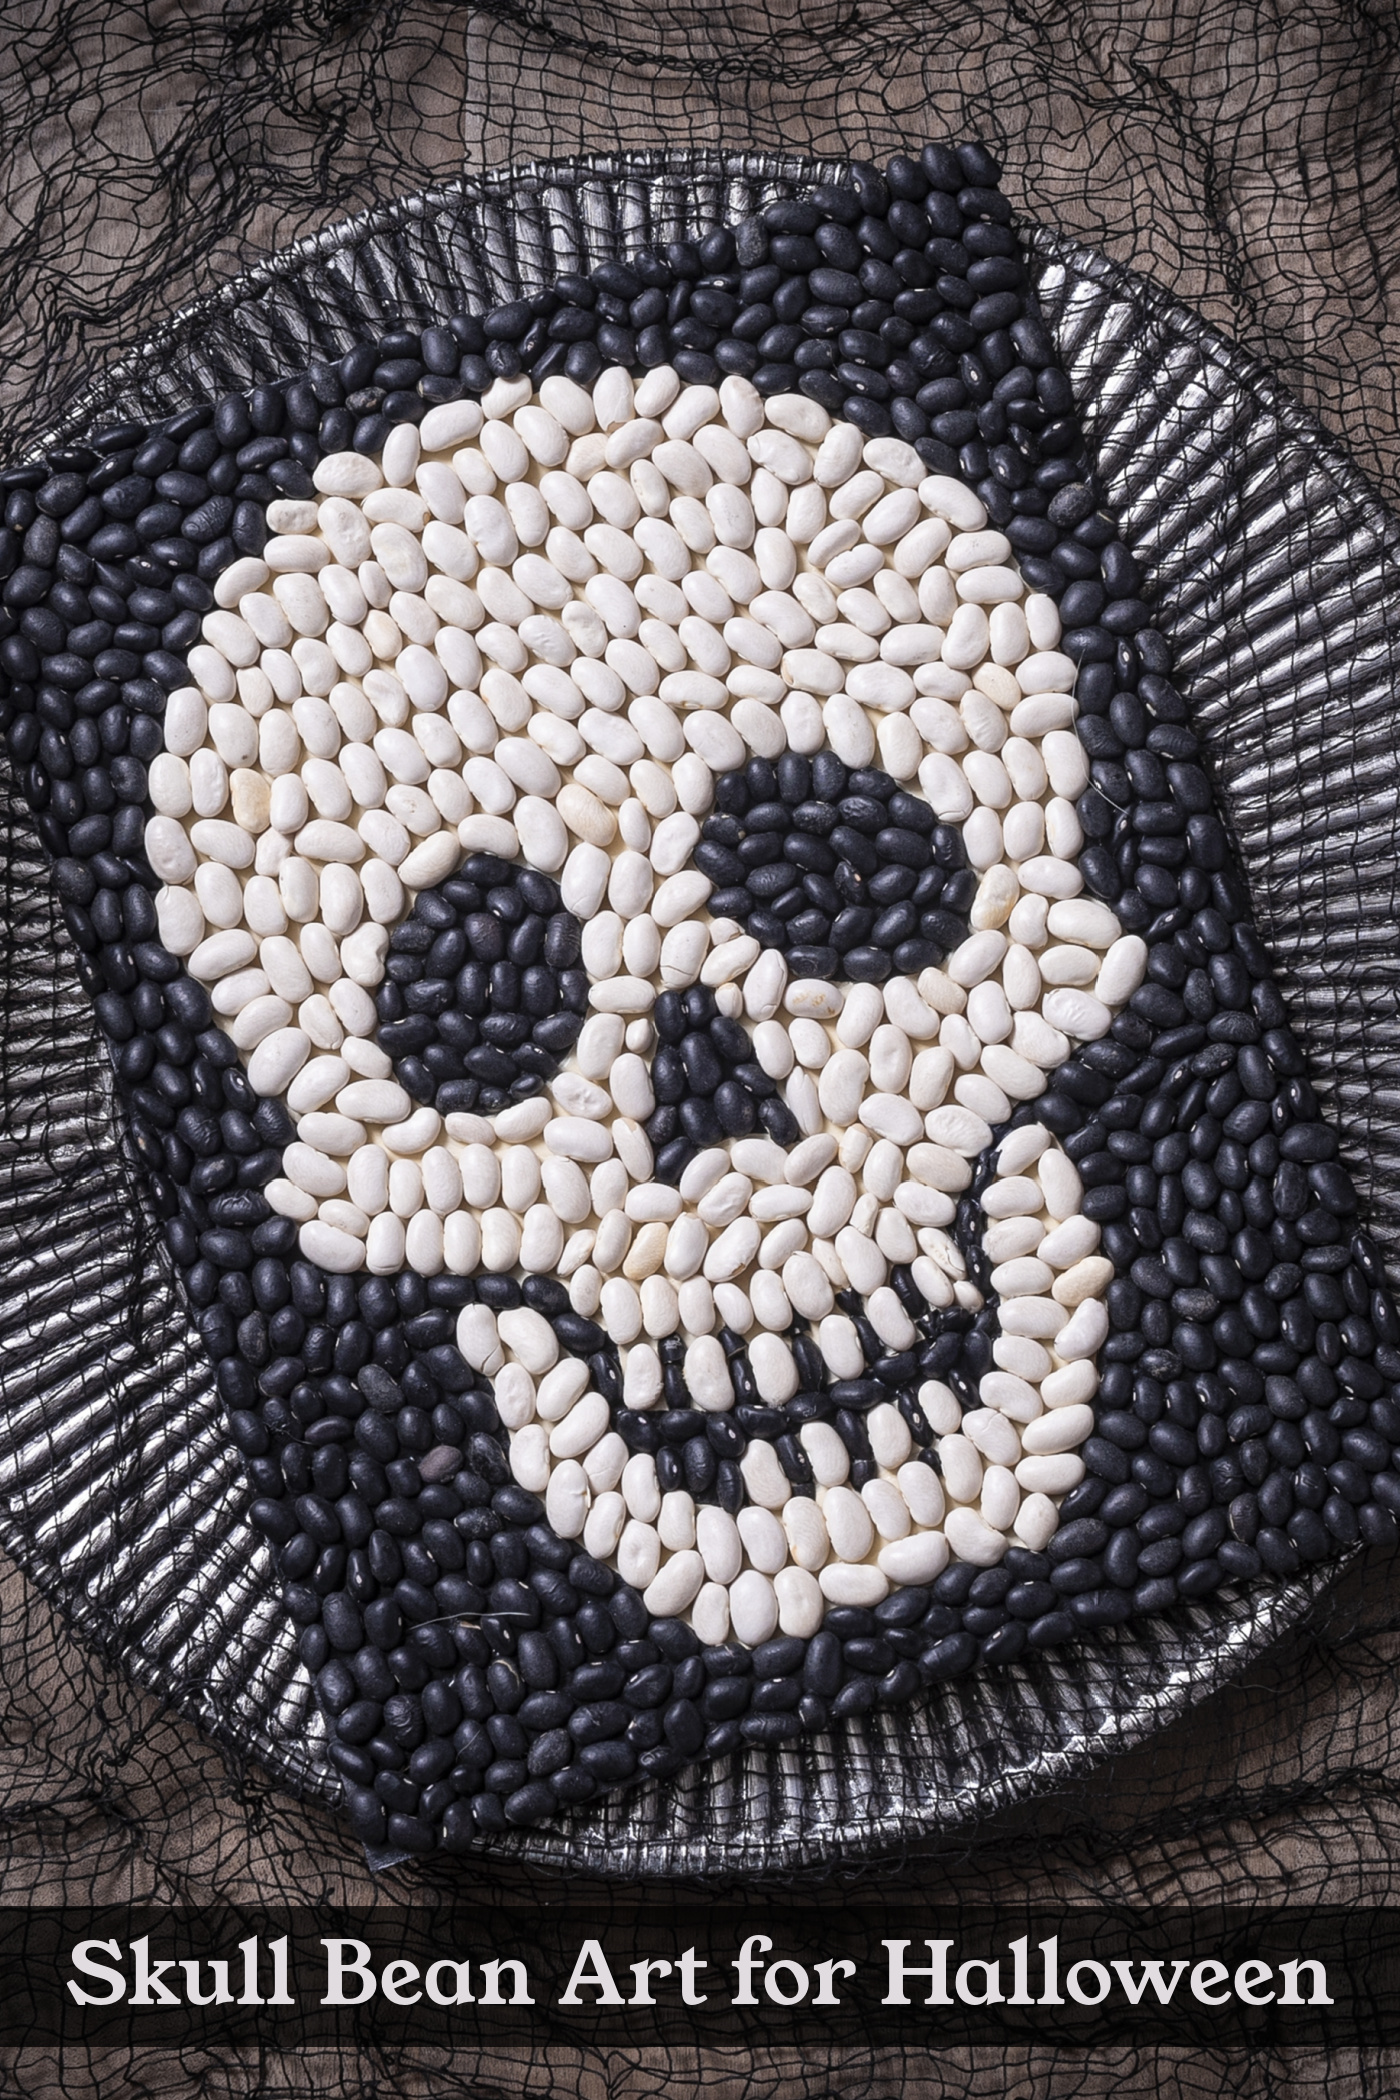
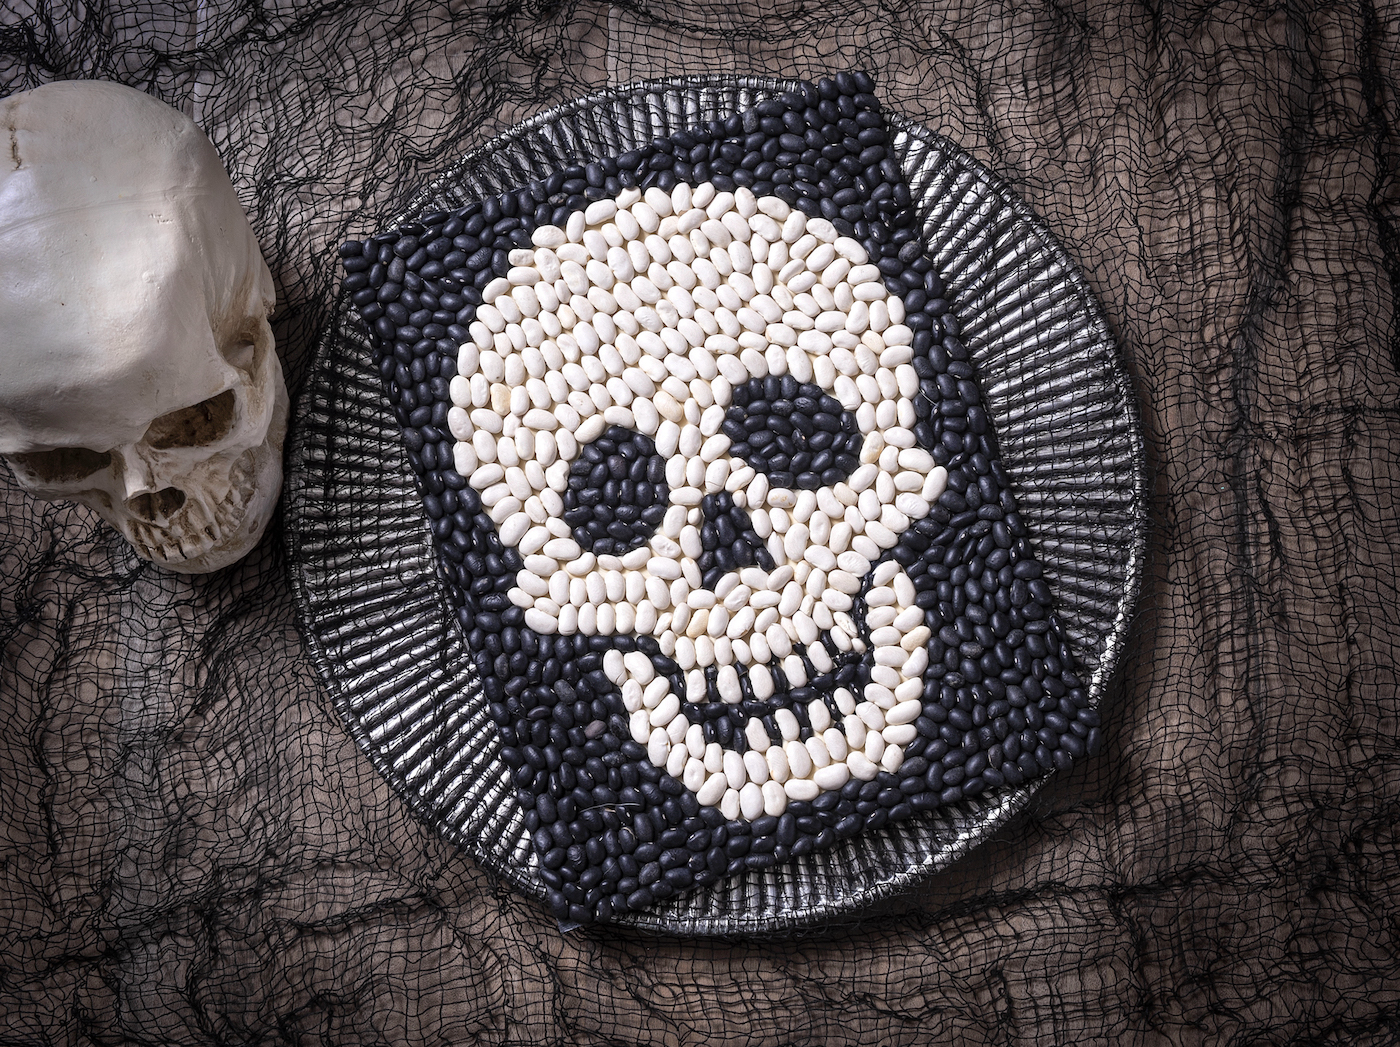
Learn how to make the coolest skull bean art for Halloween decorating!
Its made with real beans and is easy for both kids and adults.
Theres a free template included!
Skills Required: None.Even if youve never crafted before, this is a relatively simple project.
If theres one thing I love forHalloween decorating, its skeletons and skulls.
I dont know why I like them so much, but I do.
I wear them all year round, and not just for the holidays (like theseskull earrings)!
In reality, theyre a really easy and appealing shape to draw.
Just an oval with a few bumps, eyes, nose, and some teeth.
I might be oversimplifying it a little but you know what I mean.
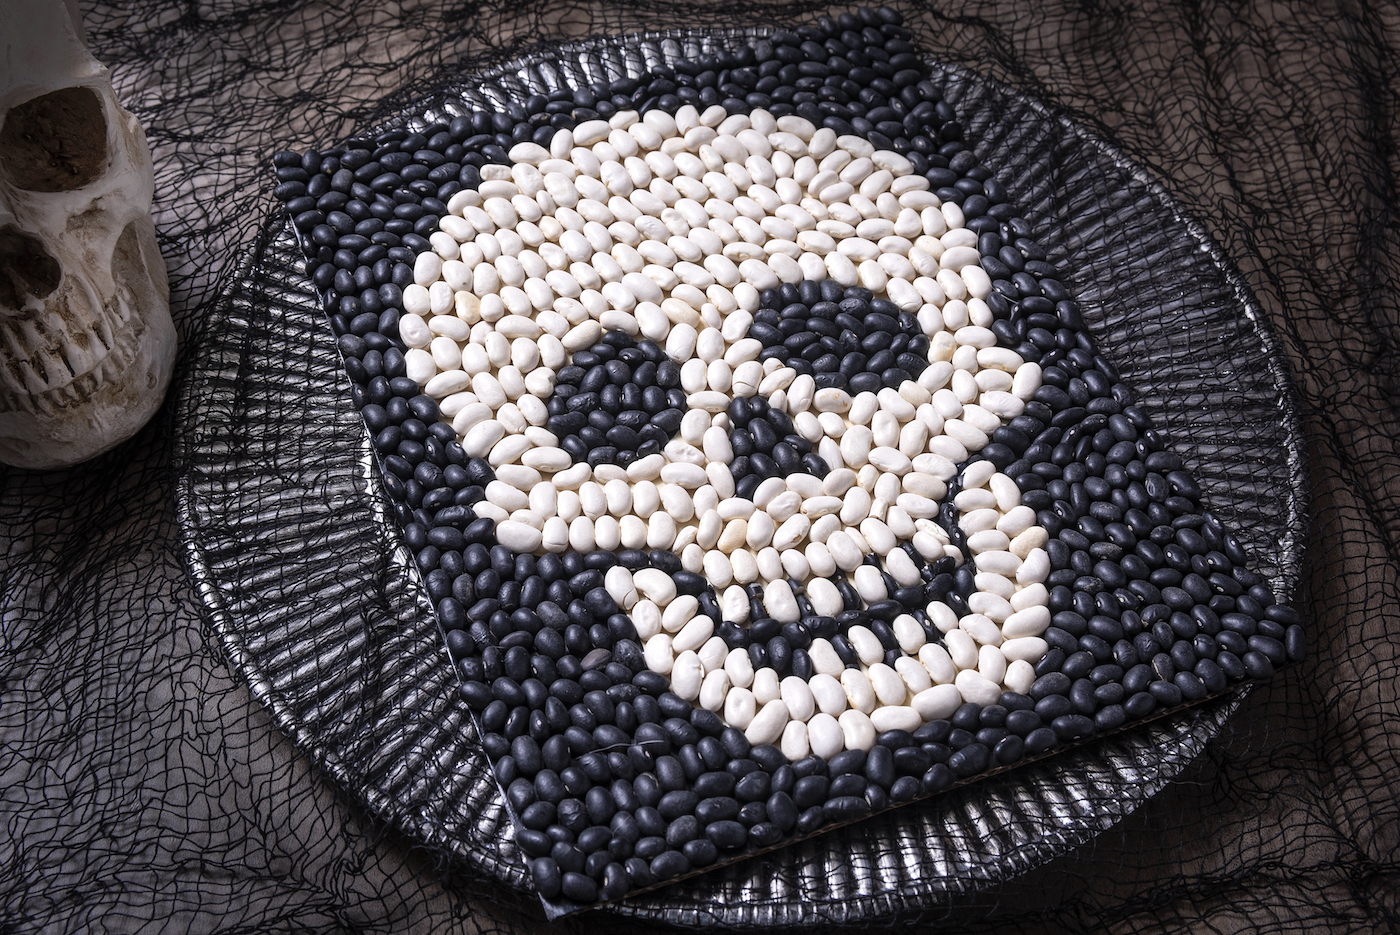
I decided that I want to try some skull bean art!
Whats important is that its REALLY easy to fill in the shape with beans.
Which makes this a great Halloween craft not only for adults, but also forkids!
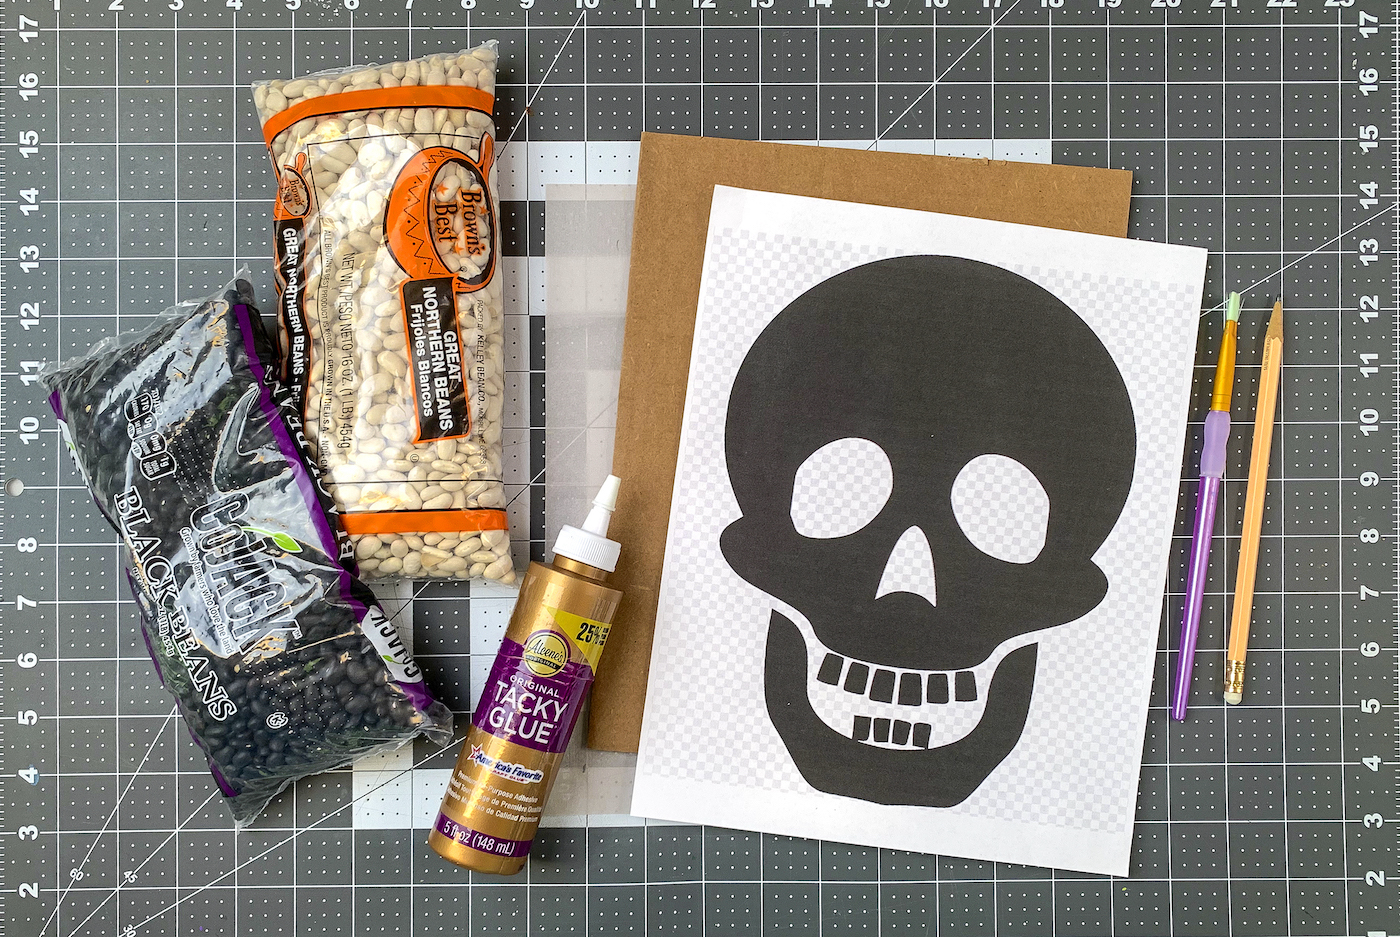
Here are the few, very easy steps to make this project.
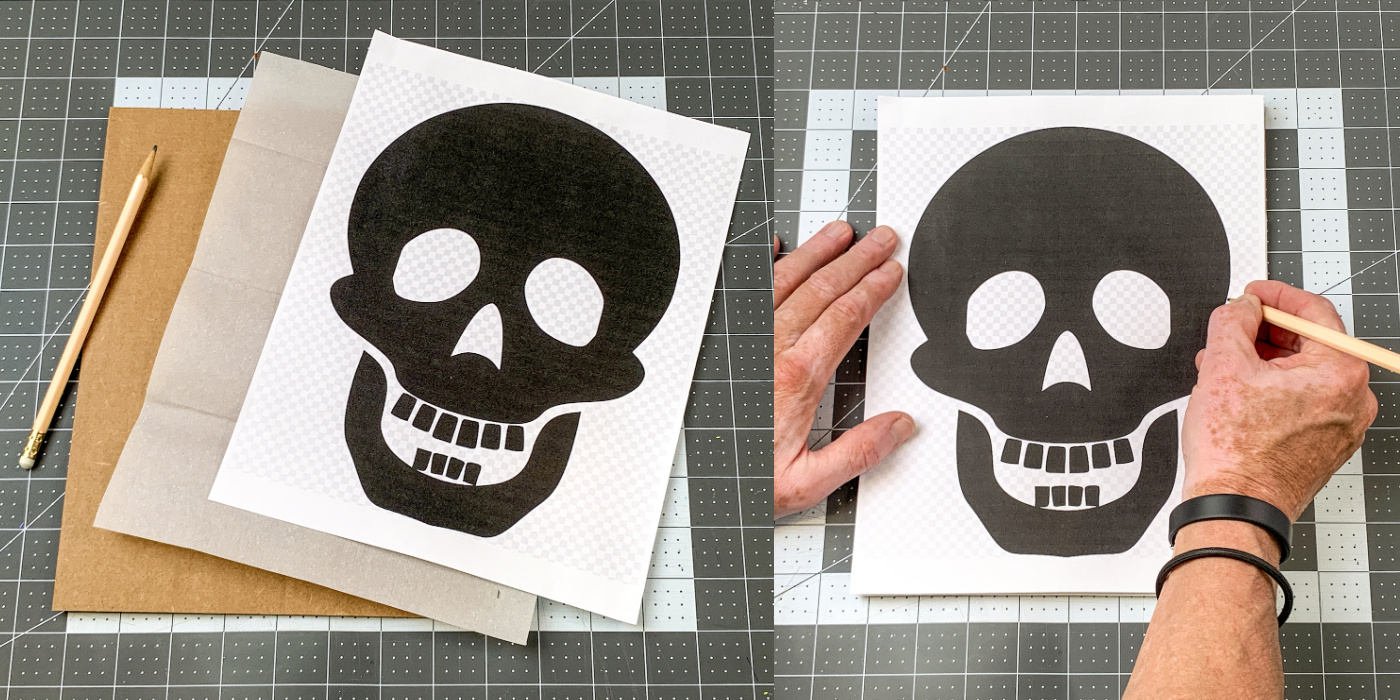
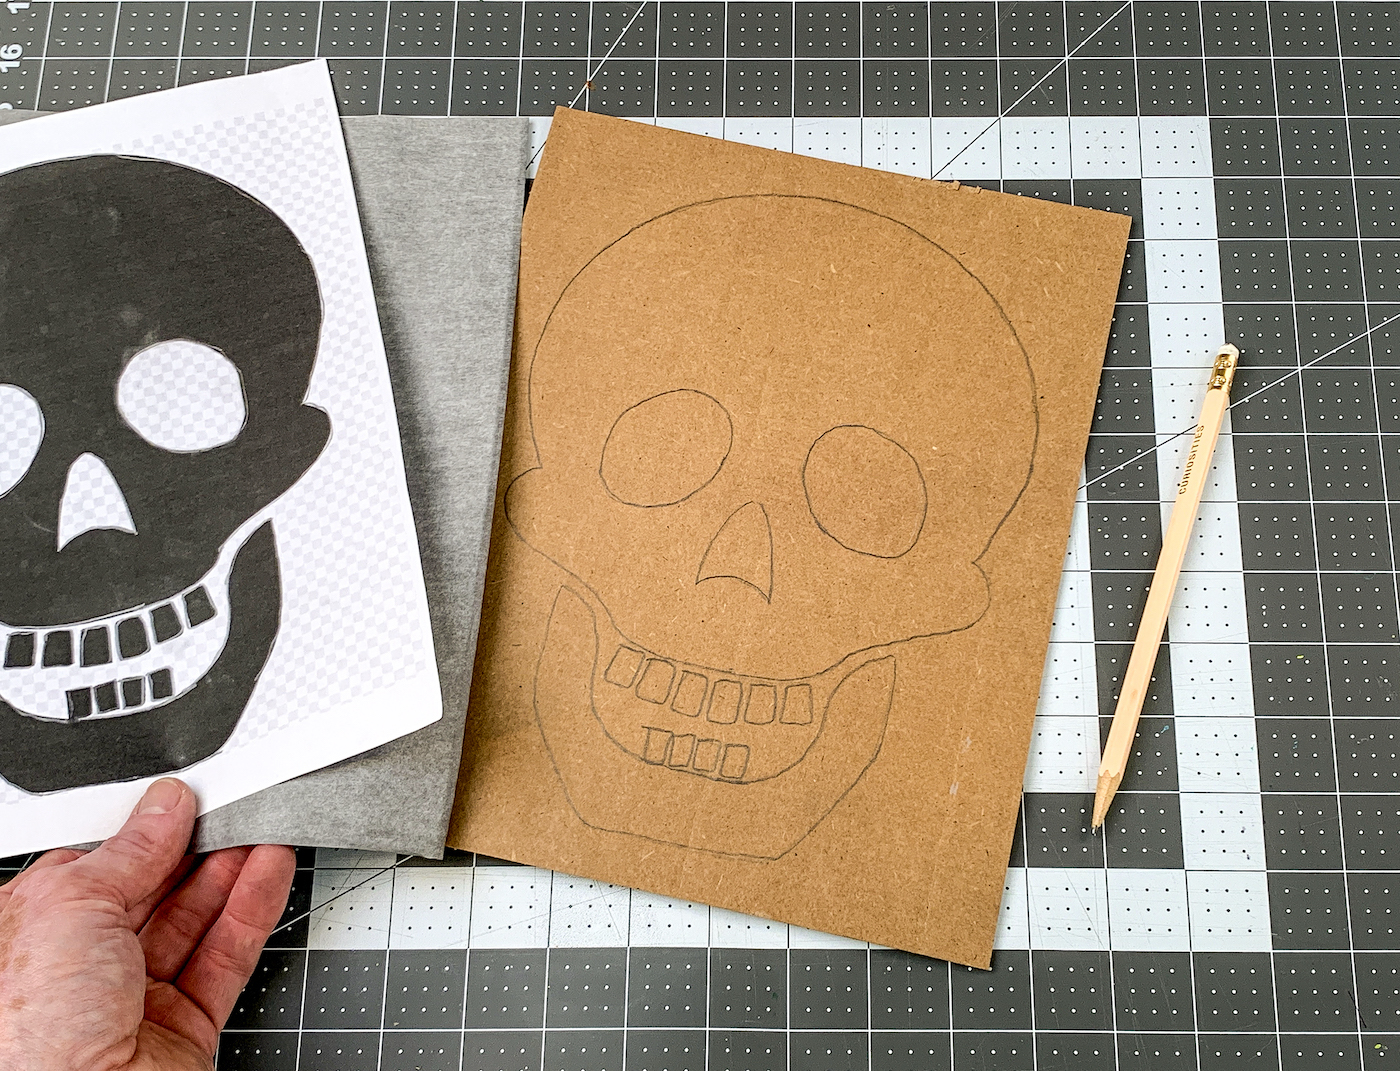
Youre going to cut the cardboard, then trace the pattern.

Then youll fill in the pattern with paint and glue down the beans.
Its only slightly harder than ourspooky skull display.
And that project is very, very easy.
Learn how to make this unique Halloween project below!
PS dont be afraid to change the paint or bean colors.
Or draw your own skull.
Thats the beauty of this project.
you’re able to personalize it any way you like.
it’s possible for you to cut any size you like or resize the skull.
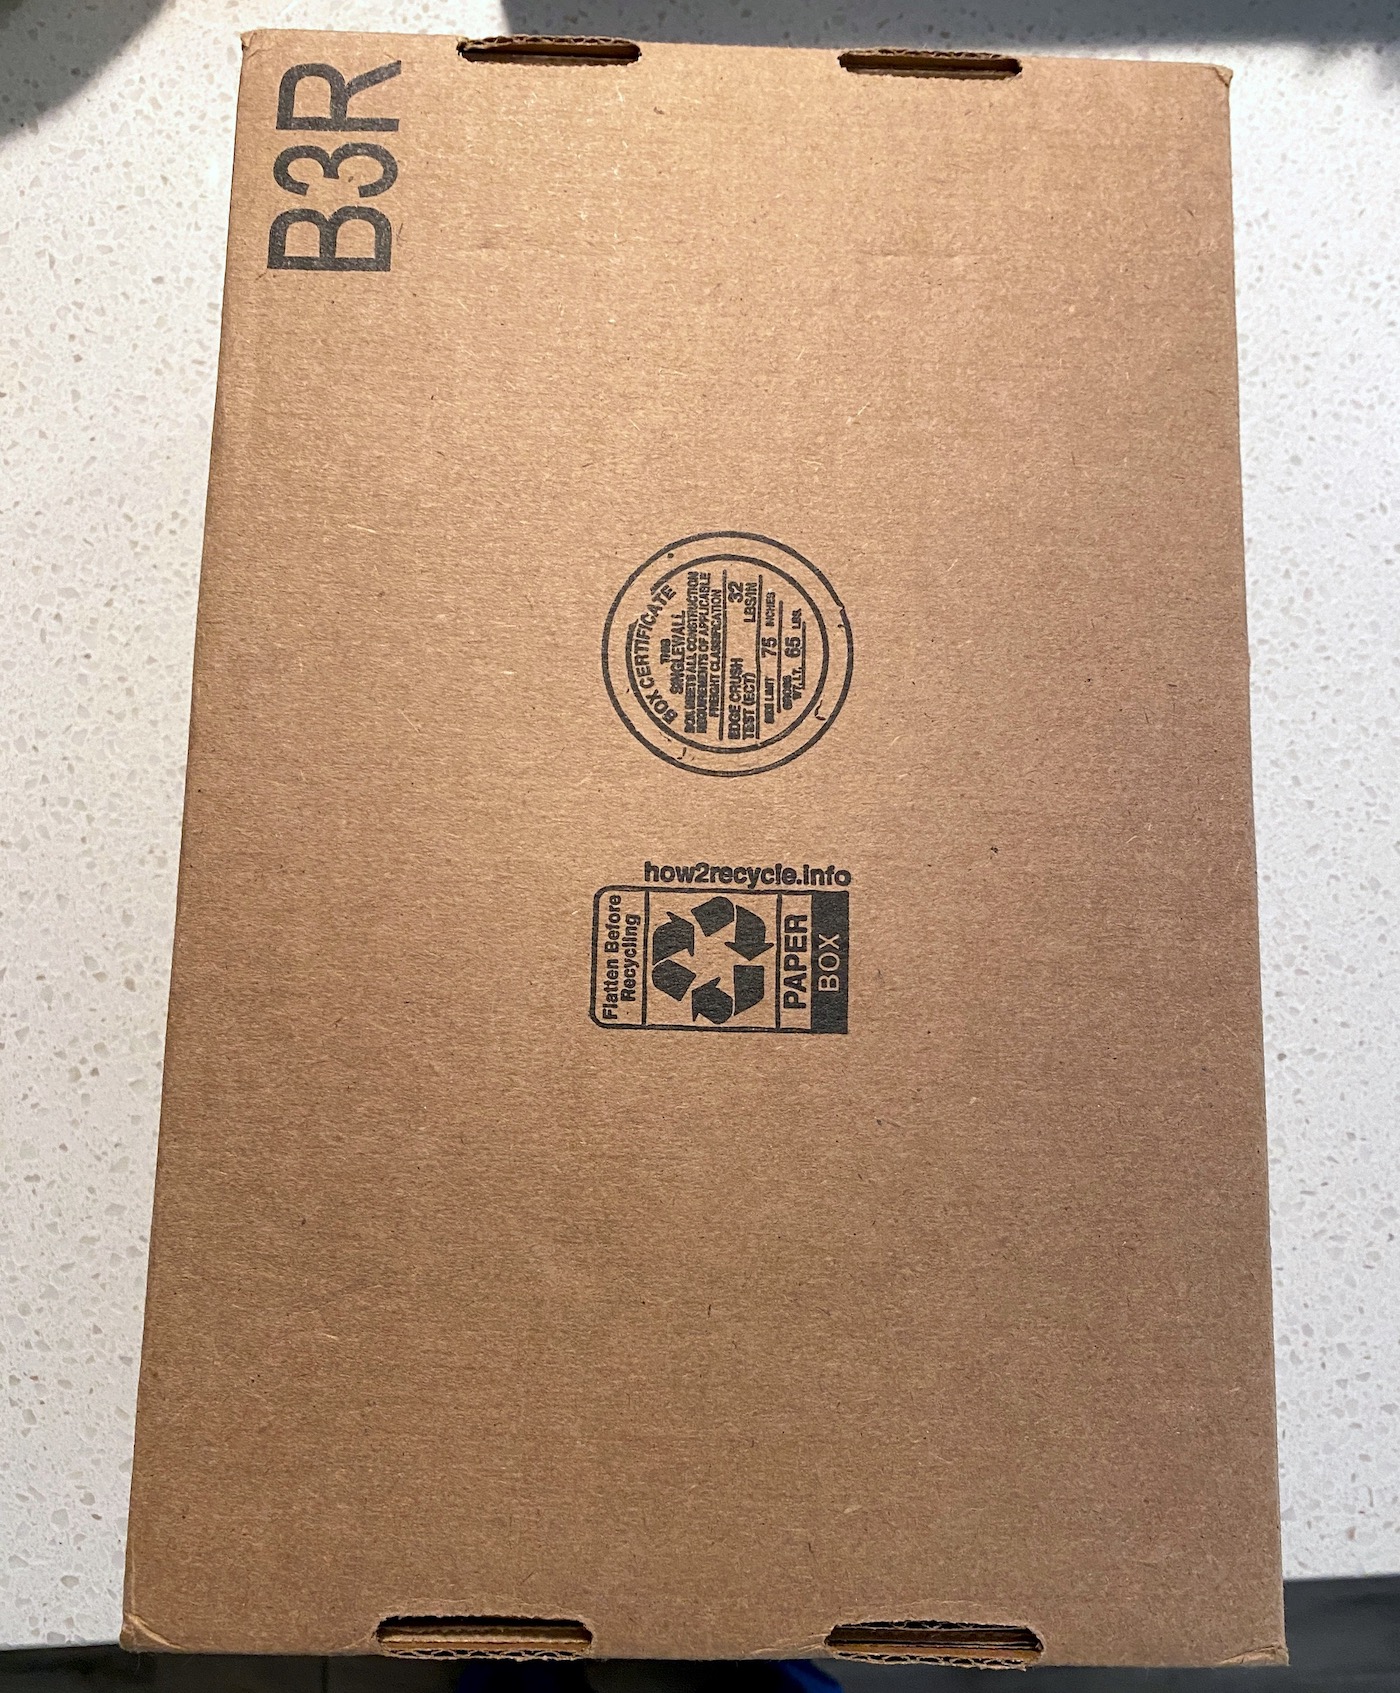
Youll want relatively stiff cardboard for this project.
I just used part of a shipping box.
This will be your canvas.
But what if you dont have tracing paper?
Tracing paper is just really easy to use, and I happen to have some on hand.
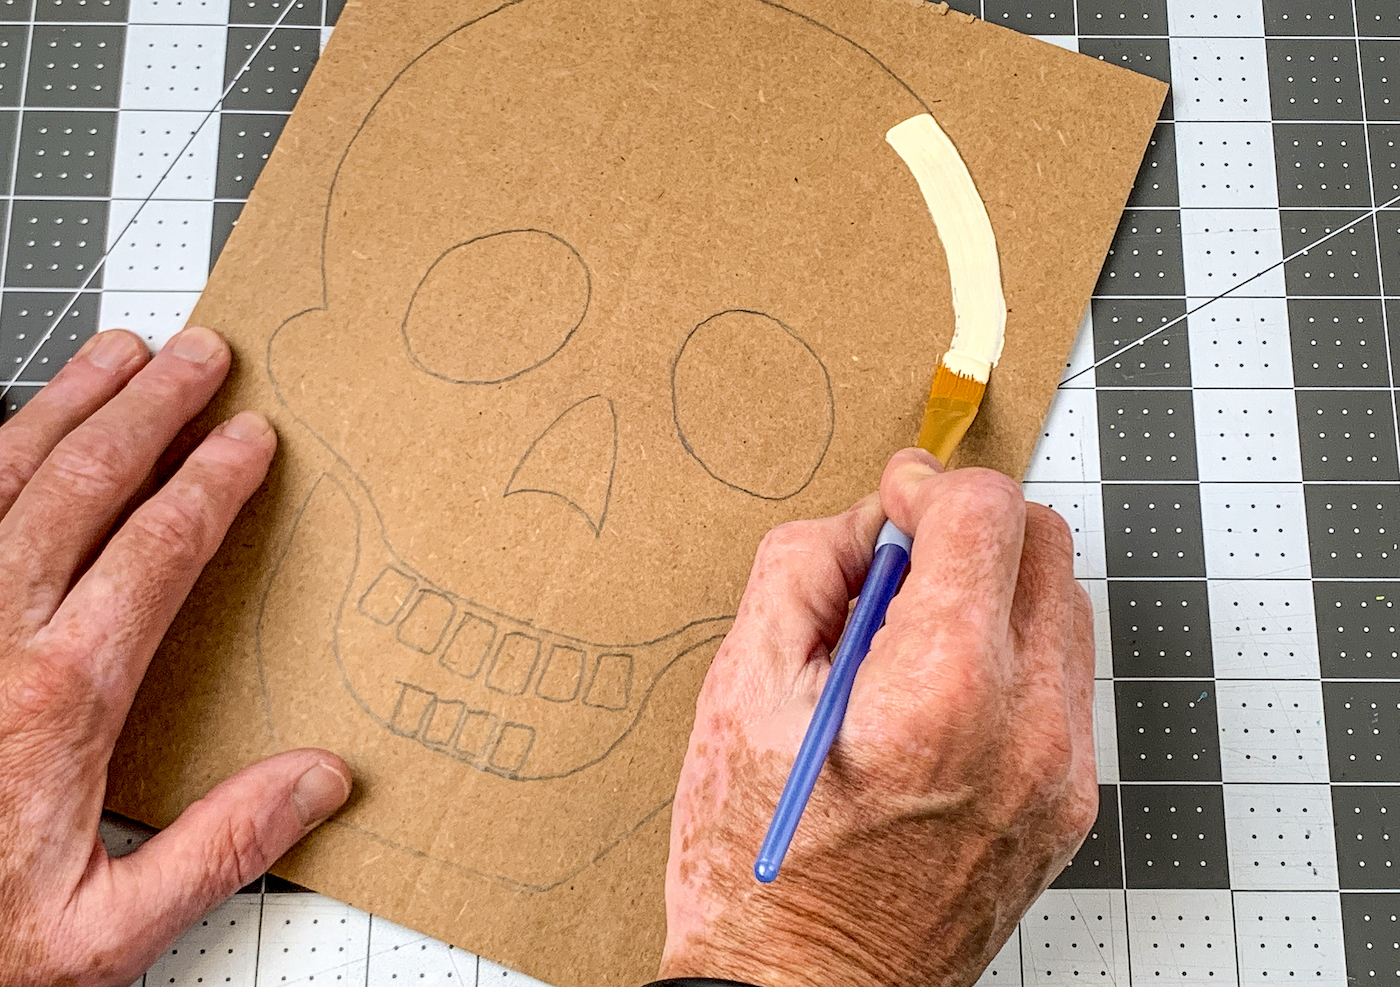
Paint the Pattern
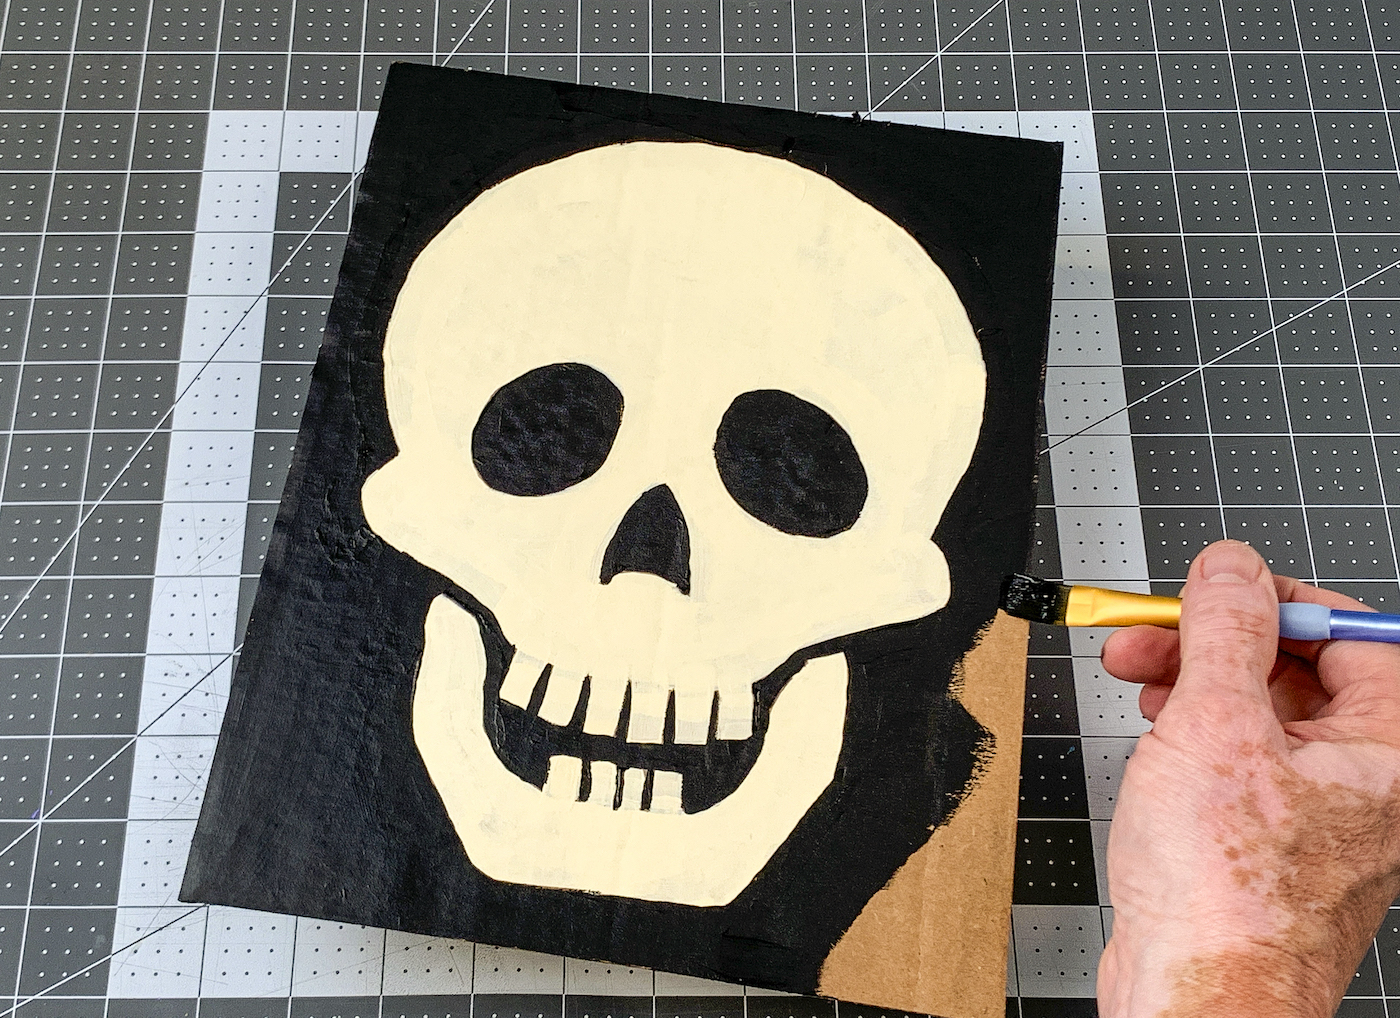
Use the paint to fill in the background of your design.
Everything blends together nicely.
Youre simply going to glue down beans to fill in the design.
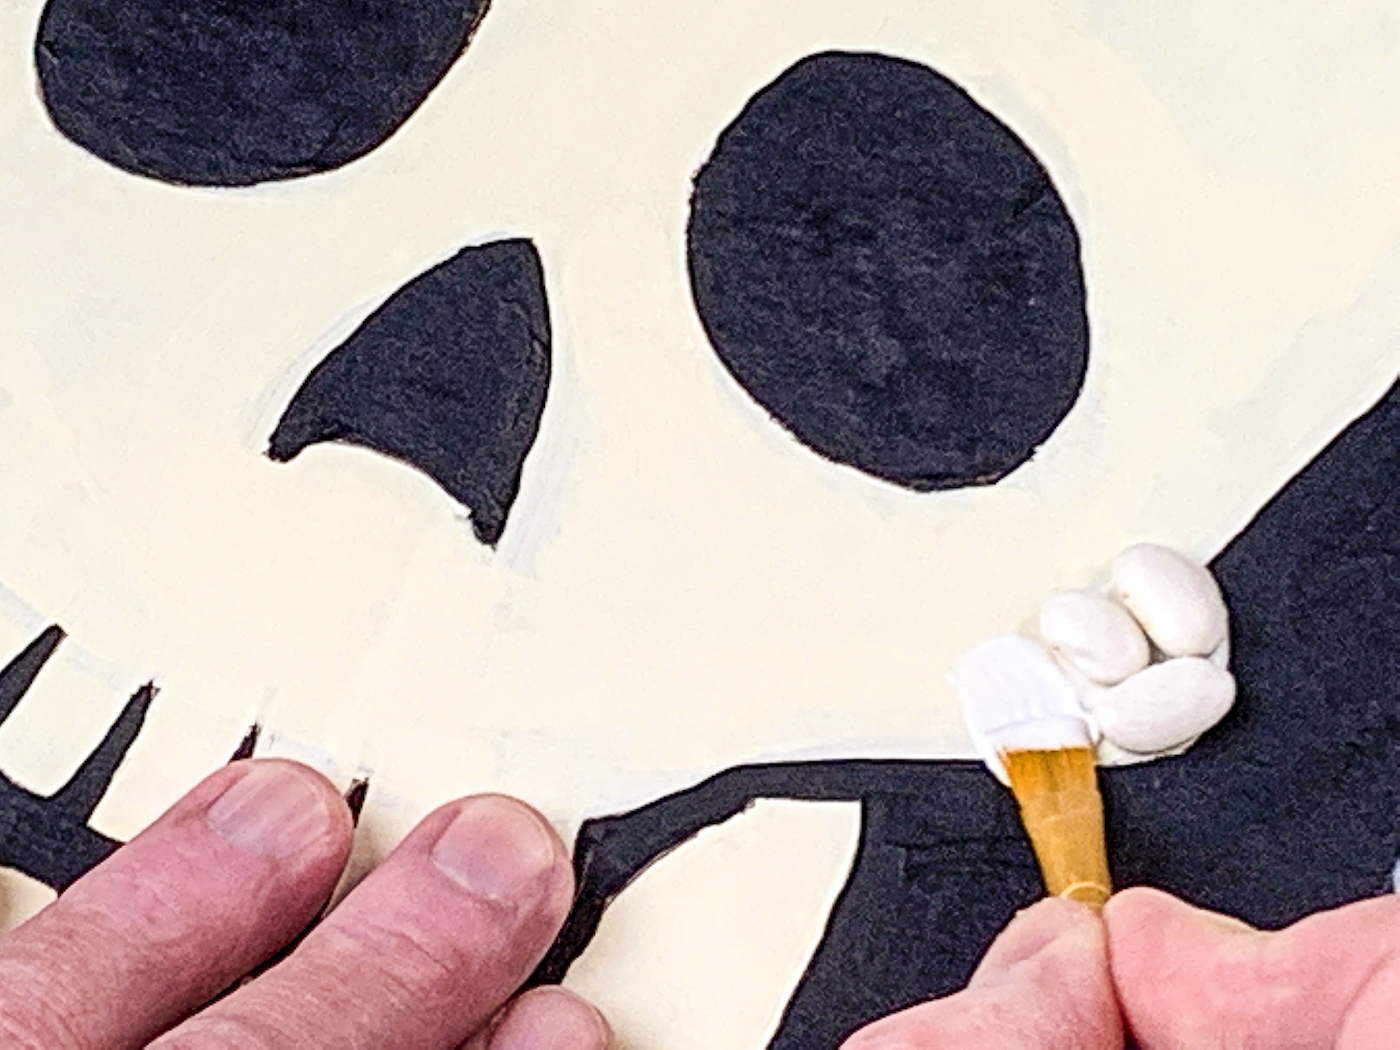
Youll apply the glue a little differently though.
Youre going to use a paintbrush to brush it onto the surface of the design.
Its just way easier to apply with a brush and use less when you have such a large design.
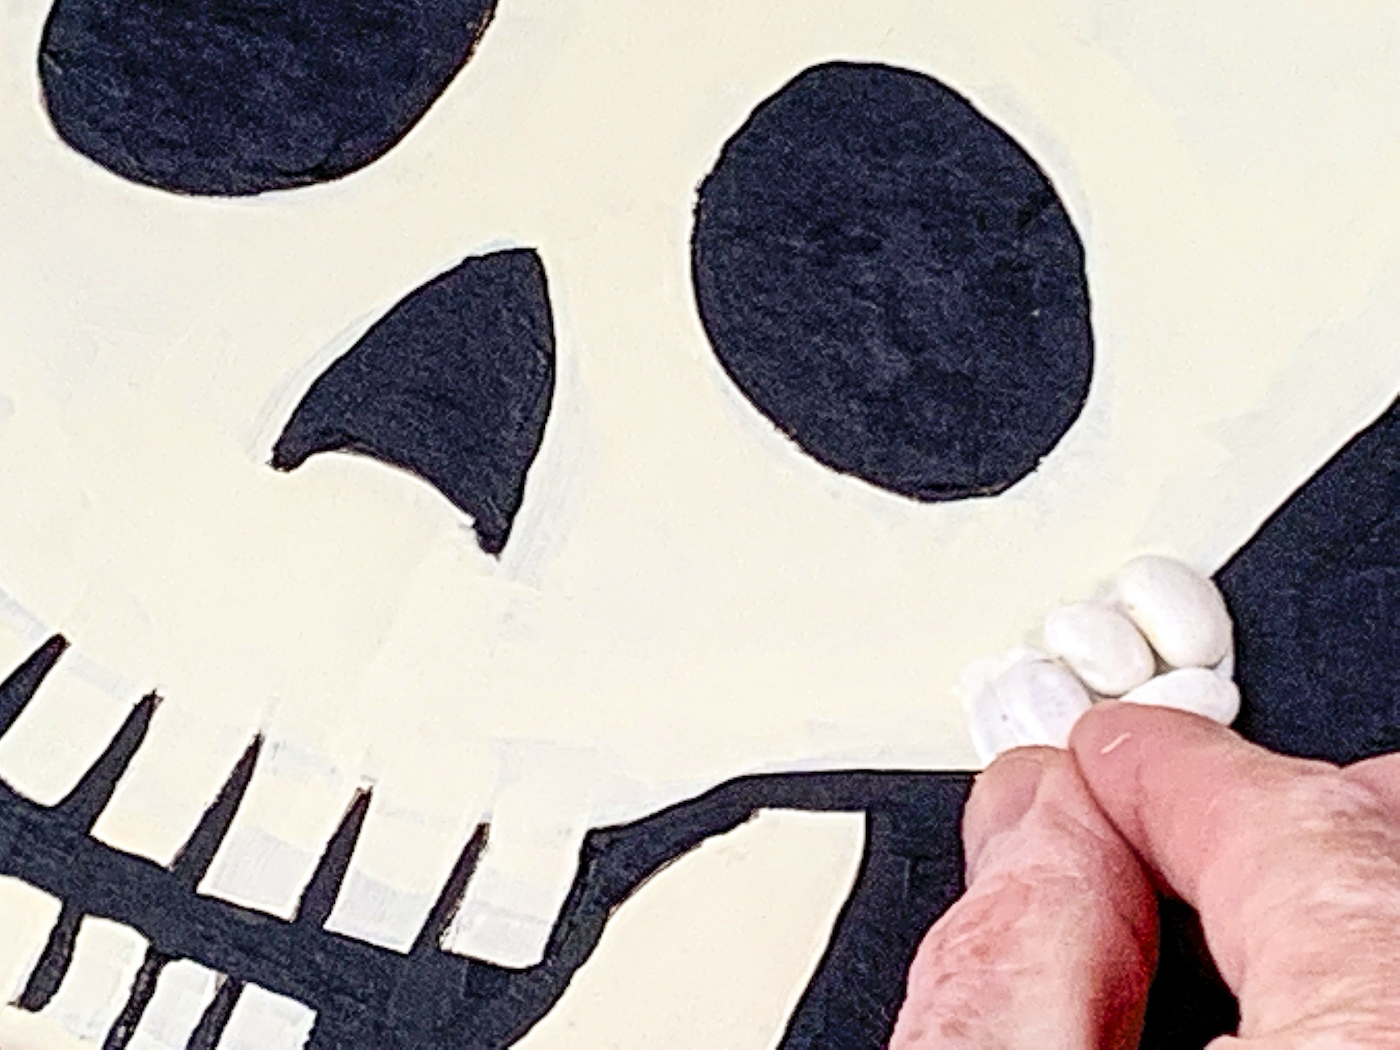
After the glue is down, youll place beans into the glue and let dry.
And youre going to continue placing beads until the entire design is filled in!
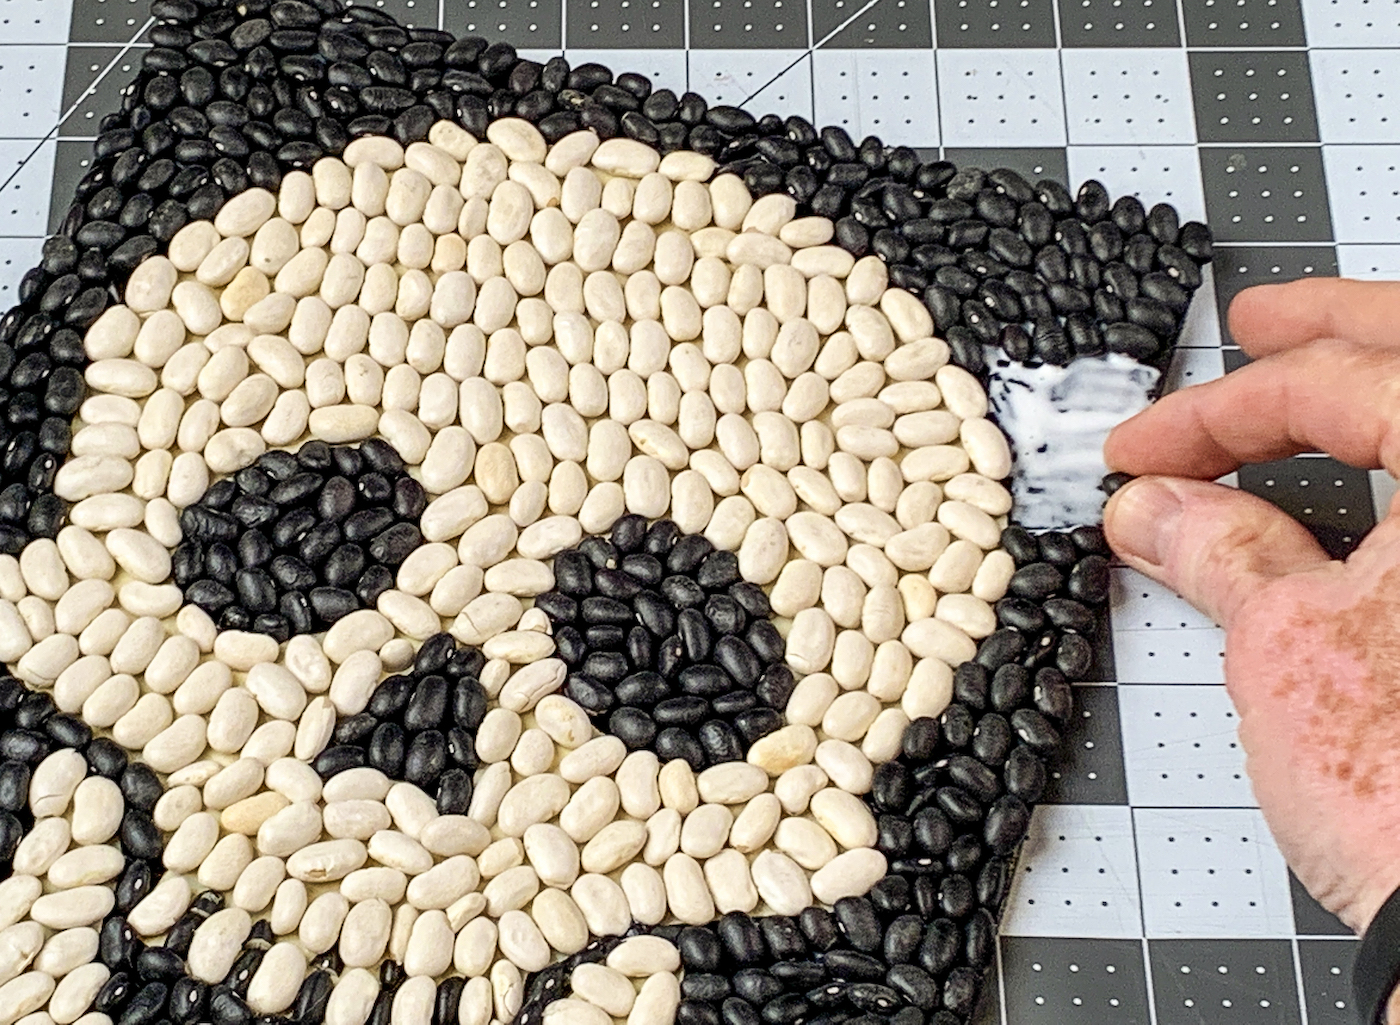
But what if you have smaller areas of the design?
Turns out that you’re free to cut beans using a knife!
Thats why I listed the knife in the supply list.
You dont have to cut any beans and can just use what you have to fill in the space.
If you enjoyed this skull bean art, Id love for you to check out these other Halloween ideas:
