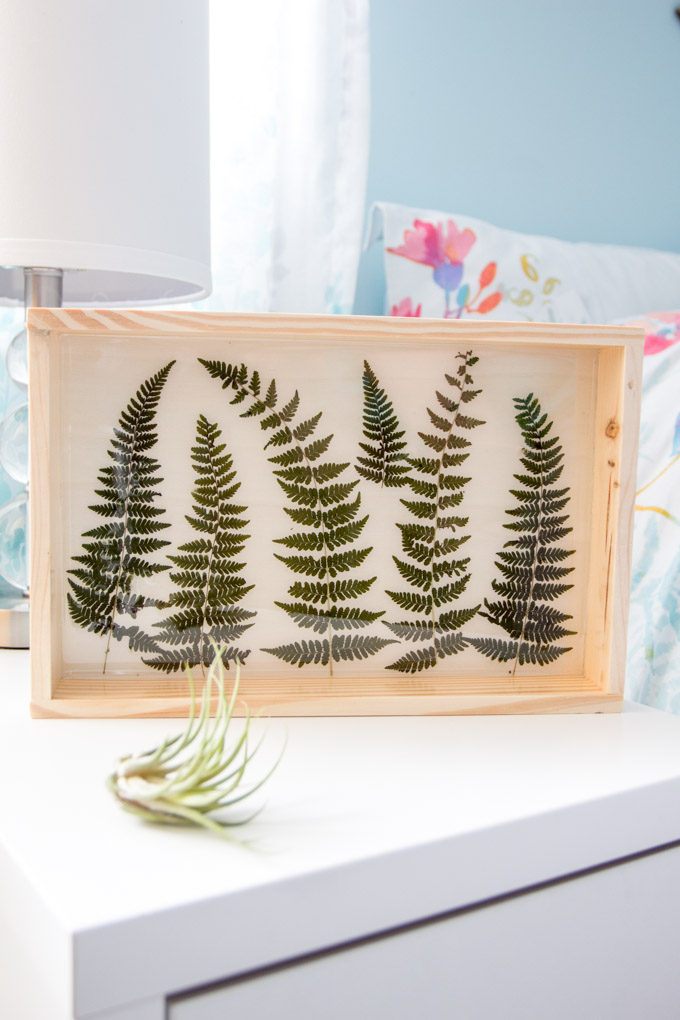
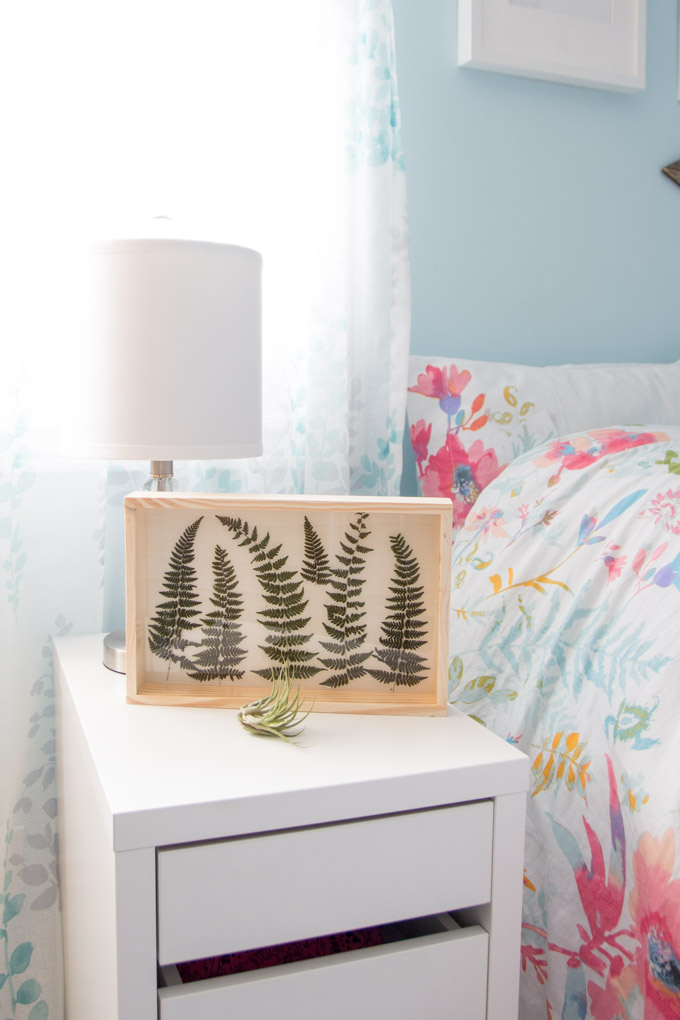
Whether the ferns are hanging basket on someones front porch or theyre growing naturally in a dense forest.
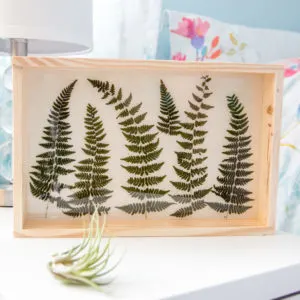
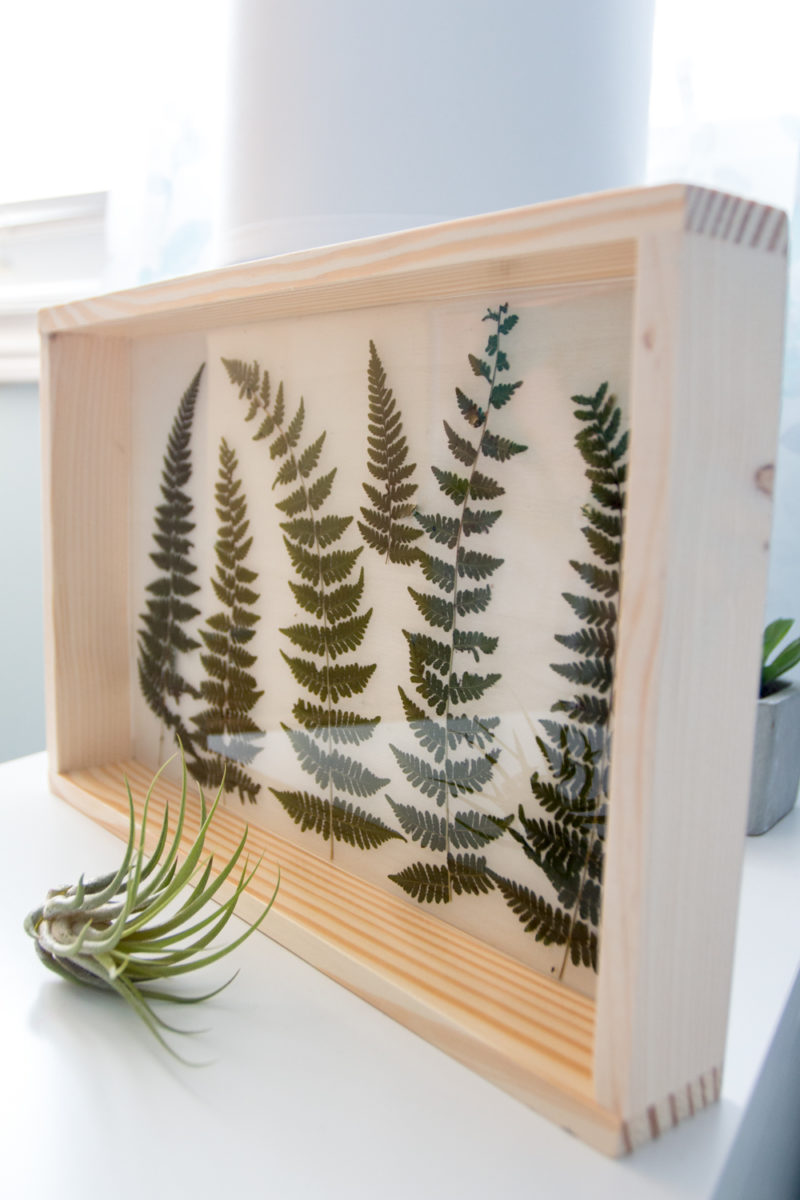
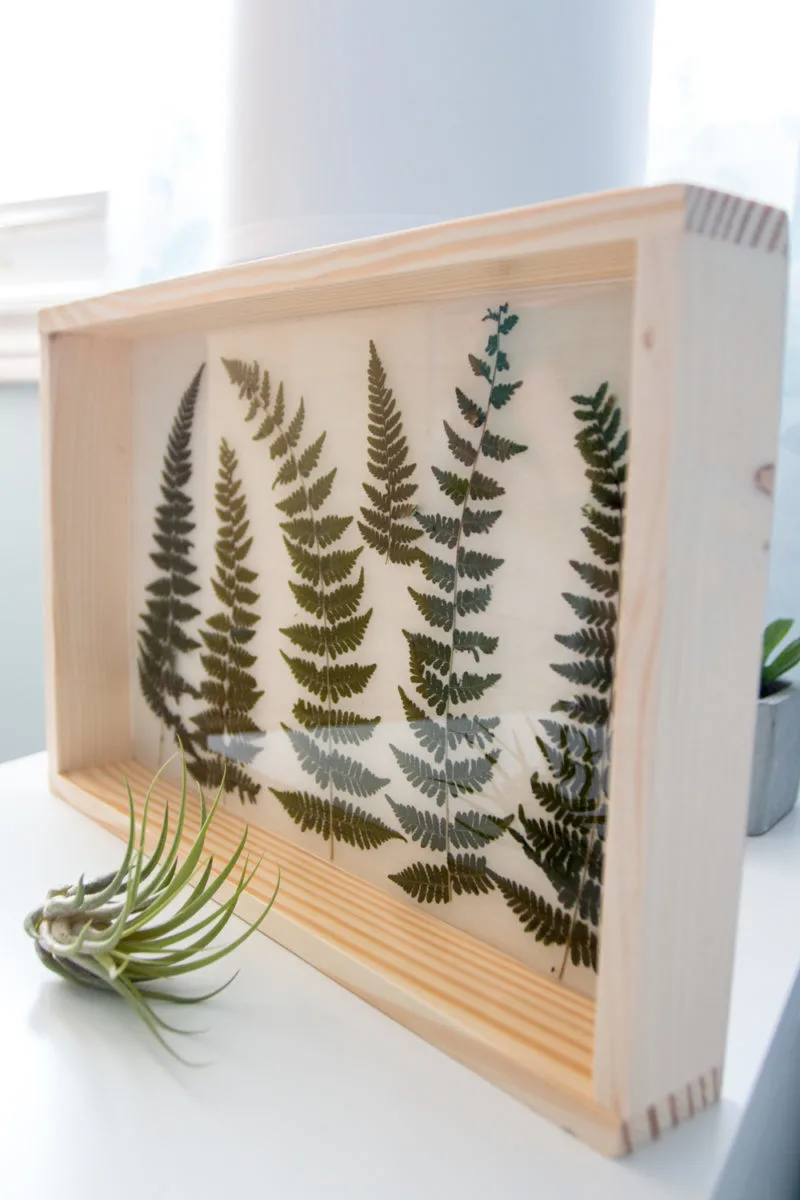
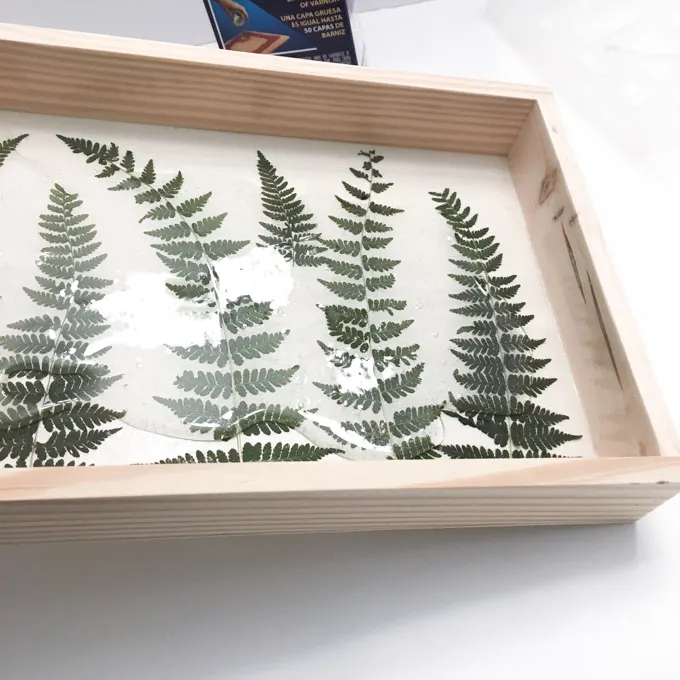
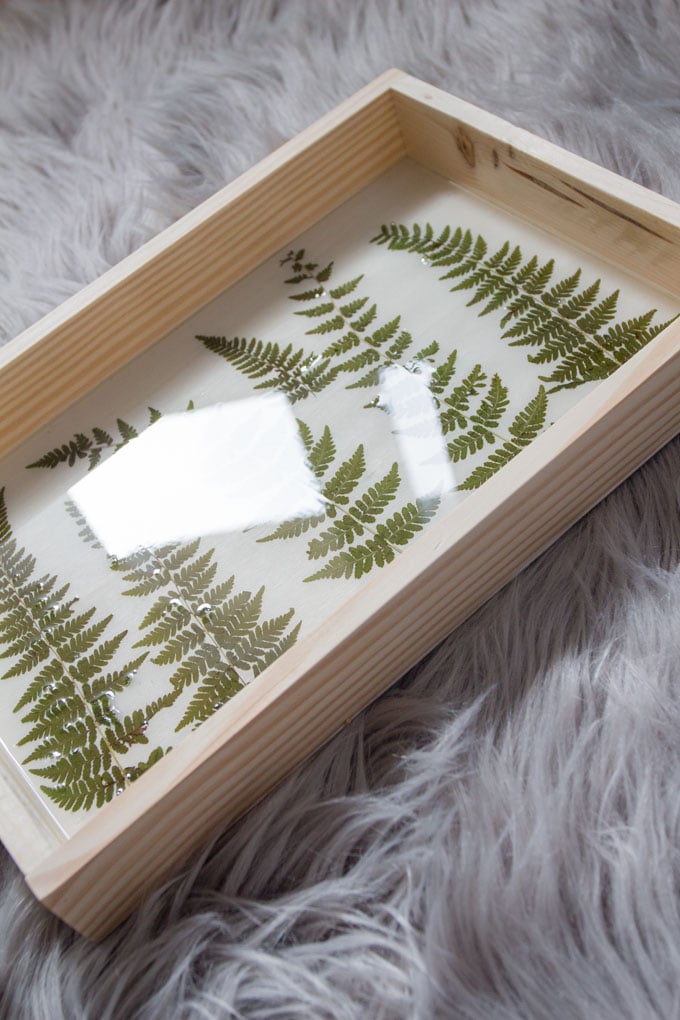
The resin really adds a richness to the finish with its ultra shiny and crystal clear surface.
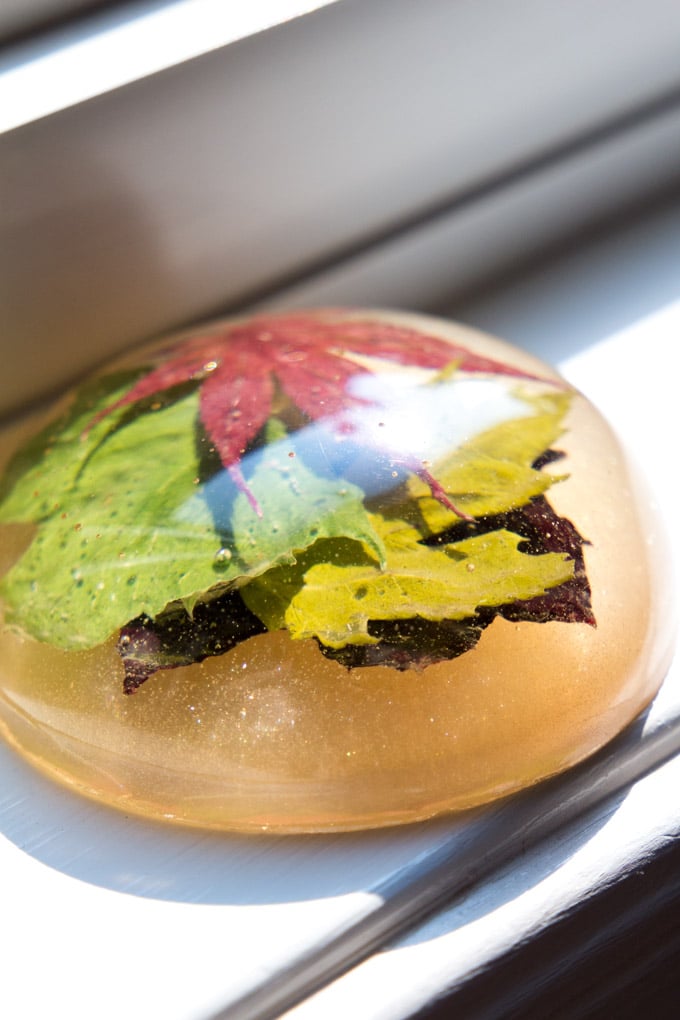
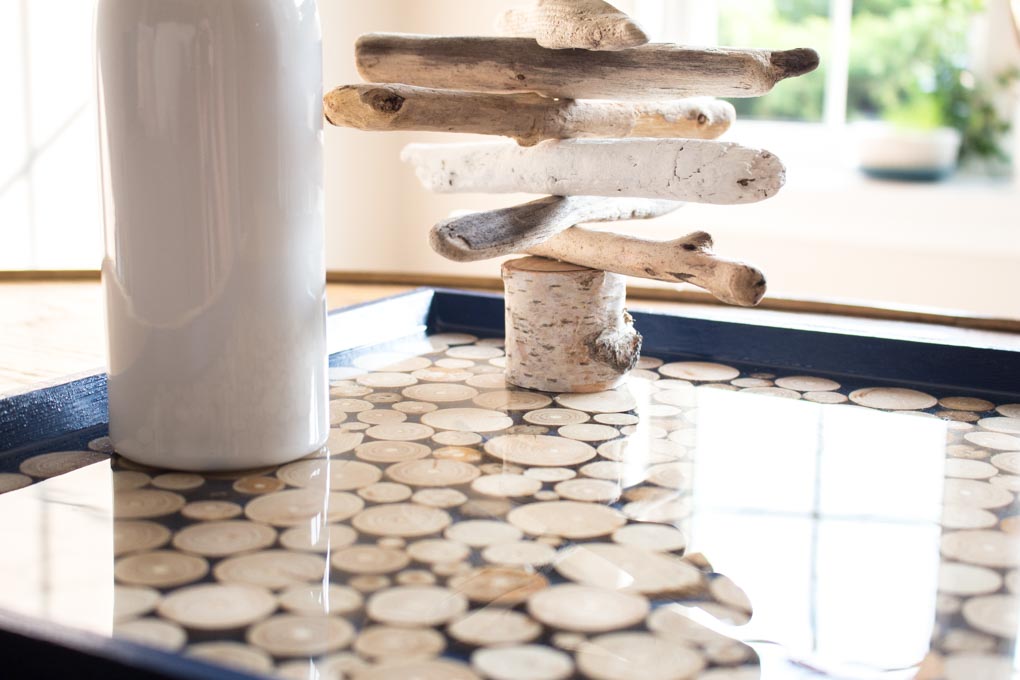
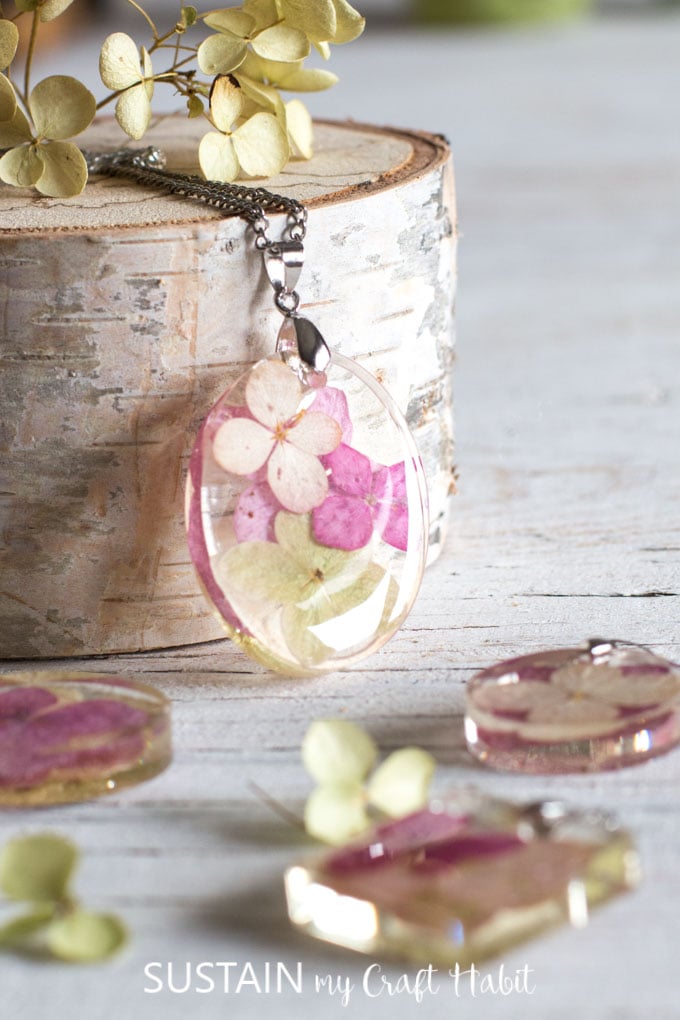
Some examples that come to mind are ourdriftwood serving tray; thesepressed flower pendantsand thispressed leaf paper weight.
Seashore Resin Art
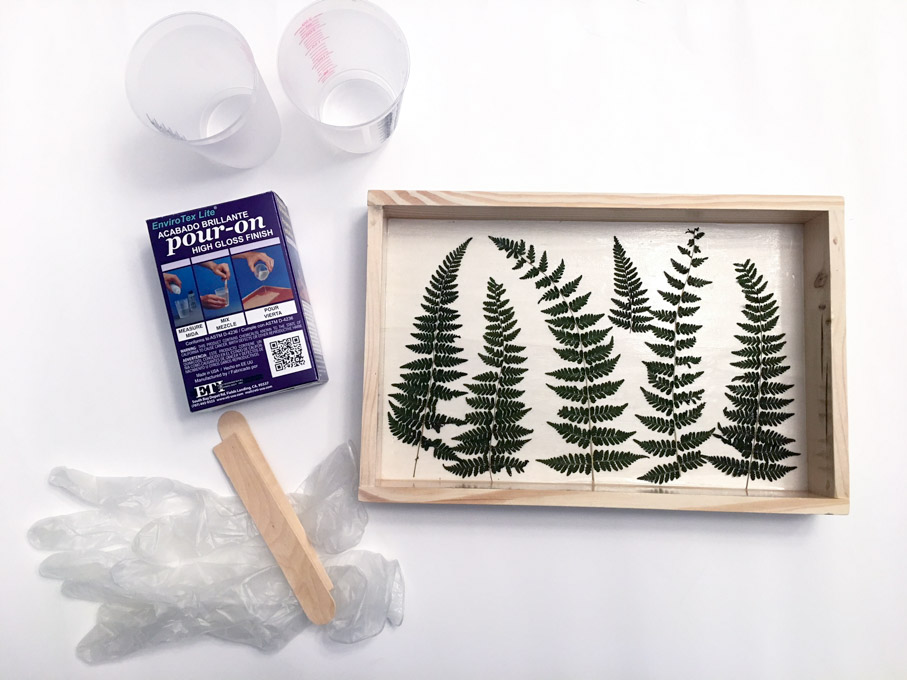
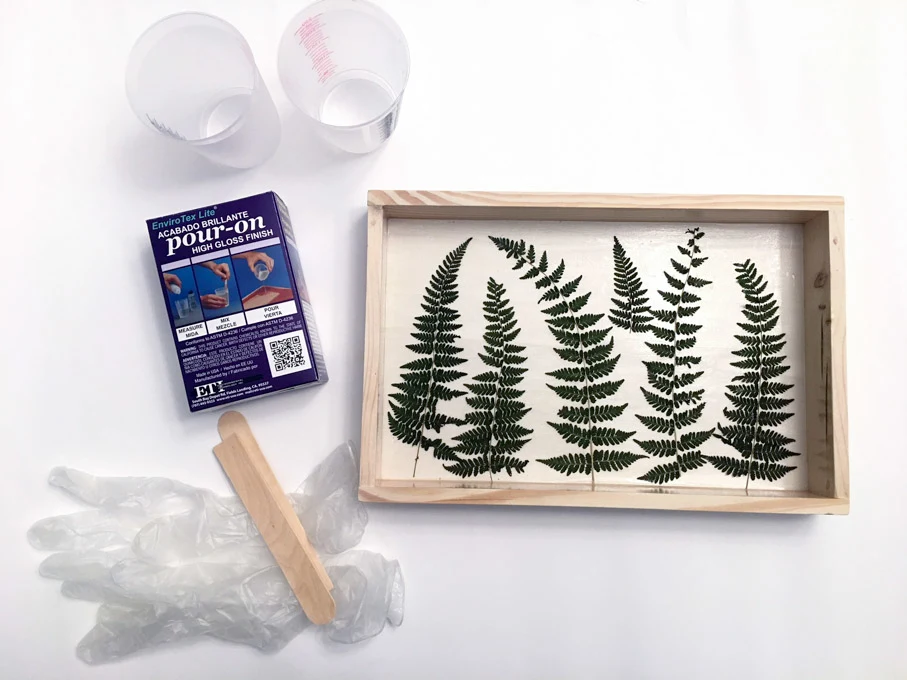
Materials Needed
Disclosure: This post continues affiliate links for your shopping convenience.
you could find ourfull disclosure policy here.
Ensure your resin and hardener are at room temperature or warmer before mixing.

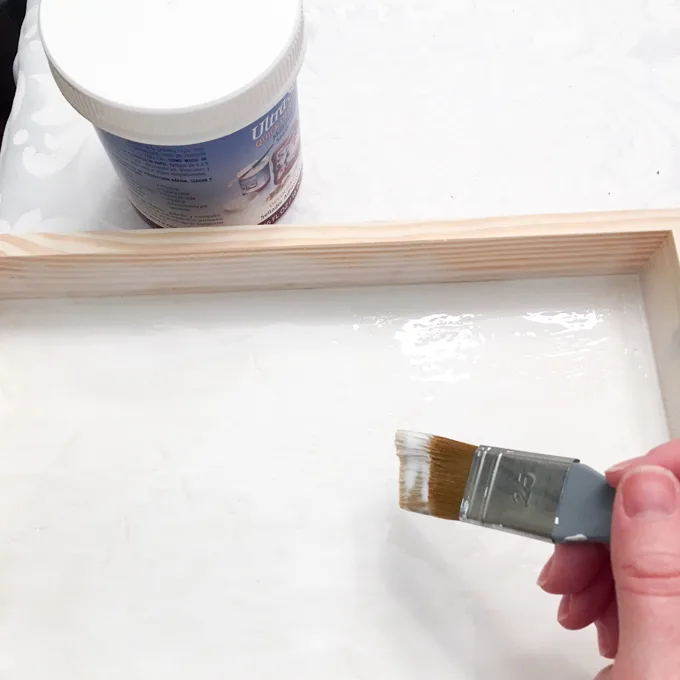
Brush a generous coat of clear drying sealer to the inside surfaces of the wood plaque.
double-check to thoroughly cover the join lines to keep the resin from leaking out.
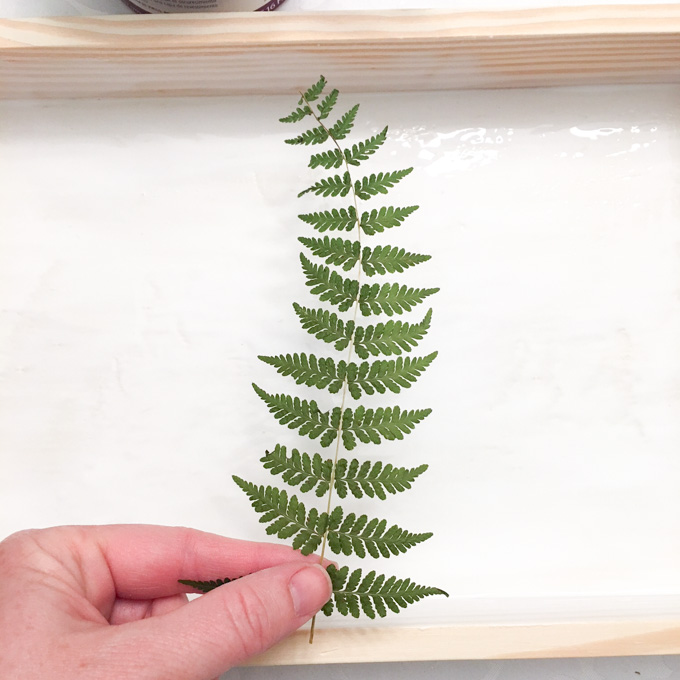
Press down the fern fronds onto the glue.
Let dry completely (ideally overnight).
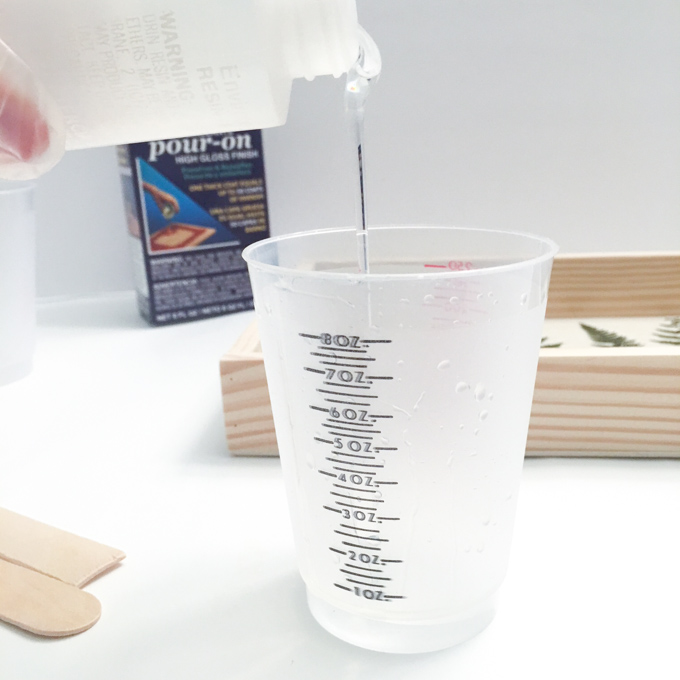
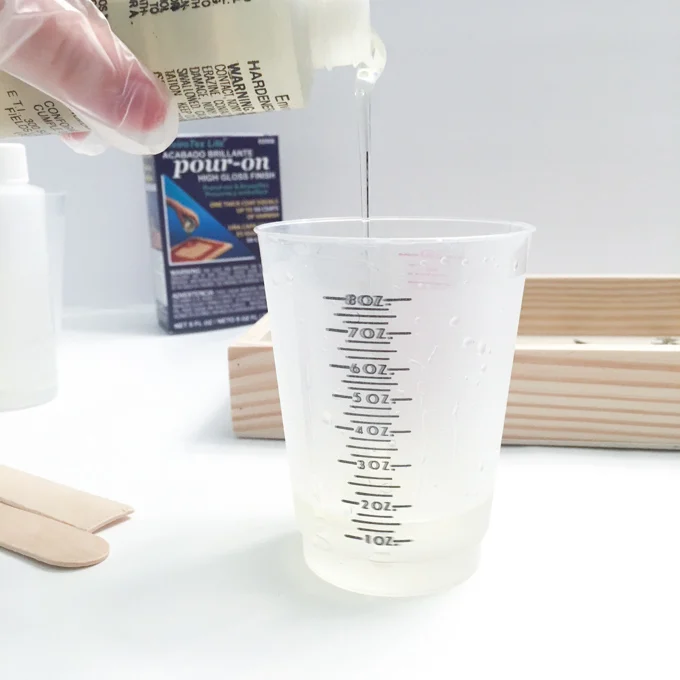
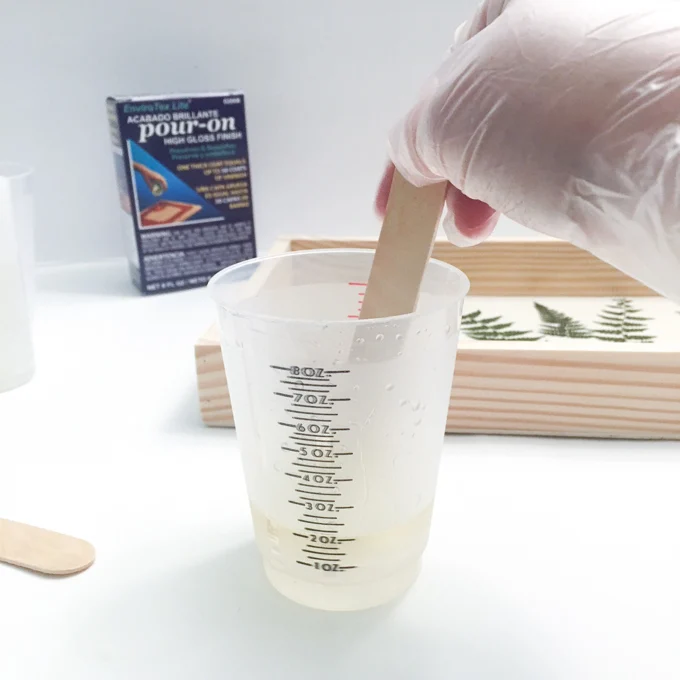
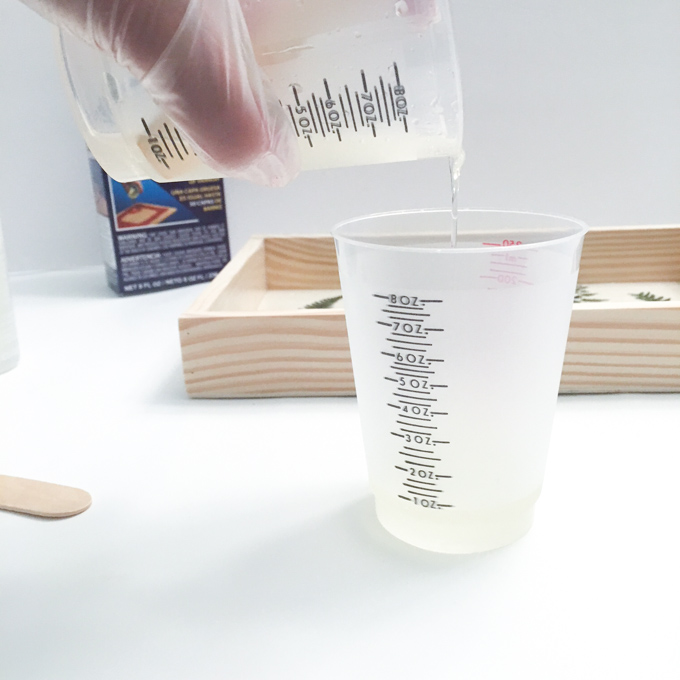
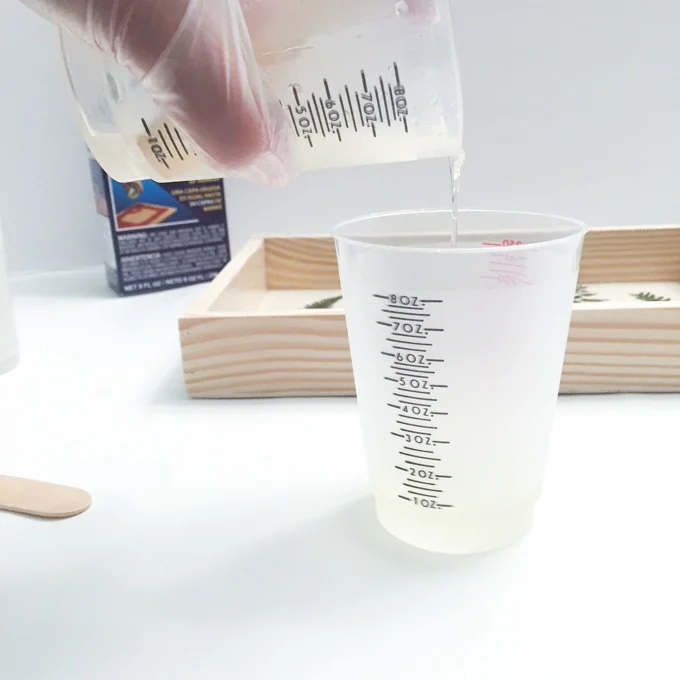
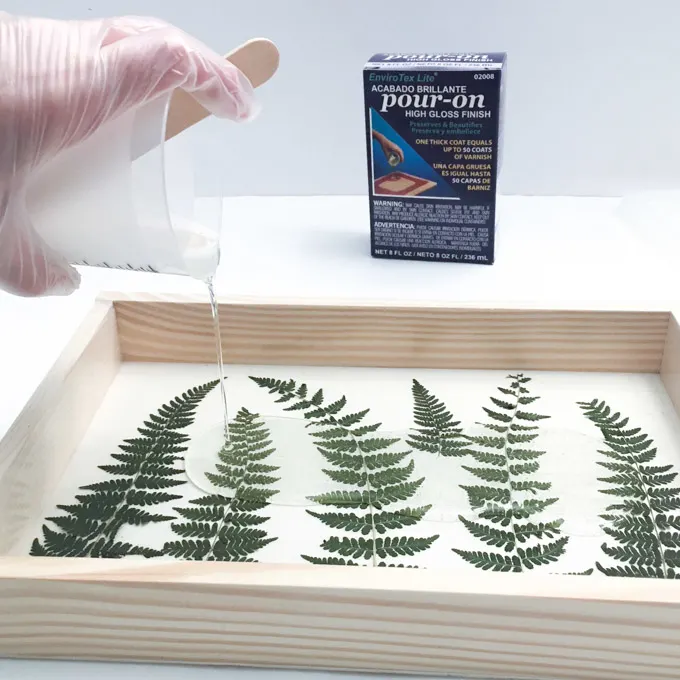
Mix exactly equal amounts of Resin and Hardener into one measuring cup.
The size of your piece will determine how much resin you need.

In my case, I poured 1.5 oz of the resin and 1.5 oz of the hardener.
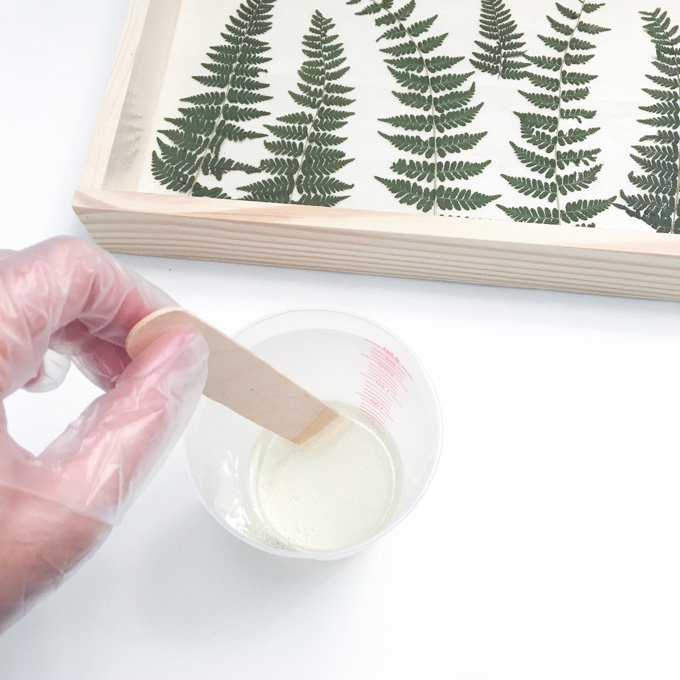
Stir continuously for 2 minutes, scraping the sides of the container.
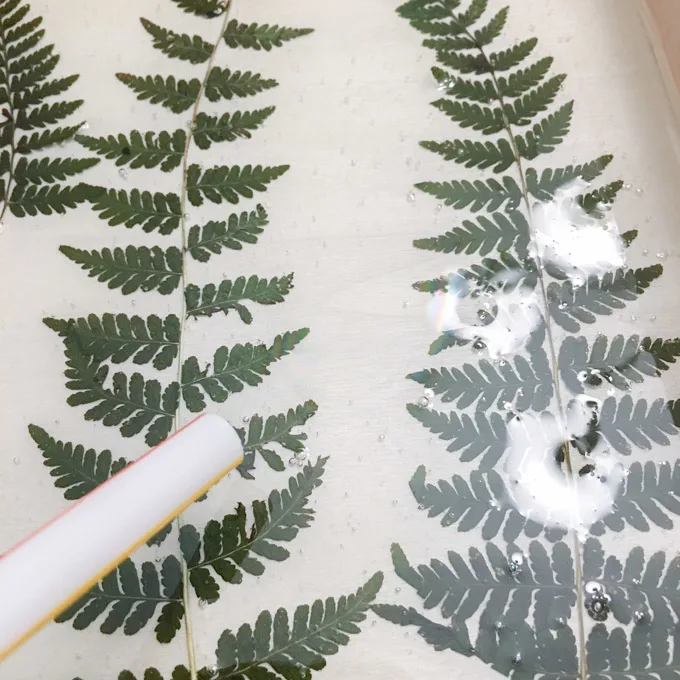
Slowly pour the resin mixture over the ferns.
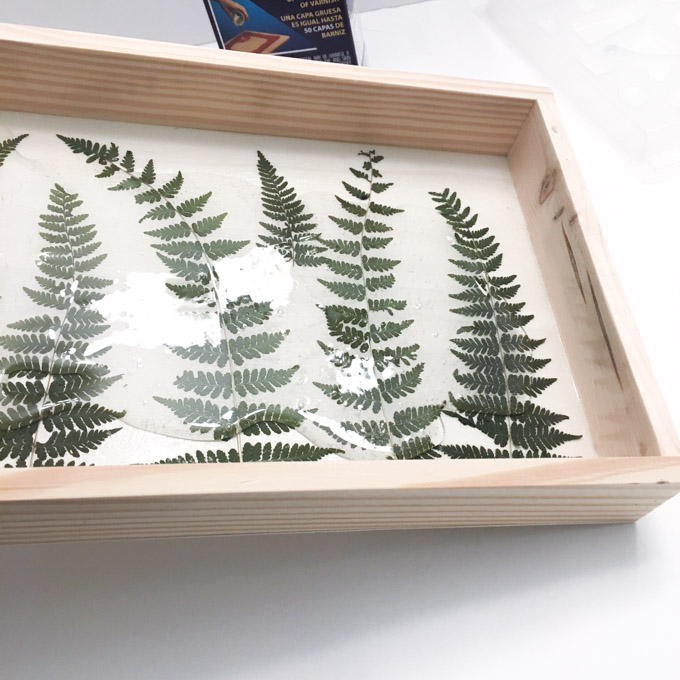
Tilt the plaque to get the resin over the entire surface.
The resin will settle and level itself out over time.
Cover to keep dust from settling in.
Ensure your tray is placed on a level surface.
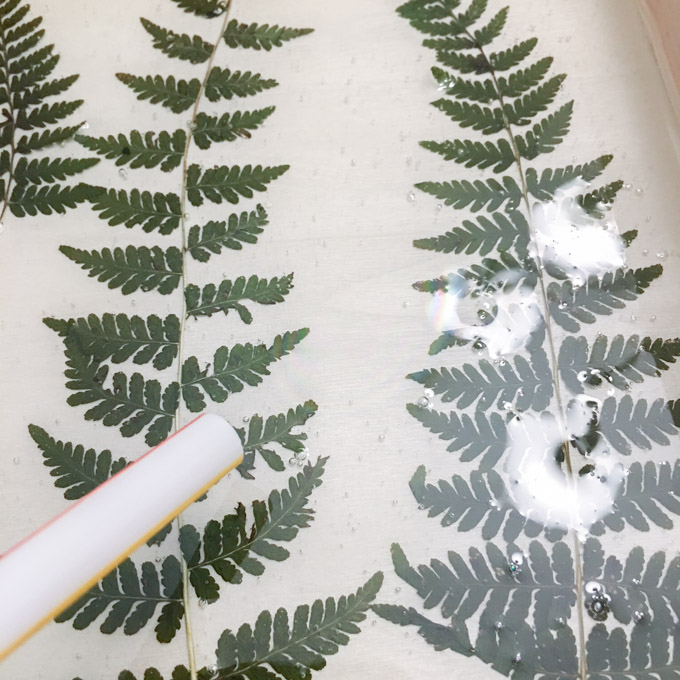
Use a clean toothpick to release any larger bubbles.
Cover and allow to cure overnight (will fully cure over 72 hours).
This project originally appeared onResin Crafts Blog.
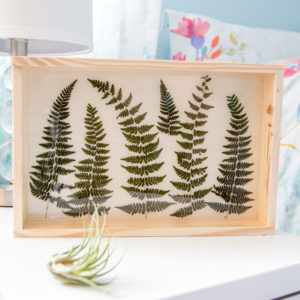
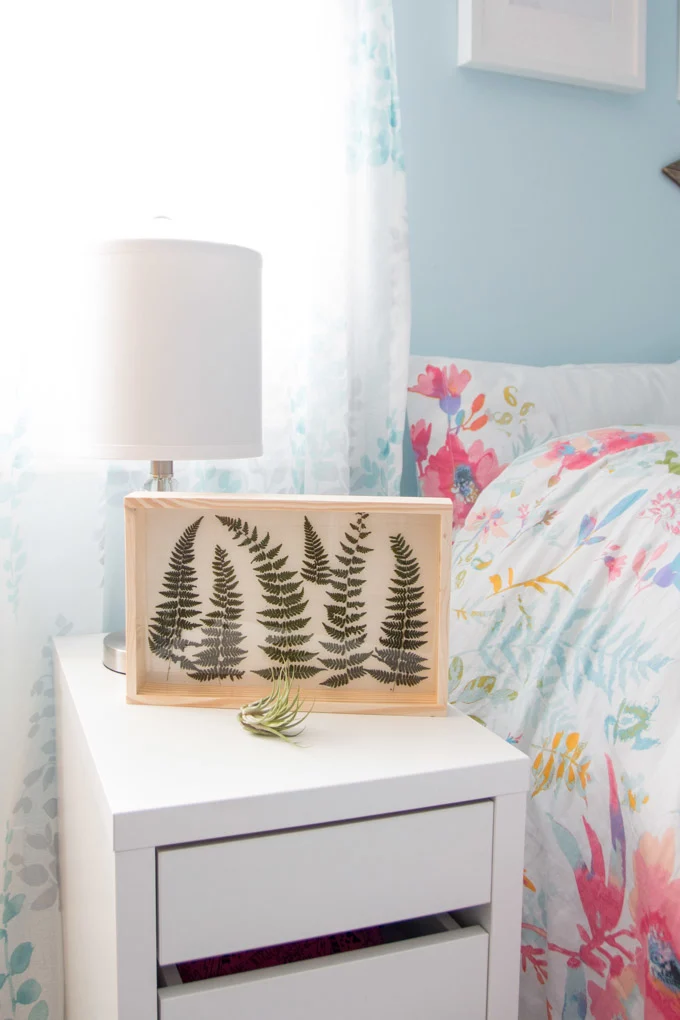
Either way, Im really happy with the look of it, its simple, natural and minimalist.
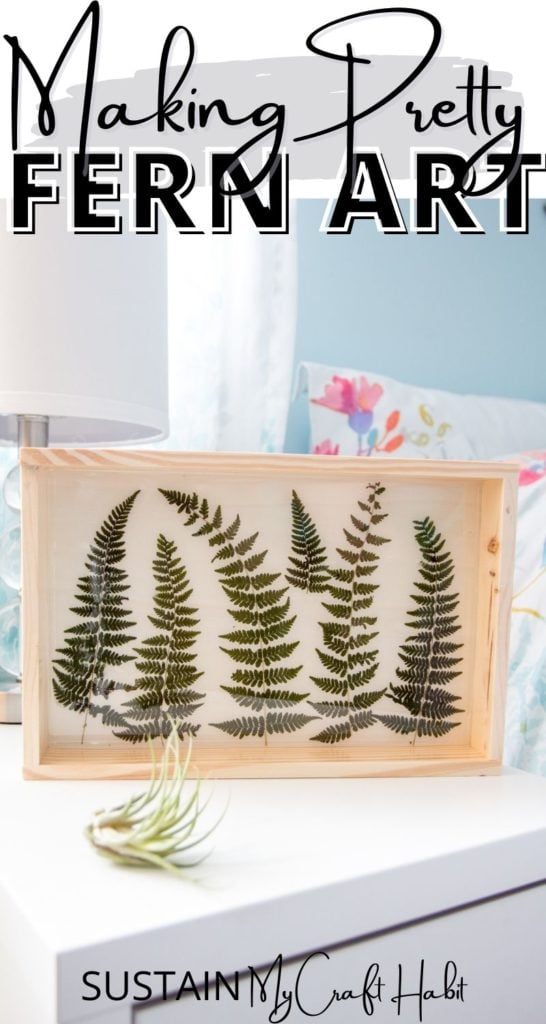
Pin it for later!

Sealing Fern Art in Resin
Materials
Instructions


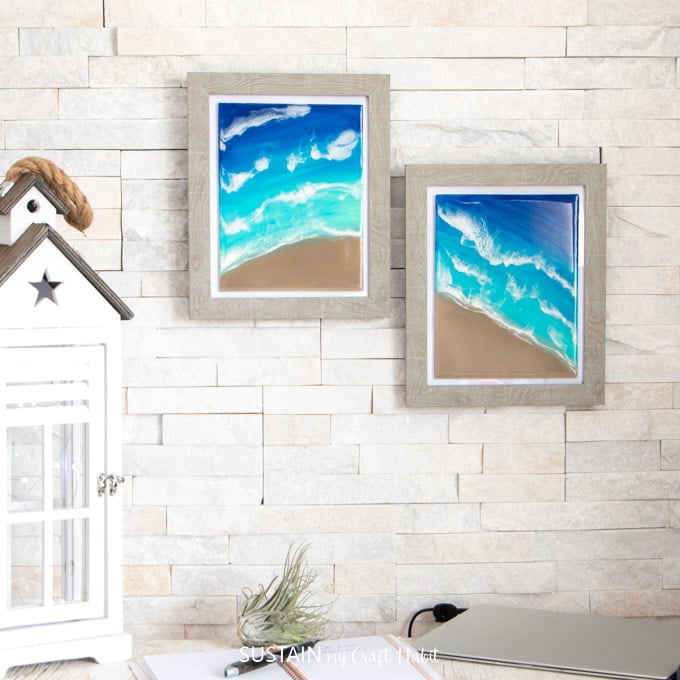
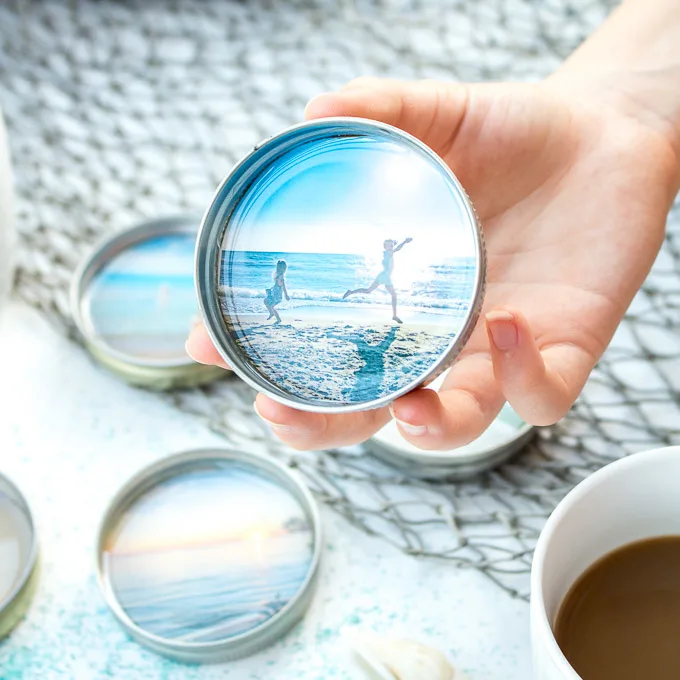
Seashore Resin Art

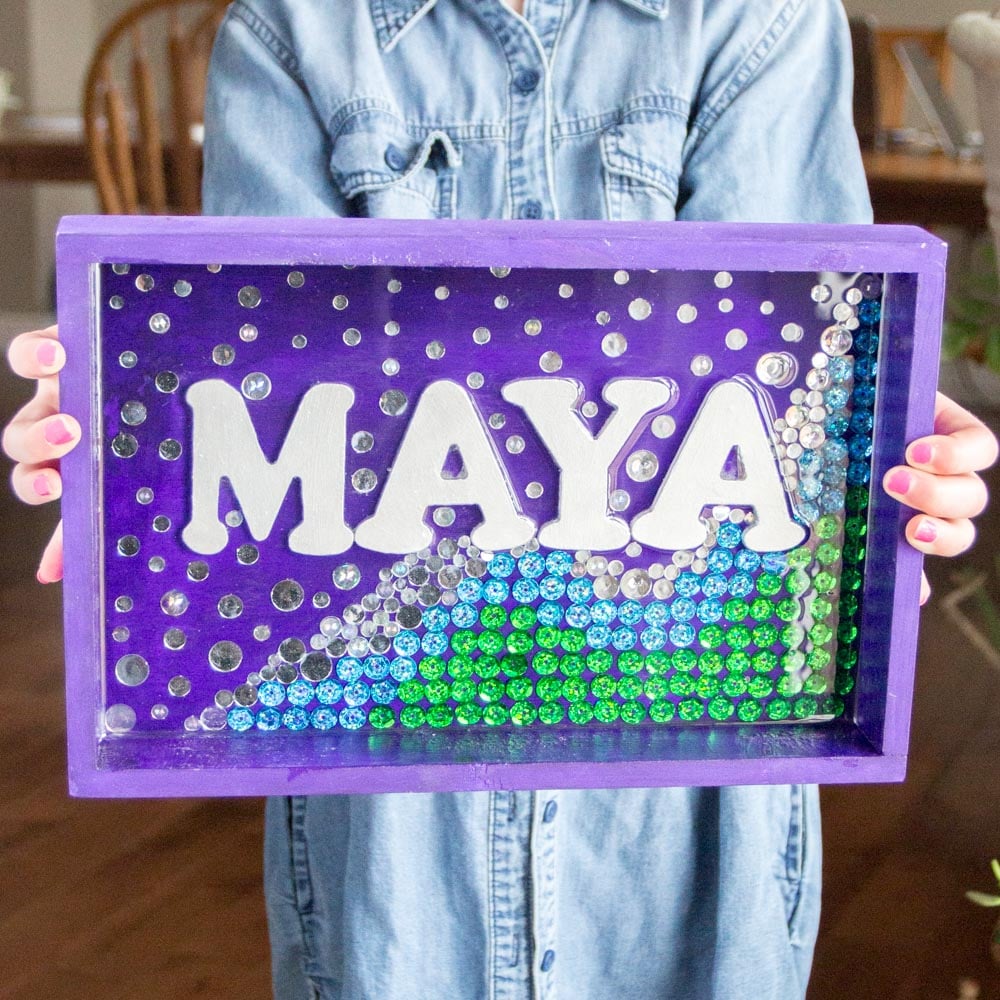
Personalized Mermaid Wall Decor


Resin Tray With Driftwood


Photo Coasters