They look simple enough… get a piece of wood and attach the legs to it.
Thats all, right?
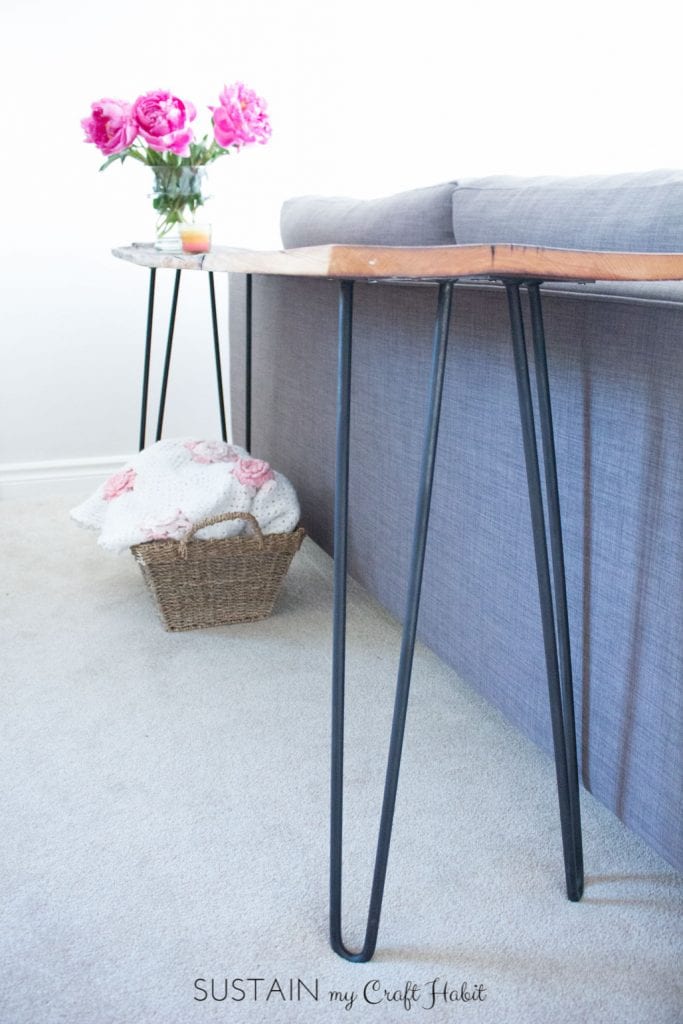
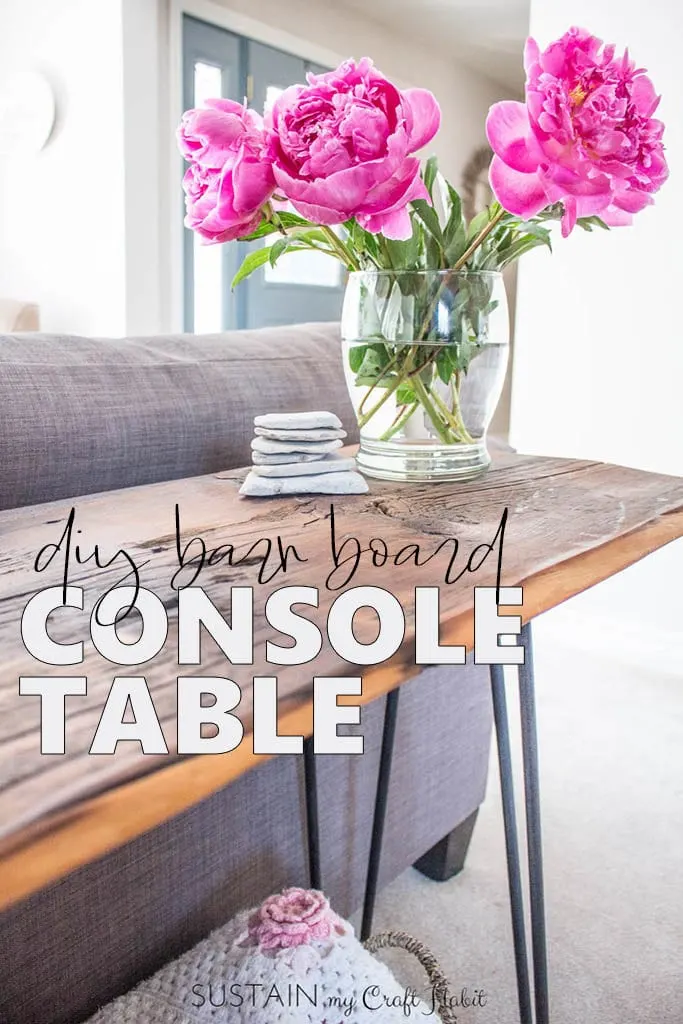
But in the end, Im so happy with how my new new piece of furniture turned out!

They have a beautiful, simple collection.
Their products were clearly labelled as coffee table, bench, etc.
making it super easy to find exactly what I needed.
Who knew it would be so hard to find someone with a band saw?
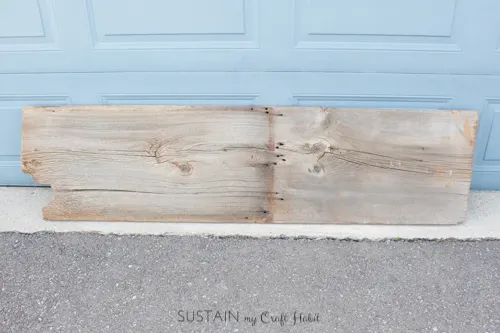
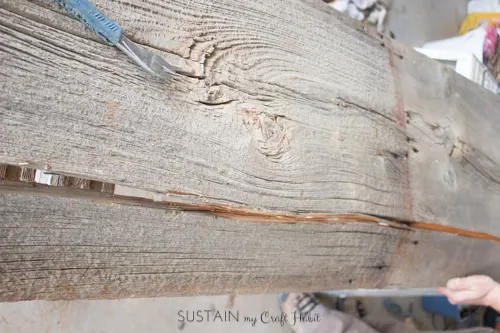
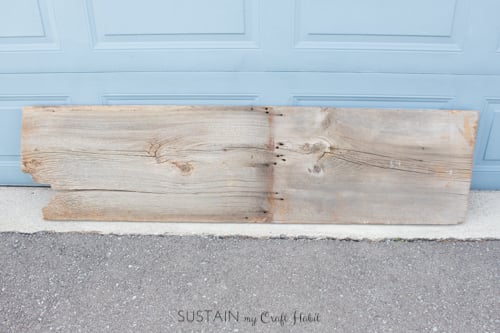
The barn wood board was perfectly imperfect!
He purchased this piece of barn board for $65.
My fingers were crossed that my planned DIY console table project would actually turn out!
it’s possible for you to find ourfull disclosure policy here.
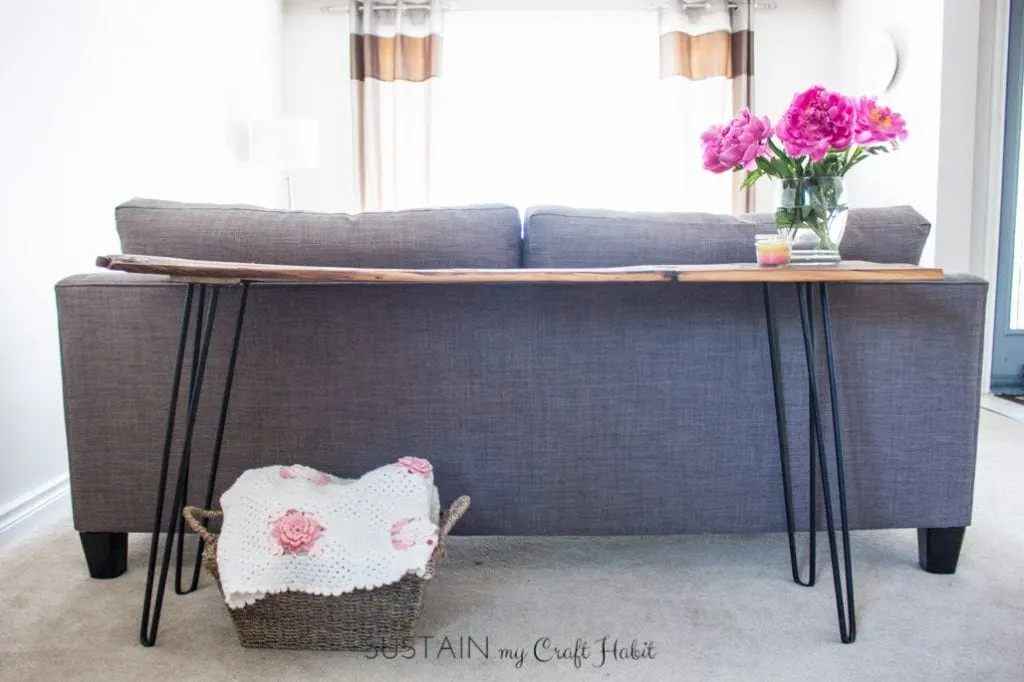
I chose a solid black rust-proof spray paint for my console table legs.

but at least I now know for next time.
Getting the piece of barn board ready was the fun part!
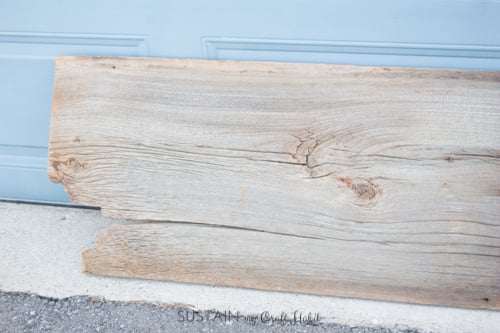
Fortunately, a console table is typically 12 wide so that extra width needed to come off anyway.

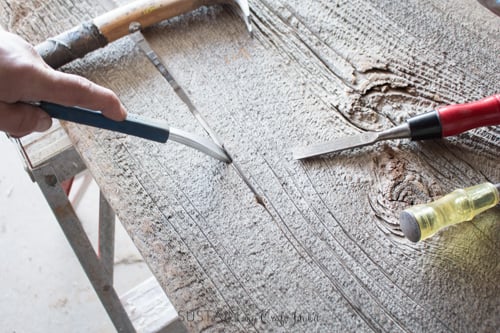
I used a crowbar and hammer to gently continue the split down to the other end.
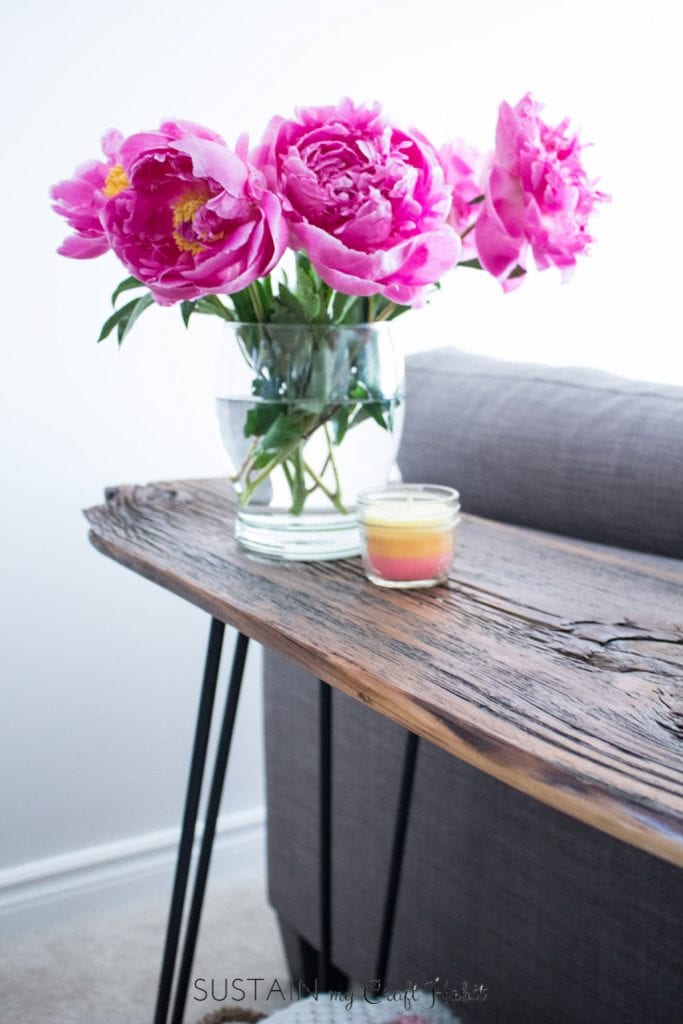
I loved the look of the uneven edge so decided to keep that as the exposed side.
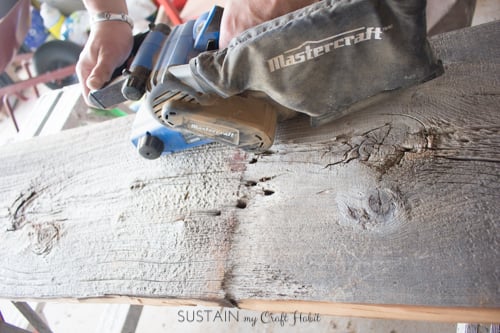
Next, wecut the board down to 5 longusing a table saw.
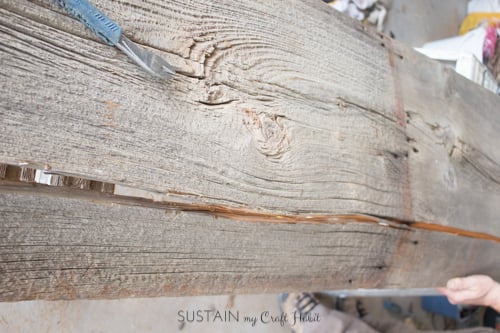
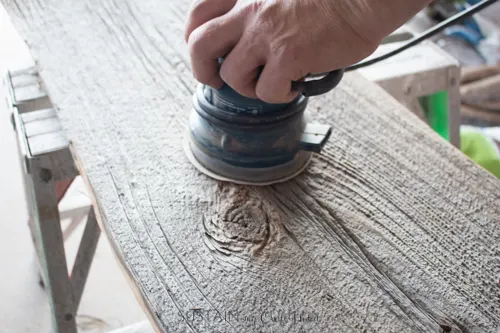
All sides and edges of the barn wood needed to besmoothed out using belt and palm sanders.
We removed all dust using a tack cloth before moving on to staining.
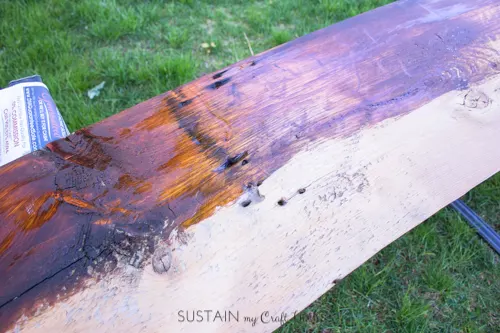
The next step was to apply thepolyurethanestainandsealer.

If youd prefer to make your own, check out ourDIY coffee wood stain and beeswax polish.
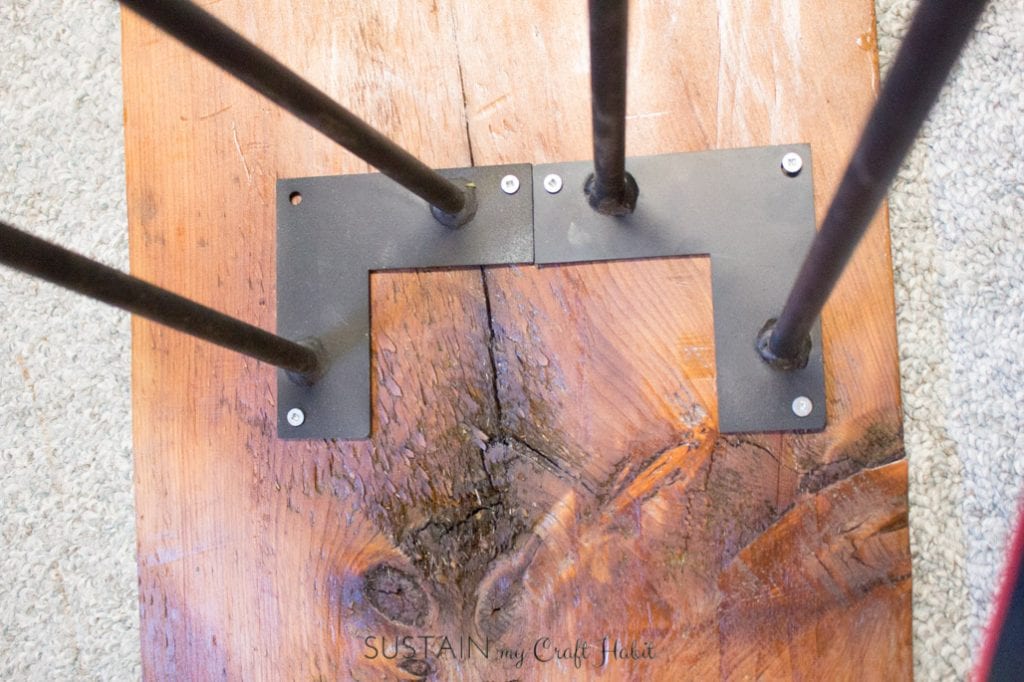
We used 1 12 long screws.
Its important tomake sure the screws arent too longand poke through the table top!

It cost a fraction of the price it would have cost at the store.
I call that a DIY success!
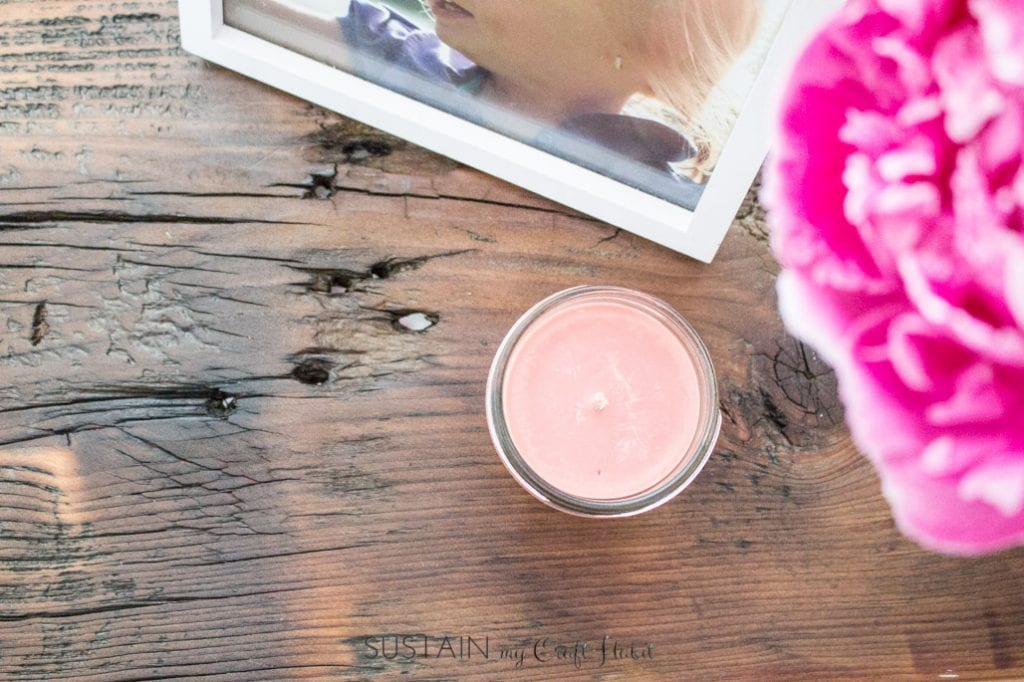
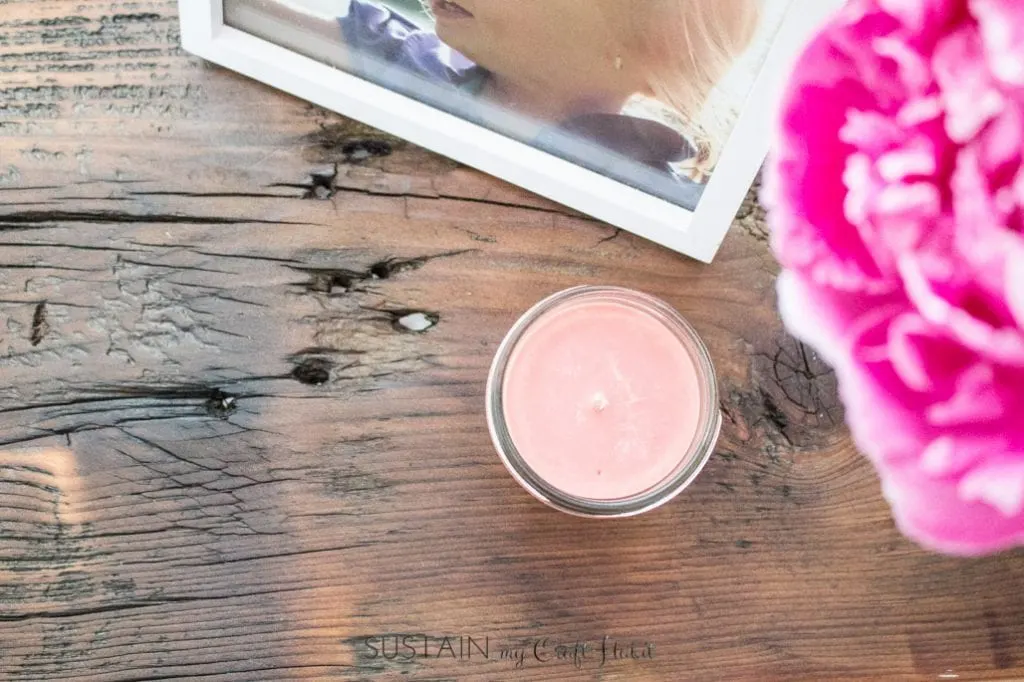
Its perfect for displaying my photos, flowers and seasonal items such as ourcement and driftwood sailboat.
Are there any DIY projects that youve been wanting to try?
Pin it for Later!