HomeDIY
This post may contain affiliate links:full affiliate disclosure.
Are you looking for a cute, sweet, wintry craft that calls for snowshowers?
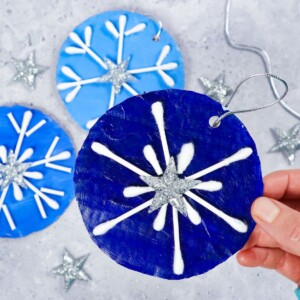
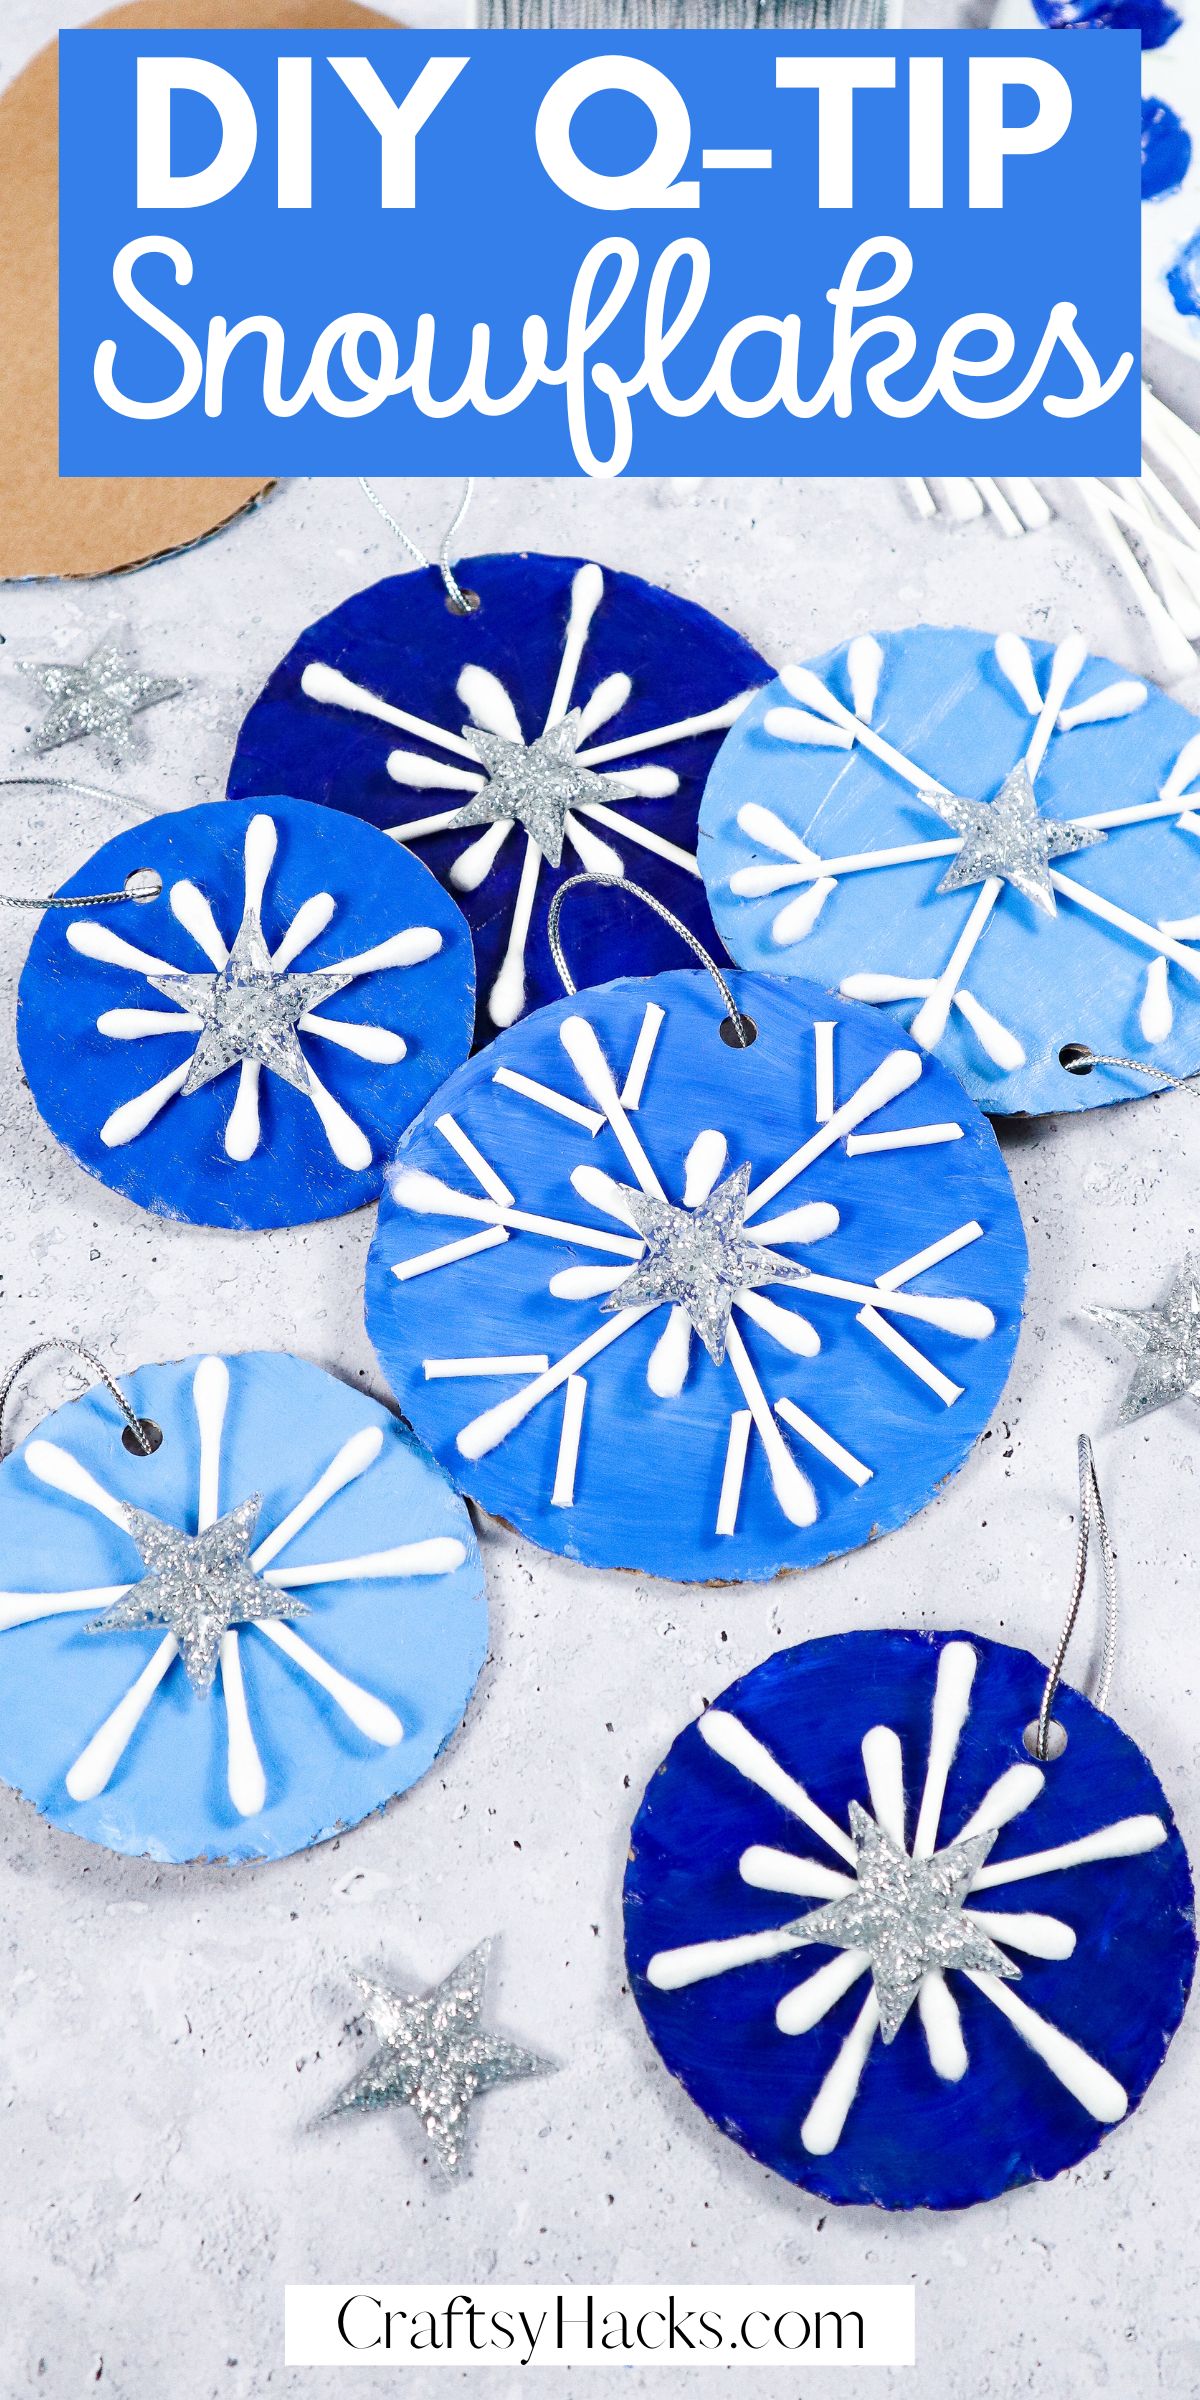
These whimsicalQ-tip snowflakesare the perfect option for those looking to get crafty at any age.
If you have much younger participants, you may want to prepare before you sit down with the supplies.
Its a great option for a multi-step project for those younger learners to practice that skill.
it’s possible for you to upcycle different elements and pull from your personal home stash.
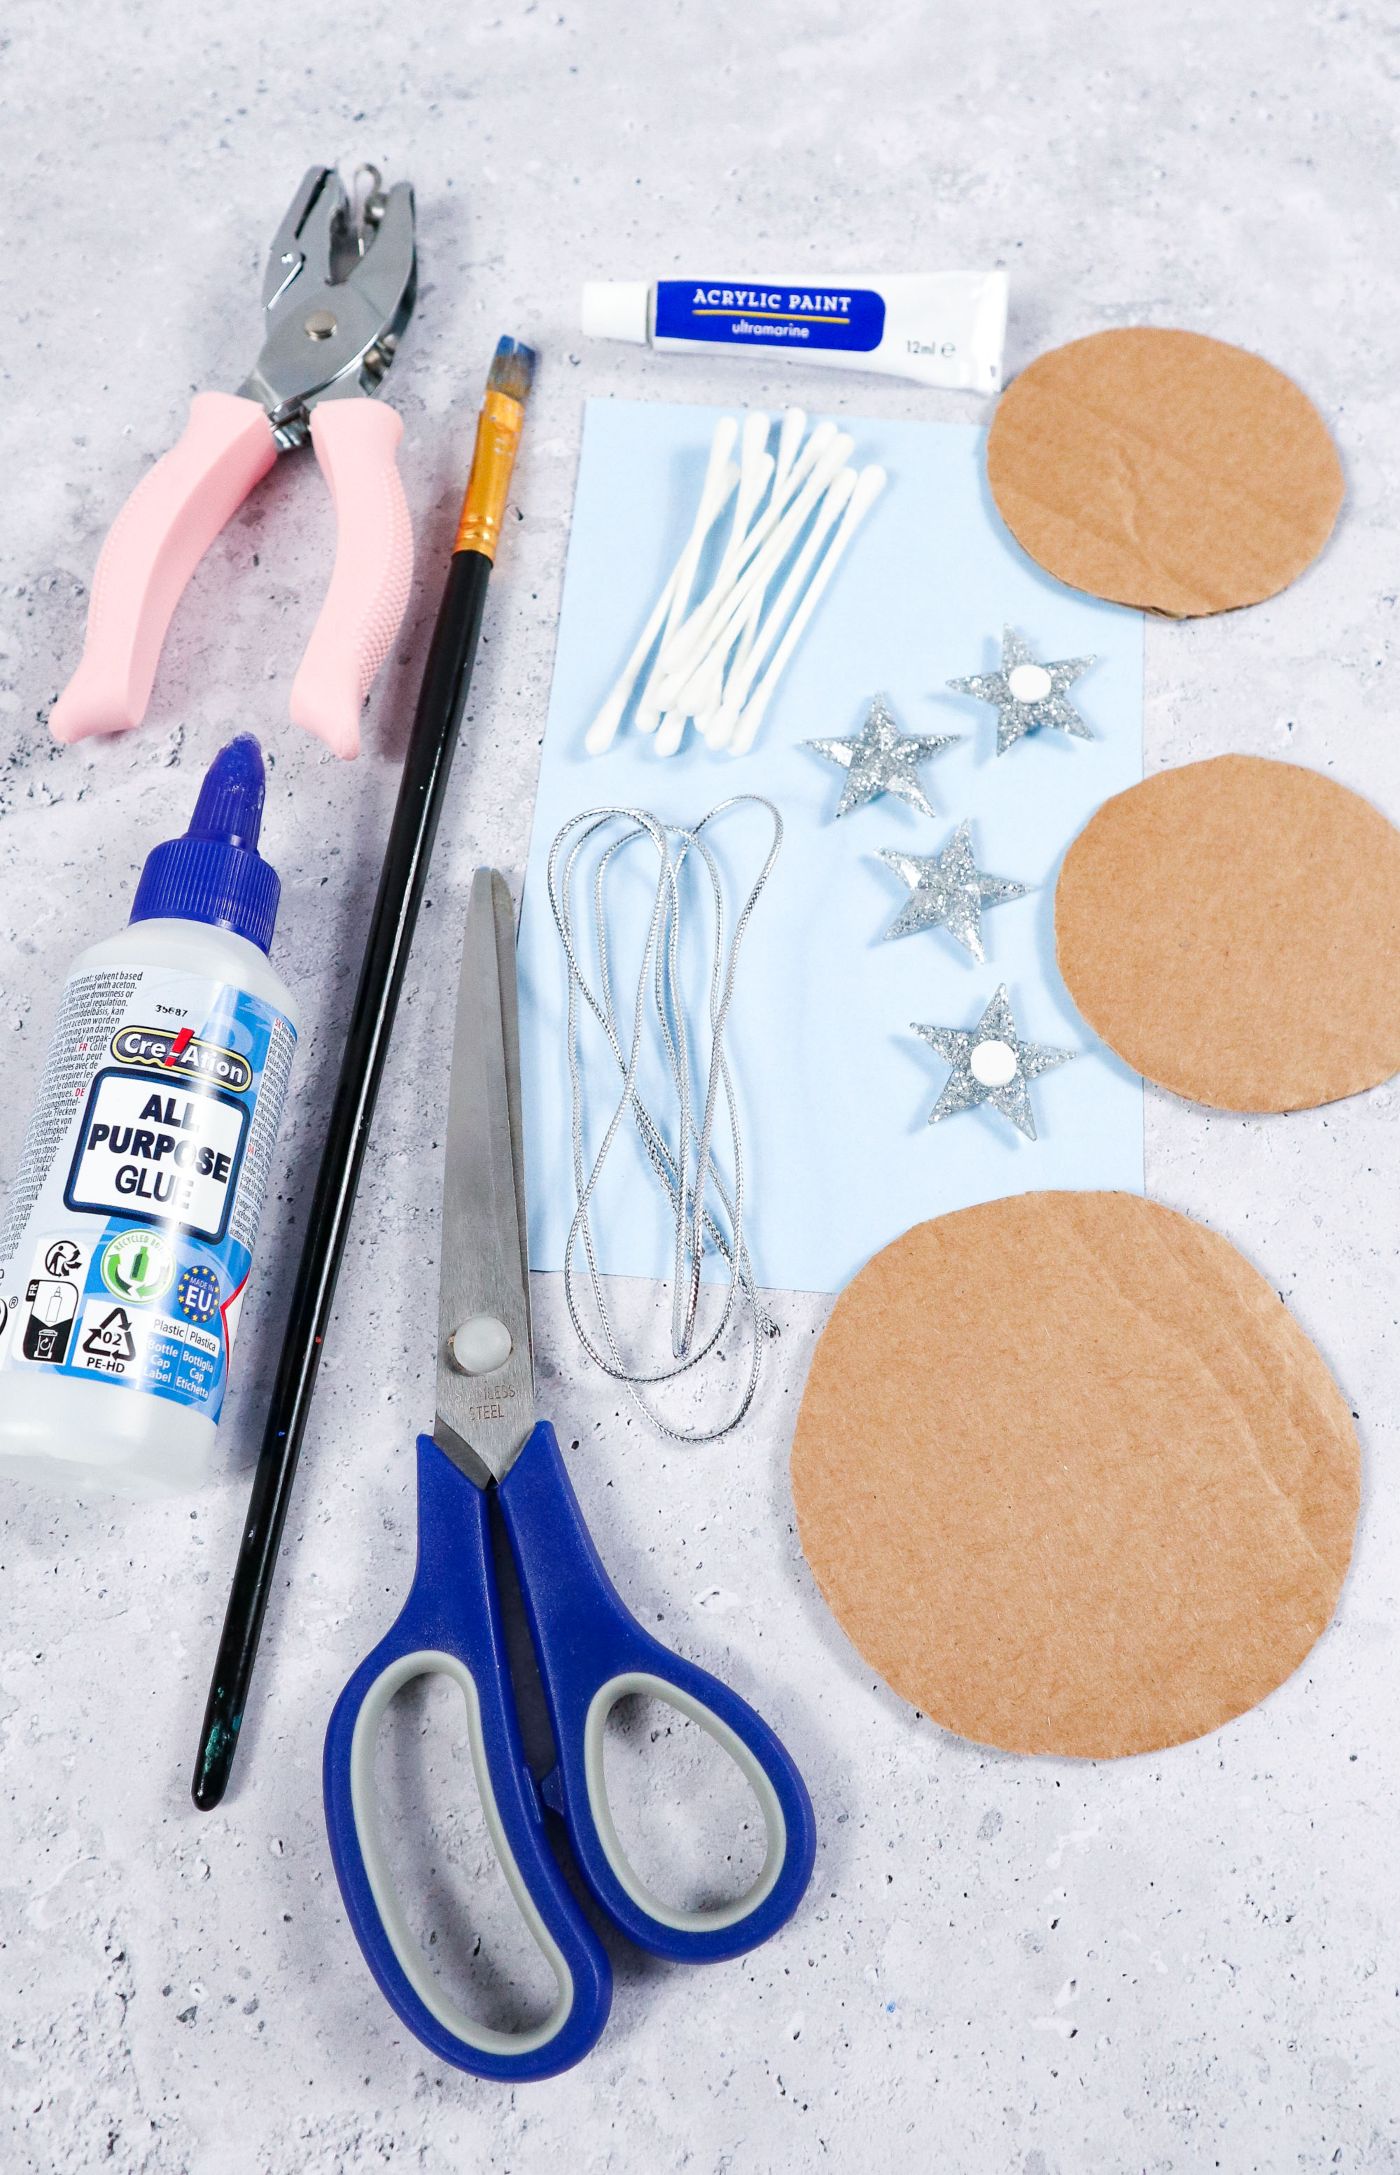
That all being said, if you need any recommendations on items, I have a couple listed below.
Whats highlighted are items that everyone may not have as commonly as the other goods.
Start by painting your given amount of cardboard pieces painted in the various shades of paint you have.
Repeat the first two steps if youre looking for more painted coverage on your craft.
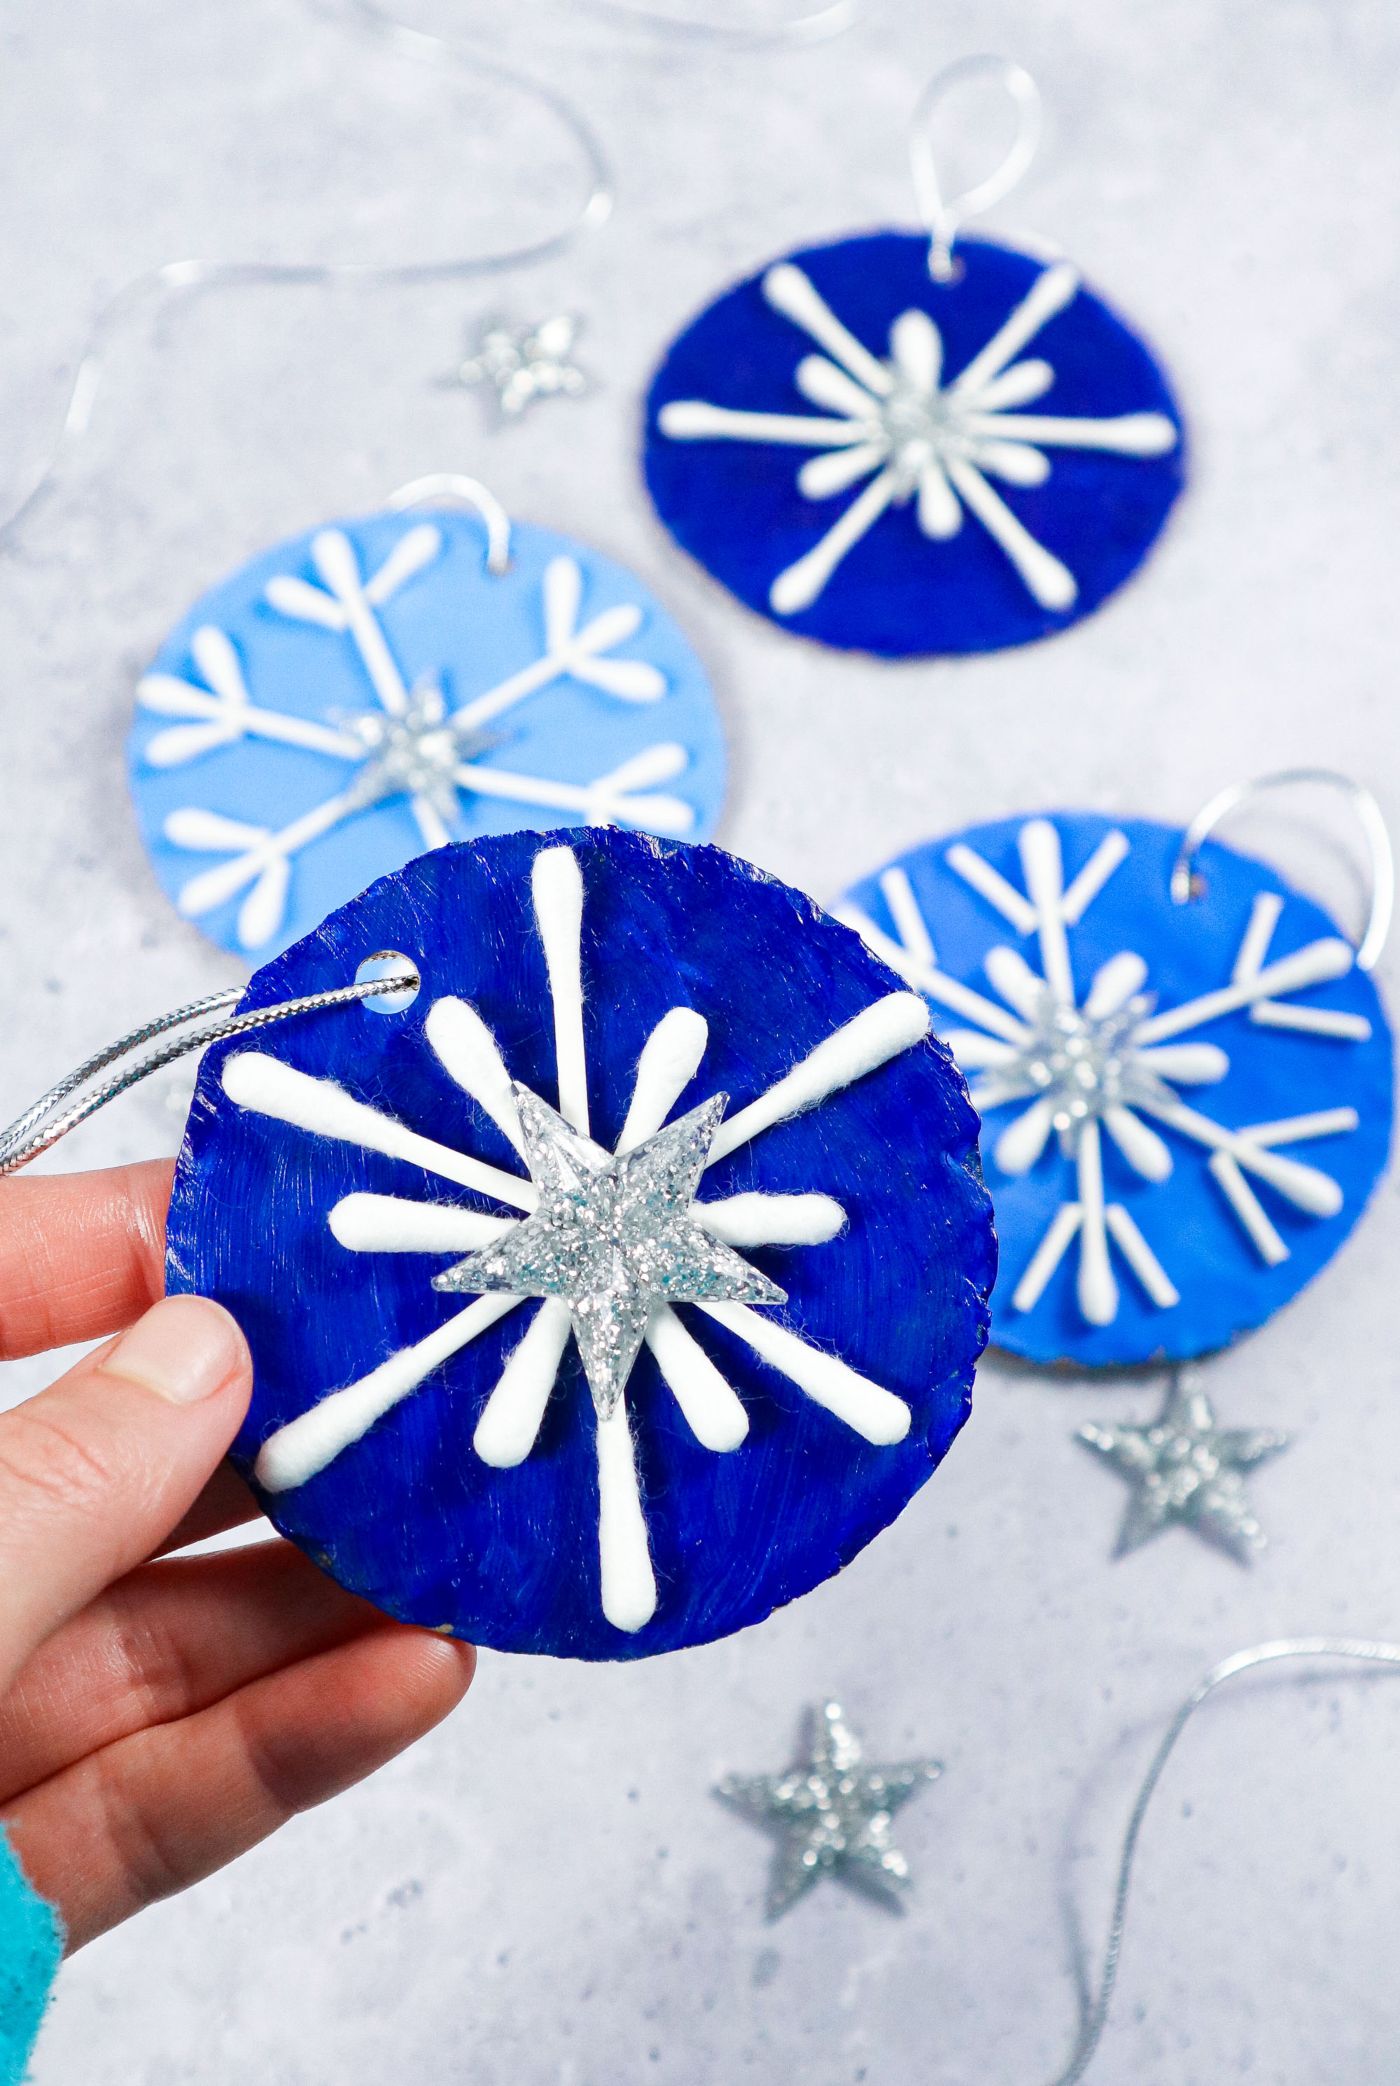
Step 3.Trim up and start to re-arrange Q-Tips in the fashion of snowflakes for each of your circles.
Both the tips and the rods of the Q-Tips are useable individually and jointlydo what works for your space.
Step 5.Having everything laid out and prepped, youre now ready to start gluing bits onto your cardboard.
Go from larger to small and use glue on each individual piece.
Step 6.Before gluing, lay your snowflake pattern out beside your workstation.
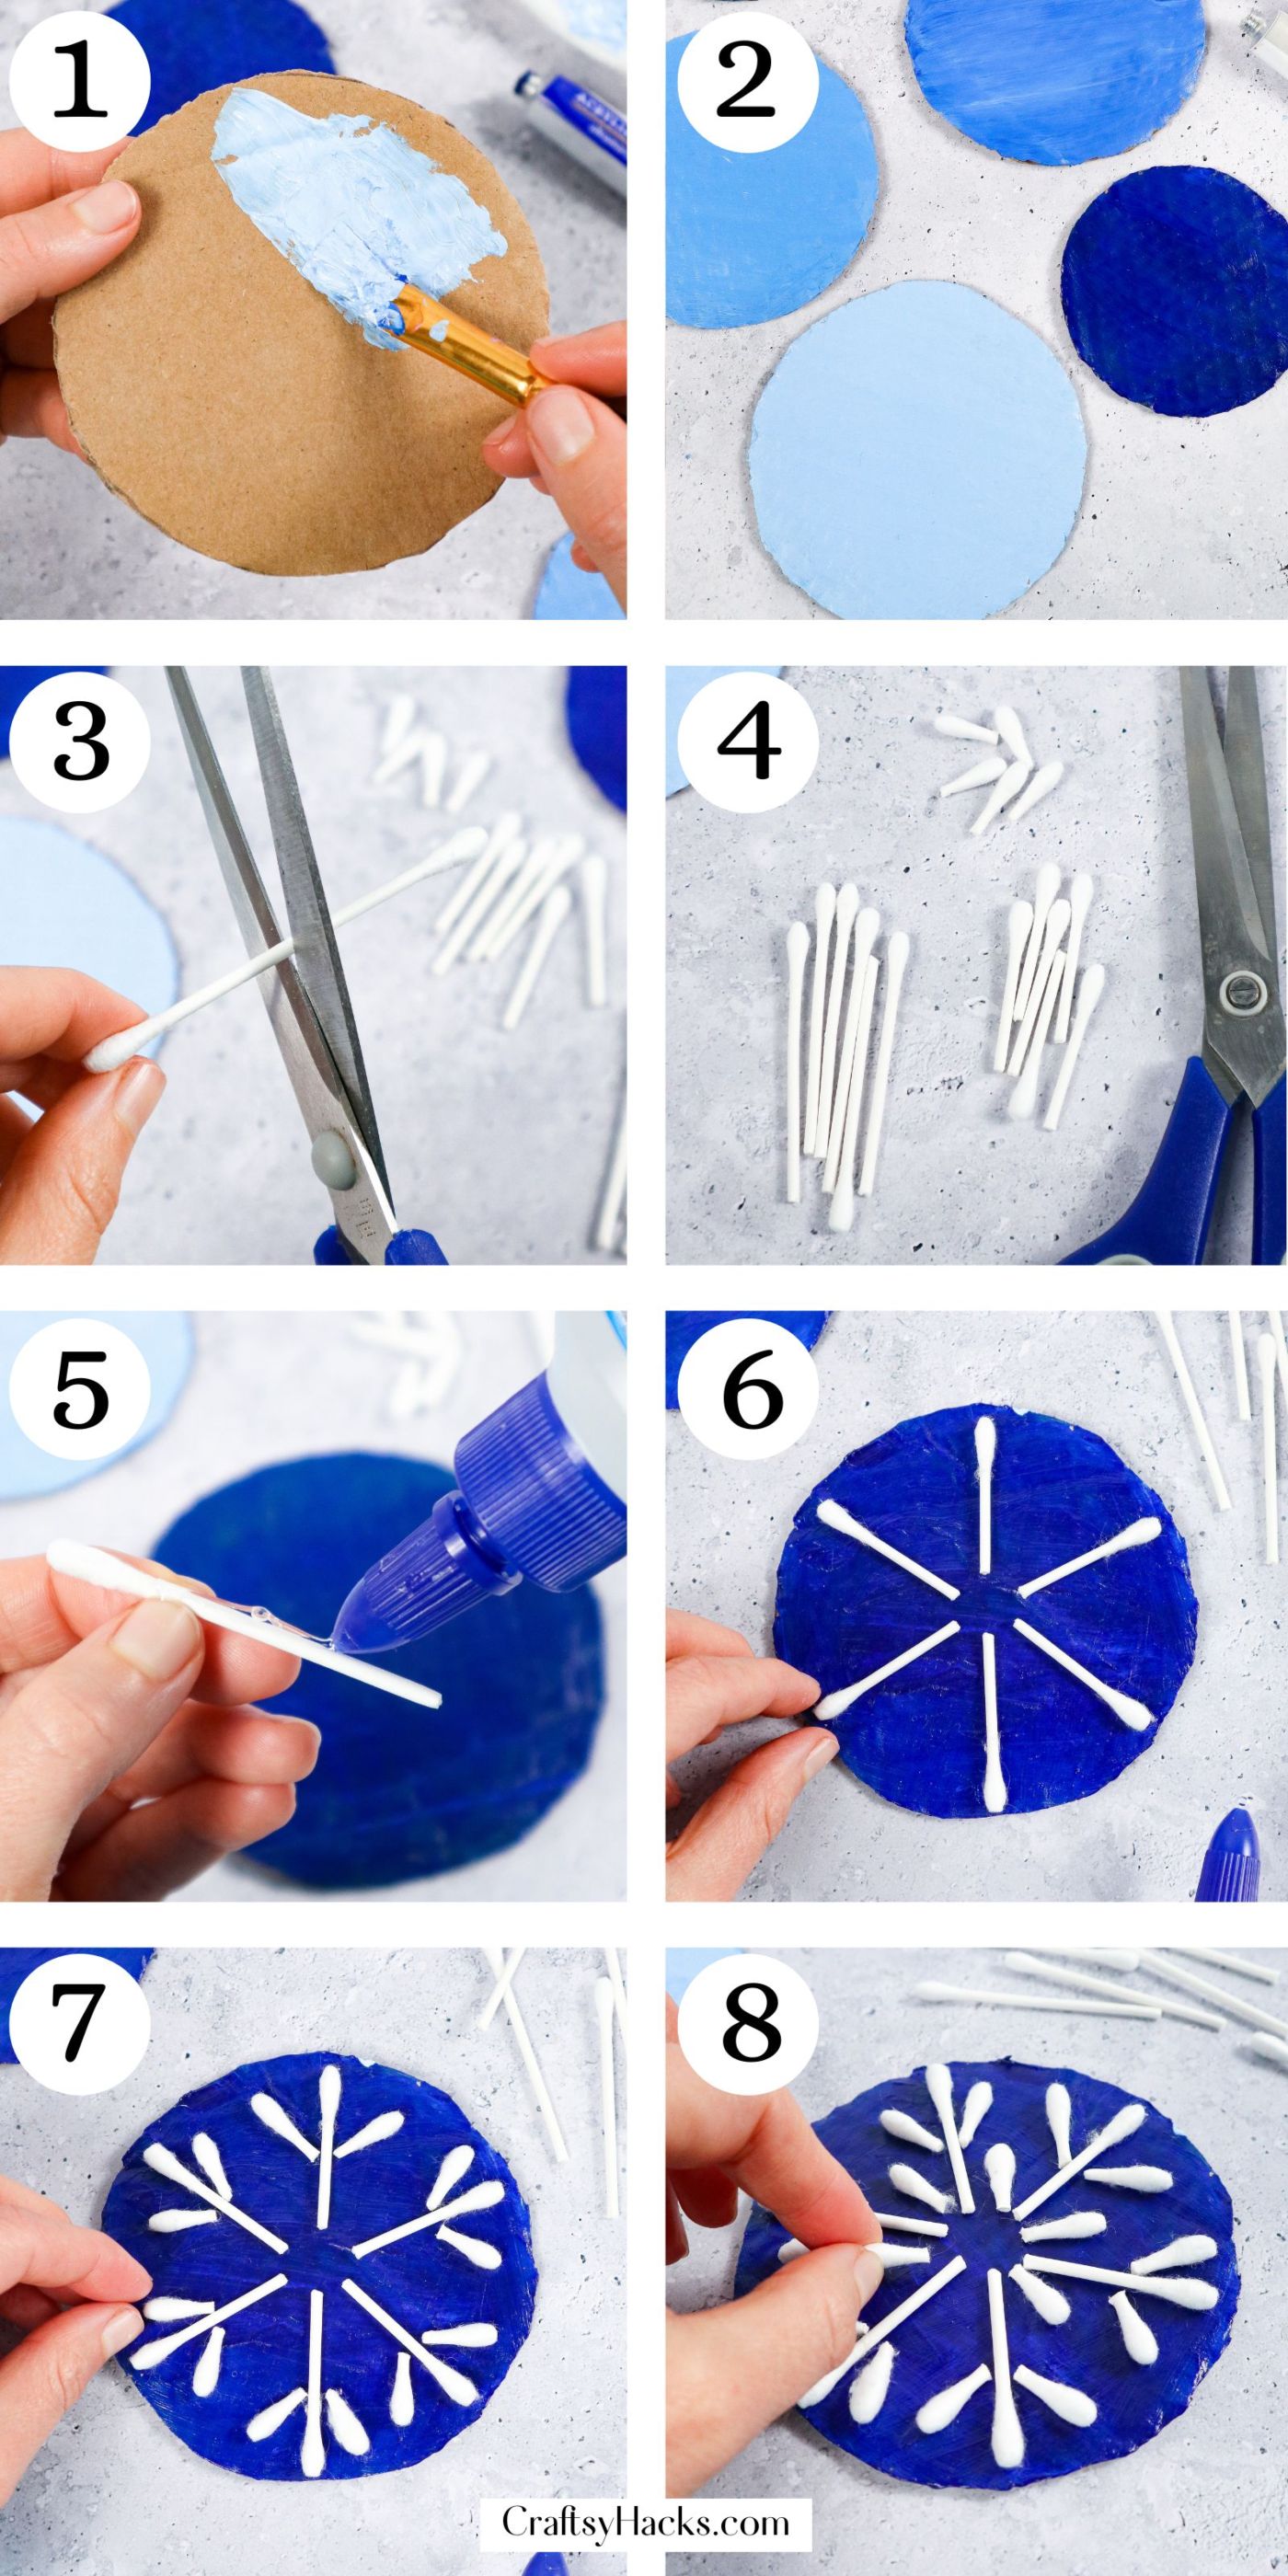
Repeat this for each piece of painted cardboard.
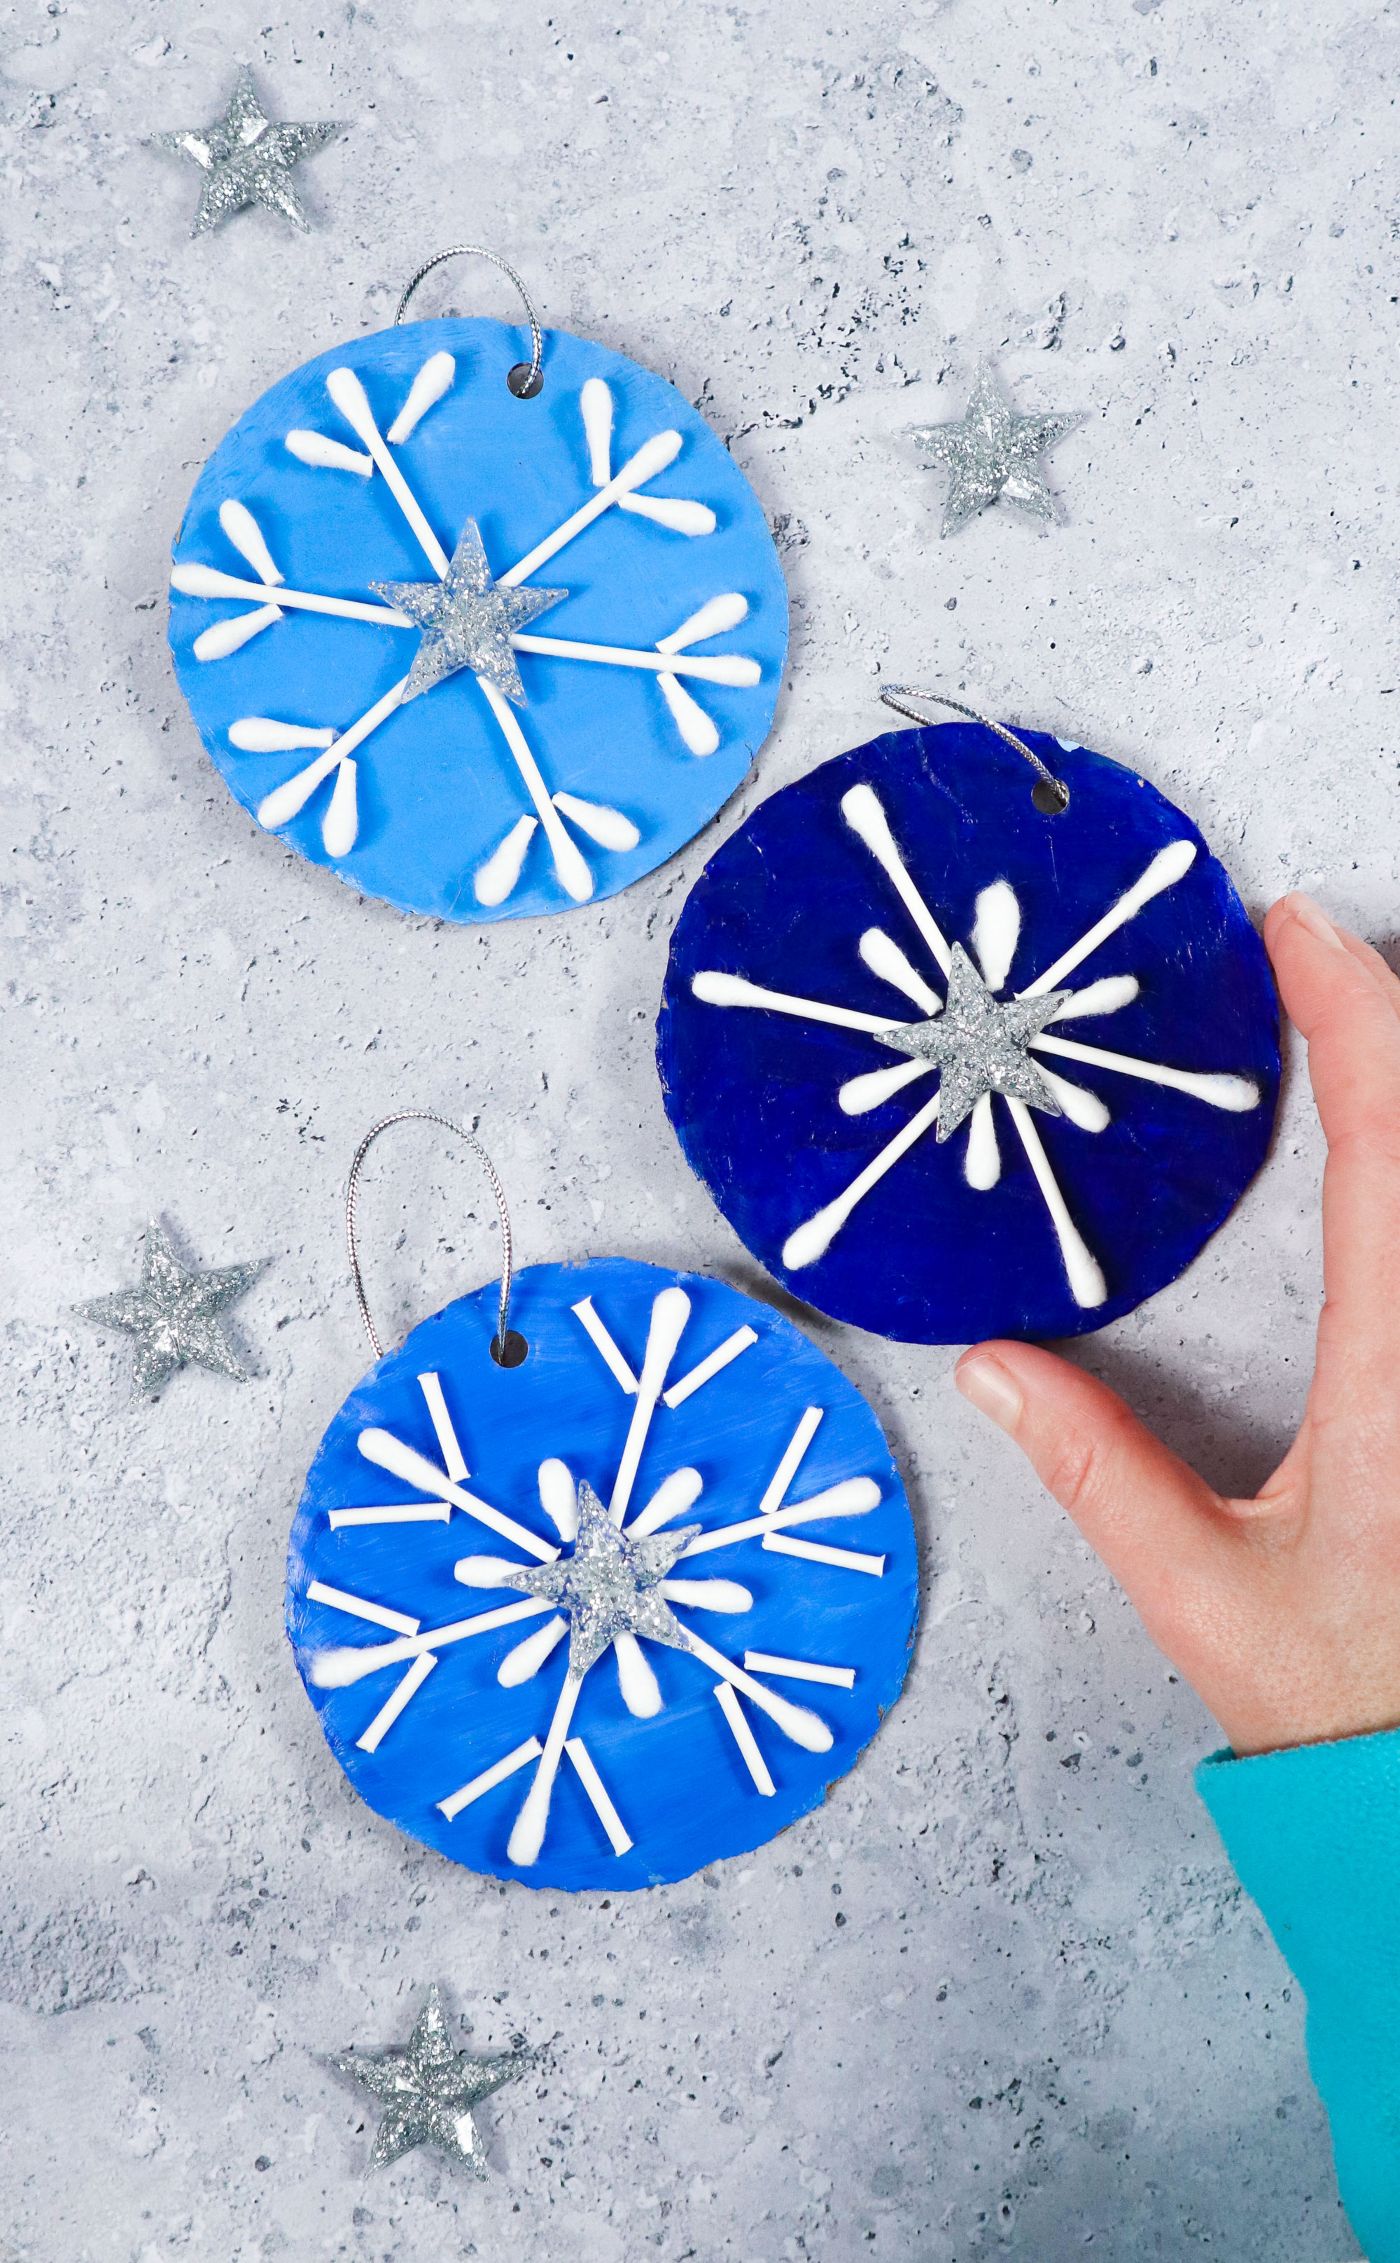
Step 8.Add the inner tips to embellish the look of your snowflakes a bit more.
you’re able to do this arrangement differently on each one or the same.

Let everything sit for a couple of hours or overnight to ensure stability.
There you have it!
These Q-Tip snowflakes make for wonderful ornaments, window or wall hangings, or gift tags.
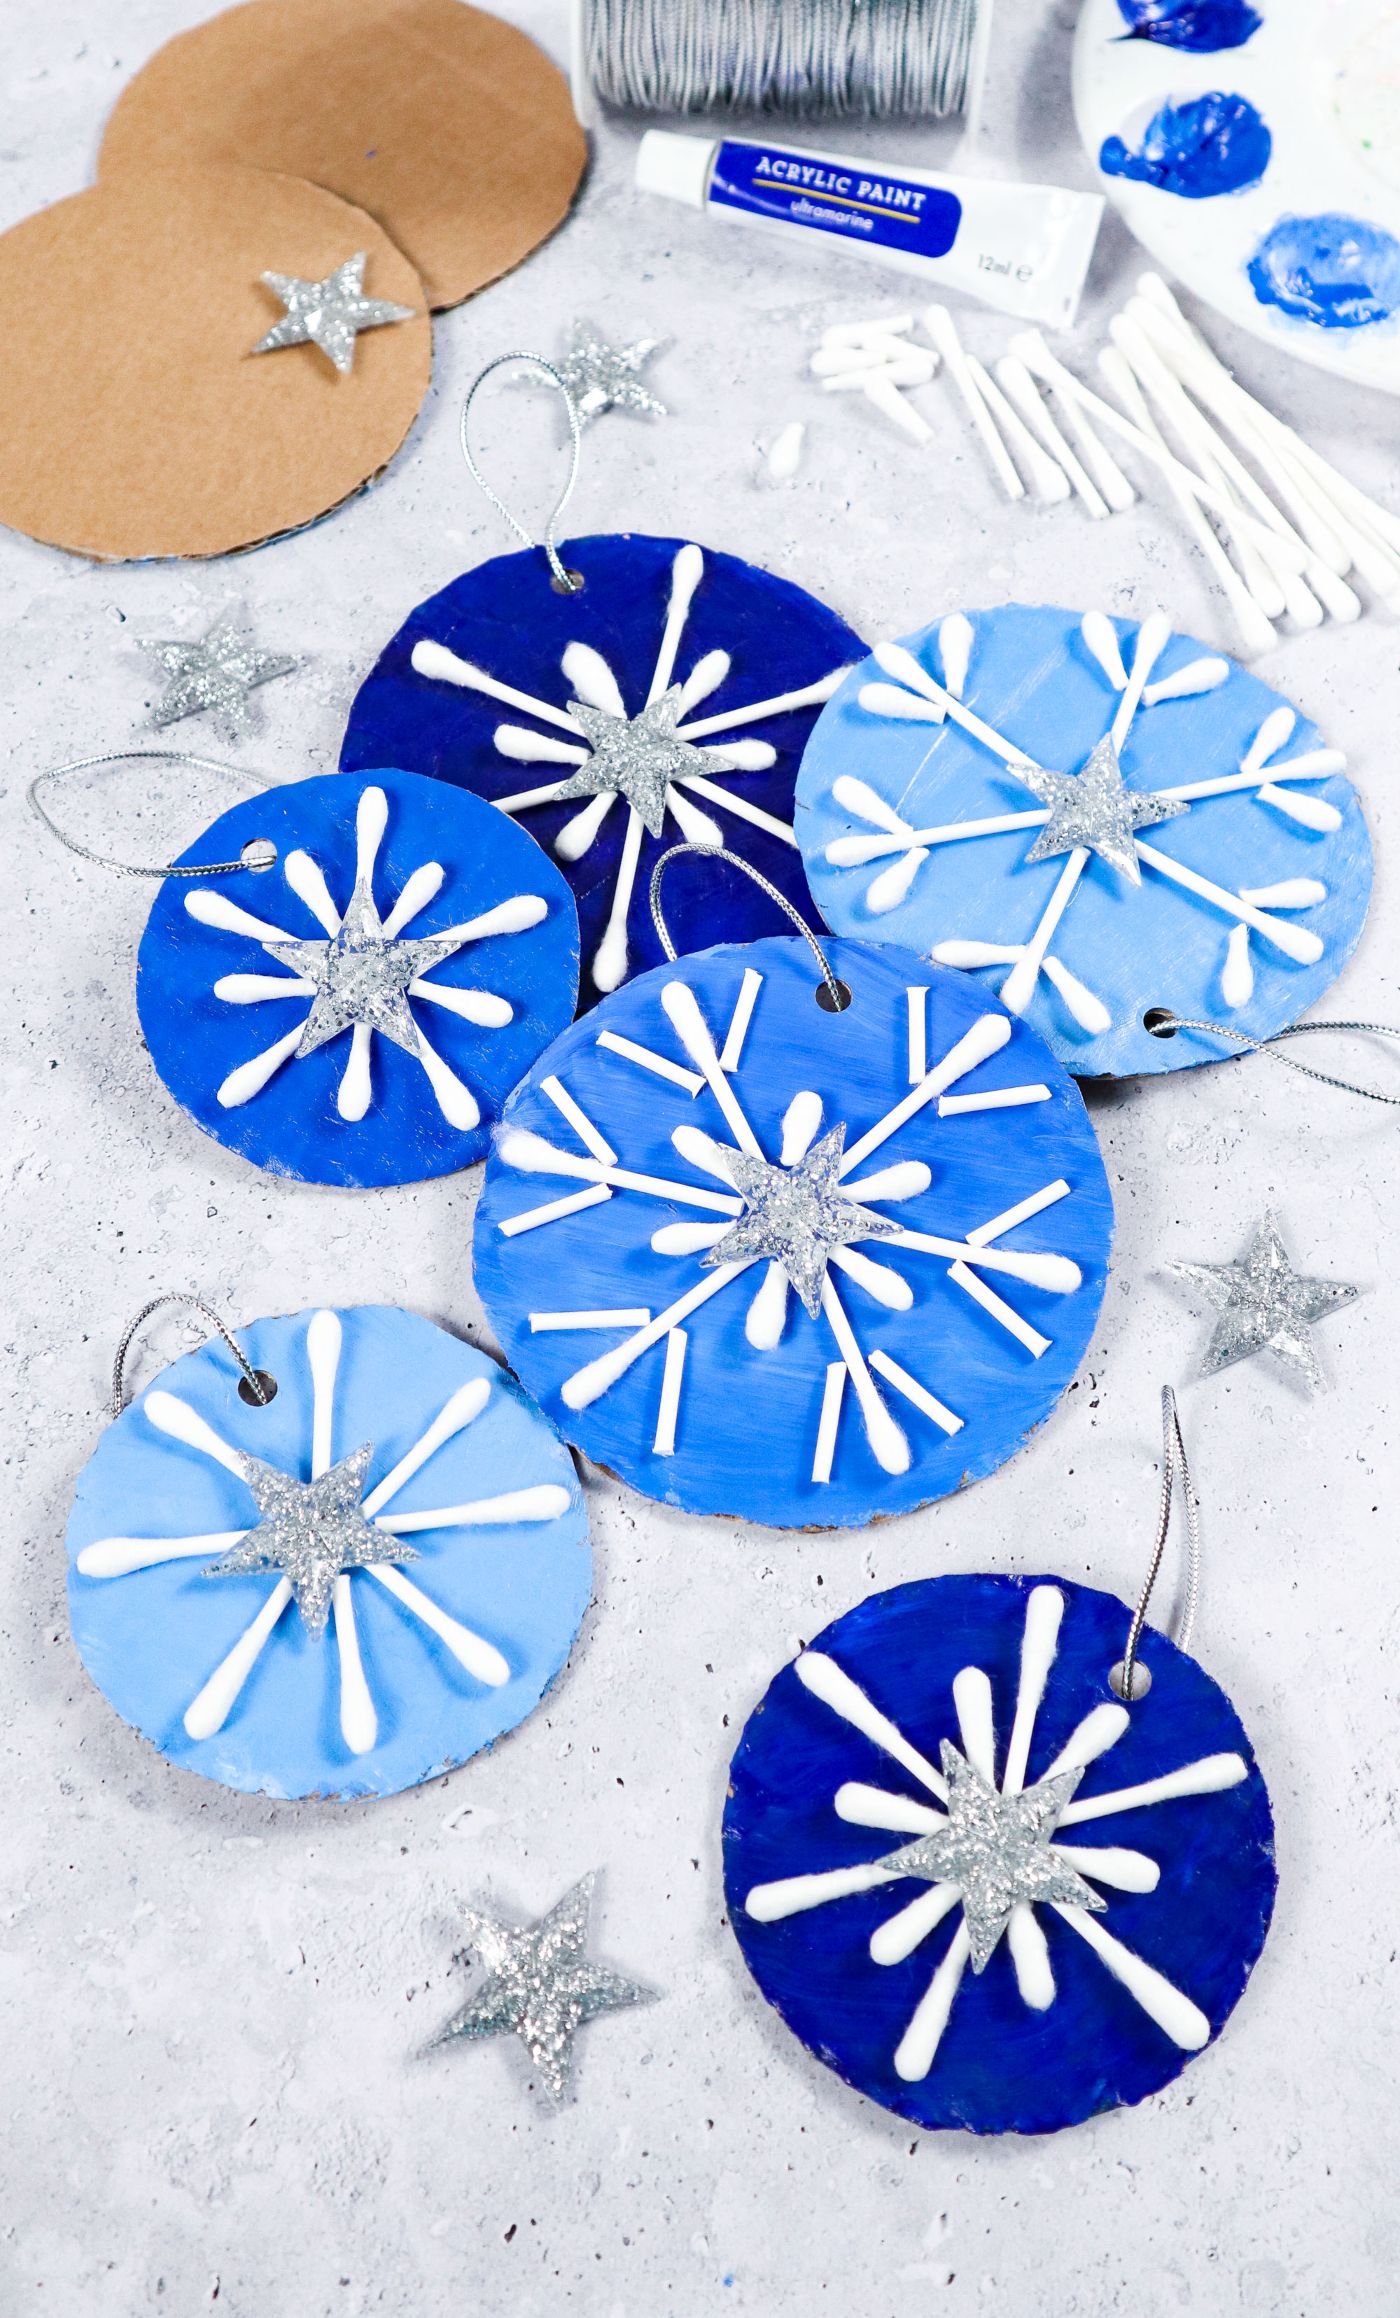
Therefore, make them in batches before the holiday starts.
The kids will love it!