With the innovative xTool F1, that possibility is closer than ever before!
Check out our fullreview of the xTool FI,their newest and fastest portable laser engraver.
you’re able to readour full disclosure policy here.

Xtool F1 Review
Create a free account and initiate the dashboard.
Each new account comes with 500 free points.
you’re free to learn more about thexArt program here.
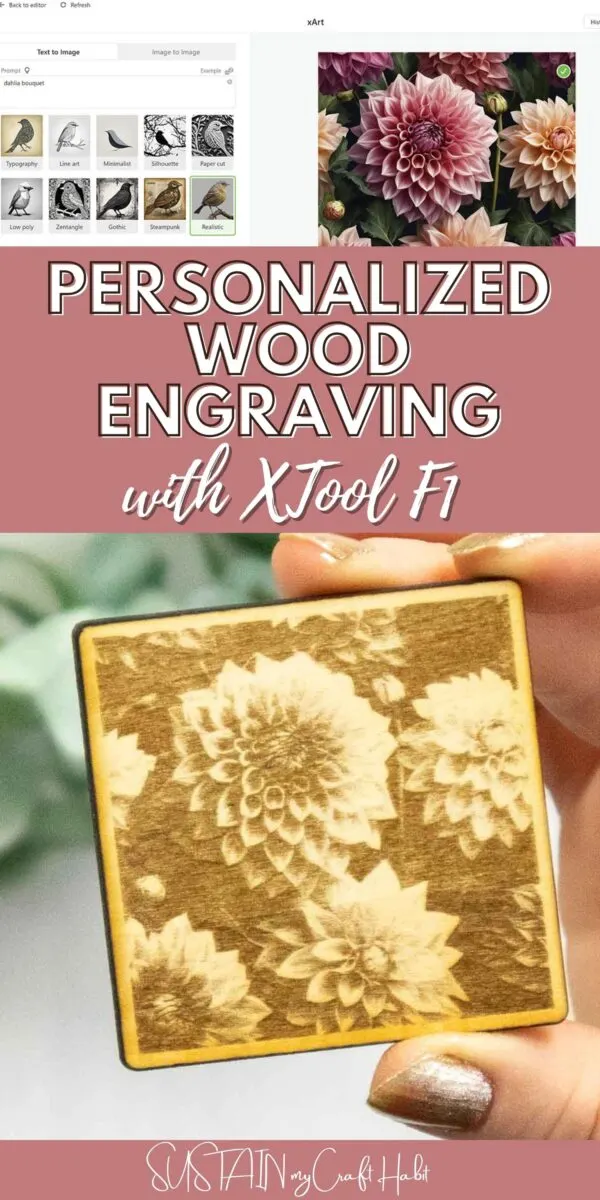
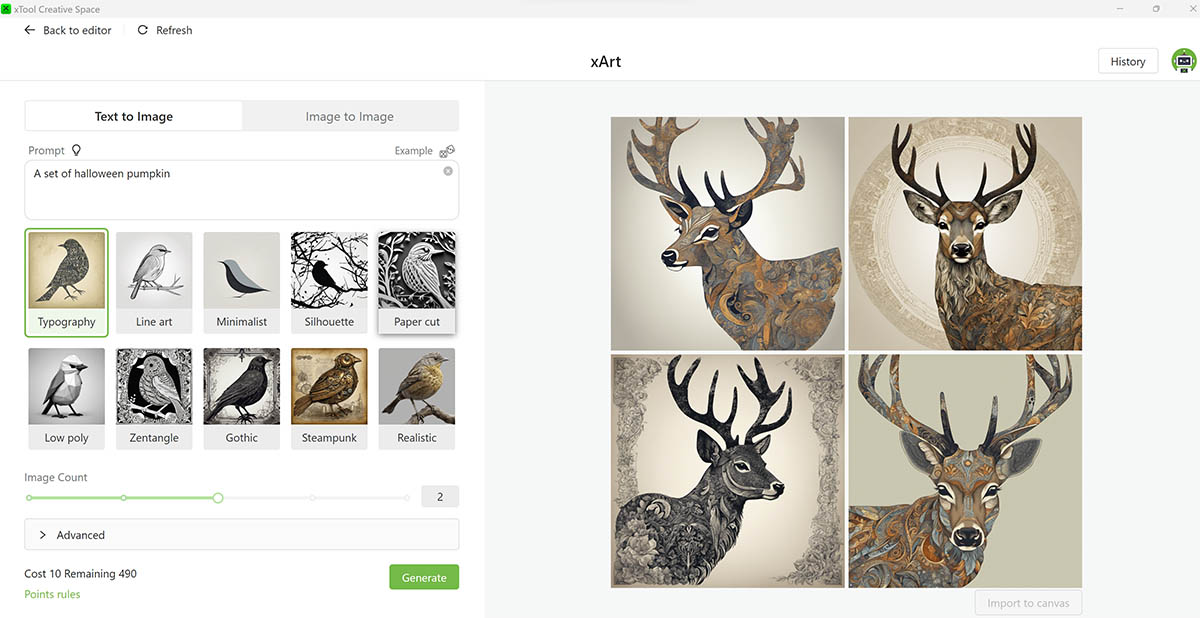
With the Text to Image button selected, write a phrase in the Prompt box.
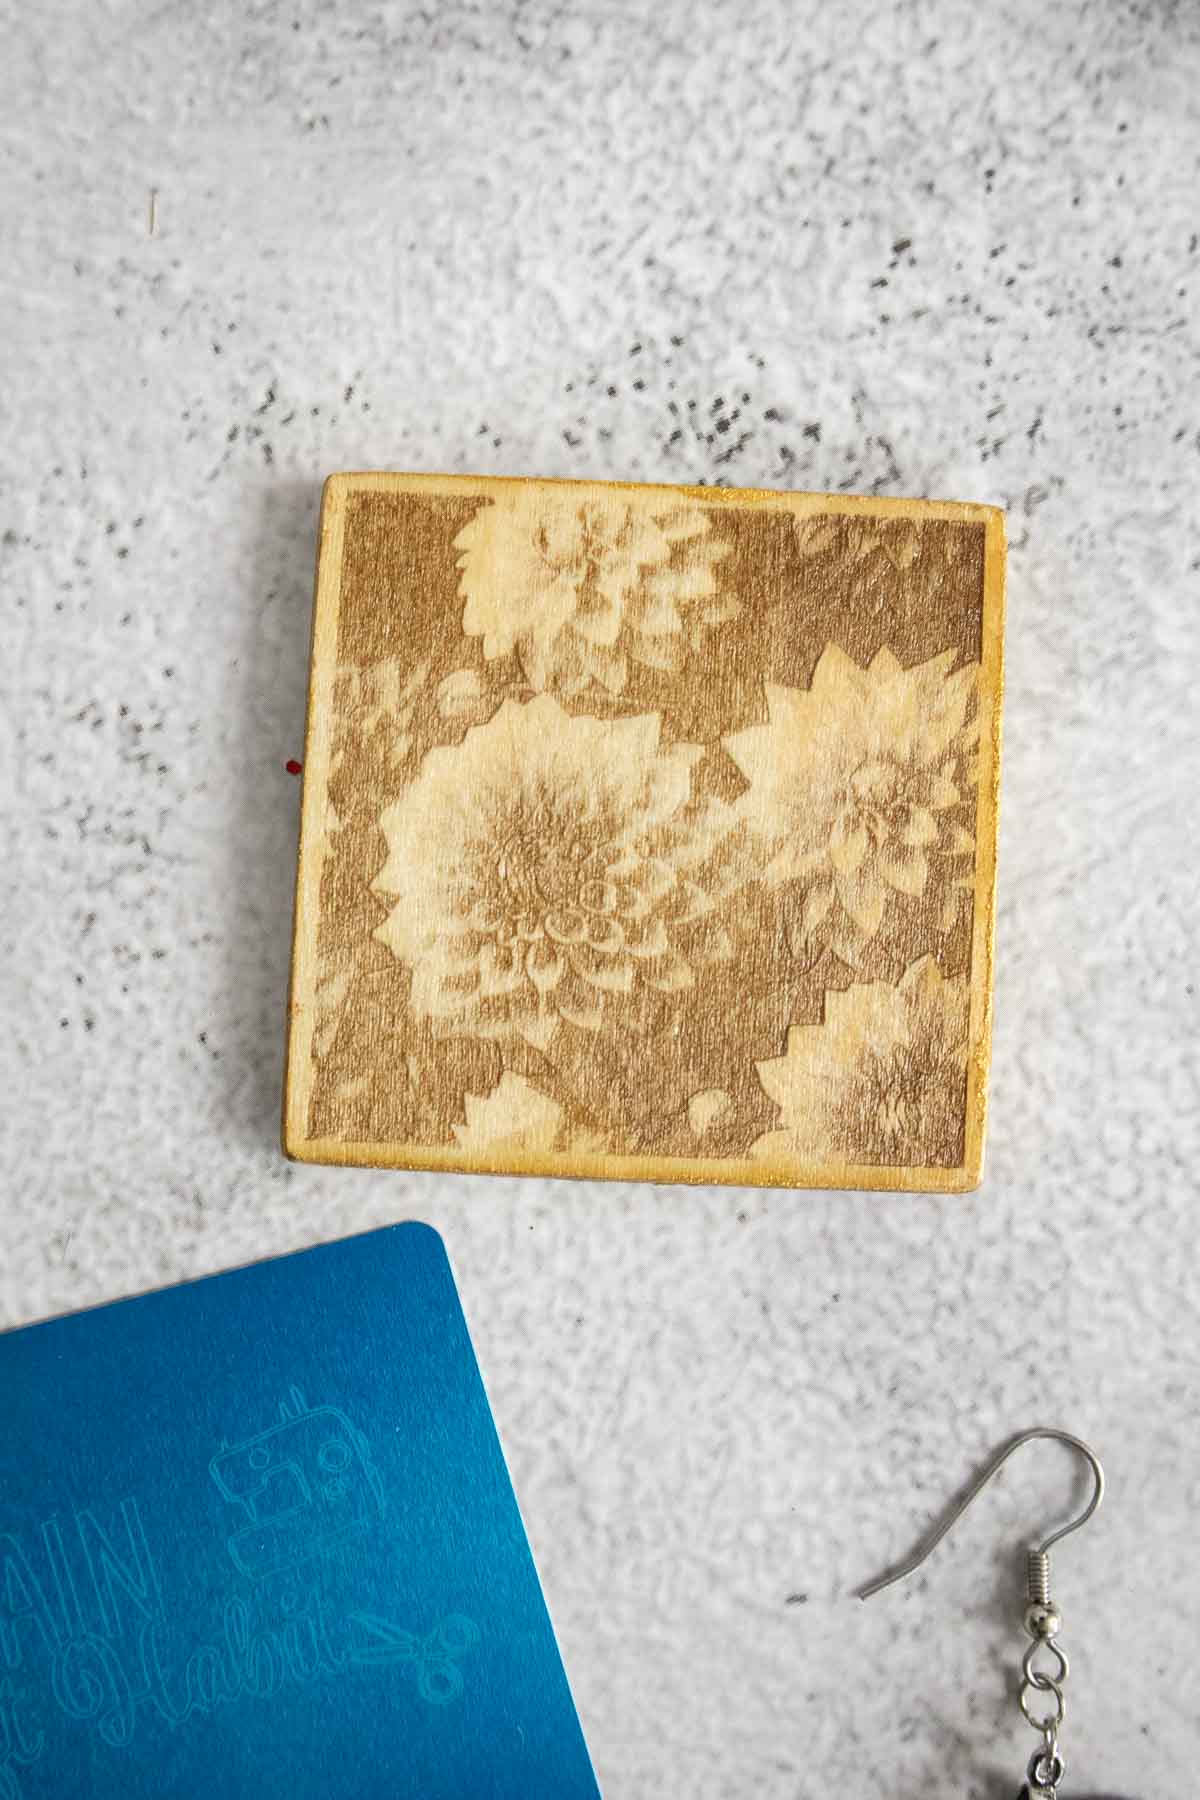
I typed dahlia bouquet to generate my images.
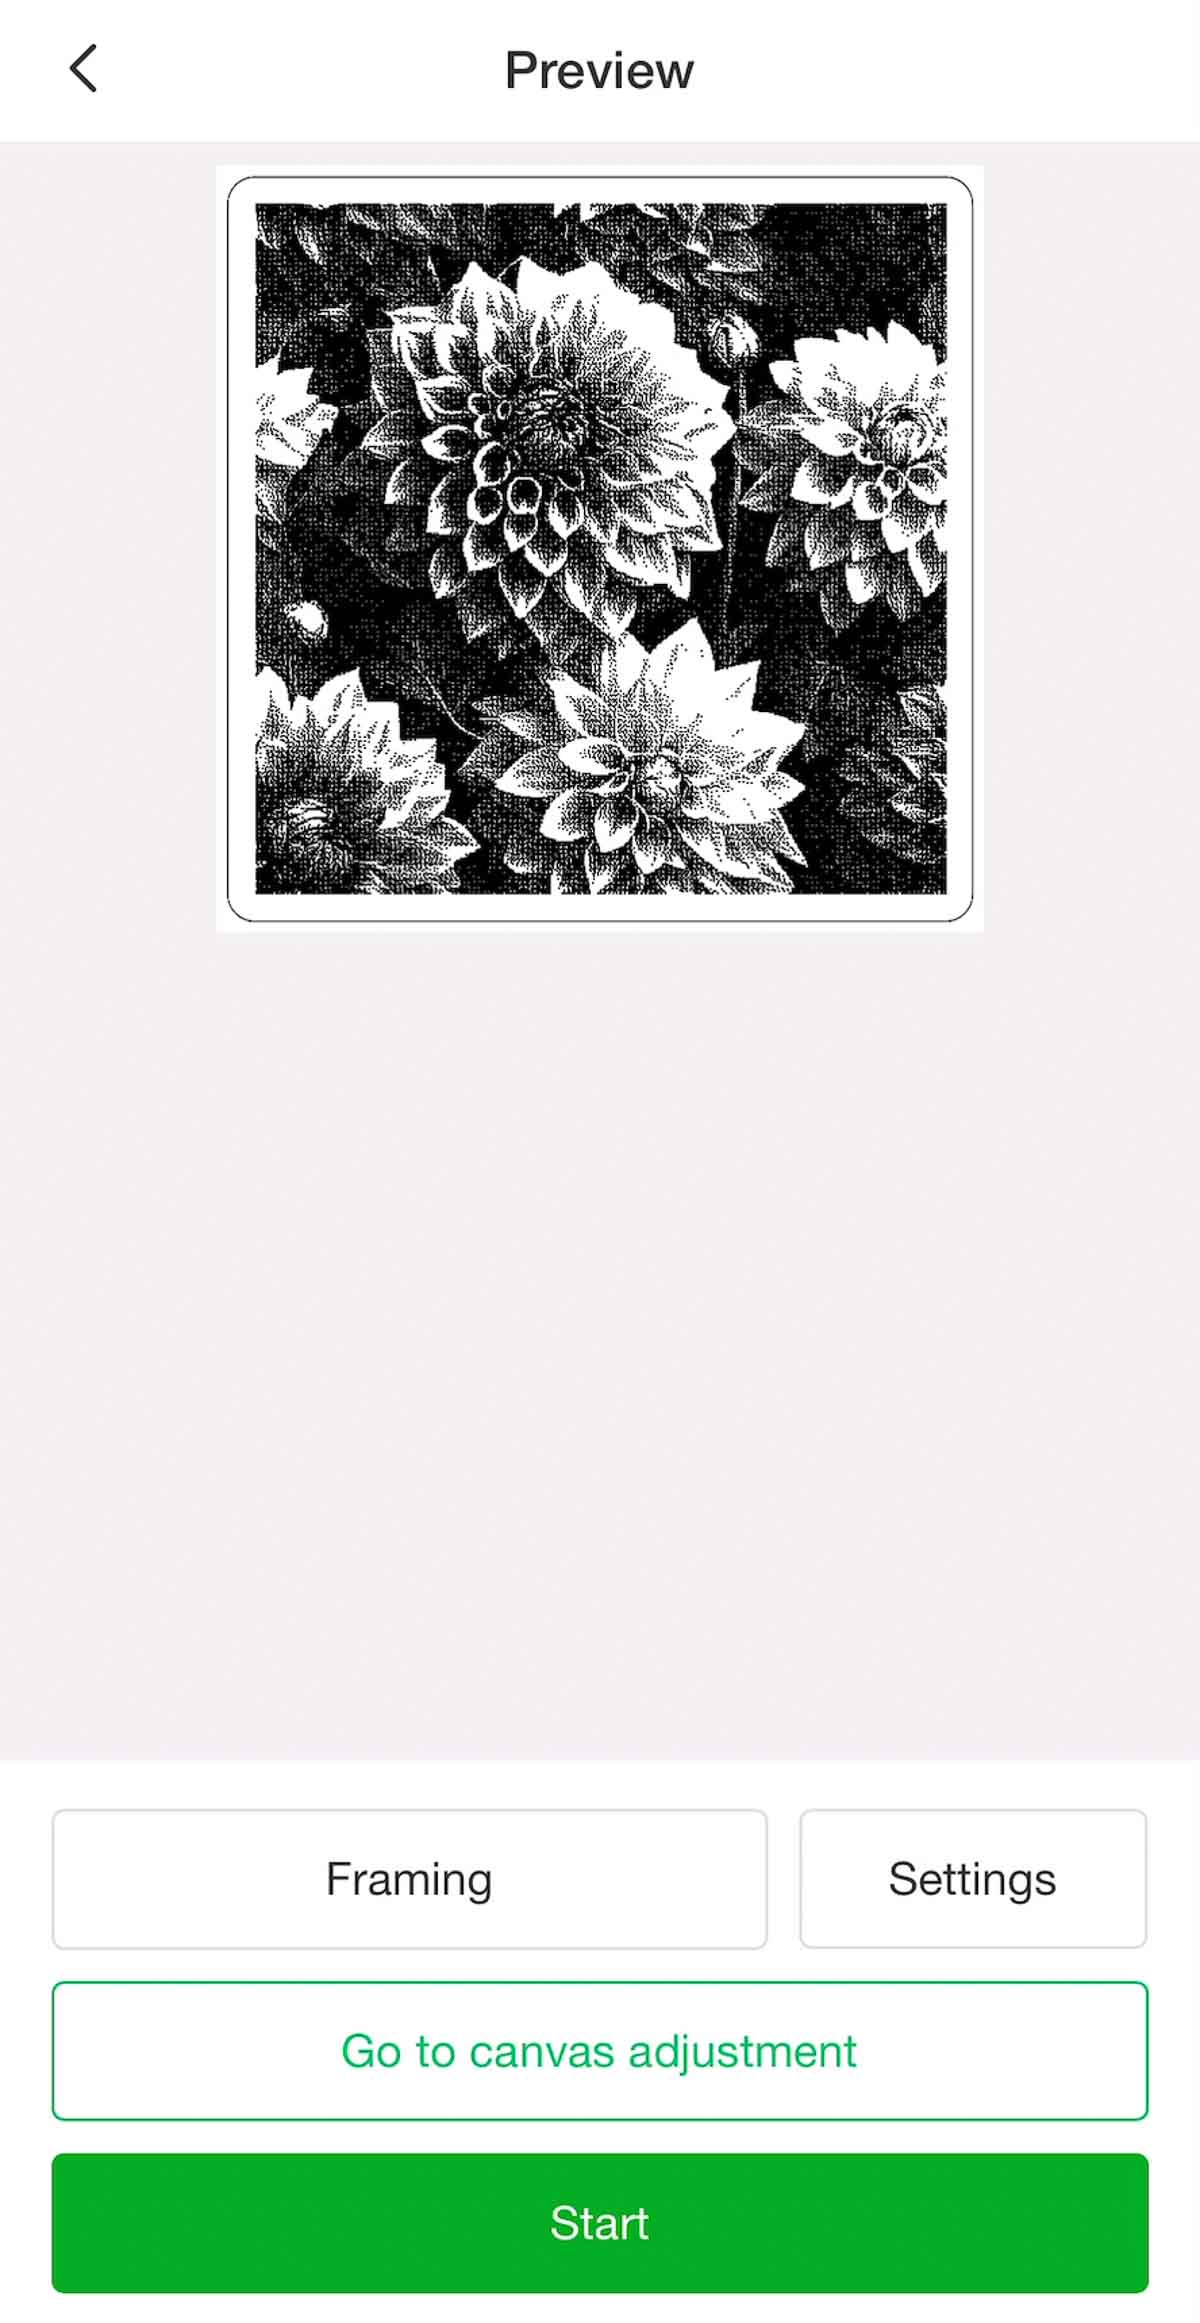
xArt generated this beautiful image of soft pink dahlias with so much detail.

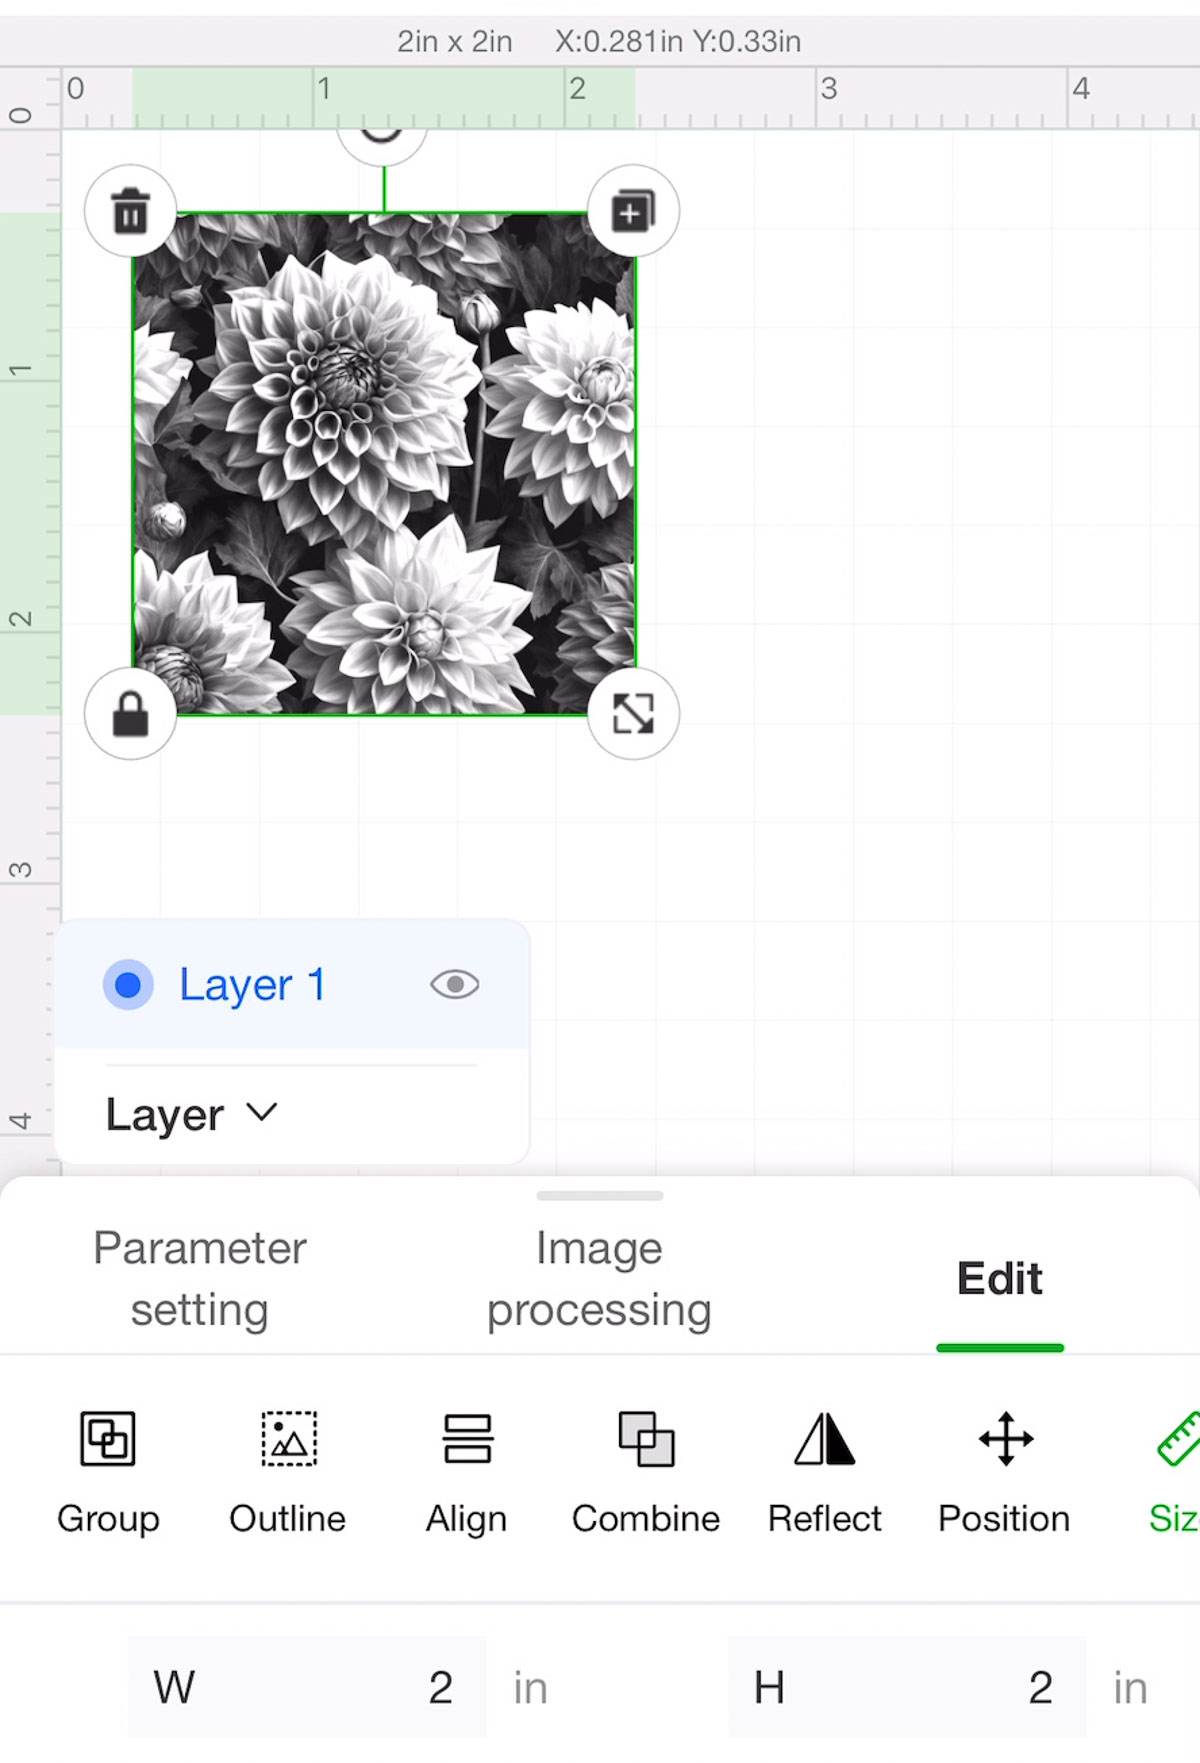
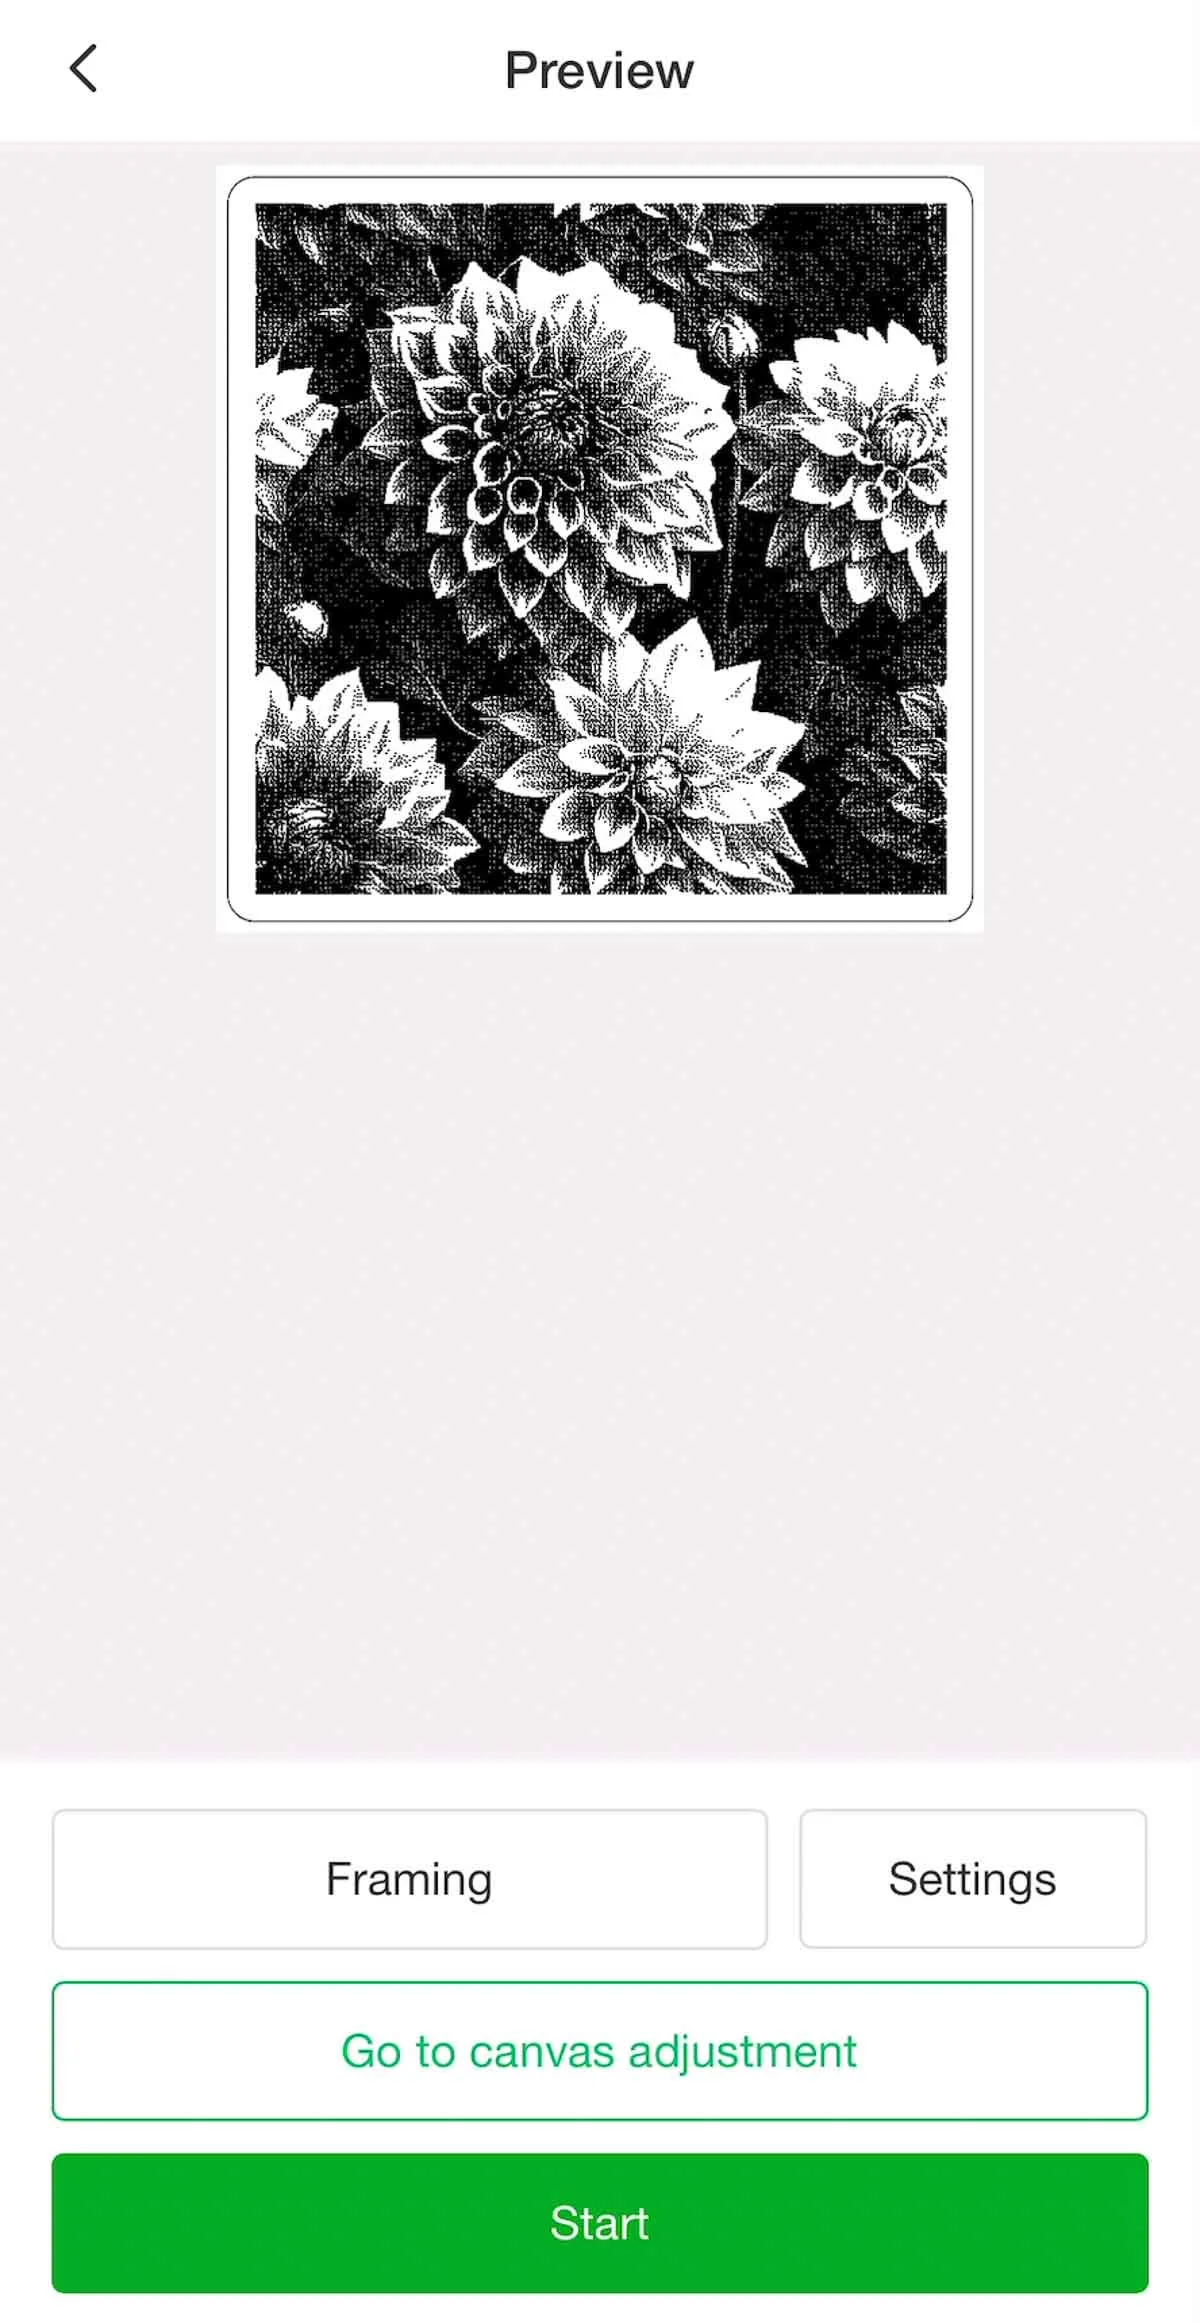
Next, I loaded the image onto a canvas and resized it to 2x2.
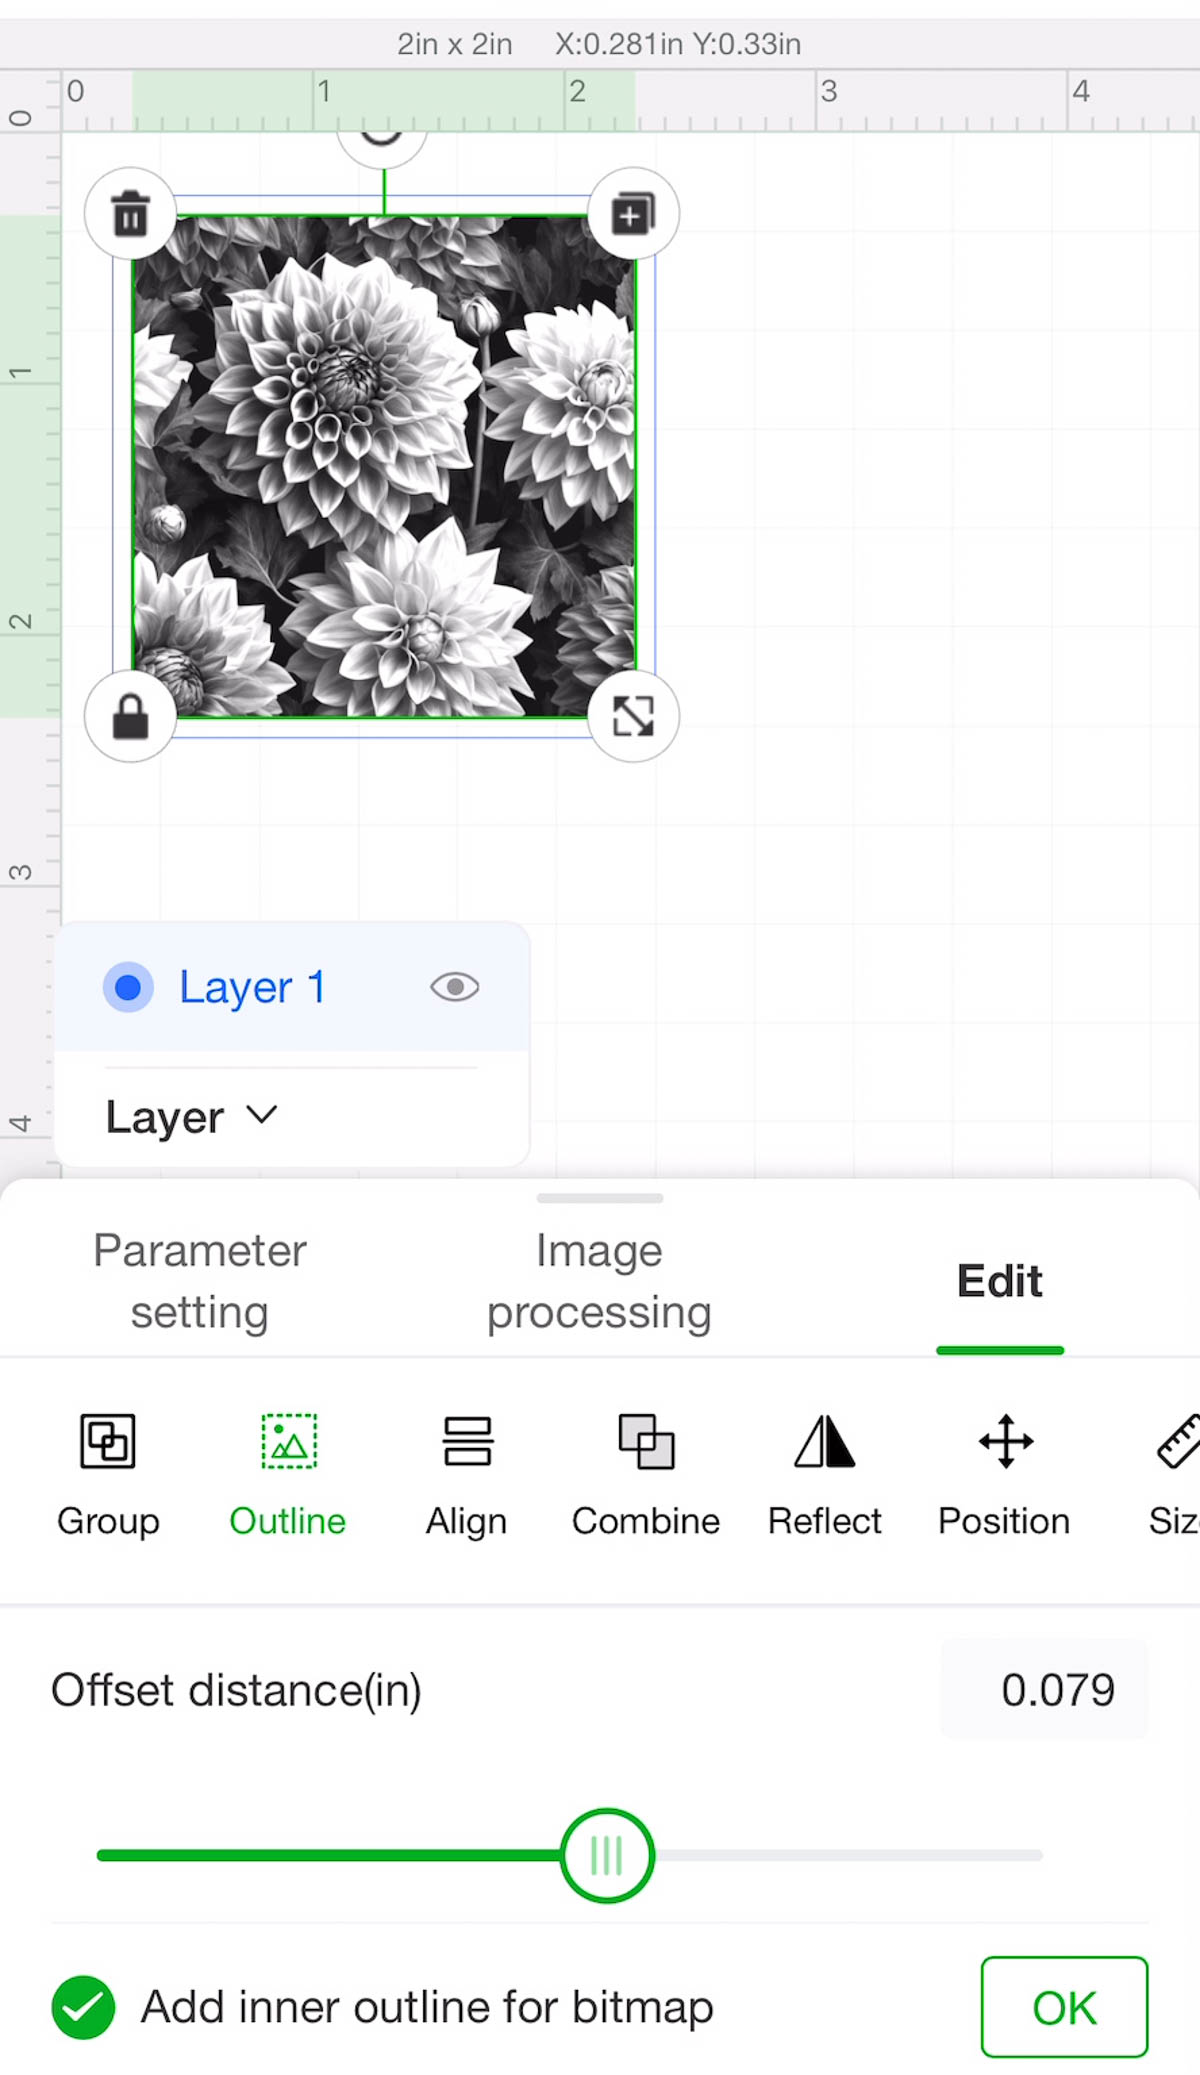
I created an Offset (0.079) and then moved that to Layer 2.
Next, I set the Layer 1 Parameter Setting to Engrave and the Layer 2 Parameter Setting to Cut.
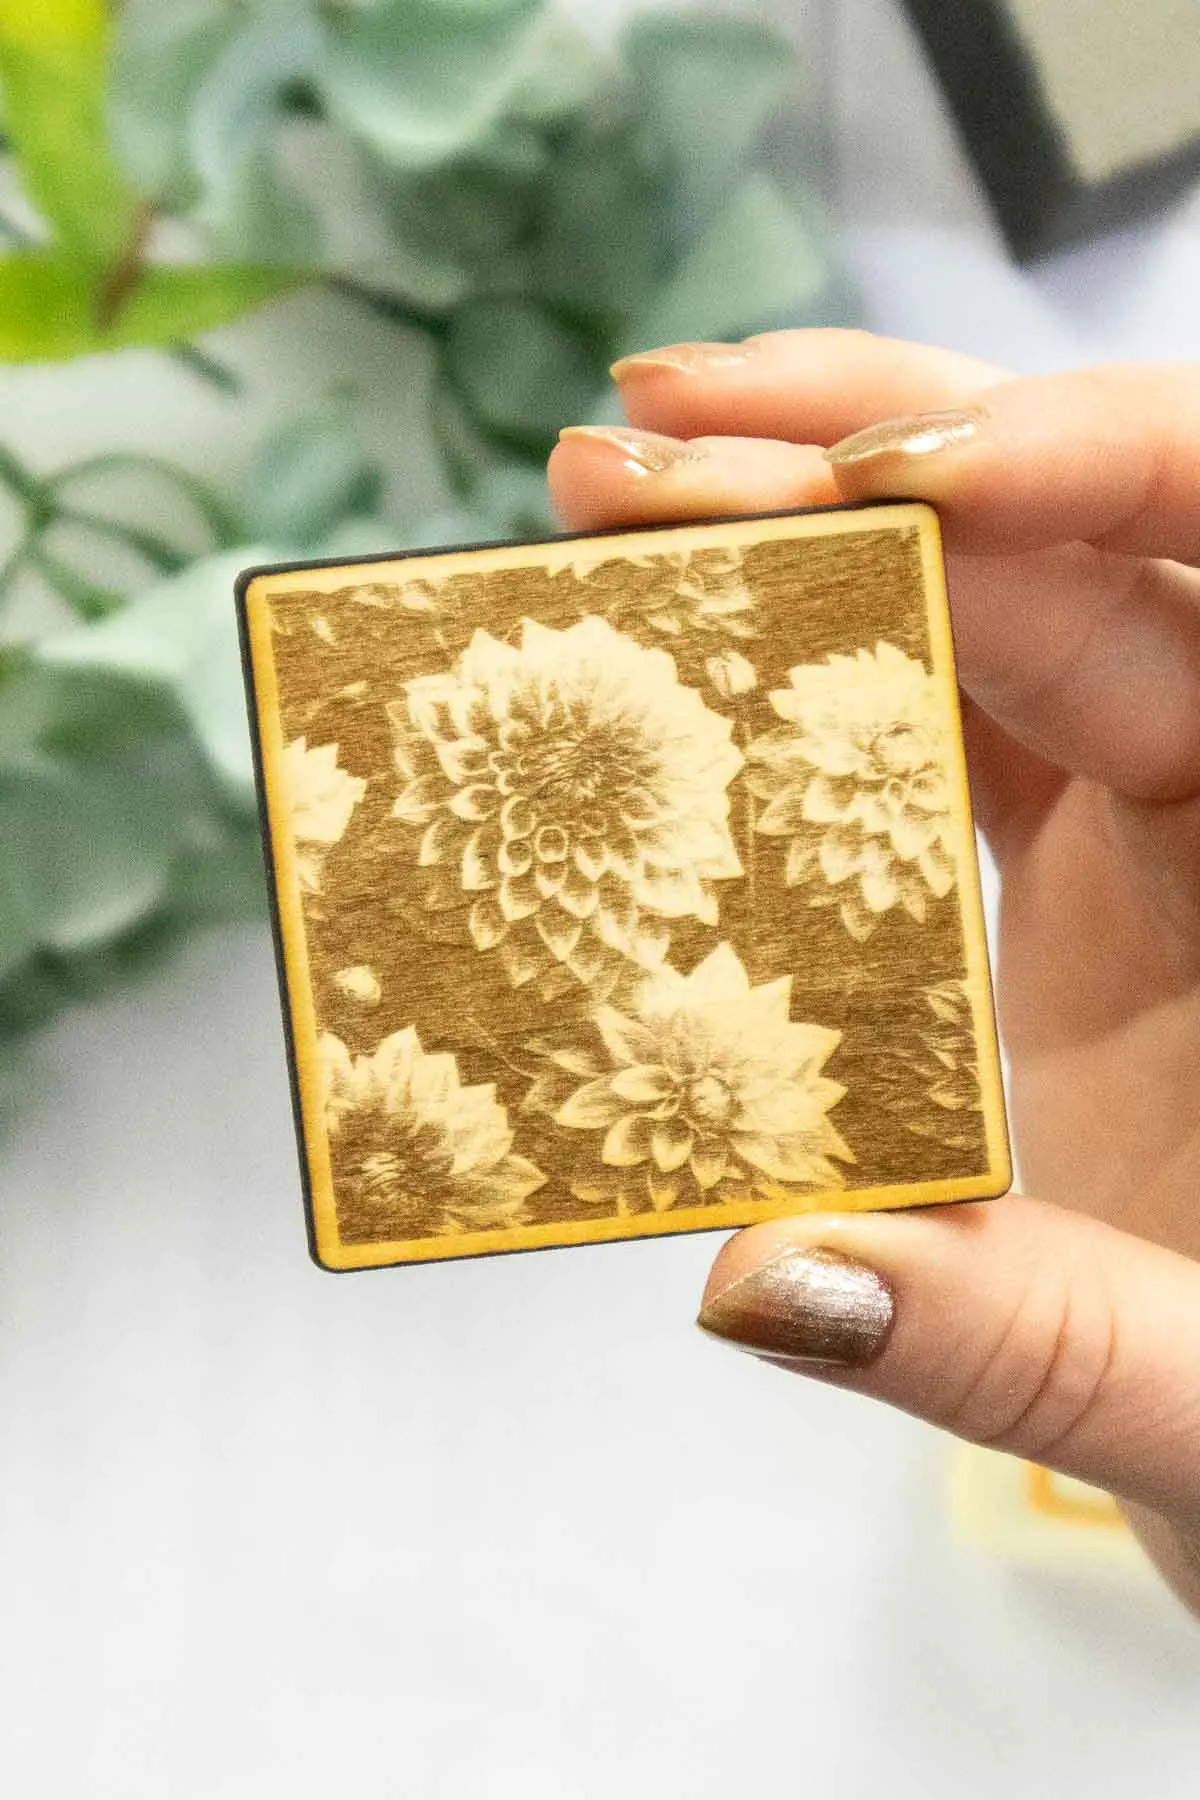
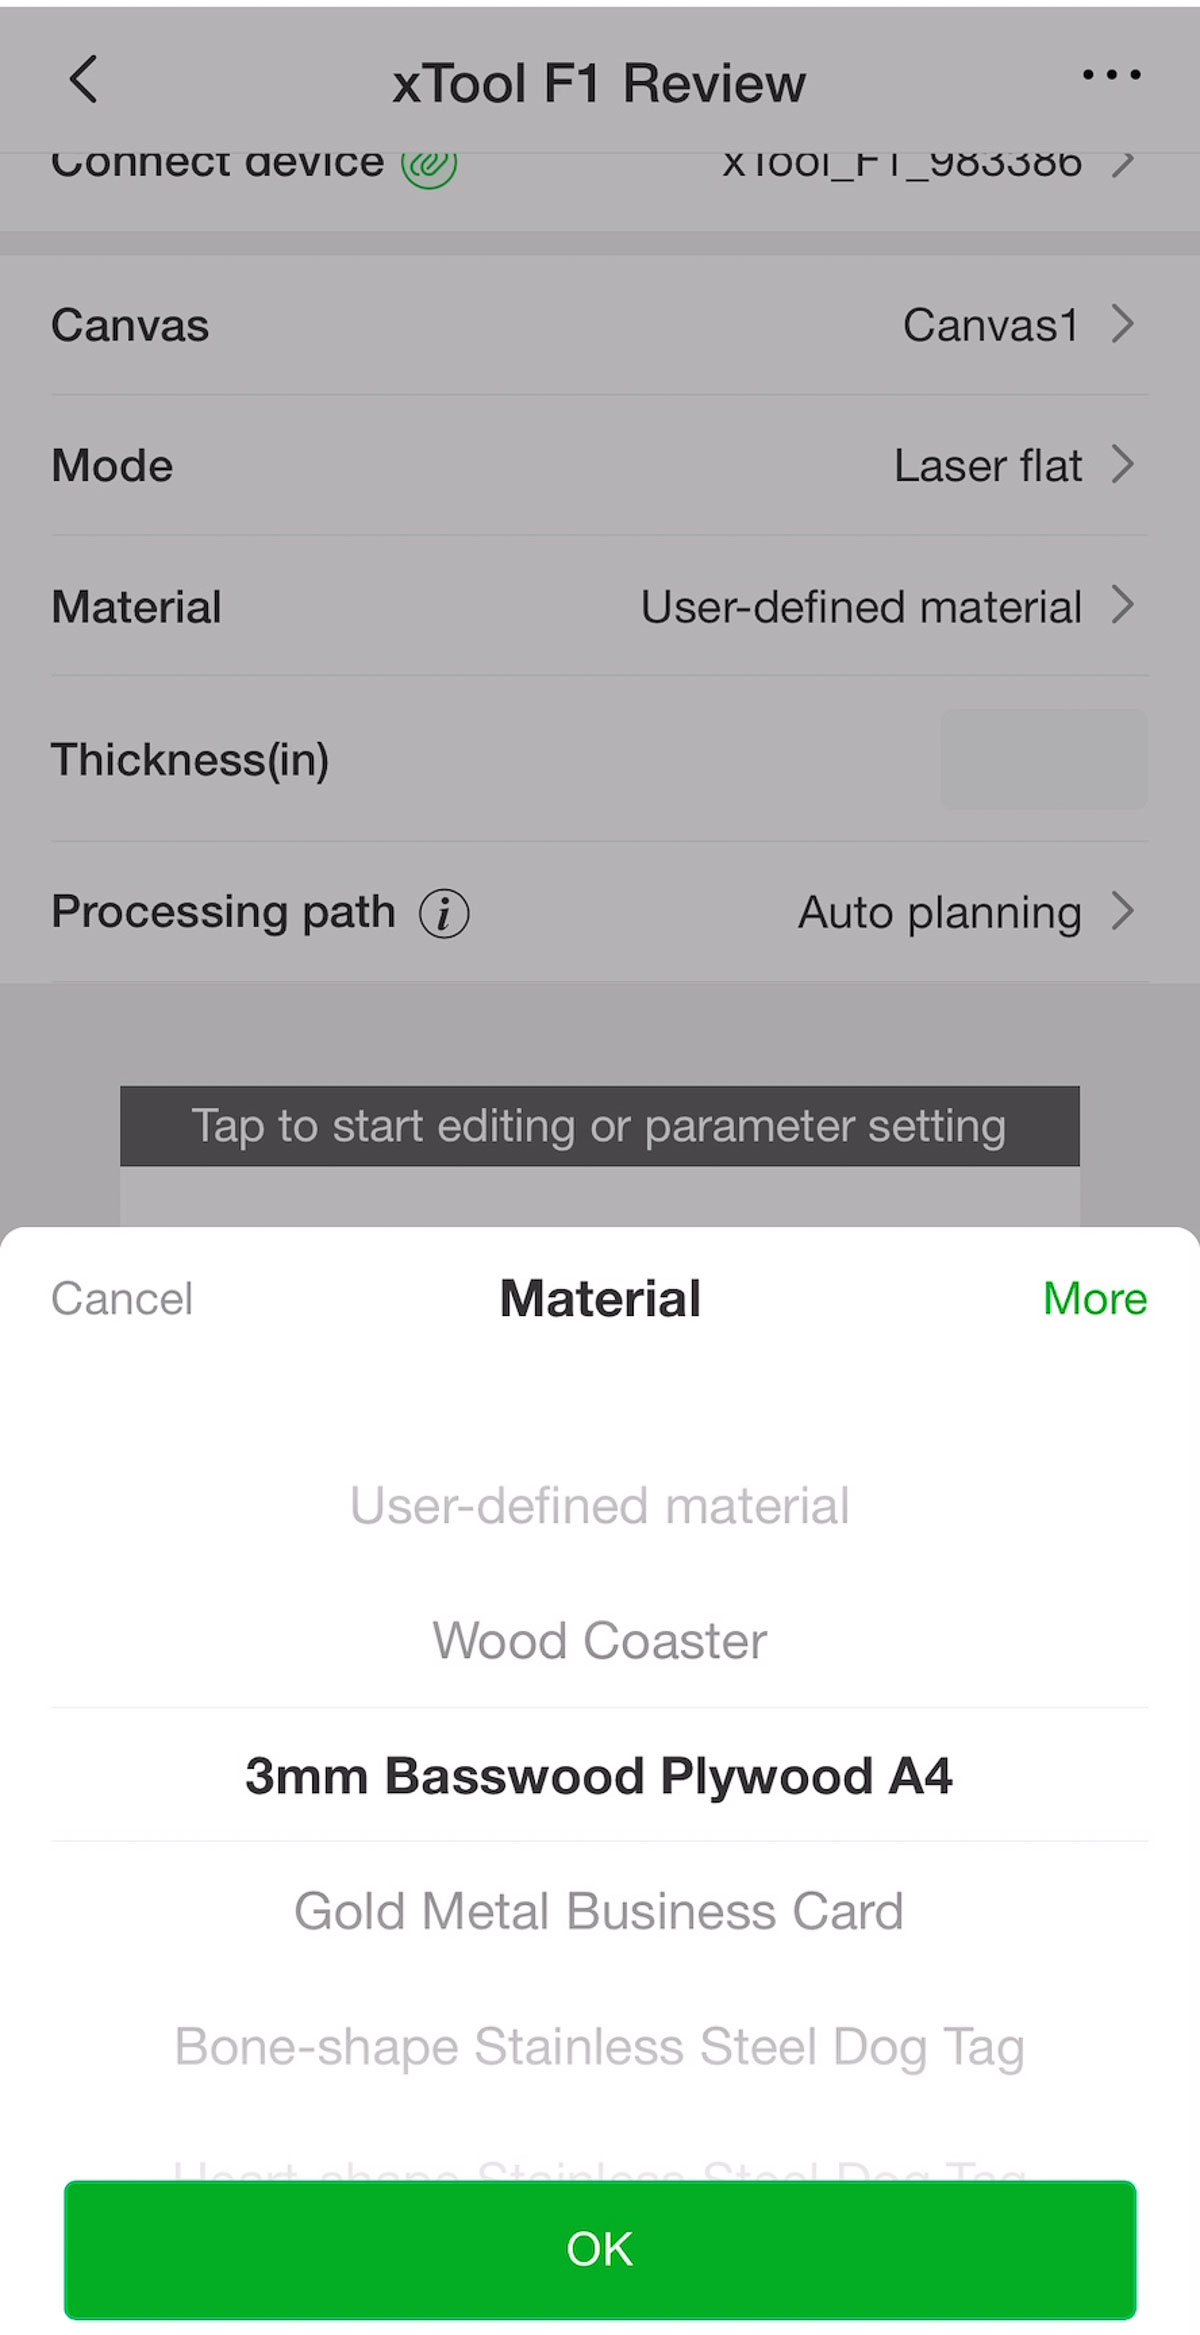
I then selected my Material on the Home screen as 3mm Basswood Plywood A4.
This then sets all the necessary parameters.
After checking the Framing, I clicked Start and then pushed the button on the machine.

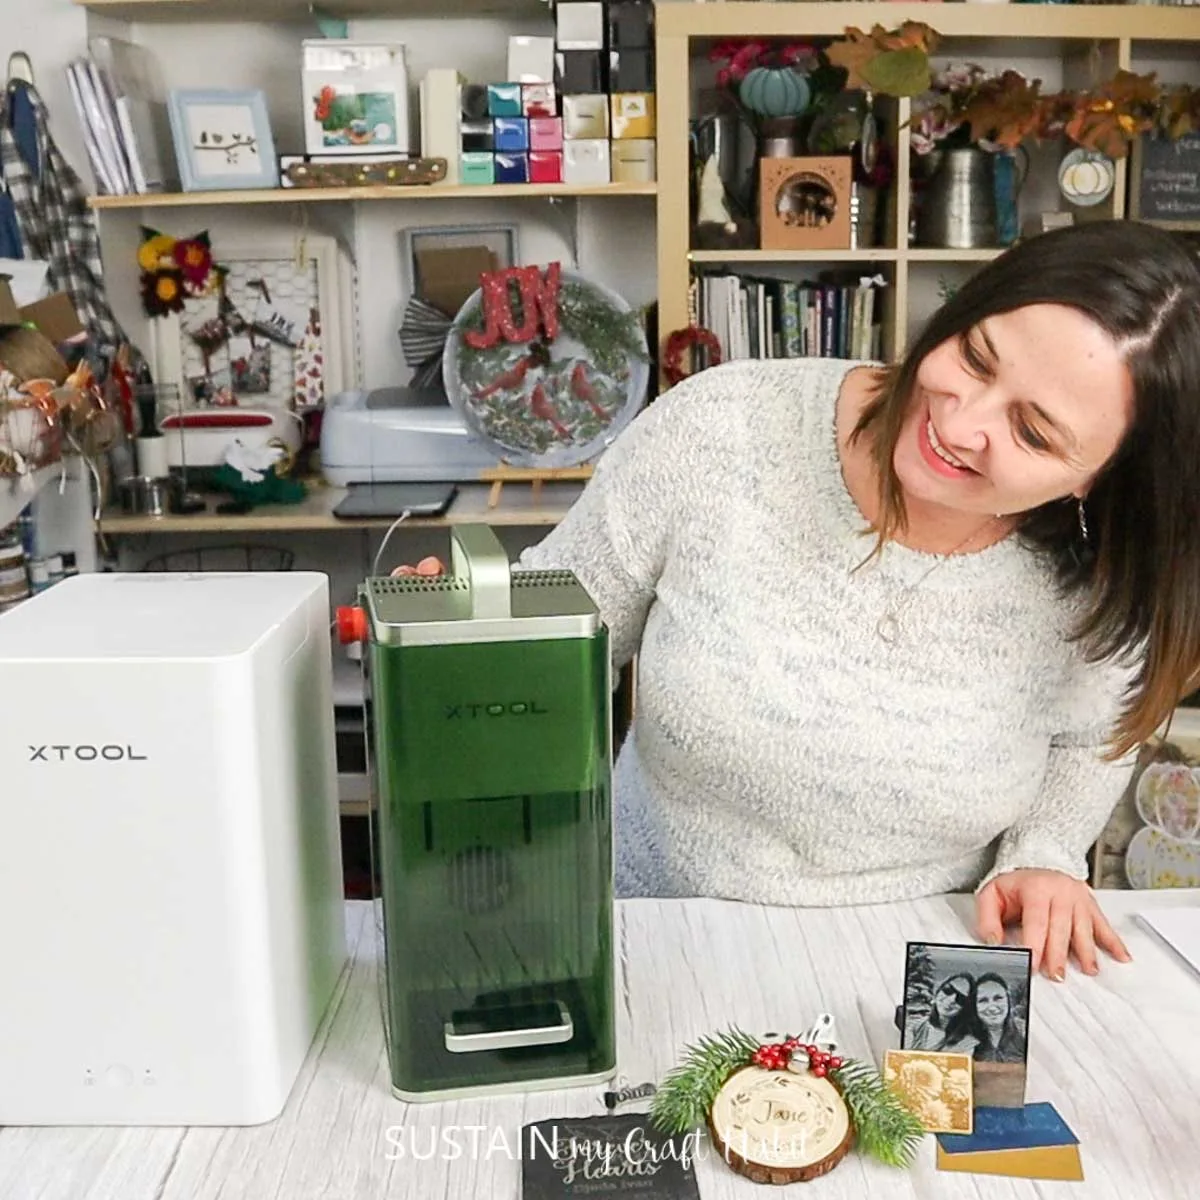
Xtool F1 Review
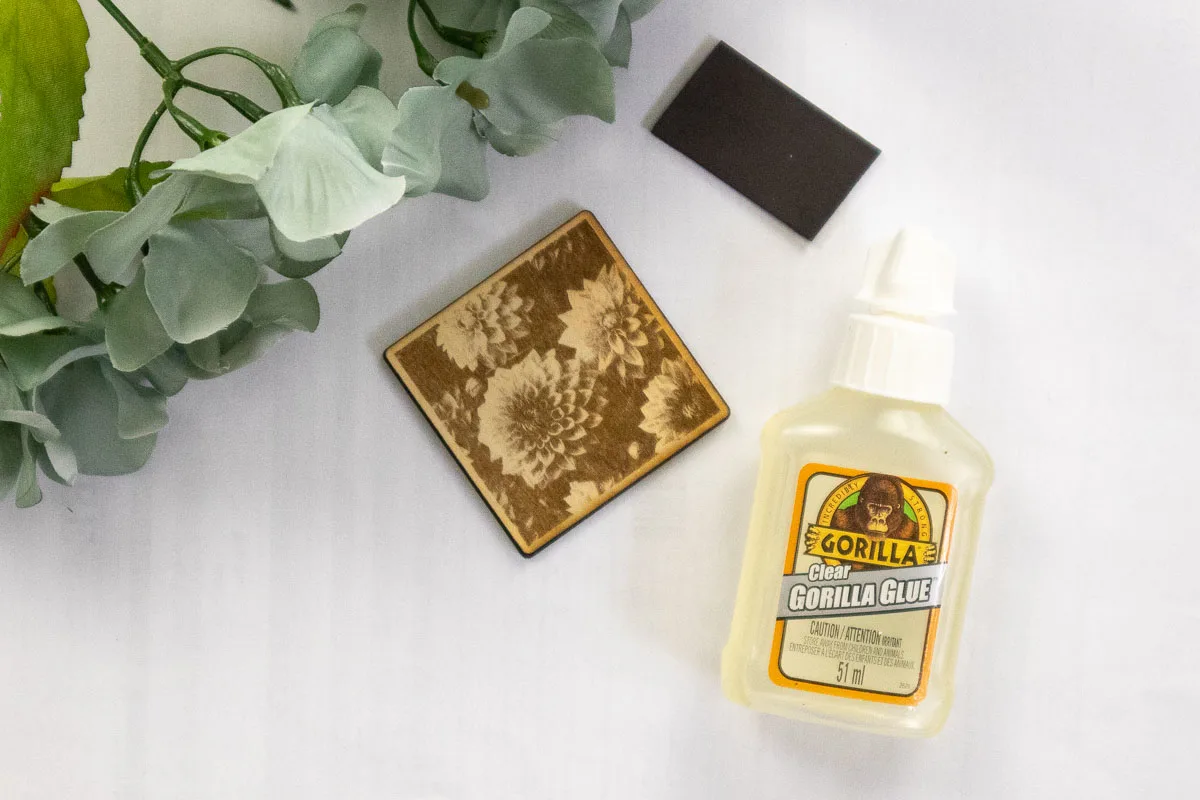
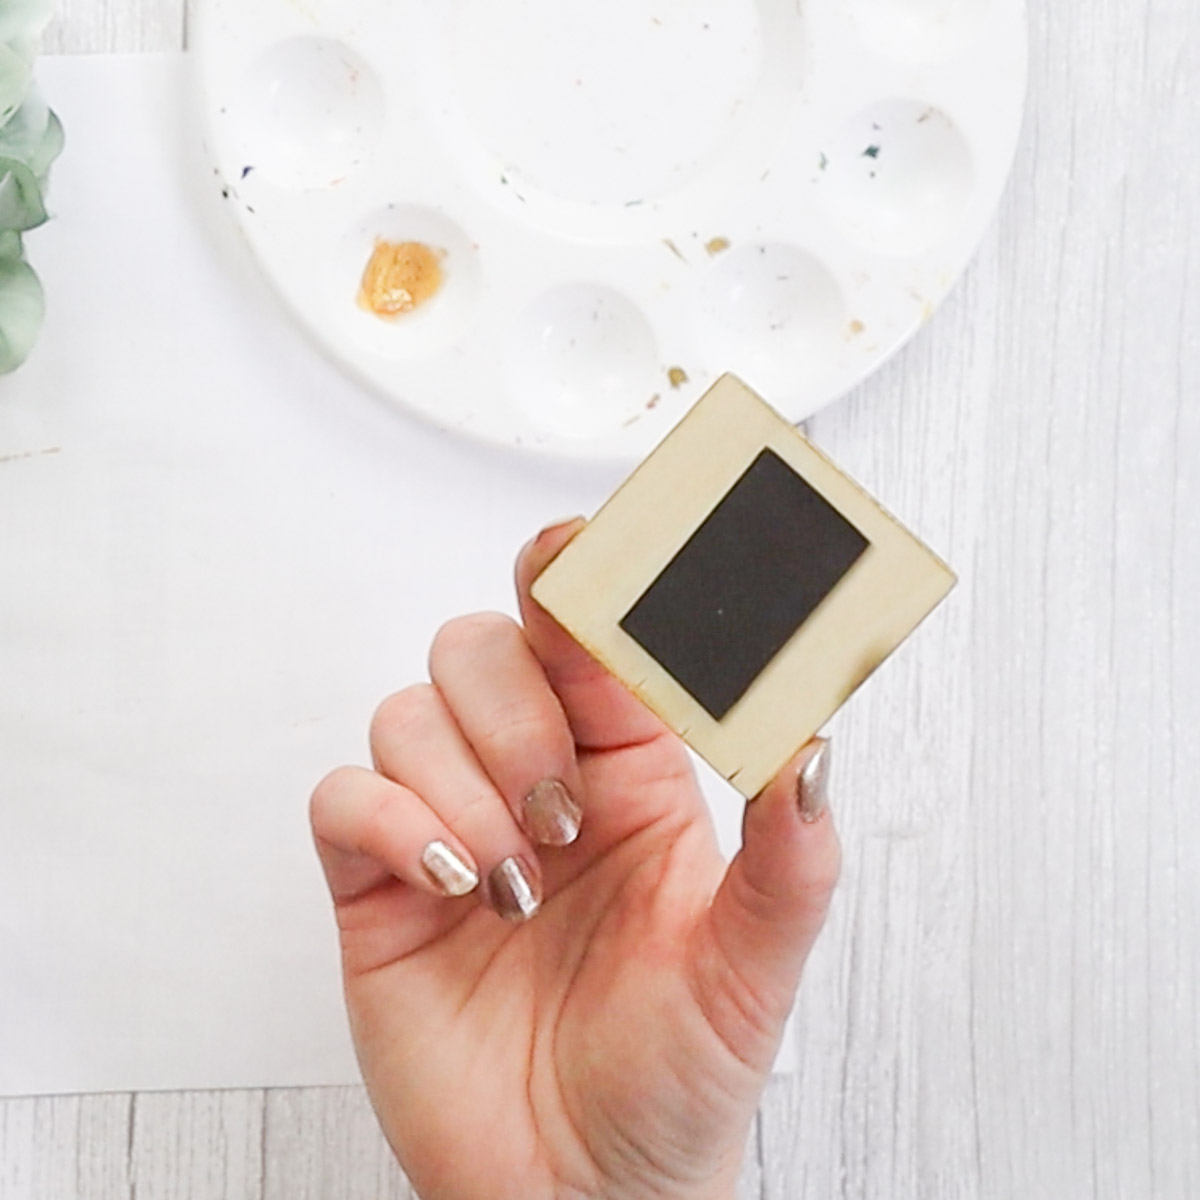
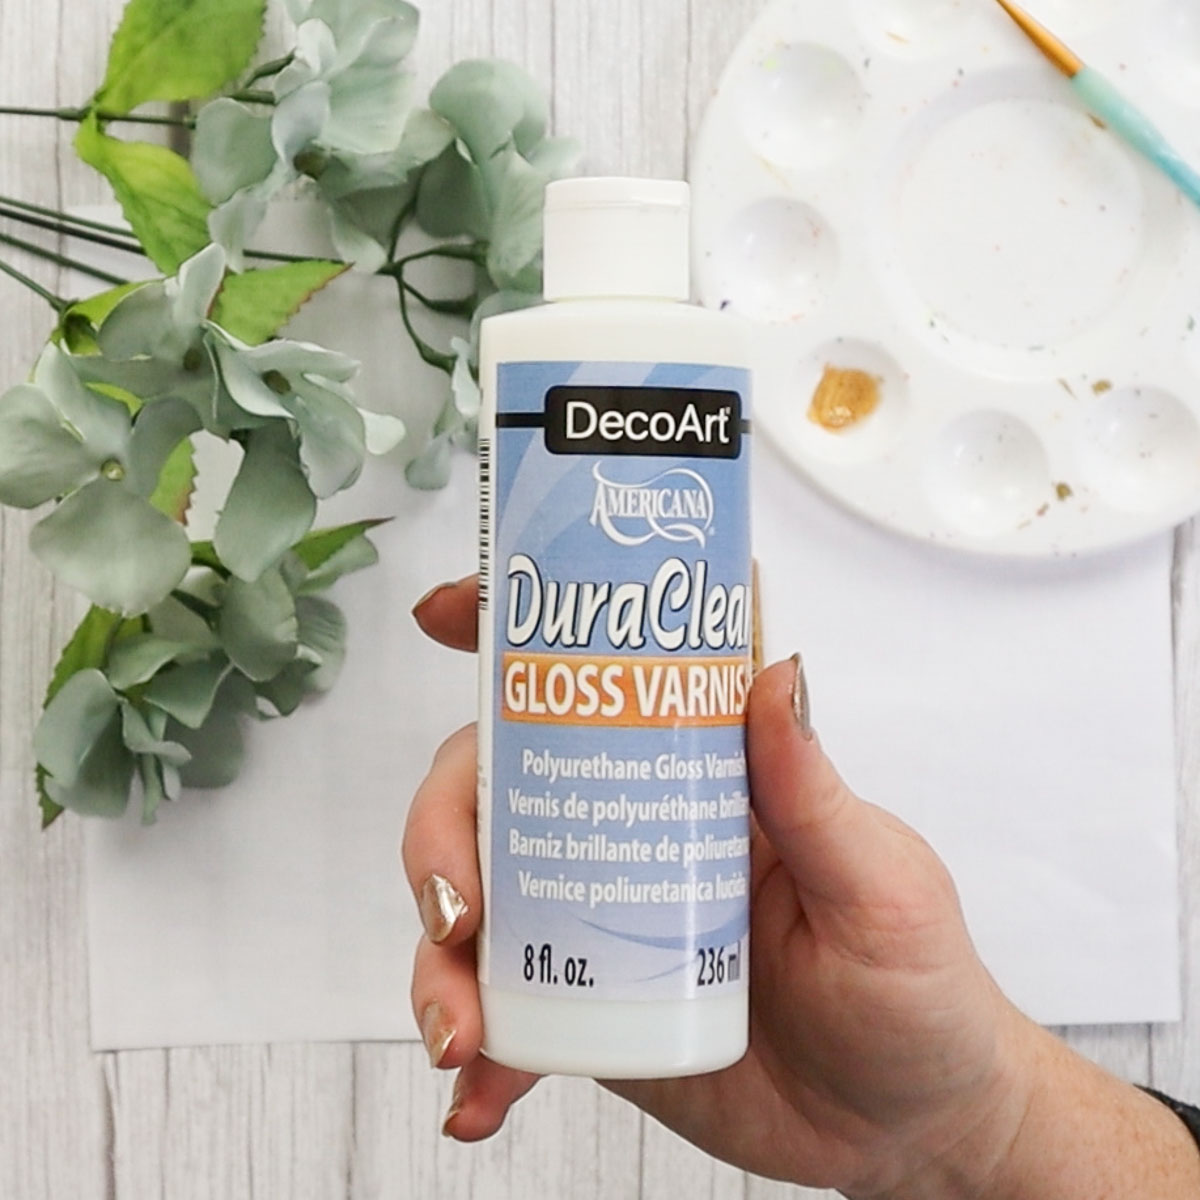
This is not necessary of course, but gives it a pretty, finished look.
Lastly, I sealed the surface of the wood slice with a sealer in a gloss finish.
This last step really makes the engraving effect pop!
Is your mind spinning with ideas?
The possibilities are truly endless with the process of engraving wood with the xTool F1.
What is the first project you would make?

XTool M1 Review
If you do give wood engraving a try, verify to tell us and show it off!
Tag us onFacebookorInstagram we cant wait to see it!
Pin it for later!

Personalized Wood Engraving with XTool F1
Materials
Instructions


Fall Sign

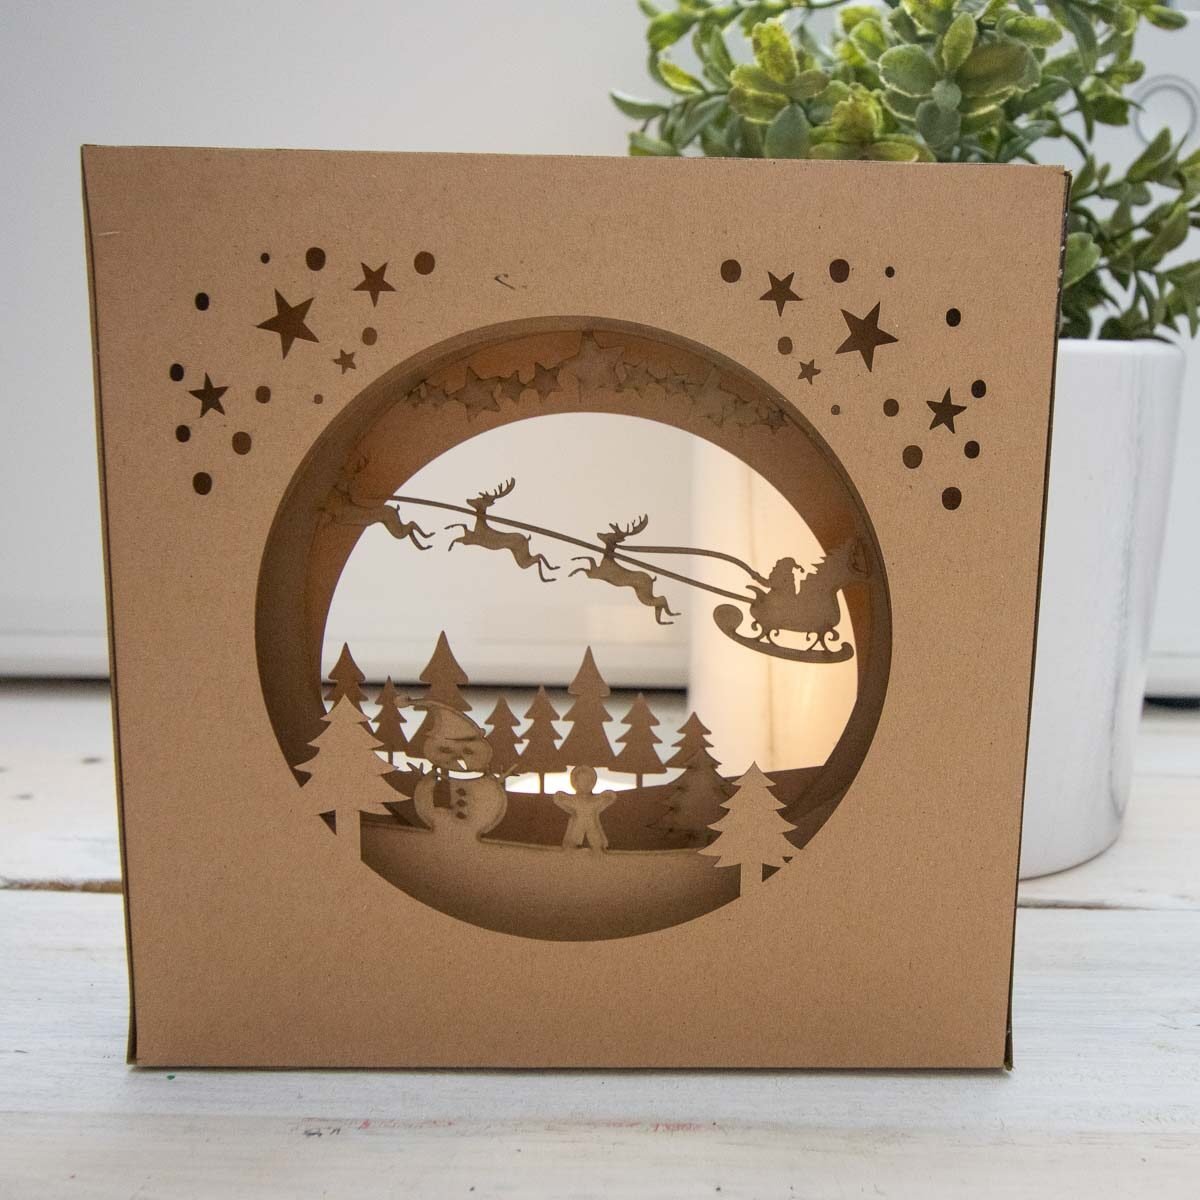
Kraft Paper Night Light


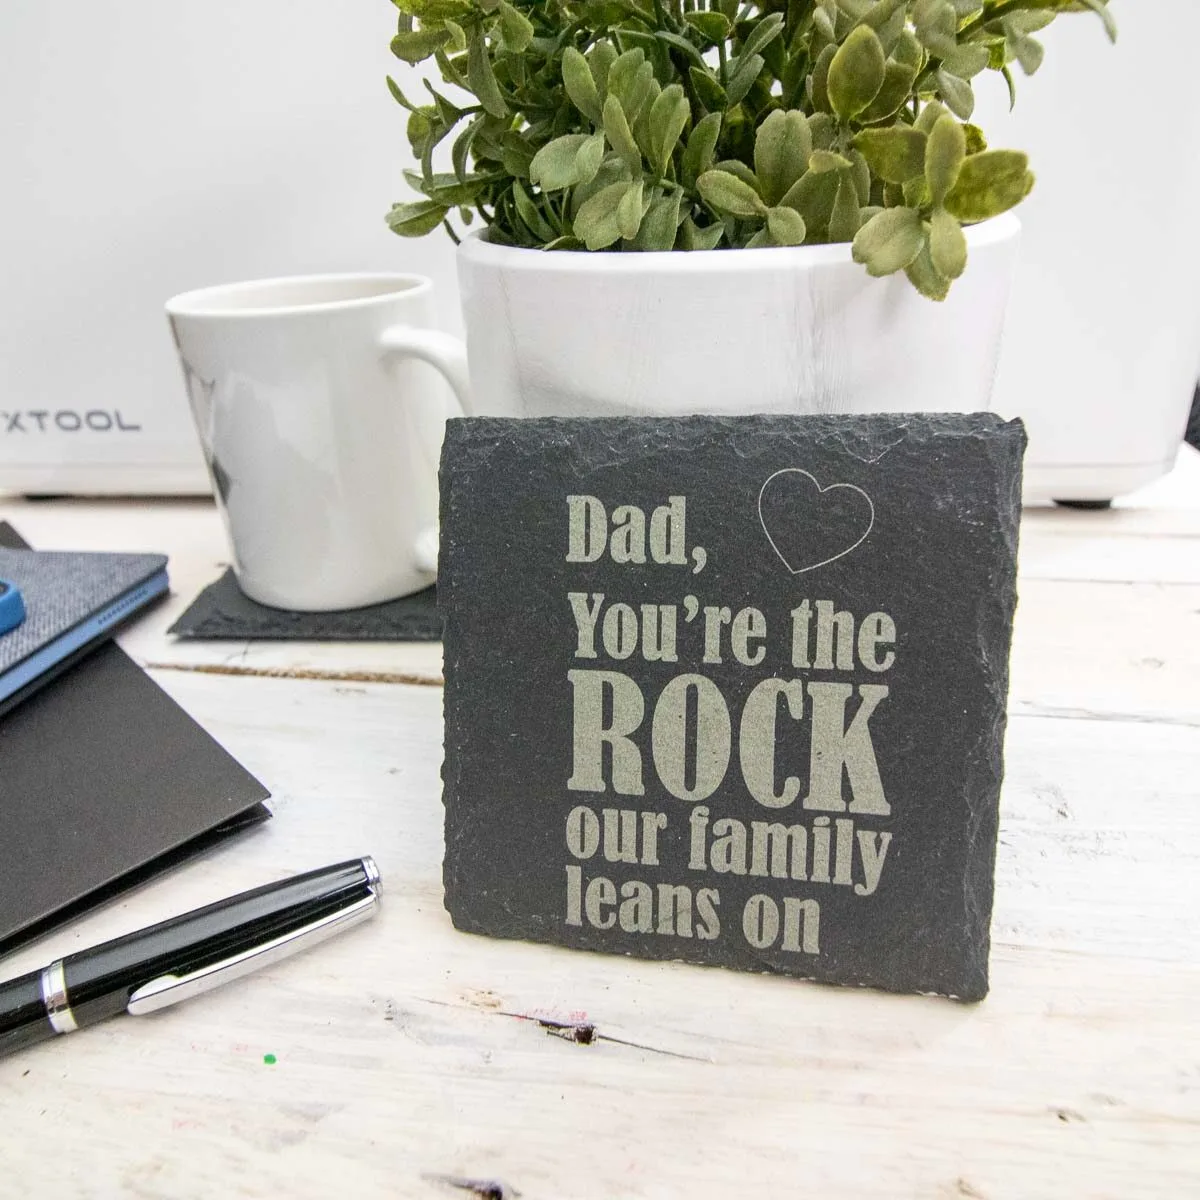
Engraved Slate Coaster

Upcycled Home Sign


Pumpkin Wood Sign


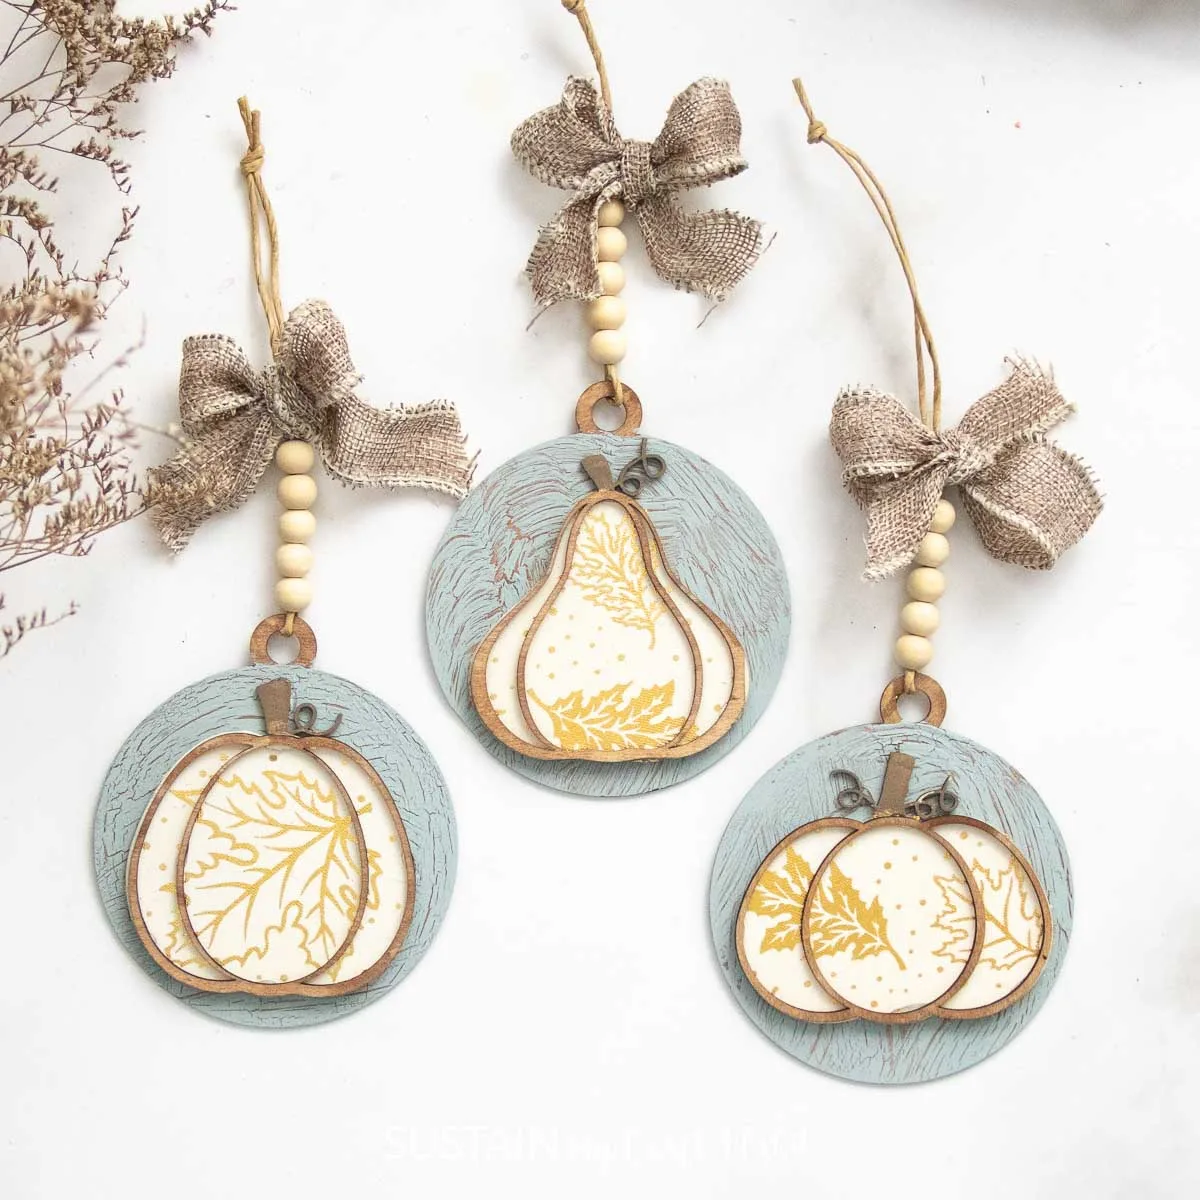
Wood Pumpkin Ornaments