Not to mention a great way to use those student class photos for making something personalized and homemade.
Whether it is the birth of a child, a moment with a grandparent captured, etc.
I dont know about you, but I know multiple people who use ornaments as keep sakes.

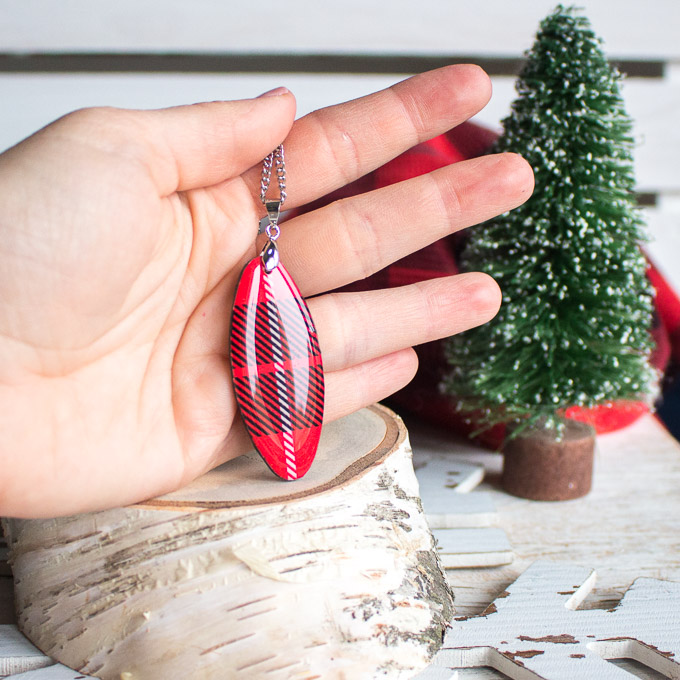
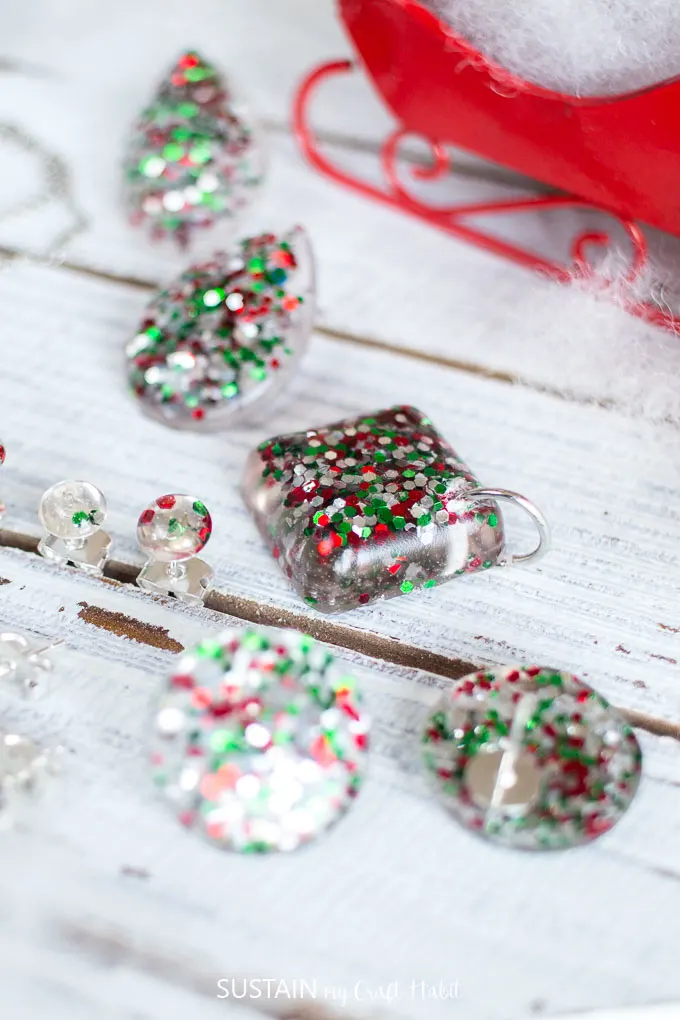
Christmas Tree Pendant
Thank goodness for ornaments like these where the uniqueness makes it crystal clear how special the ornament is.
Want to receive a ton of inspiration and money saving ideas for decorating, gift-giving and crafting?
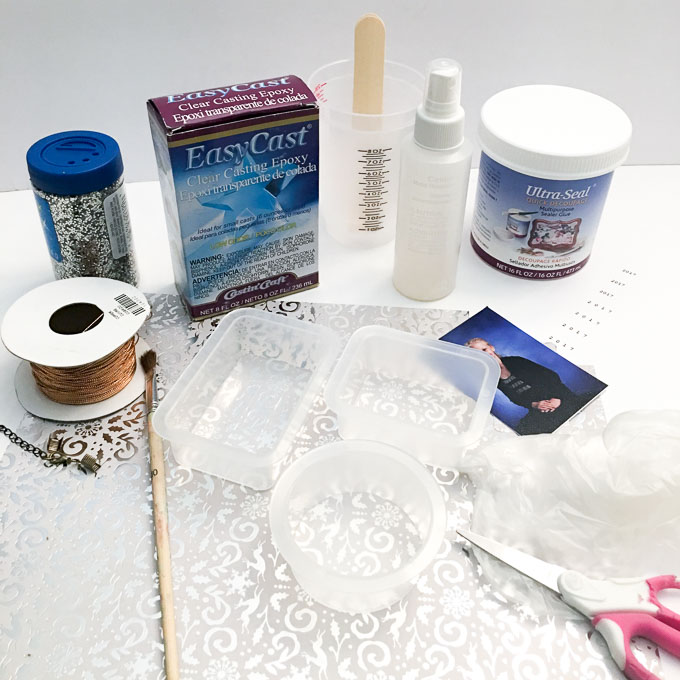
Materials Needed
Disclosure: This post contains affiliate links for your shopping convenience.
you’re able to readour full disclosure policy here.
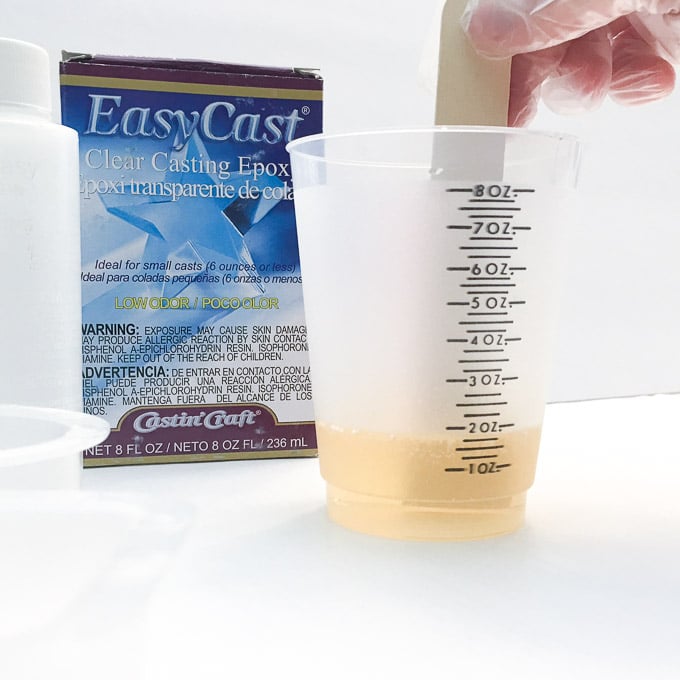
Use gloves and work in a well-ventilated area.
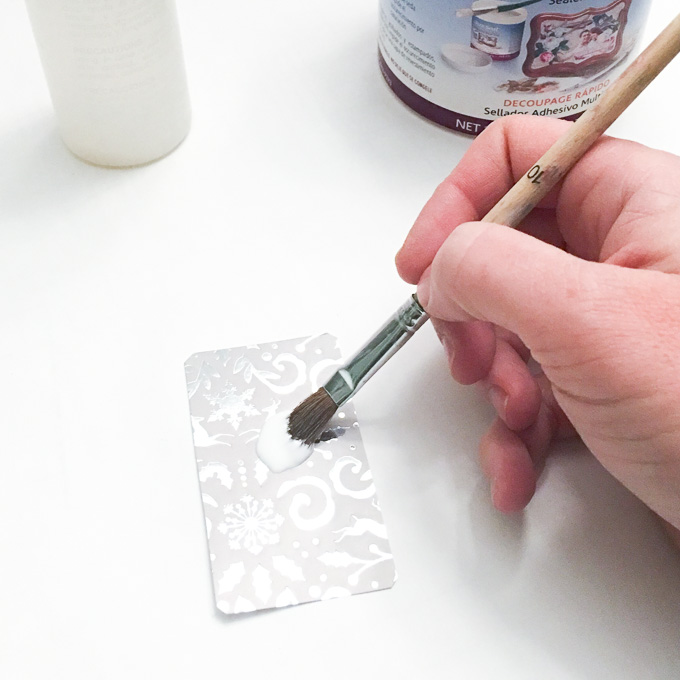
Start by sealing all of the images you will use with a multi-purpose sealer or glue.
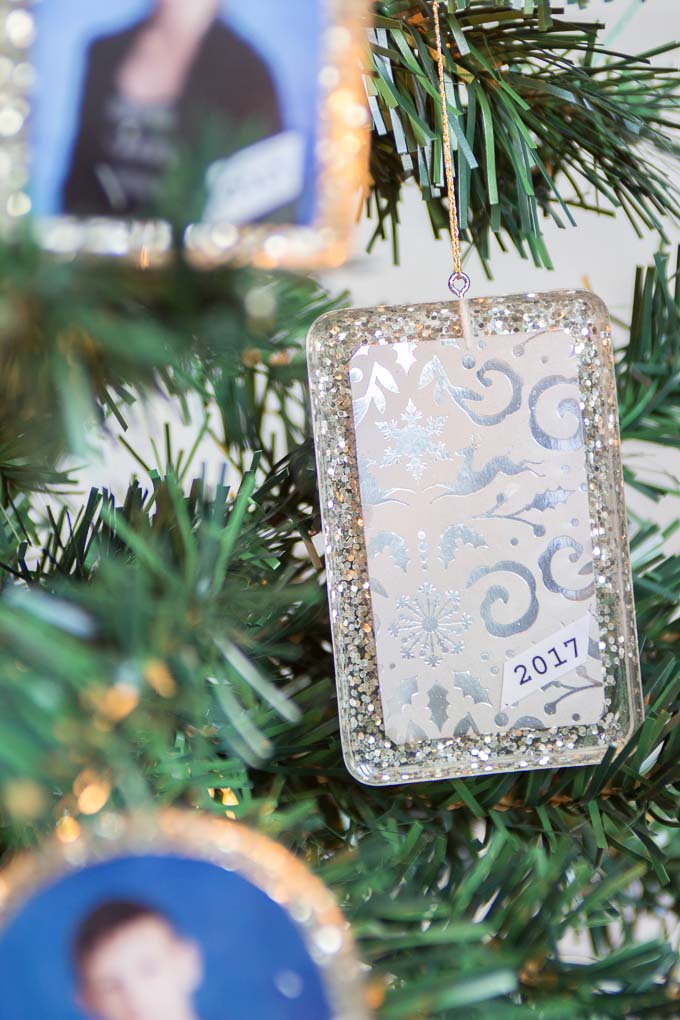
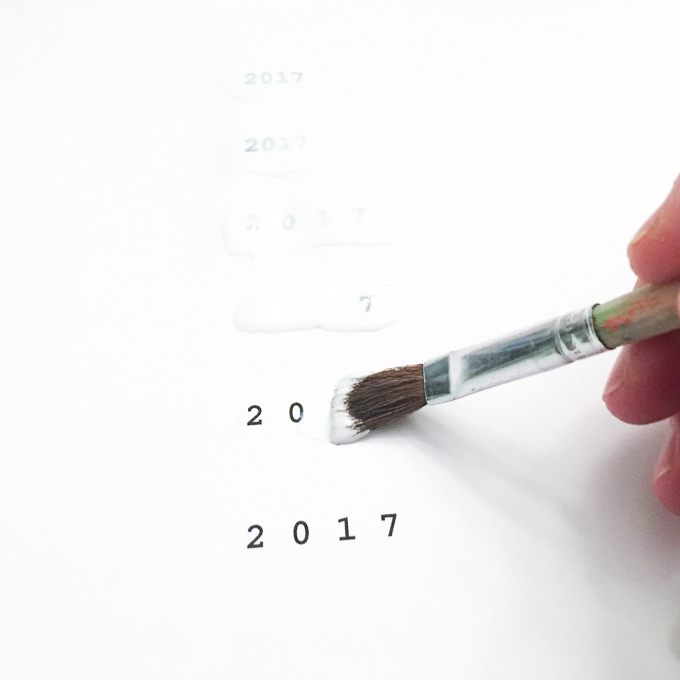
I wanted to add a date to my ornaments.
So I printed out a bunch of 2017s on regular paper on my home printer.
Be sure to coat both sides and let them dry completely.

Similarly, I sealed both sides of the decorative paper and kids school photos.
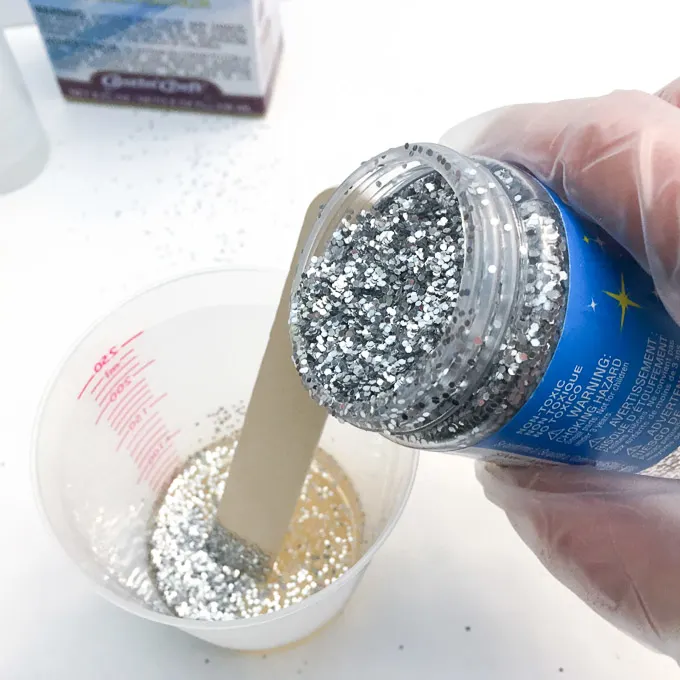
Pour some silver craft glitter into the resin mixture and combine thoroughly.
Distribute the glittering resin mixture evenly between the molds, to about 1/8 thick.
Set the pieces on a level surface and cover to prevent dust from falling in.
Repeat if necessary after another 15 minutes and up to about an hour all the bubbles are popped.
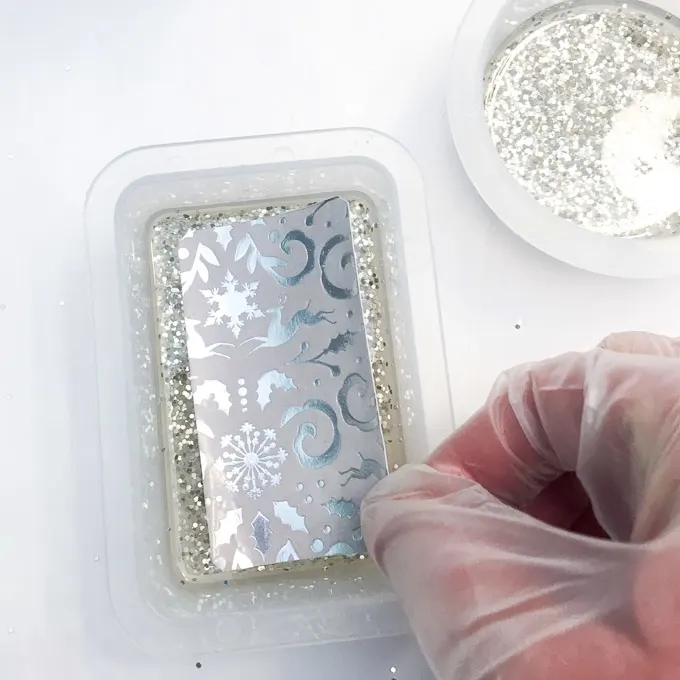
After about 3 hours test the firmness of the resin by gently touching the center.

If the resin is too soft, the photos may sink to the bottom.
Yet you want it a bit tacky in order for the image to adhere in place.
Center the image in the mold and let cure for a couple more hours.
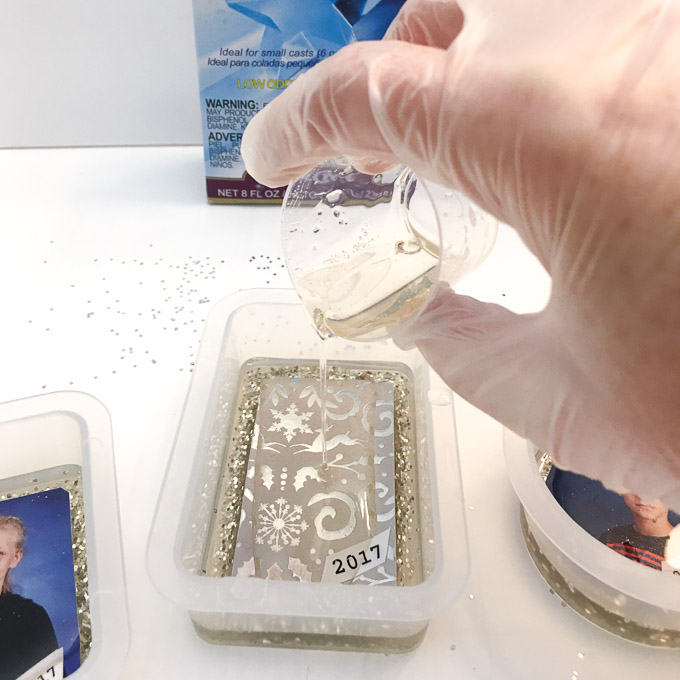
At this point you’re able to lay on any other embellishments, such as the date.
Use a multipurpose sealer to seal it in place.
Leave out the glitter this time though!

As above, set on a level surface and cover to keep the dust off.
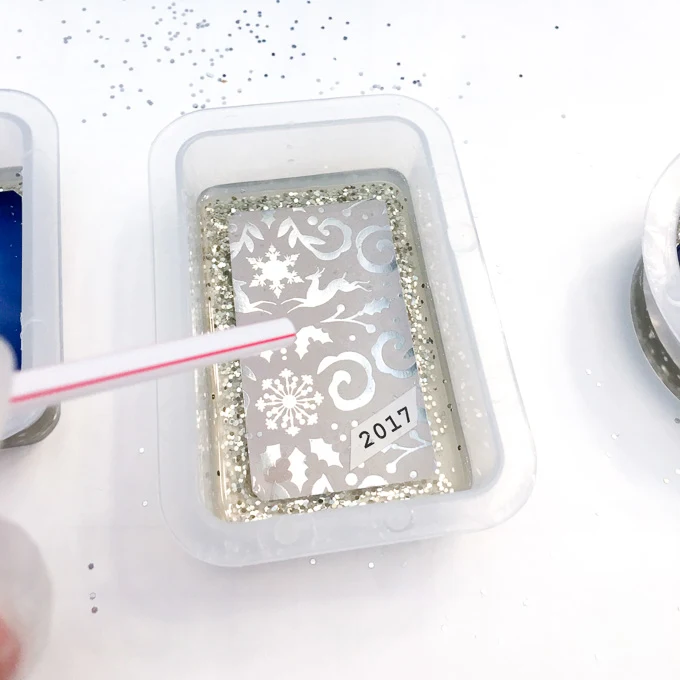
Blow off any air bubbles using a straw or small flame occasionally.
Let your ornaments cure for about 24 hours before attempting to remove them from the molds.
The pieces should be fully cured after about 72 hours.
We originally shared this project on theResin Crafts Blog project gallery.
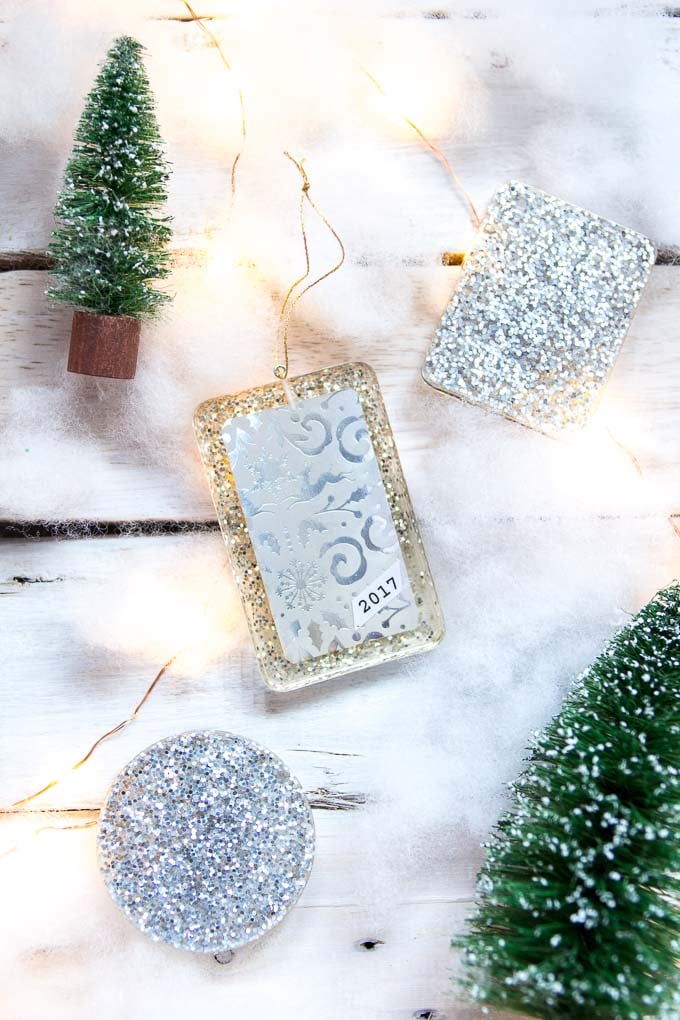
You learned how to make resin Christmas ornaments!

We would love to see how your resin-personalized Christmas ornaments came out.
Tag us onFacebookorInstagram we cant wait to see it!
If youre allowed to reveal who the gift is for, let us know too- these make incredible gifts!
Thankyou so much for stopping by!
Become aSustain My Craft Habit insiderto receive fun freebies!
Pin it for later!

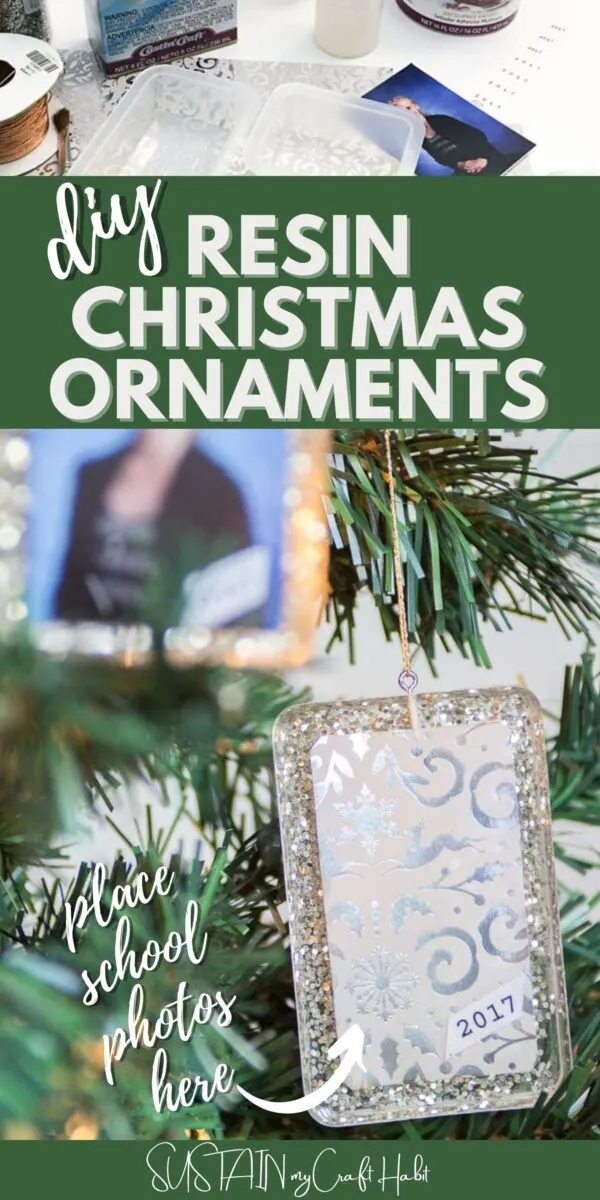
Personalized Resin Christmas Ornaments with Class Photos
Materials
Instructions


Christmas Tree Pendant

Resin Jewelry using Gift Wrap

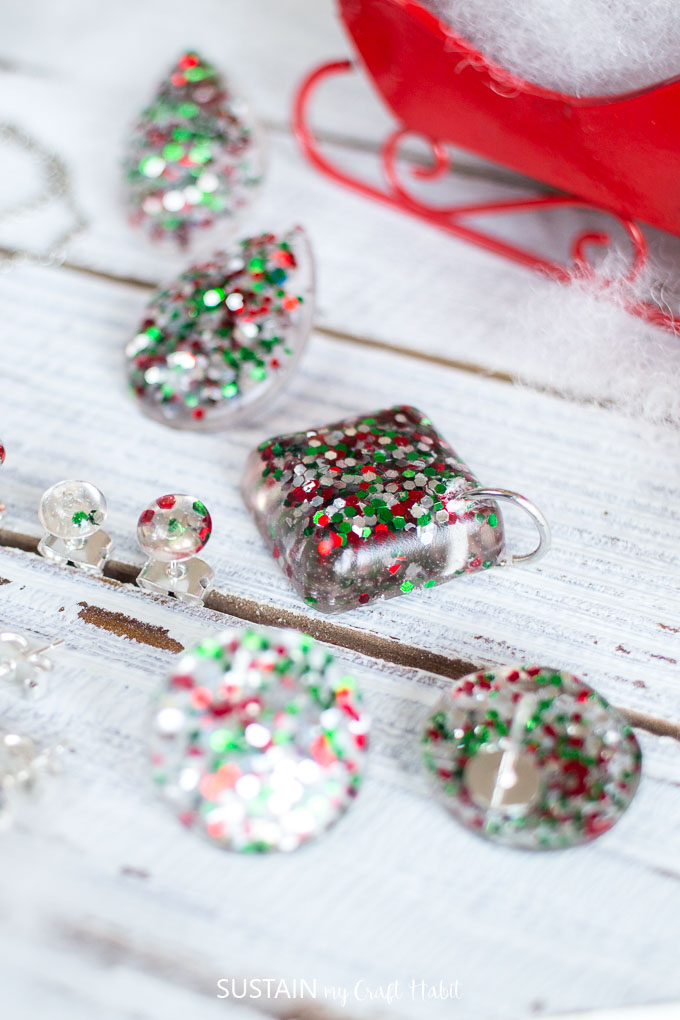
Resin Christmas Earrings
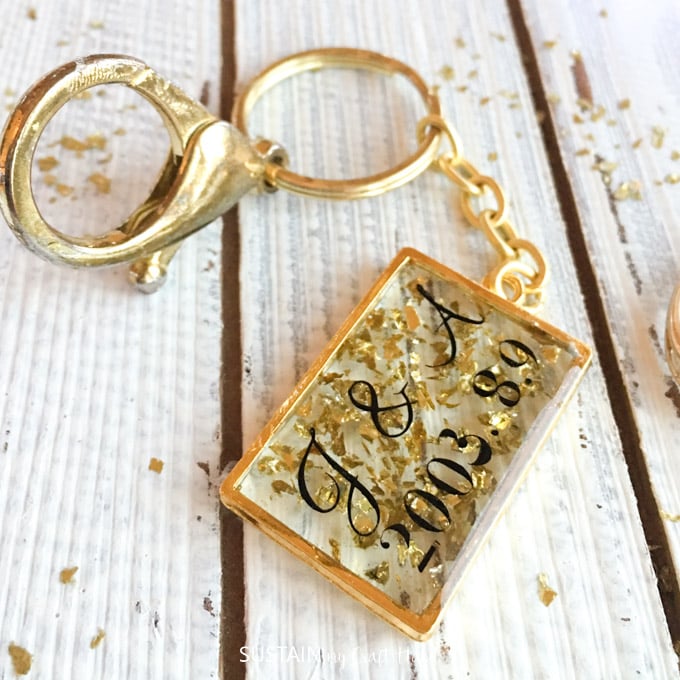
Resin Keychain


Resin Poured Ornaments


