We promise to send you only the good stuff.
A Gift Personalized for Someone Special
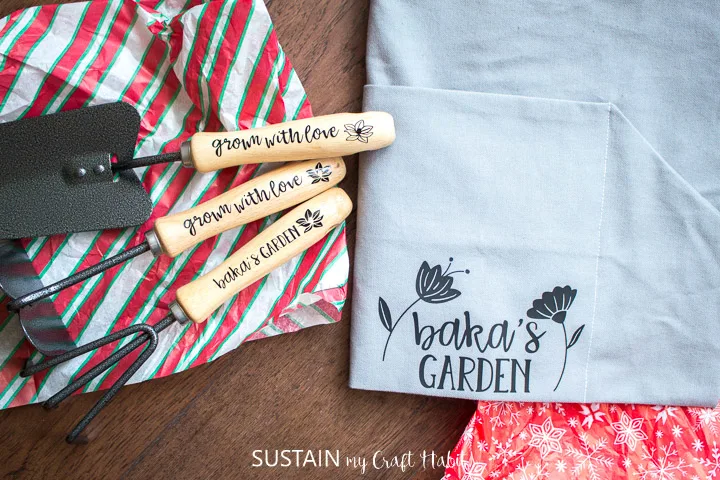
Our mom is the ultimate gardener.
It seems everything she touches thrives, grows and blooms like thesemason jar flower vasesindicate.
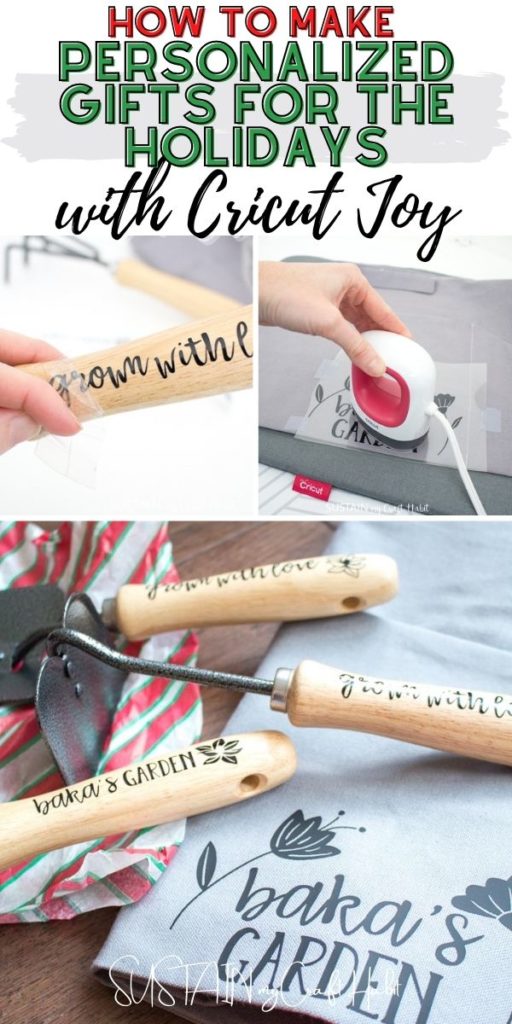
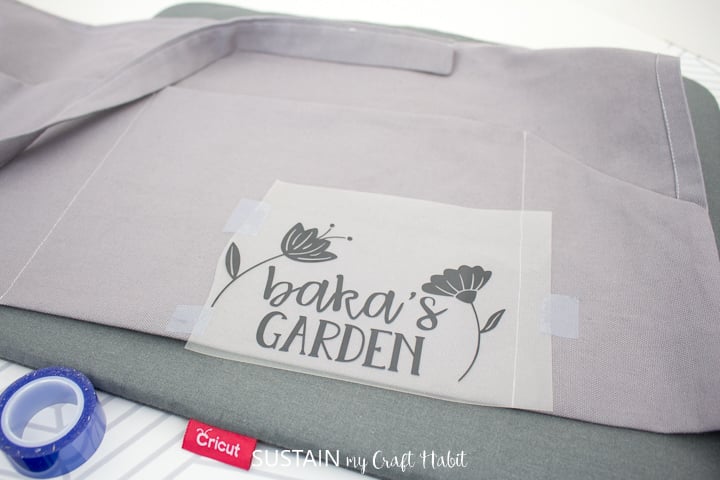
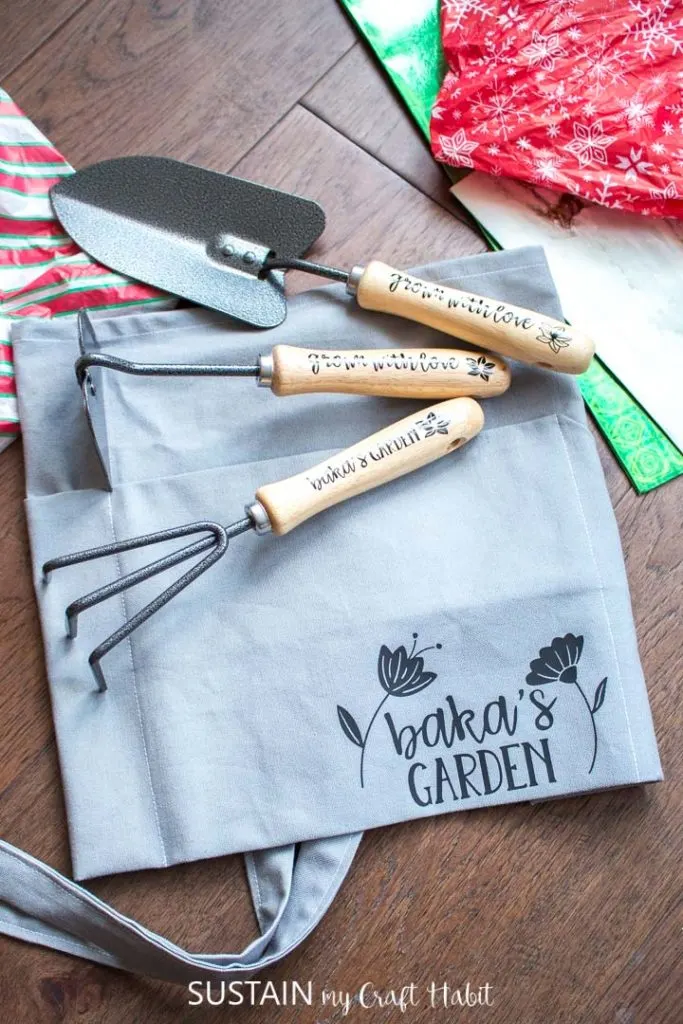
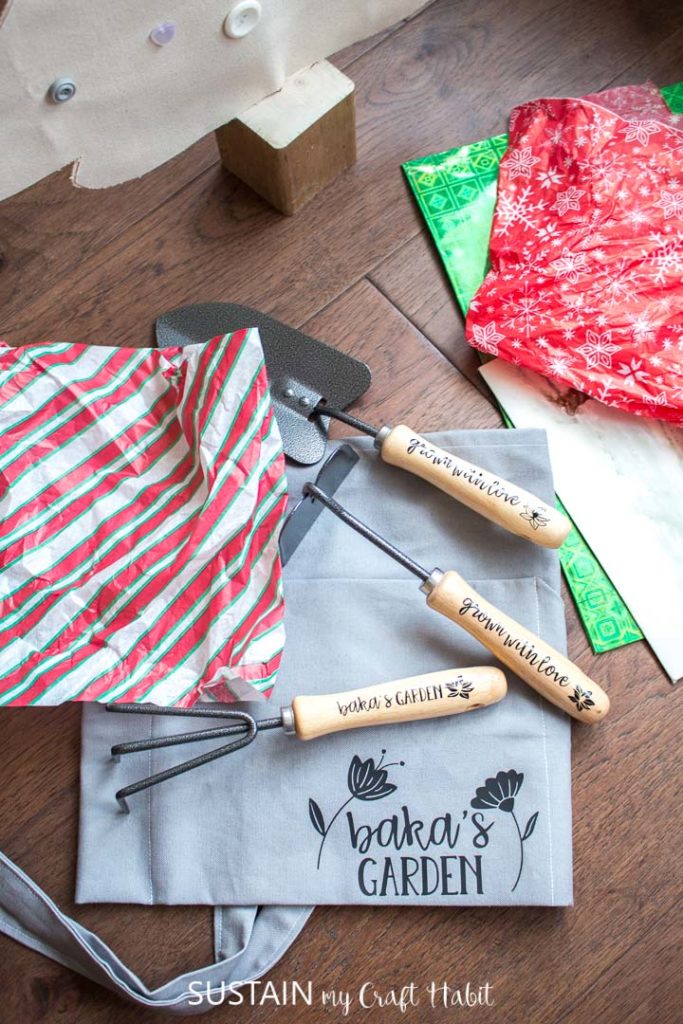
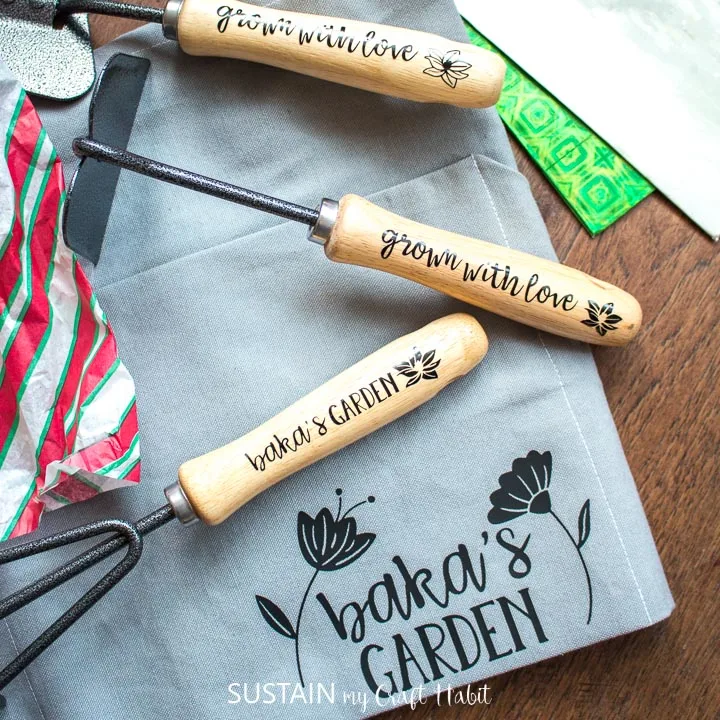
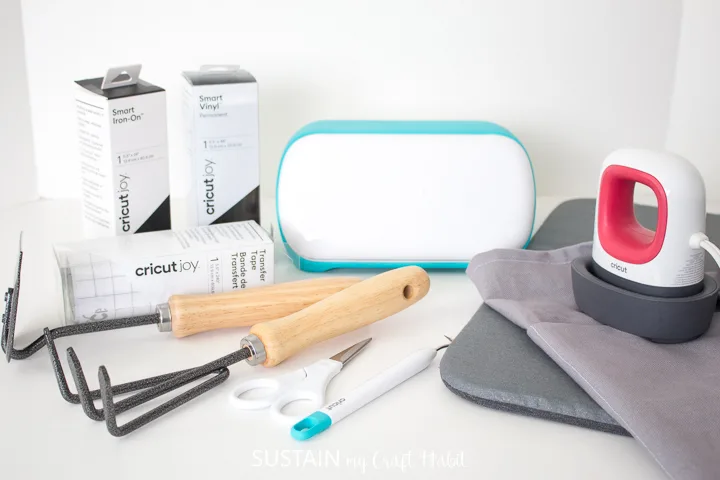
Using our EasyPress Mini, we added the same design to the apron using blackCricut Joy Smart Iron-On.
Disclosure: This post contains affiliate links for your shopping convenience.
you’ve got the option to readour full disclosure policy here.

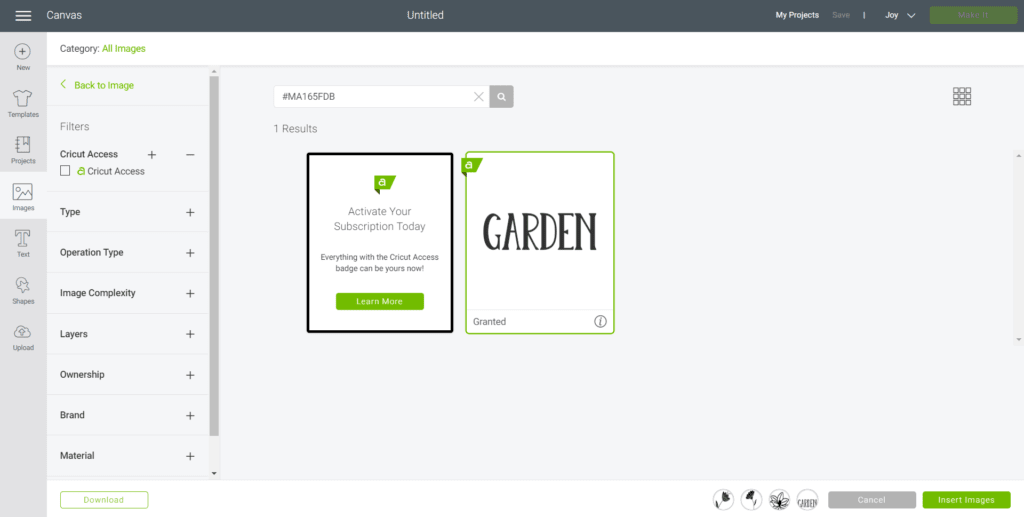
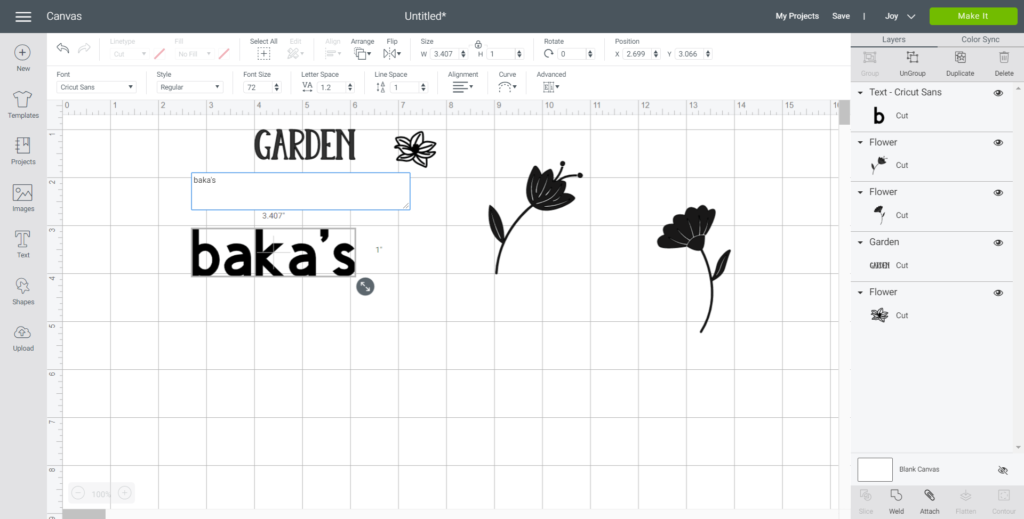
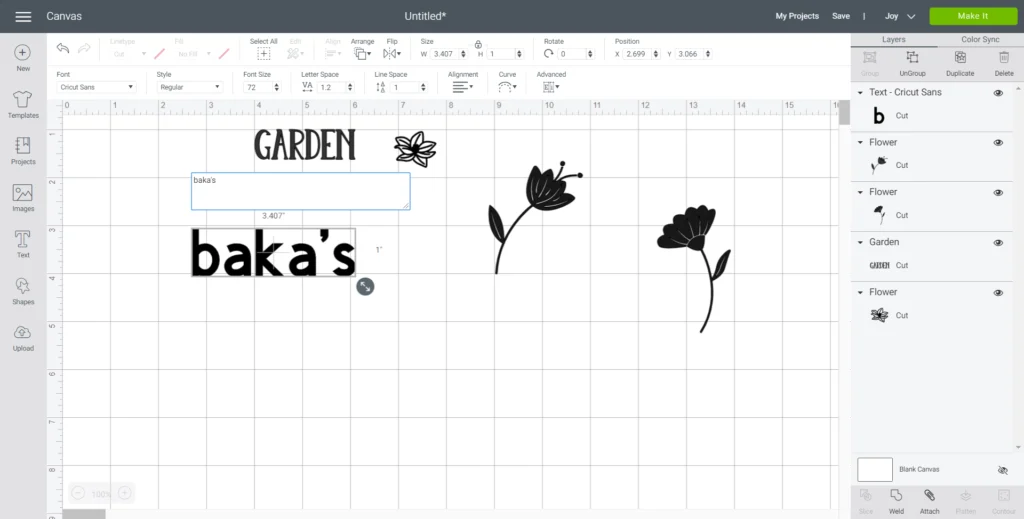
Then hit the images button from the toolbar.
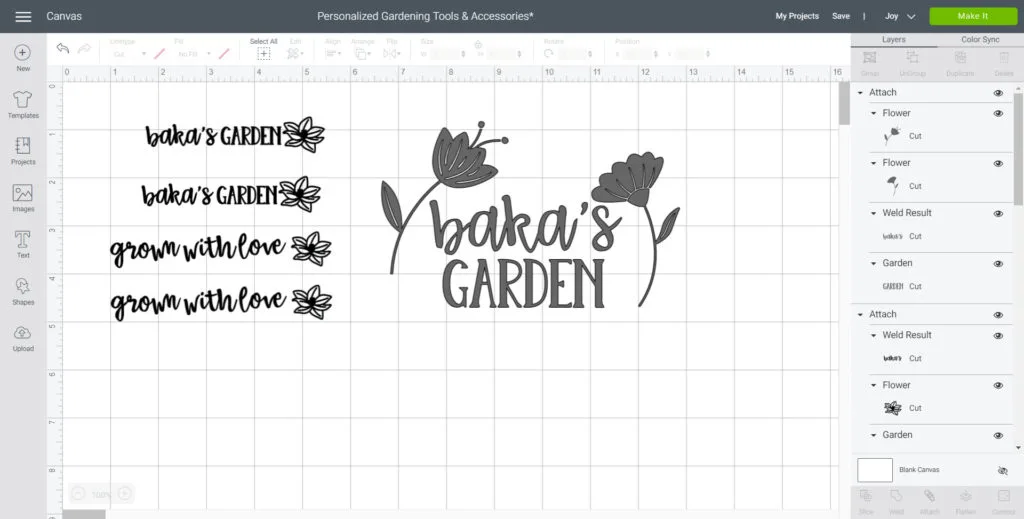
Search images #M94CA101 / #MA165FDB #M14791877 / #M147918AD and then insert them on the canvas.
Reduce the sizes of the images to suit your project.
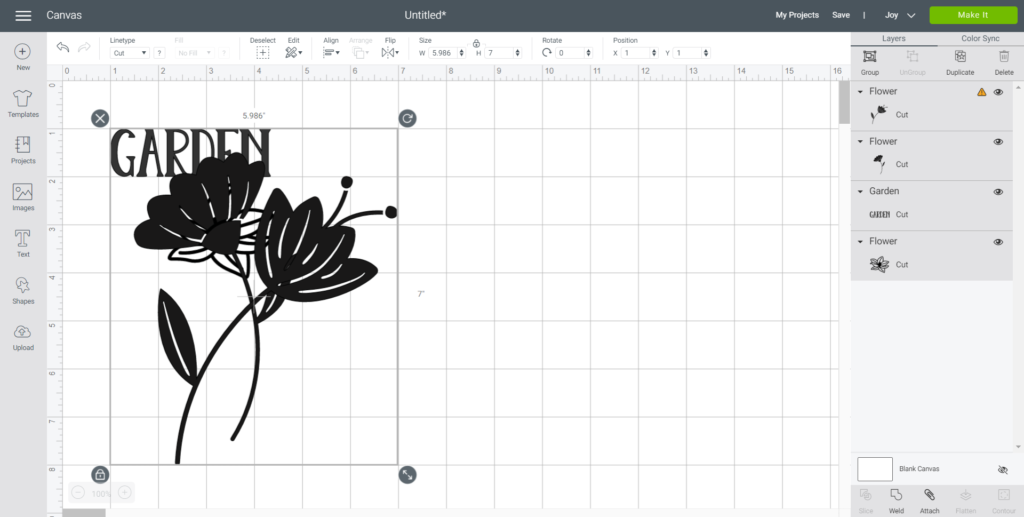
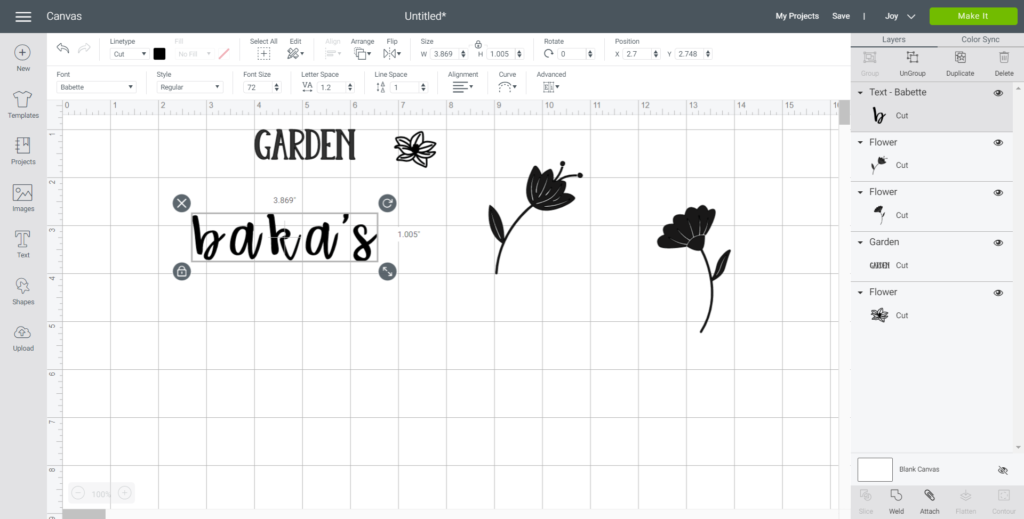
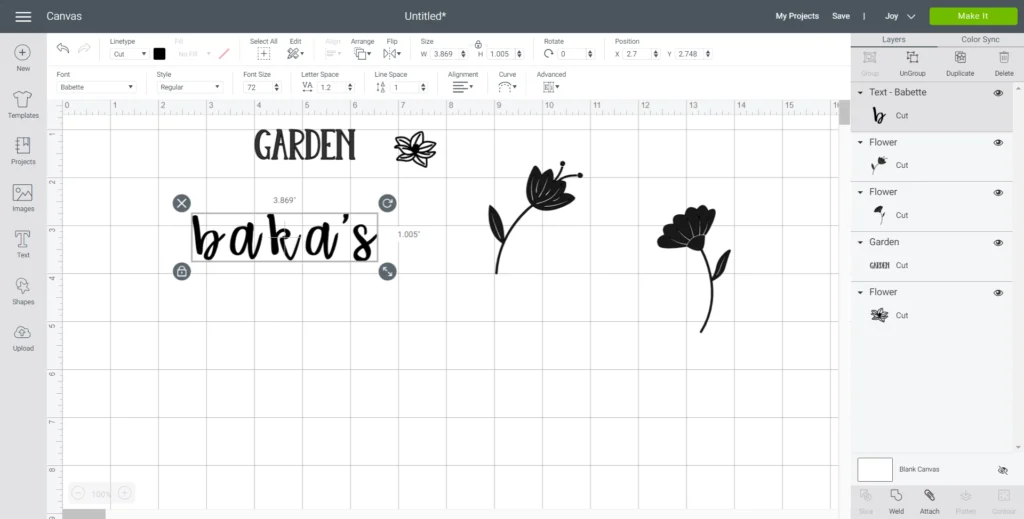
Change the font pop in to Babette and then click ungroup to be able to move the letters around.
punch the letters and move them closer to each other.
Once in place, highlight the word and select weld to fuse all the lettering together for cutting.

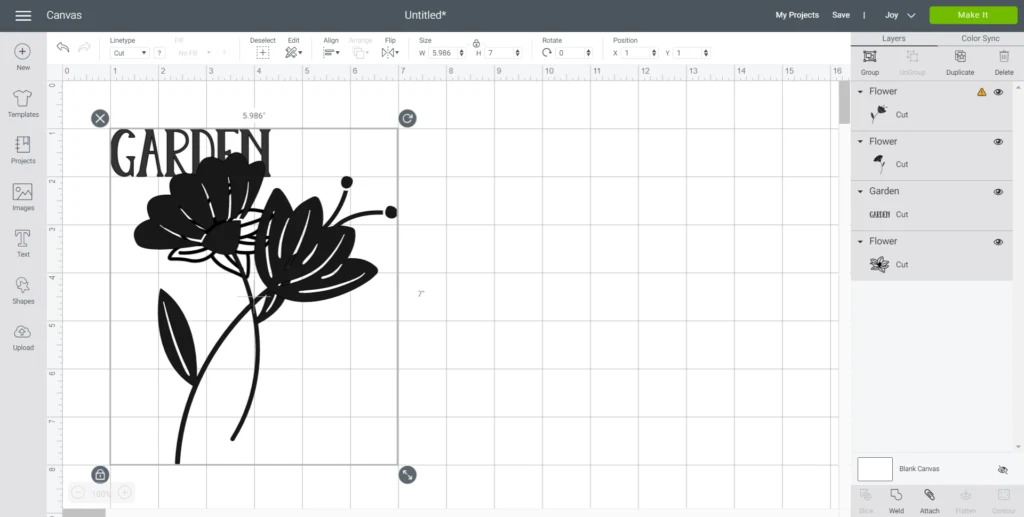
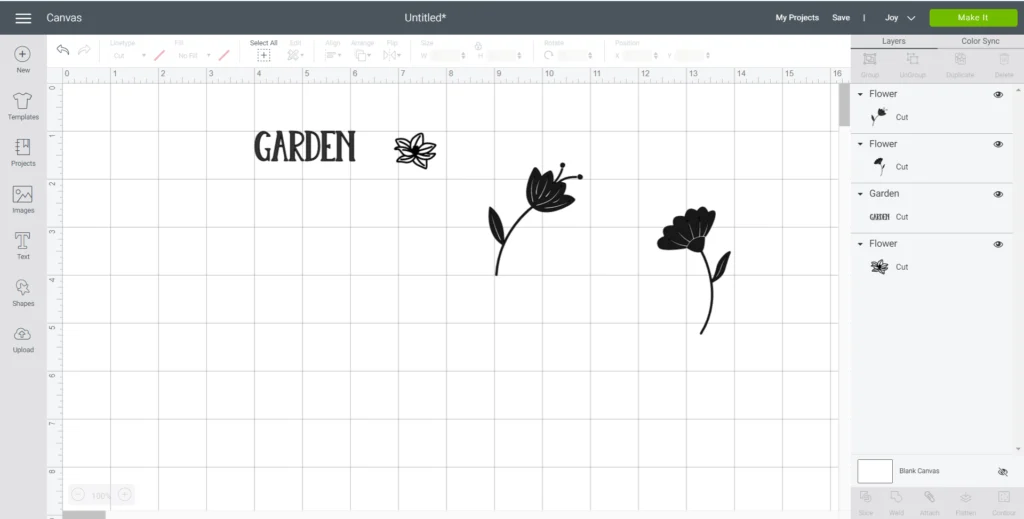
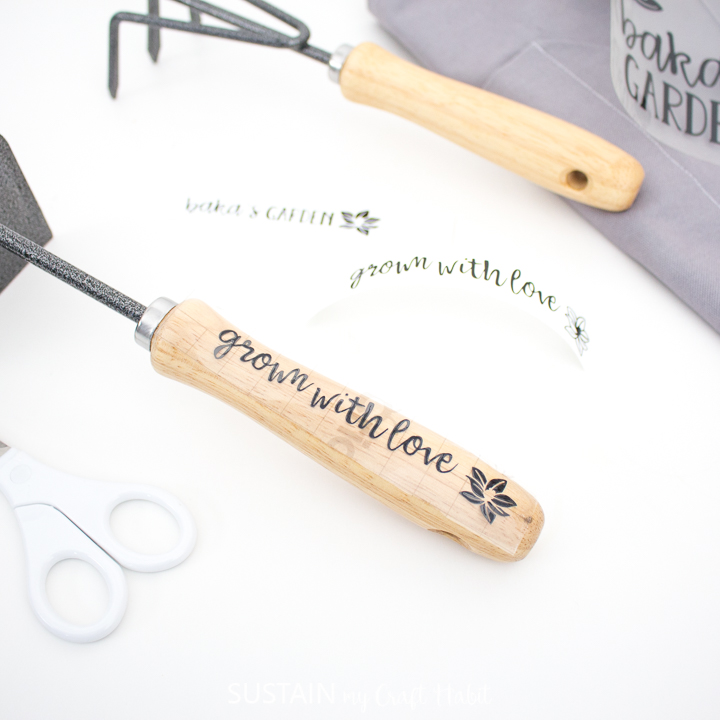
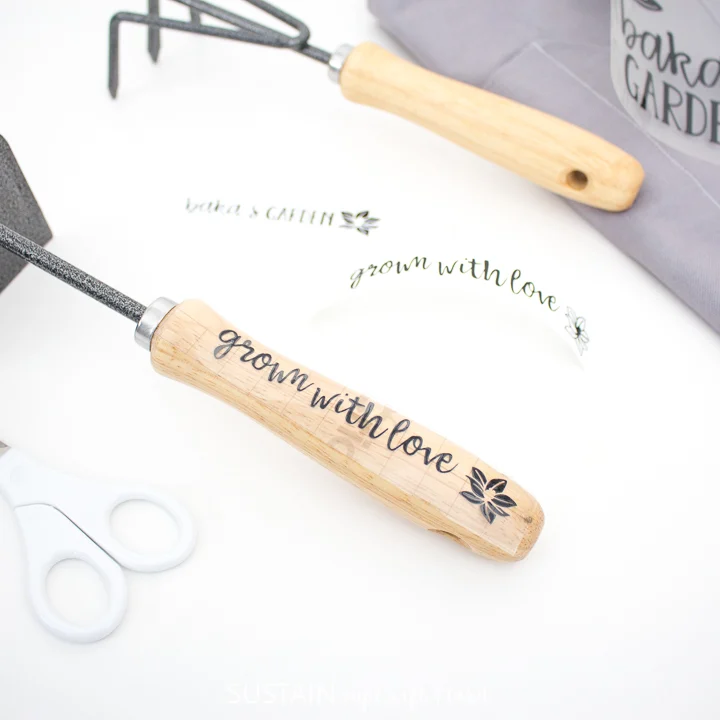
Reposition the phrase as you wish, I did a combination of horizontal and stacked images.
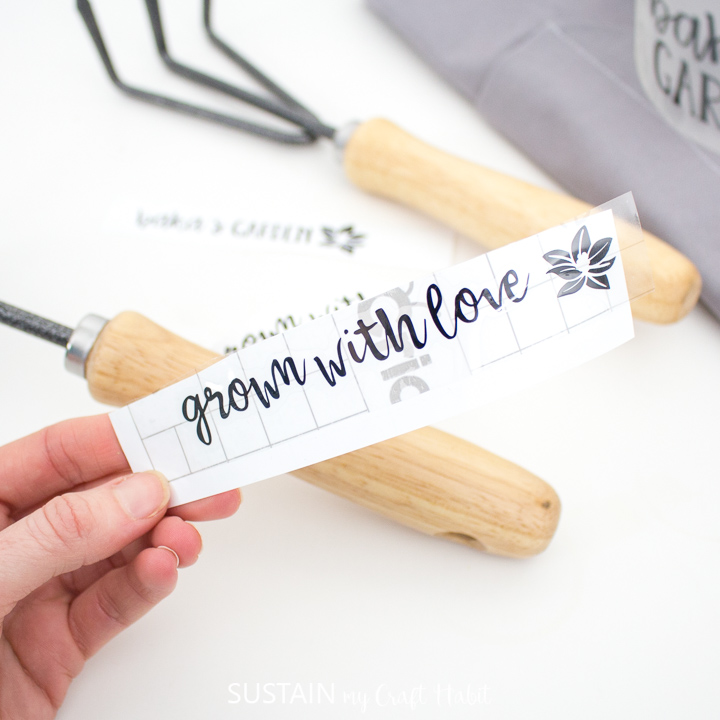
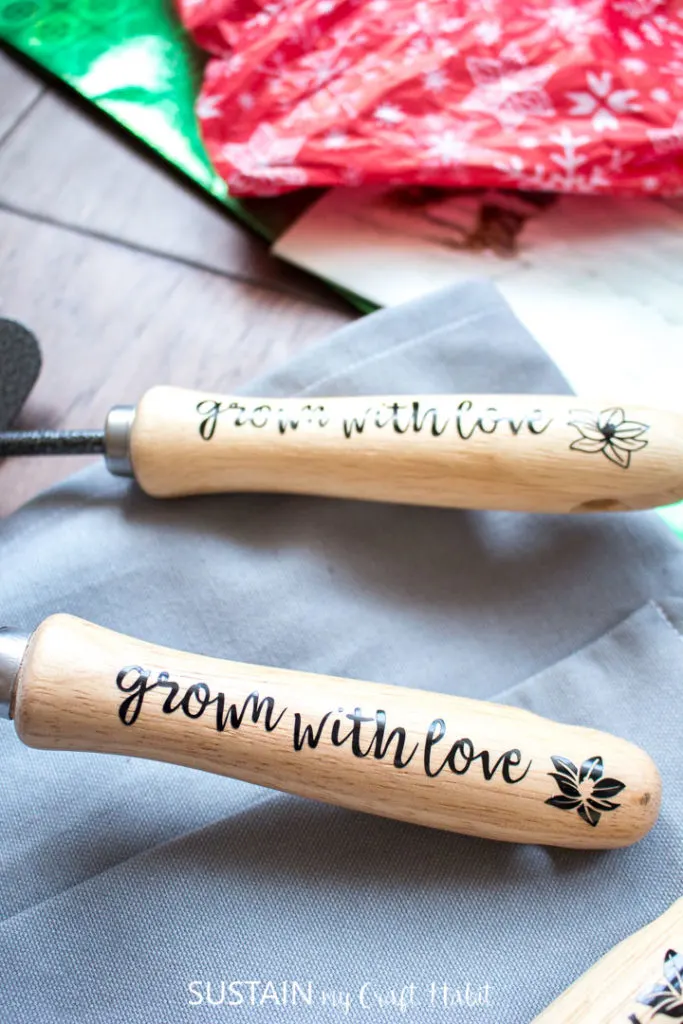
I also added an extra phrase Grown with Love in the same Babette font throw in.
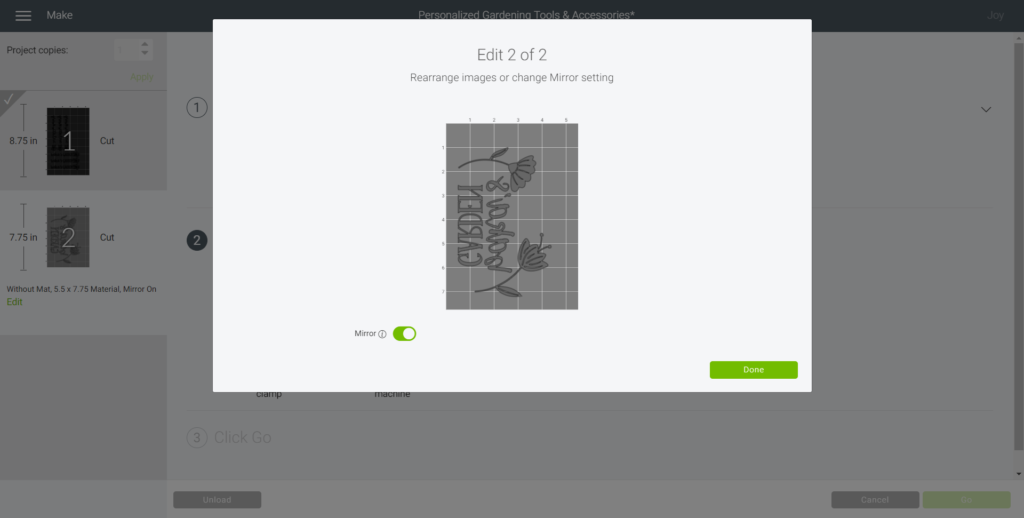
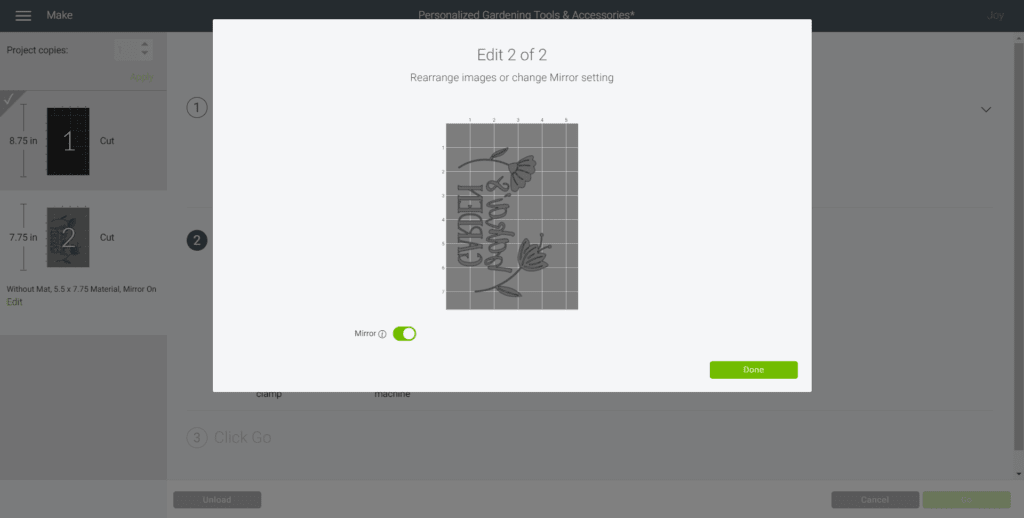
Be sure to hit the Mirror toggle button to on.This is necessary for ALL iron on vinyl cuts.

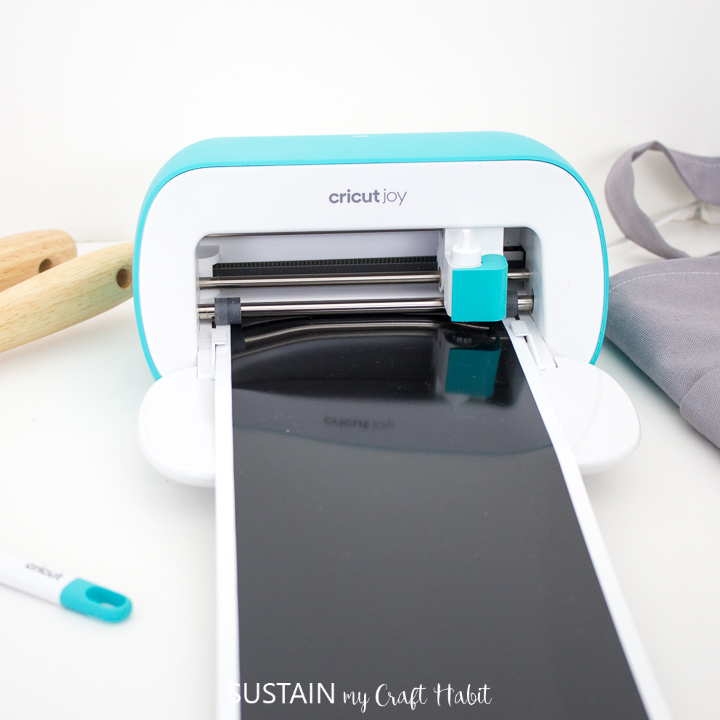
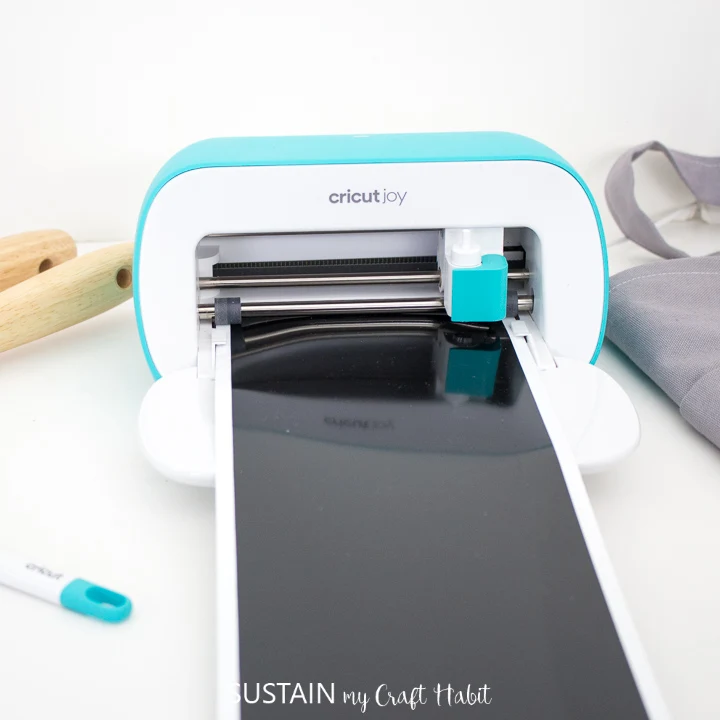
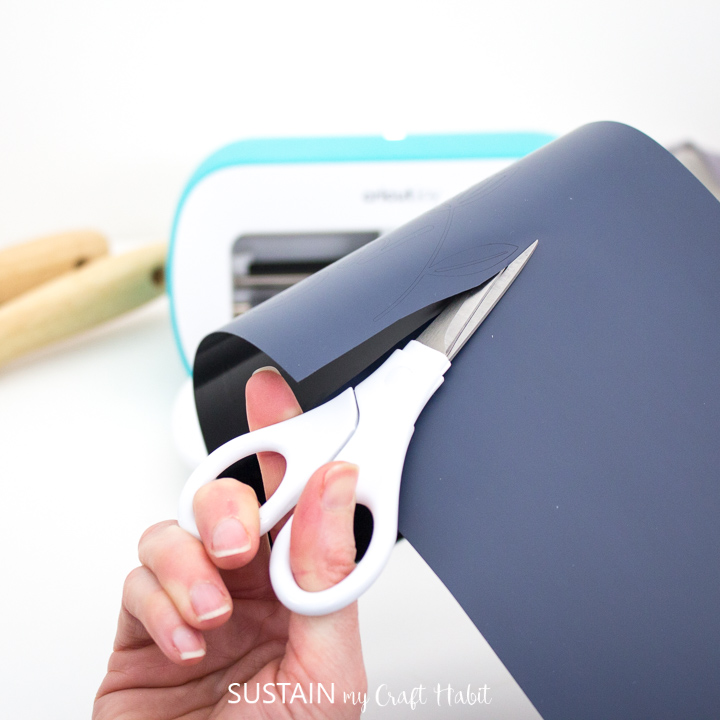
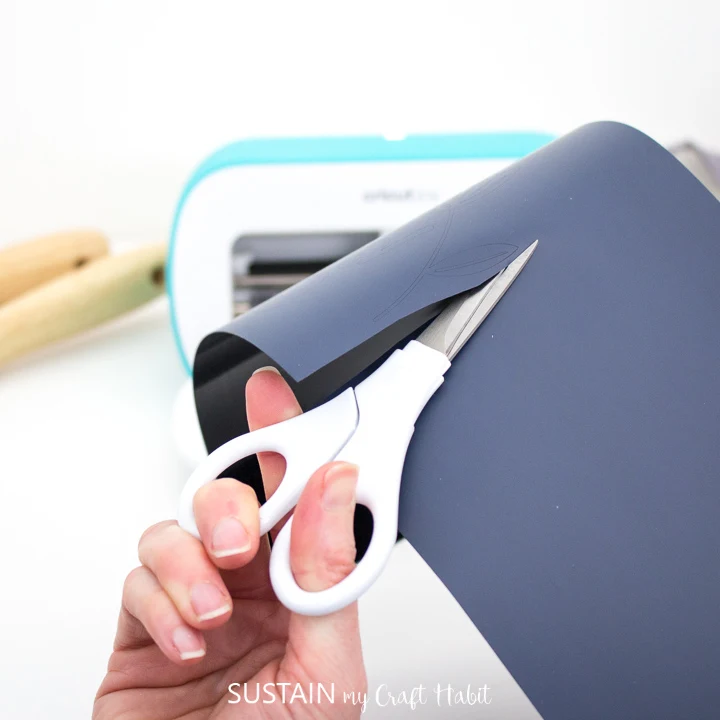
When prompted, unload the vinyl from the cutting machine.
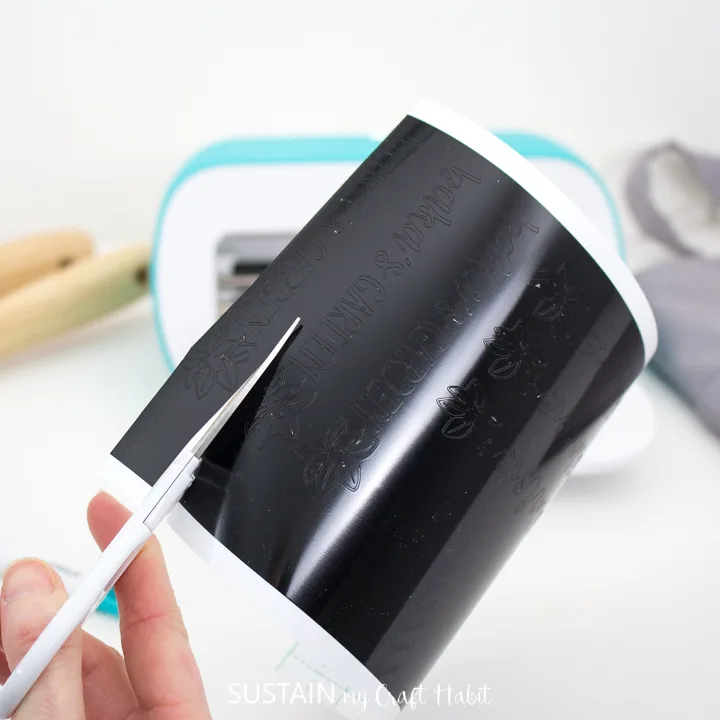
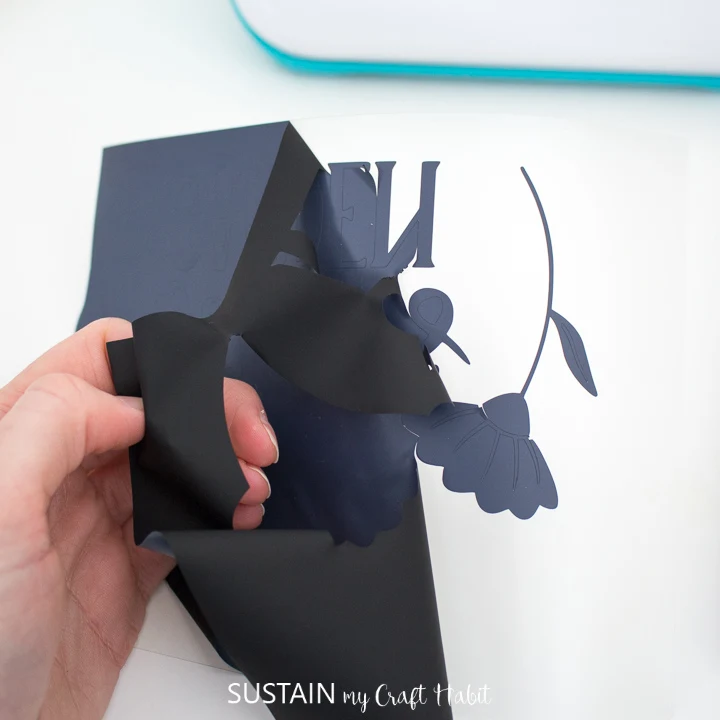
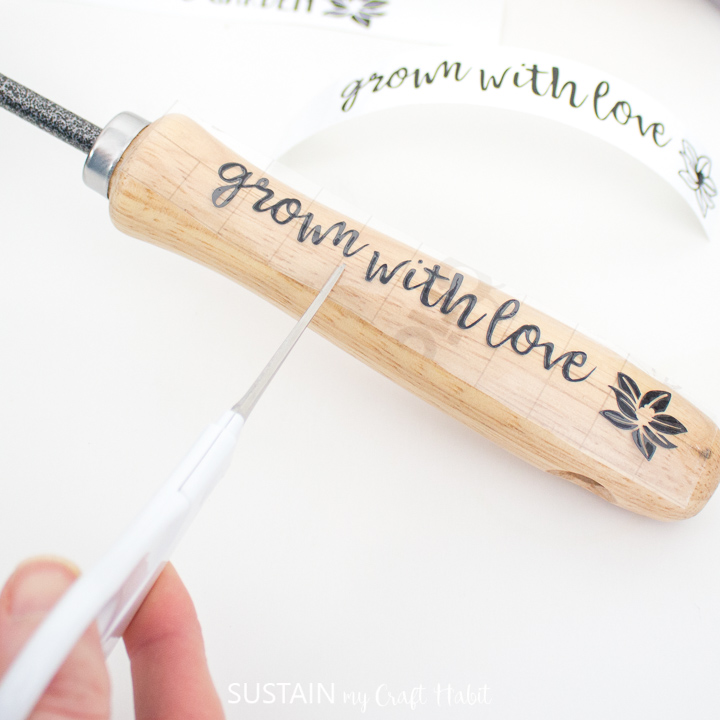
Cut around the phrases and then peel away the excess vinyl.
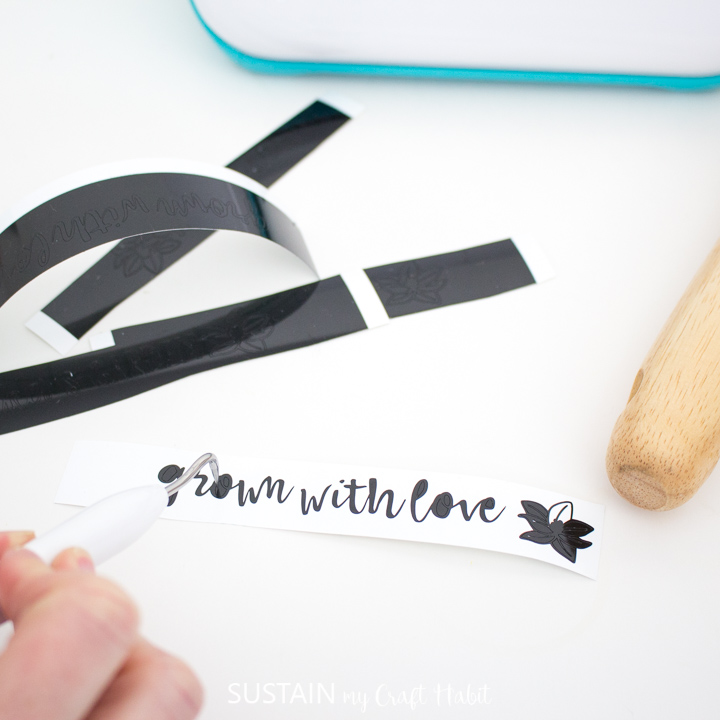
Afterwards, use a weeding tool to remove the smaller vinyl pieces within the images and discard.
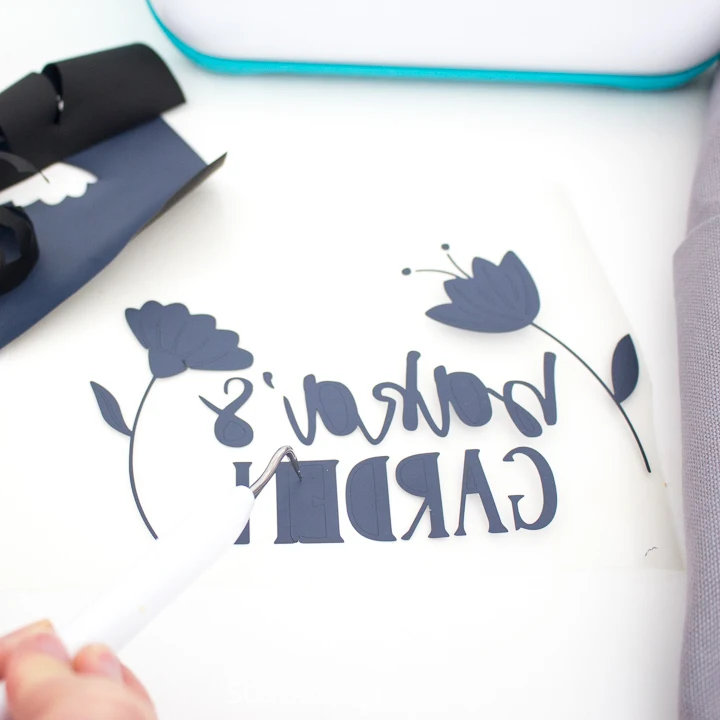
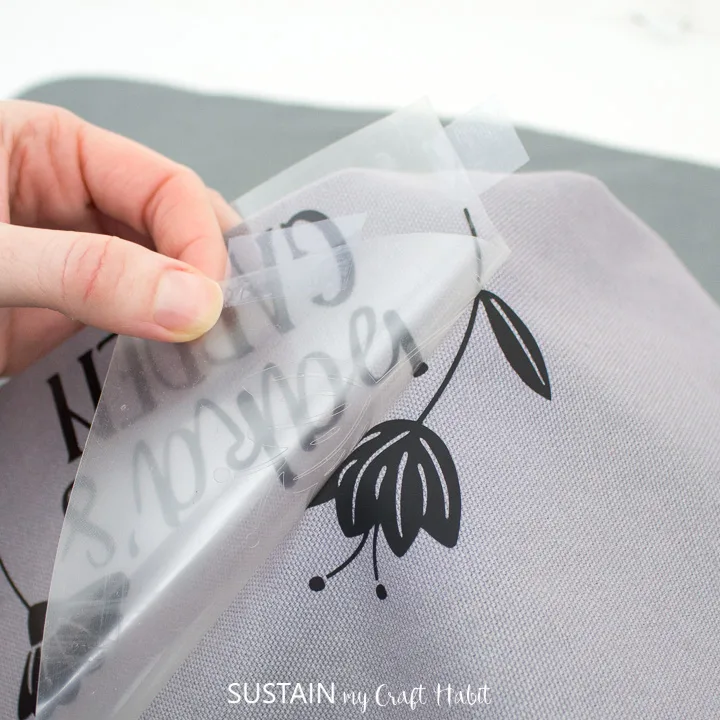
Cut a piece of transfer tape a bit larger than the size of the phrase.
Peel away the transfer tape backing and place the transfer tape overtop of the phrase.
Gently rub the vinyl to help it stick to the transfer tape.

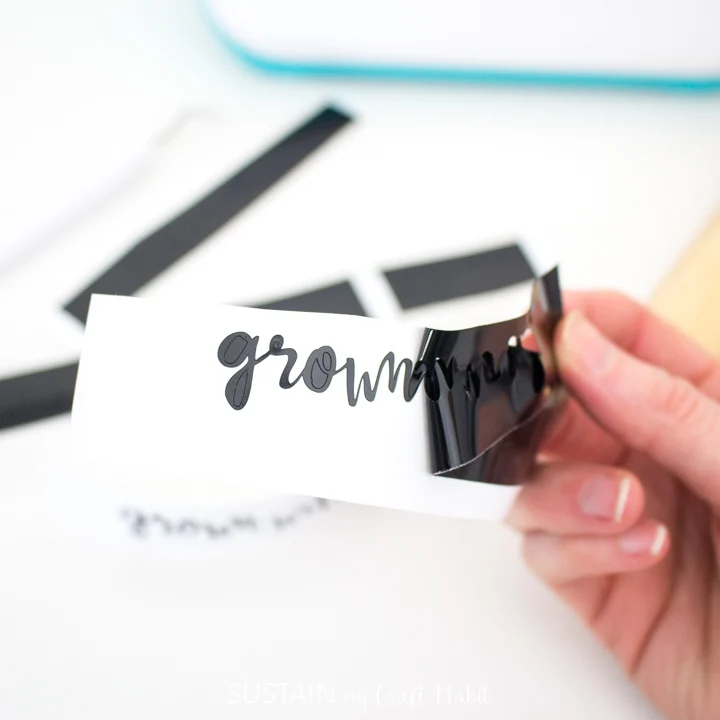
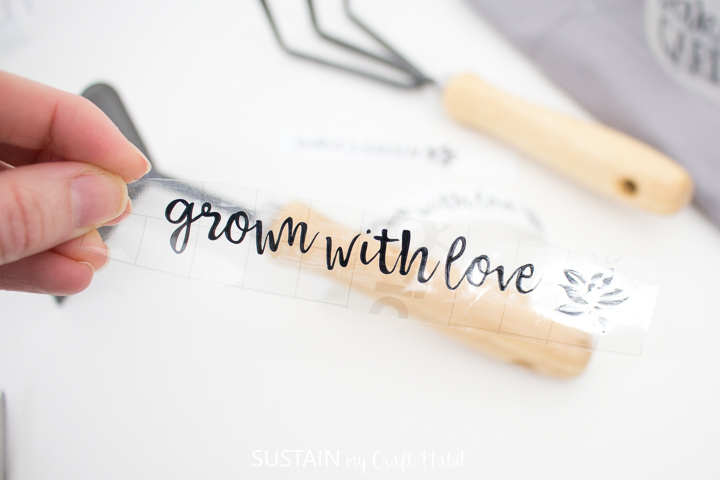
See the difference between the two weeded Smart Vinyl images below, how cool!
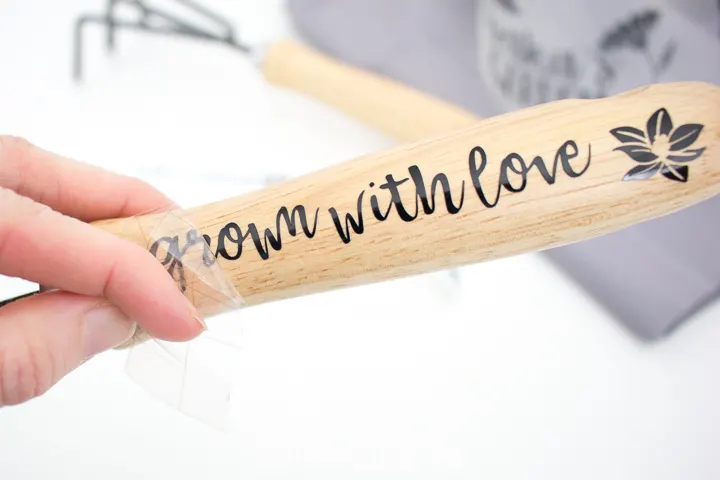
Peel away the vinyl backing and place the image on to the wooden handle.
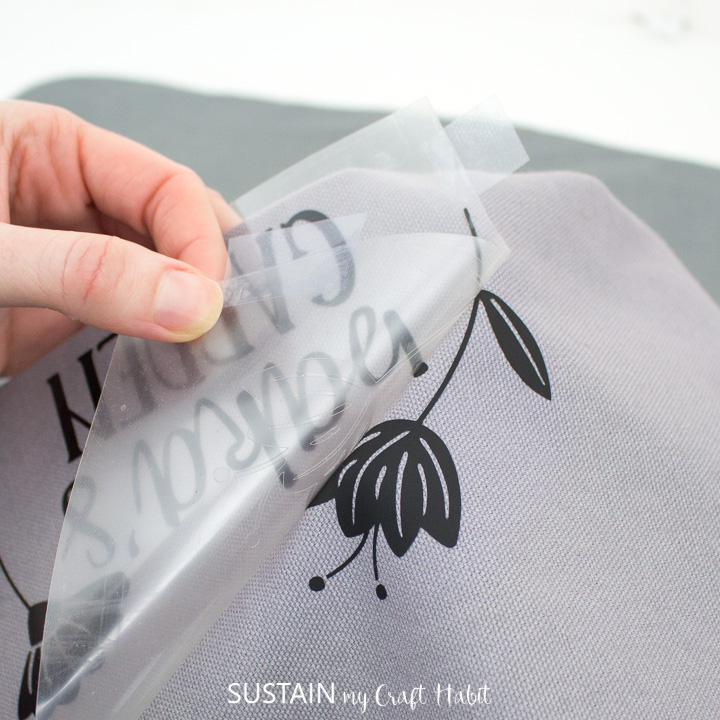
Peel away the transfer tape.
Position the mat or a towel on a flat surface.
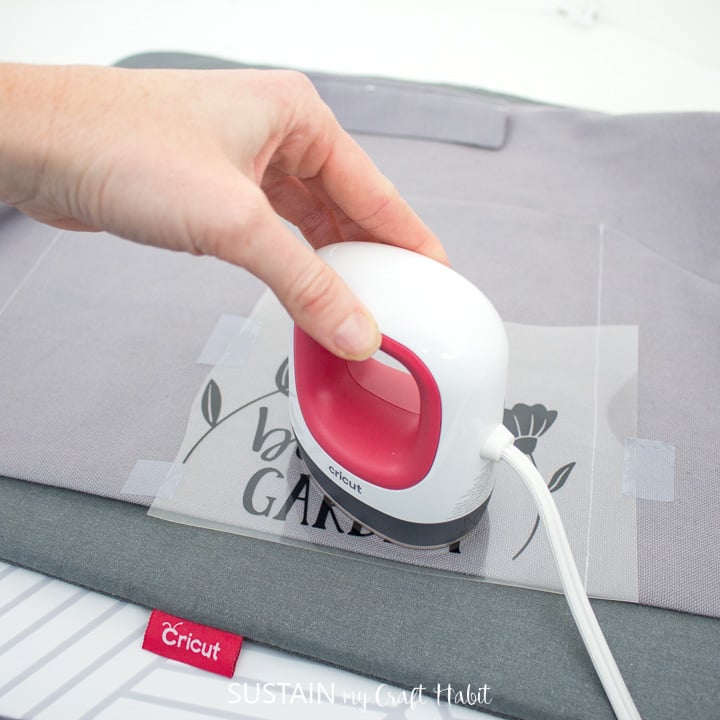
For a 100% Cotton apron and Smart Iron-On Vinyl, set the EasyPress Mini to medium heat.
Determine where you will be placing the image and preheat the apron in that spot for 5 seconds.

Place the phrase on the apron with the shiny side up.
Press the image on to the apron for 25 seconds, constantly moving EasyPress Mini as you press.
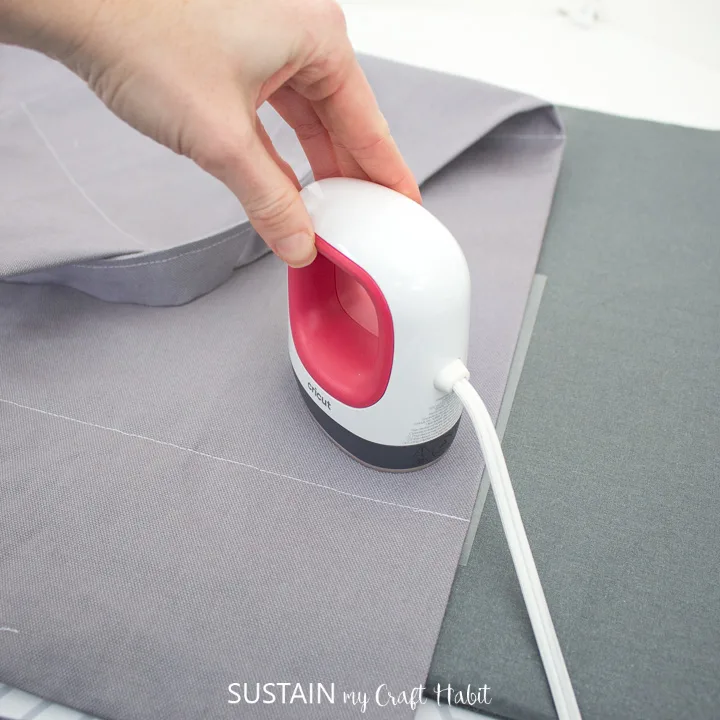
Turn the apron upside down and apply heat for another 15 seconds.
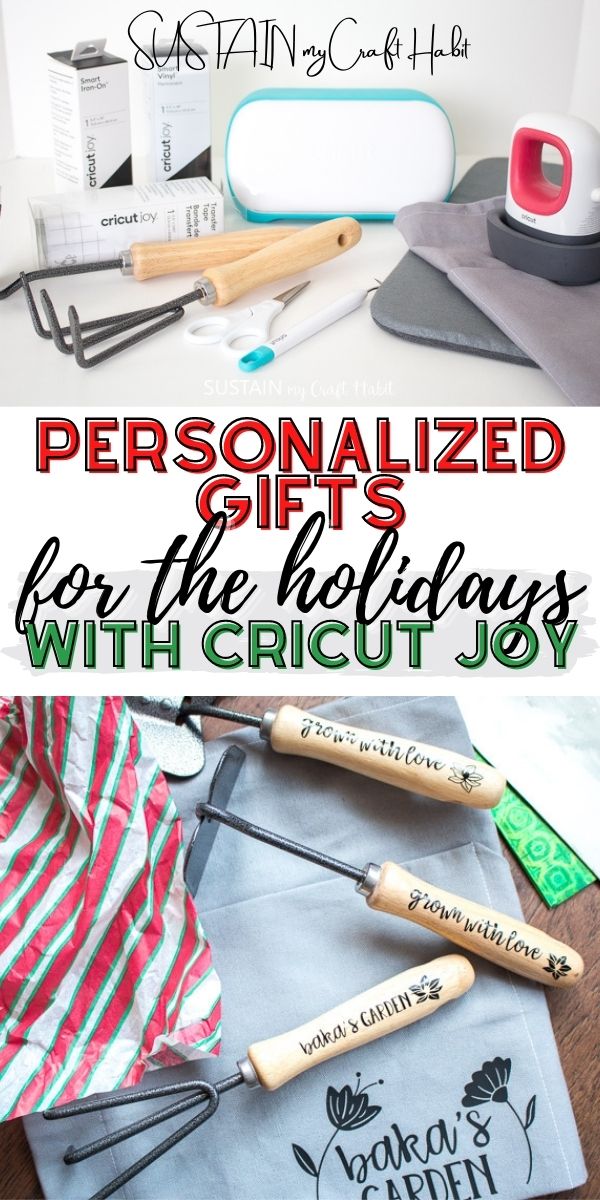
Pin it for later!
CRICUT PROJECTS: Getaccess to our resource libraryfilled with SVG cut files and other Cricut craft ideas!
Personalized Gifts with Cricut Joy
Materials
Instructions