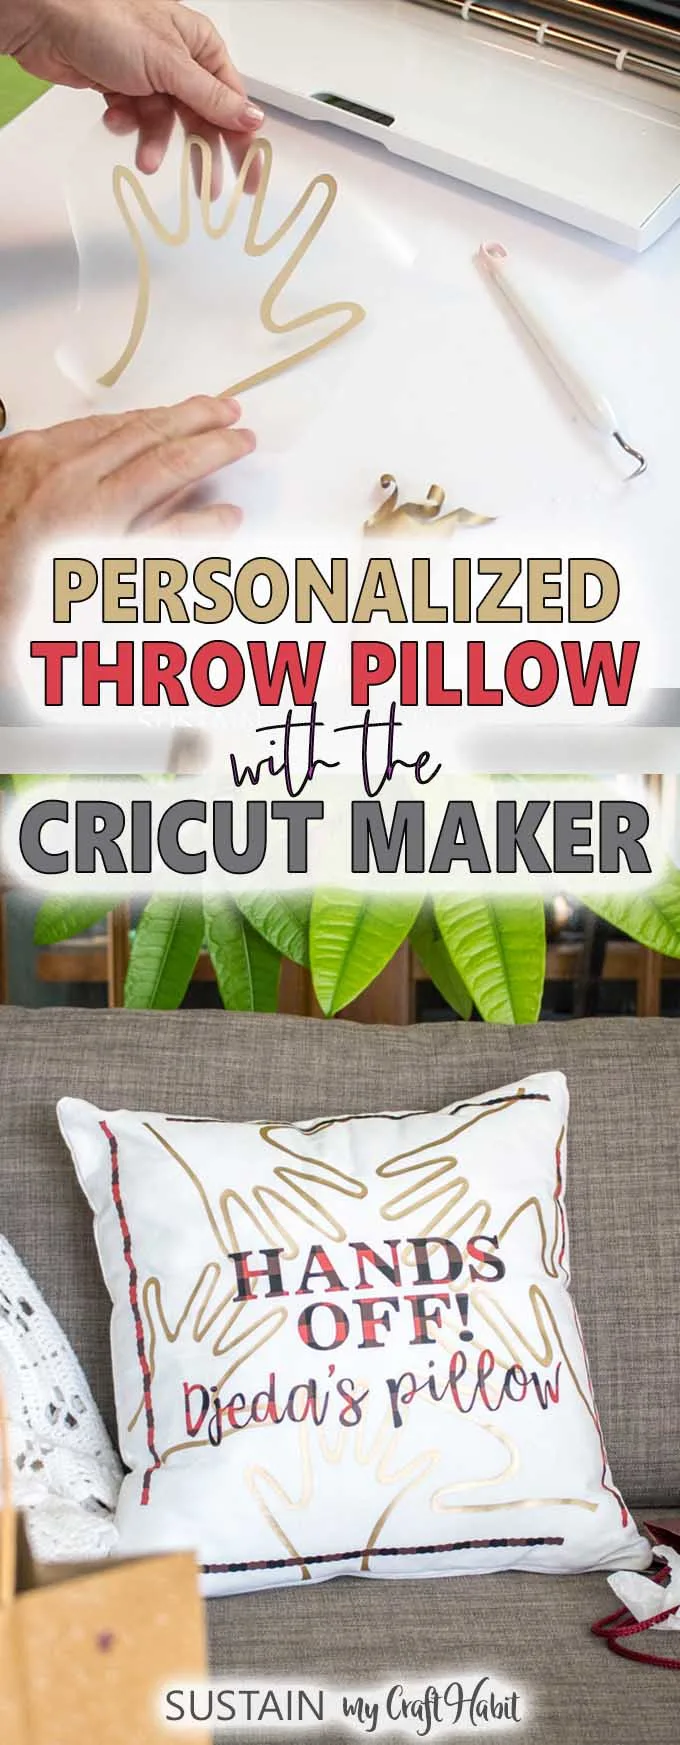
See how we used ourCricut Maker and EasyPress 2 to create apersonalized gift for grandpathat hes sure to love!
The opinions and text are all mine.
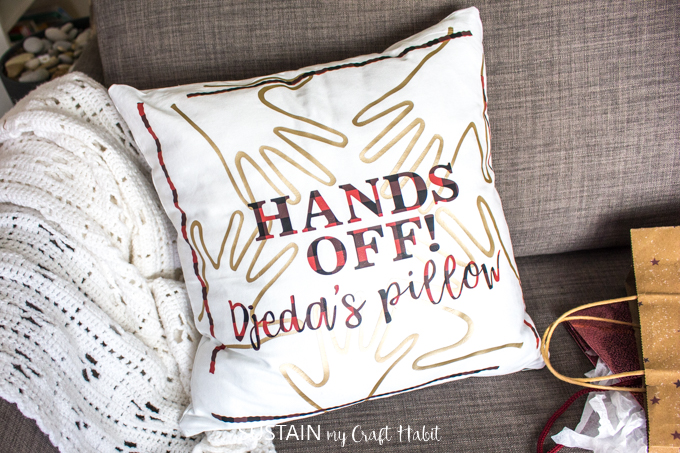
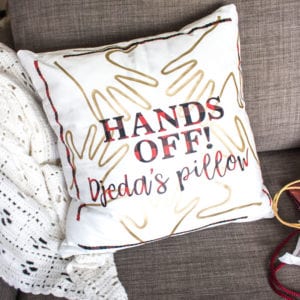
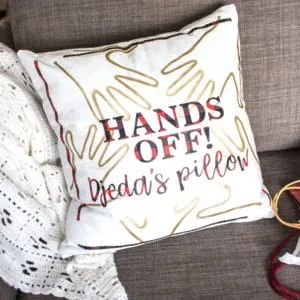
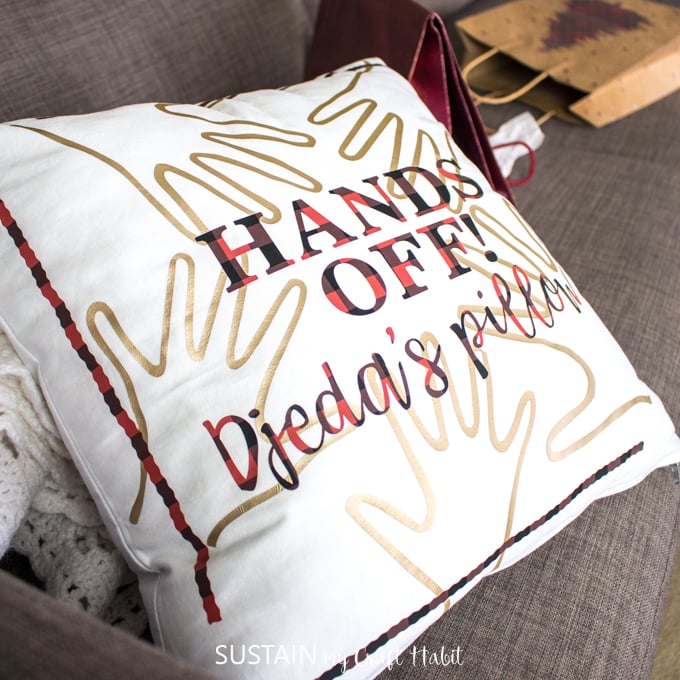
He always has a pillow behind his back for extra support.
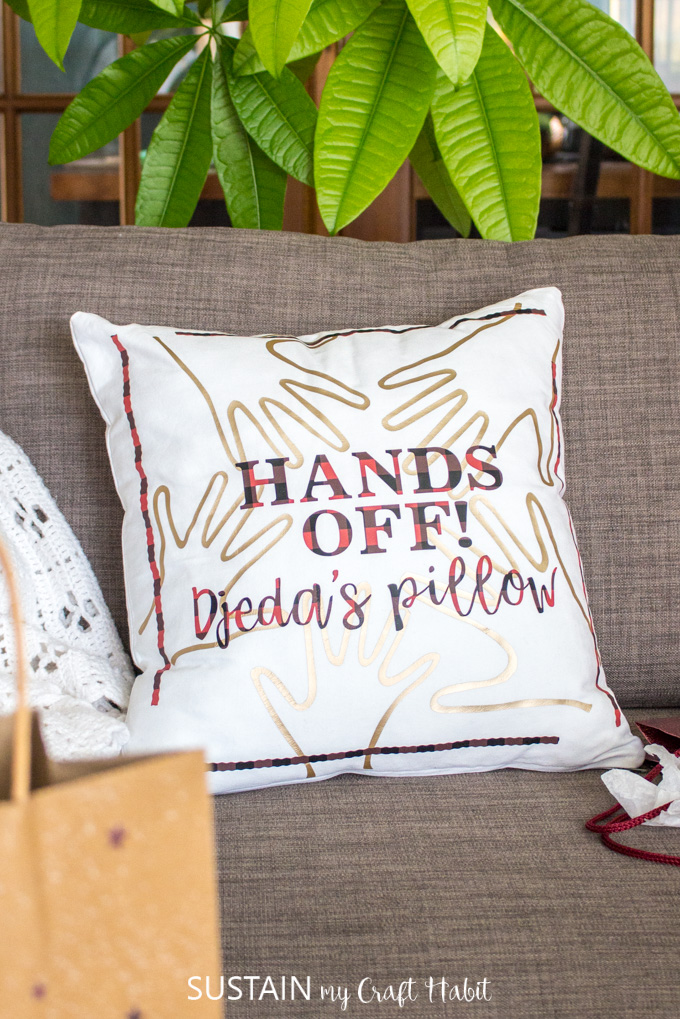
However, whenever we come to visit, the kids inevitably take Djedas spot and pillow!
So for Christmas (and his birthday which is on the same day!)
we wanted to make our dad a new special pillow.

Djeda is what the kids call him and theres nothing more that our dad loves than his grandchildren.
The Cricut Maker made it so easy to create this professional, yet personal, gift idea.
The pillow turned out not too girly making it an ideal gift for him.
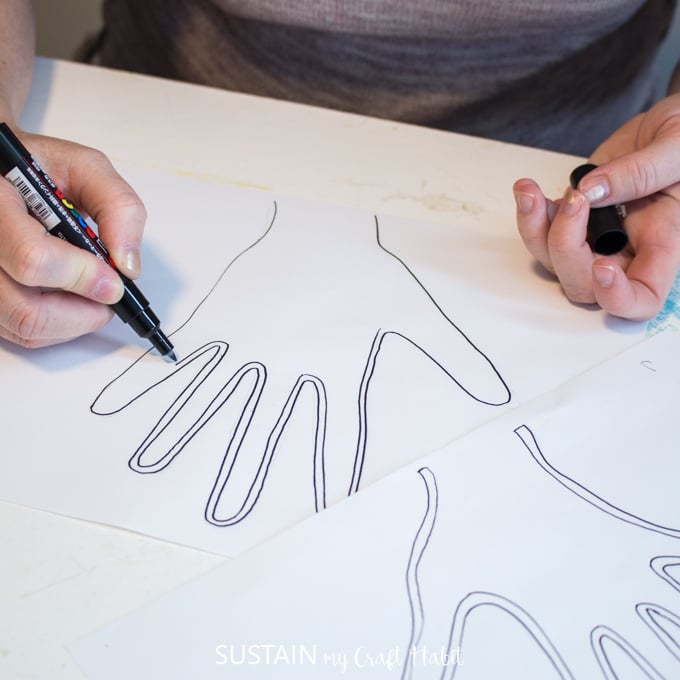
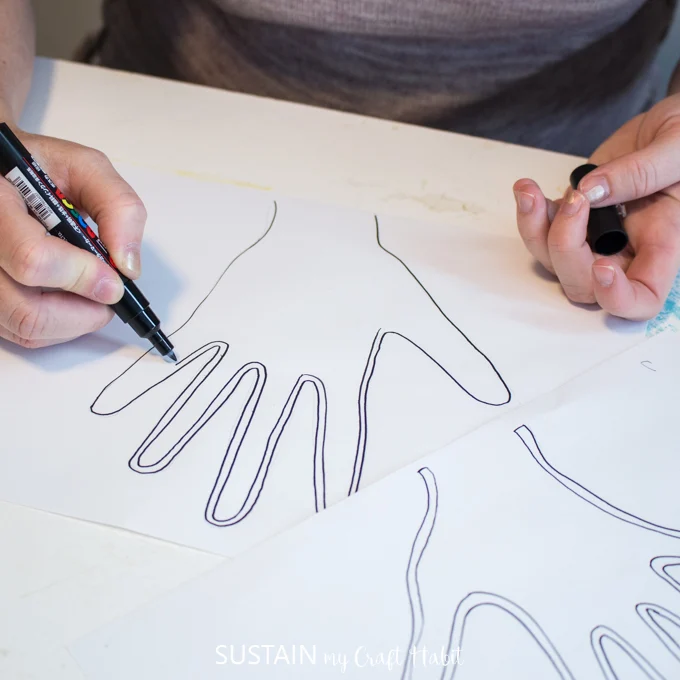
In an upcoming post, well be sharing the full tutorial for uploading your own little ones hand print.
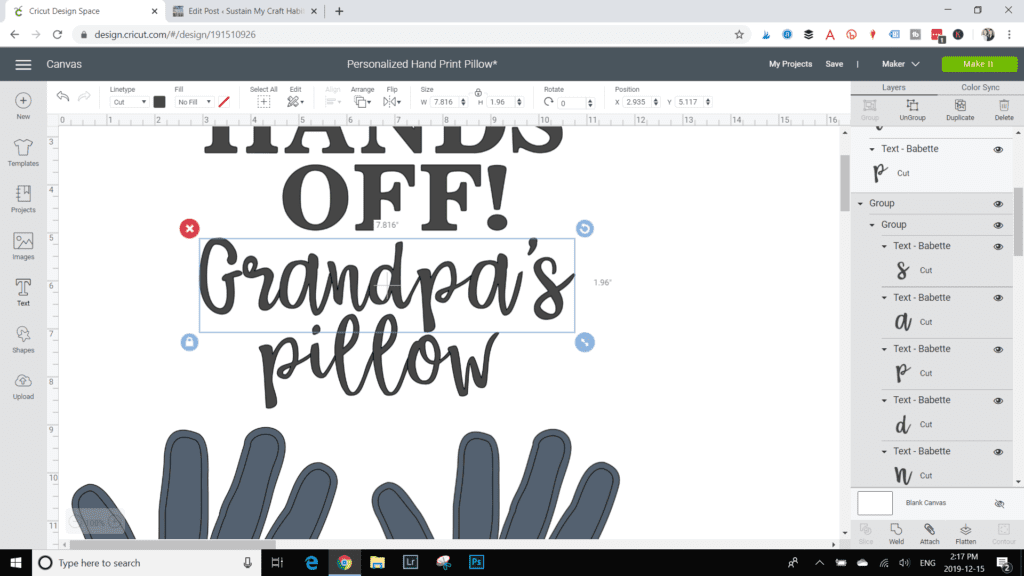
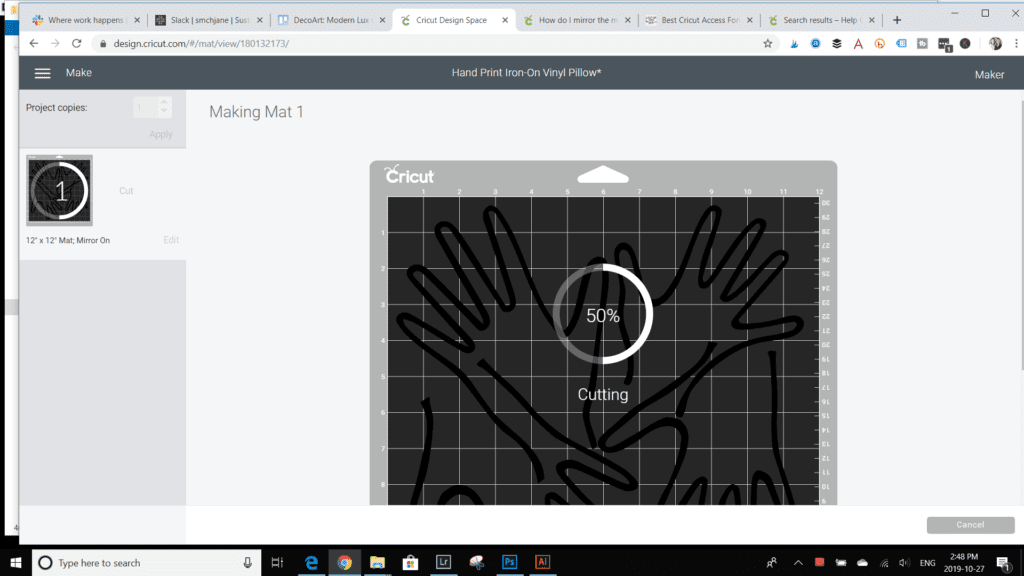
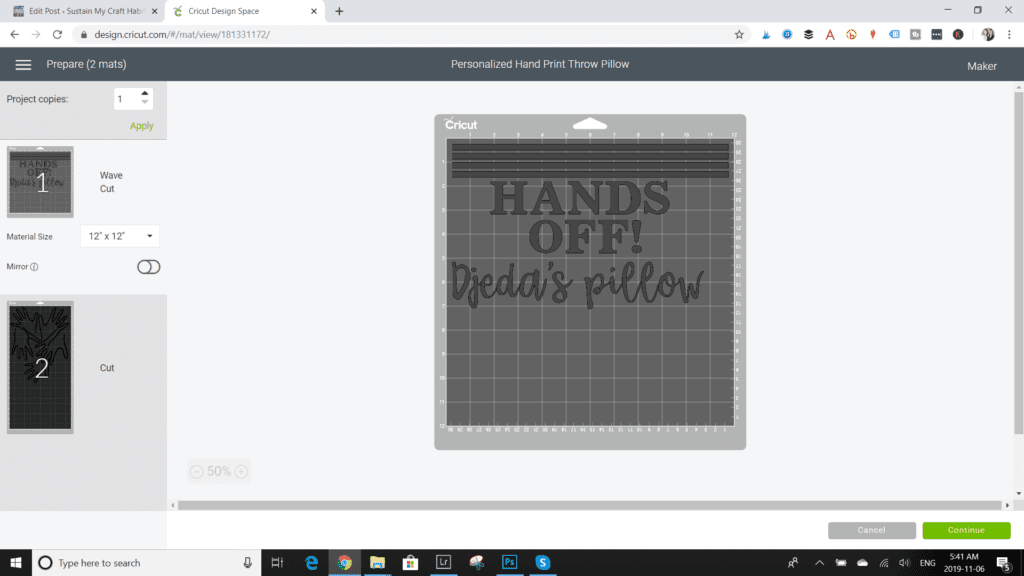
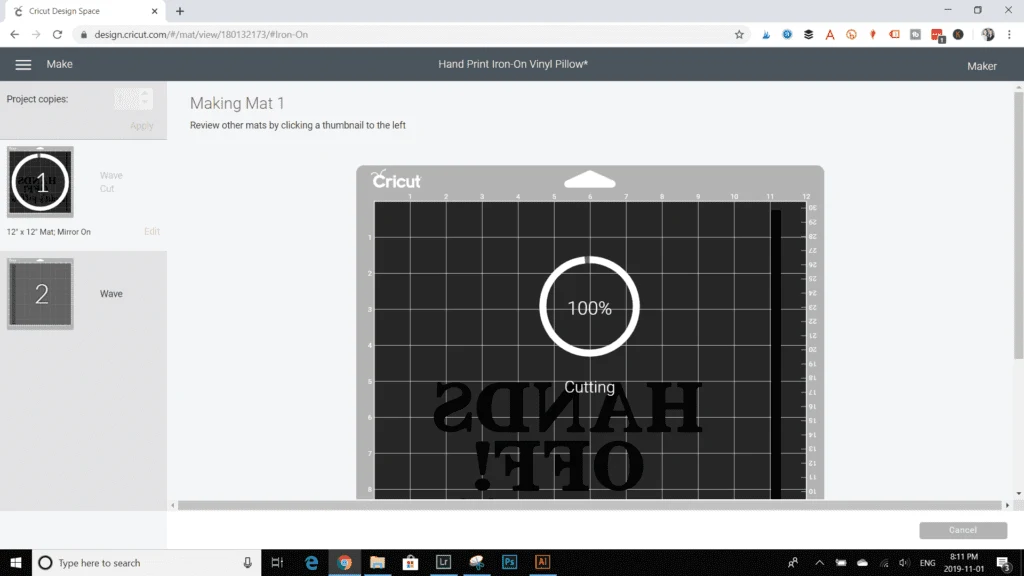
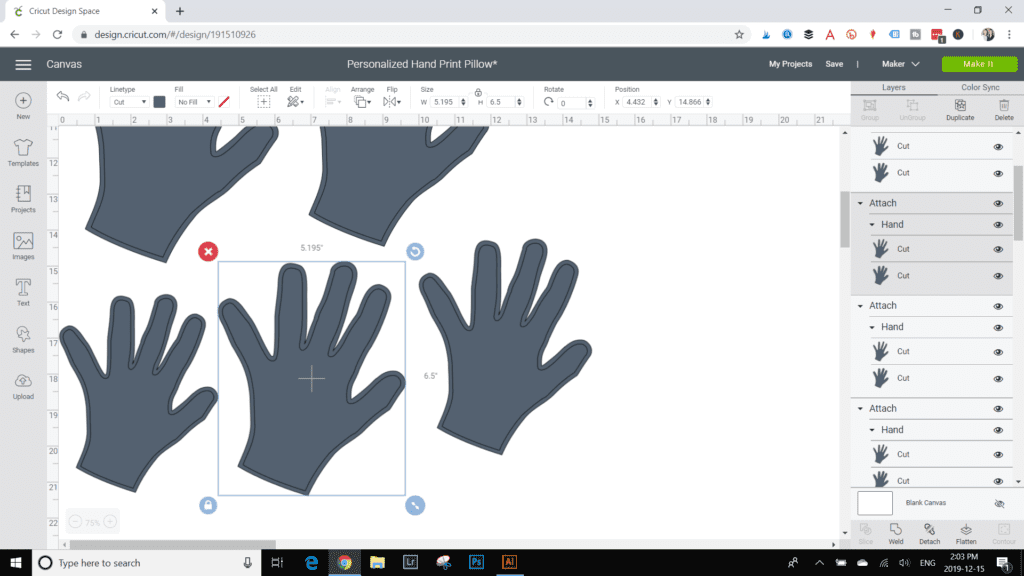
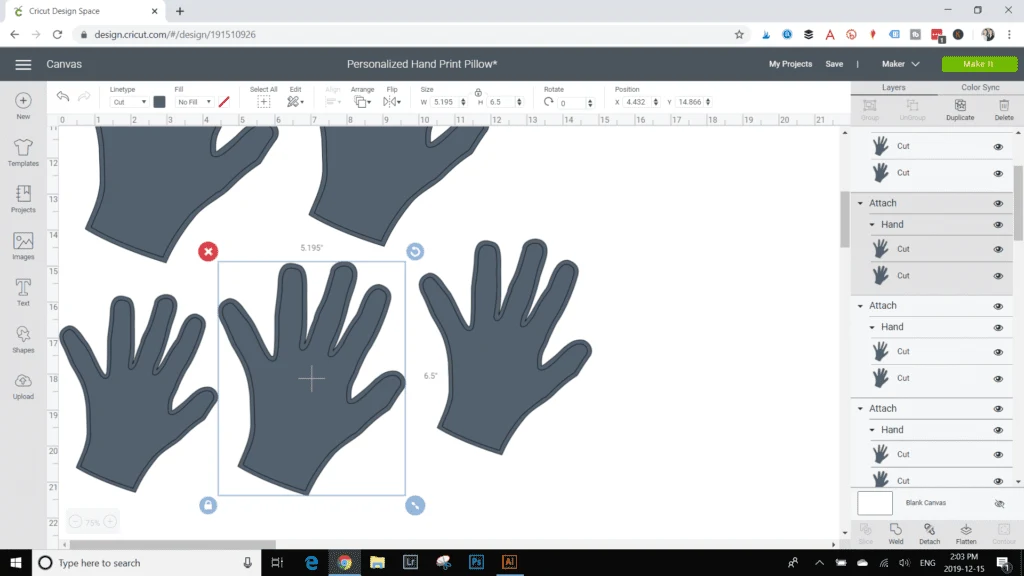
Upload thePersonalized Hand Print Pillowpattern template from Design Space.
Refer to this postfor help on letter spacing in Cricuts Design Space.

When ready choose Make It.
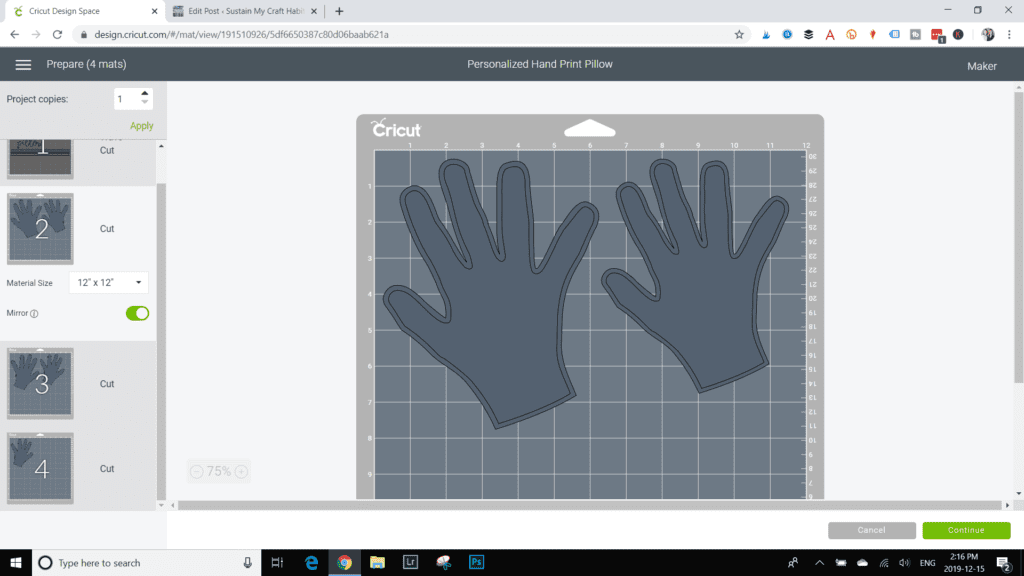
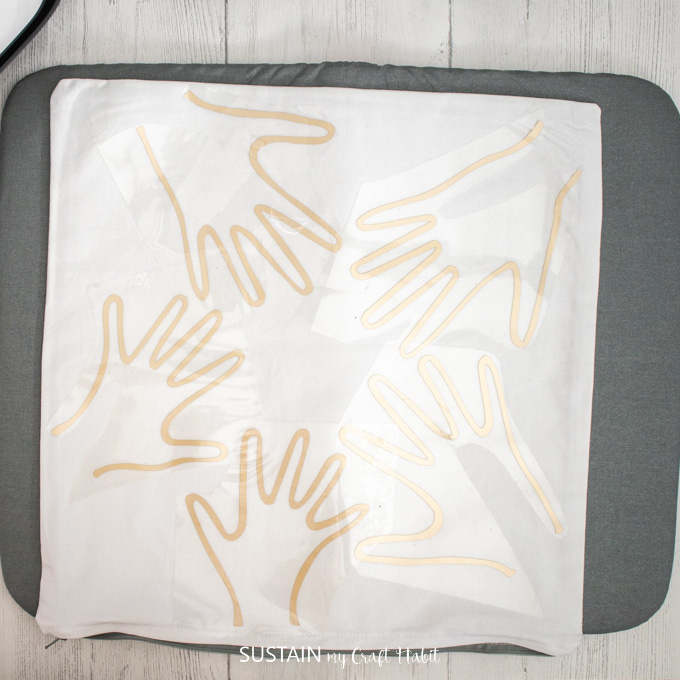
Position the hand print patterns on a few different mats and go for the iron-on vinyl sheet size.
choose the mirror on toggle button for all iron-on vinyl cuts.
Set the material option to Everyday Iron-On vinyl.
In our case, the cut worked best when pressure was set to more versus default.
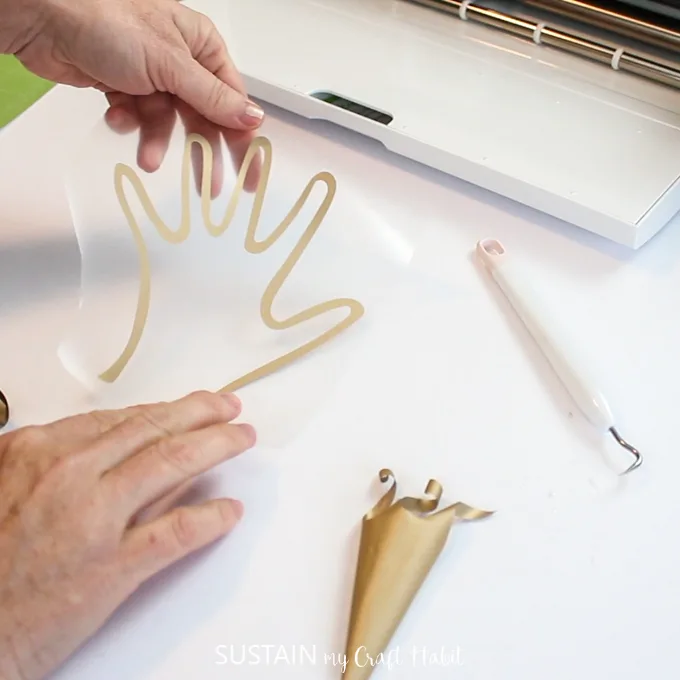
Place a sheet ofEveryday Iron-On Vinylin gold on a standard grip mat with the shiny side down.

Ensure the fine point blade is inserted in theCricut Makerand load the prepared mat.
Press continue to have the Maker cut out the pattern precisely.
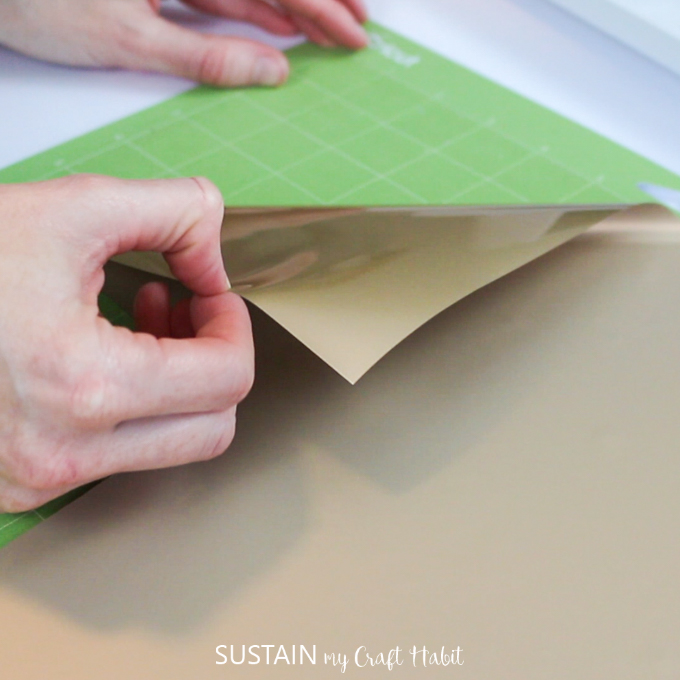
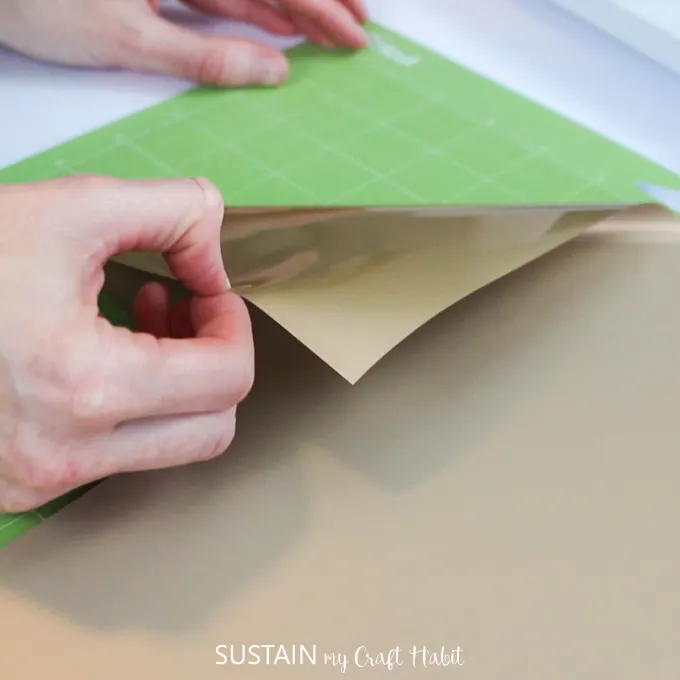
When prompted unload the mat and peel away the iron-on vinyl sheet from the mat.

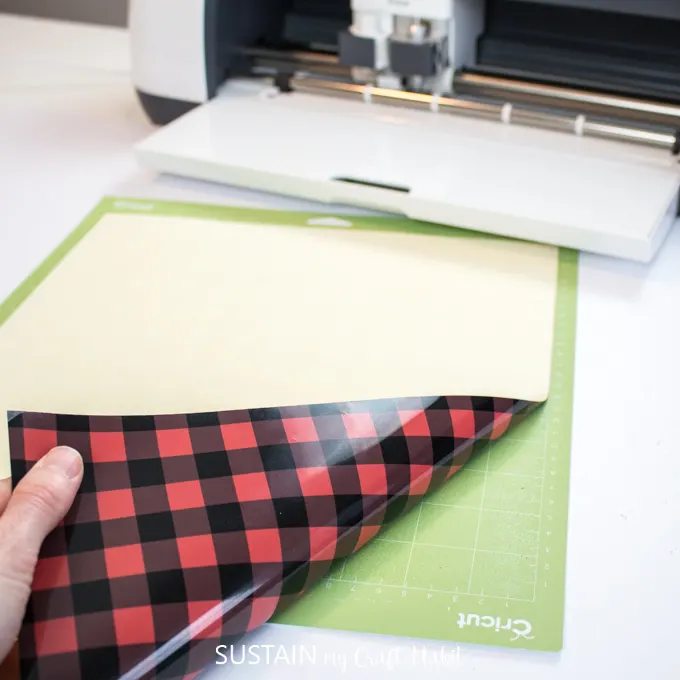
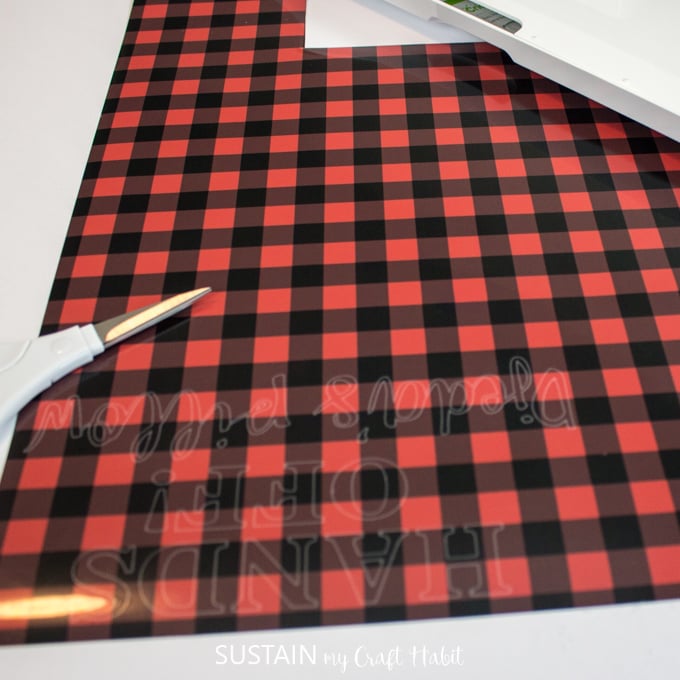
Place a sheet of buffalo plaid pattern iron-on vinyl on the standard grip mat shiny side down.
When complete, unload the mat and peel off the iron-on vinyl sheet.
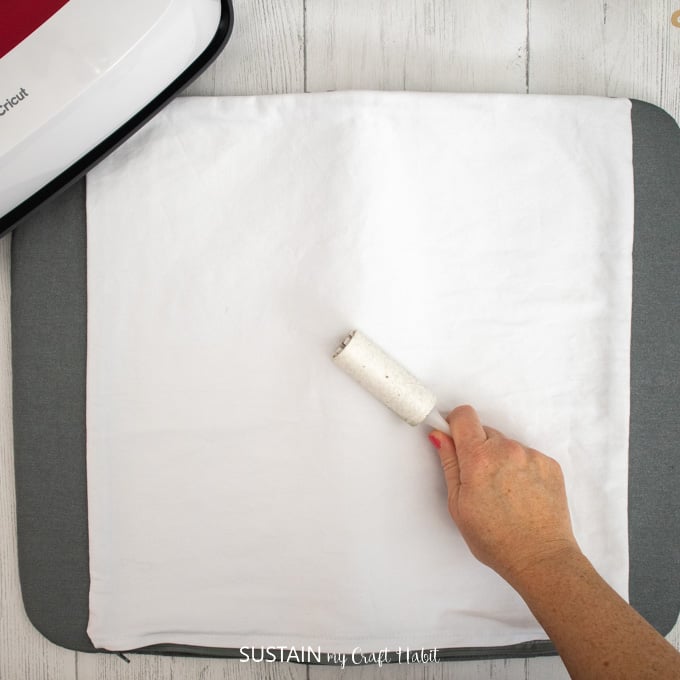
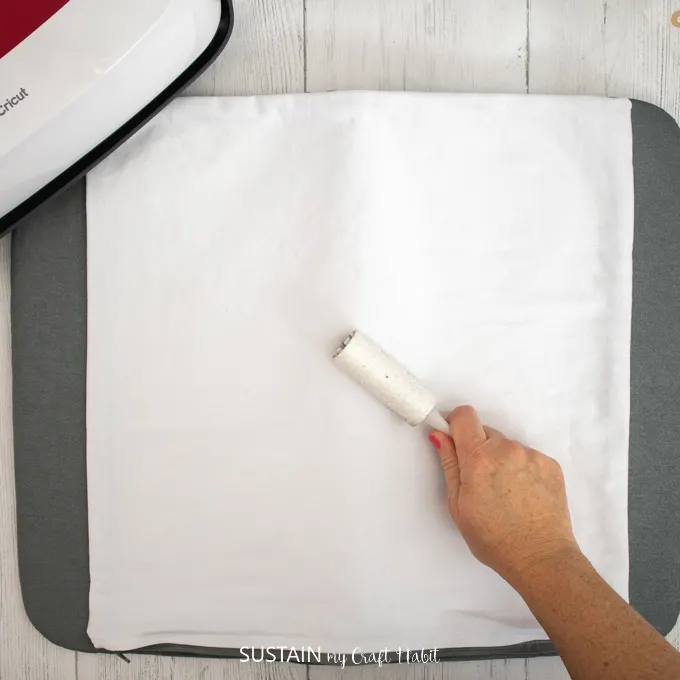
Preheat the fabric for 5 seconds.
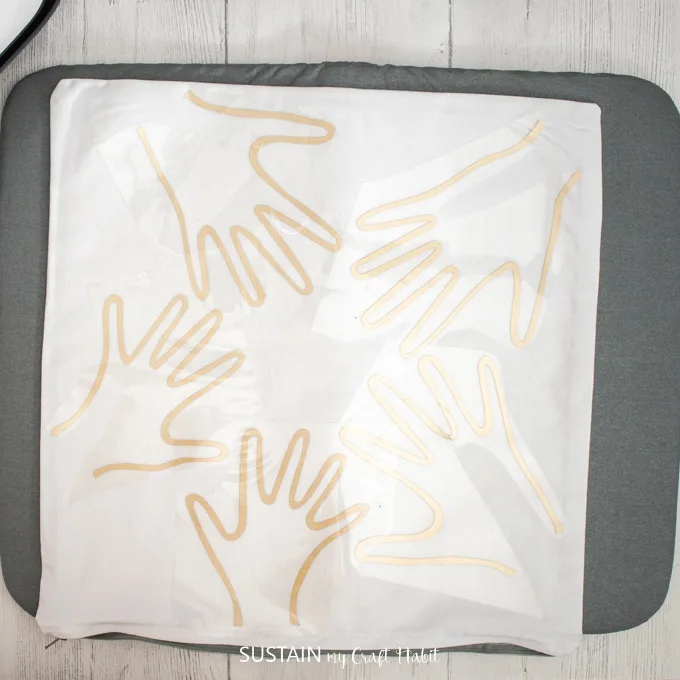
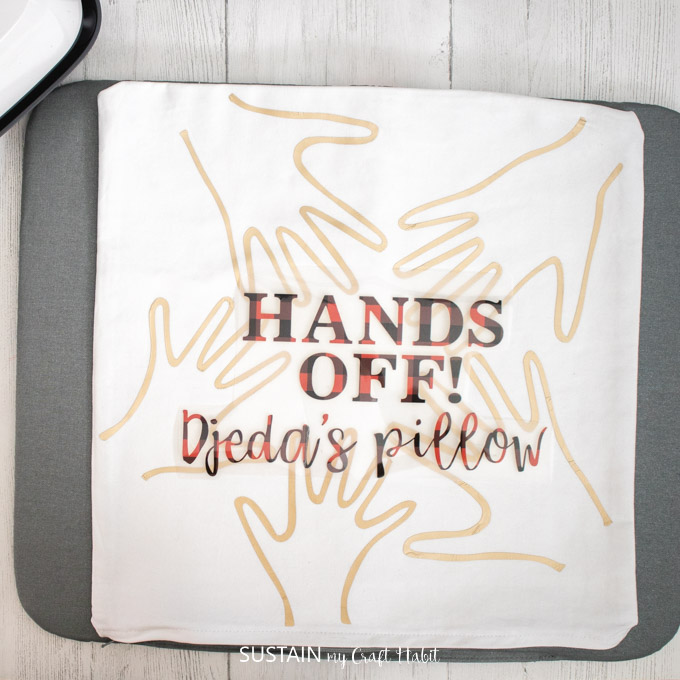
Position the iron-on vinyl cut pieces onto the pillow cover.
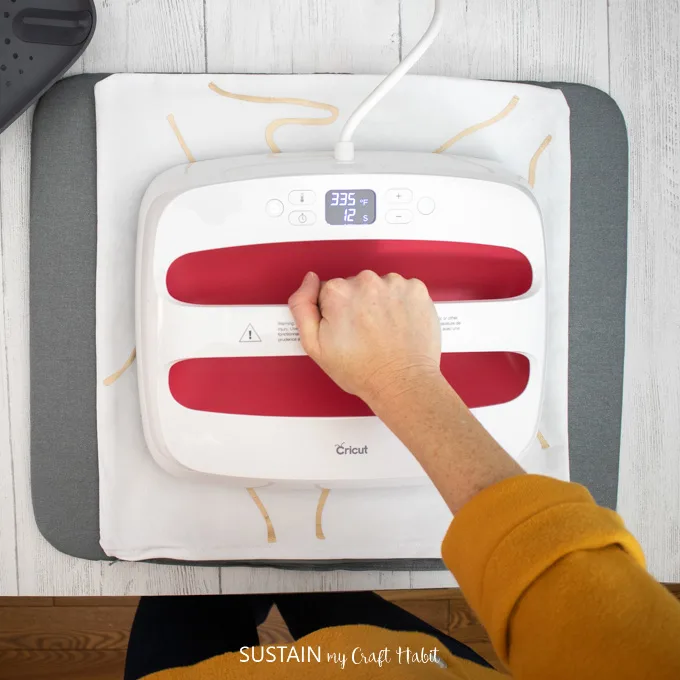
We increased the heat to 330F and pressed for at least 30 seconds.
Always test your own fabric before proceeding.
Heat one section at a time until all areas of the pattern are heat pressed.
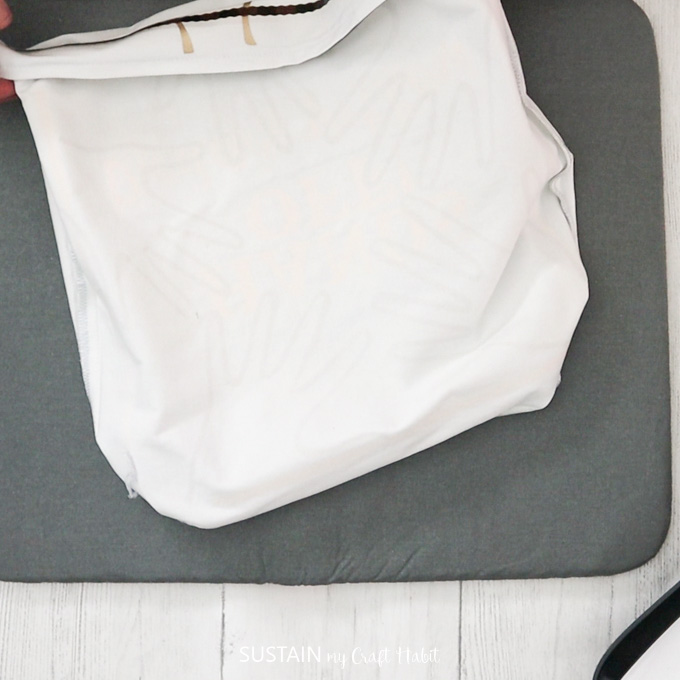
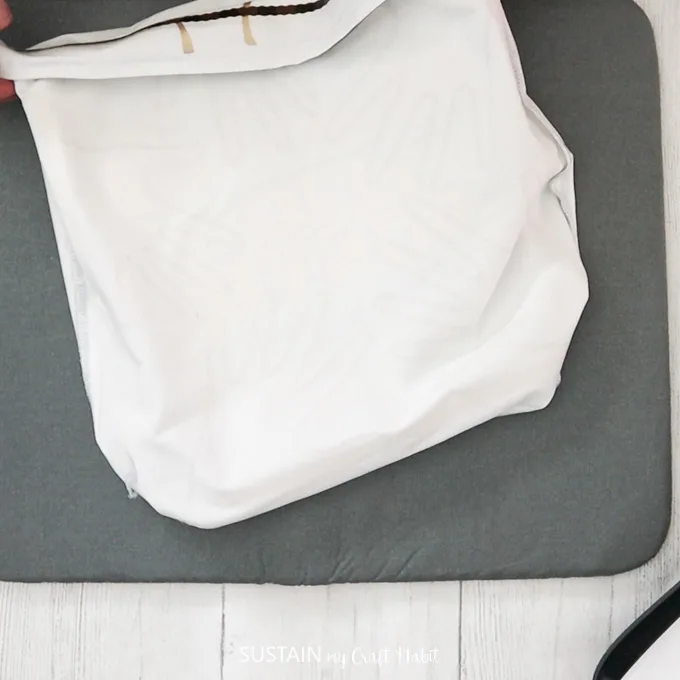
Turn the pillow case inside out and press for an additional 15 seconds.
While still warm, peel away the plastic cover and discard.
Did you catch our post on 10 Things you Didnt Know you Could Do With the Easy Press 2?
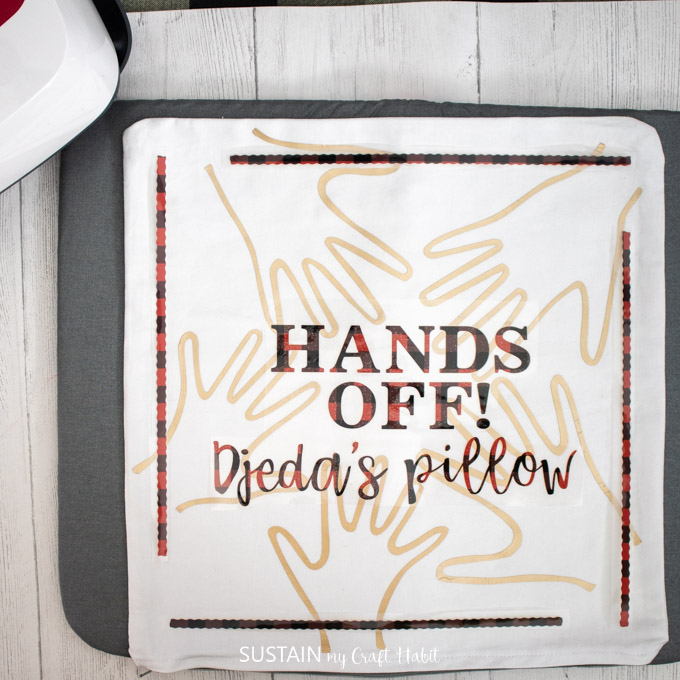
Move on to the other patterned pieces next.
Repeat the same steps for the long wavy pattern pieces.

Place them around the perimeter of the design for a decorative border.
Leave the iron-on vinyl to cool completely before peeling away the plastic covering.
Place the pillow insert inside the pillow cover and your personalized gift for grandpa is ready to gift wrap!

It might just fit in theChristmas fabric gift bagwe made last year.
Were so excited to see Djedas expression when he gets his new pillow.
And will the kids dare to take it?
Well just have to wait and see!
If youre interested in additional personalization ideas with Cricut check out:
Like it?
Pin it for later!
Personalized Gift for Grandpa with the Cricut Maker
Materials
Instructions