The magic of this DIY nightlight lies in its endless customization possibilities.
The finished piece offers more than just practical lighting.
It serves as a conversation starter, a personalized gift, or a cherished keepsake.

The versatility of the xTool P2 opens up a world of creative possibilities for your nightlight projects.
Each design can be scaled and modified to suit your specific needs and preferences.
Getaccess to our resource libraryfilled with cut files and other xTool craft ideas!
Materials Needed
Disclosure: This post contains affiliate links for your shopping convenience.
you’ve got the option to readour full disclosure policy here.
If you prefer the photo tutorial, continue below.
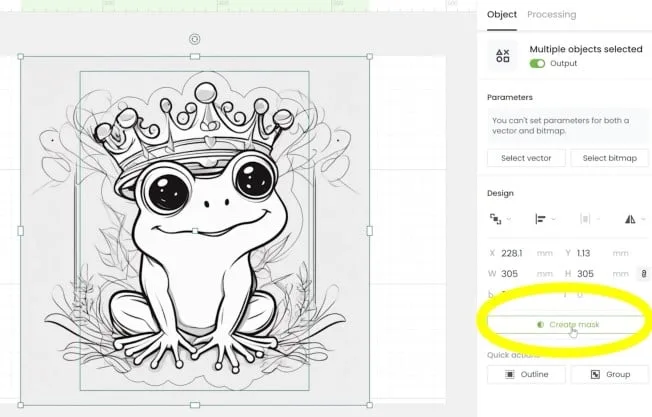
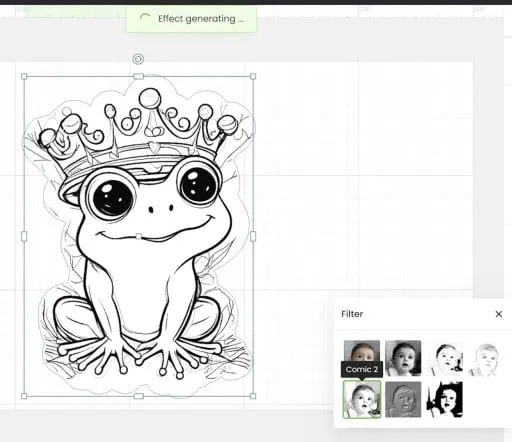
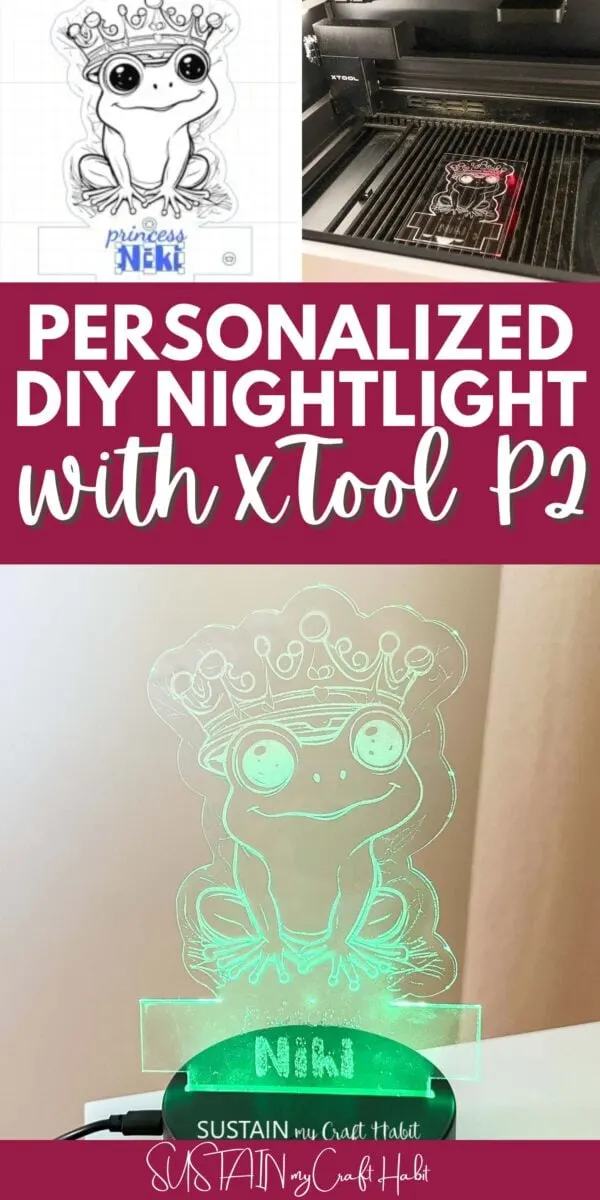
Open Creative Space and in the AI search function punch in cute frog with a crown and press generate.
Select your image and export to canvas.
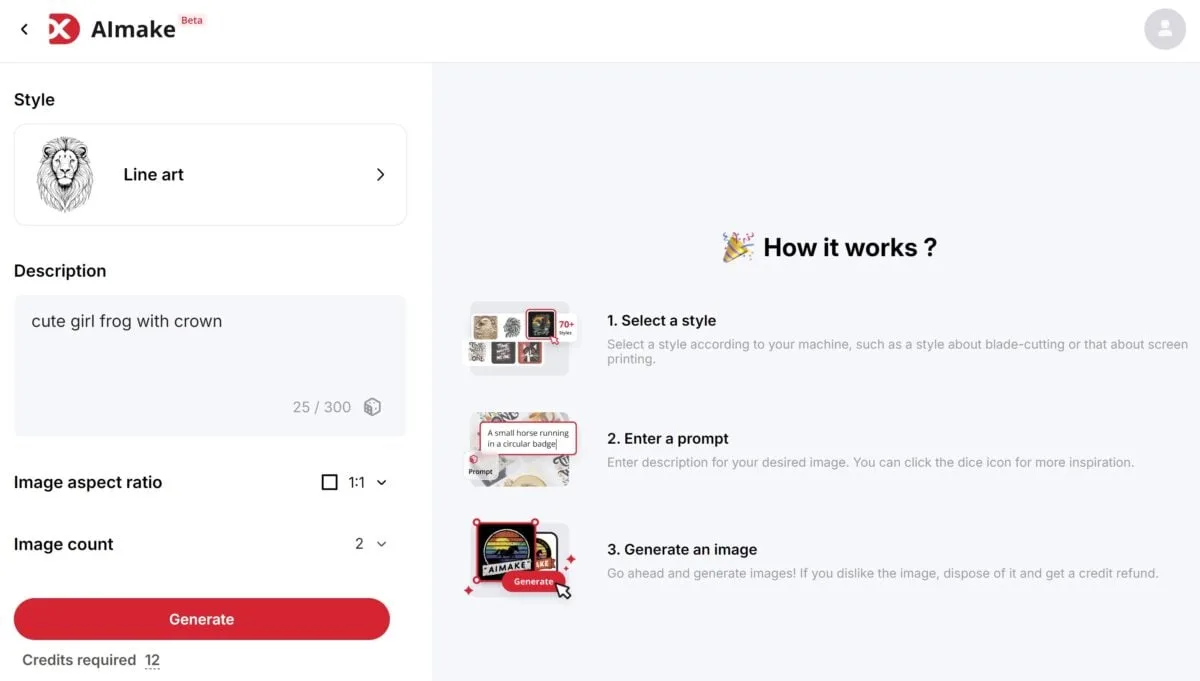
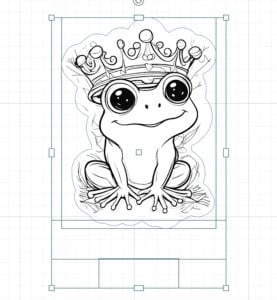
Next, poke the trace object button and adjust the thresholds to create a rough tracing of the frog.

This will get rid of the extra objects around the image.
This will create a layer with the original image.
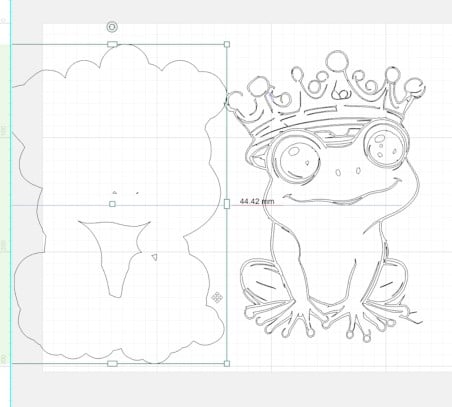
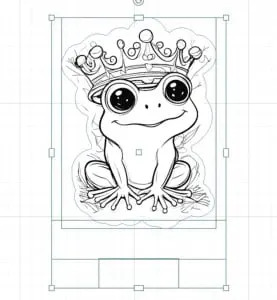
choose the tracing and use the outline tool to offset the distance.

This will generate another layer which you will separate from the tracing.
Create another outline layer (which will be used as the cut line for the xTool.)
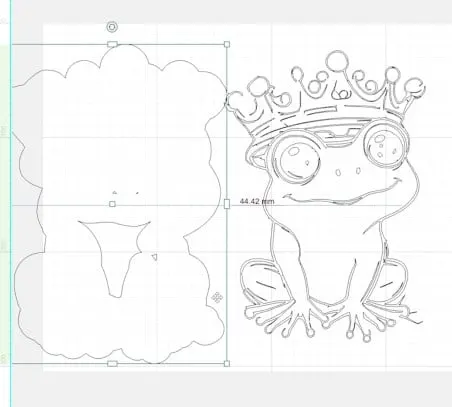
Choose the processing pop in to engrave and choose a filter.

We chose the Comic 2 style.
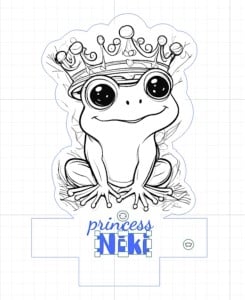
Next, Insert 2 rectangles into the canvas and position them under the frog image and combine them.
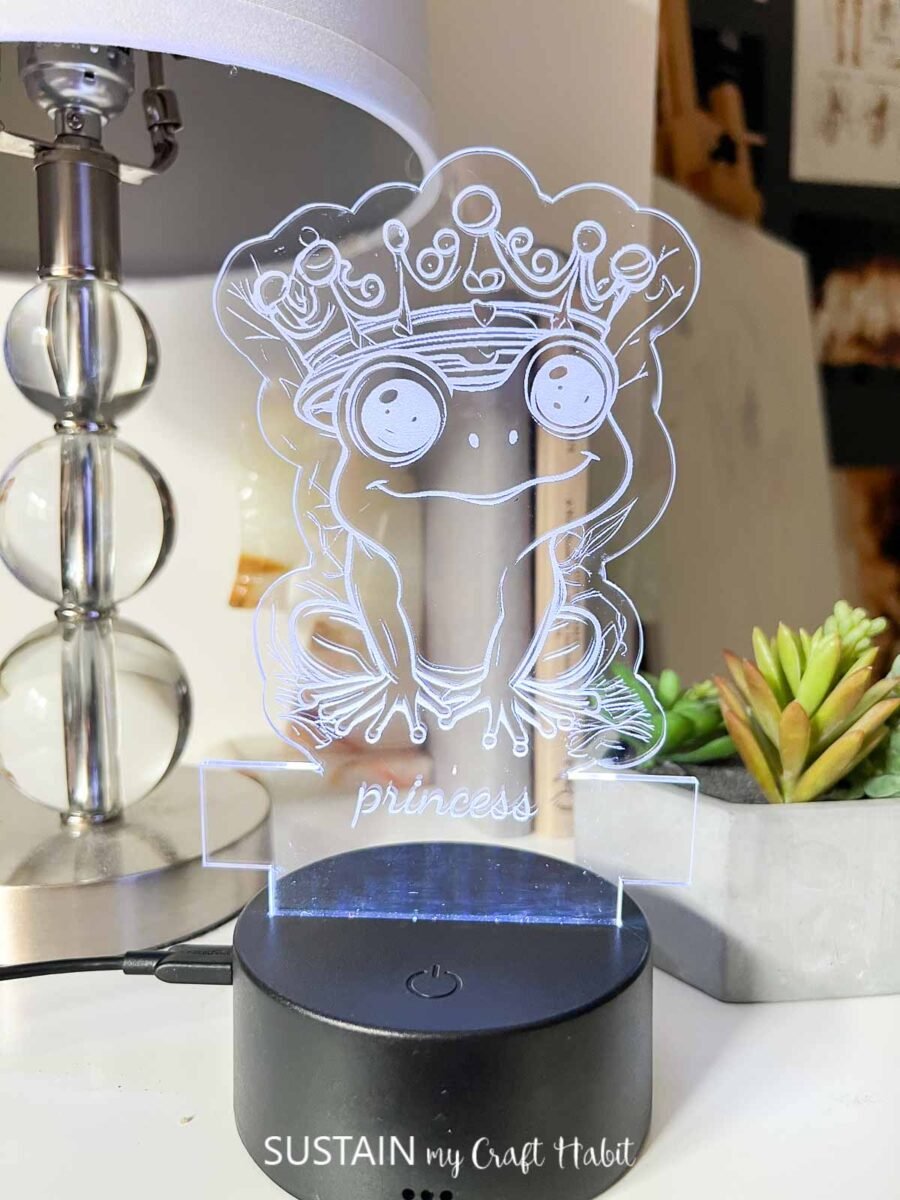
Choose a font and insert any text!

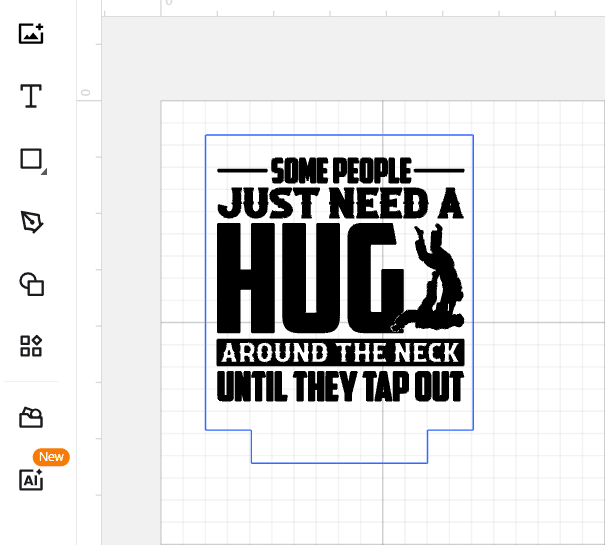
For example, we recently creaed a night light for my niece using this jujitsu design file fromCreative Fabrica.
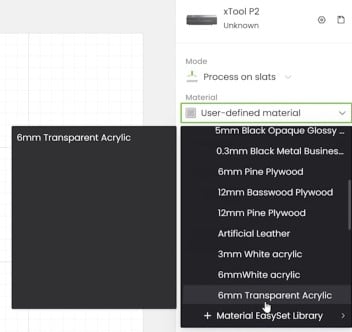
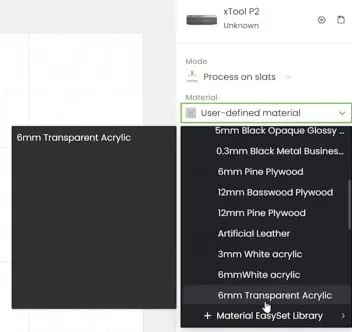
Set the material punch in to 3mm transparent acrylic and use the aimed measure function to confirm the thickness.
kick off the lis andremove the protective sheetingand then place back on to the slats.

Position the design on to acrylic sheet and then hit process.
Remove when engraving and cutting is complete.
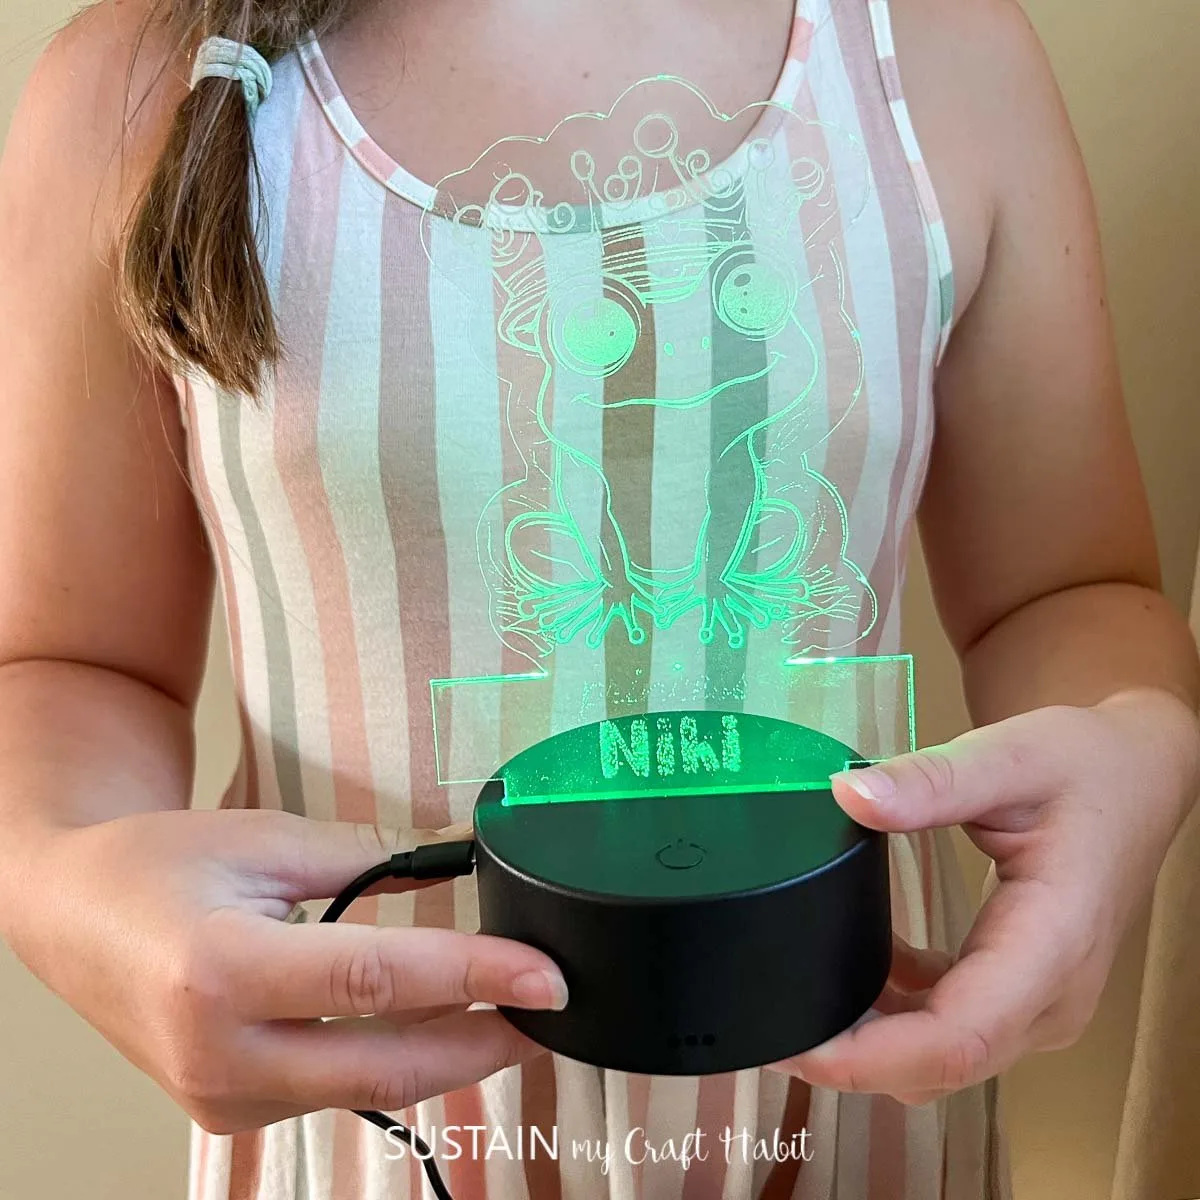
Slide your frog into the base and your night light is complete!

Pin it for later!
Personalized DIY Nightlight with xTool P2
Materials
Instructions