HomeDIY
This post may contain affiliate links:full affiliate disclosure.
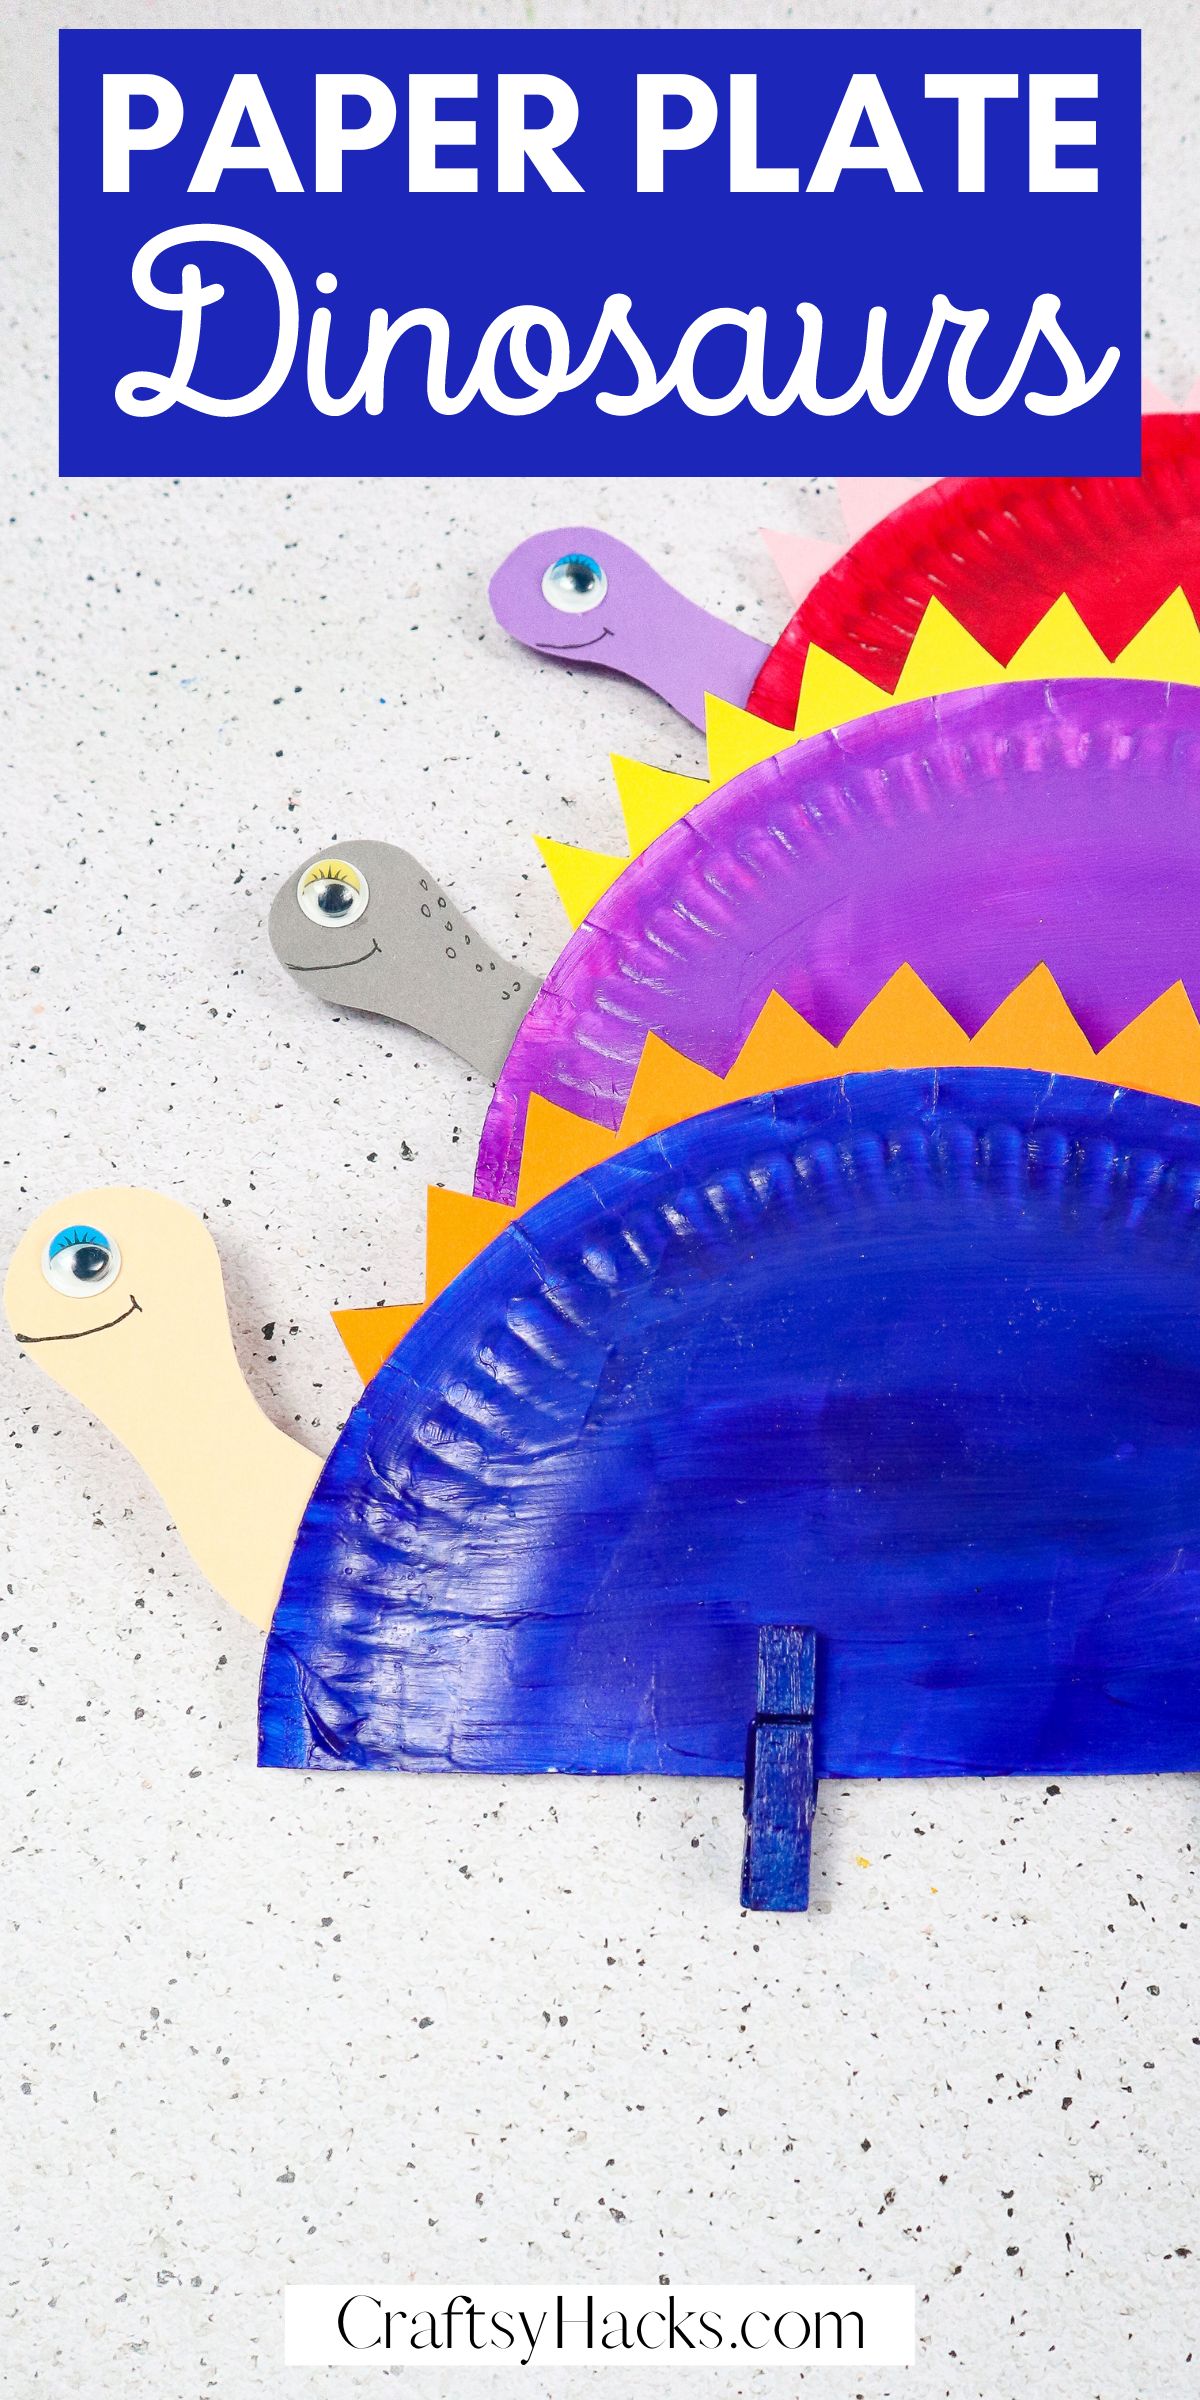
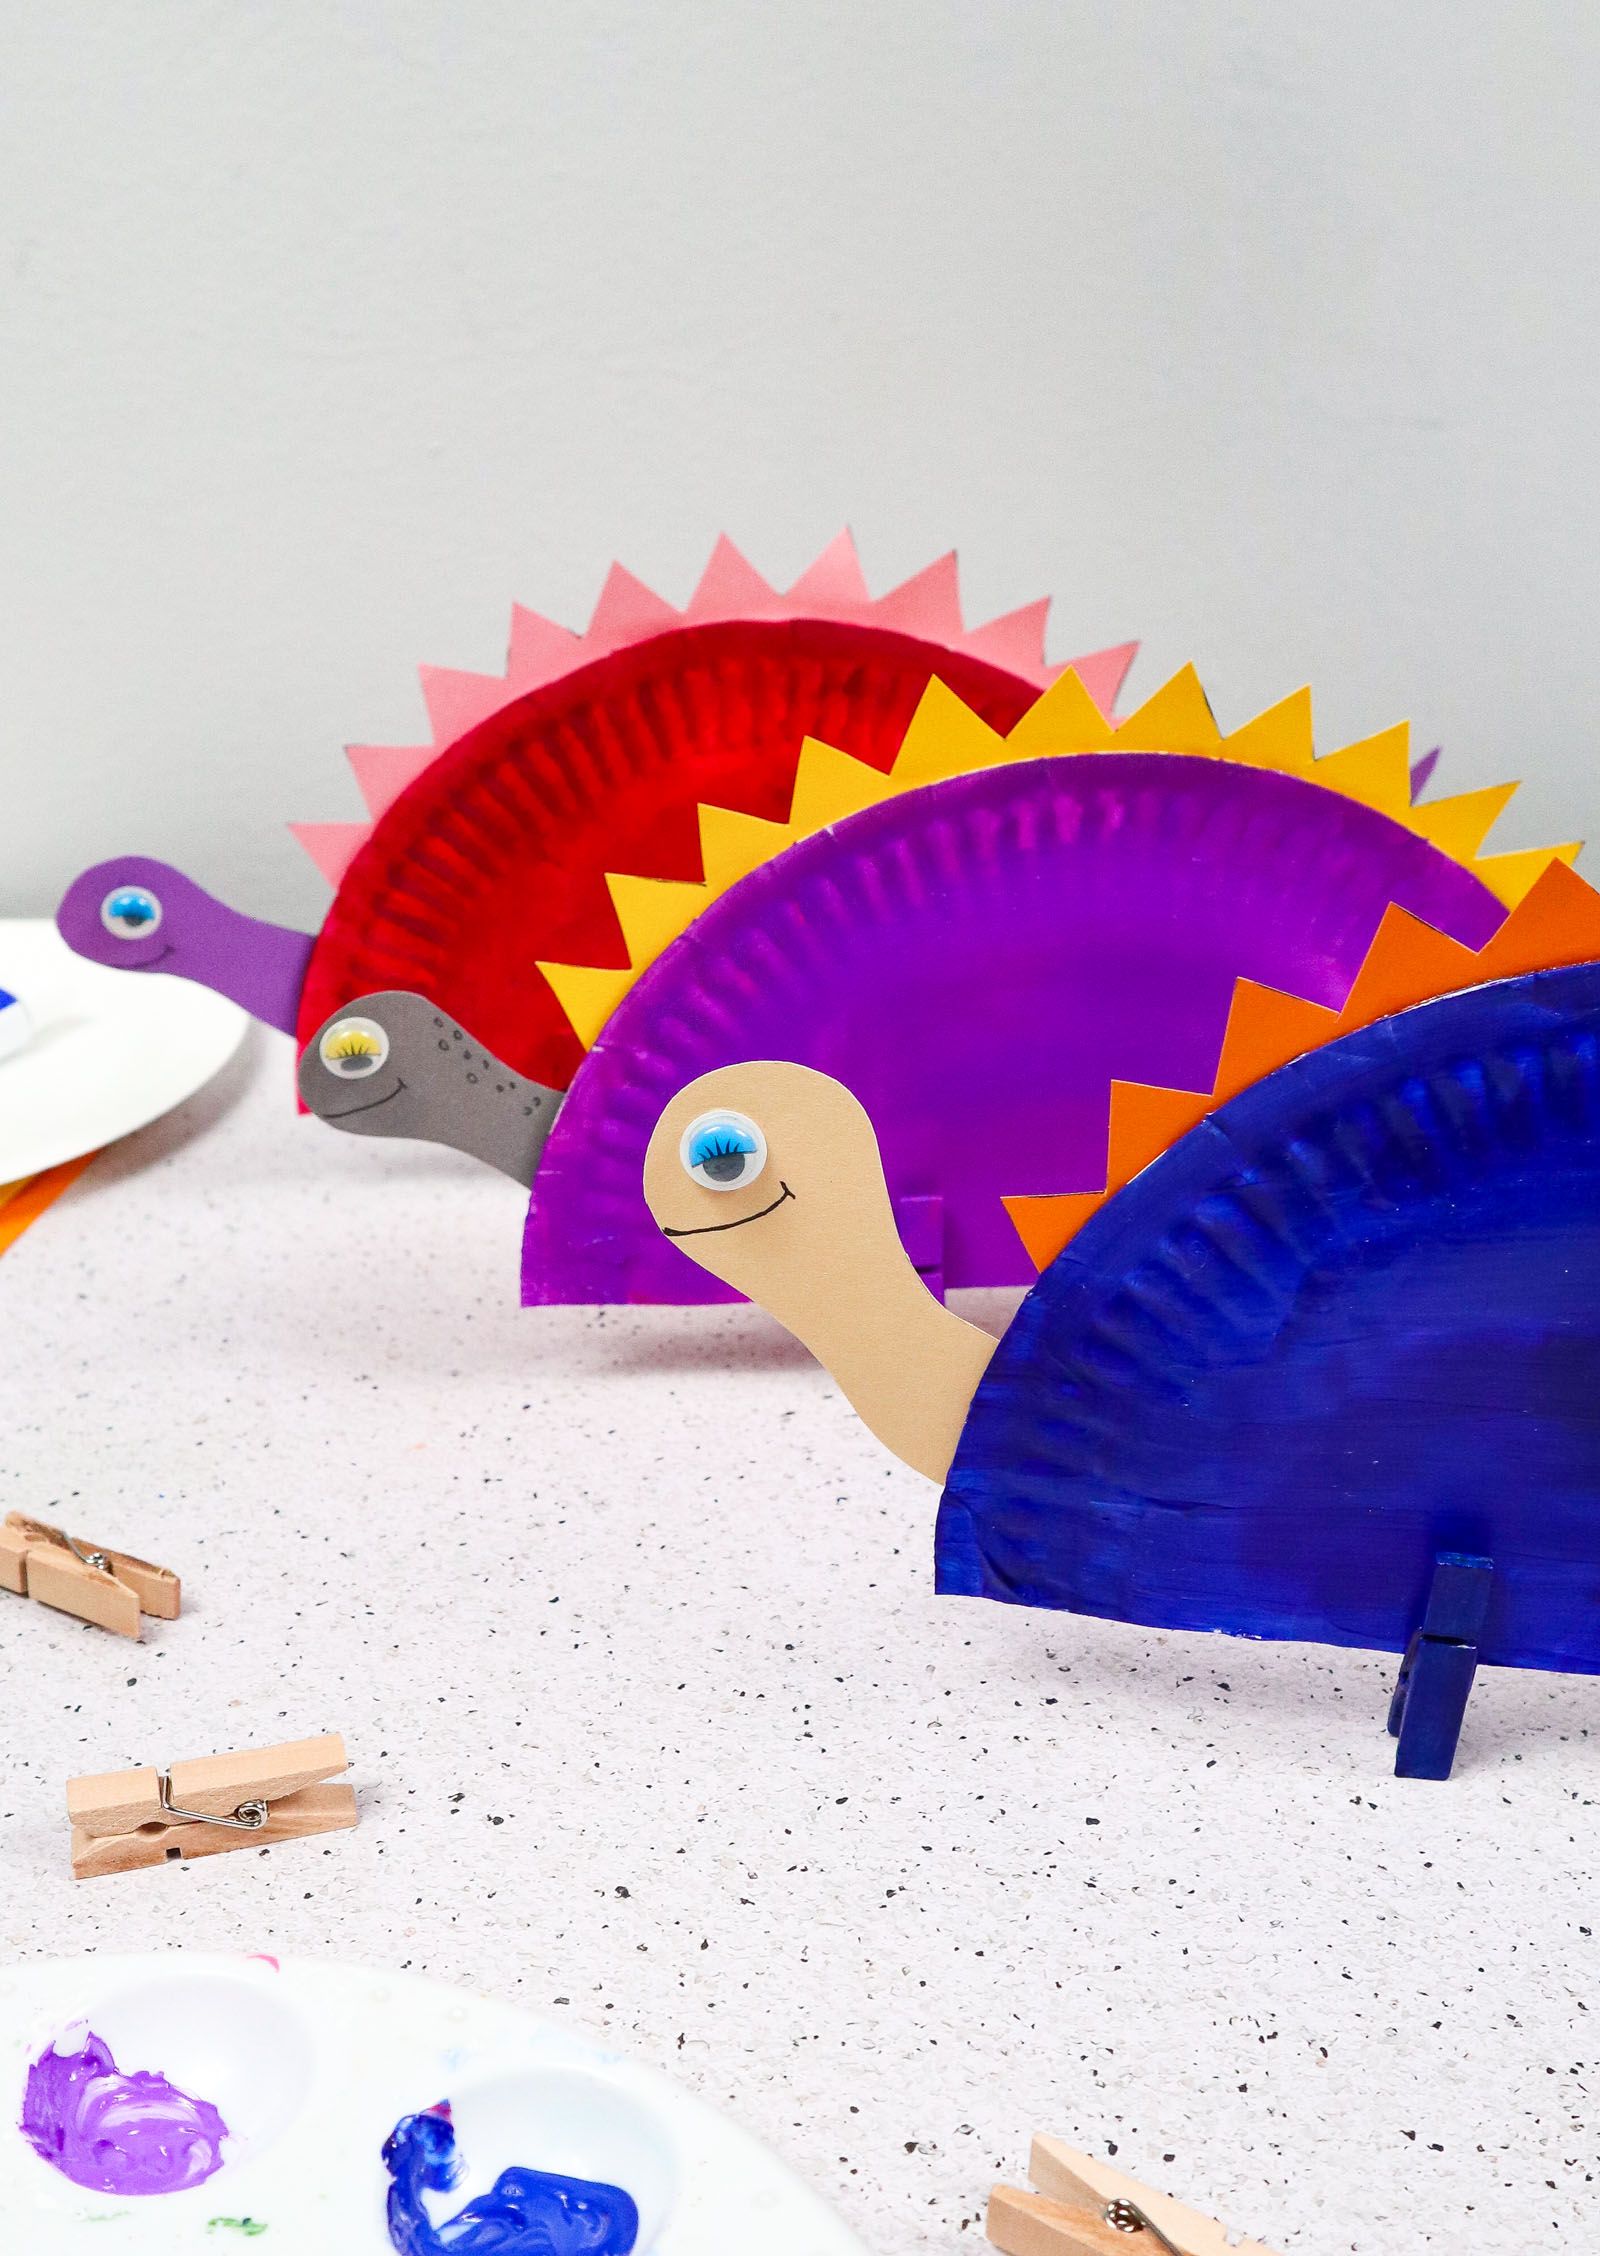
Are you looking for a fun and easy dinosaur craft for your classroom, kids, or anyone else?
Thispaper plate dinosauris a cheap option for your next prehistoric crafting day.
F
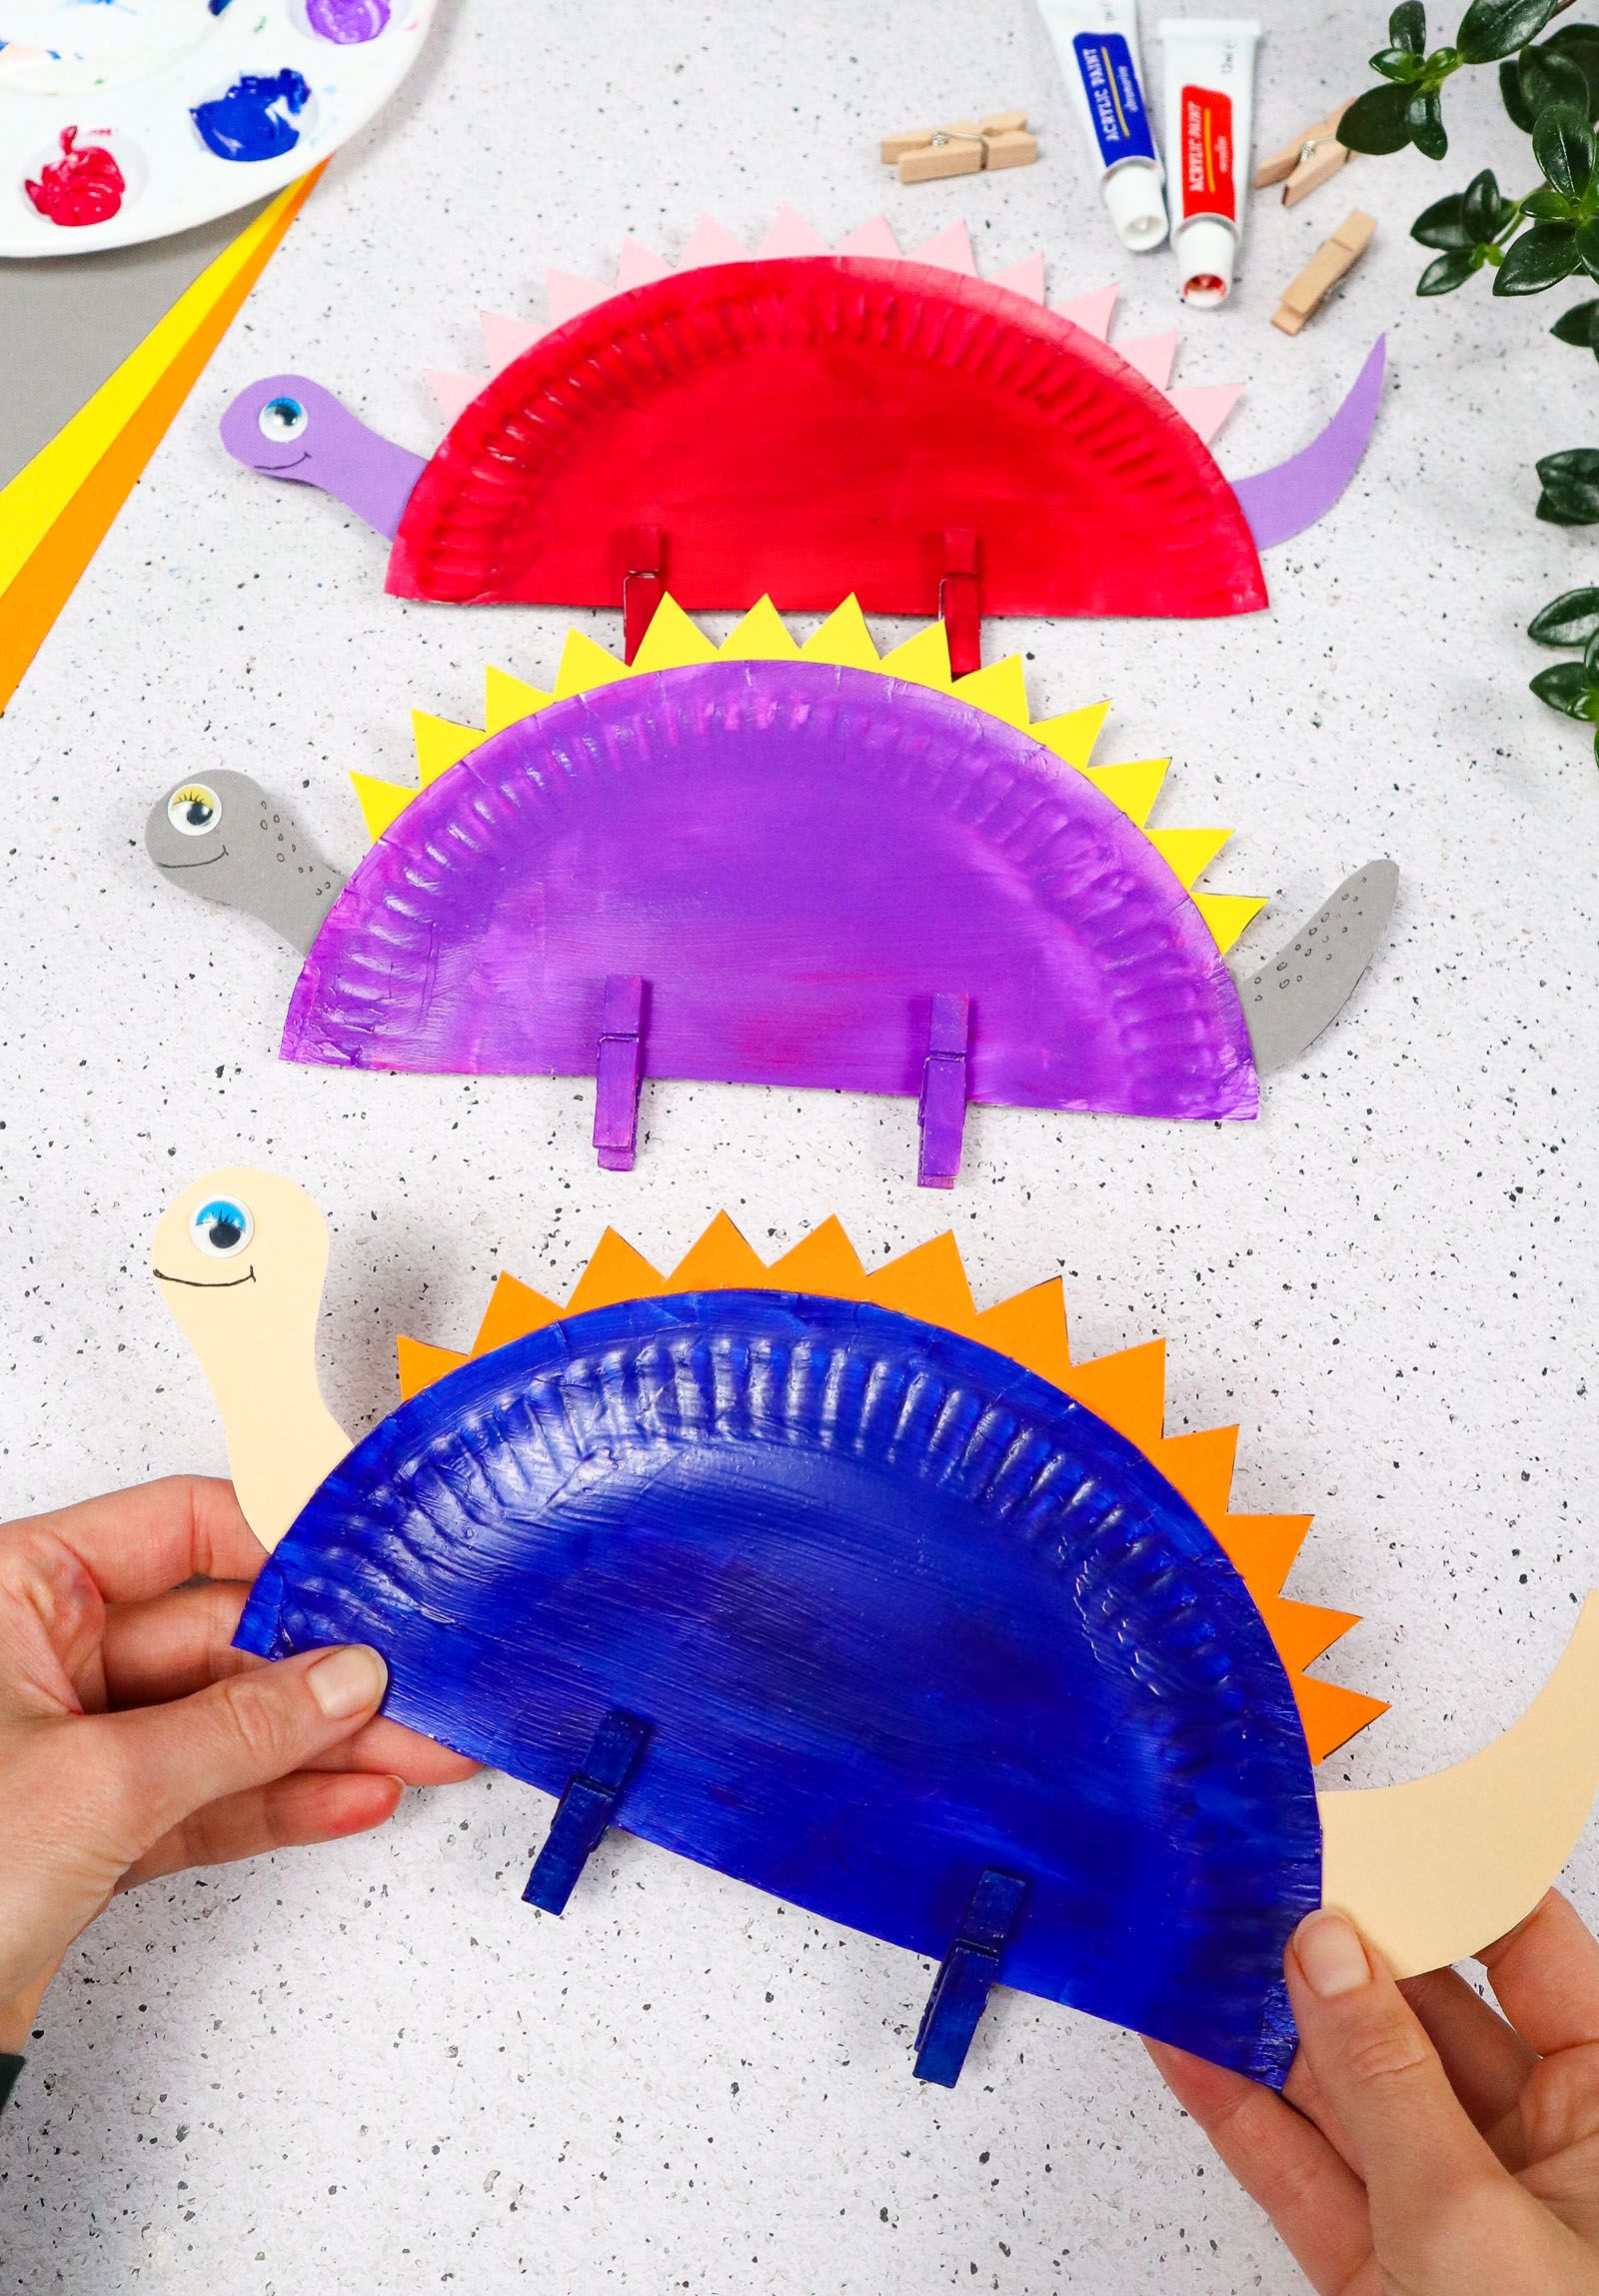
or this craft, the more, the merrier, especially with different colors.
These dinos are a great option because they are adaptable to any crafter.
Keeping it simple or going all out on the decorations is easy.

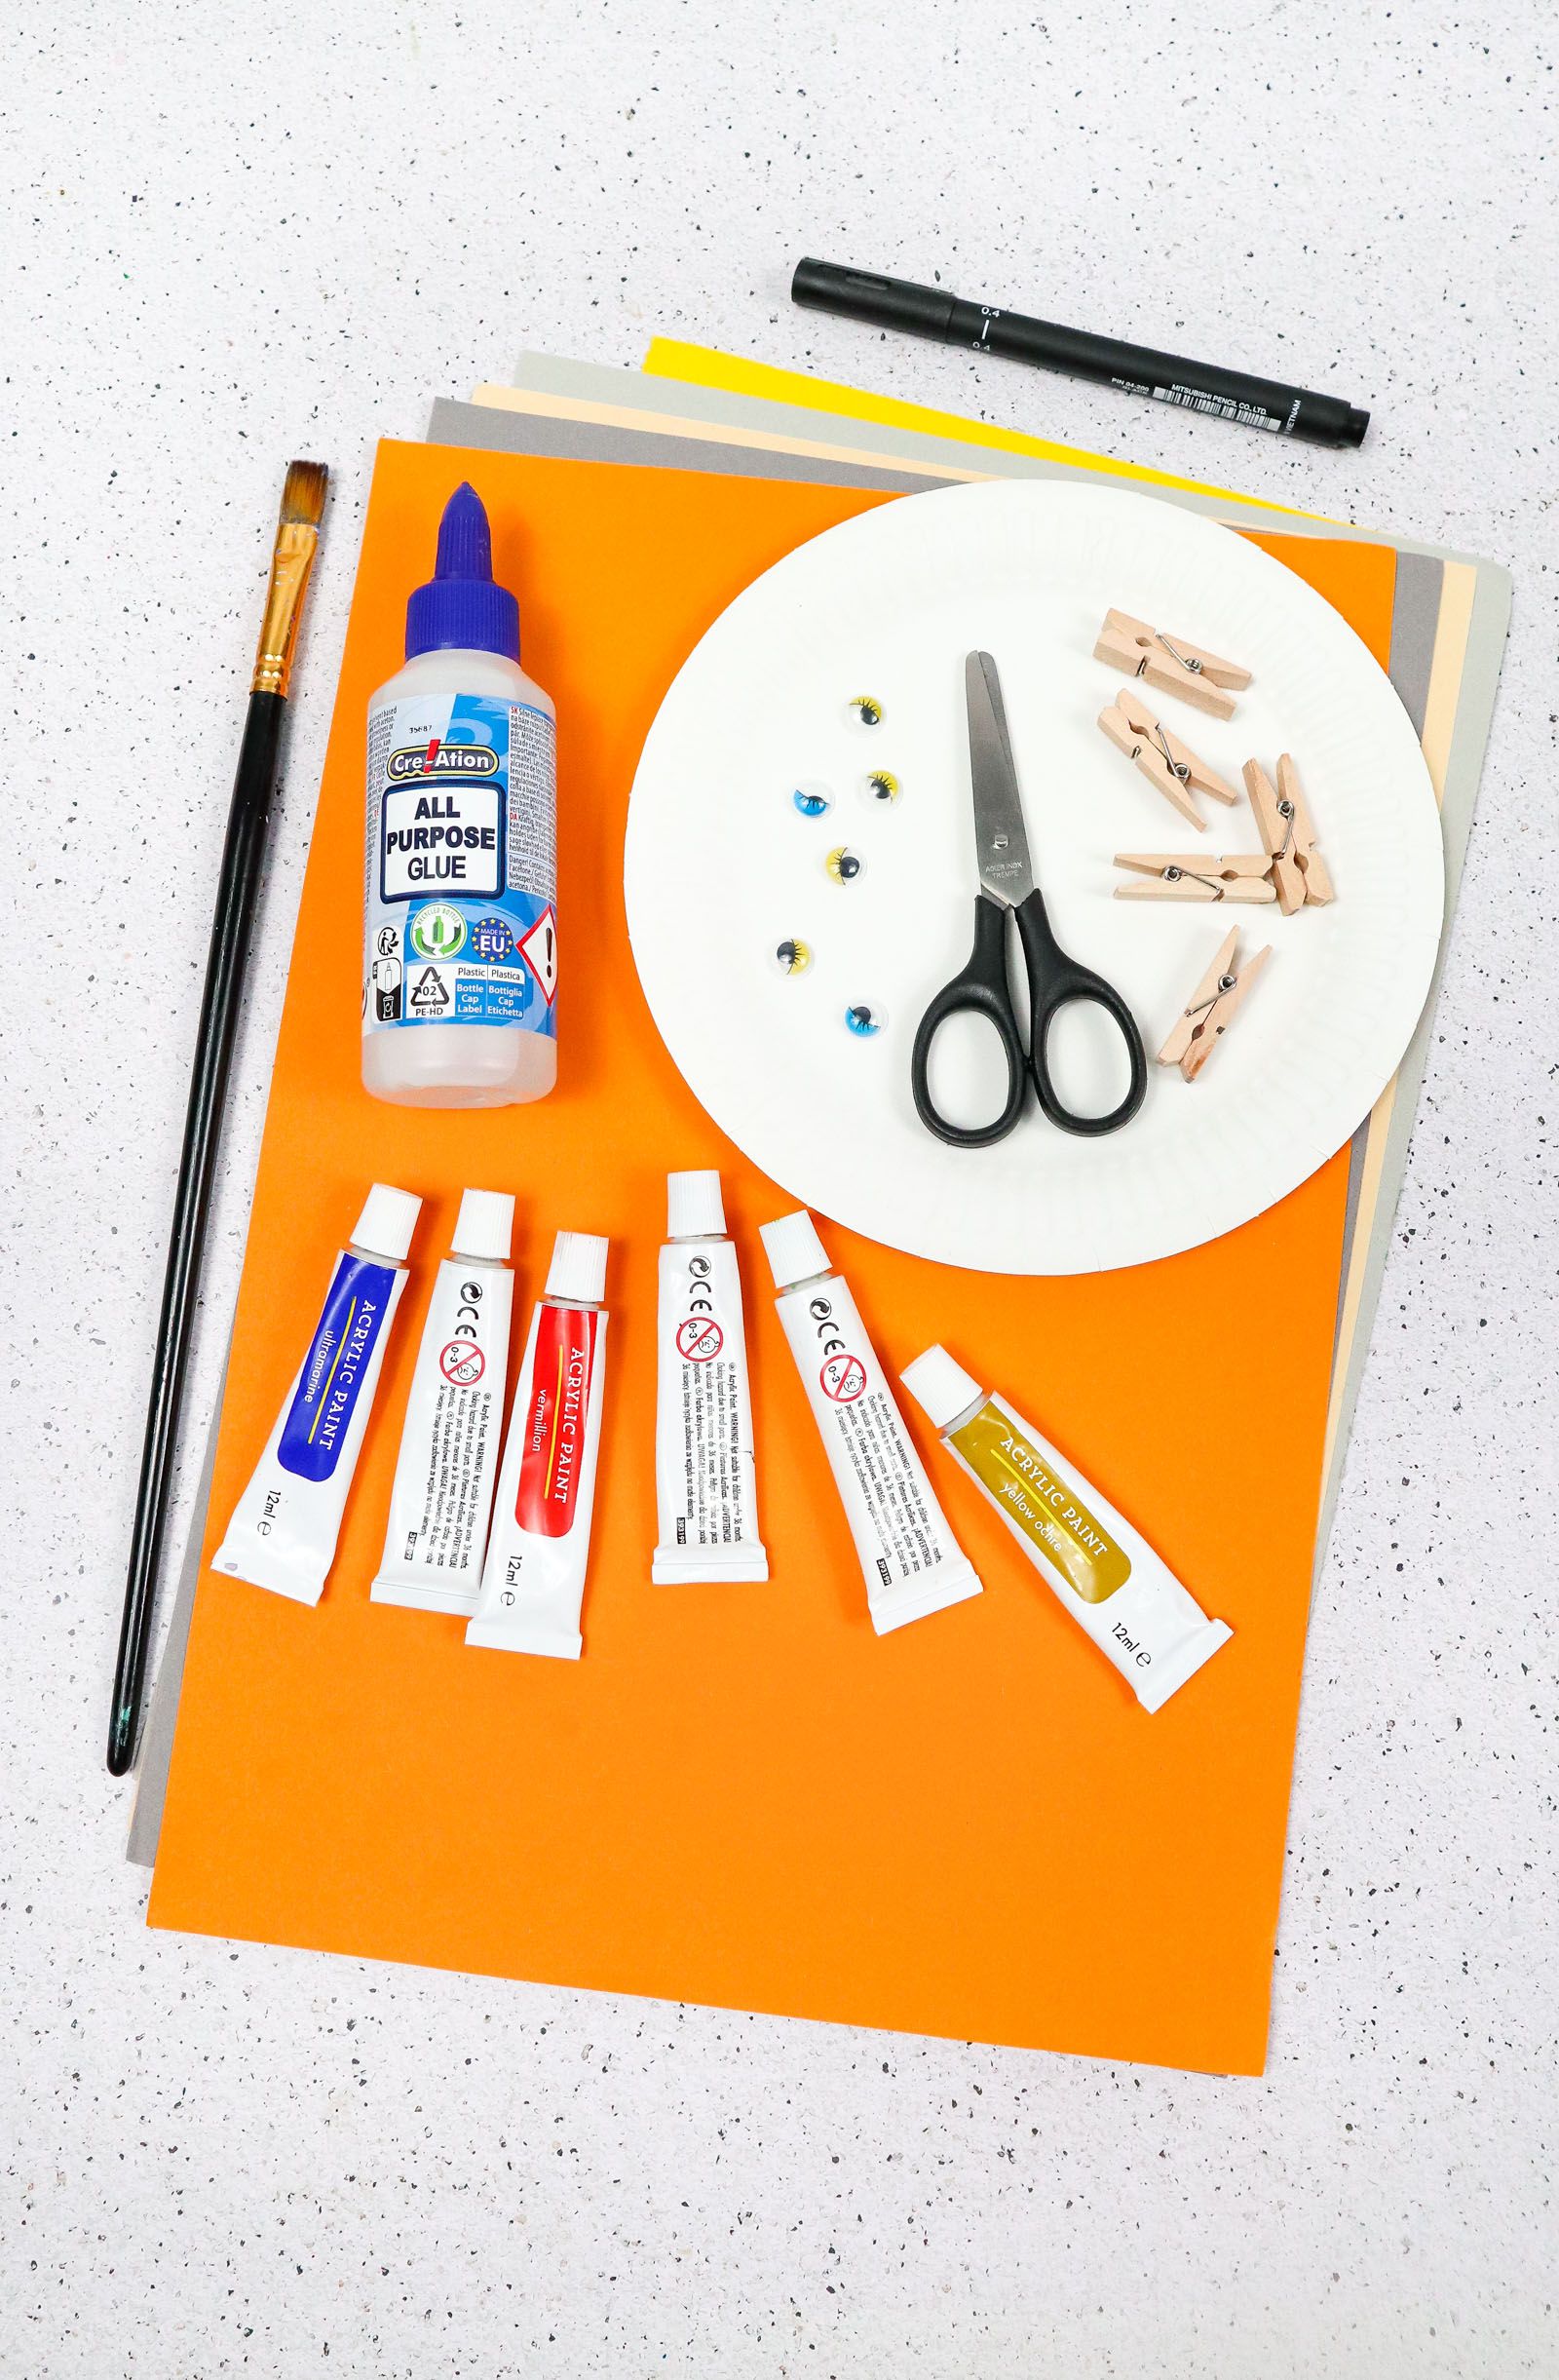
The craft is simple and cheap, and you probably already have some items around your home!
Below, youll find all youll need to make these prehistoric dinosaur plates.
One-half of the paper plate will be the base of your dinosaureach plate makes two plate dinos.
Step 2.Decorate your dinosaur plate however youd like; we used the acrylic paint listed above.
Let the plate dry, and paint the other halfif you make more than one.
Step 3.While the plates are drying, paint or decorate the clothespin legs.
Step 4.Once dry, take some construction paper and trace the arch of the plate.
That line is the anchor to create the spikes evenly on a drawn line.
Start at one end of the arch and draw spikes all the way to the other end.
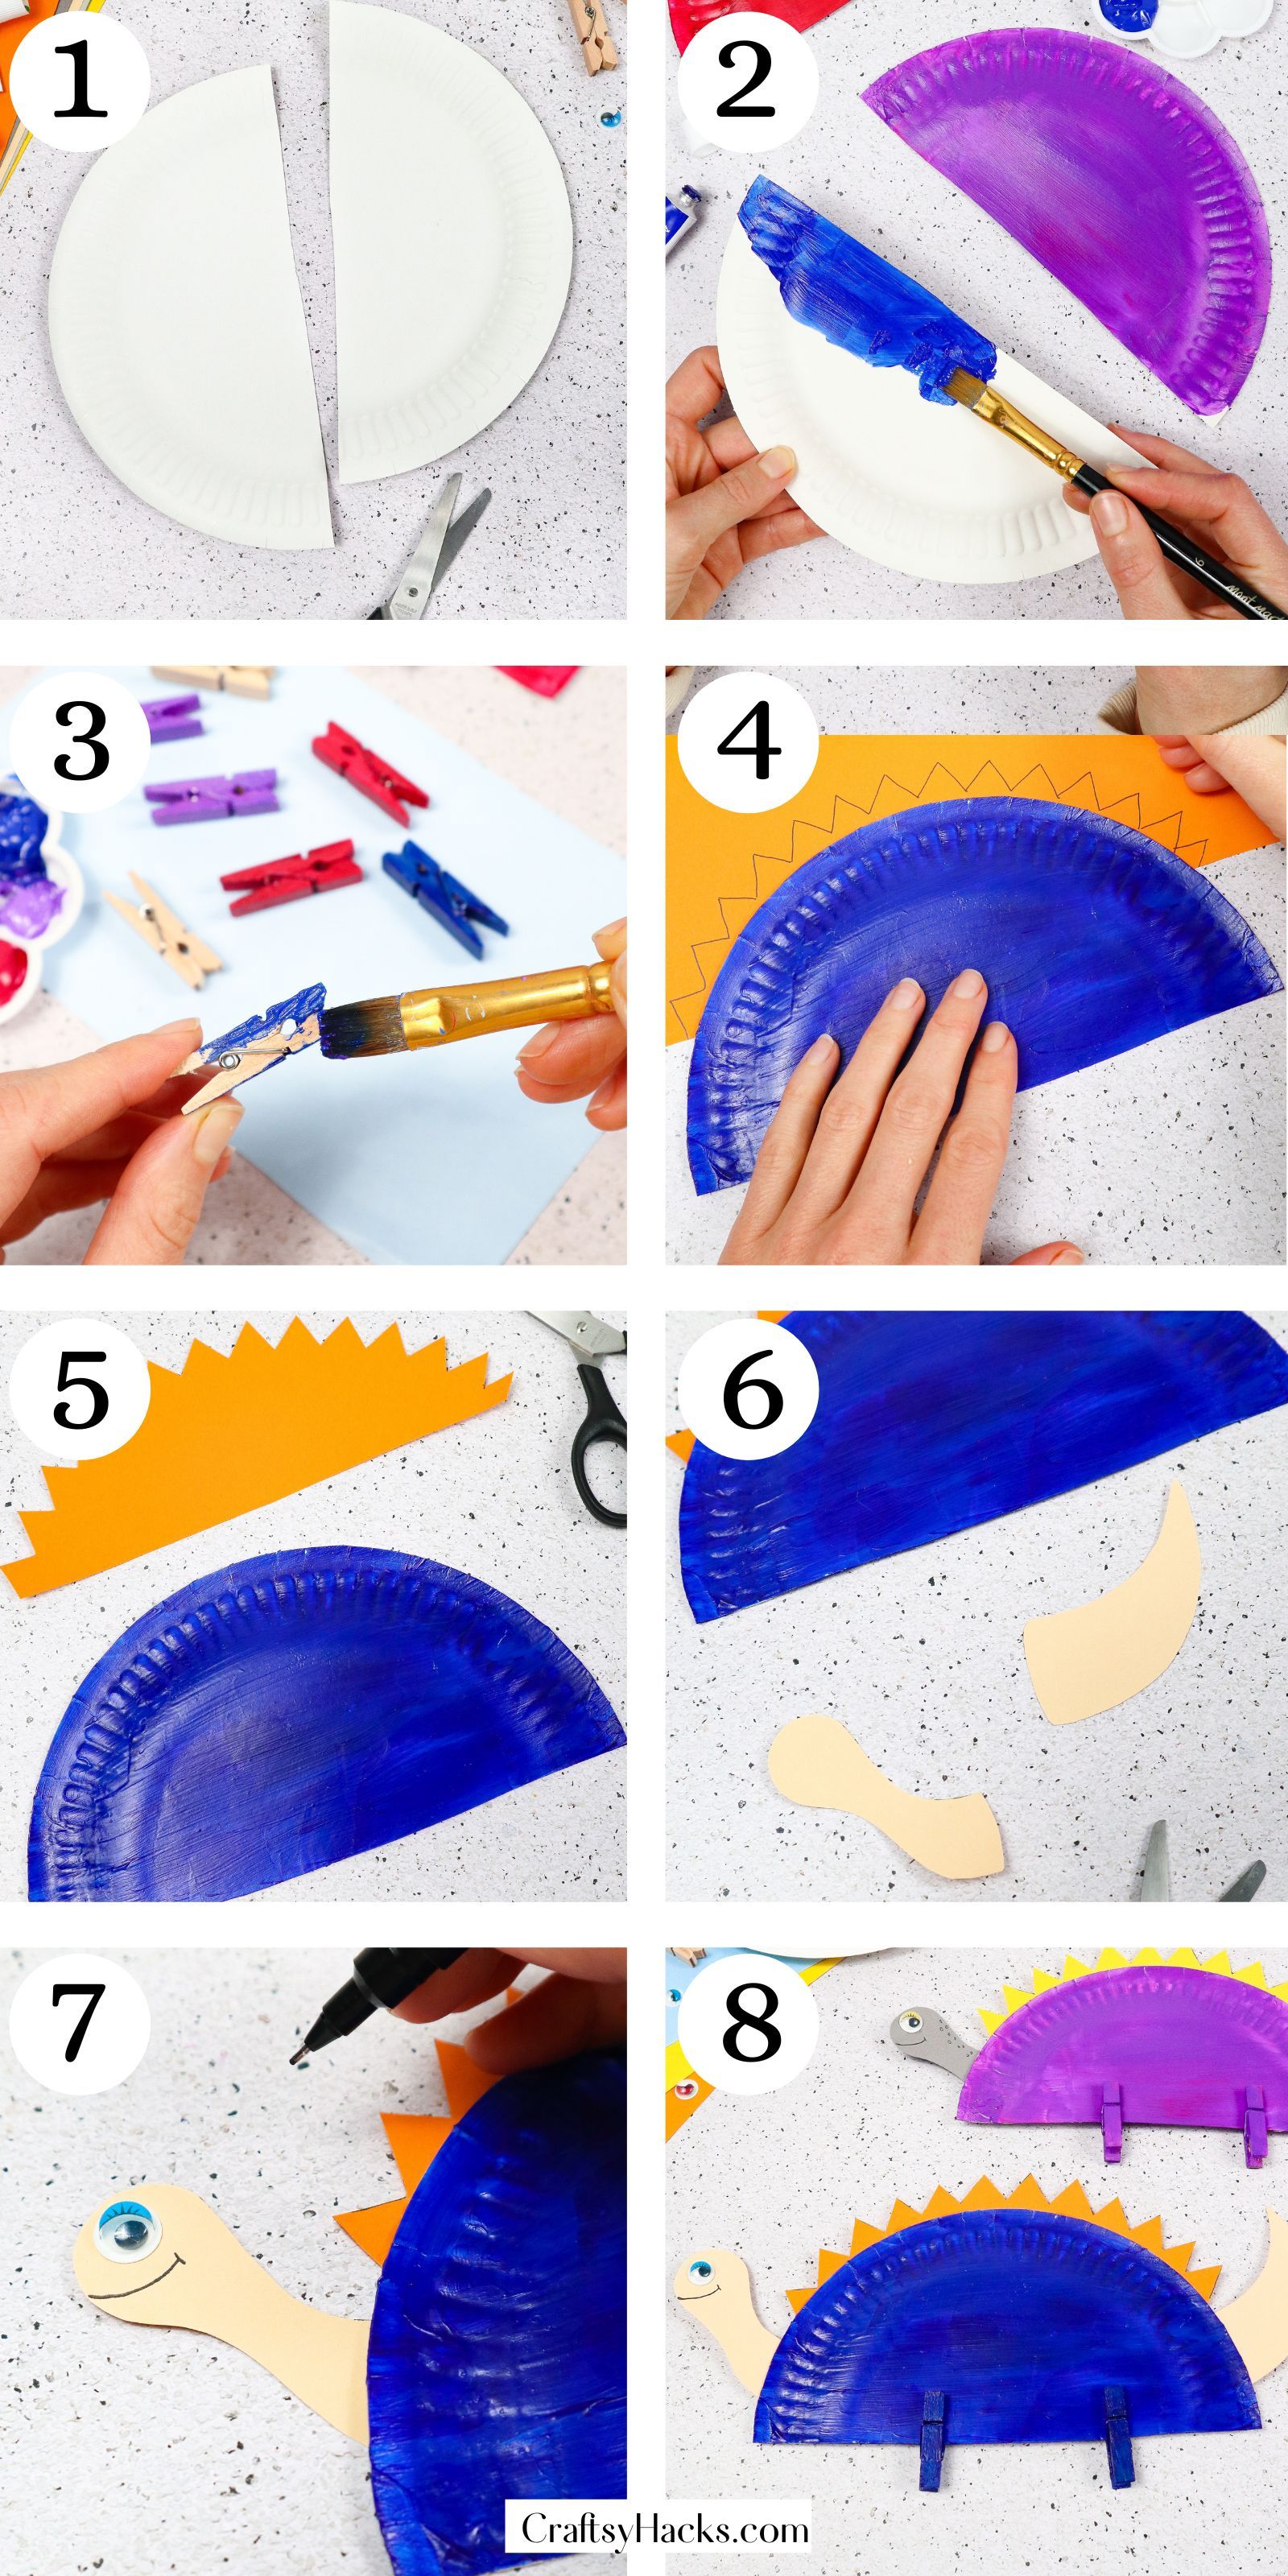
Grab a pair of scissors.
Glue the paper onto the plate backing and let sit.
Both the tail and head can be a unique size and shape to each crafters wants and let sit.
Step 7.While the plate is sitting, grab a googly eye and pen to create the dinosaurs face.
Draw the mouth and extra dino details like tail or head scales or scars, then attach the eye.
The best part is that you’re able to do this craft with any sized paper plate!

There you have it, a wonderful and cute crafted paper plate dinosaur.
A good tip to consider is the throw in and amount of glue you use while crafting.
check that to read or be familiar with your craft glue recommendations.
No glues are the same when it comes to dry time.
How Long Will This Dinosaur Take to Make?
Below is a straightforward look at the cute and fun paper plate dino craft.
