Wed be replacing the old shower stall, painting the bathroom vanity and refinishing the tile floor.
As described last week, we didnt get the shower stall ordered in time which held everything else up.
So I begged hubby to come and help me and left the oldest two kiddos with grandma.

Disclaimer: We have not received any compensation for this post.
However, we have (and continue to) receive products from DecoArt.
This post also contains affiliate links (indicated with *).
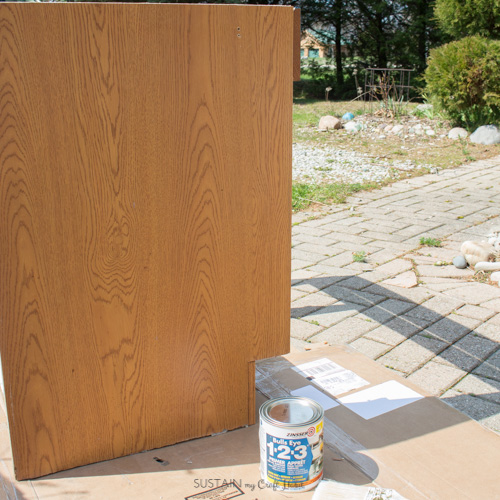
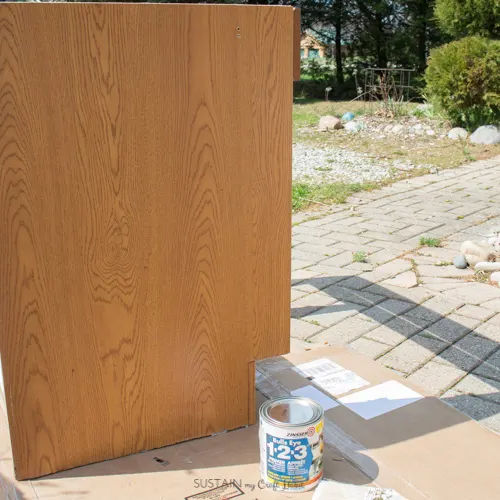
and take off the vanity counter-top.
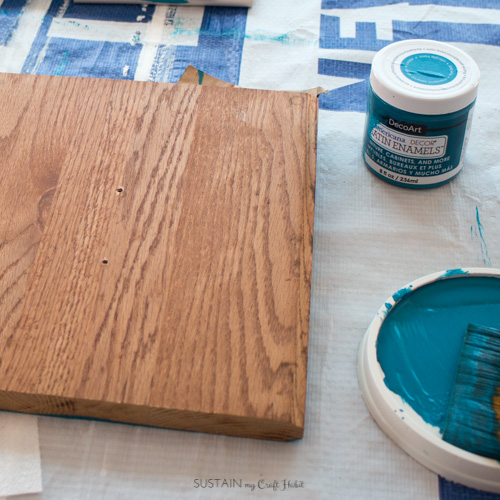
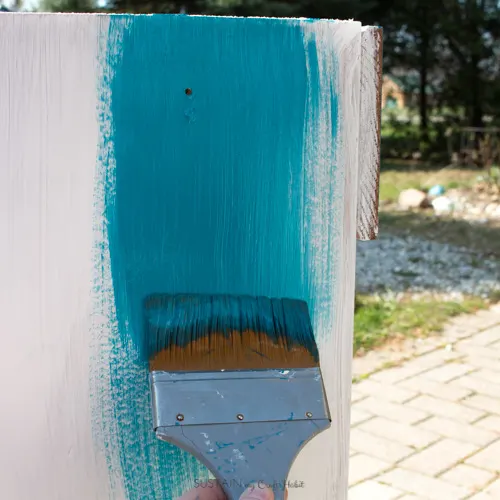
Thoroughly clean and de-grease the vanity surfaces with warm soapy water.
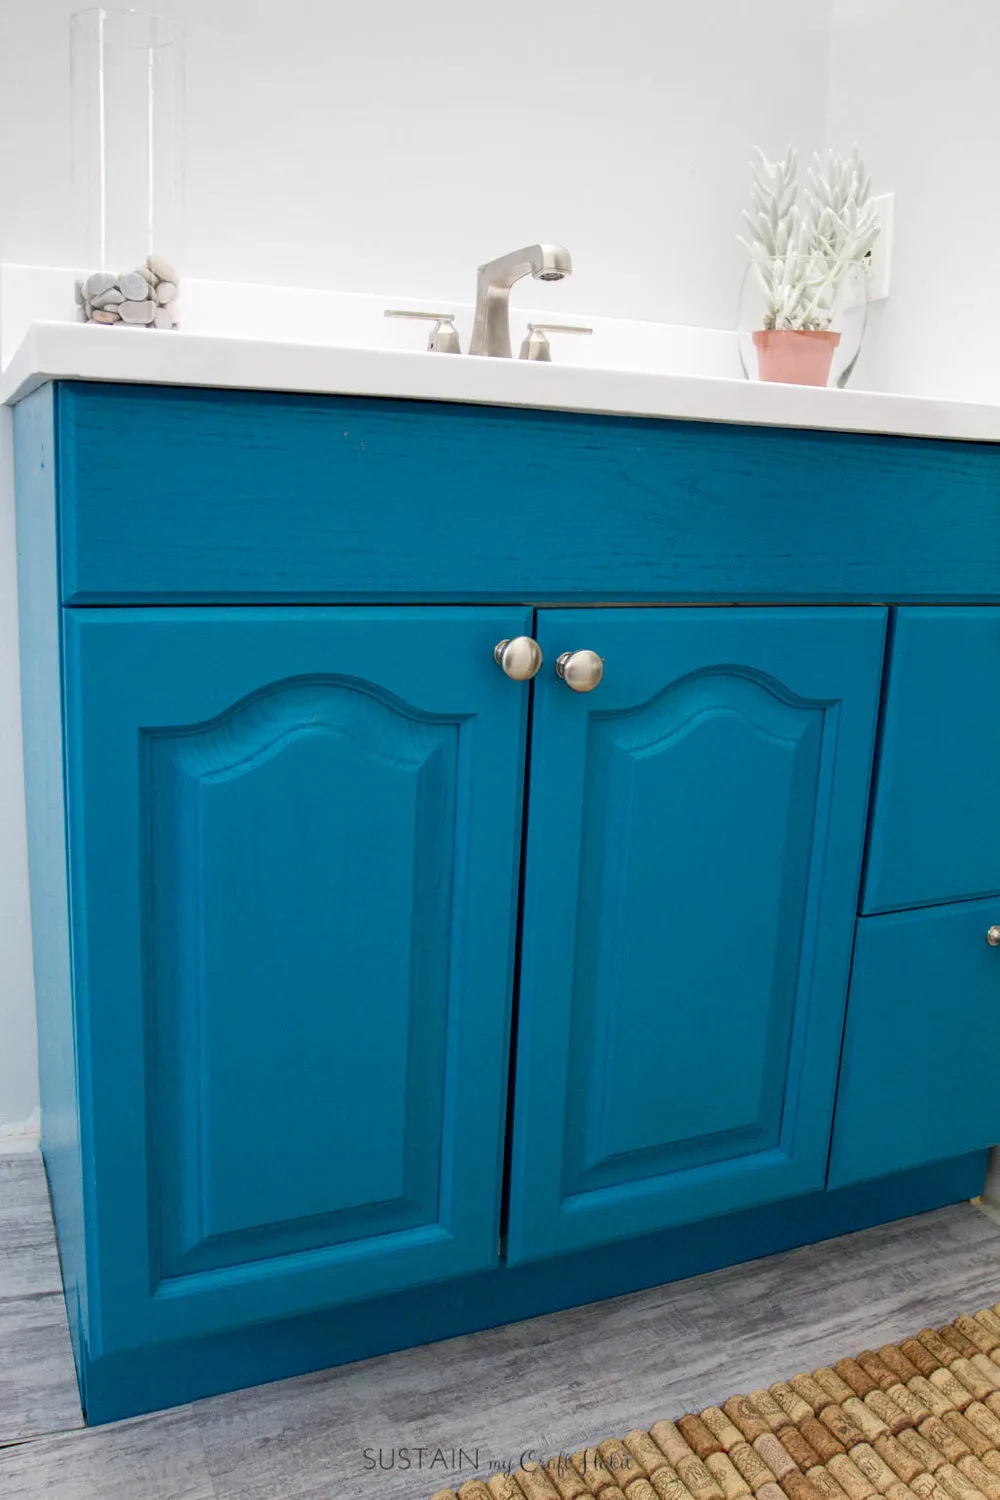
This paint gives a durable satin finish and is great for high-use areas such as bathrooms and kitchens.

We didnt need to sand or prime the wood surfaces.
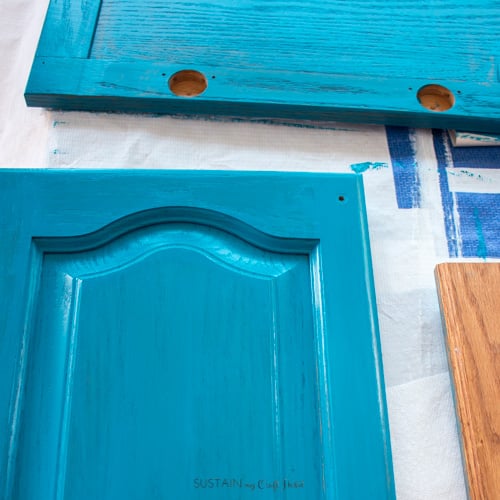
It took two good coats of paint to achieve the nice finish we were looking for.
Let all the paint dry fully before proceeding.

Generally for tiles and hardwood flooring which isnt floating you might plant the vanity over top.
Be sure to read the instructions for your specific flooring.
We needed to add a few shims underneath the vanity to get it completely level.

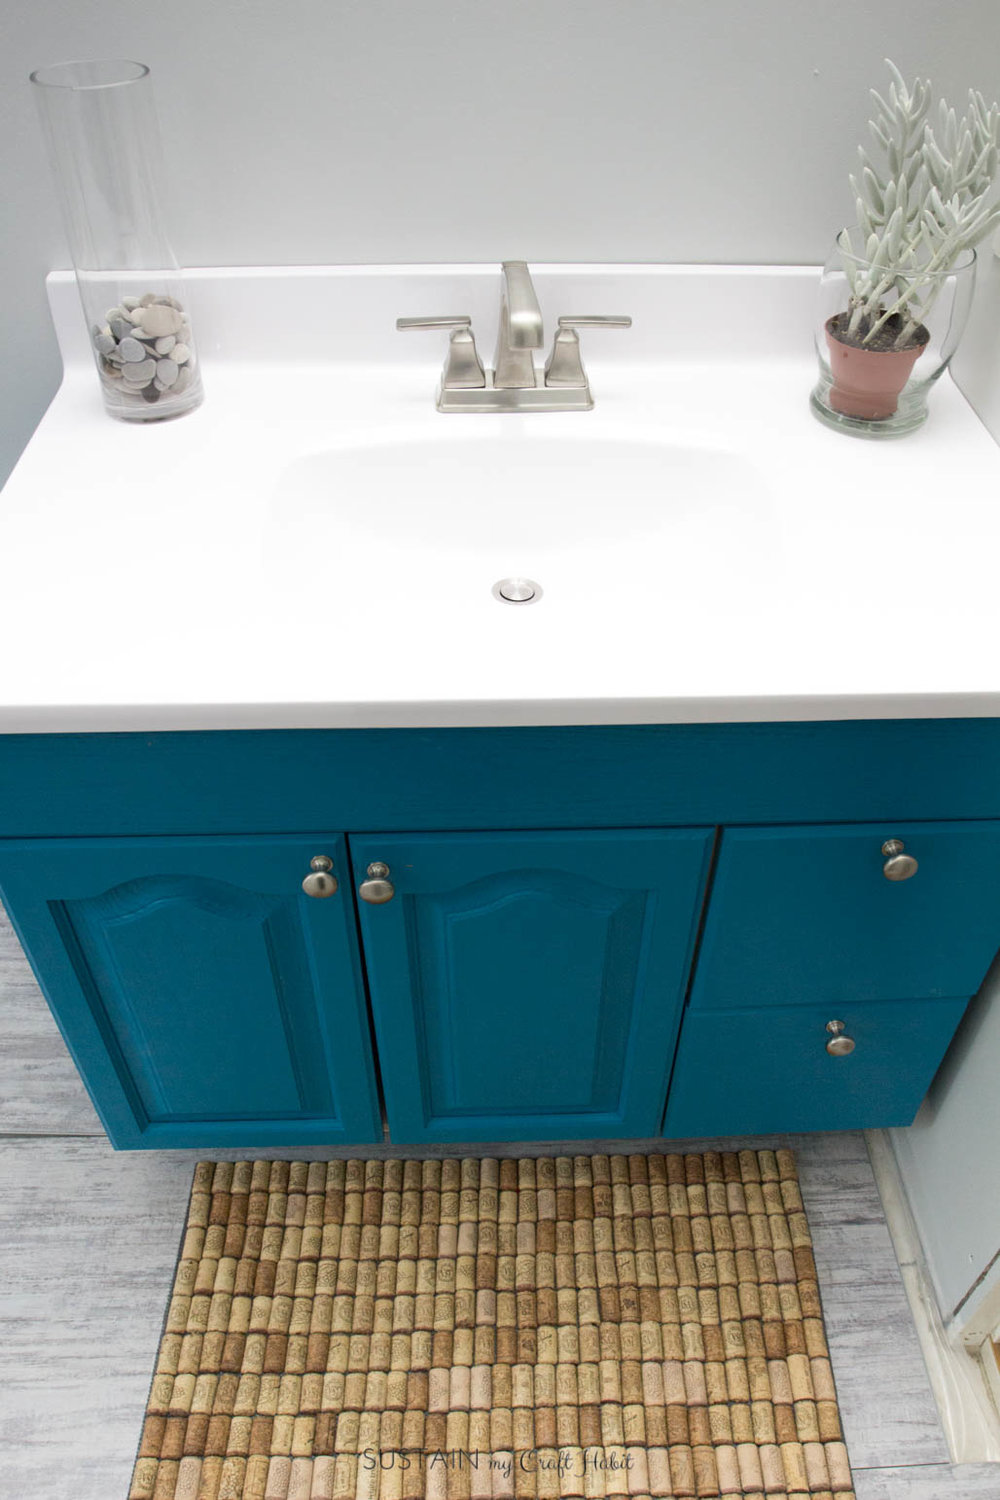
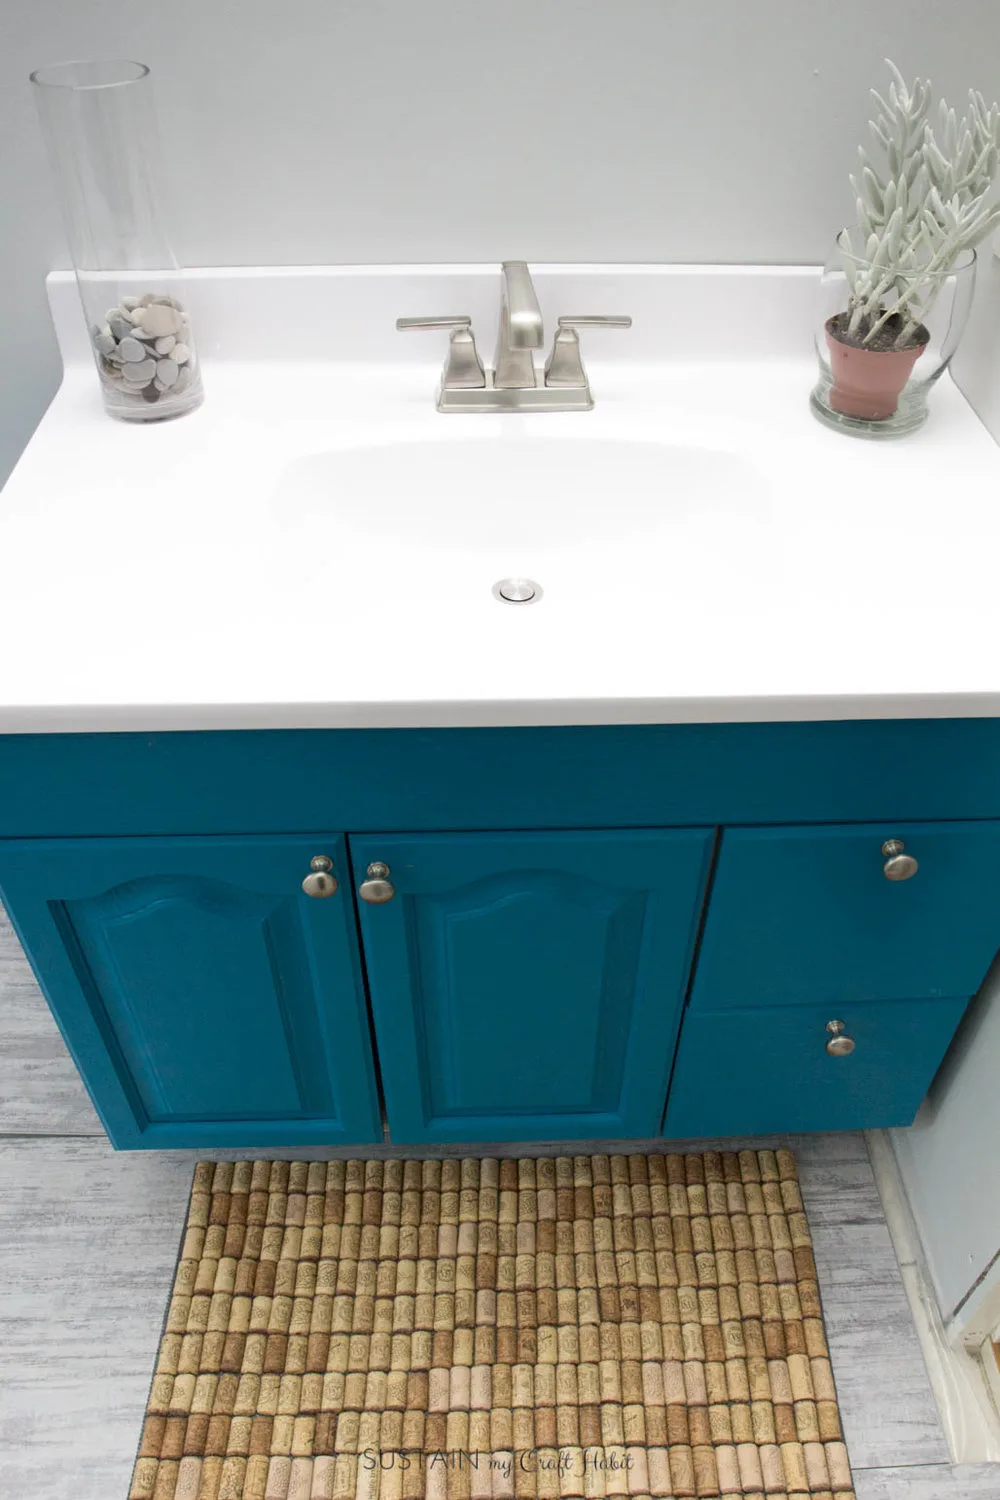
Step 4: Reinstalling the vanity counter-top
We purchased a simple, one-piece made-to-order fiberglass countertop.
For some reason the back edge of the countertop bowed outwards and wouldnt lie flat against the wall.
So we needed to shave some off using a Sisal saw.

Then the countertop just sat firmly on top of the vanity.
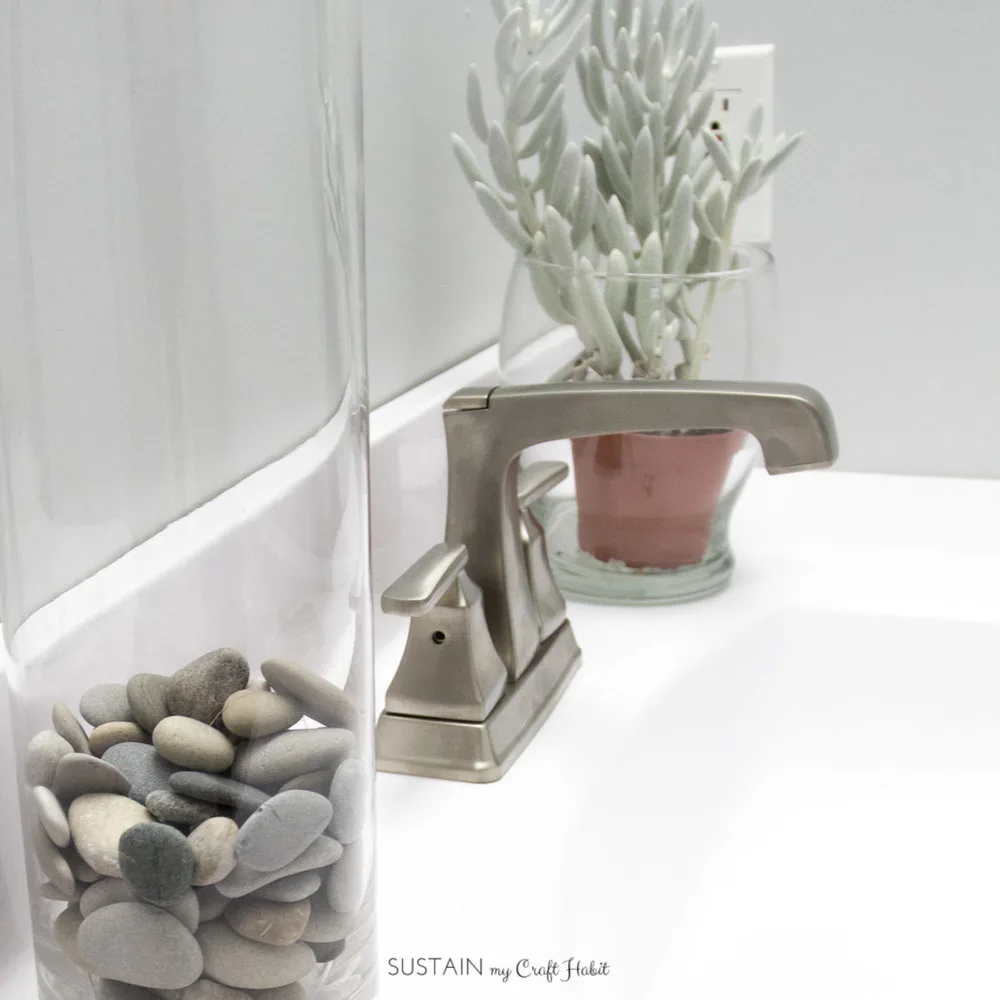
The vanity faucet has a really nice, clean modern shape and isnt too large for the vanity.
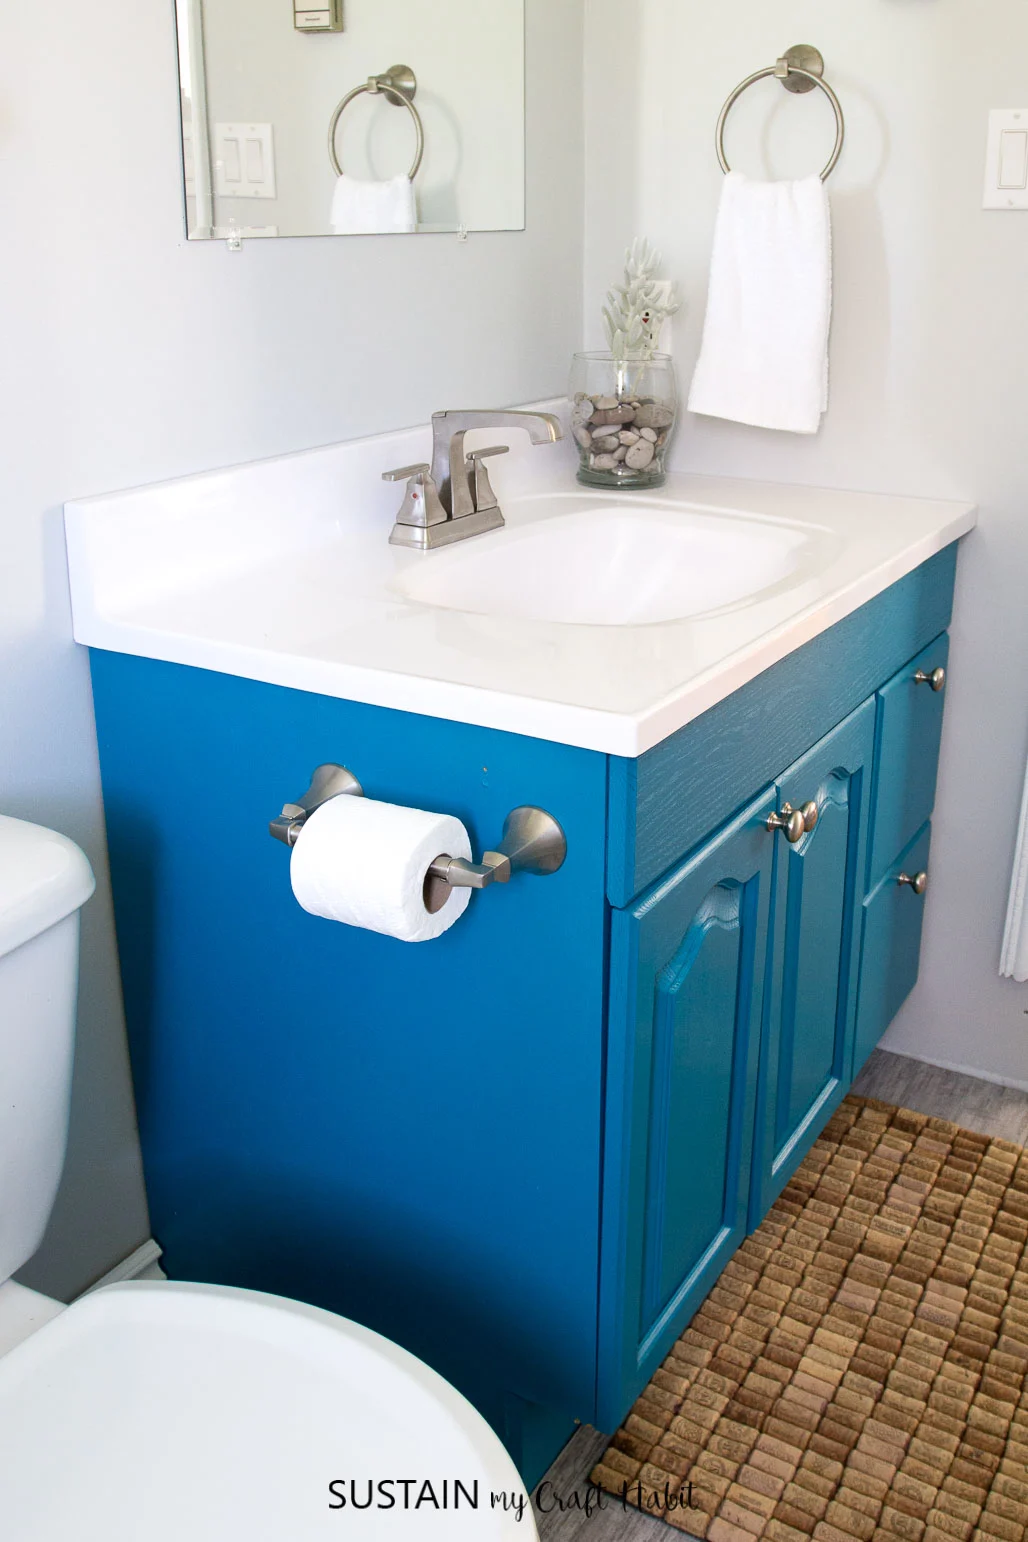
Im really loving how fresh, bright and clean the room is looking so far.

Even our new succulent Furry is super happy in her new home!
Will we be able to pull it off?