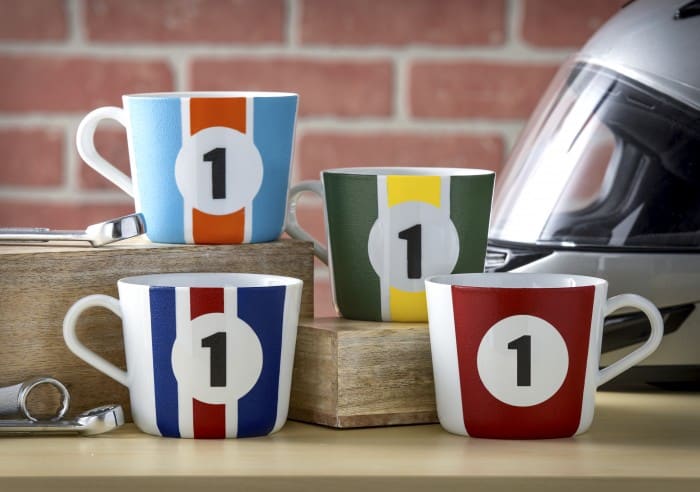
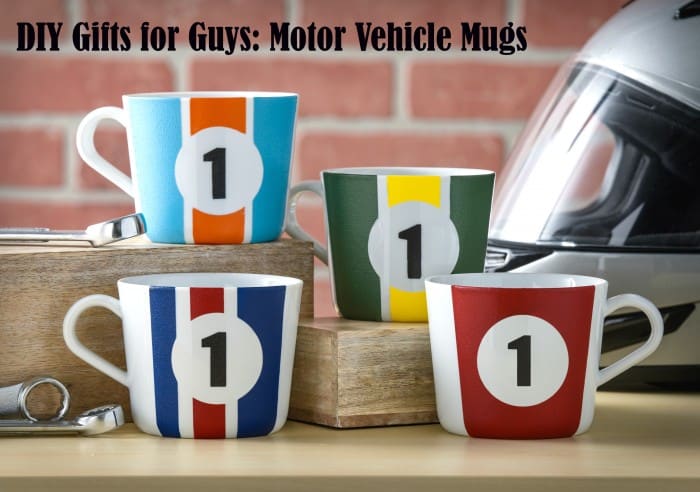
These sports car inspired painted mugs make great gifts for guys!
They are very easy to paint and very inexpensive to make you just need a few supplies.
I can see his point.
And then he did!
And I have to admit .
I love the results.

Here are some of the images to show you what Steve was inspired by.
Heres how thishomemade giftwas done.
DIY Painted Mugs
Gather These Supplies
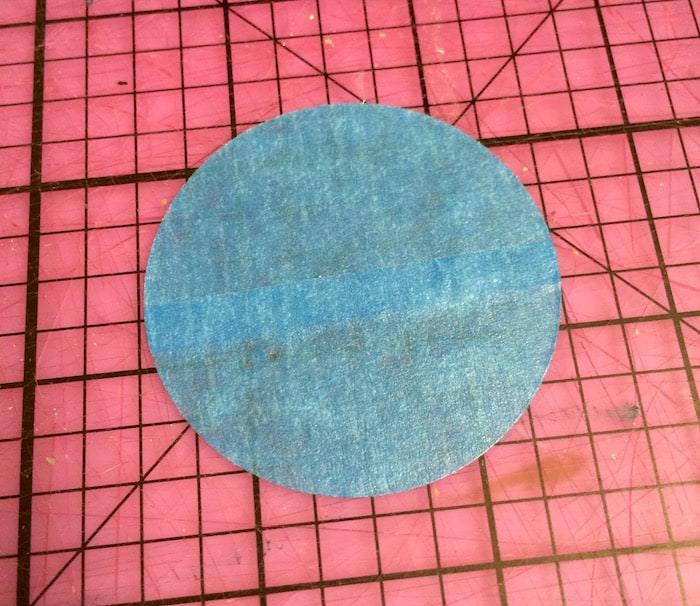
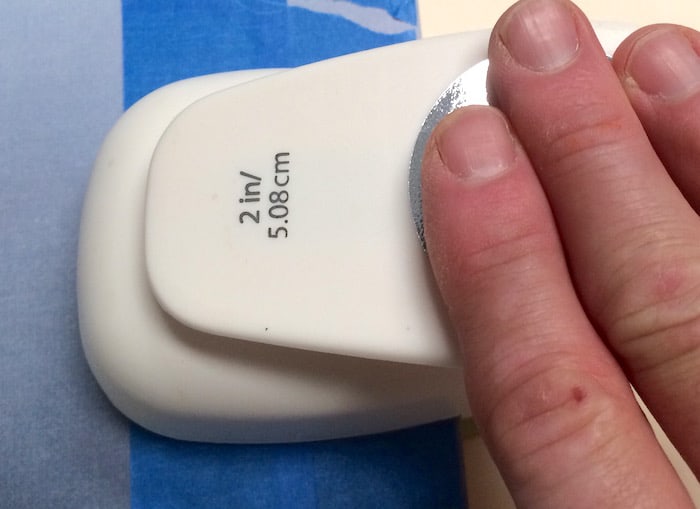
Place some painters tape (overlapping) down on cardstock.
Wax paper could work too; you just need something that is stiff enough to punch through.
Use the 2 inch punch to punch a circle out of the cardstock, through the painters tape.
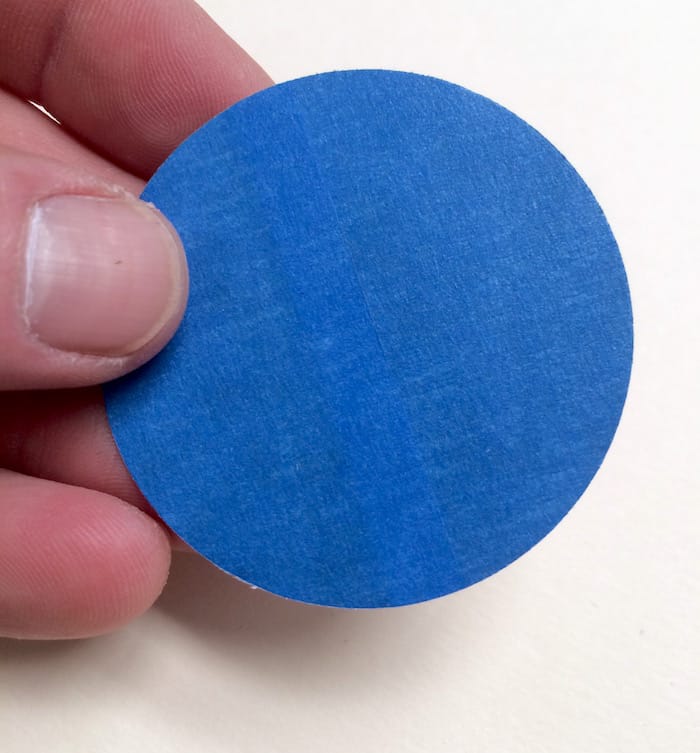
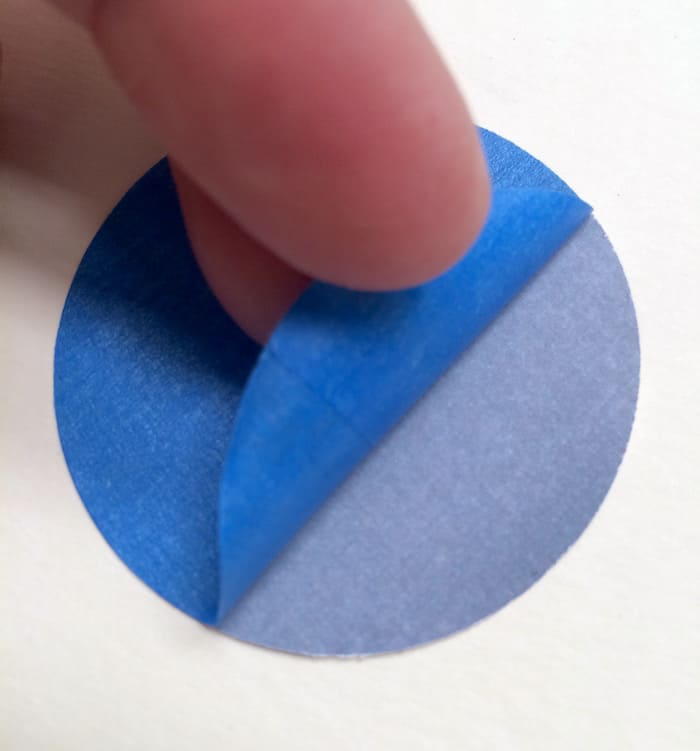
Peel the painters tape circle off of the cardstock.
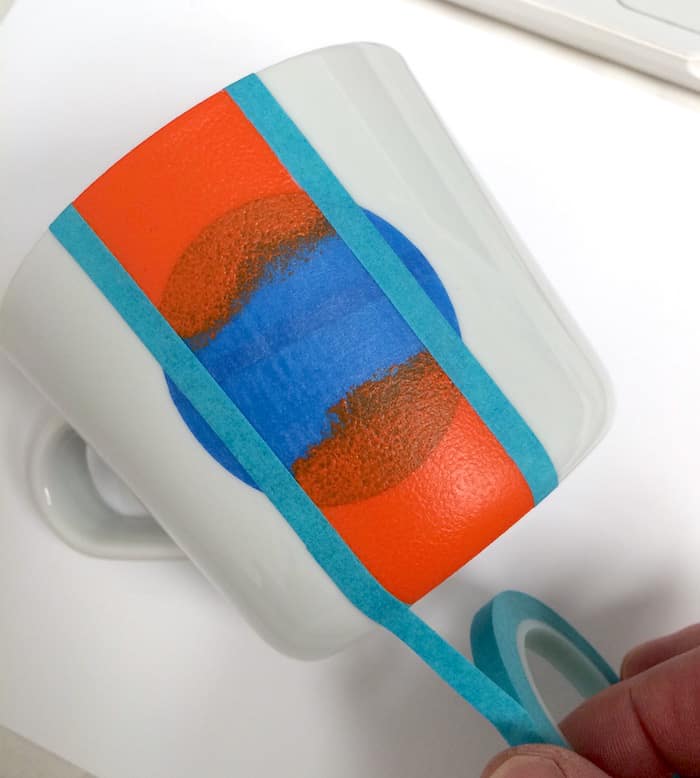
Place the tape circle down in the center of the mug.
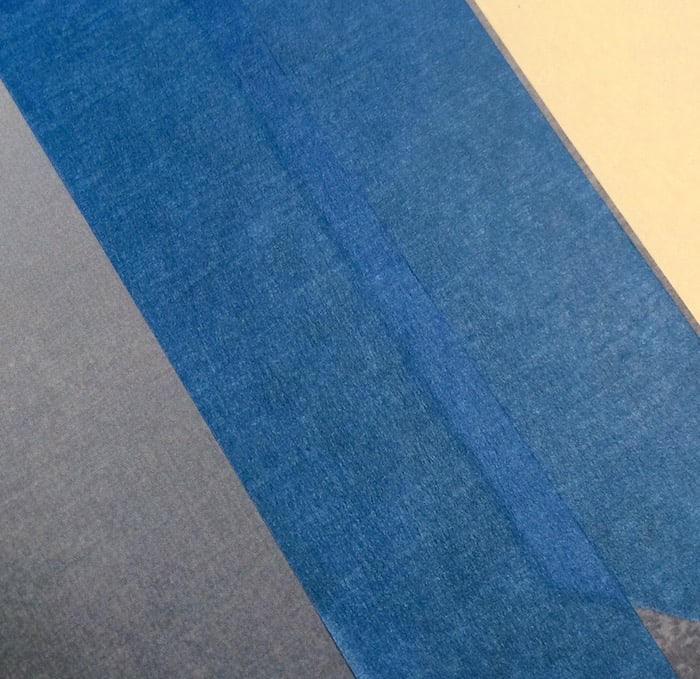
Then place painters tape stripes down either side of the circle.
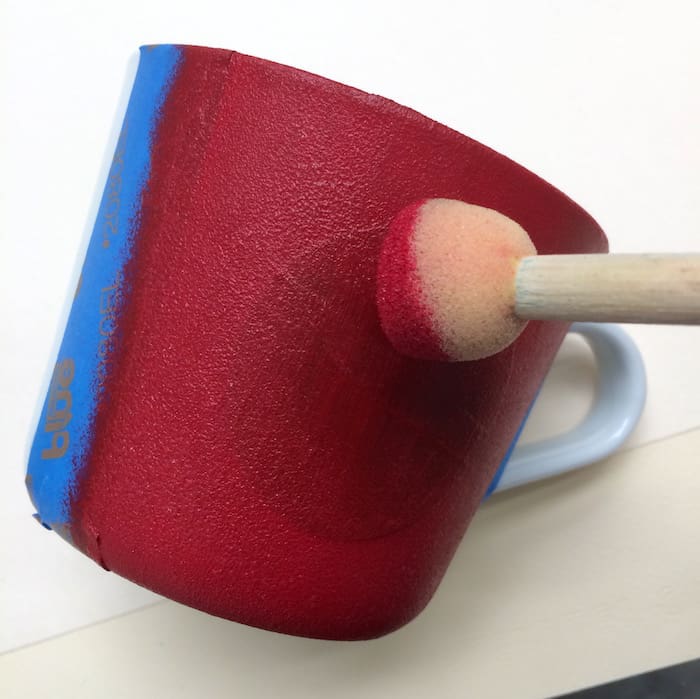
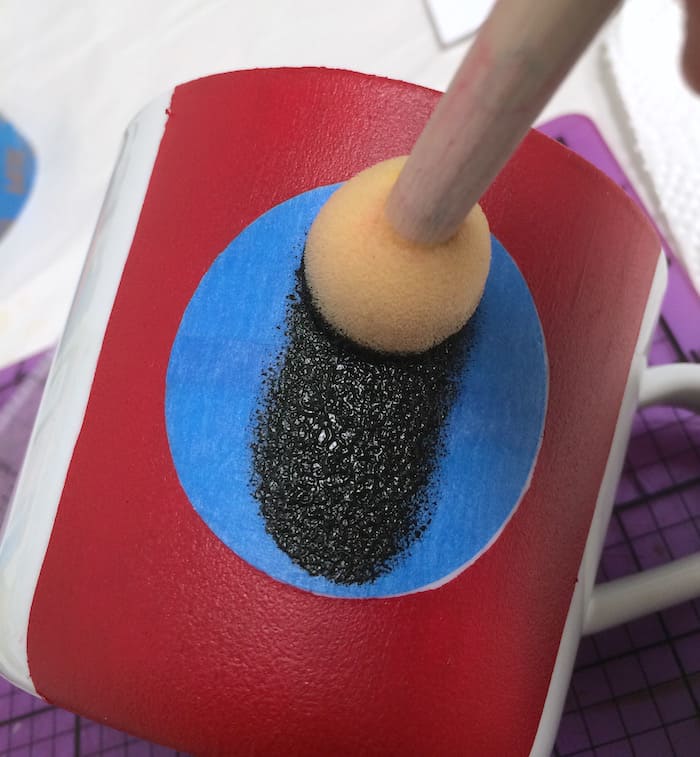
Use a spouncer to apply the paint to the mug in the open spaces as shown.
You just have to follow the curing instructions on the back of the bottle.
Remove the painters tape stripes .
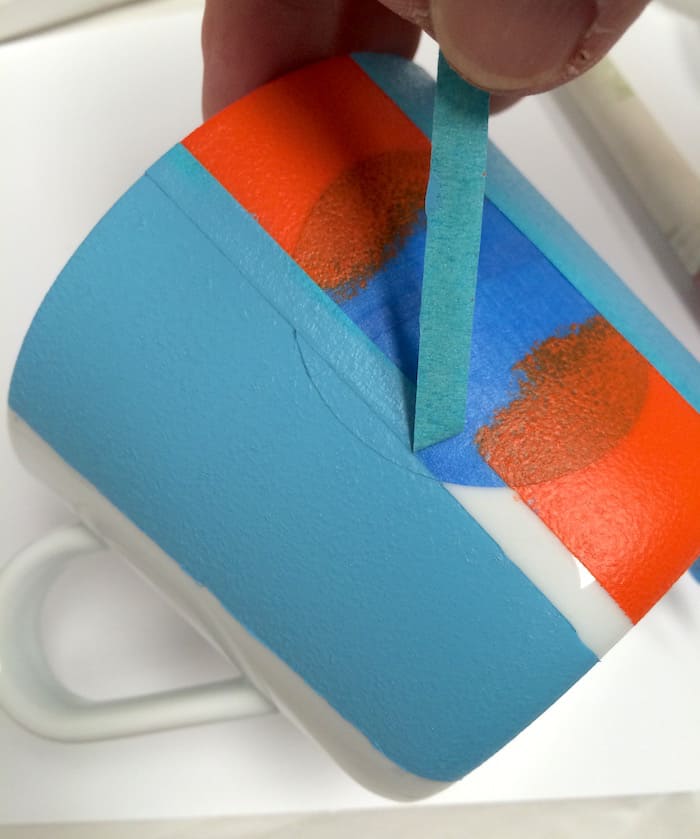
and add the 1/4 inch tape down the side of the first color (orange).
Be careful not to tape on top of the paint .
youll peel it off as you peel up the tape.
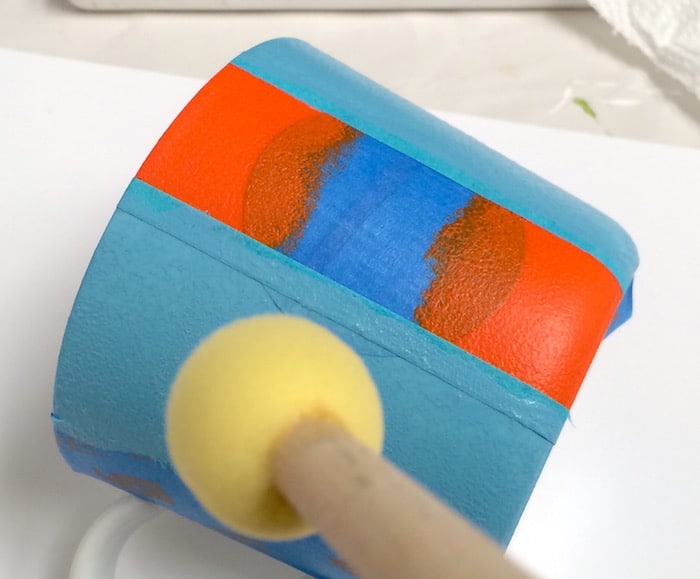
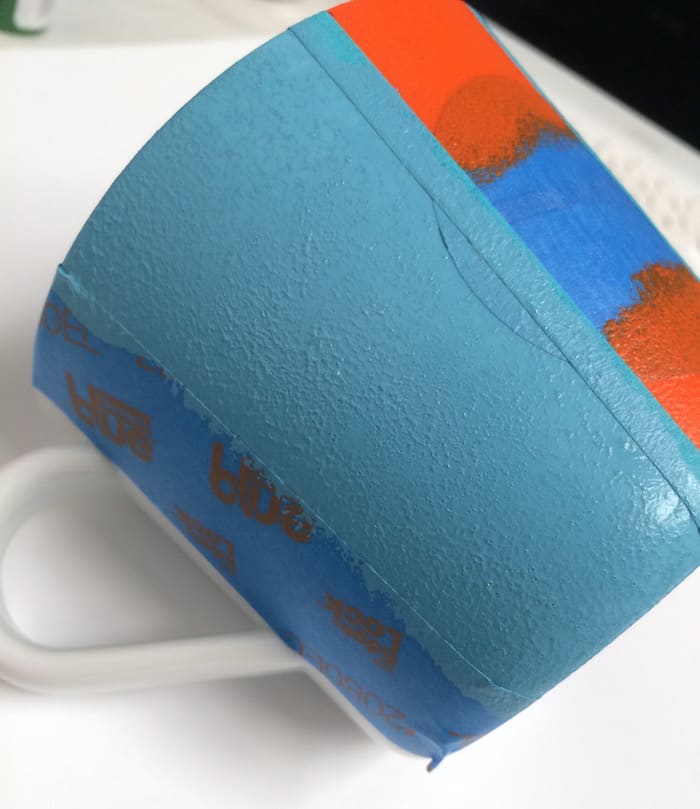
Put painters tape on the outside to make your second stripe.
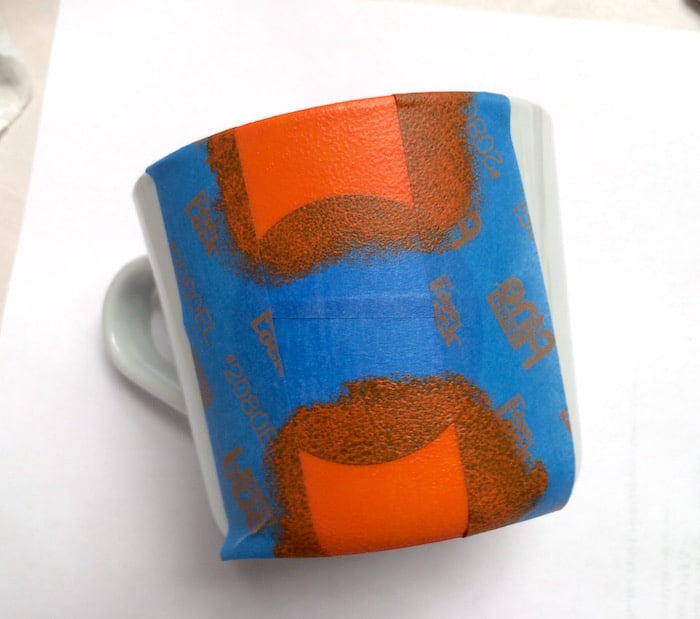
Use your spouncer to apply the second color.
Youre going to see texture in your paint from the spouncer.
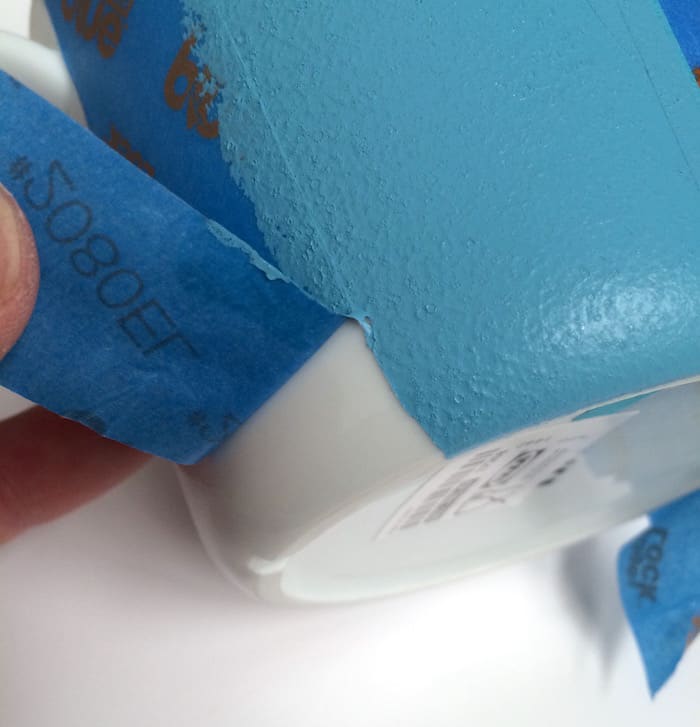
Carefully peel up the tape.
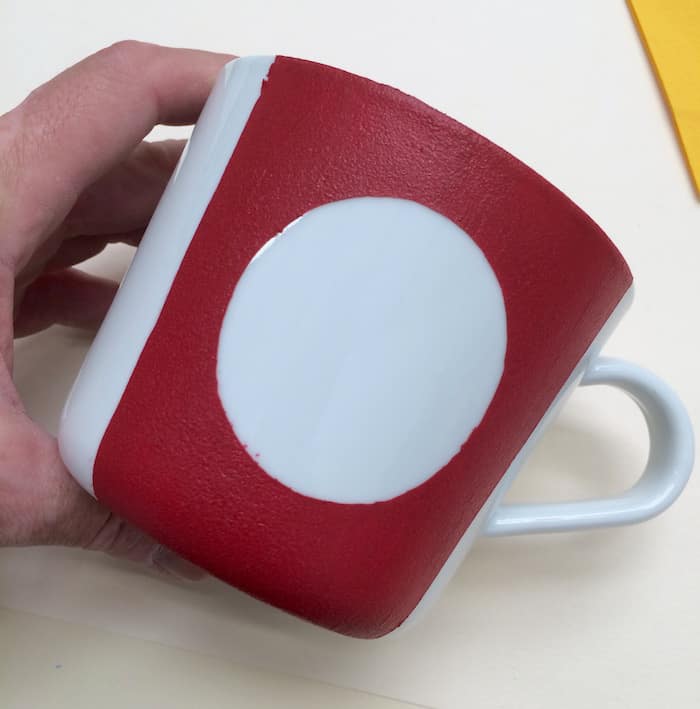
Remove the smaller stripe and the circle.
A solid color mug is even easier to do because you dont need a second stripe!
And this is how your mug should look with all the tape removed.
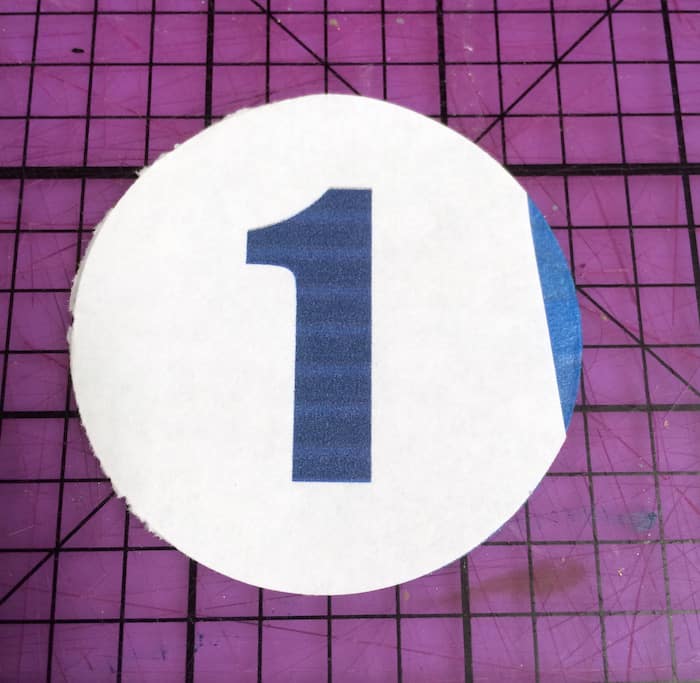
Now youre going to add a number.
Oh, I nearly forgot a tip!
Remove any errant paint with your craft knife!
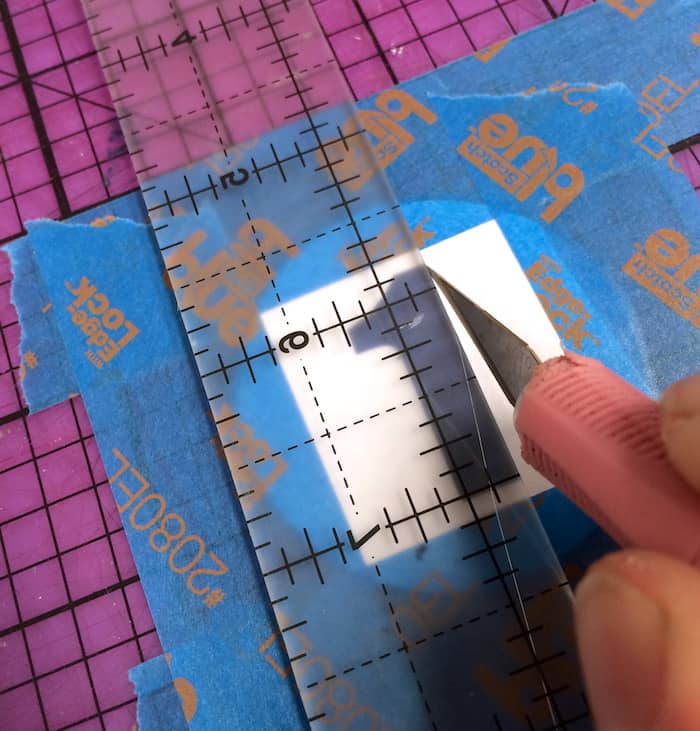
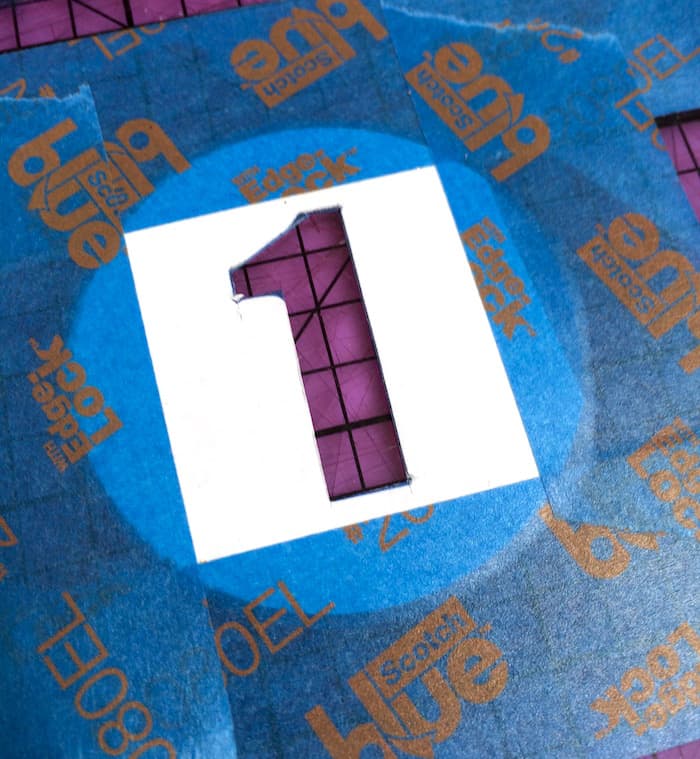
Tape down your number and use a craft knife to cut it out.
You now have a stencil!
And anadhesiveone at that.
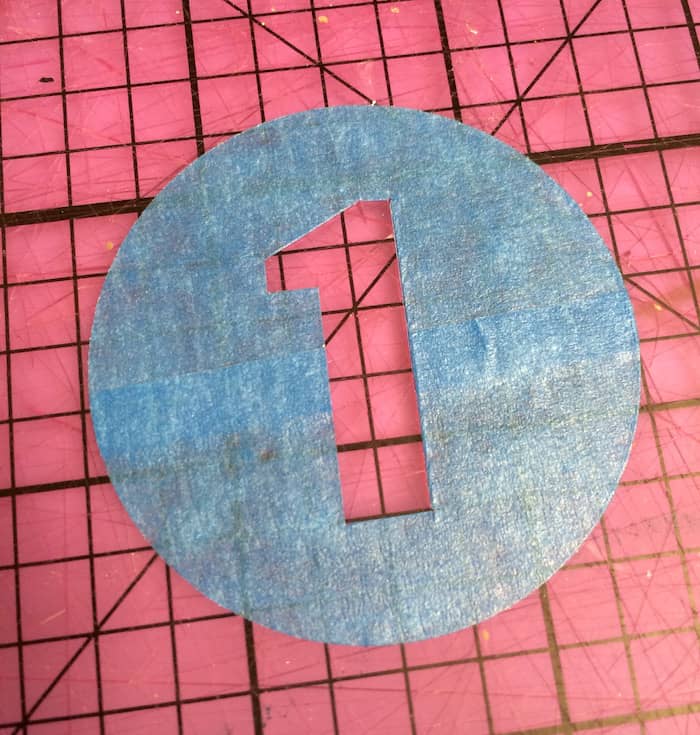
Peel it up off of the craft mat .
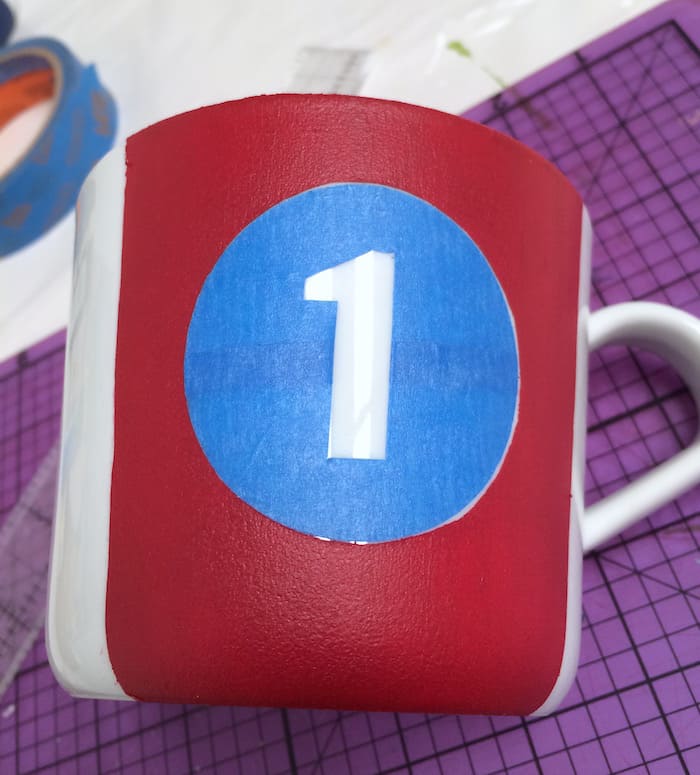
And place your stencil inside the circle.
Again, be careful not to get the painters tape on the paint.
Your painted mugs are finished!
Make a bunch of different varieties.
Let me know what dad thinks when you present him with his sports car themed mugs .