HomeDIY
This post may contain affiliate links:full affiliate disclosure.
In my opinion, you’re free to never have too many bookmarks!
But the standard rectangular bookmarks can get boring, dont you think?
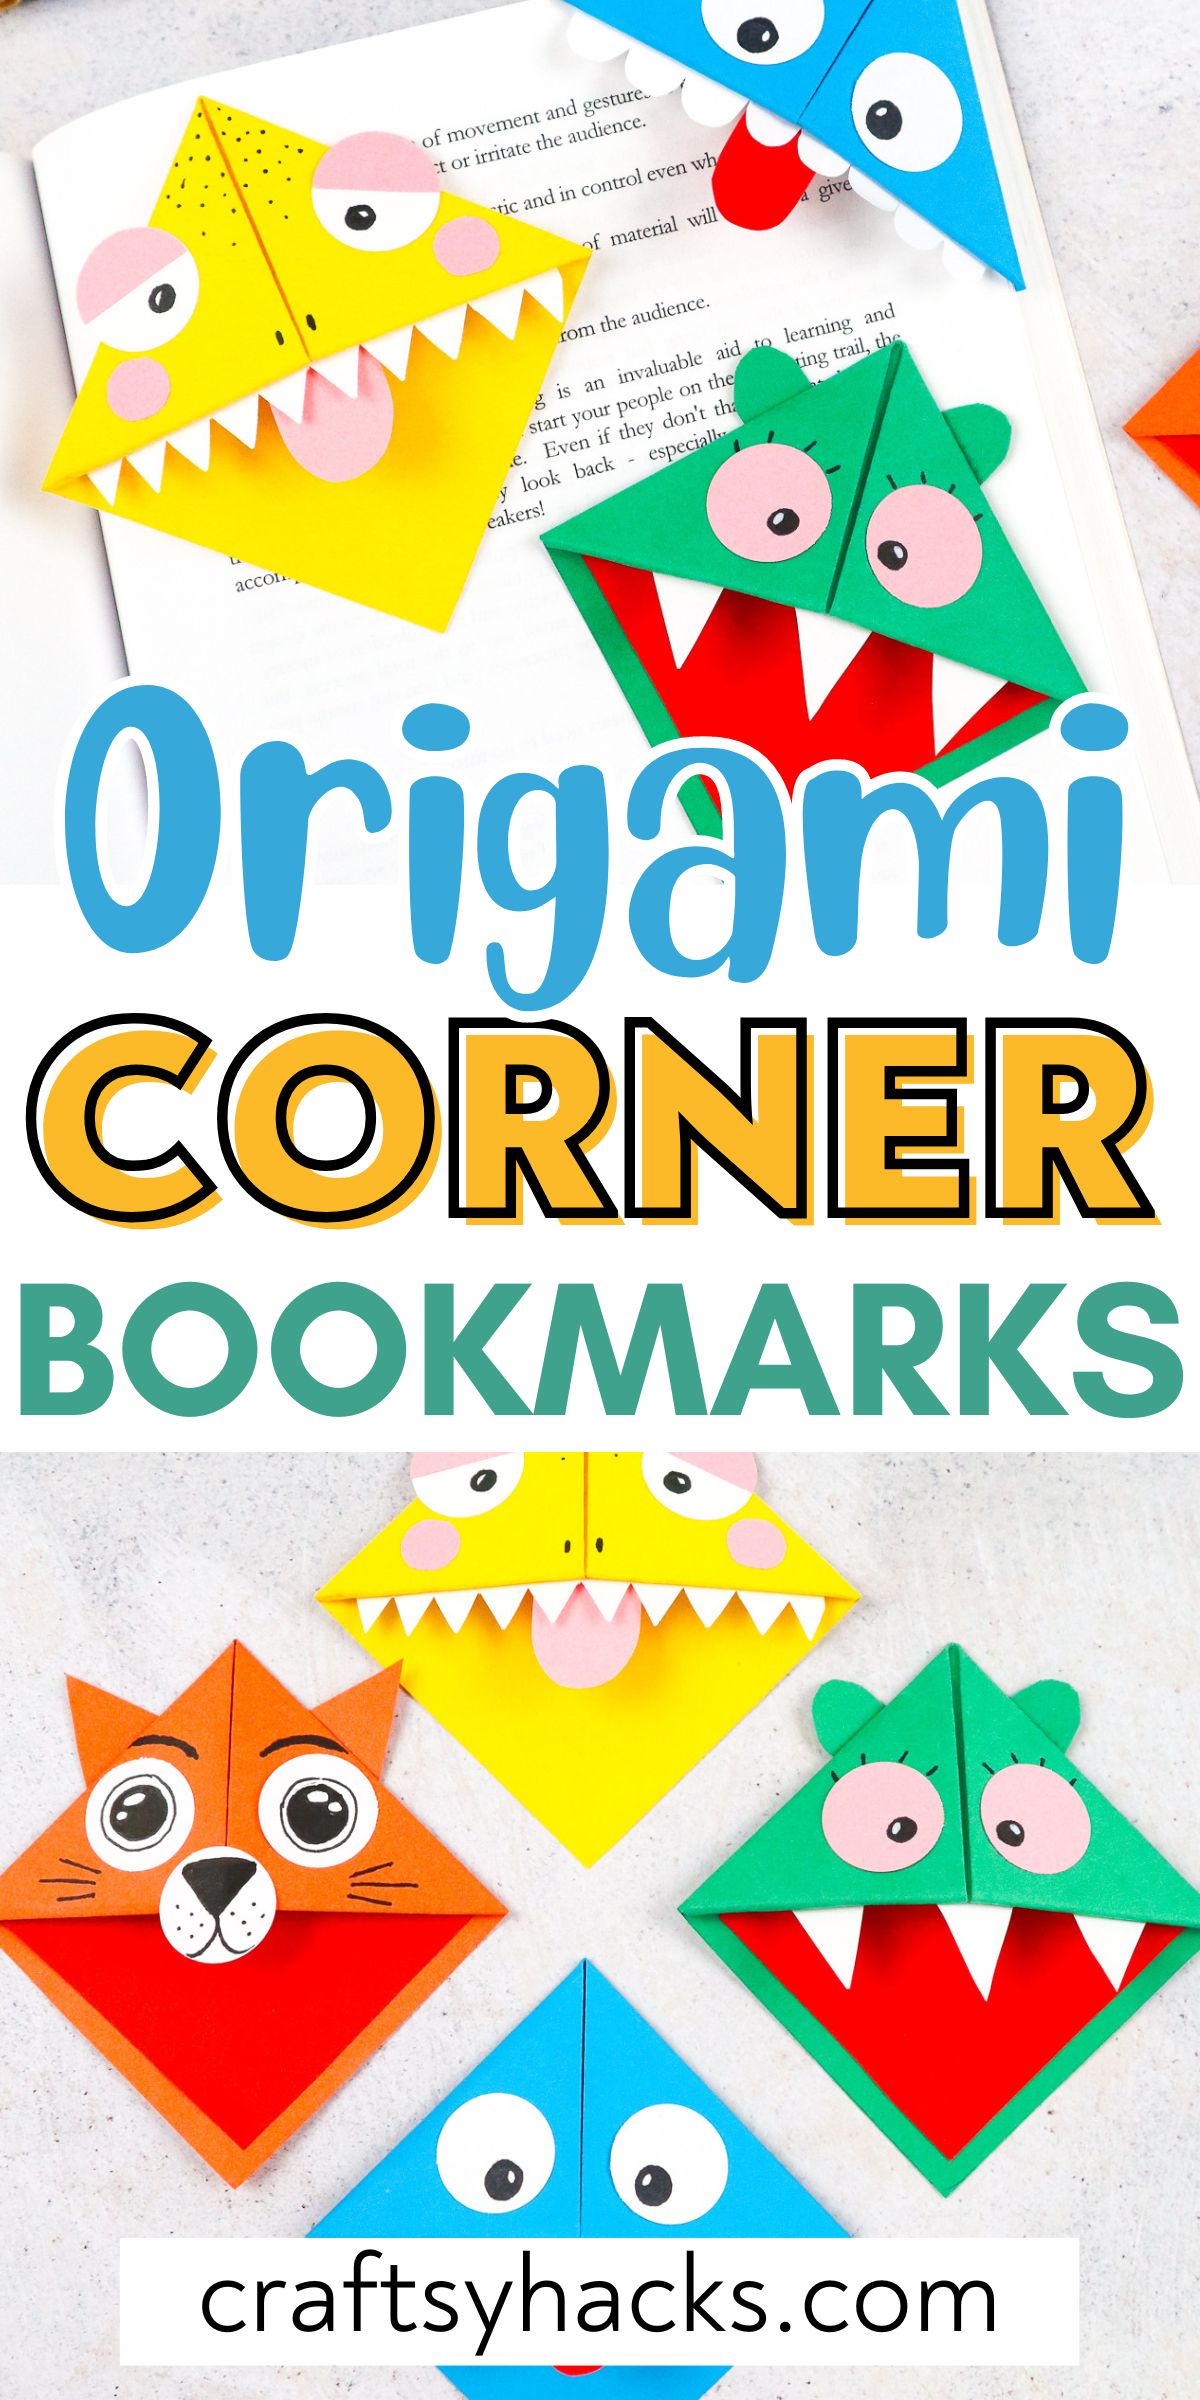
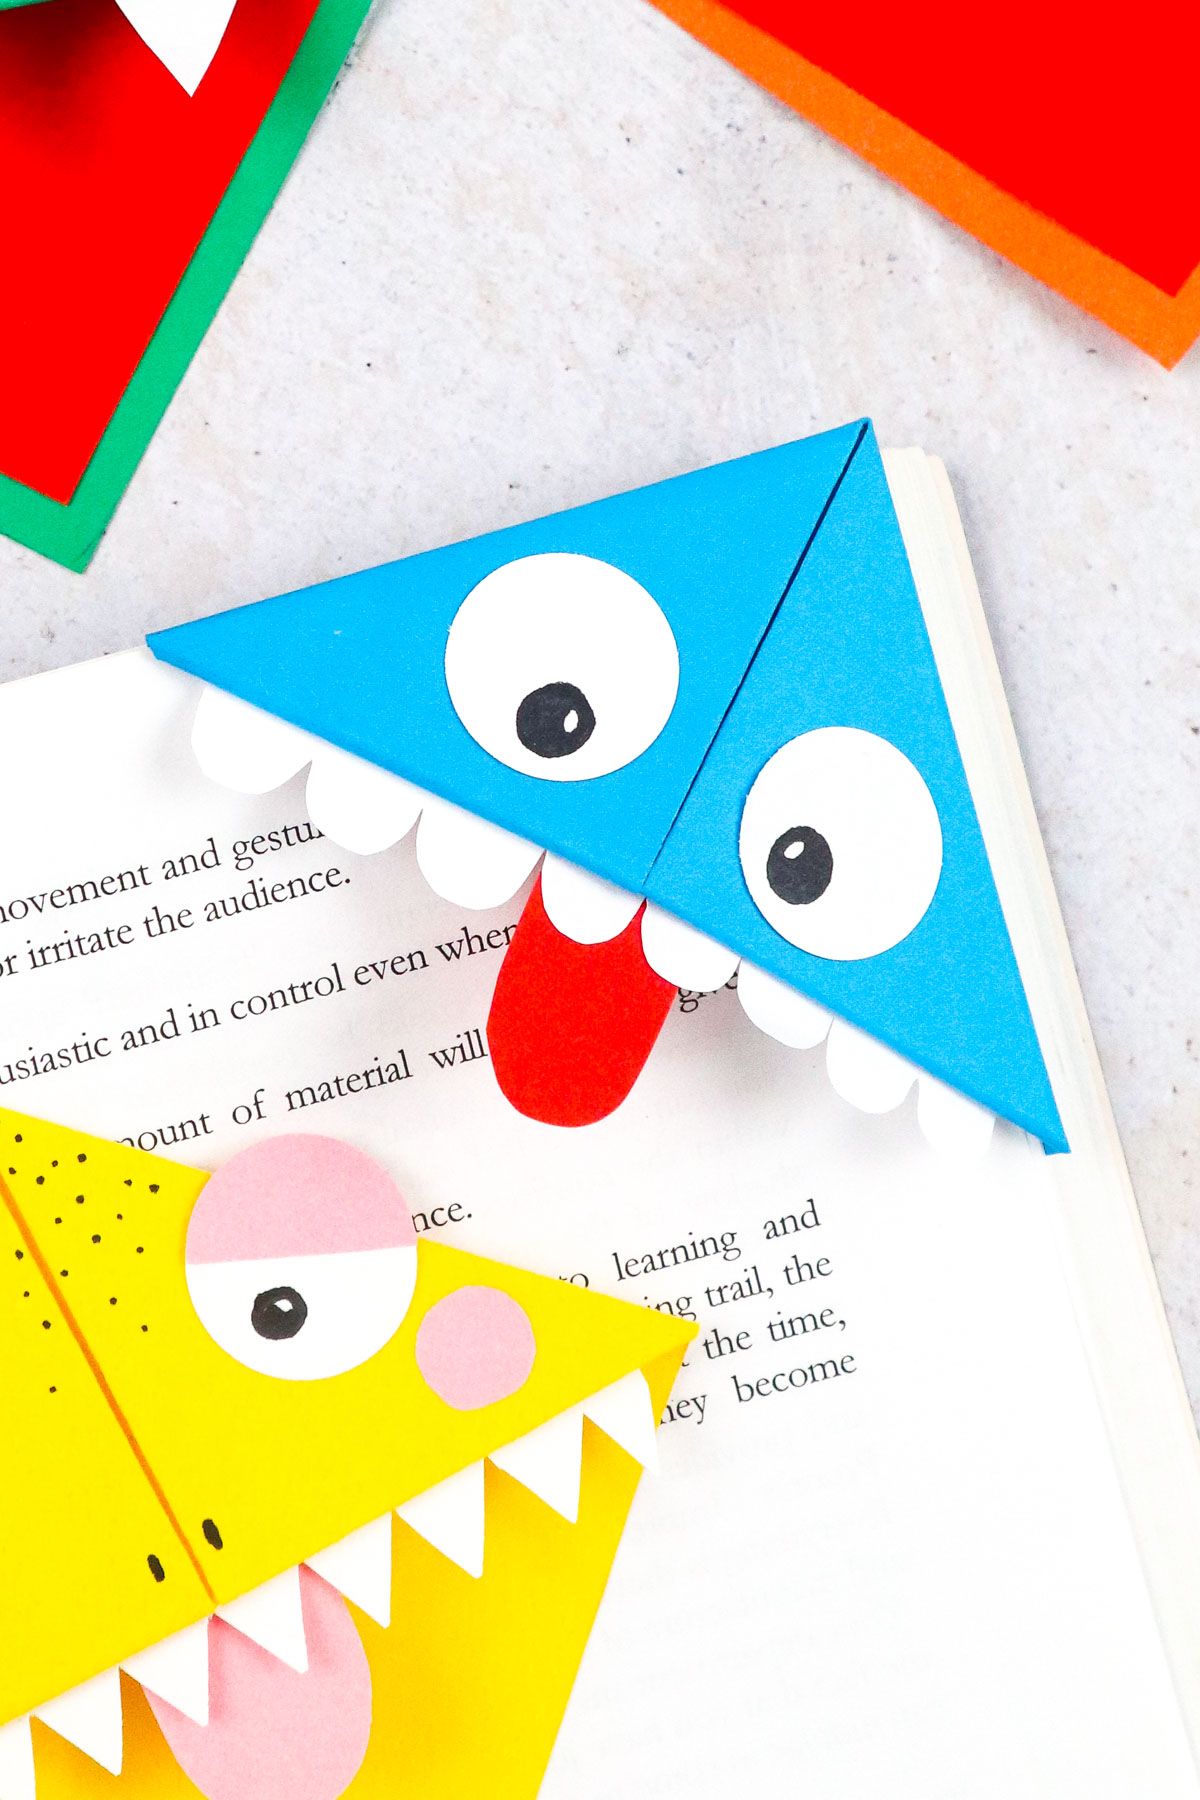
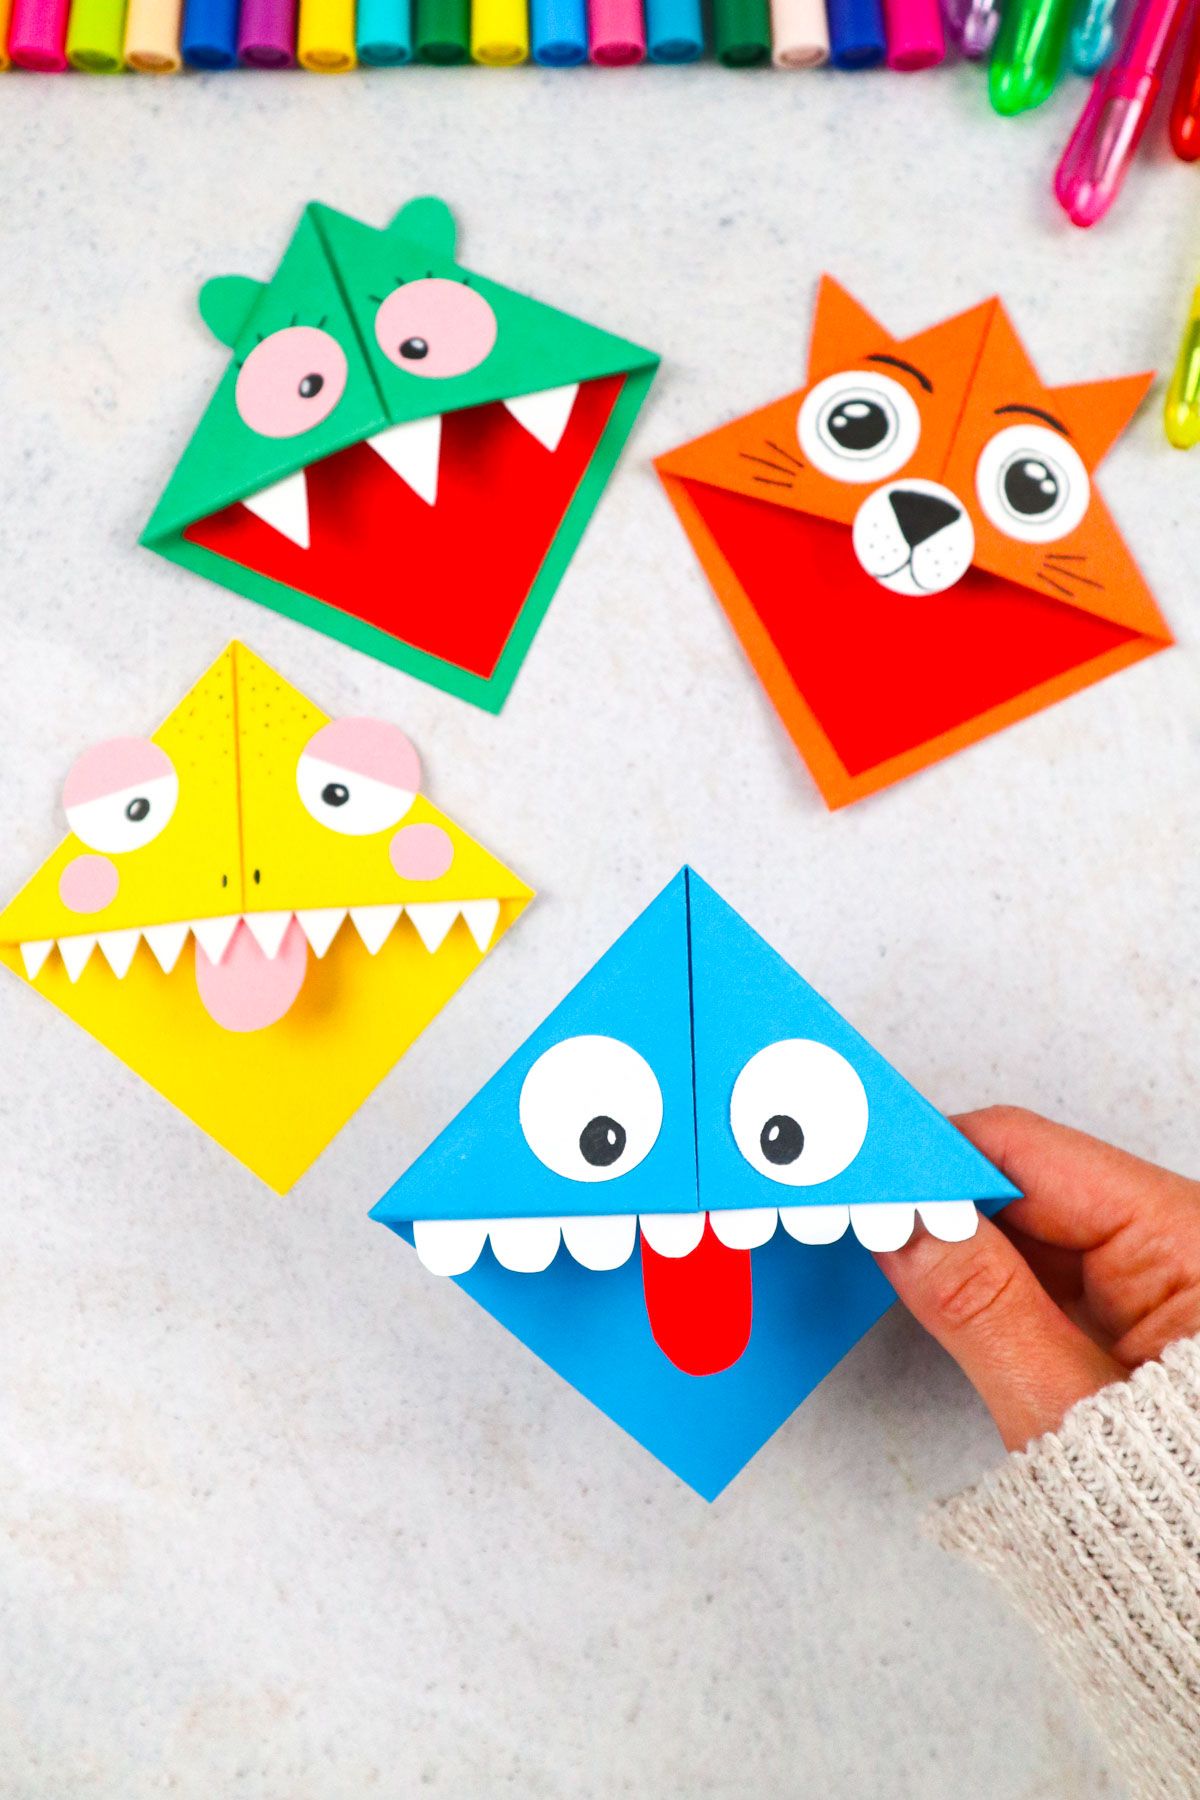
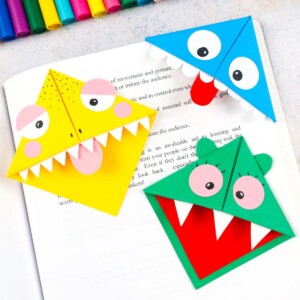
These silly and whimsical origami corner bookmarks are the perfect solution!
They are sure to brighten your day.
These would make a great gift for the bookworm in your life.
You will need thin paper to make these.
Origami paper works great, but you’ve got the option to also use copy/printer paper.
Lets get ready to fold some adorable bookmarks!
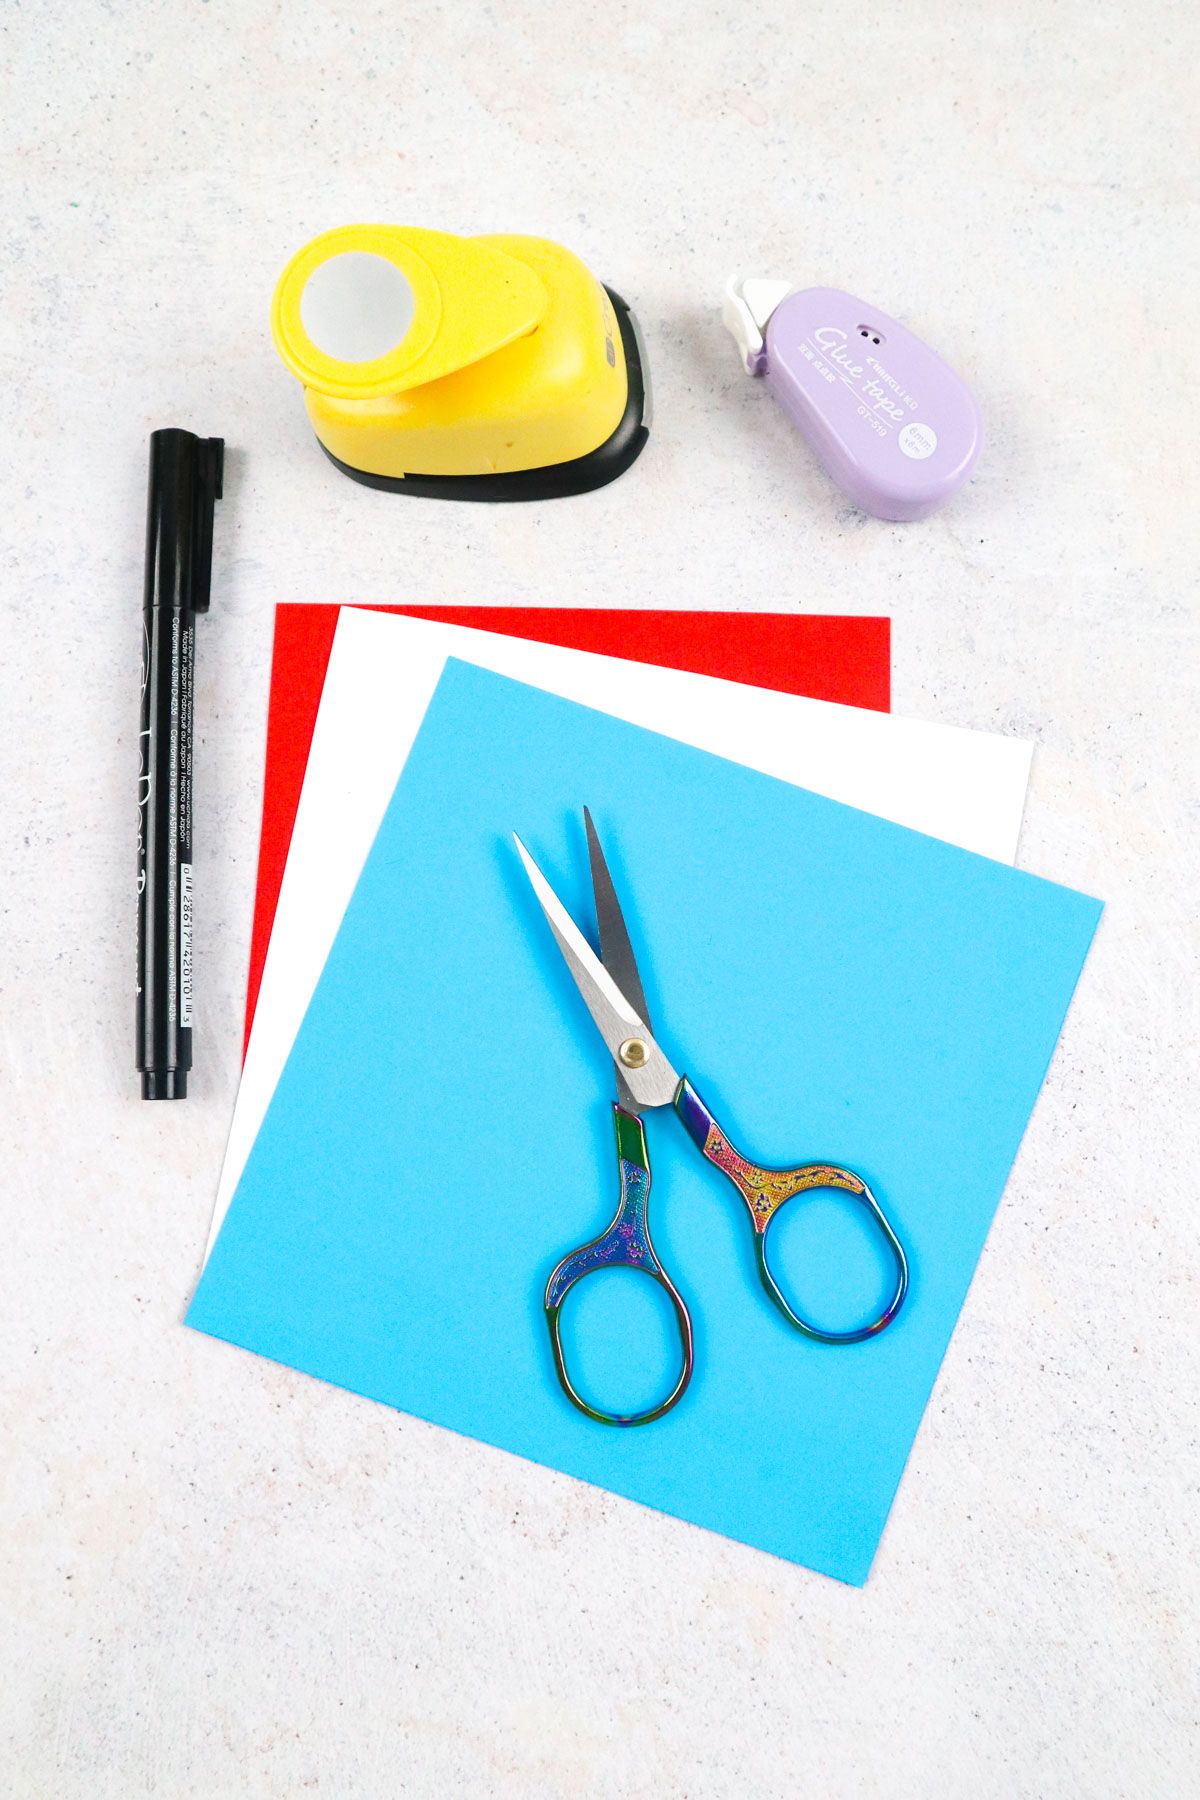
Supplies Youll Need
- We need thin paper so that it is easy to fold.
Origami paper or copy/printer paper would work best.
you’ve got the option to choose any color you want!
*** These are for the eyes and teeth.
**** You could also use any craft glue.
How to Make Origami Corner Bookmark
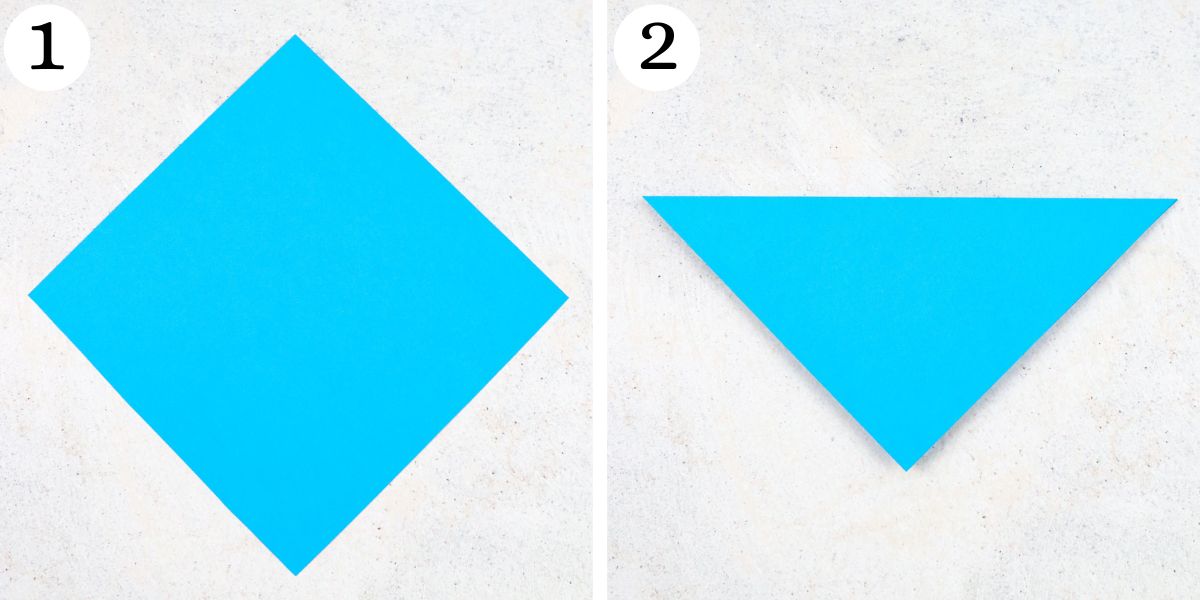
Step 1.Get your square origami paper.
Step 2.Fold it in half diagonally to create a triangle.
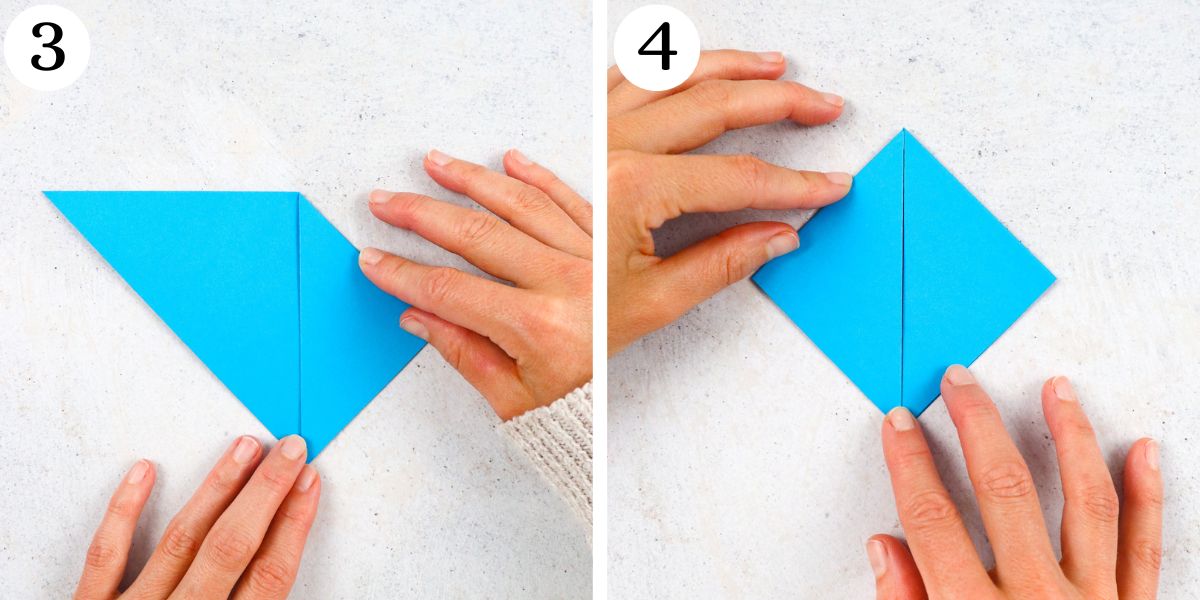
Step 3.Fold the right corner of your triangle over so that it meets the bottom corner.
Step 5.Unfold the corners so that you are looking at a triangle.
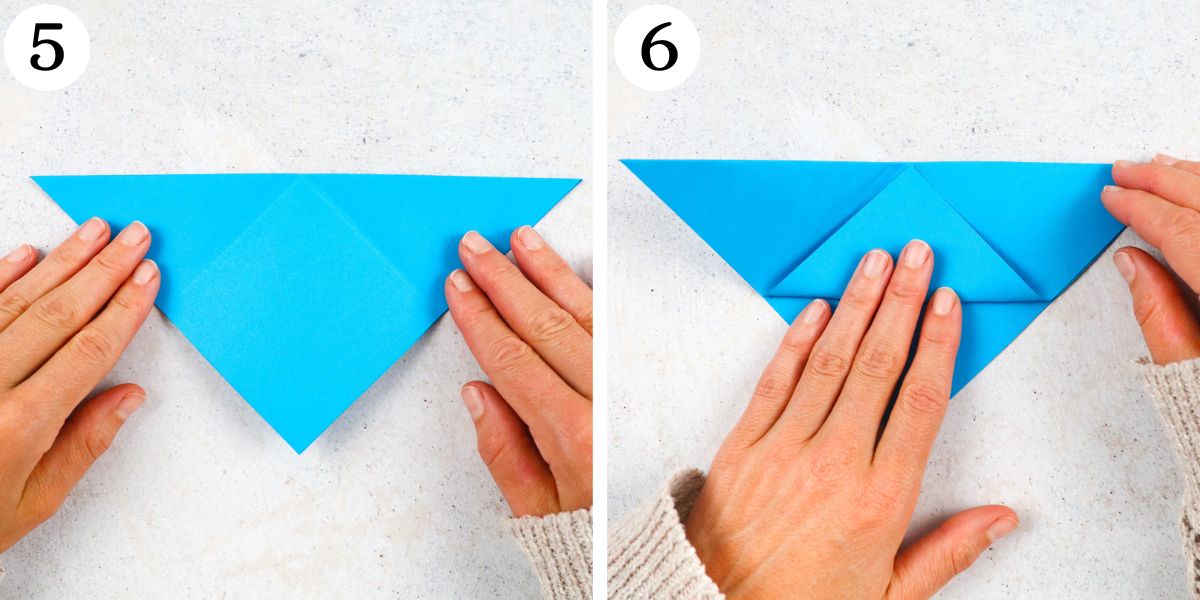
Step 6.Fold the top flap of the triangle point upward so that it meets the top edge.
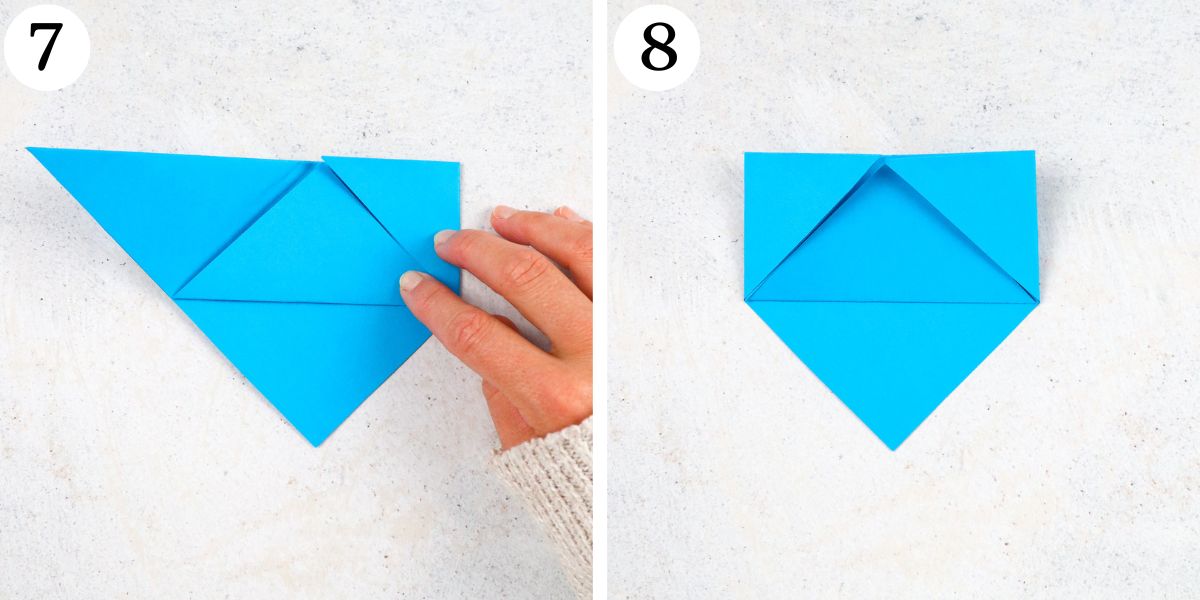
Step 7.Fold the right corner in to meet the top edge.
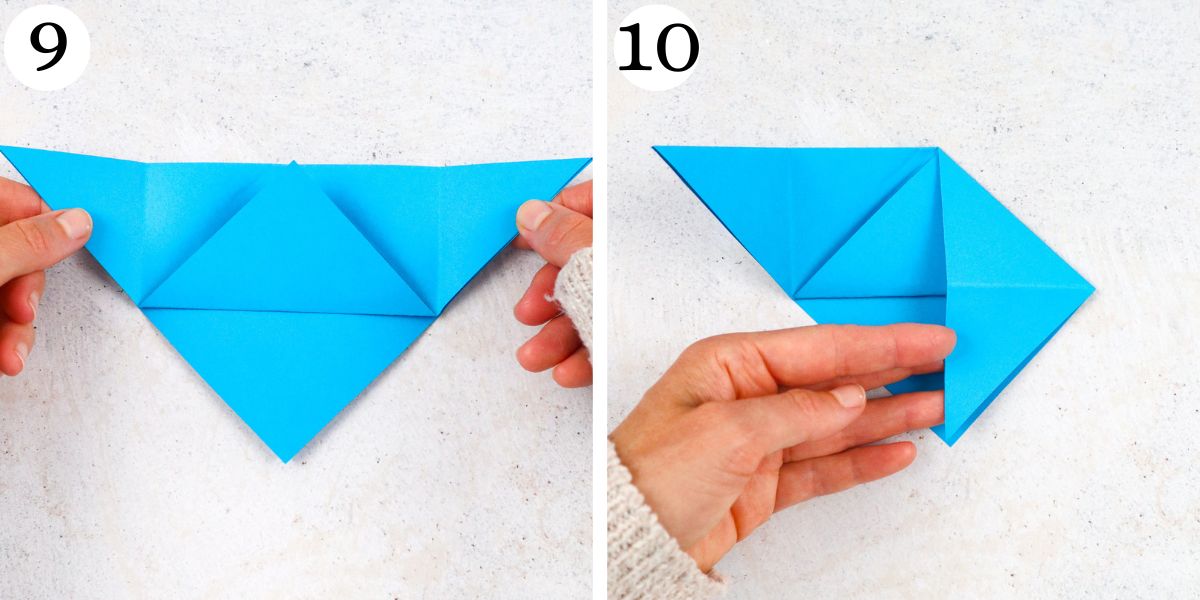
Step 9.Unfold the right and left corners.
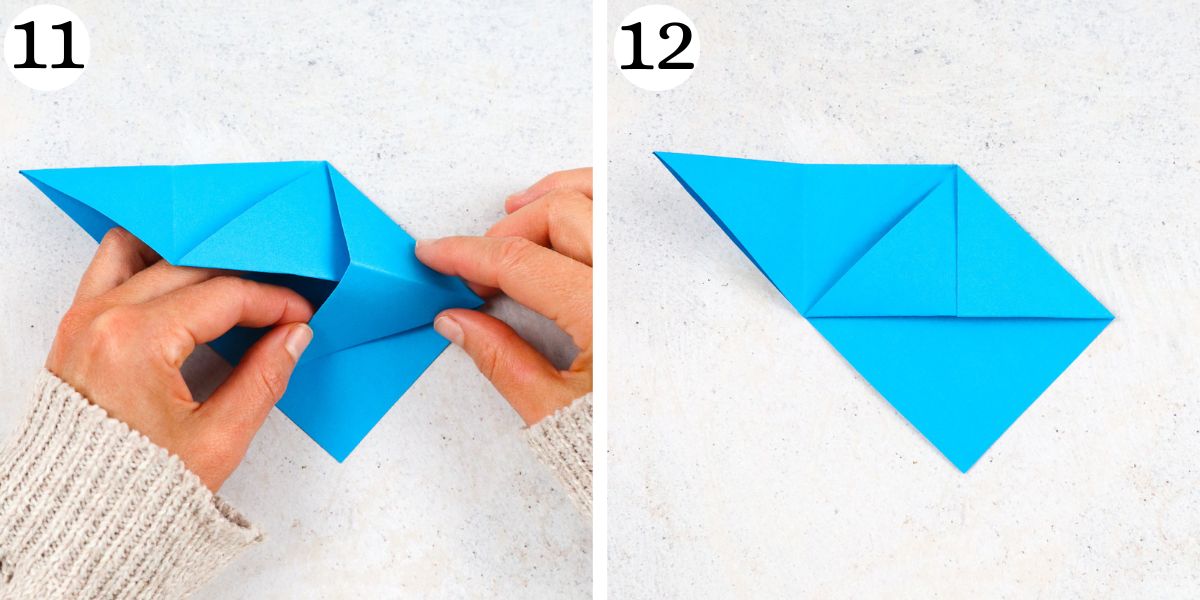
Step 10.Find the crease that you made earlier on the right side.
Use it to fold the right corner down.
Step 11.Tuck it underneath the flap.
Step 12.The right side should now be folded and tucked.
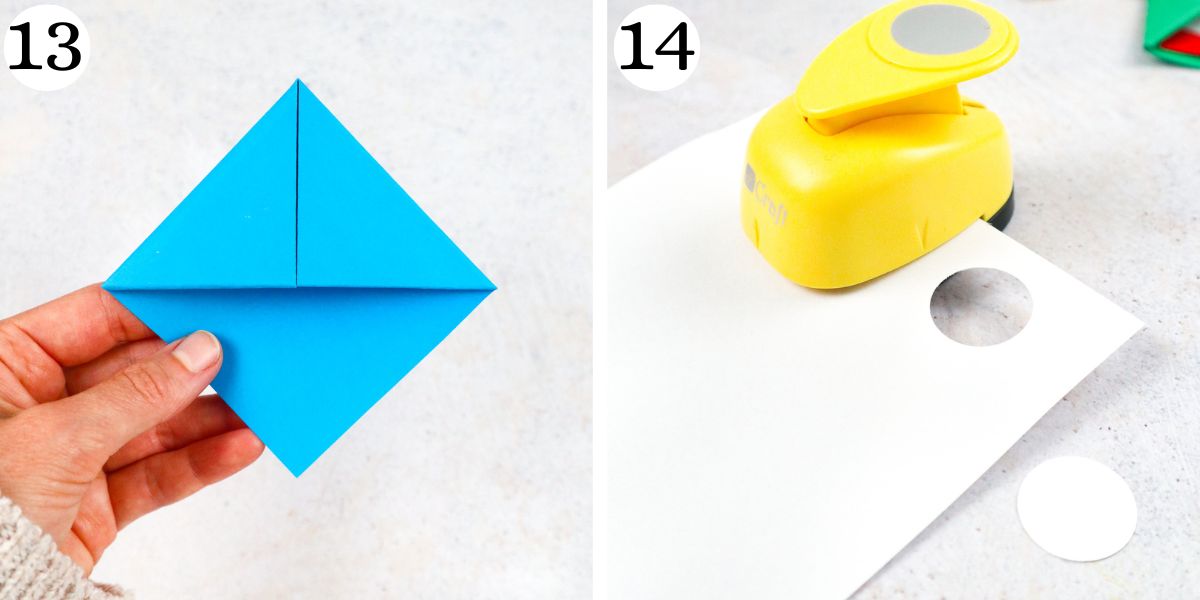
13.Do the same thing with the left corner.
This is the base of your bookmark.
Now, its time to get decorate your bookmark.
it’s possible for you to make monsters, silly creatures, animals, patterns, etc.
Step 14.Time to add some eyes.
Step 15.Glue on your eyes and use your black marker to add some details to the eyes.
Step 16.Time to make the teeth.
First, cut out a rectangular strip (about 3.5 long) from white paper.
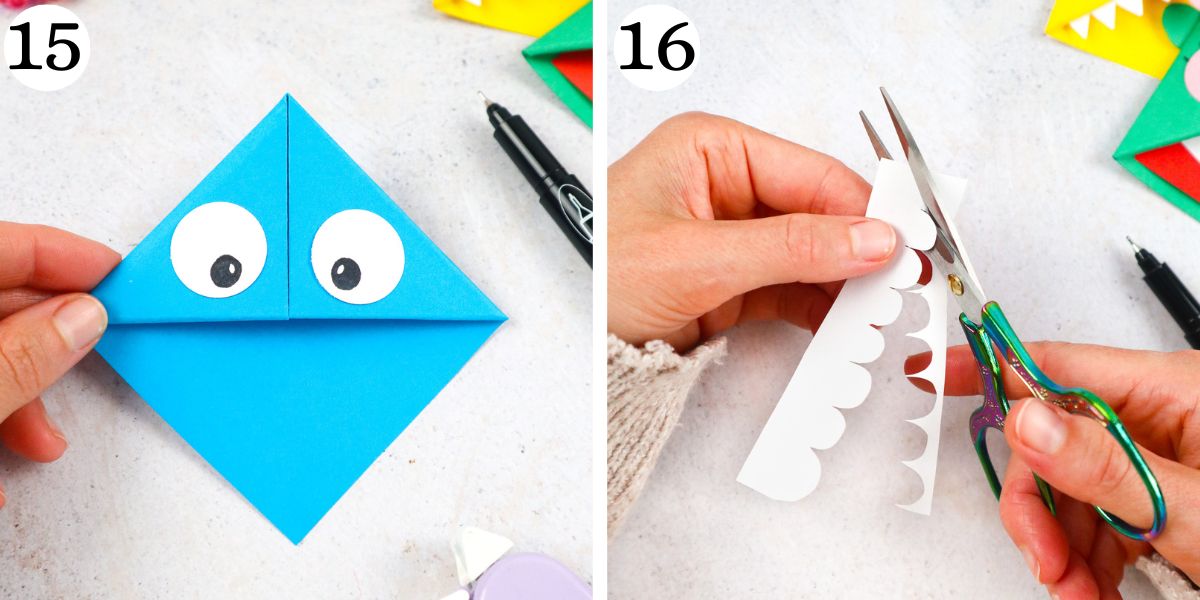
Next, cut out the teeth in whatever pattern you would like (curves, zig-zags, etc.)
Step 17.Glue the teeth to the face.
Step 18.This picture shows ideas for teeth.
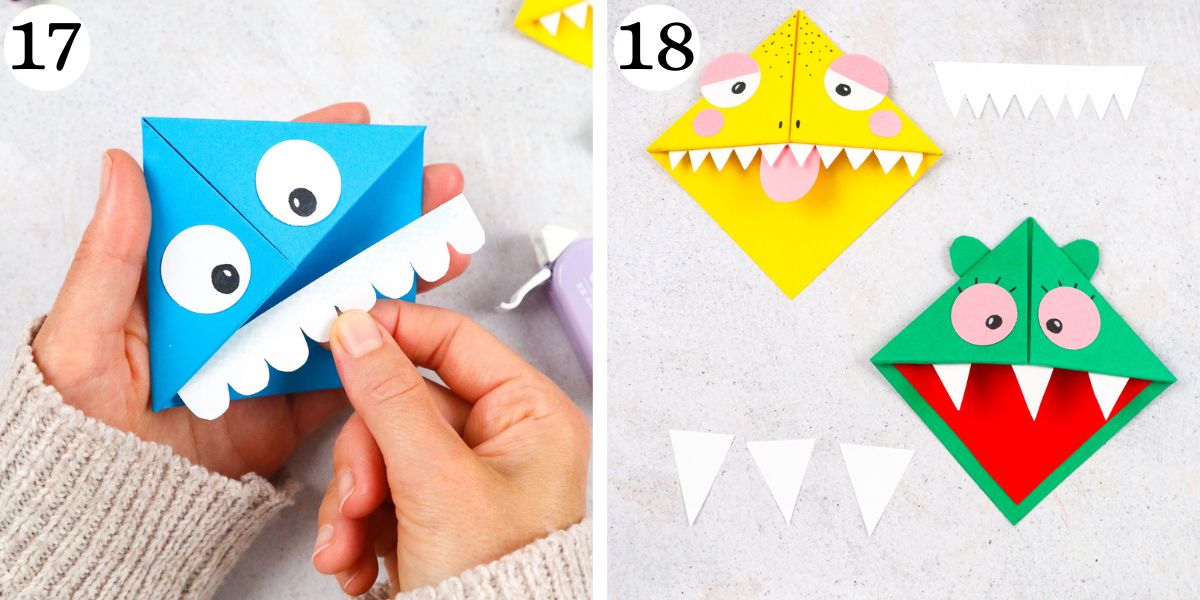
it’s possible for you to use individual triangles, a zig zag pattern, etc.
Step 19.Lets draw a tongue on red paper and cut it out.
Step 20.Glue your tongue underneath the teeth.
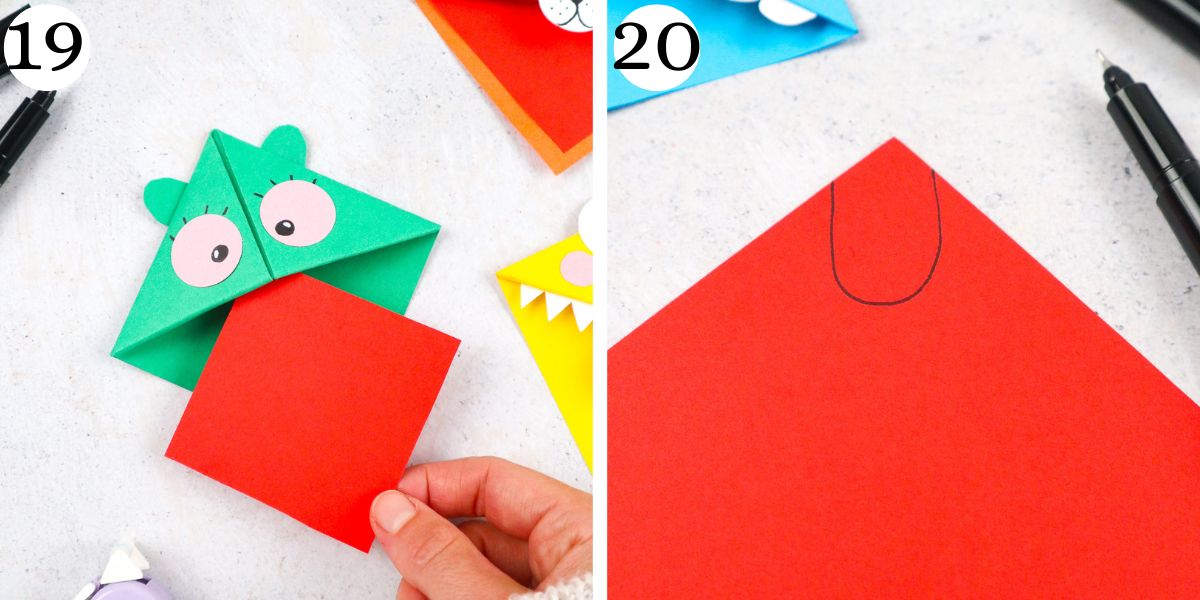
Step 21.You could make a mouth out of red paper (or patterned paper).
This will add some strength to your origami bookmark as well.
Step 22.If you want to make eyelids, cut out another circle and then cut it in half.
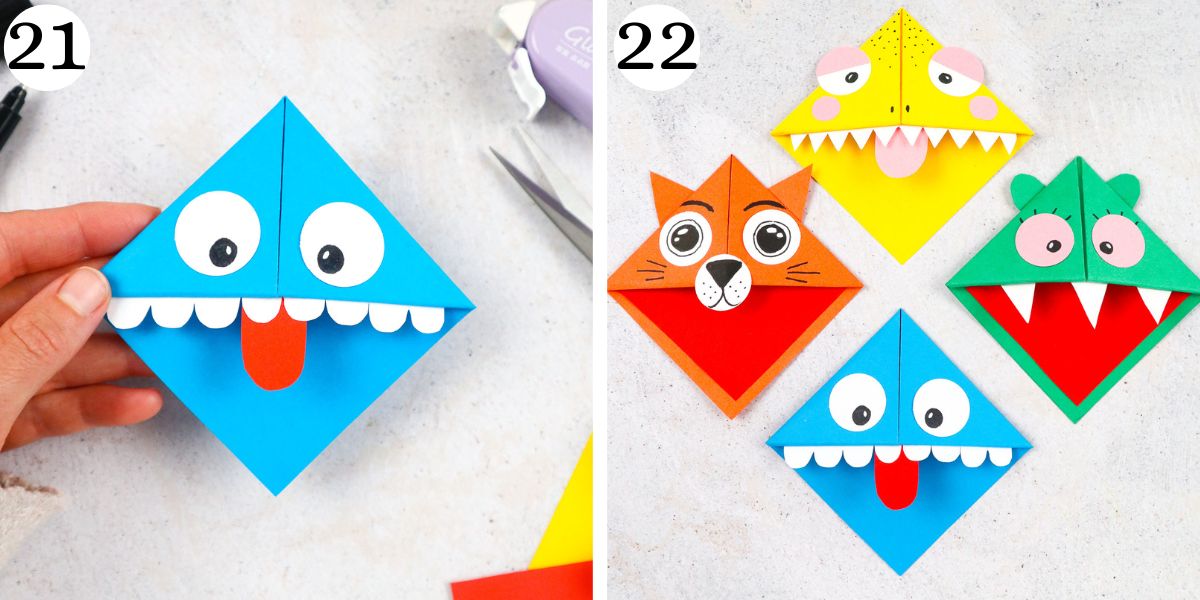
Glue these above your characters eyes.
Your origami corner bookmark is all done!
Watch How to Make
How Long Do These Bookmarks Take to Make?
The best thing about these bookmarks is that they are quick to make!
you could create one in about 10-15 minutes.
The folding only takes a few minutes.
Adding the perfect facial features takes just a couple of minutes longer.
