I found that this makes a great gift too.
Join our crafting communityto find more nature-inspired DIYs and upcycled craft ideas.
It feels good to repurpose, upcycle and create with nature!

showing the back side of the ornament
it’s possible for you to readour full disclosure here.
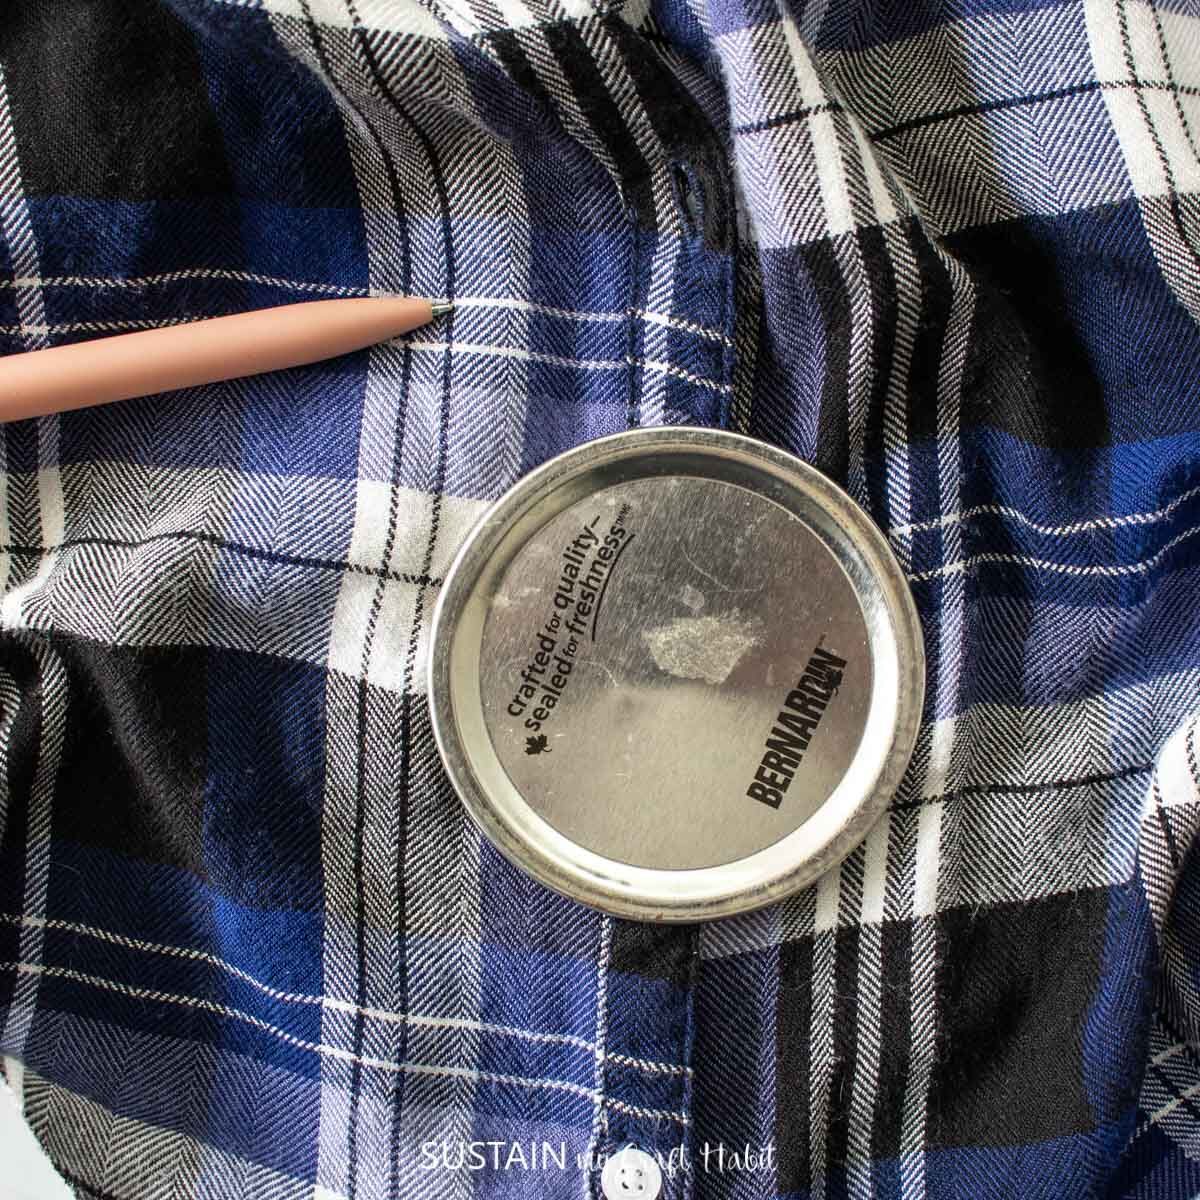
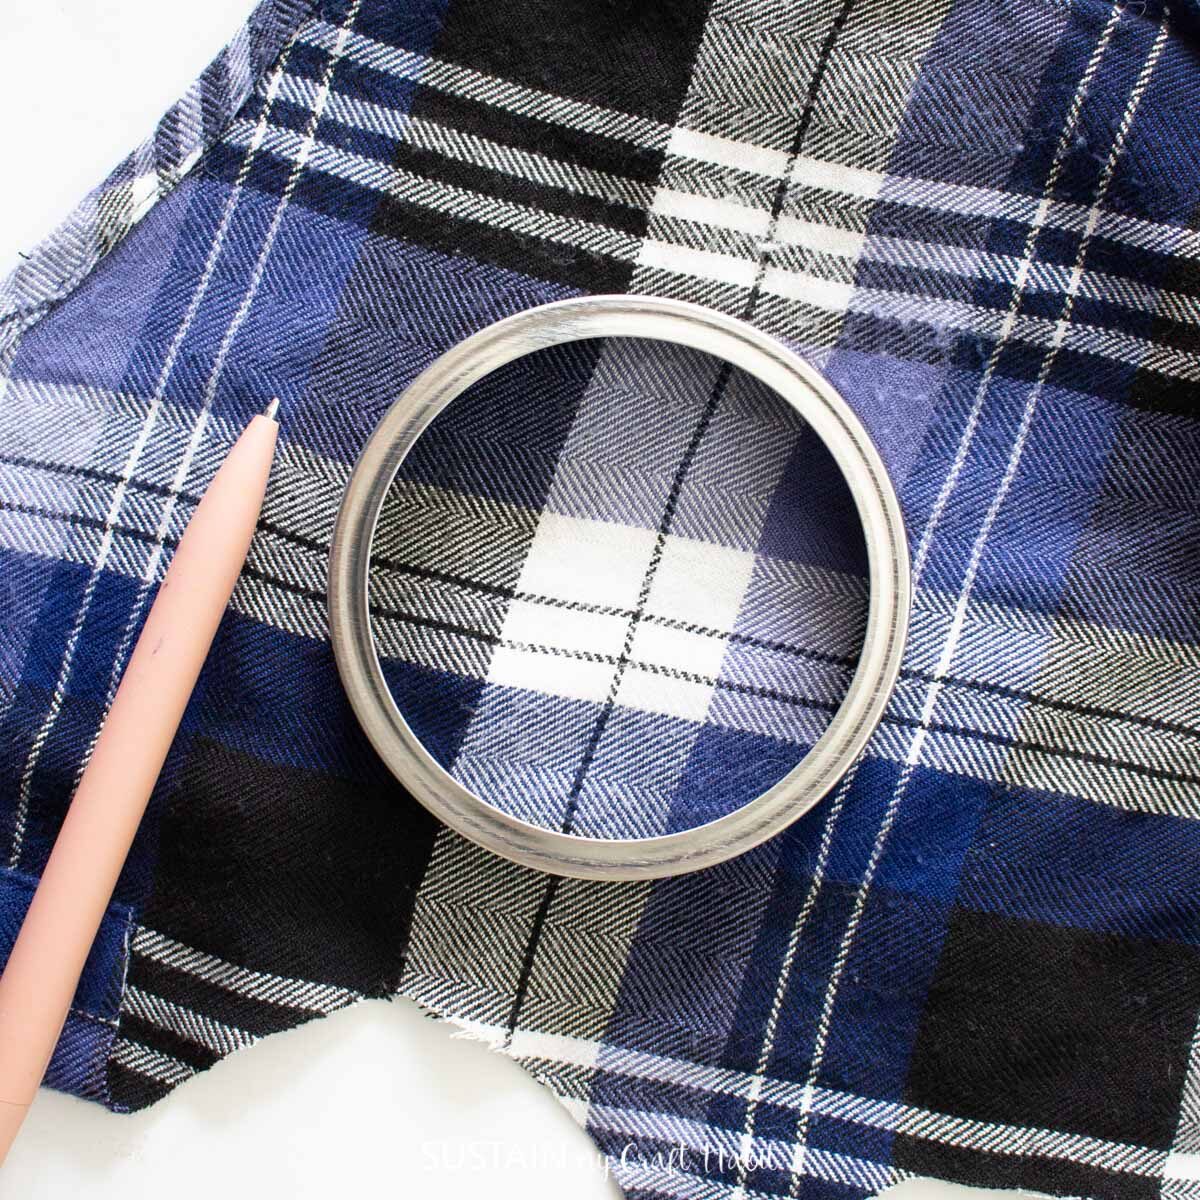
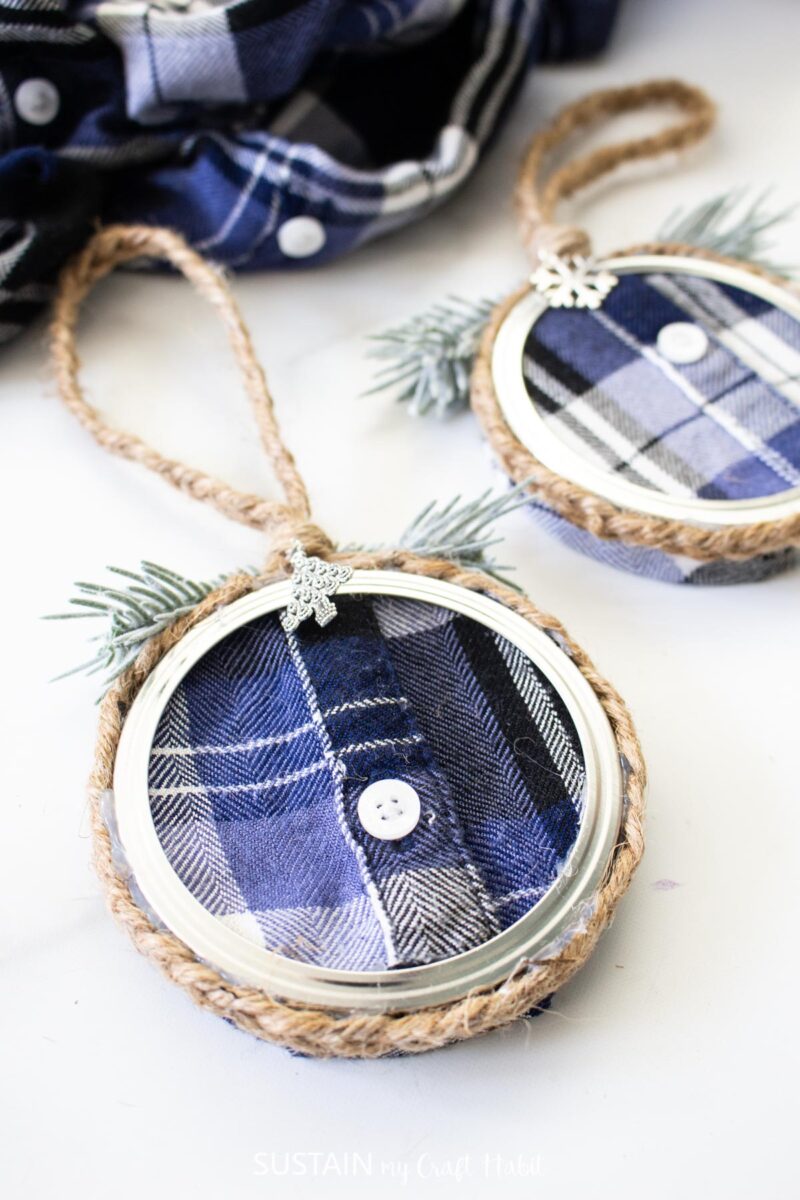
Trace the lid with a pen, chalk, or wax.
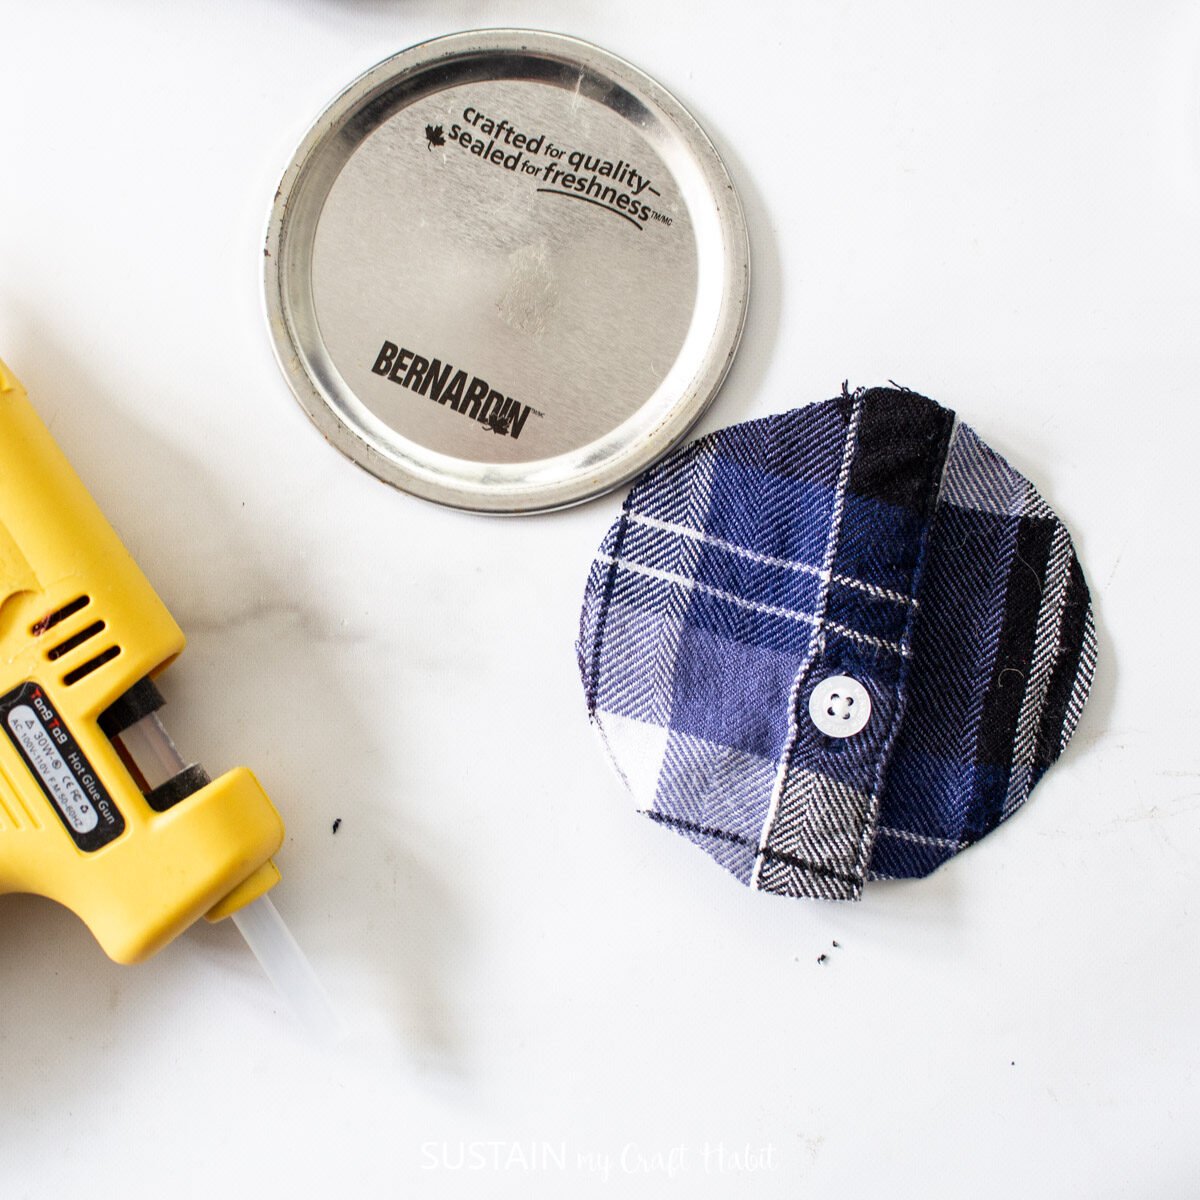
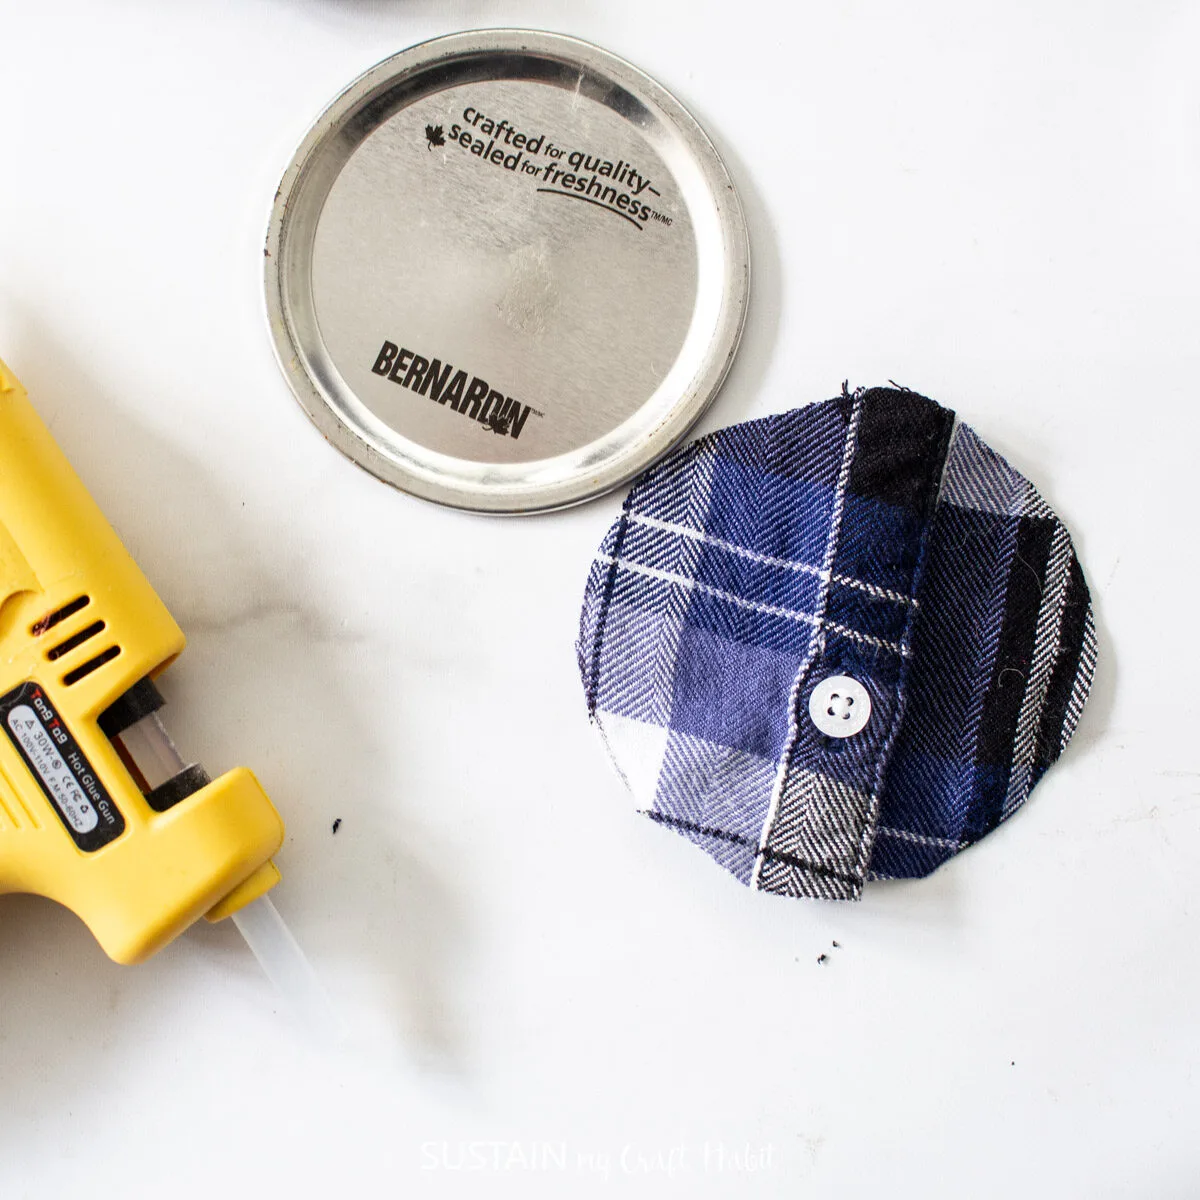
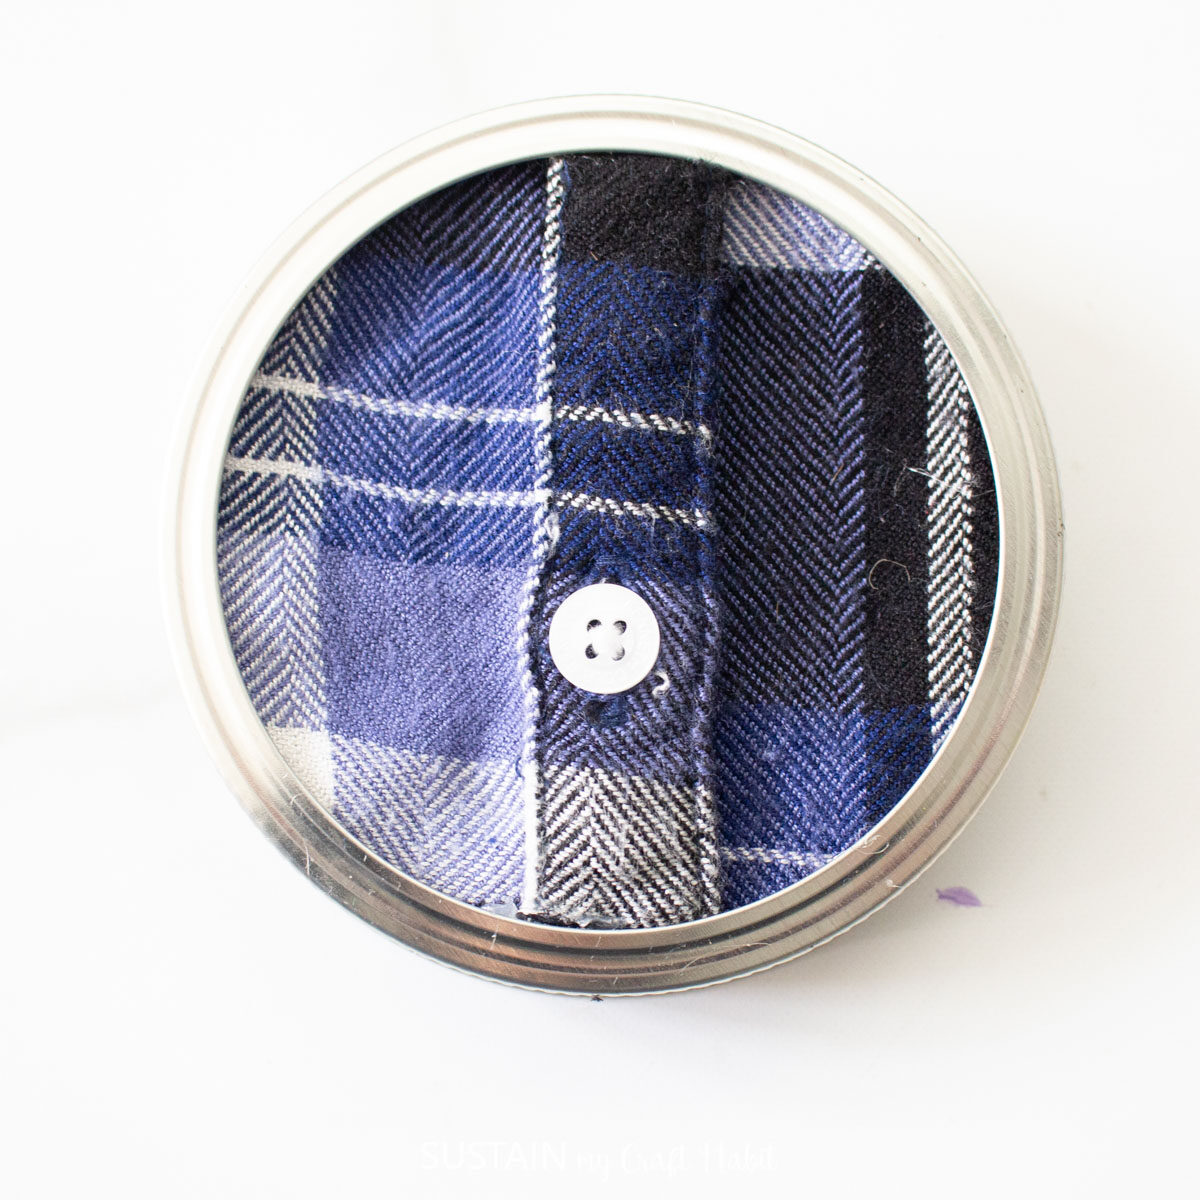
Cut out the circle and glue the overlapping placket together with the hot glue gun.

Place and glue the circle onto the lid and put it aside for time being.
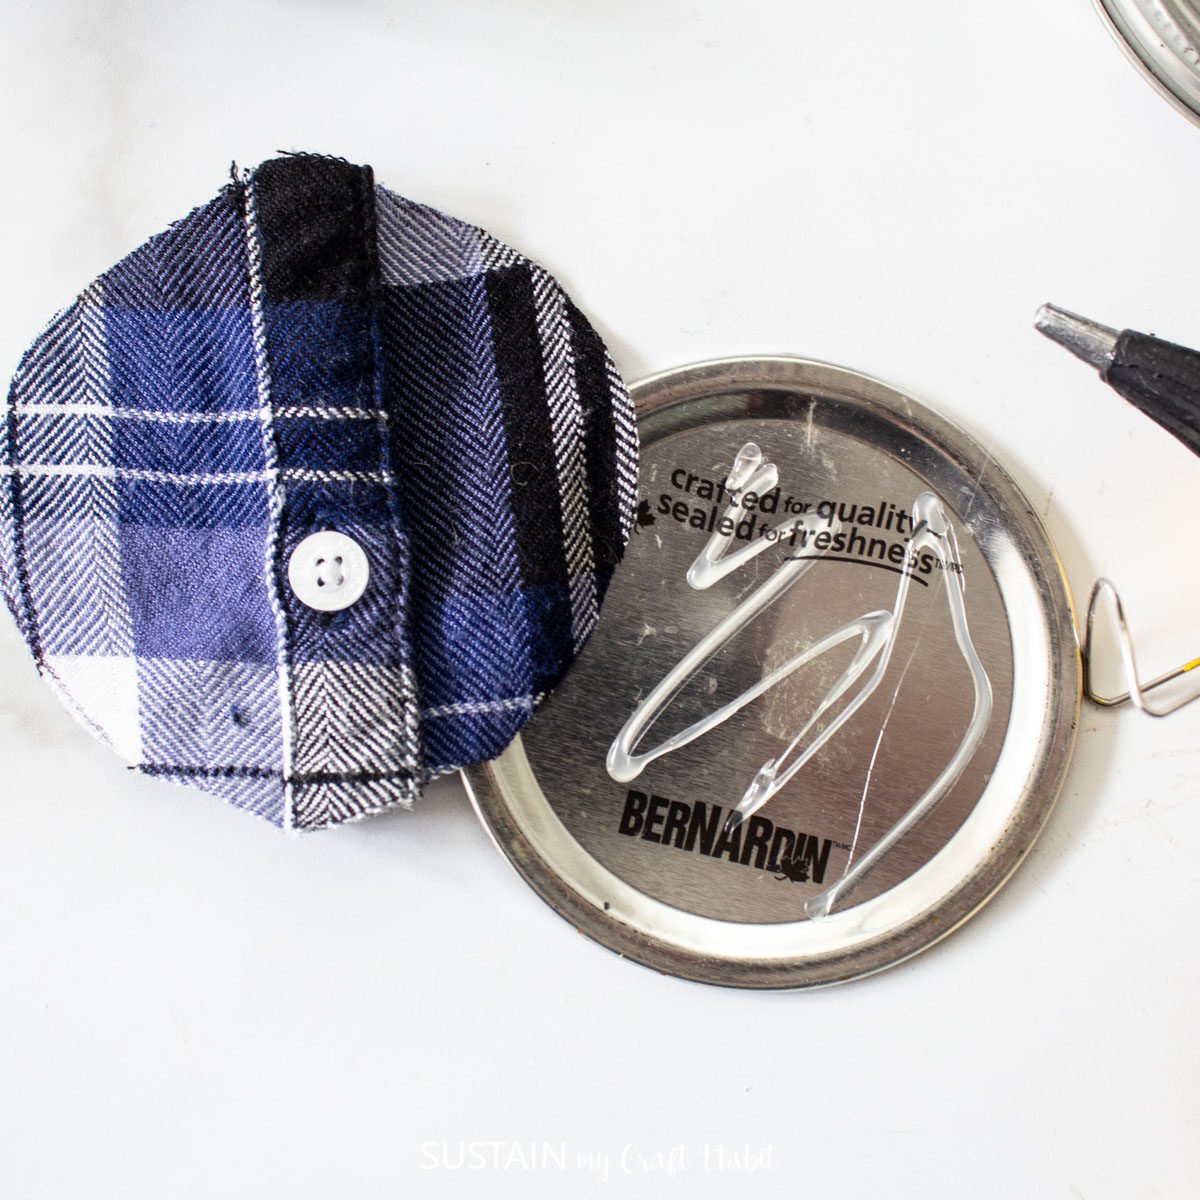
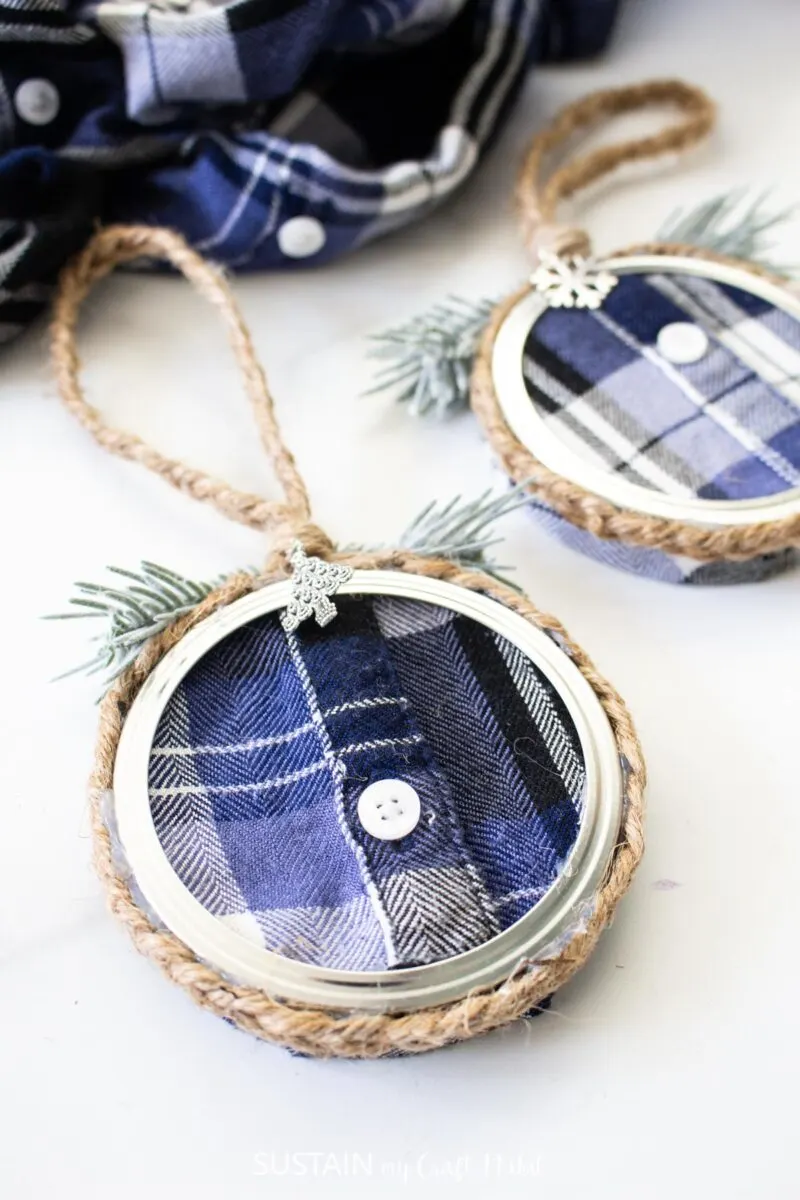
Use the screw band to trace another circle out of the shirt.
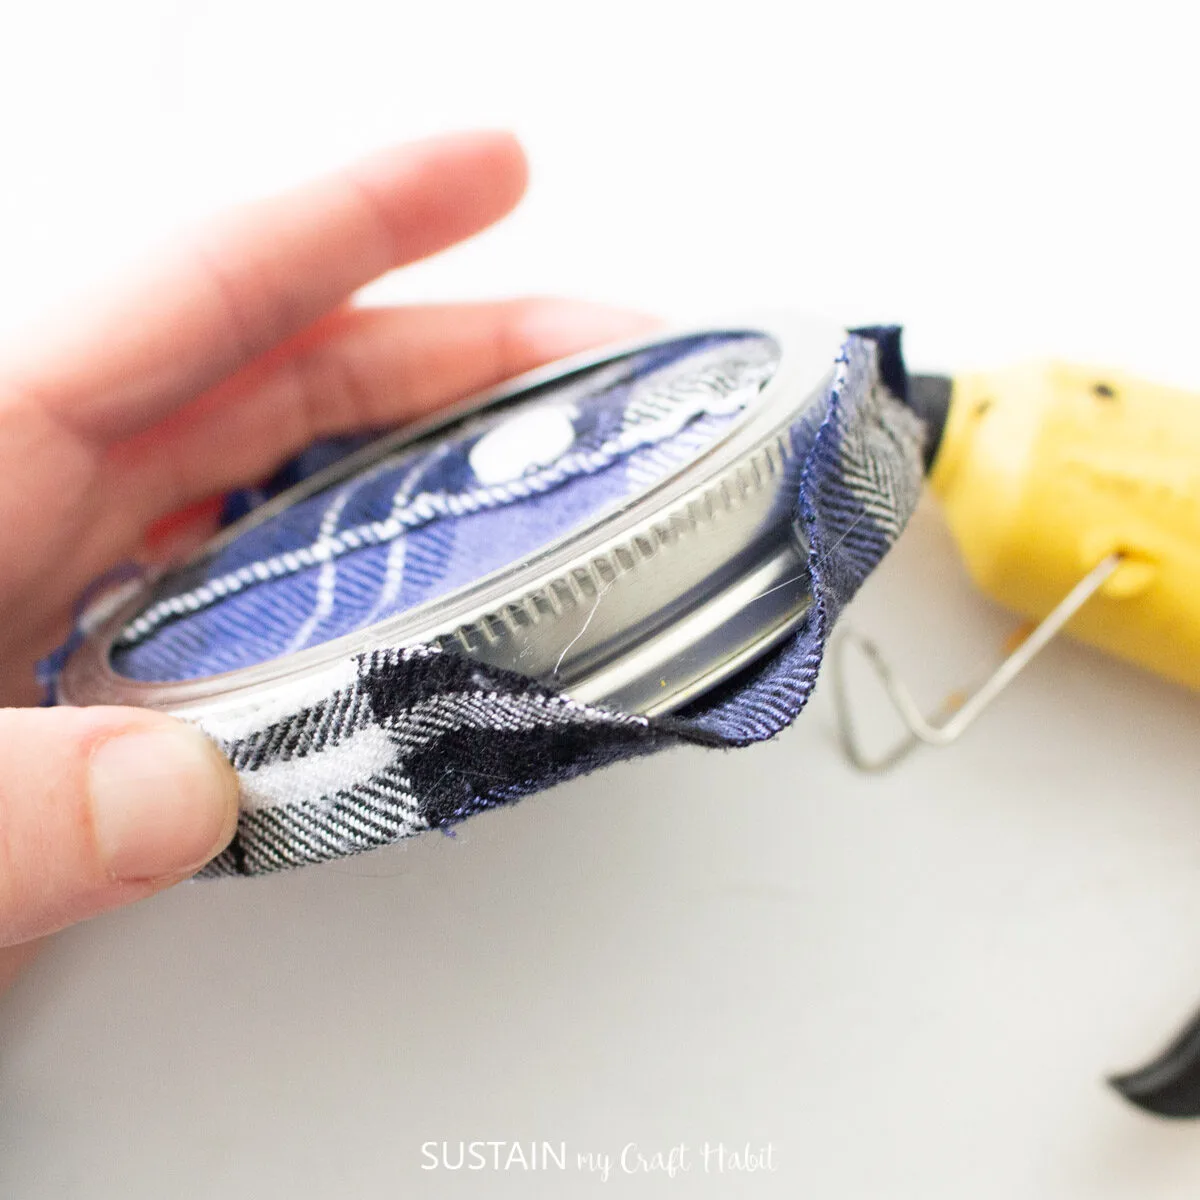
Place the covered lid into the screw band and glue it in place.
Use the other circle cut out to cover the back side of the ornament.
Fold the edges over the band and glue them in place.
Trim the excess if it extends past the top of the screw band.
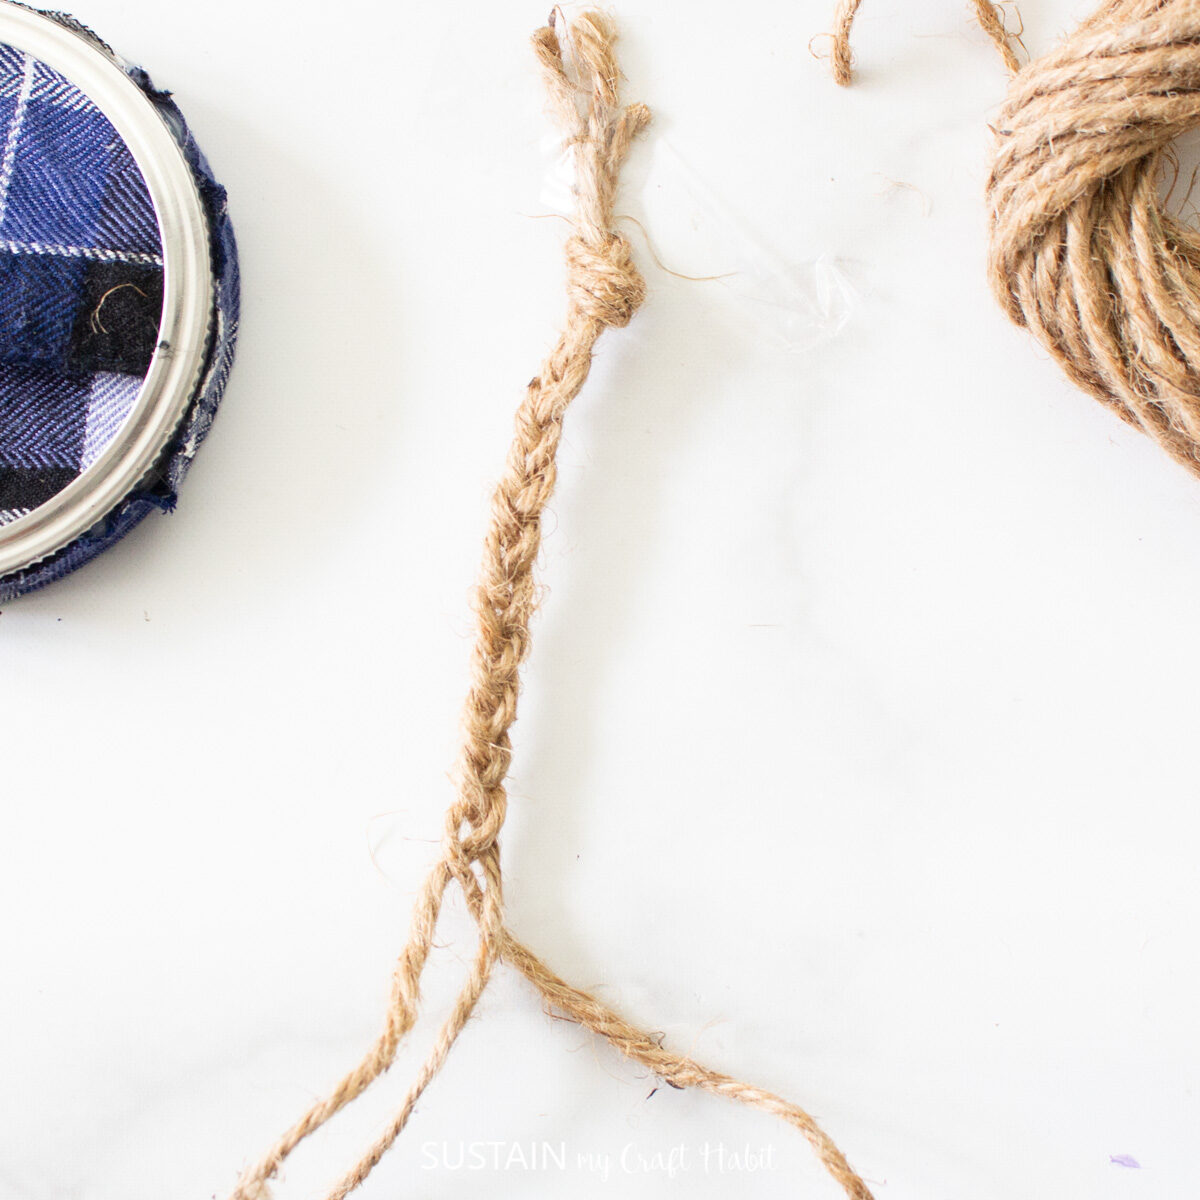
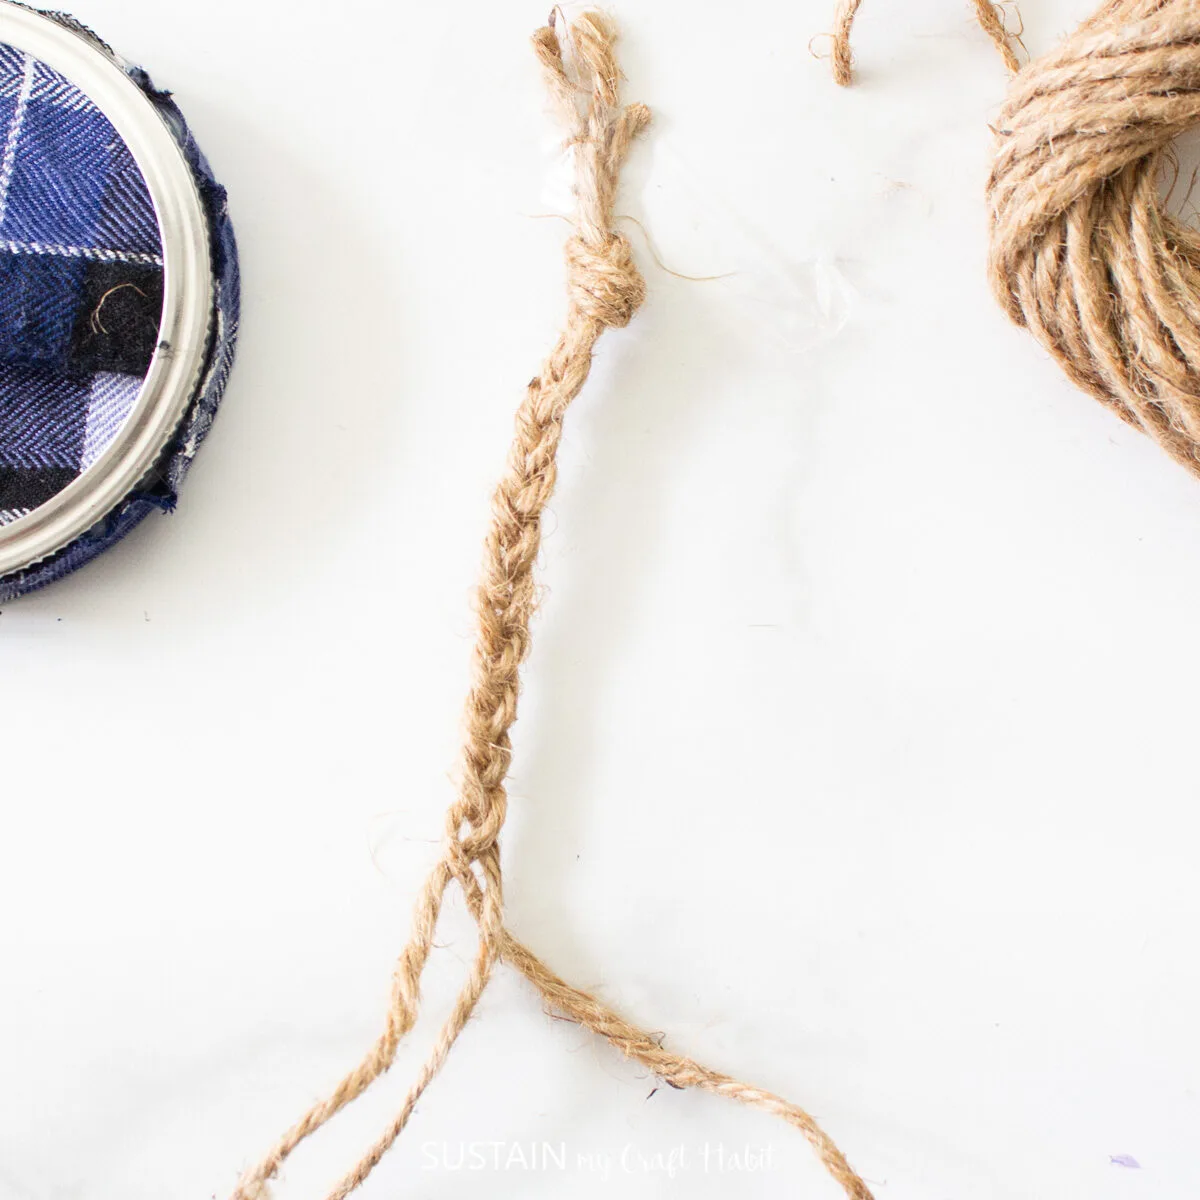
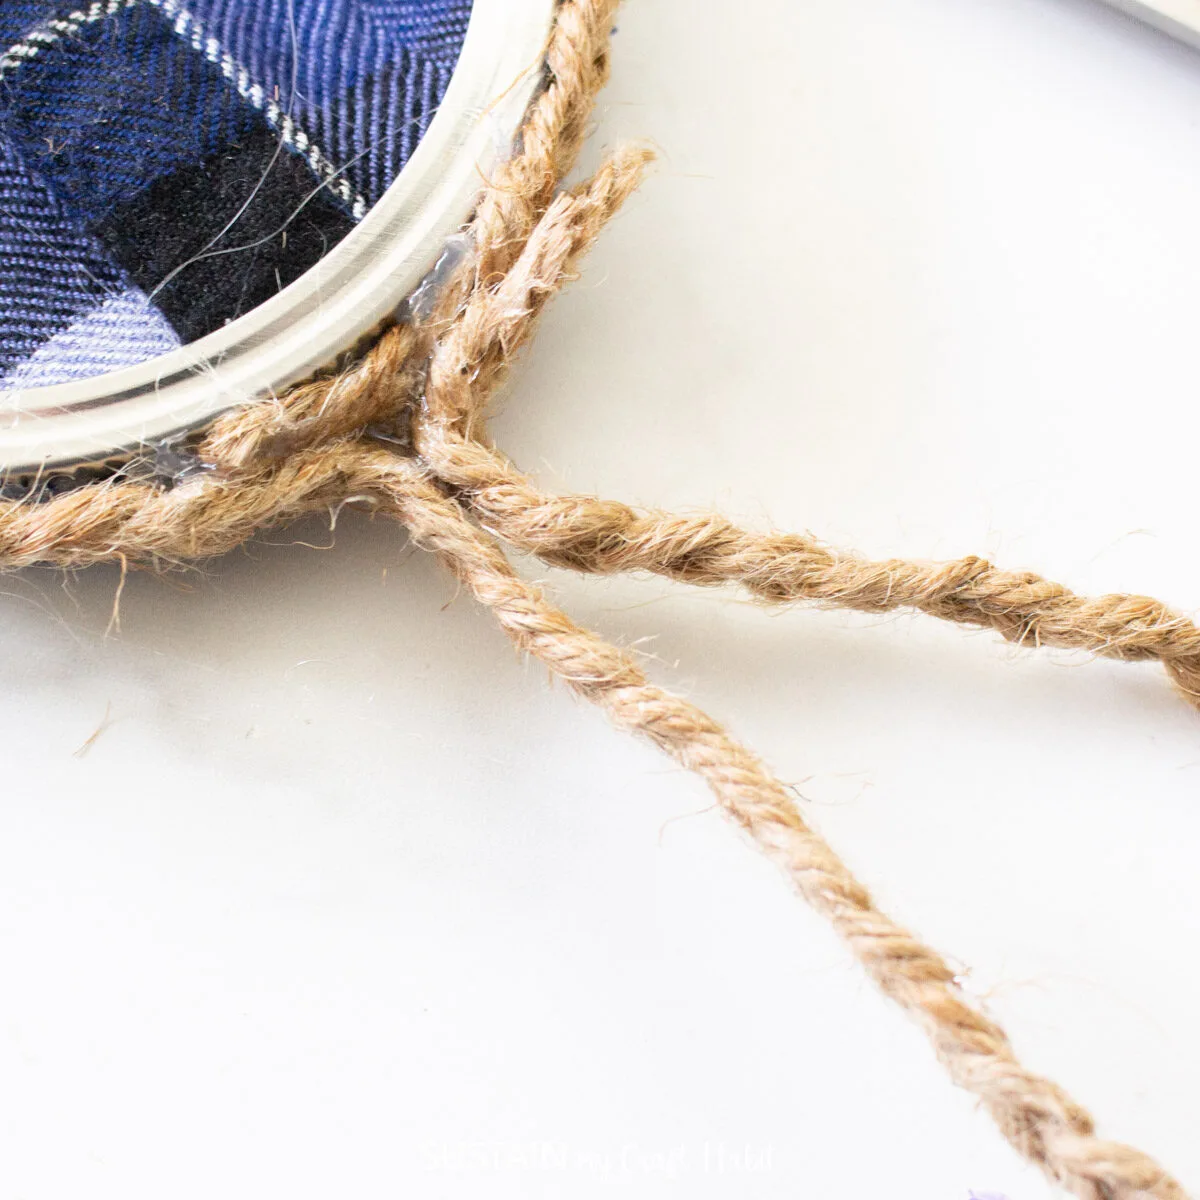
Cut three long strands of twine.
Secure one end and braid the three strands together.
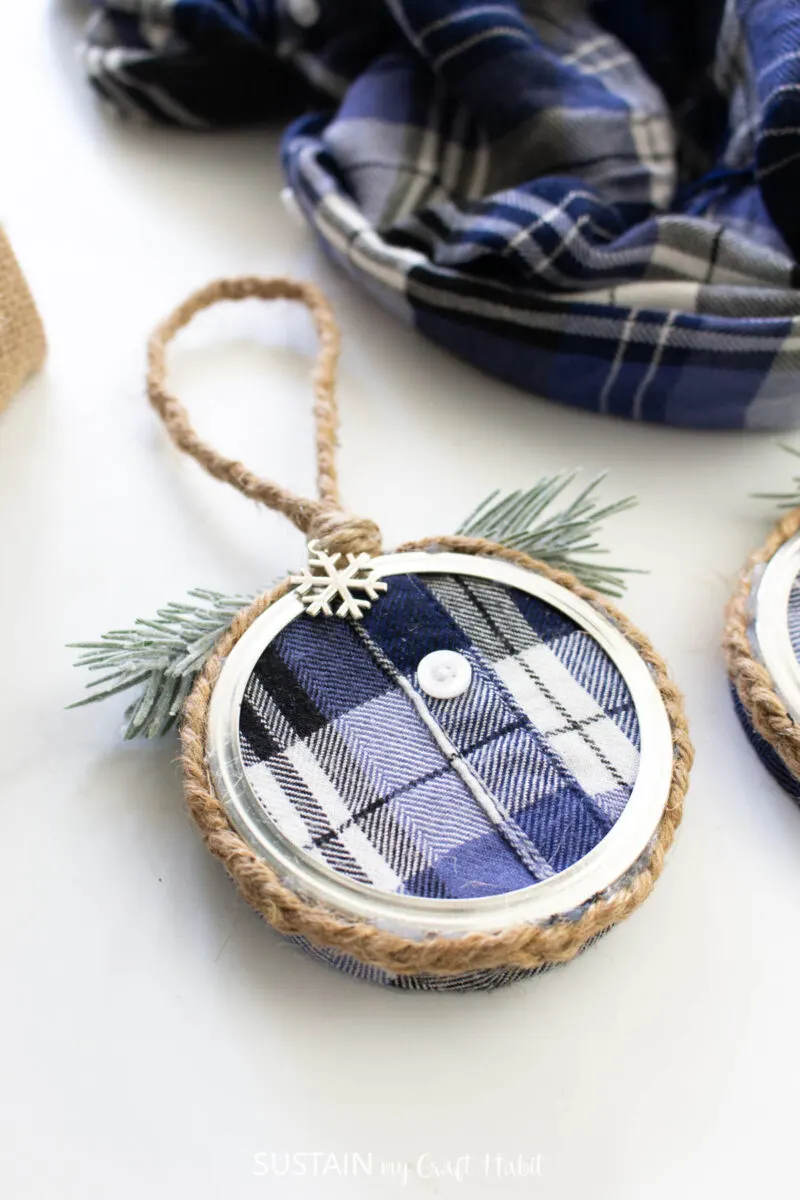
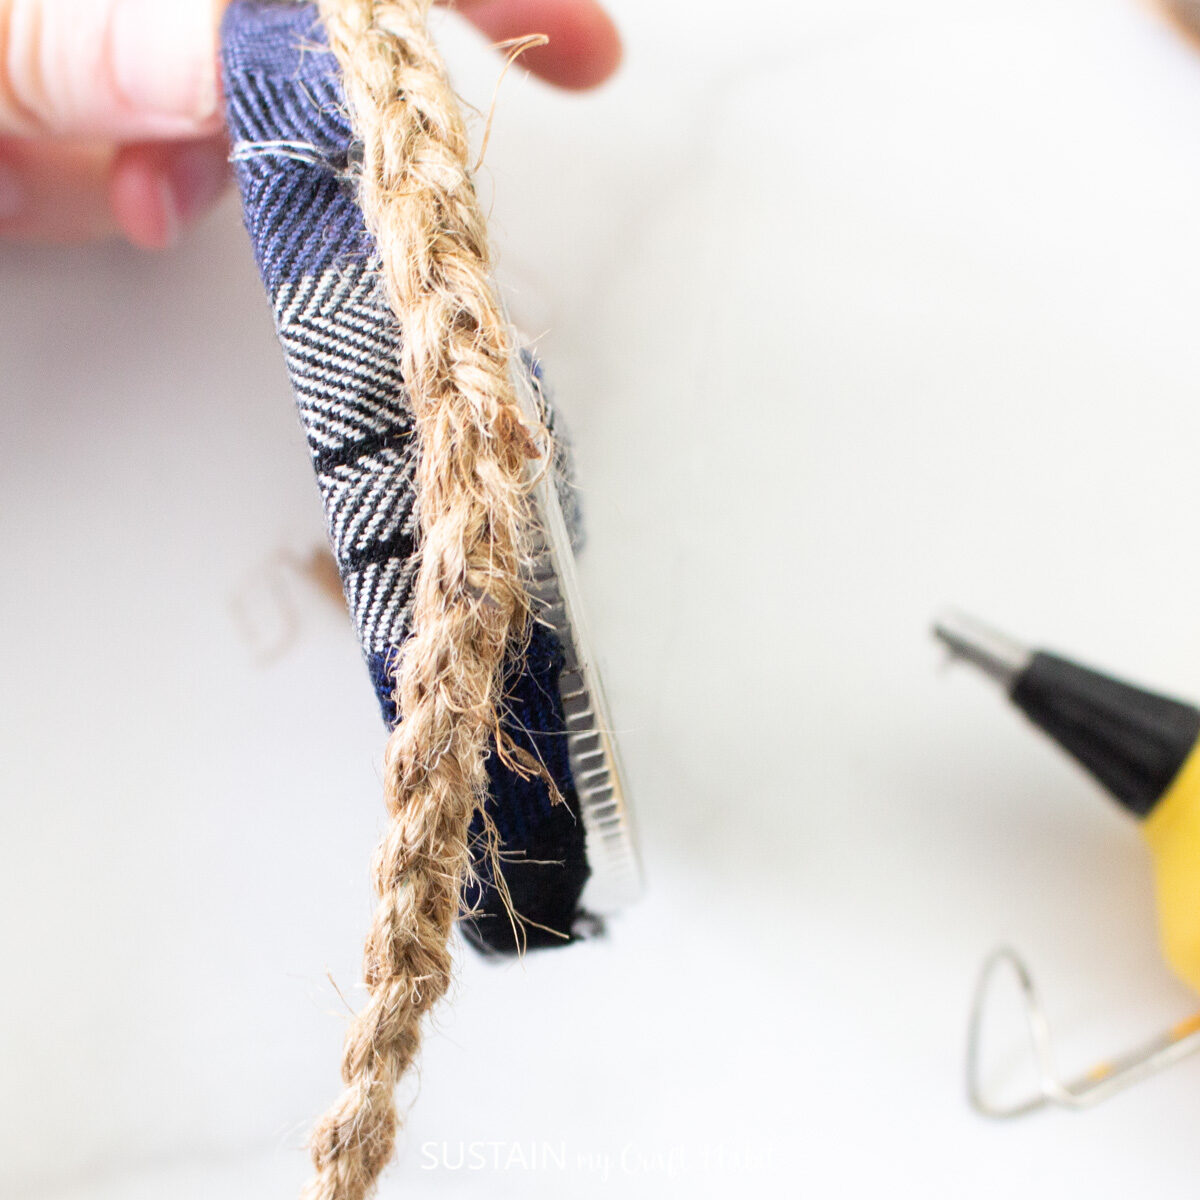
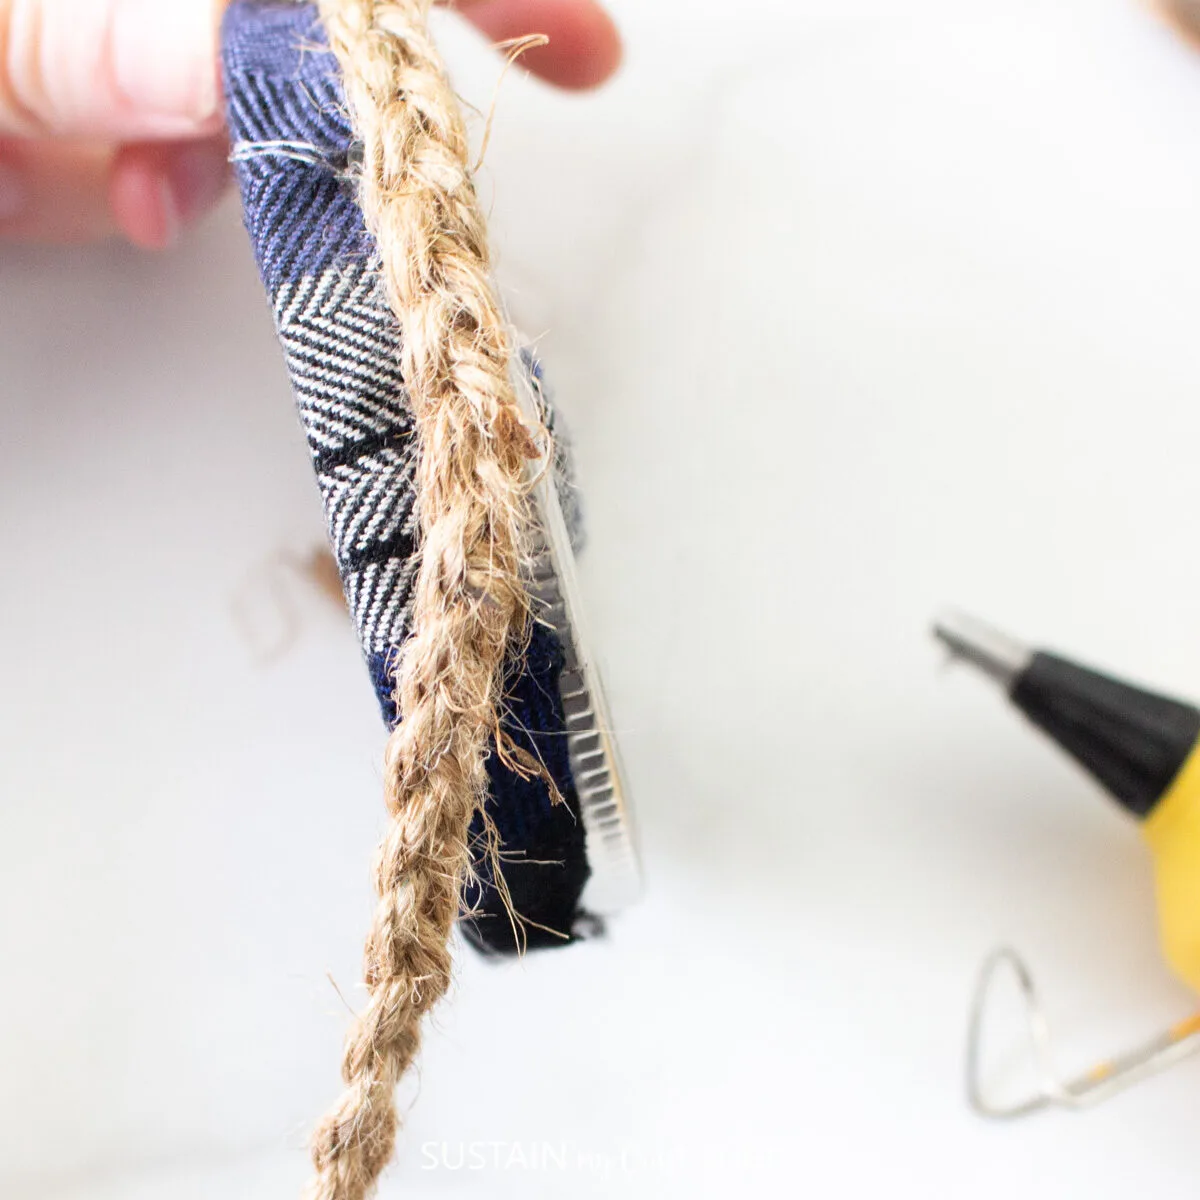
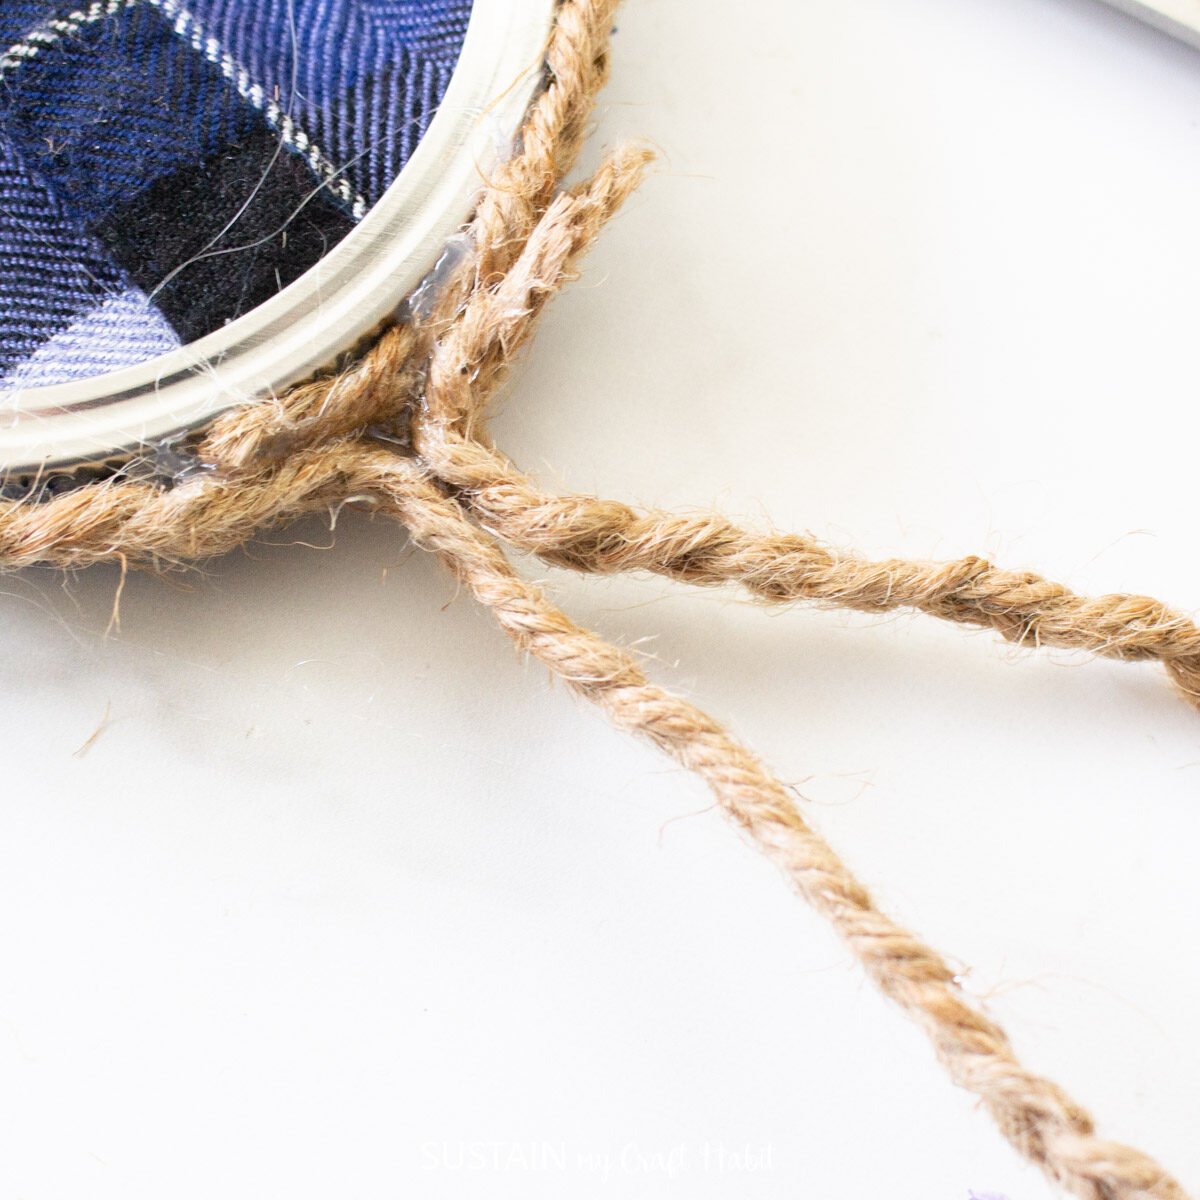
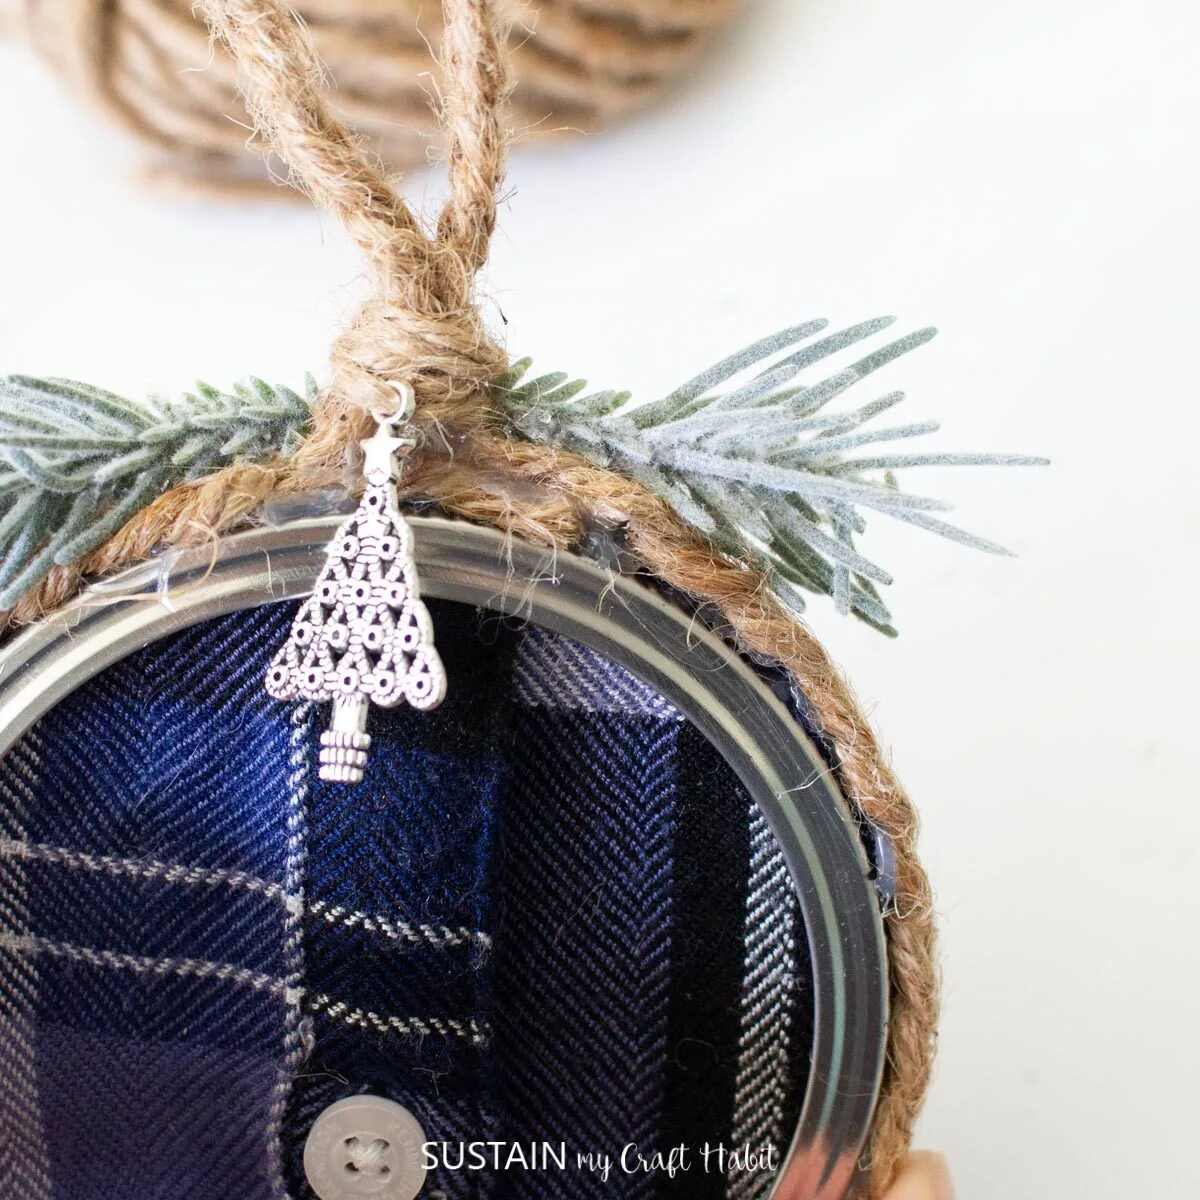
Glue the braided twine around the covered screw band forming a large loop for hanging at the top.
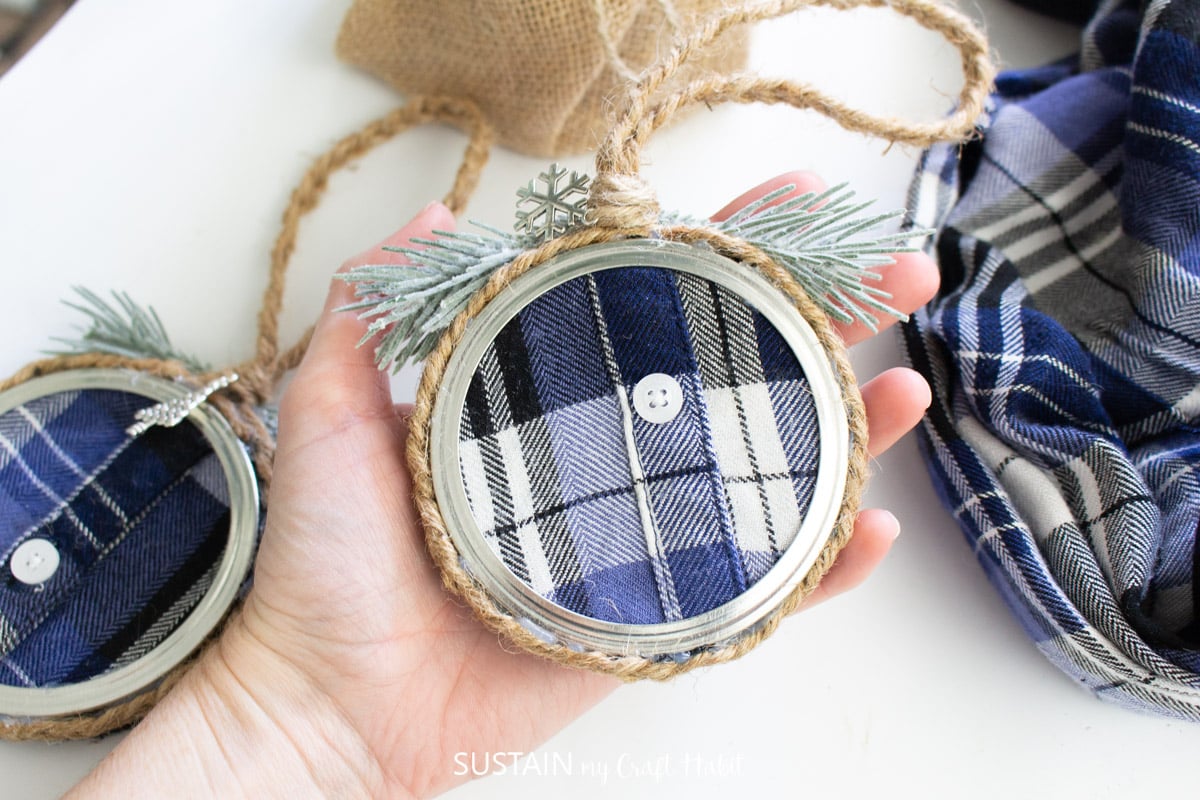
Lastly, glue some faux greenery to the top of the ornament on either side of the hanging loop.
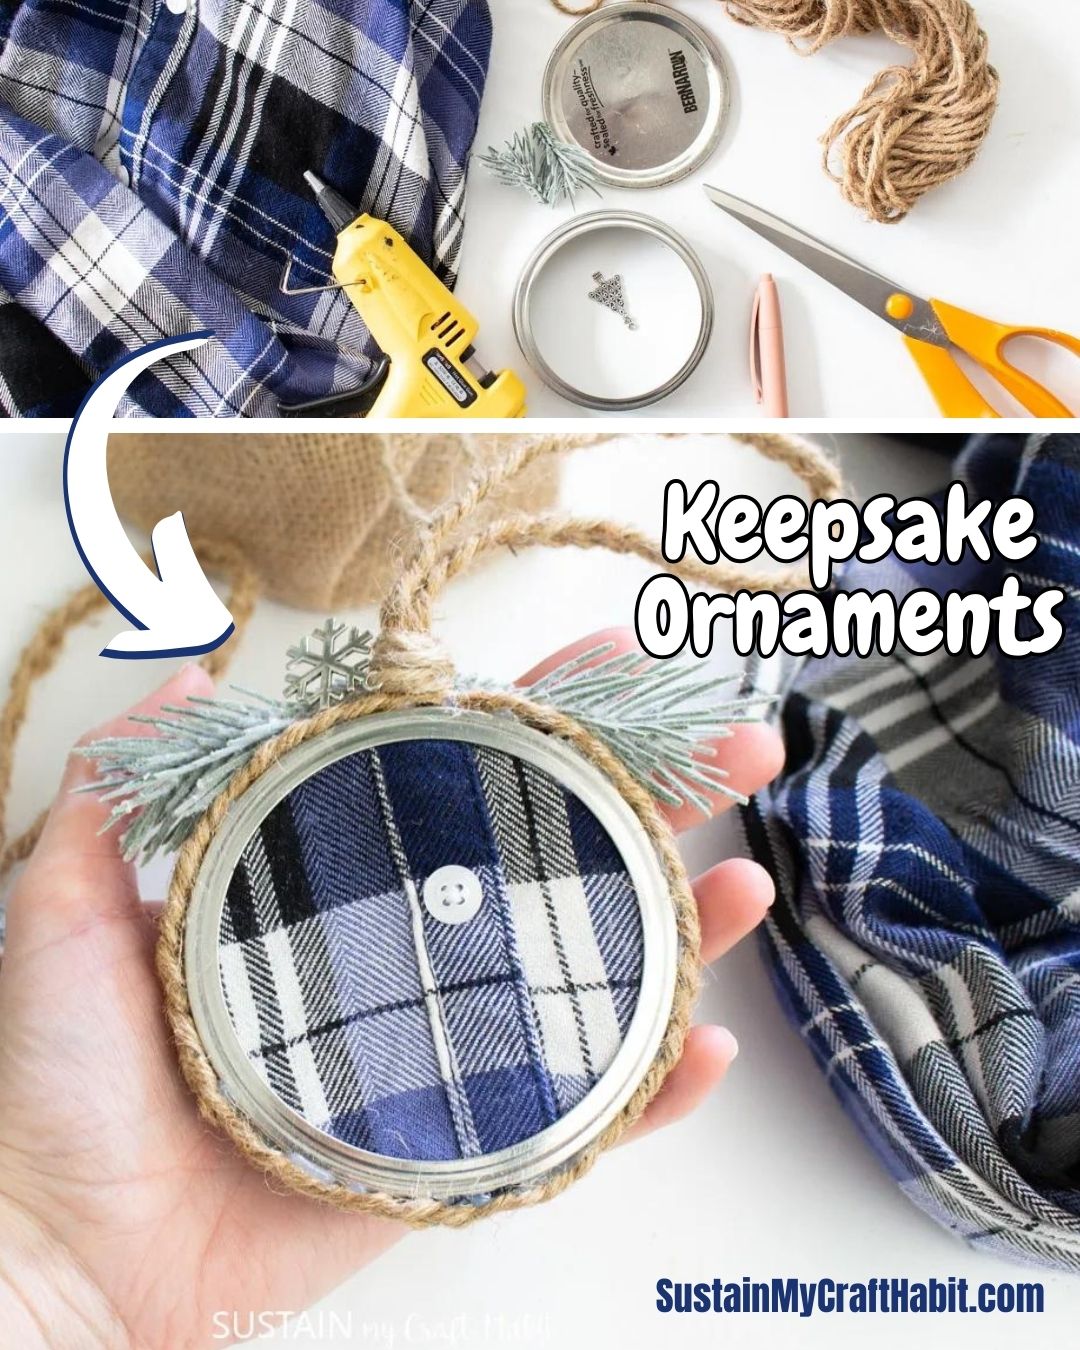
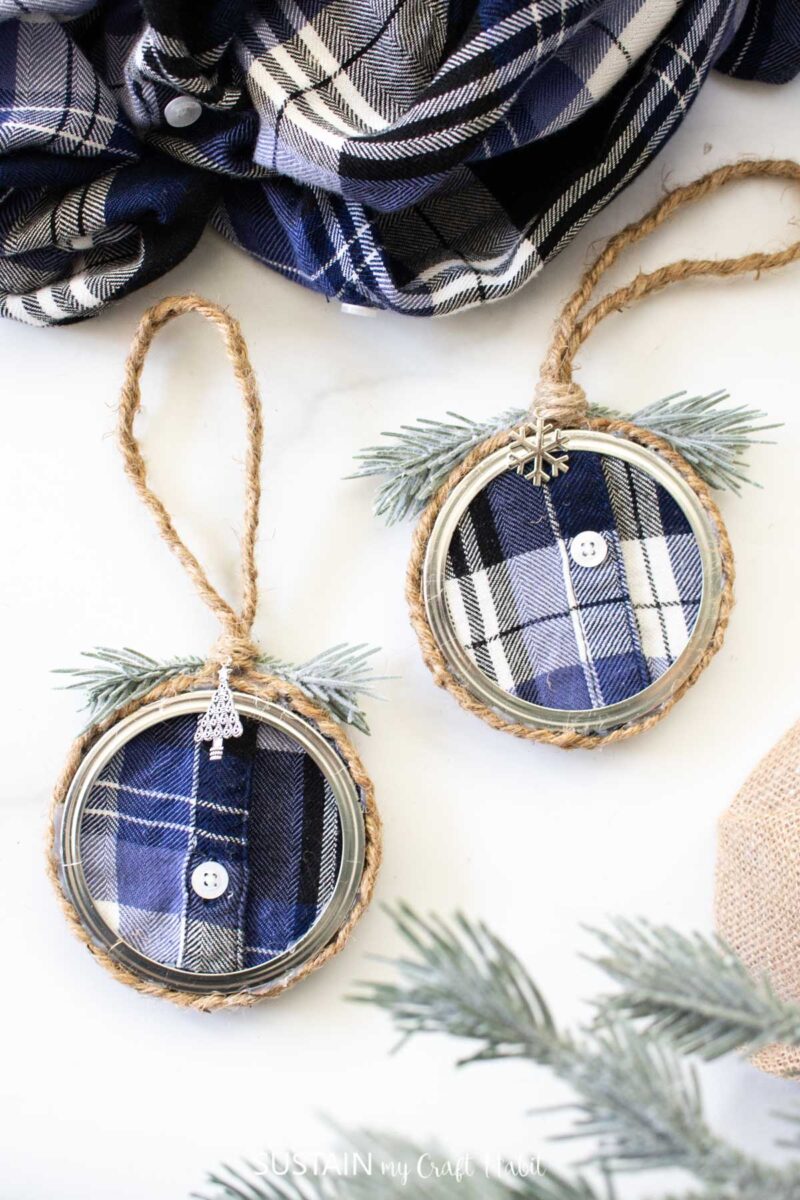
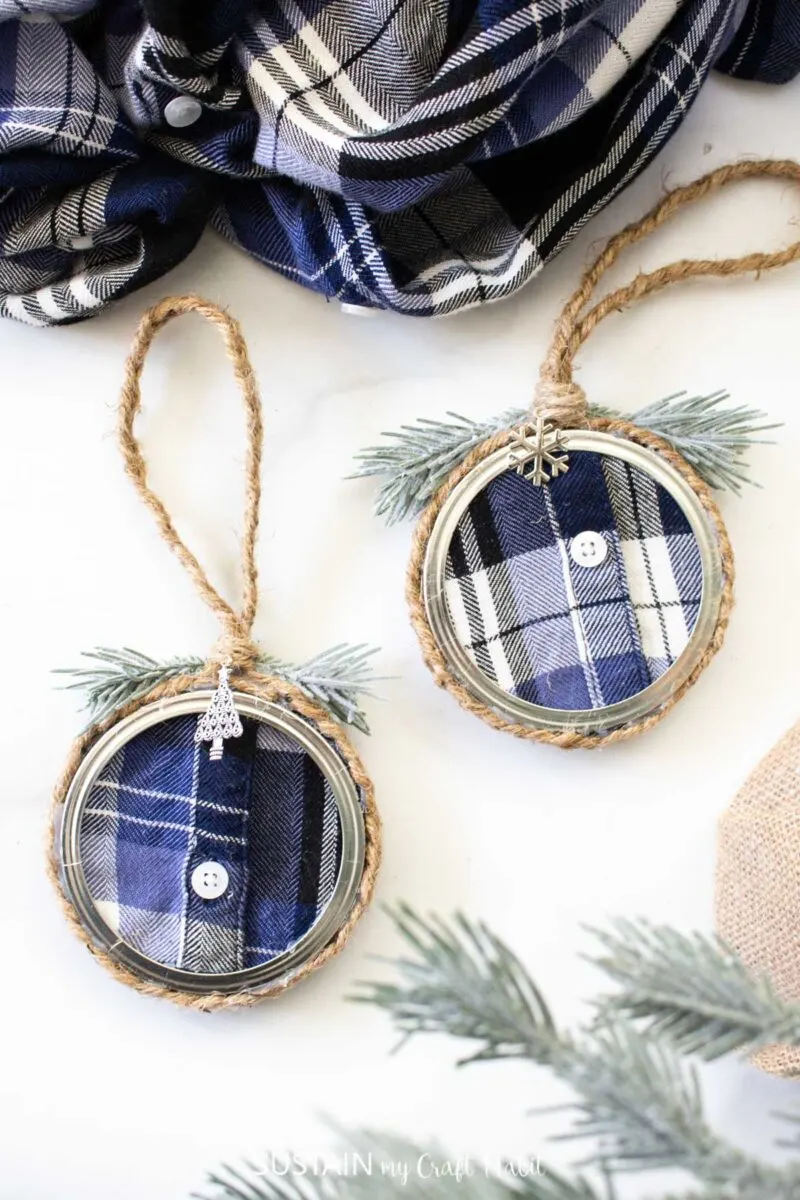
How did your newkeepsake ornamentturn out?
confirm to show it off to us!

Tag us onFacebookorInstagram we cant wait to see it!
If you enjoyed this project, be sure to check out our collection of60 fun craft ideas for adults!
Pin it to save for later!

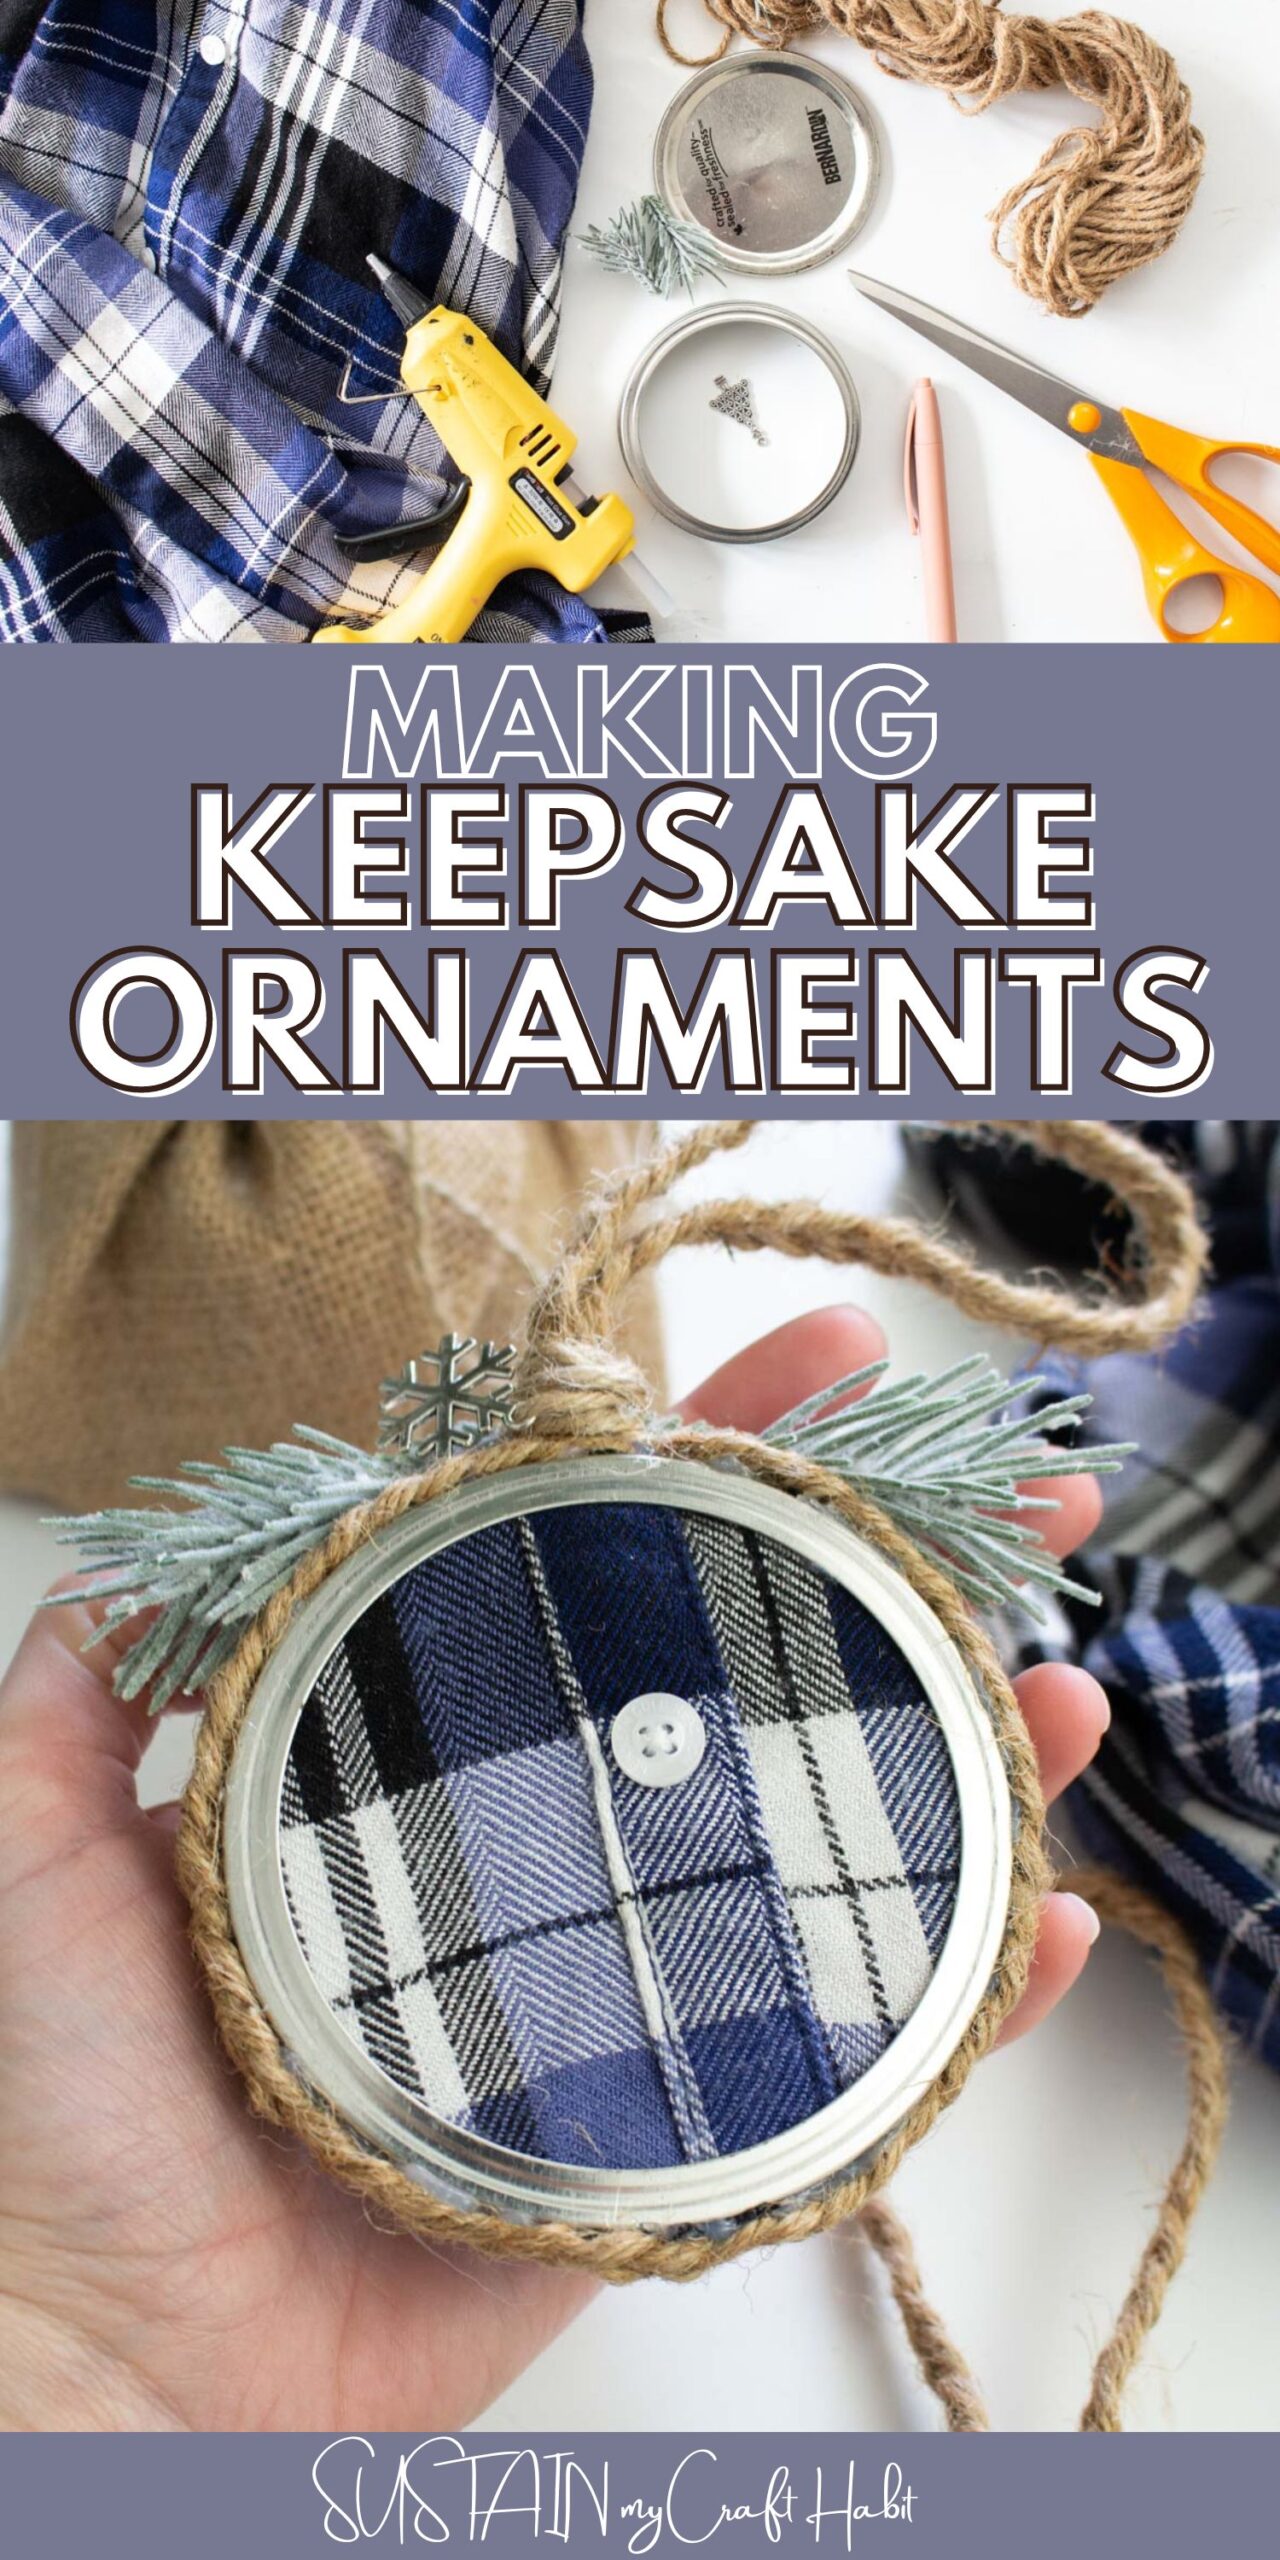
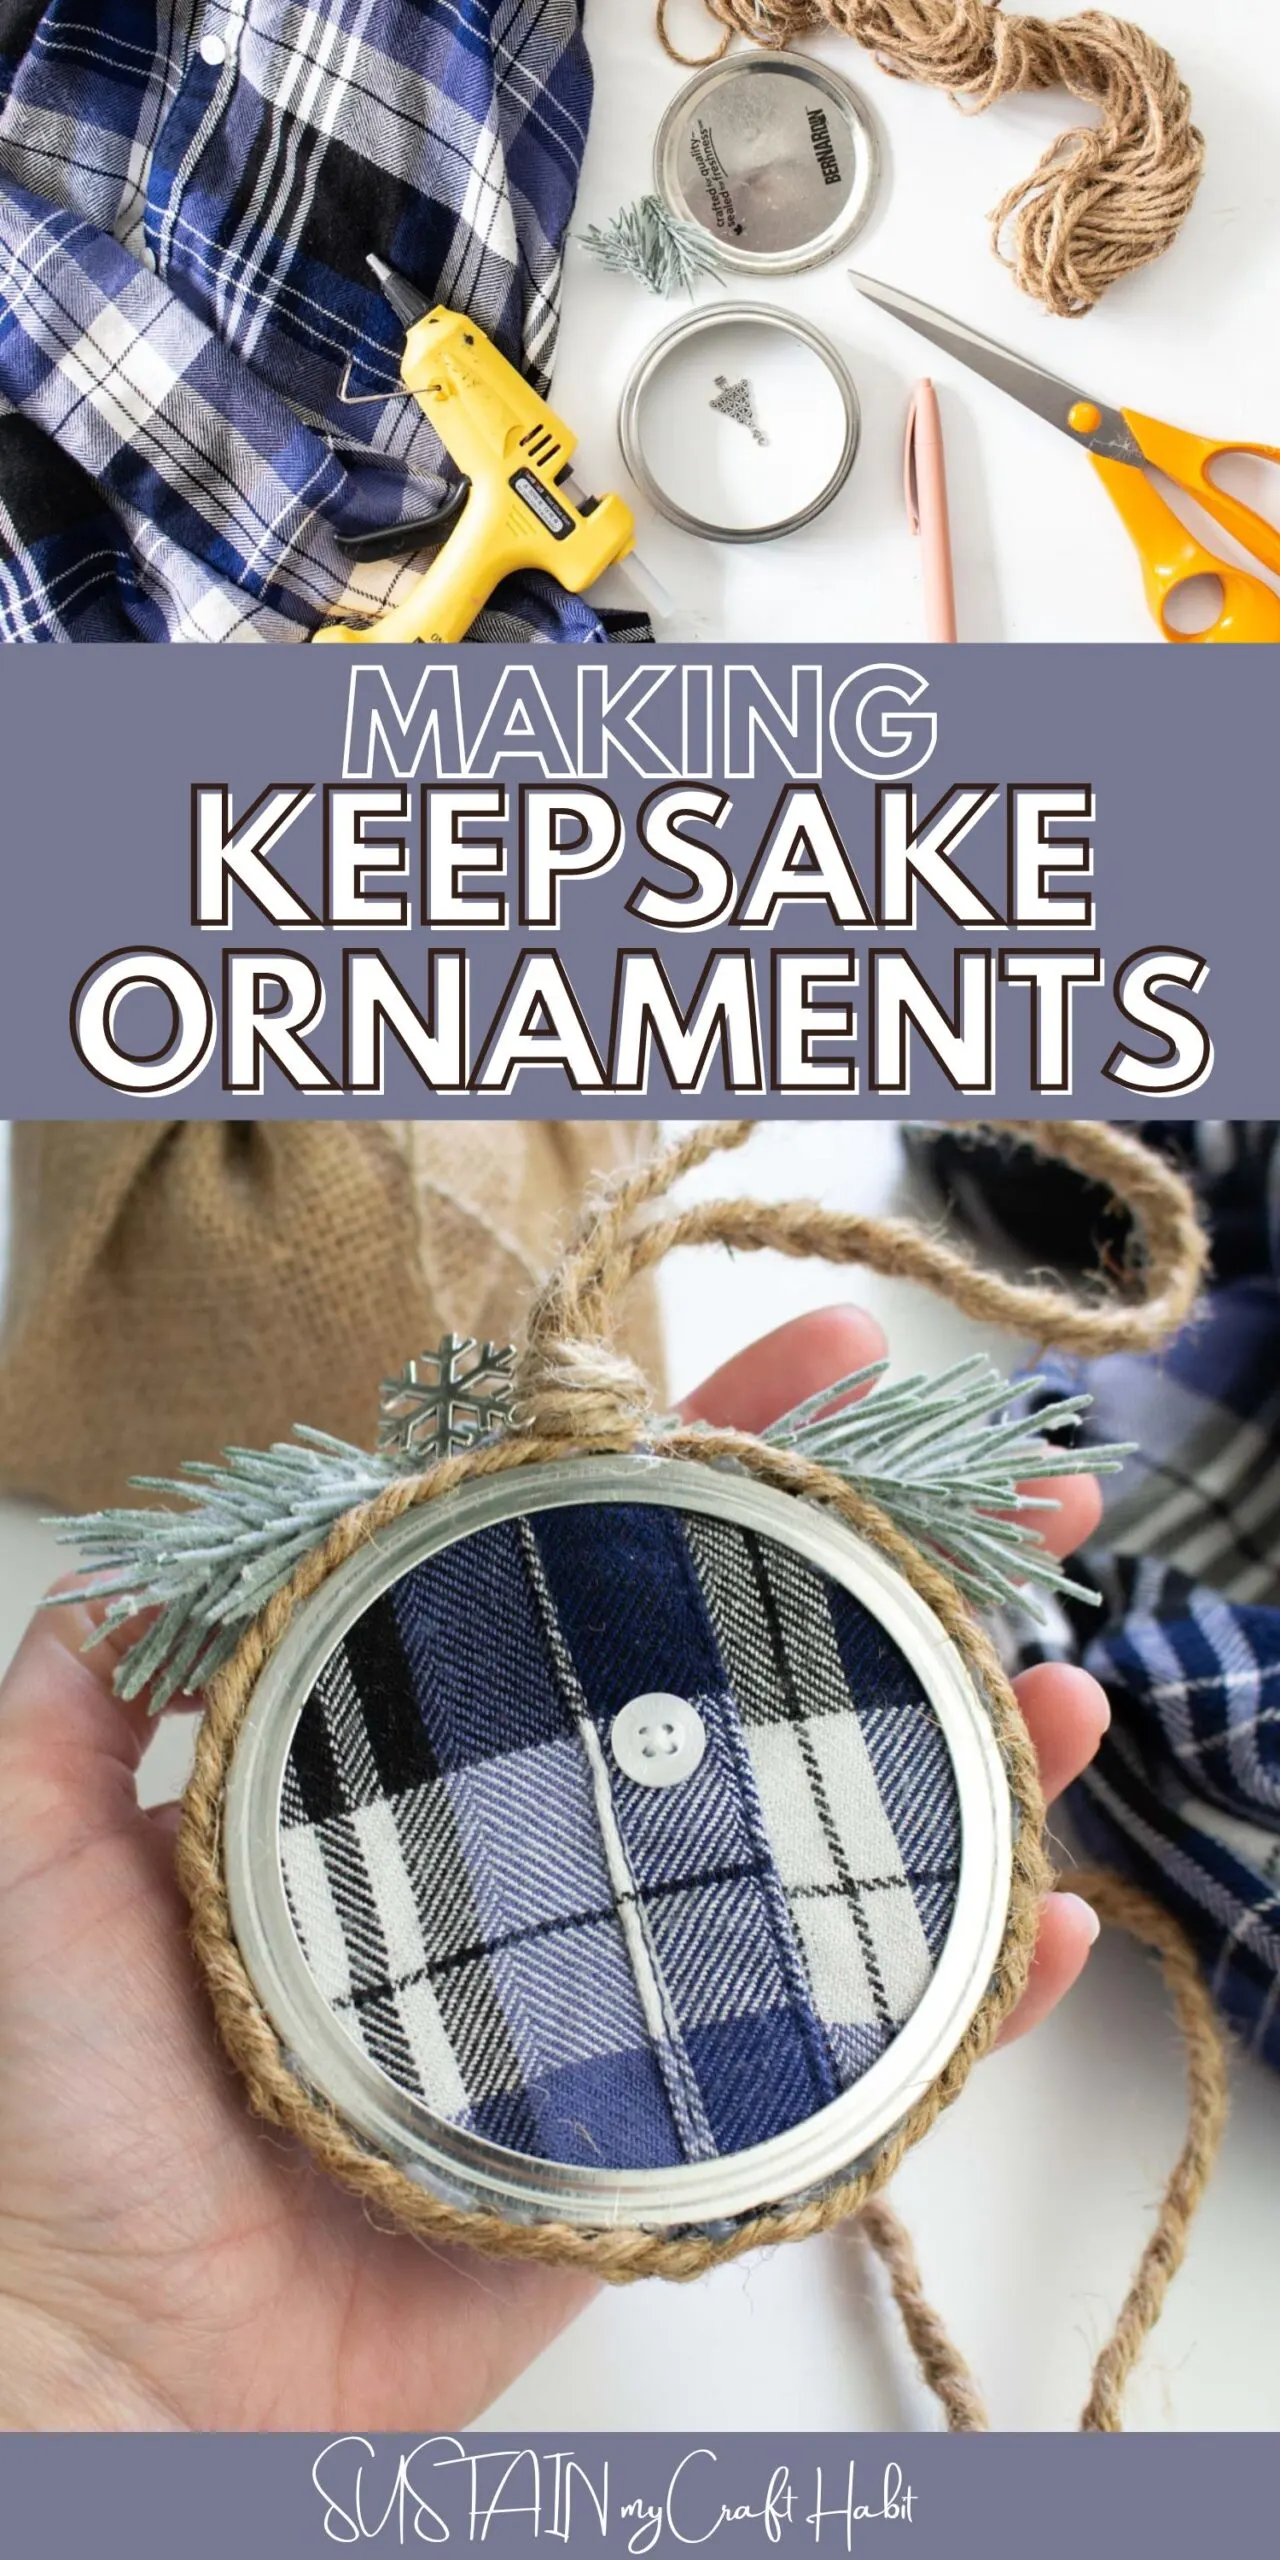
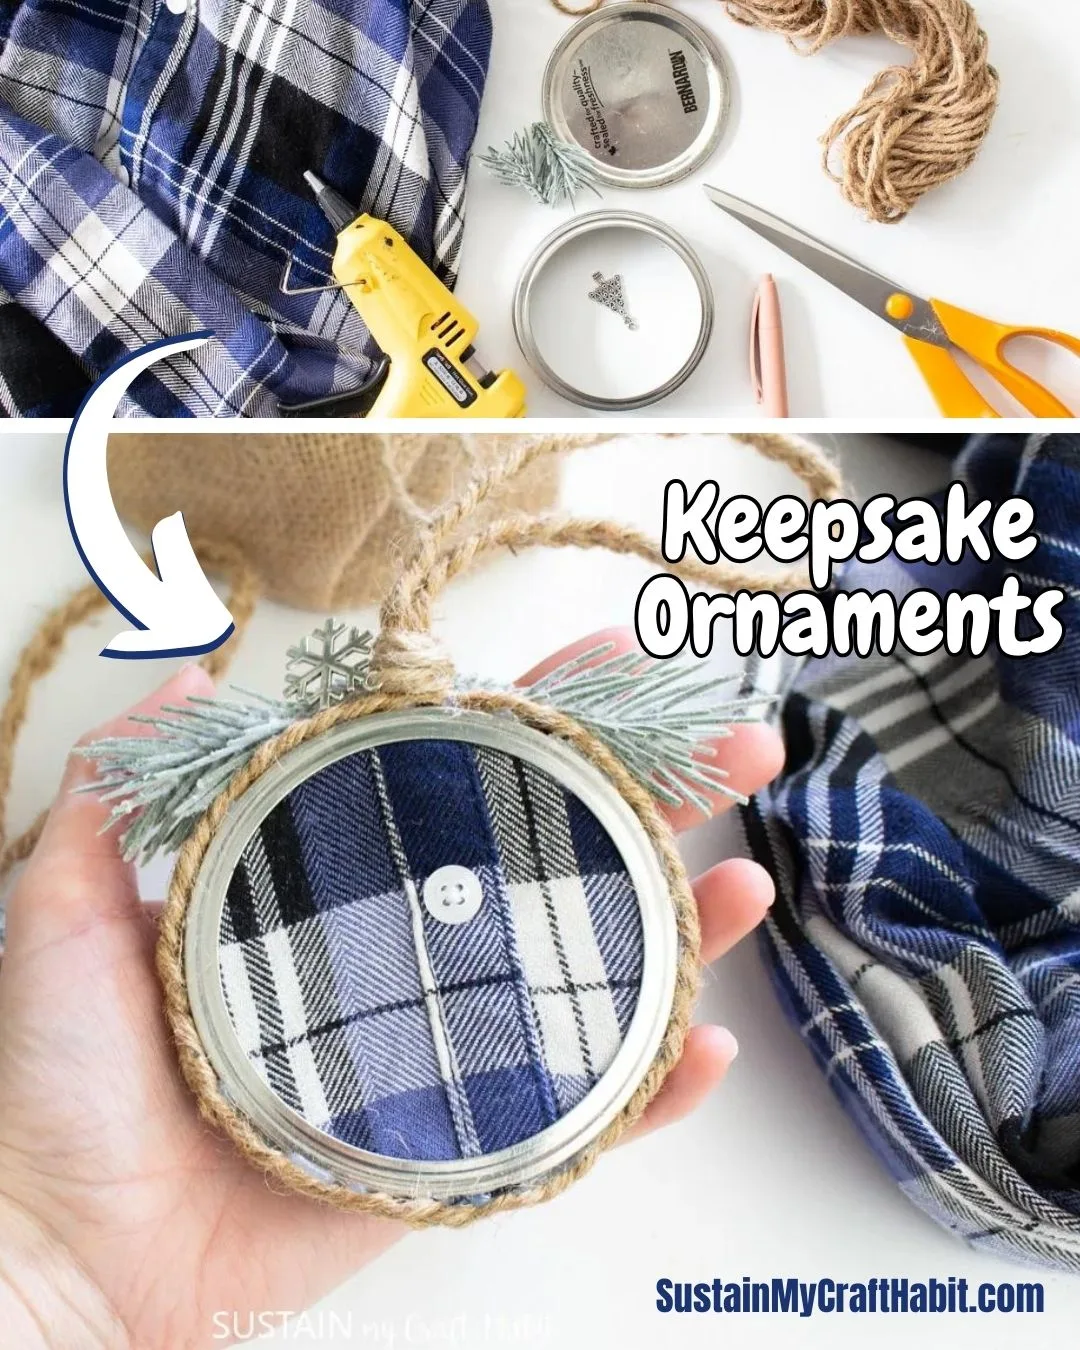
Making Keepsake Memory Ornaments with Clothing
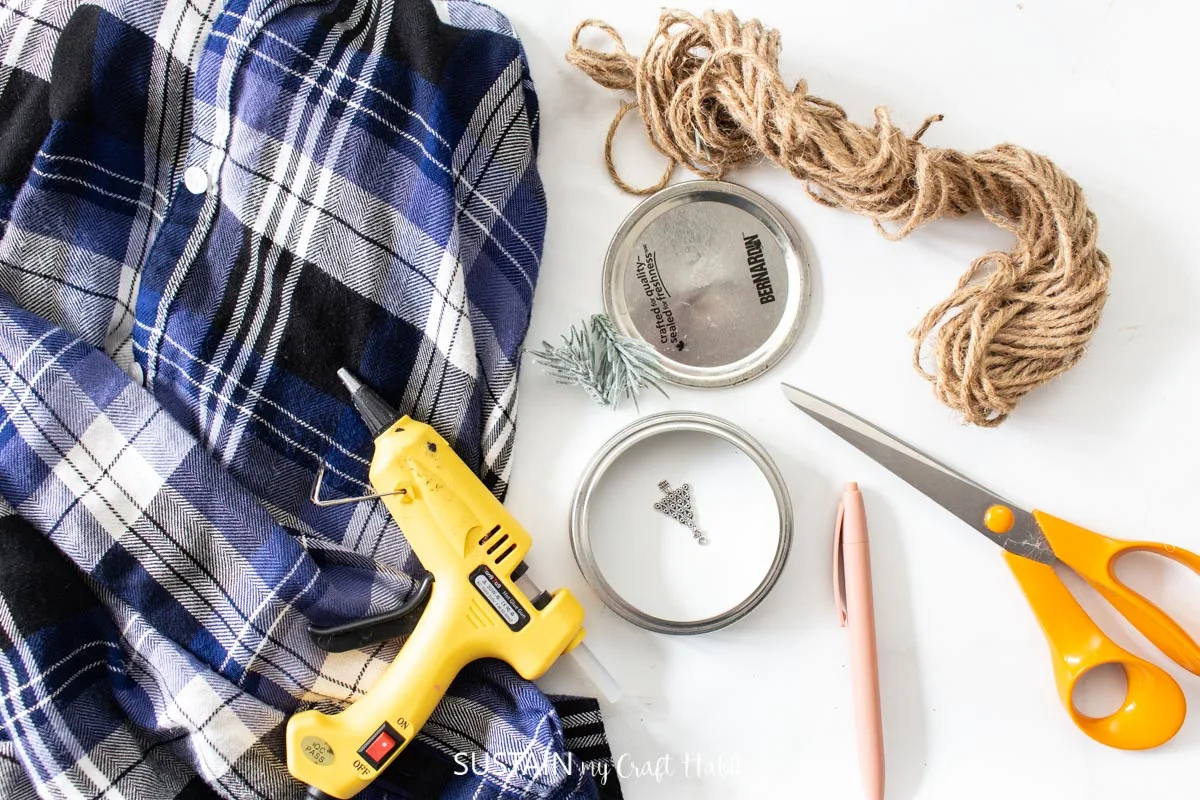
Materials
Instructions


showing the back side of the ornament


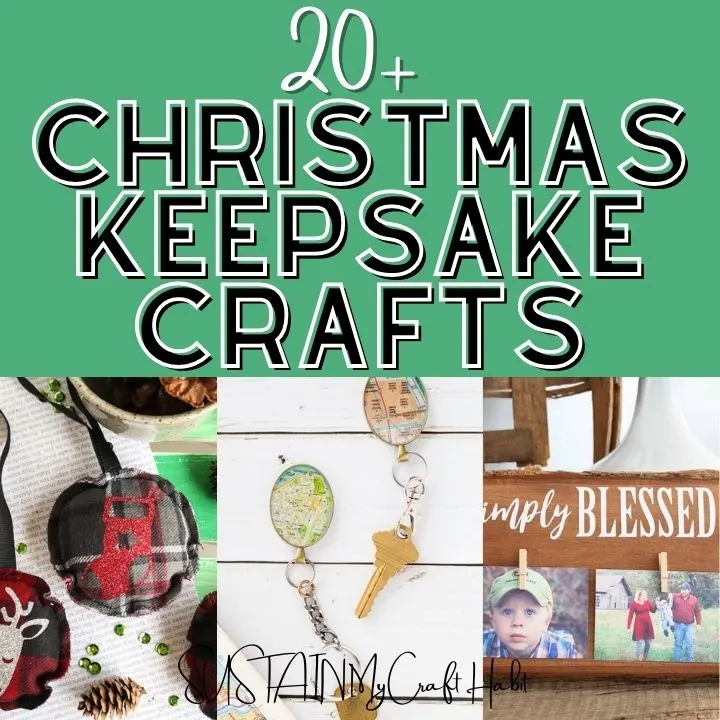
Christmas Keepsake Crafts
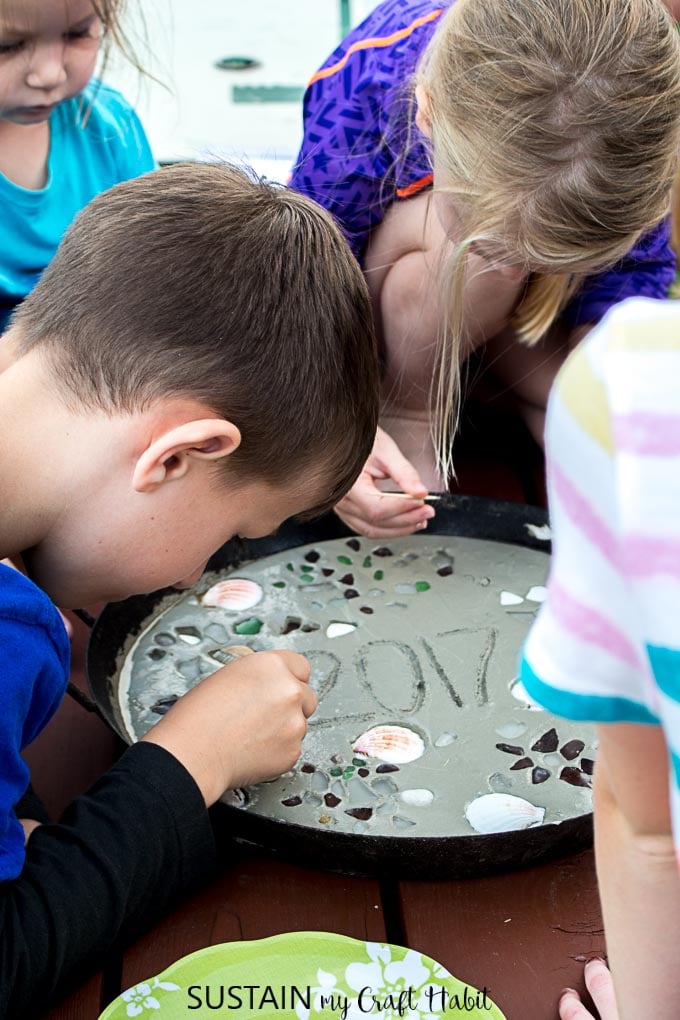
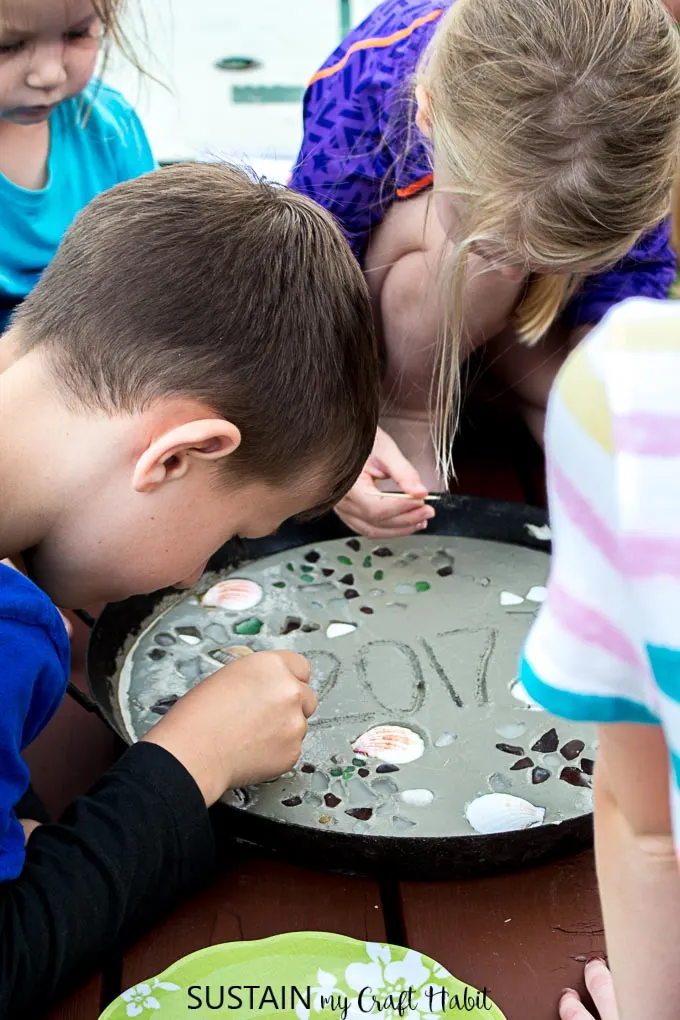
DIY Personalized Stepping Stones

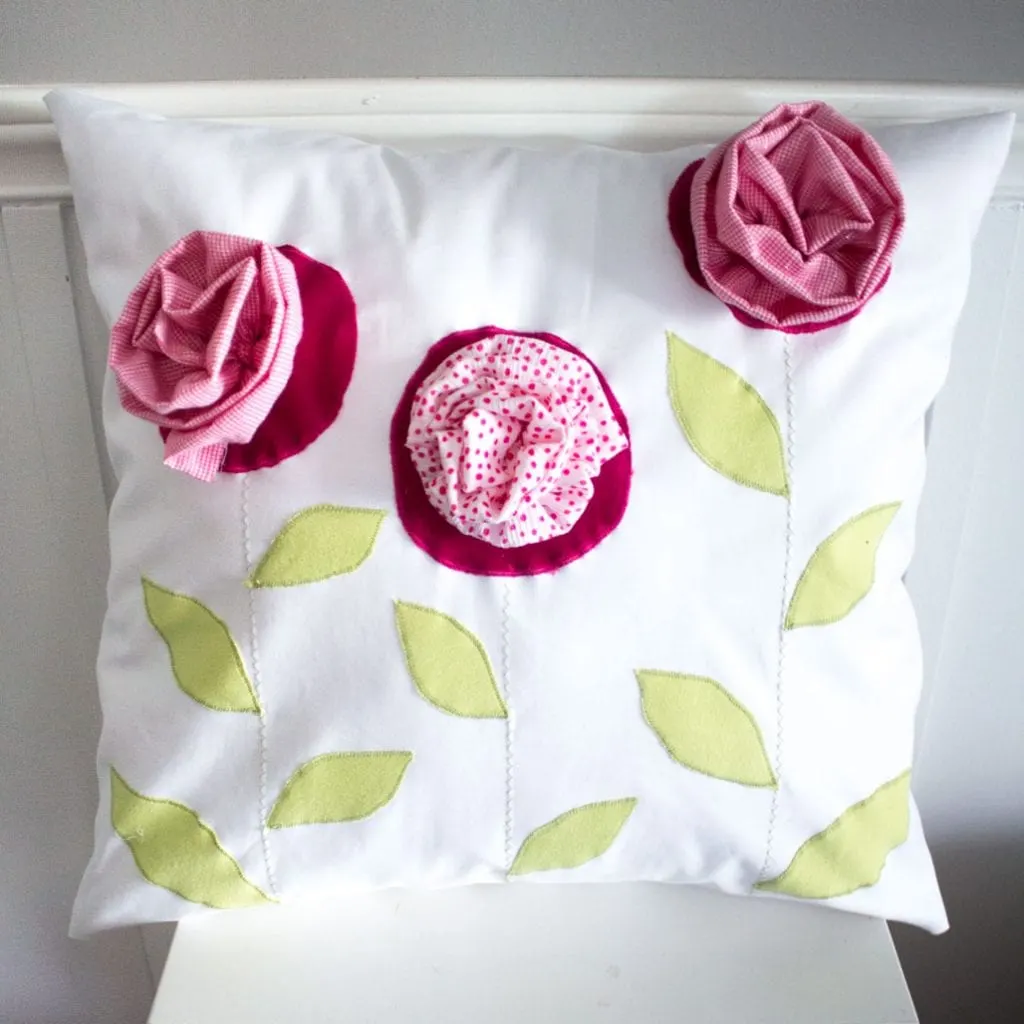
Personalized Throw Pillow


Upcycled Pillow