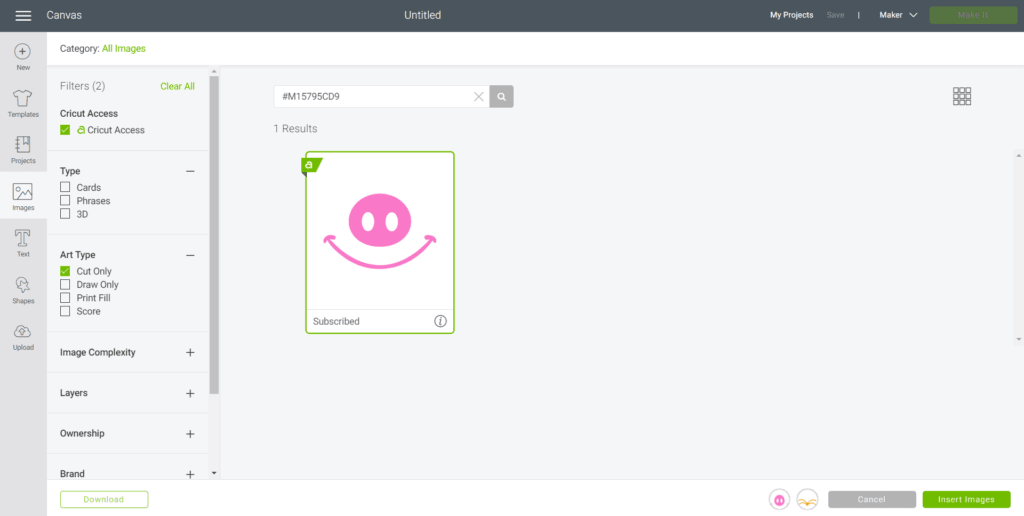
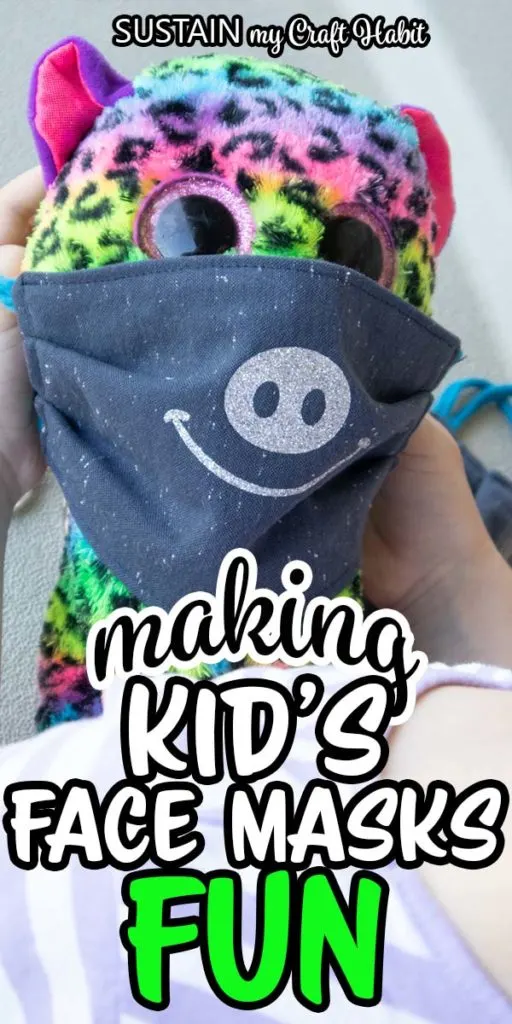
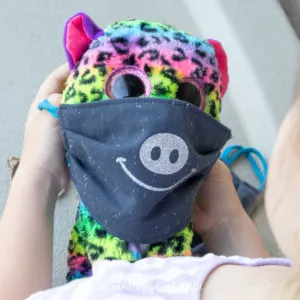
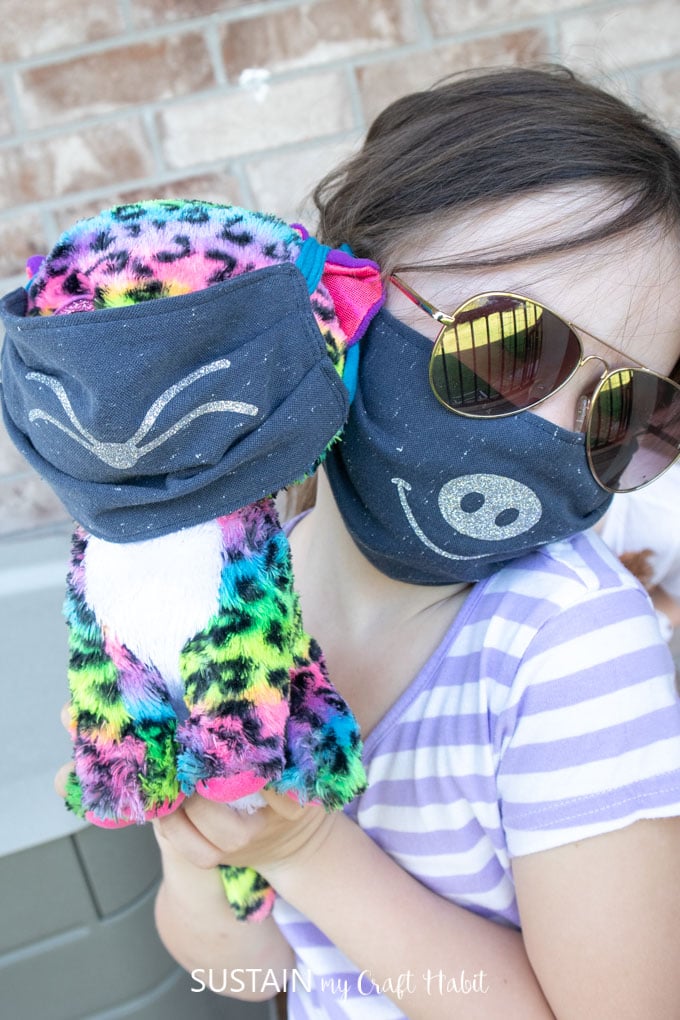
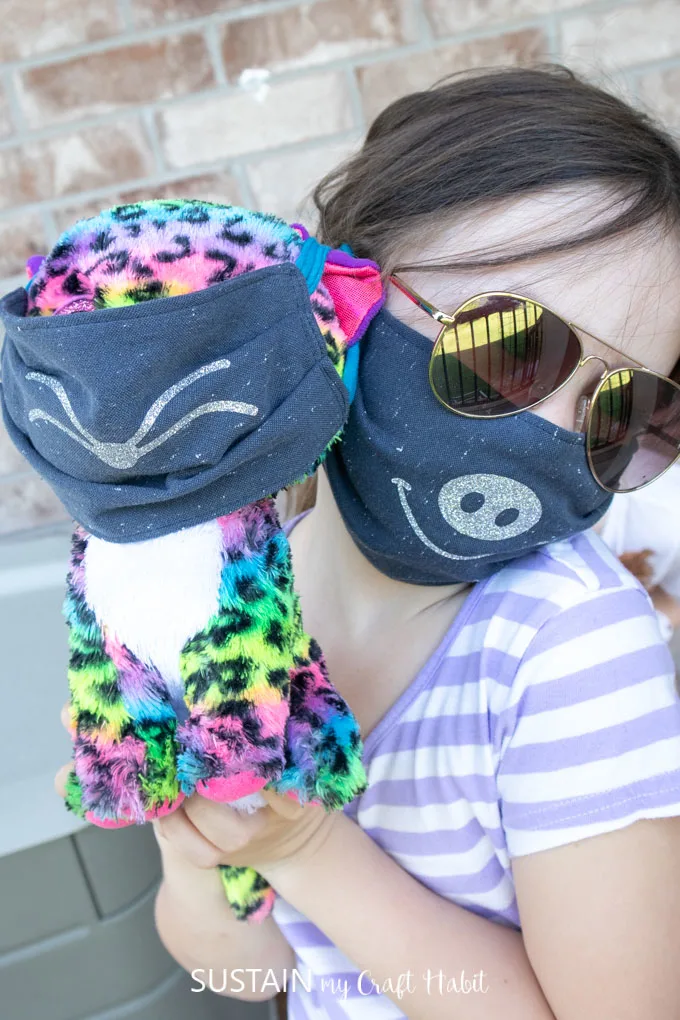
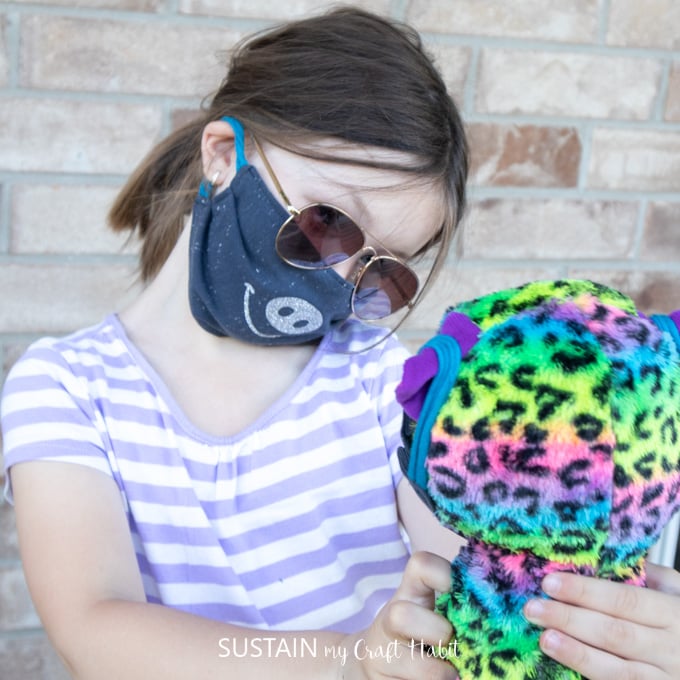
My personal favourite is the little piggy face!
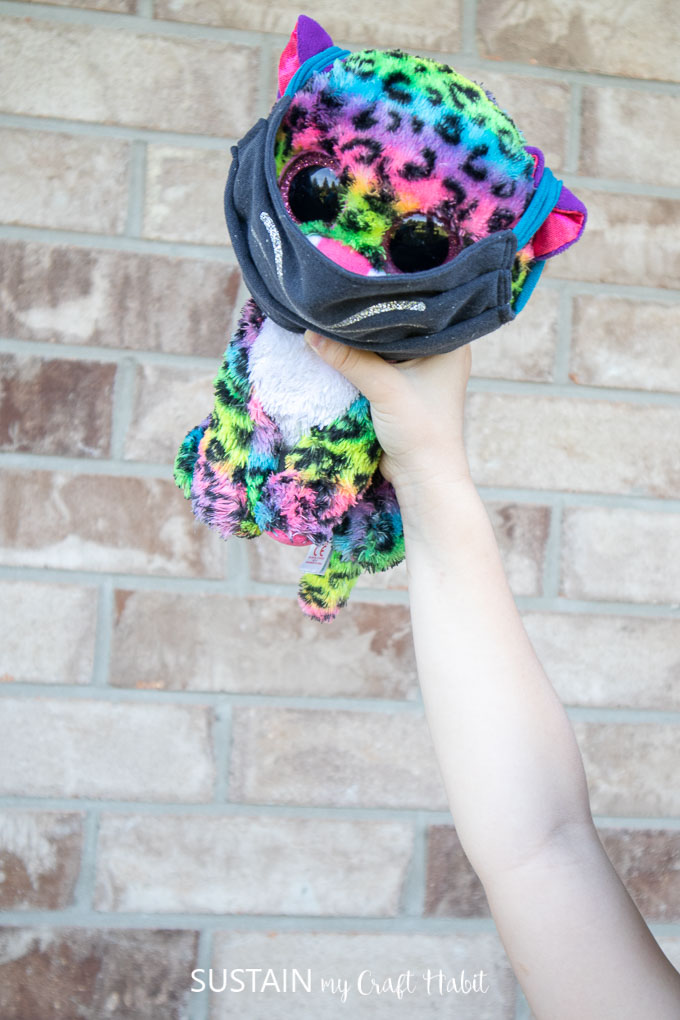
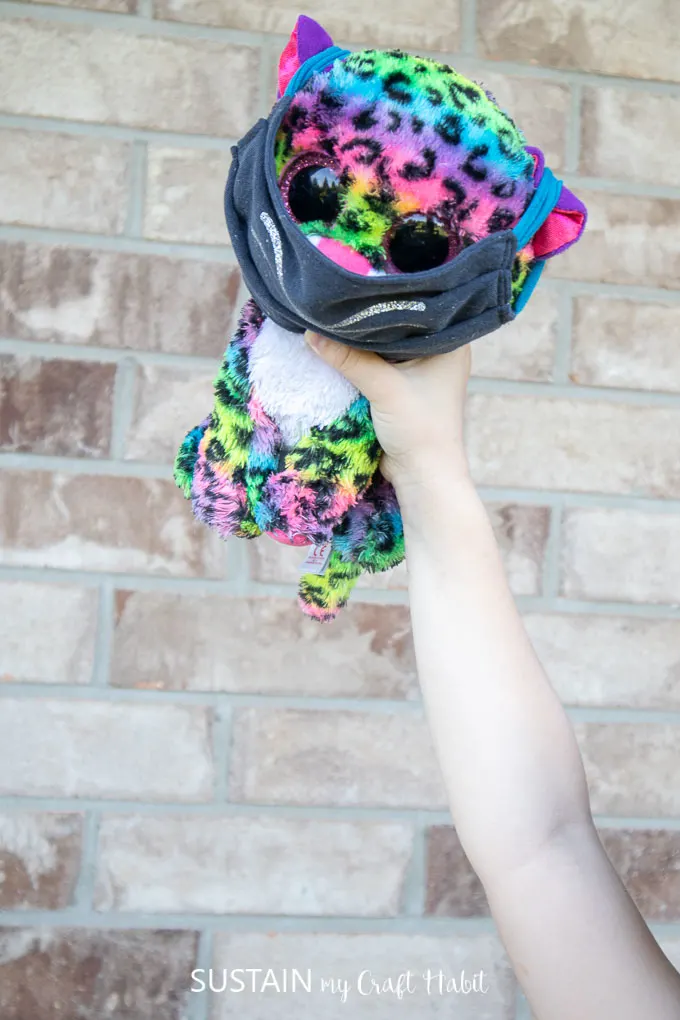
Adding a face decal is purely decorative and a little detail goes a long way.
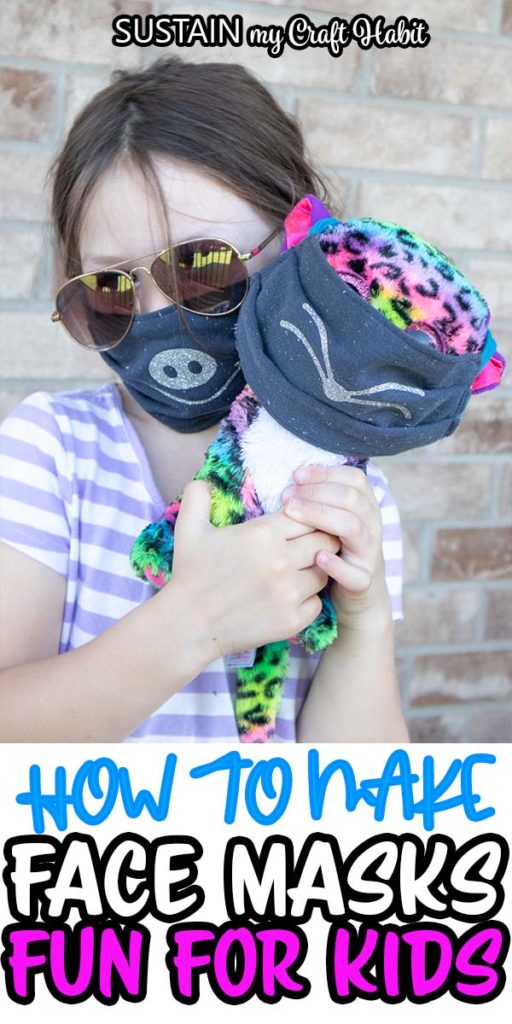
Keep reading to find the tutorial for adding a funny iron-on face decal to your kids face masks.
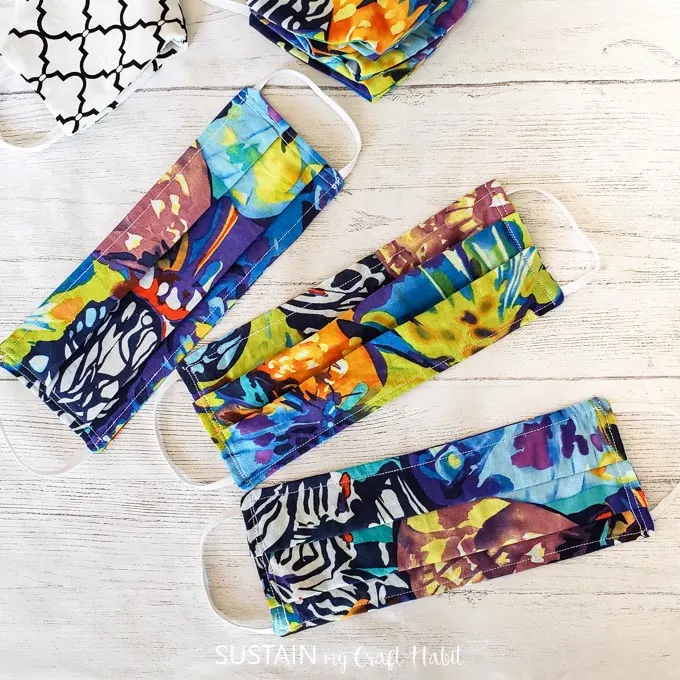
I turned my husbands old dress shirt into several useful kids face masks.
This will not only spark their imagination but also get them comfortable with using masks in general.
Does your child have a favorite Disney princess?

Or a favorite sports team?
Or try this technique forprinting Disney faces directly on fabric.
it’s possible for you to readour full disclosure policy here.
Instructions:
Use the free kids pleated face mask patternto make your own reusable fabric masks.
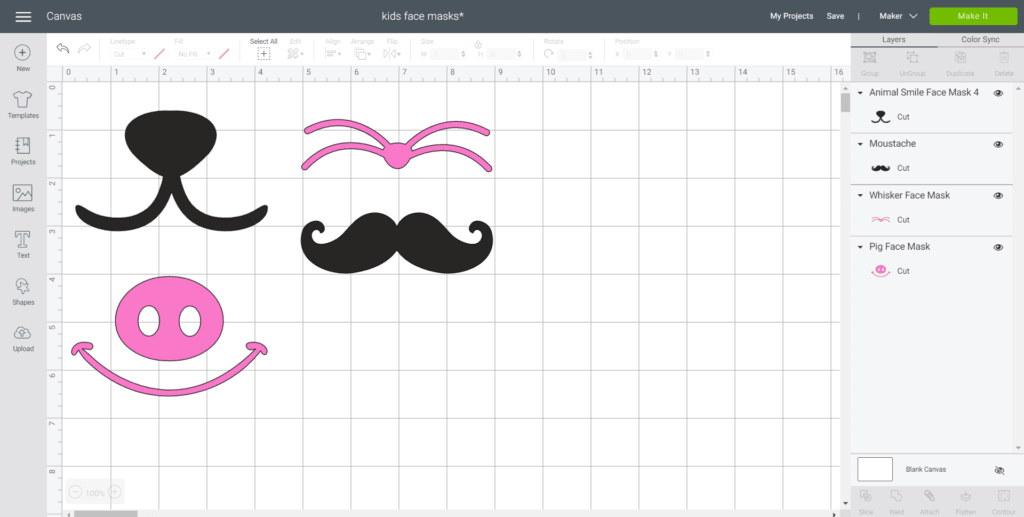
When selected, insert the images on to the canvas.
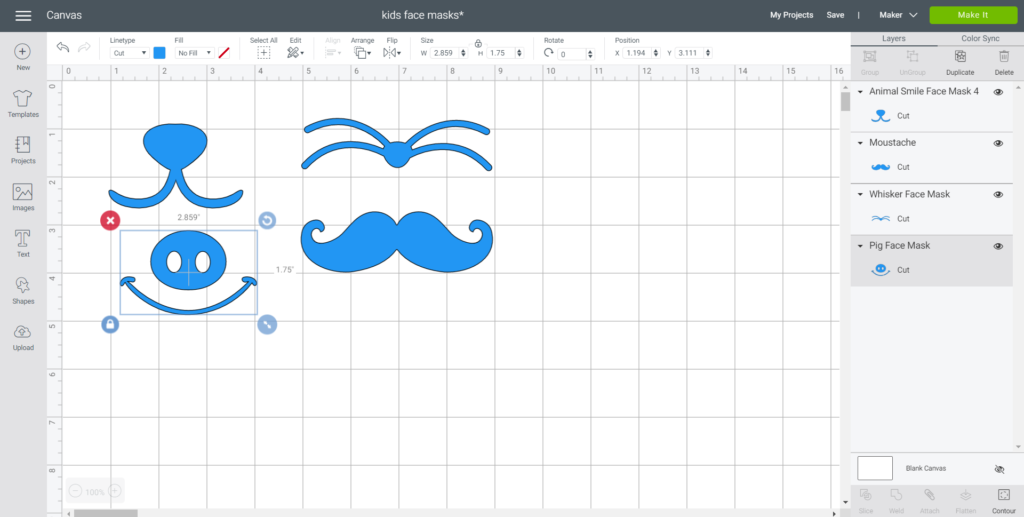
Adjust the size by highlighting the image and clicking on the size box in the top toolbar.
Change the measurement to fit the mask accordingly.
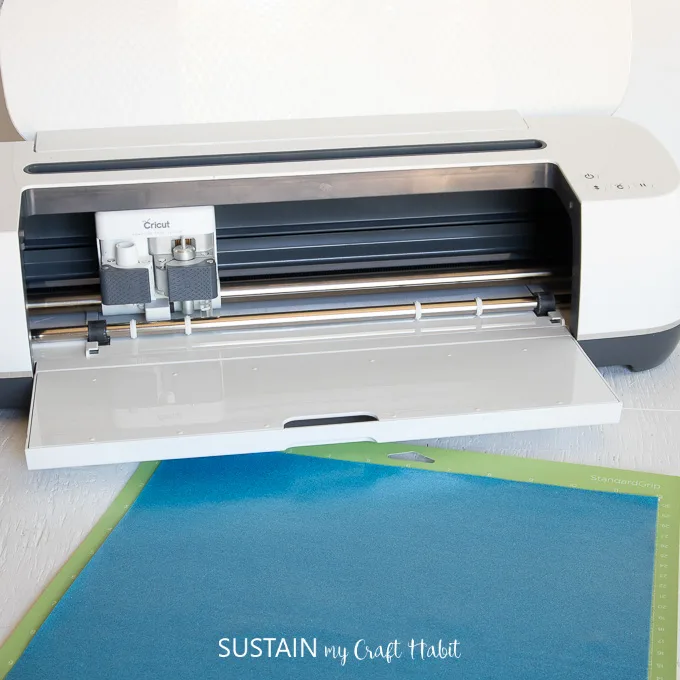
This is necessary for ALL iron on vinyl cuts.
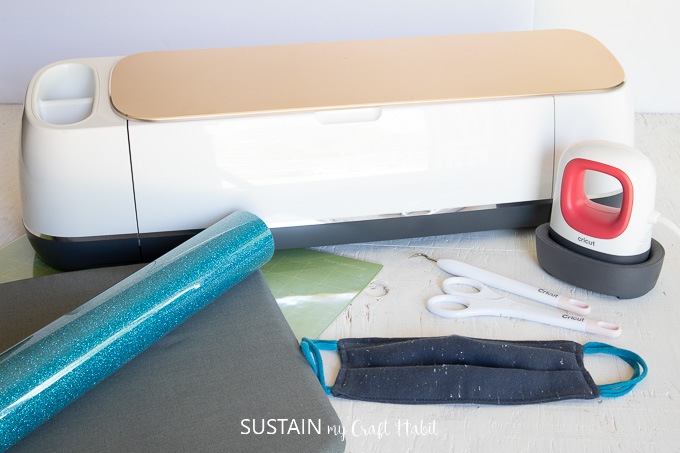
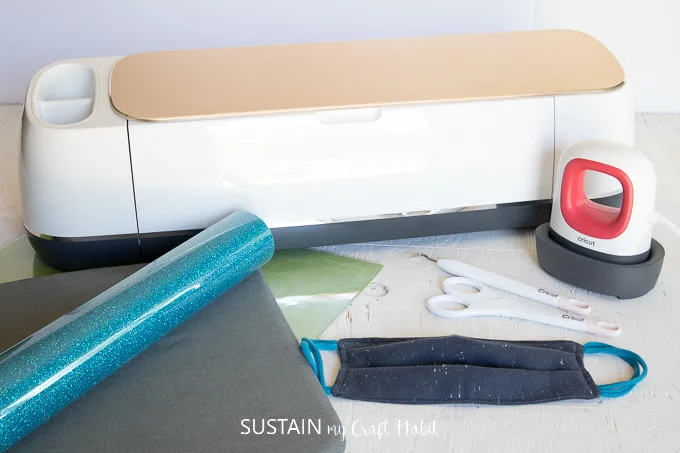
Place the Iron-On vinyl directly onto the standard grip Cricut mat with the glitter side down.
Remove the Iron-On Vinyl from the mat and cut around the image.
Using a weeding tool, peel away the excess vinyl leaving only the image.
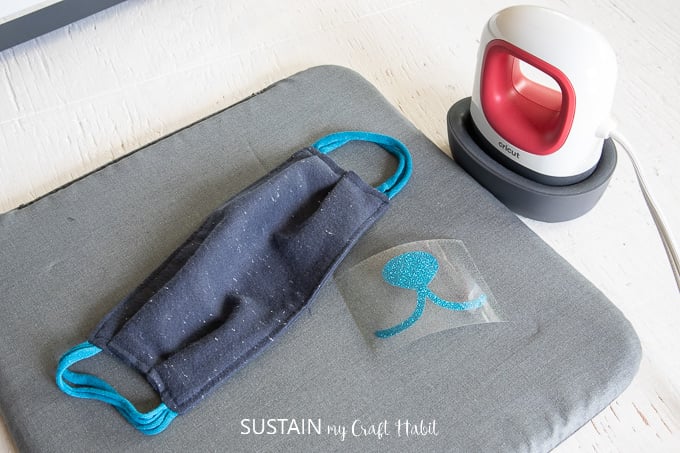
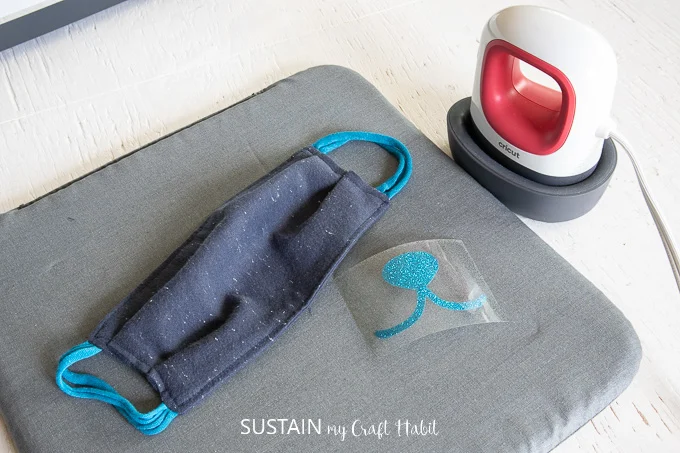
For these 100% Cotton face masks and Glitter Iron-On Vinyl, set the EasyPress Mini to medium heat.

Determine where you will be placing the image on the mask and preheat for 5 seconds.
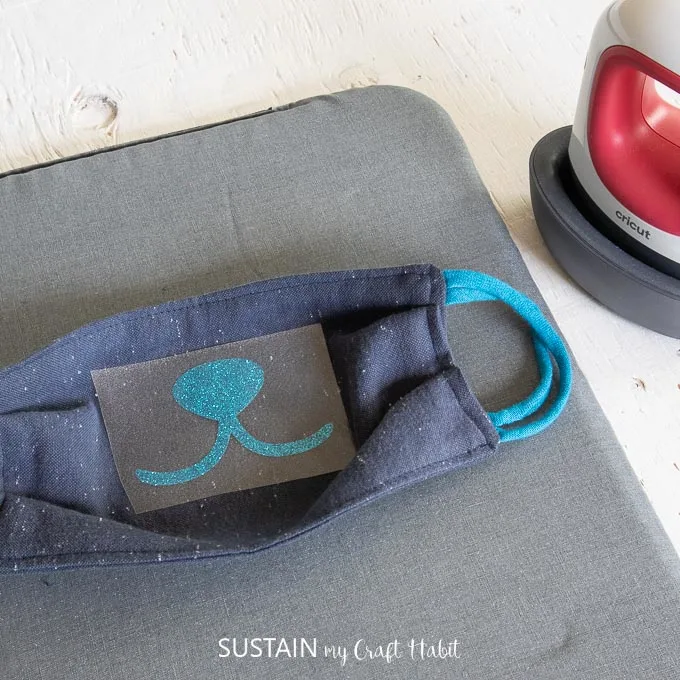
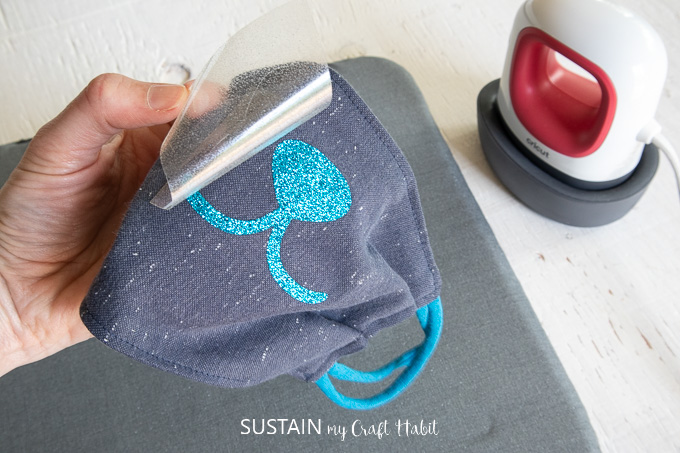
Place the cut image on to the face mask with the shiny side up.
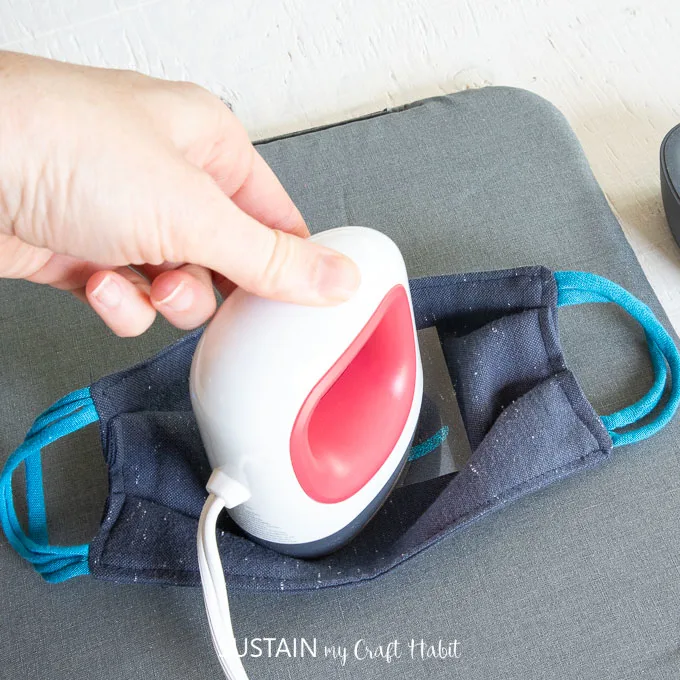
Press the image on to the mask for 25 seconds, constantly moving EasyPress Mini as you press.

Turn the mask upside down and apply heat for another 15 seconds.
While vinyl is still warm, peel the plastic part of the vinyl off carefully and discard.
Pin it for later!
Making Kids Face Masks Fun
Materials
Instructions