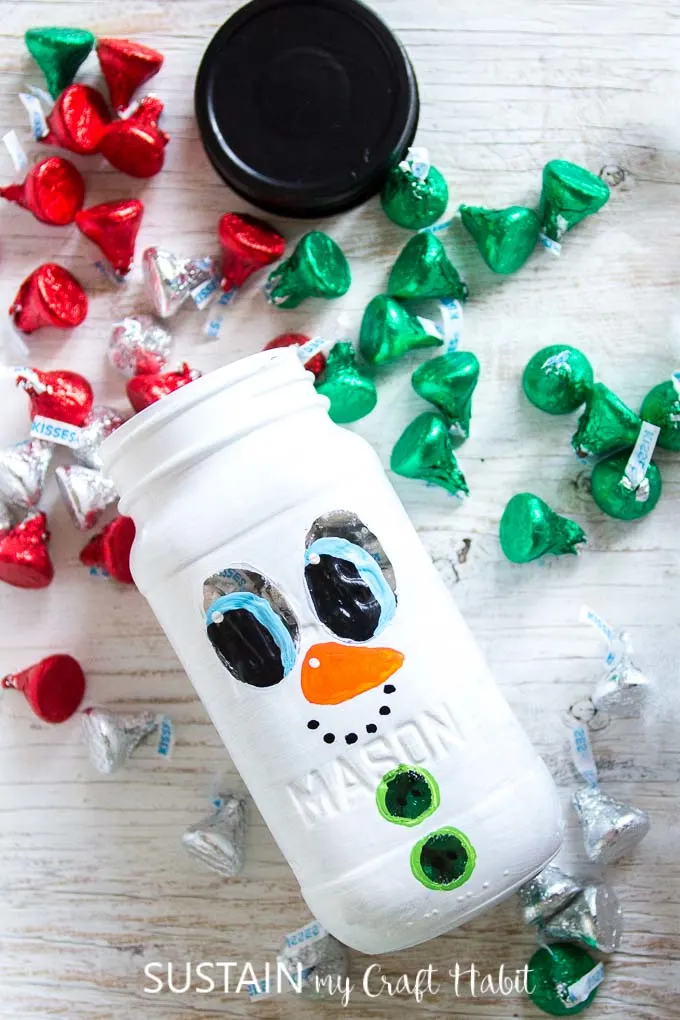
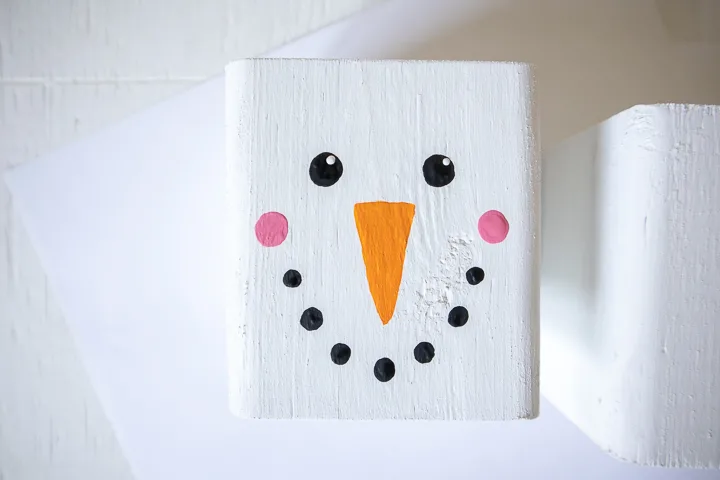
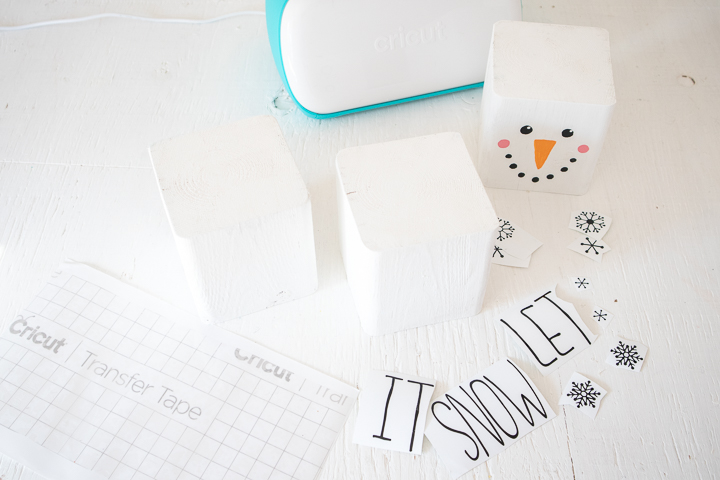
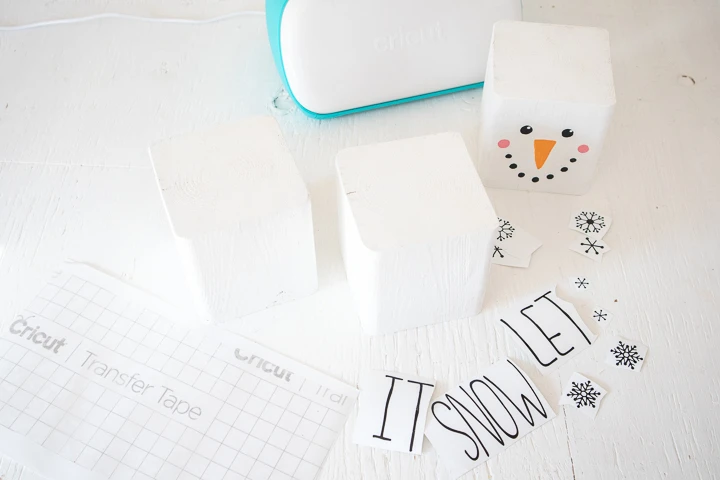
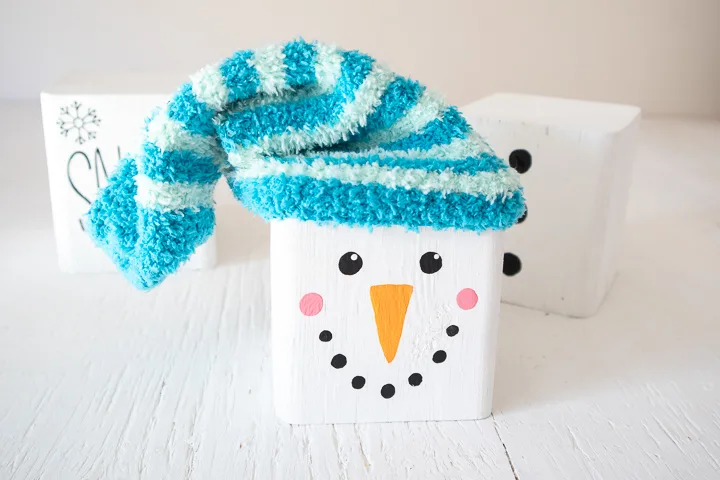
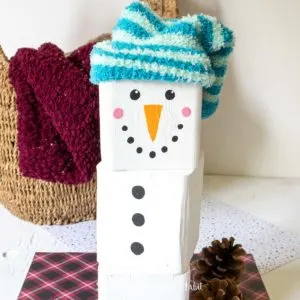
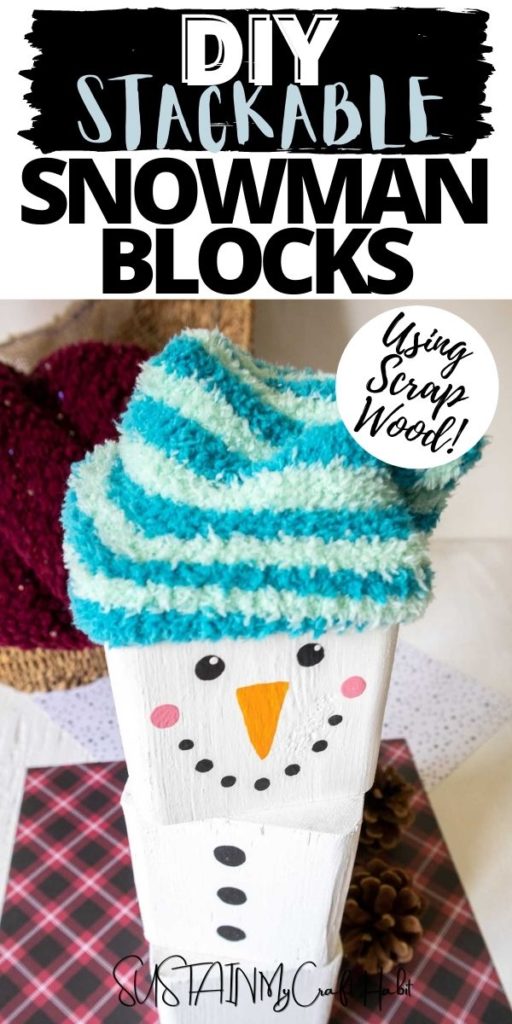
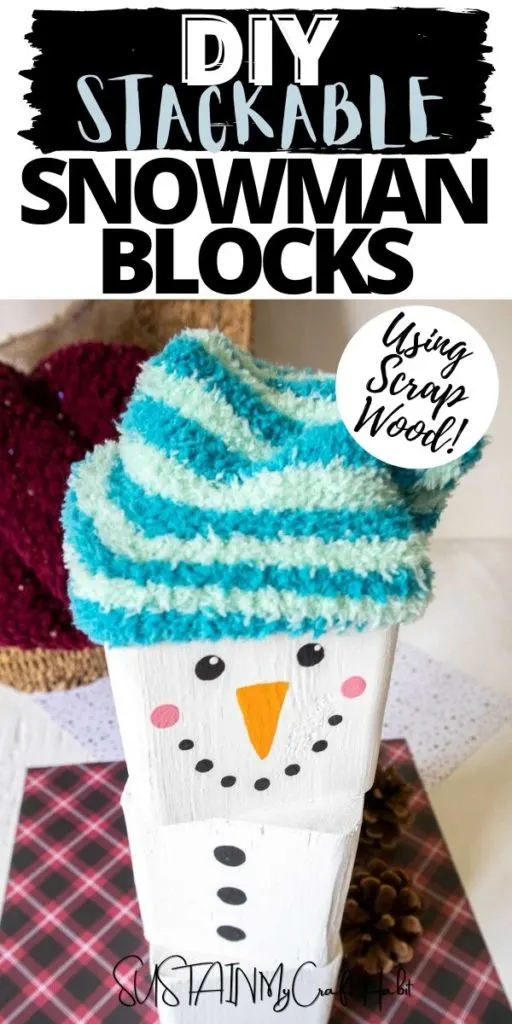
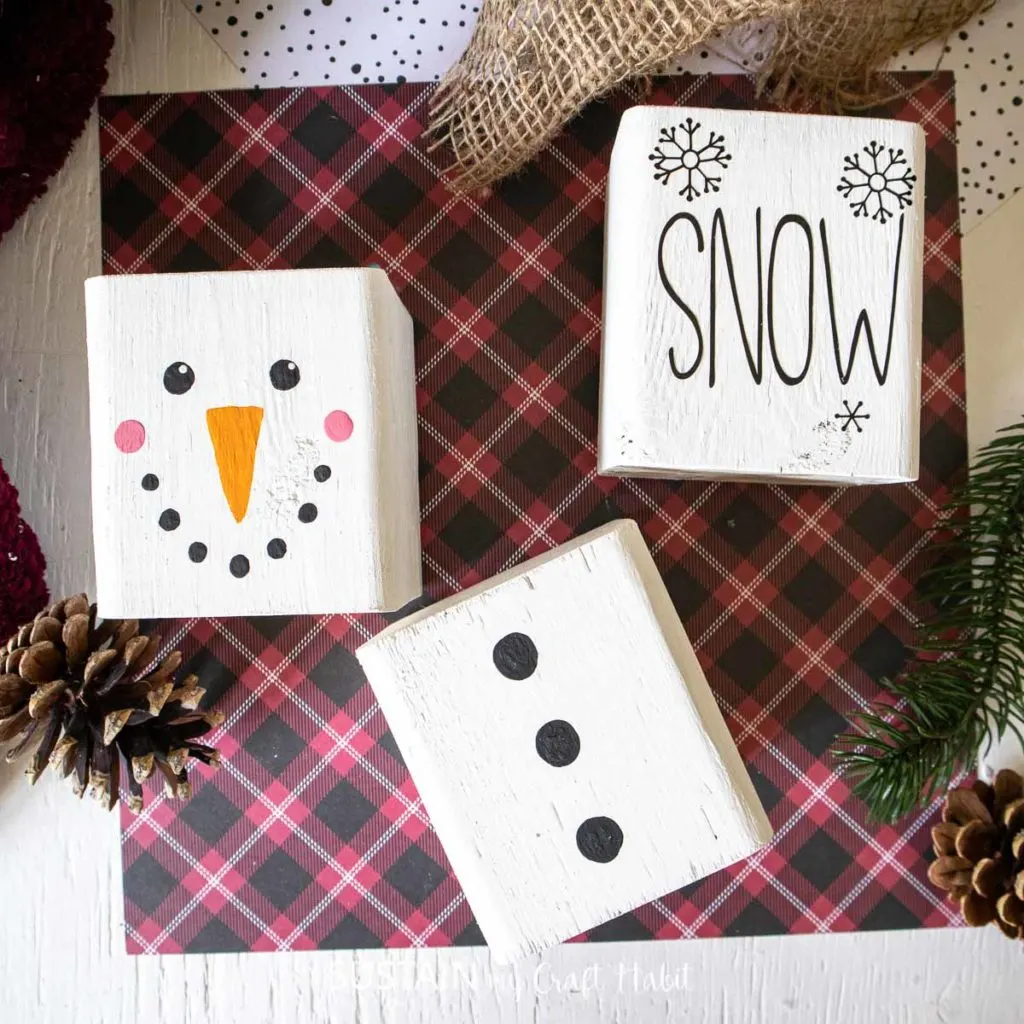
Stackable Wood Block Snowman
This adorable snowman was A LOT of fun to make!
It feels so good to use materials you already have at home!
Oh, I almost forgot to mention…the snowman hat is actually a sock!
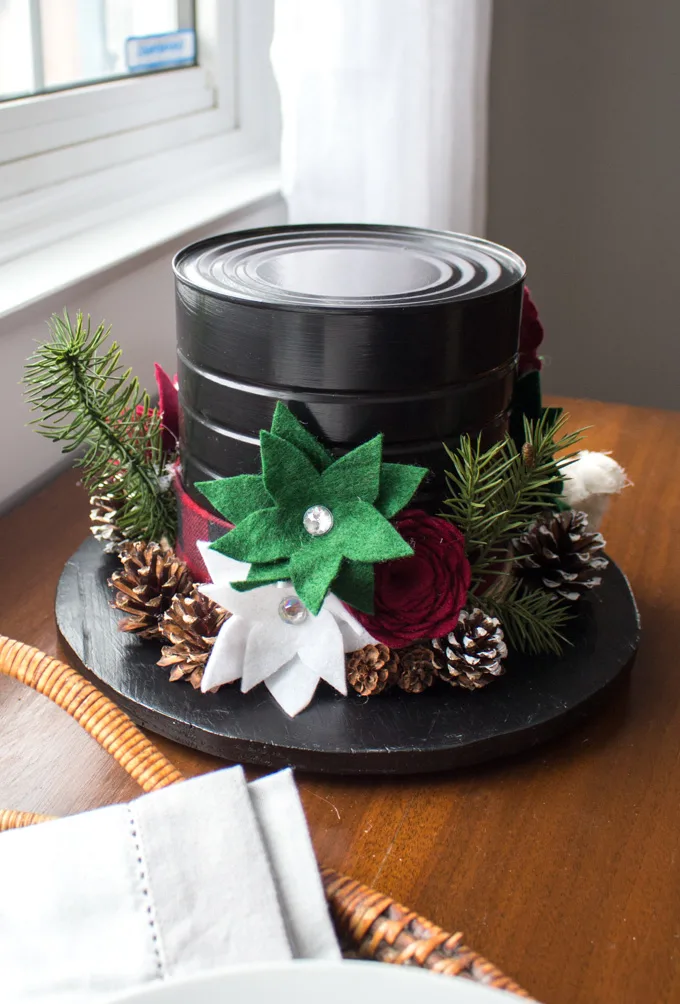
Coffee Tin Winter Centerpiece
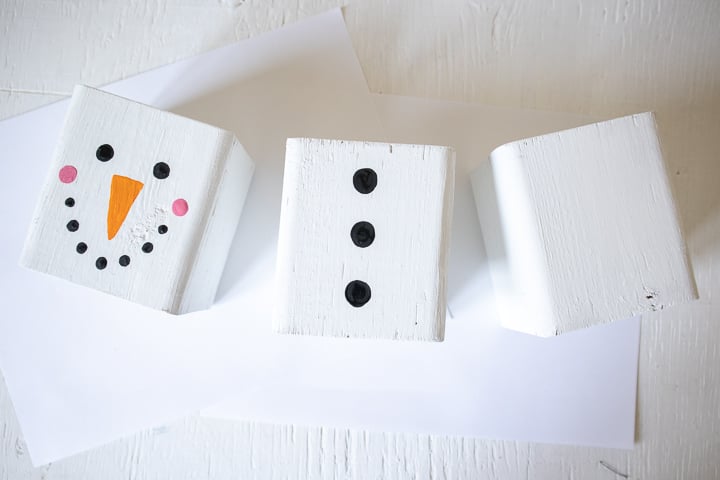
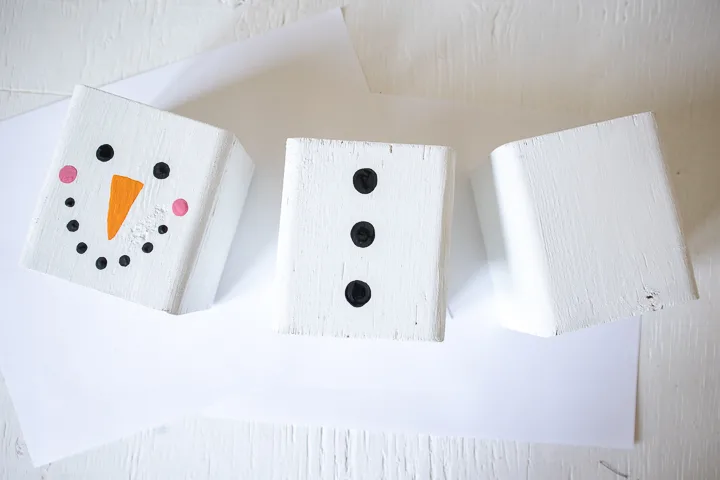
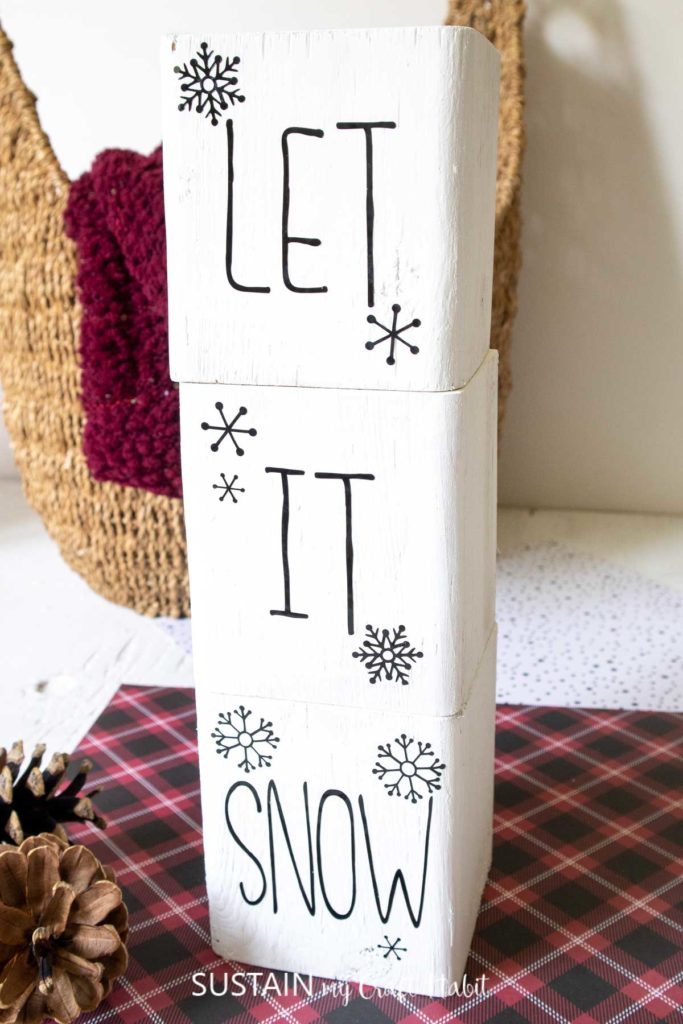
Its fun to mix and match the wood blocks; which will look great on display all Winter long.
I love snowman decor for the house because its not only for Christmas.
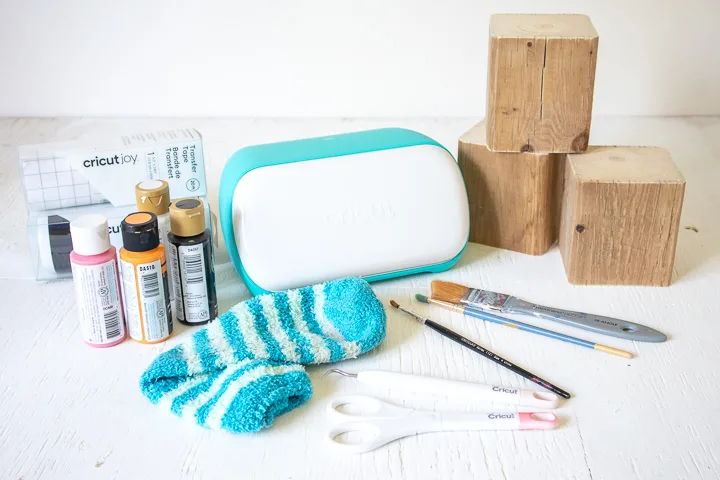
Materials Needed:
Disclosure: This post contains affiliate links for your shopping convenience.
you’ve got the option to readour full disclosure policy here.
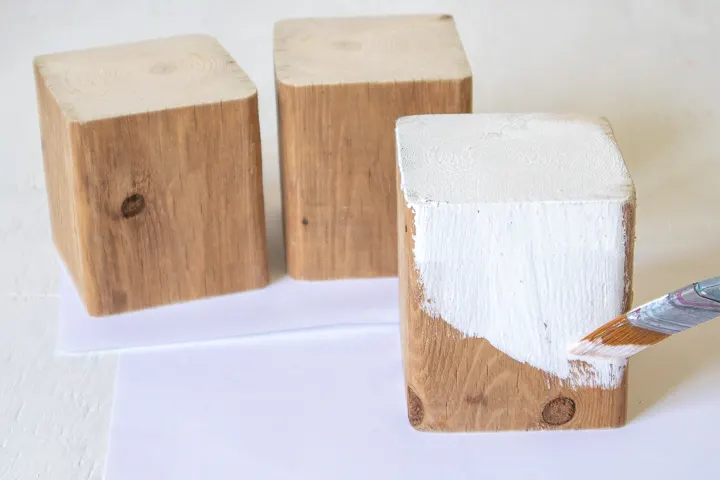
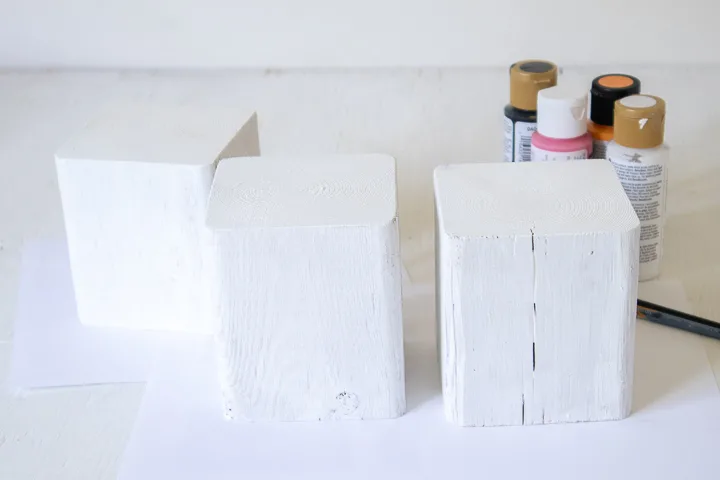
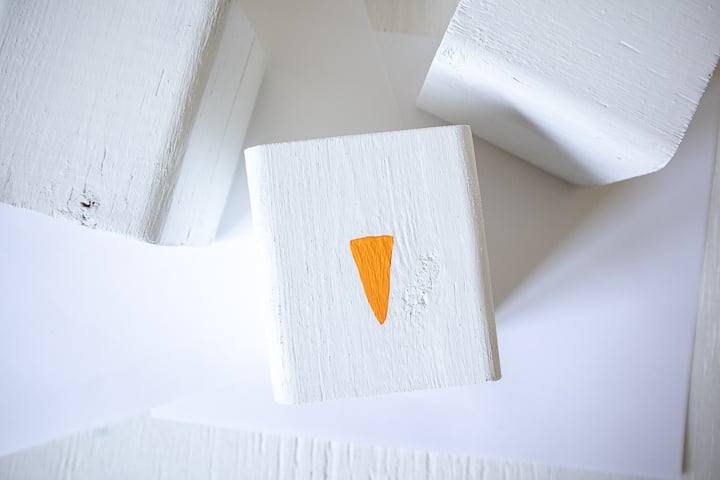
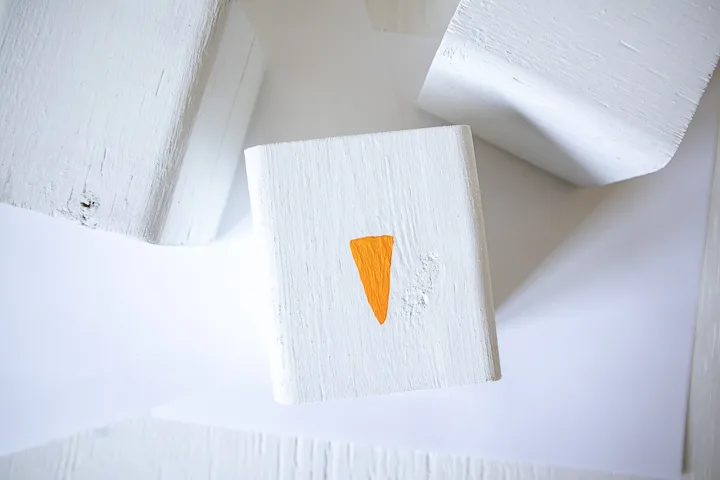
Let the paint dry and paint an additional coat as needed for full coverage.
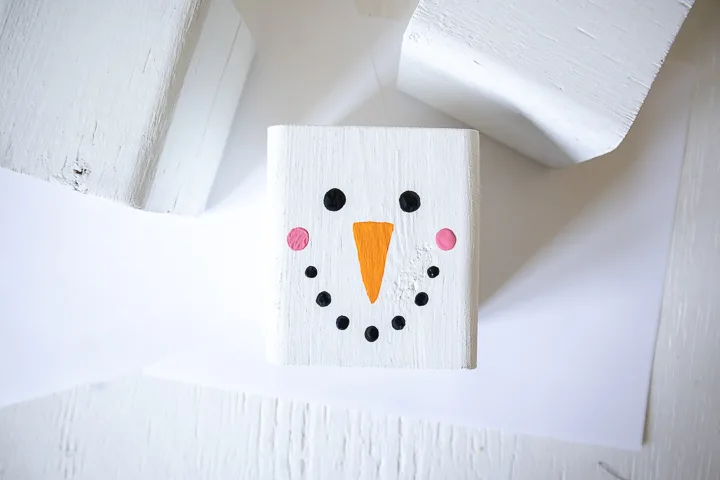
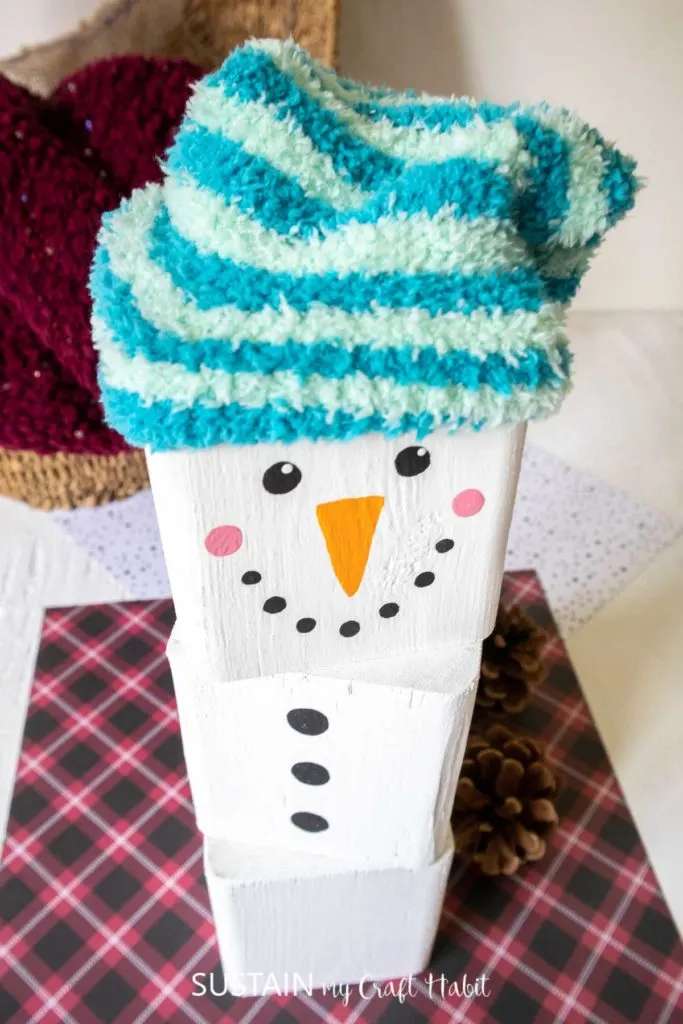
Paint two larger circles for the rosy cheeks in pink.
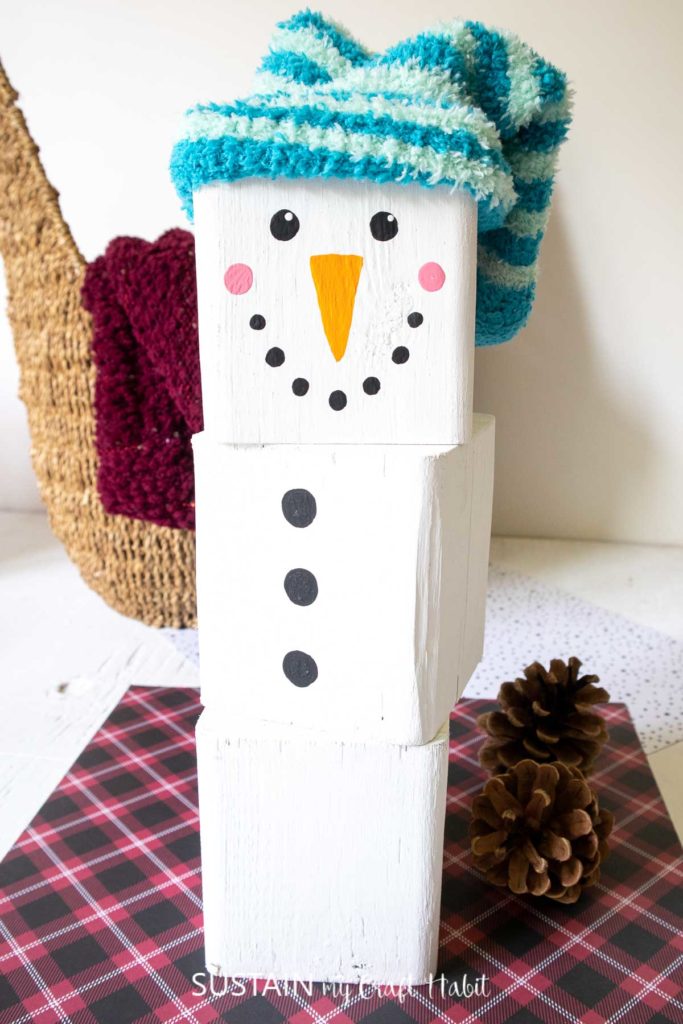
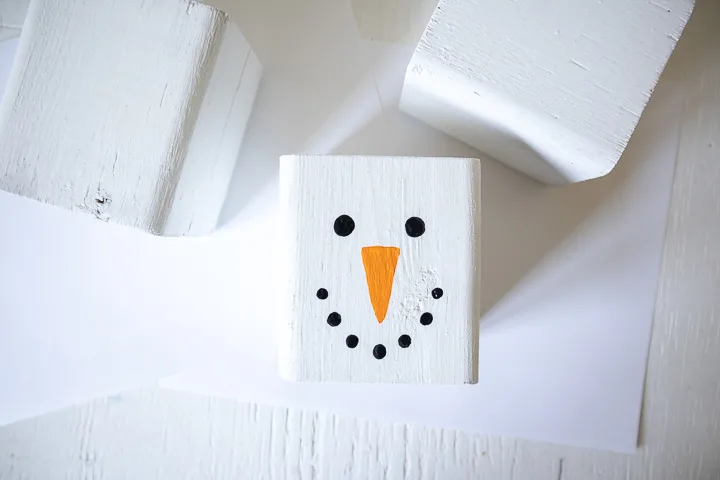
Paint three circles for the buttons on another block.
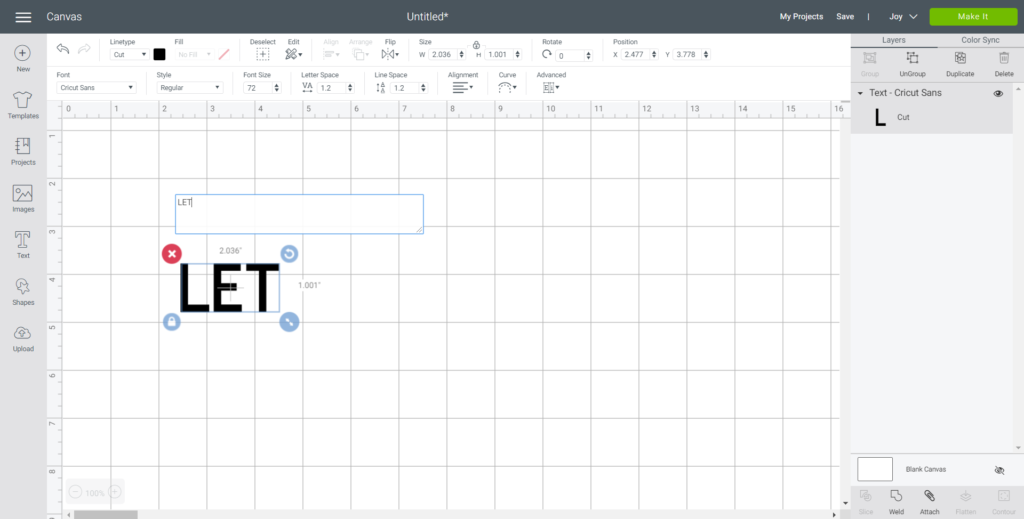
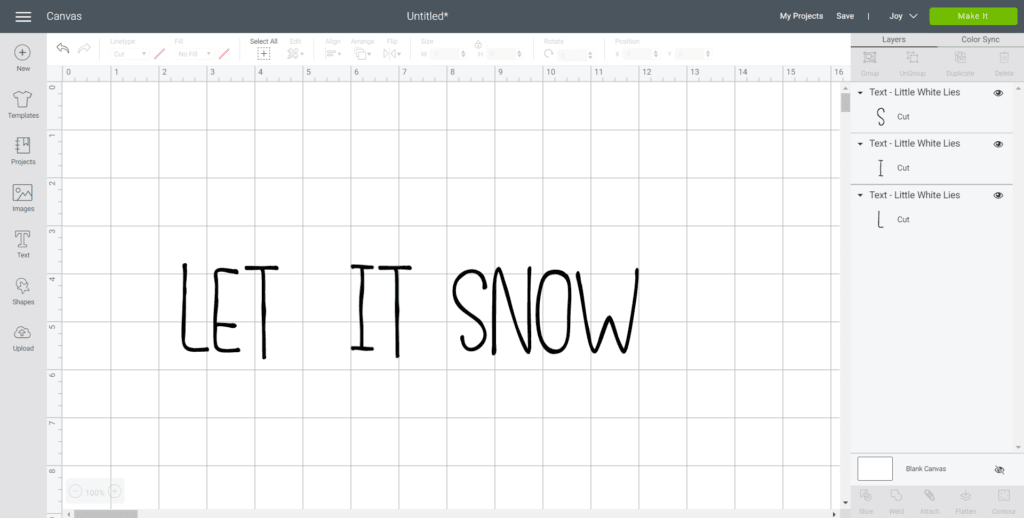
Open a blank canvas in Design Space.
pick the text icon from the toolbar.

Change the font to Little White Lies.
With the word highlighted, adjust the letter spacing to 0.7.
Next, tap on the unlock symbol and adjust the word height to 2.

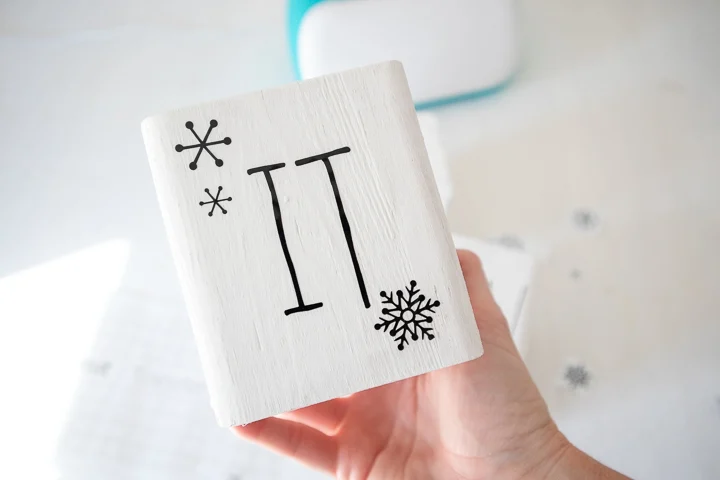
Steps 5-11 for the other words: IT and SNOW.
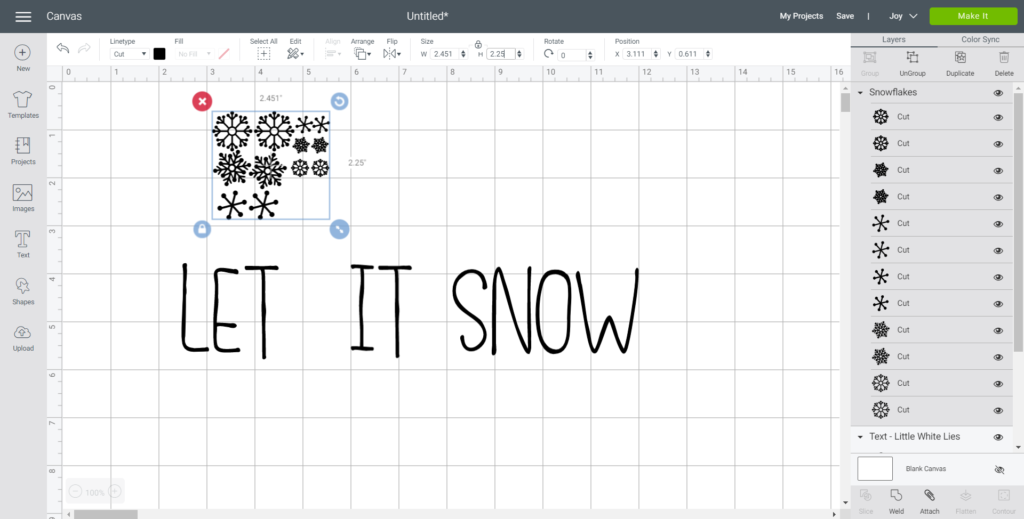
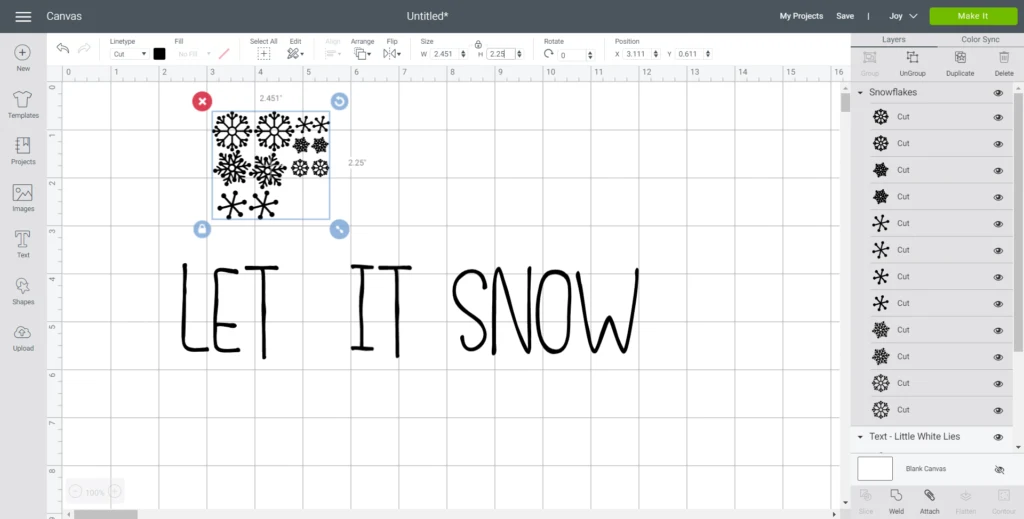
press the images icon in the toolbar and search snowflakes #M8070D4.
Adjust the size to 2.25.

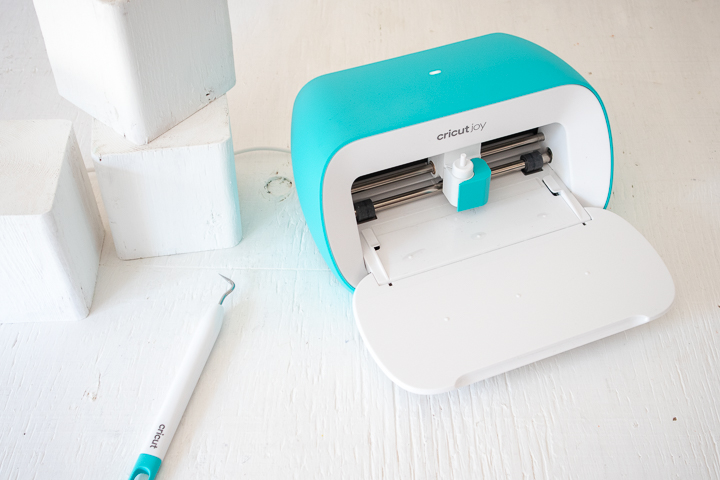
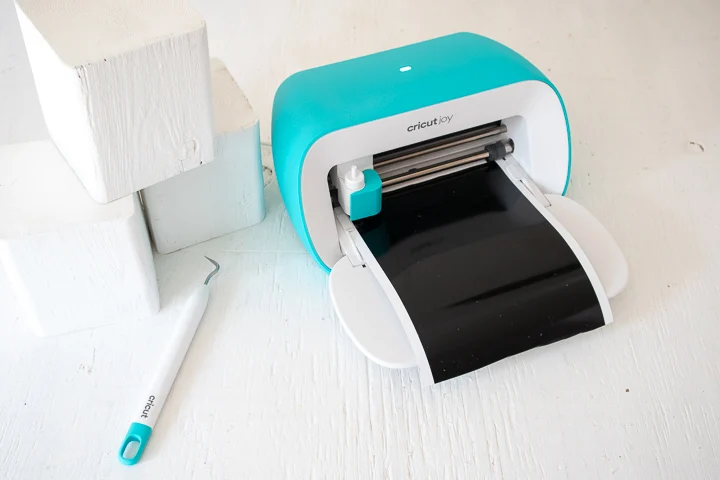
Select Make It in Design Space.
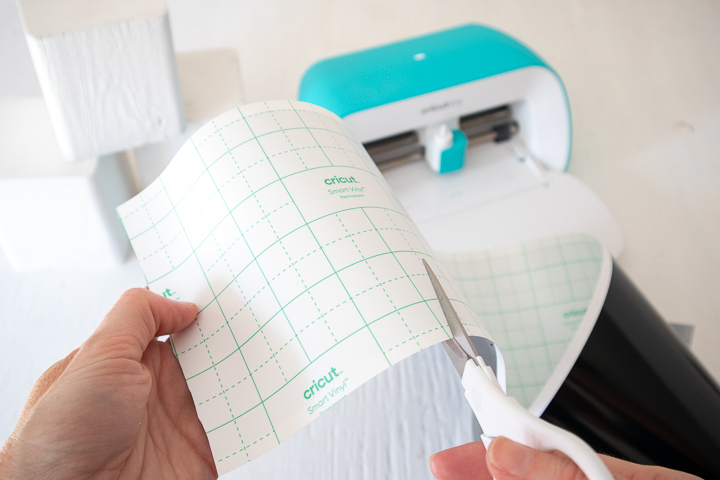
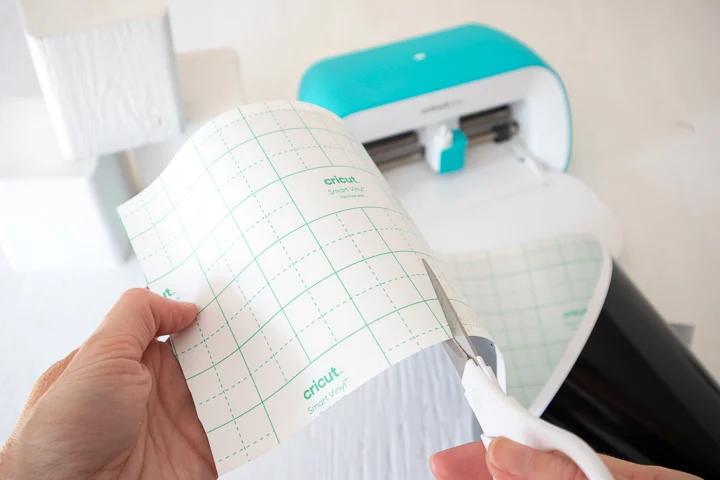
For cutting the words, set the material throw in to Smart Vinyl.
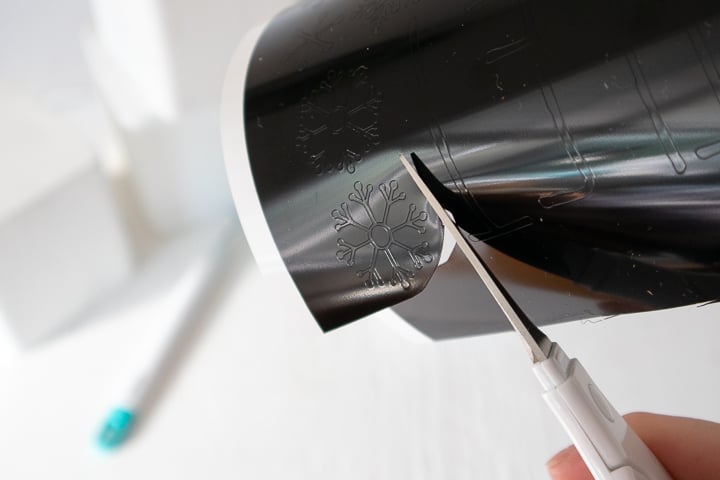
Cut around each word and snowflake with a pair of scissors.

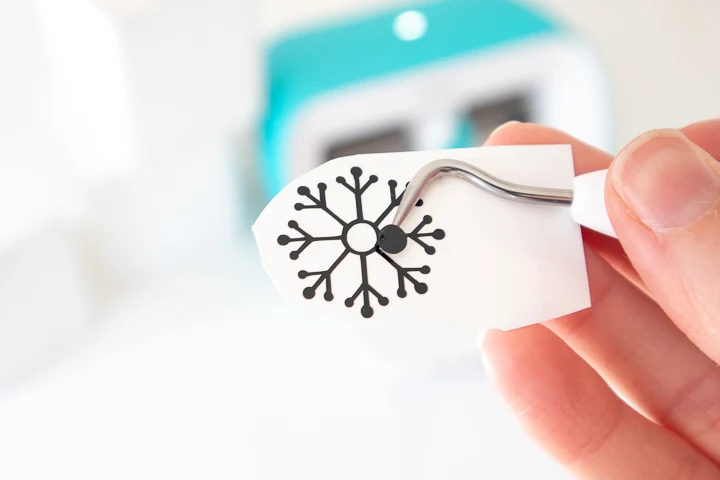
Using the weeding tool, peel away the excess vinyl around the cut images and discard.
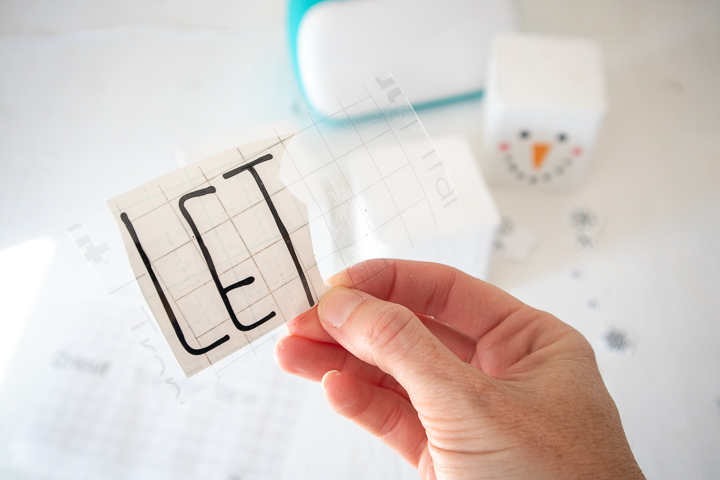
Cut a piece of transfer tape a bit larger than the size of the cut word.
Peel away the transfer tape backing but ensure the transfer tape is not overly sticky.
Place the transfer tape overtop of the cut word.
Gently rub the vinyl to help it stick to the transfer tape.
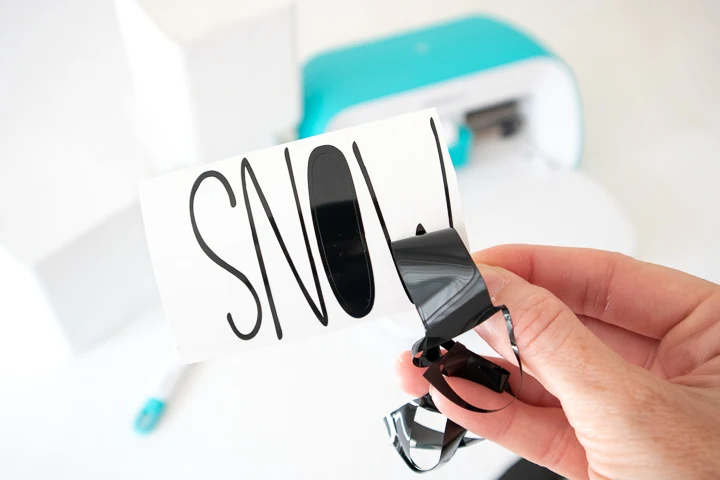
Peel away the vinyl backing, leaving just the image adhered to the transfer tape.

Coffee Tin Winter Centerpiece
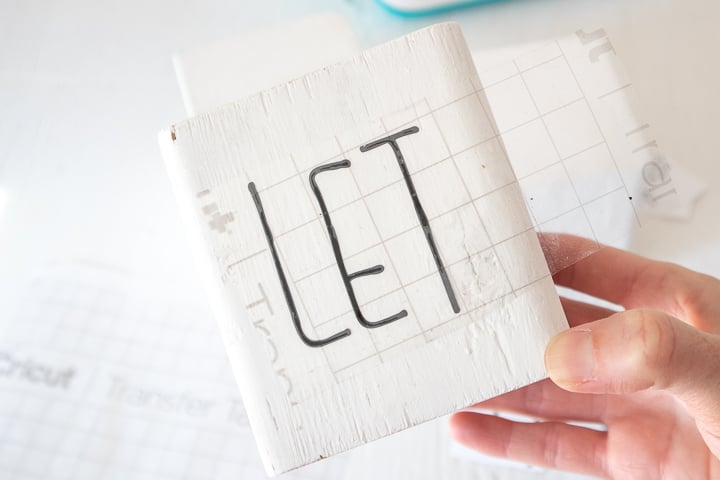
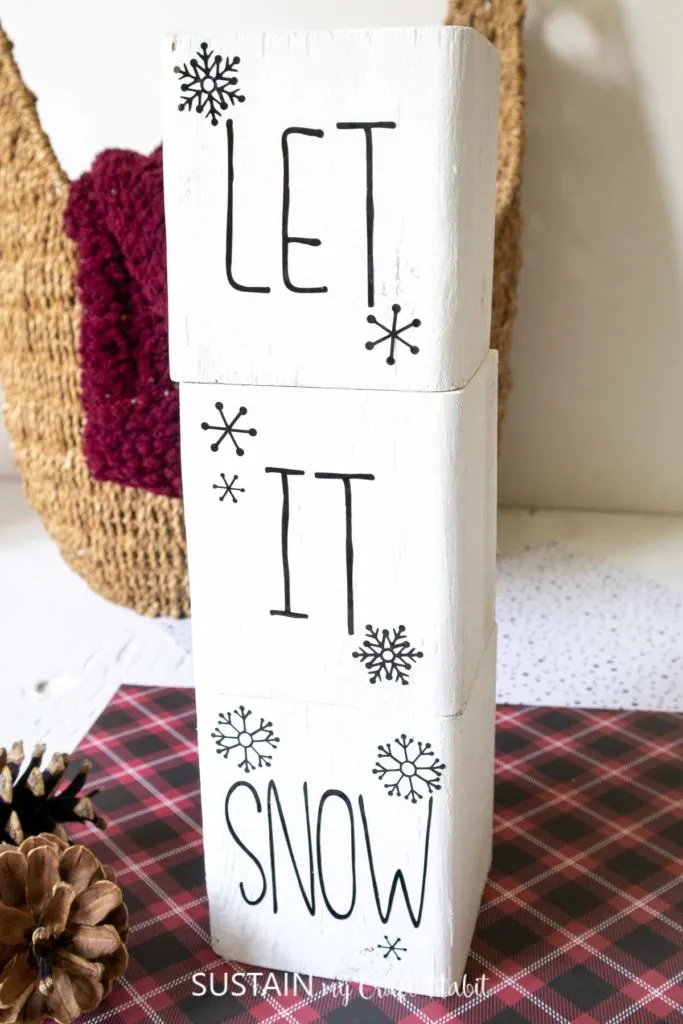
Position the word with the transfer tape on to the opposite side of the wooden block.
Press the vinyl word down with your fingers to help it to stick to the block.
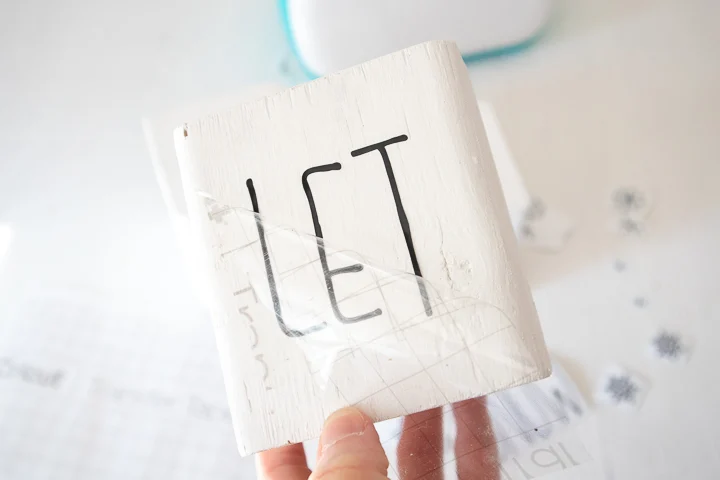
Slowly and carefully remove the transfer tape leaving the vinyl image on the block.
Repeat for the other words and snowflakes on the remaining wooden blocks.
Add a sock to the top of the snowman head.
Stack the blocks vertically or place them in a row to enjoy!

Candy-filled Snowman
Pin it for later!
Making a Wood Block Snowman
Materials
Instructions