Welcome to the Creative Craft Blog Hop!
Today were joing in with some of our crafty blogging friends for the Creative Craft Blog Hop.
If youre coming by fromPurple Hues and Me welcome!

Wasnt Gails decoupage project so pretty?
Were Jane & Sonja, sisters, moms and craft addicts who live outside of Toronto, Canada.
This Creative Craft Blog Hop is hosted byChloe at Celebrate & Decorateas well asAndrea at Design Morsels.
Be sure to explore all the fun craft ideas.
Head on over to Chas Crazy Creations next shes sharing aflower pot lighthouse projectwed love to make!
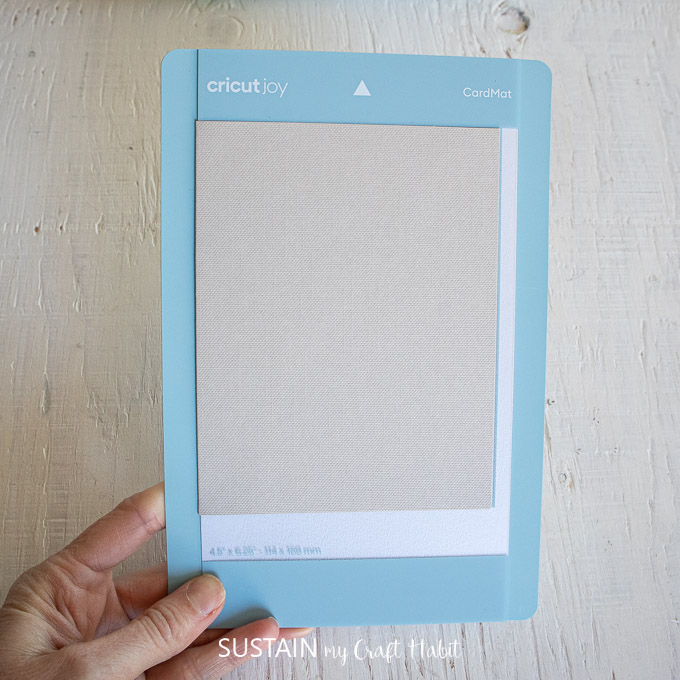
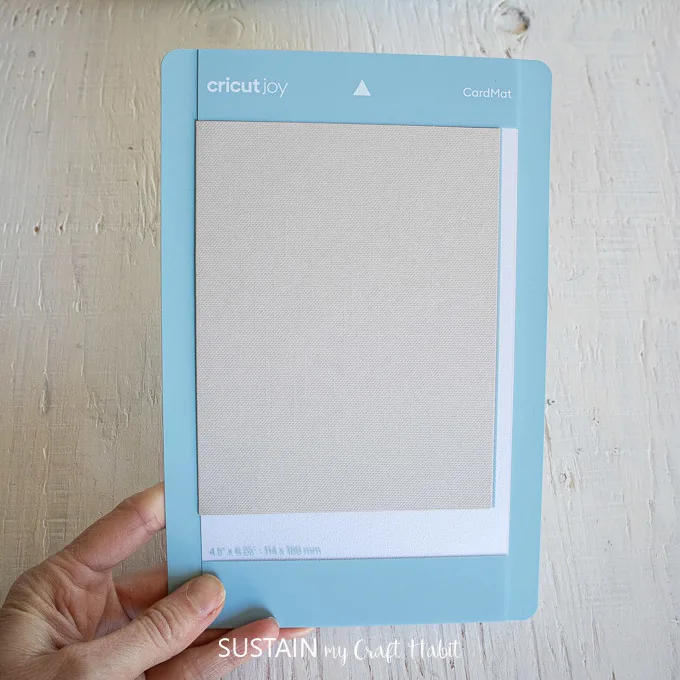
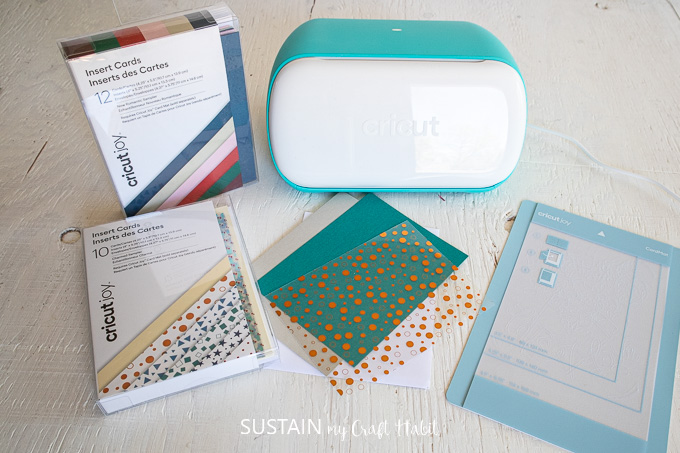
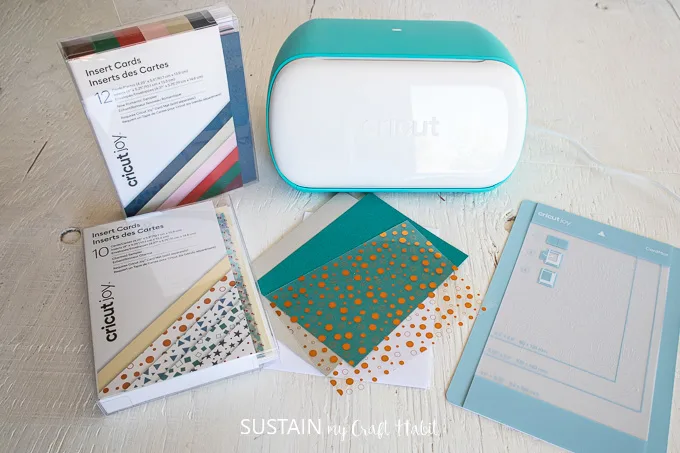
Cricut makes it so easy with a special card mat designed specifically for the job.
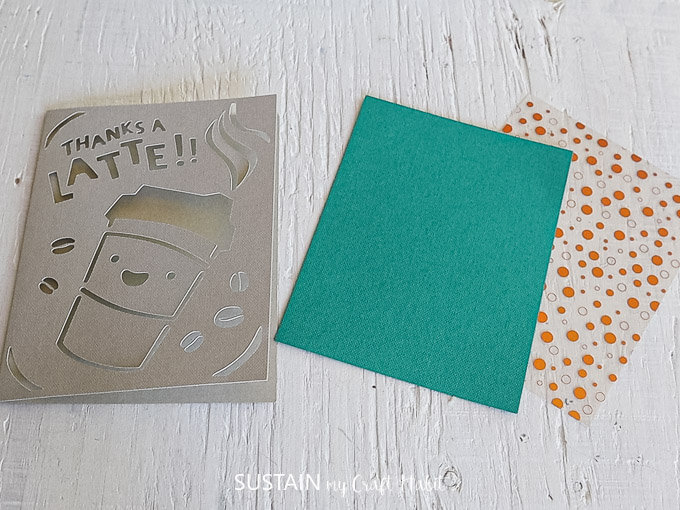
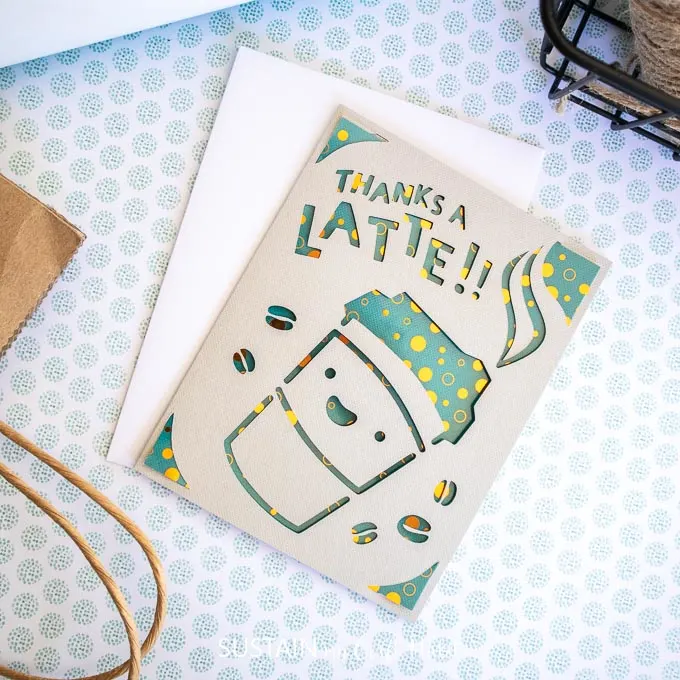
They also have packages of cards with inserts and envelopes.
Just pick a design and youre good to go!
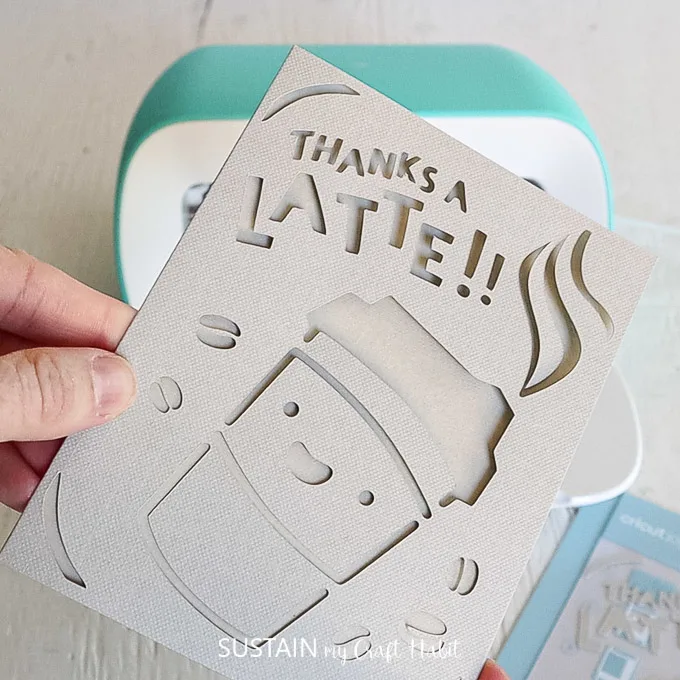
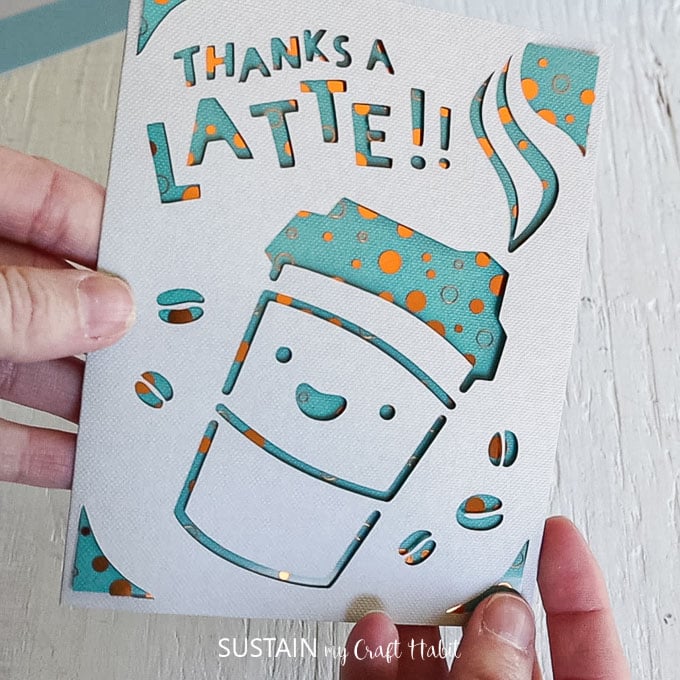
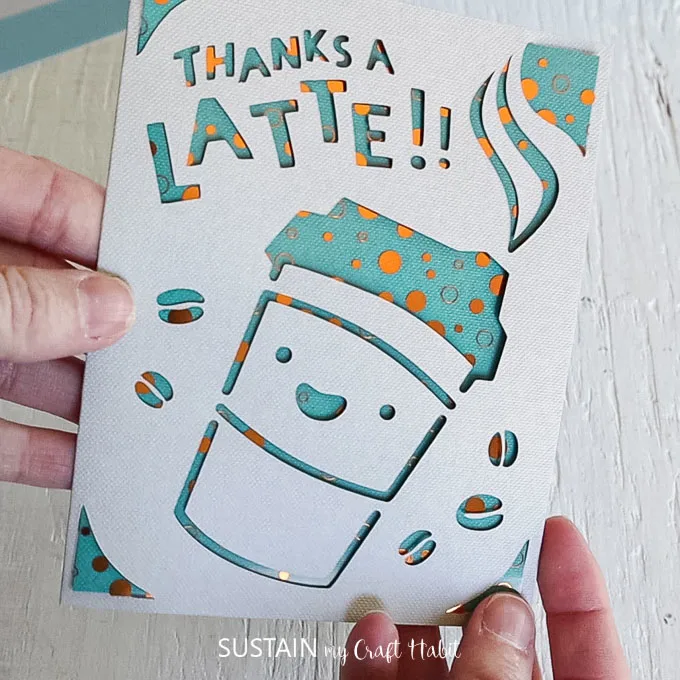
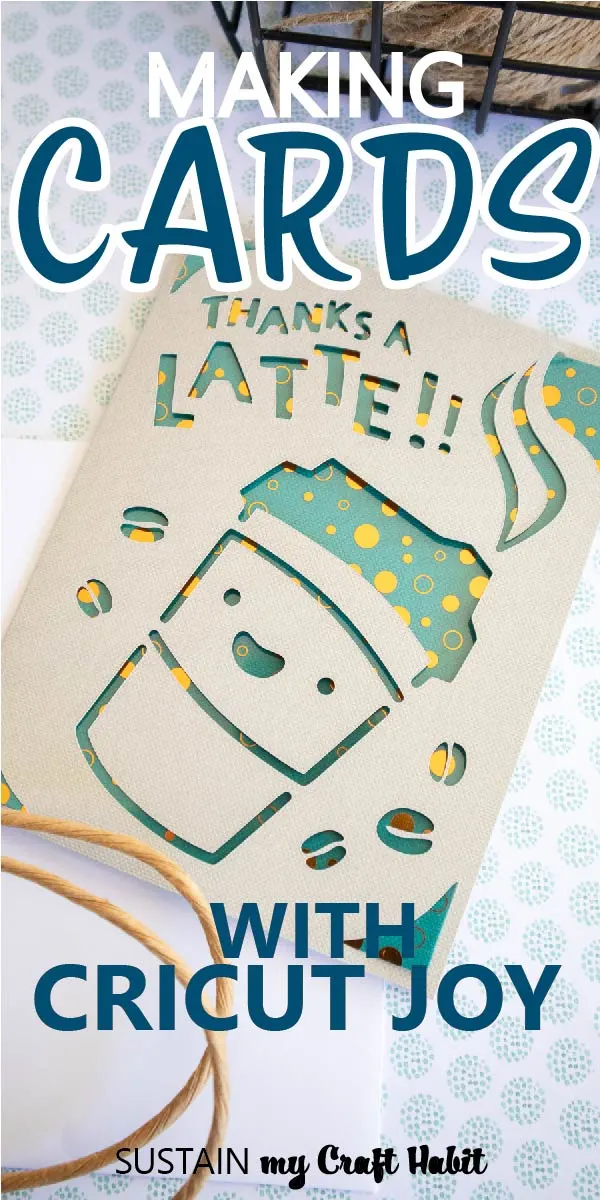
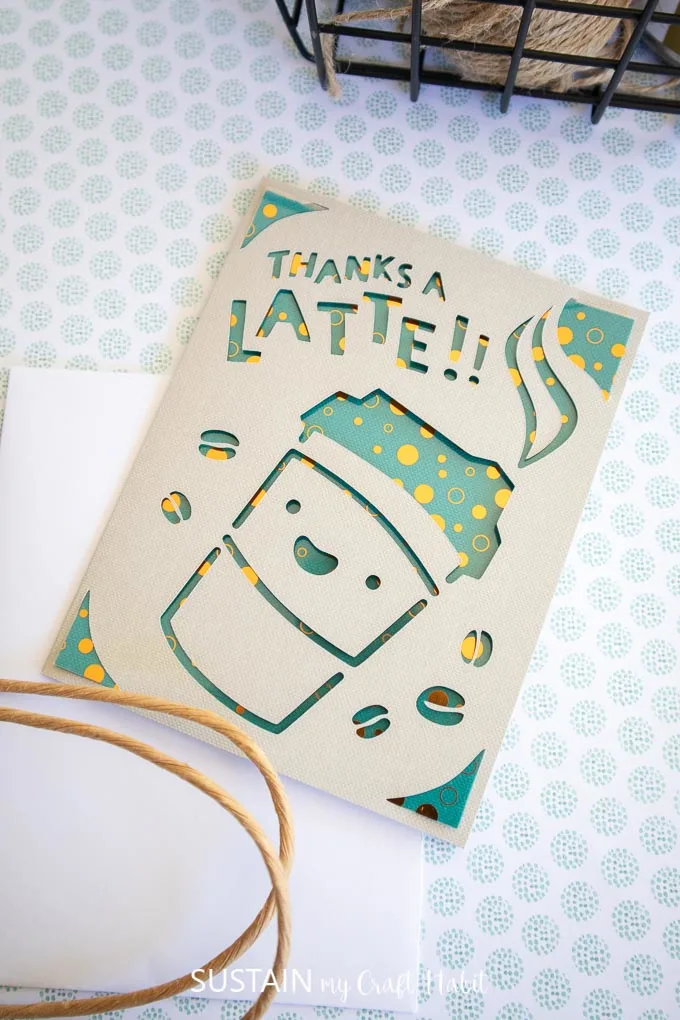
We thought this Thanks a Latte sign was perfect for any coffee loving recipient.

it’s possible for you to readour full disclosure policy here.
How To Make a Card With Cricut Joy
Open Cricut Design Space.
go for the + sign to start a new project, opening up a blank canvas.

hit the Images button from the toolbar.
Search card image #M1504A408 and then punch the image to make it.
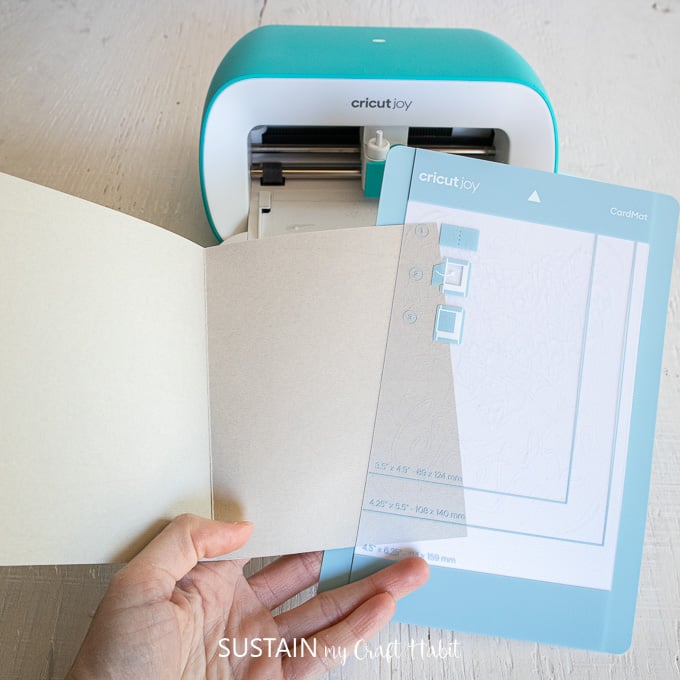
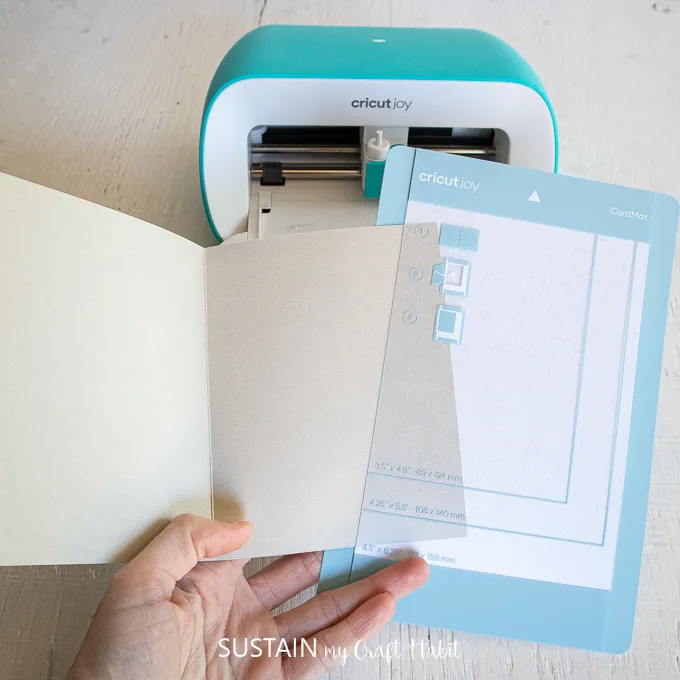
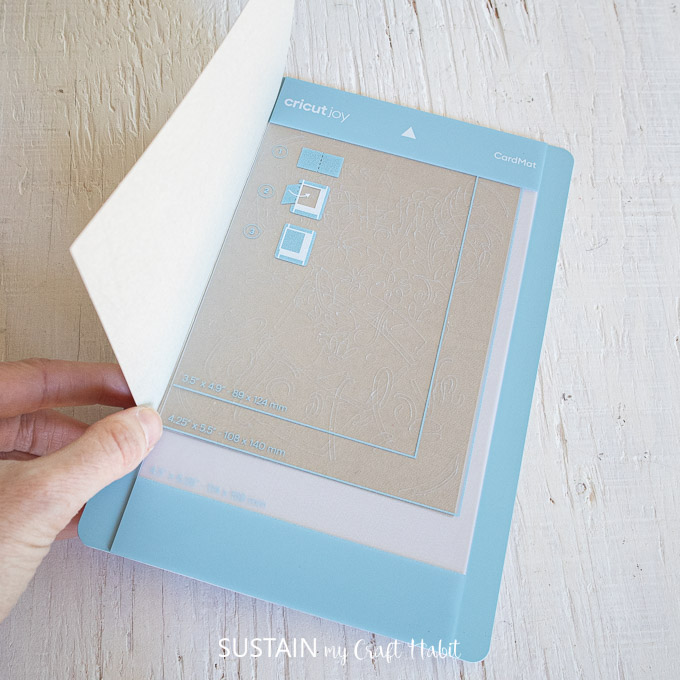
Remove the protective plastic cover from the mat.

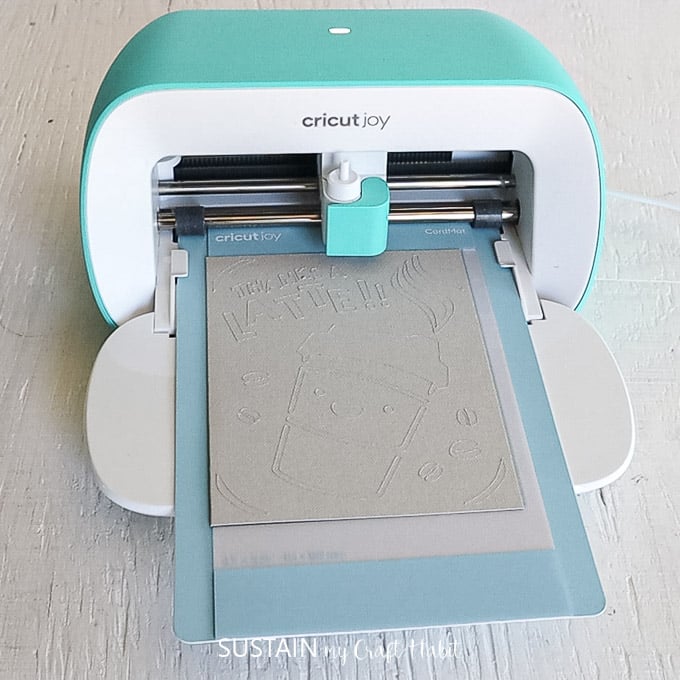
Press the front of the card down against the adhesive on the mat.
Select browse all materials and choose Insert Card-Cardstock from the list of materials.
Remove the mat from the machine when the cut is complete.
Carefully peel off the mat from the card and trim or remove any small attached pieces.
And thats it card making made super-easy!
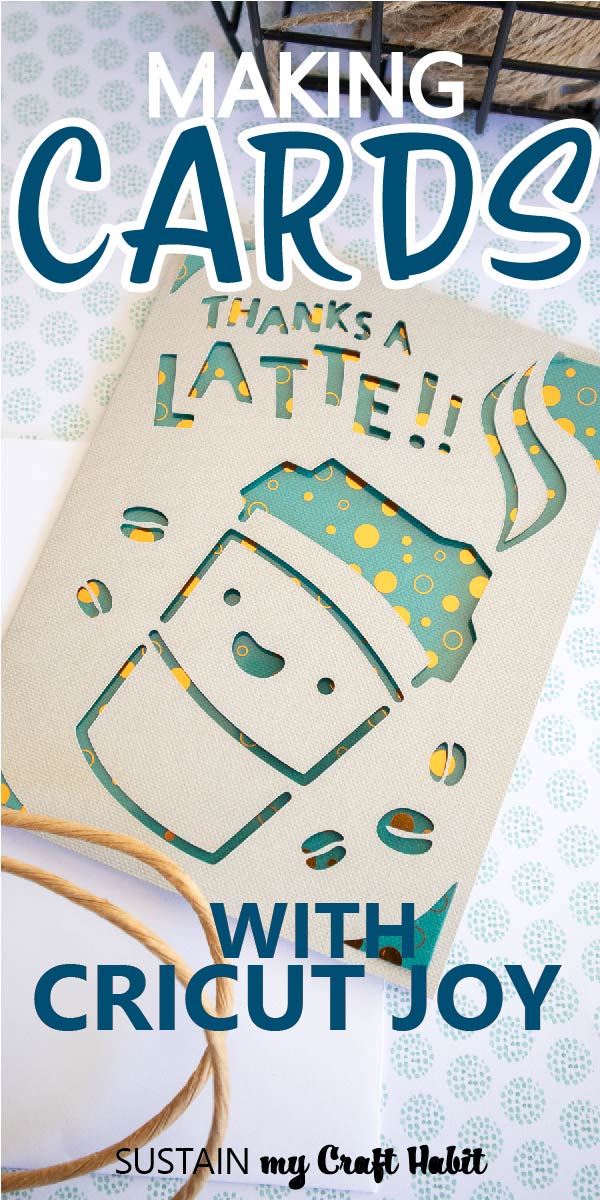
Pin it for later!
Making a Card with Cricut Joy
Materials1x2x3x
Instructions