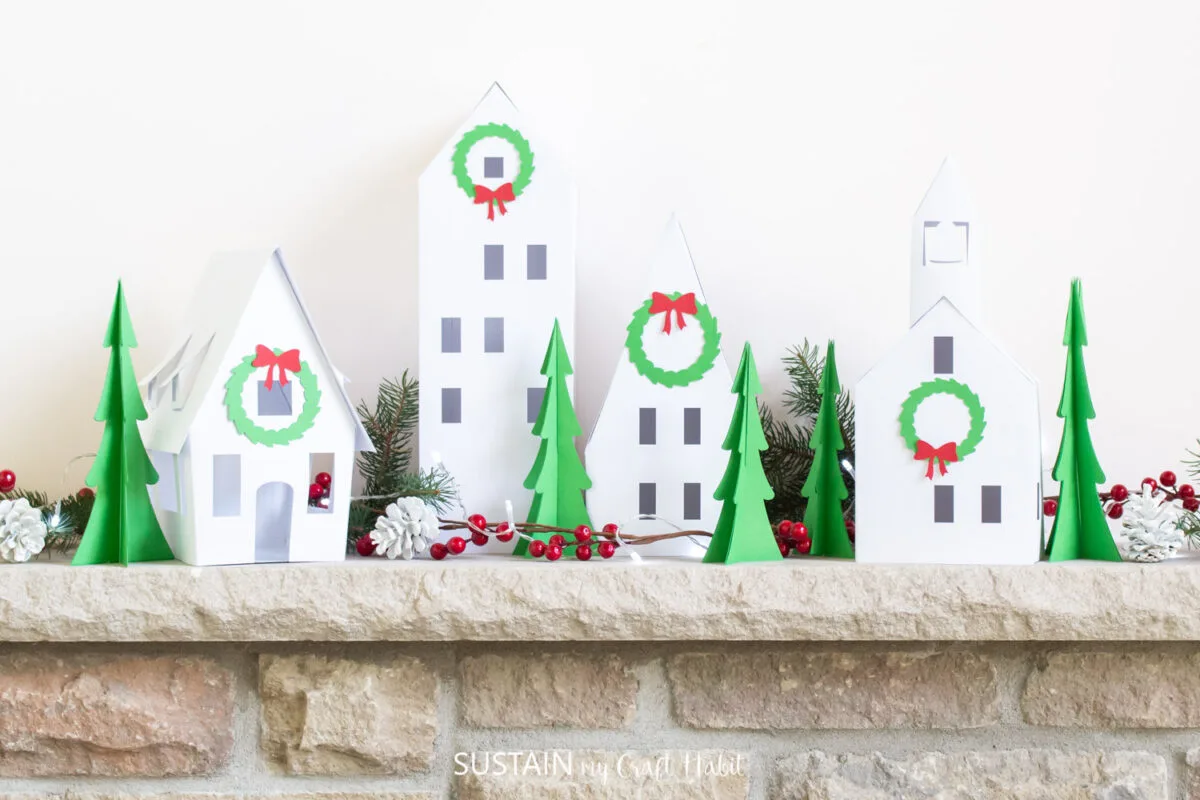
The beauty of this project is not just in the final product but in the process of creating it.
Why will I enjoy making this paper village?
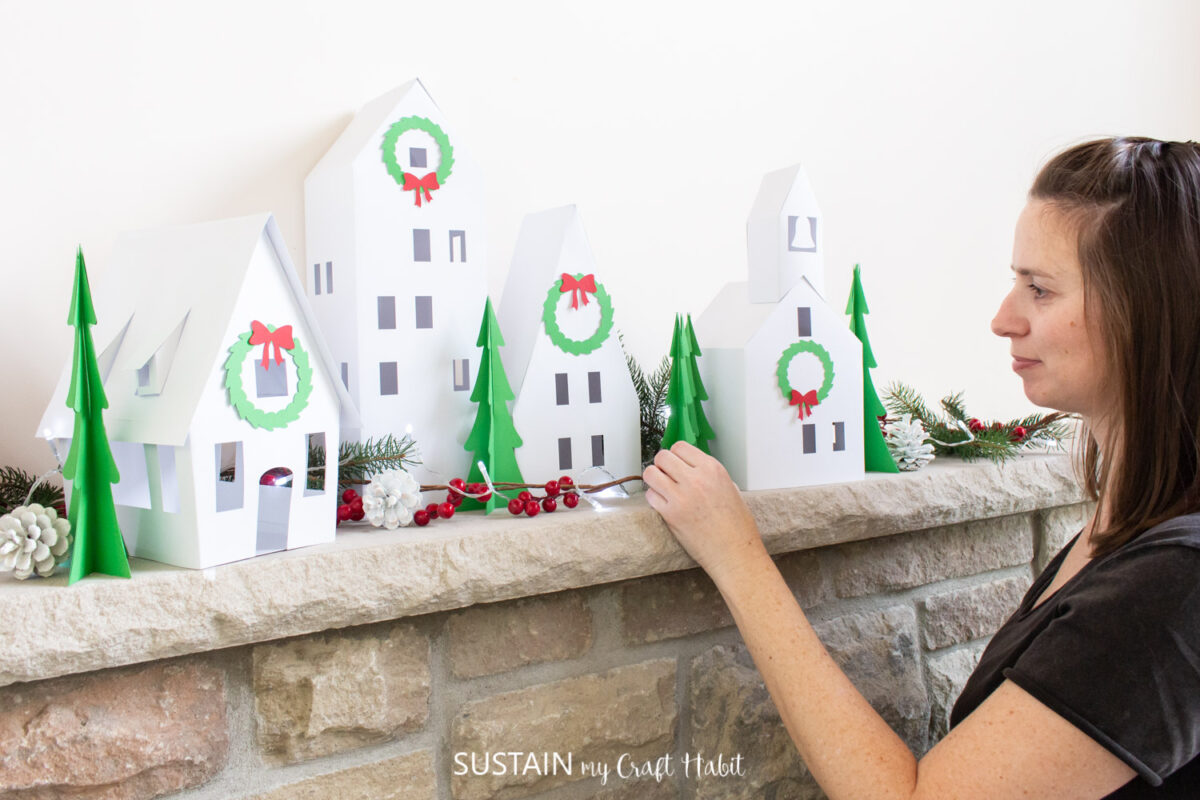
For starters, its a great way to involve the whole family in a fun and festive activity.

Cricut Venture Review
The possibilities are endless!
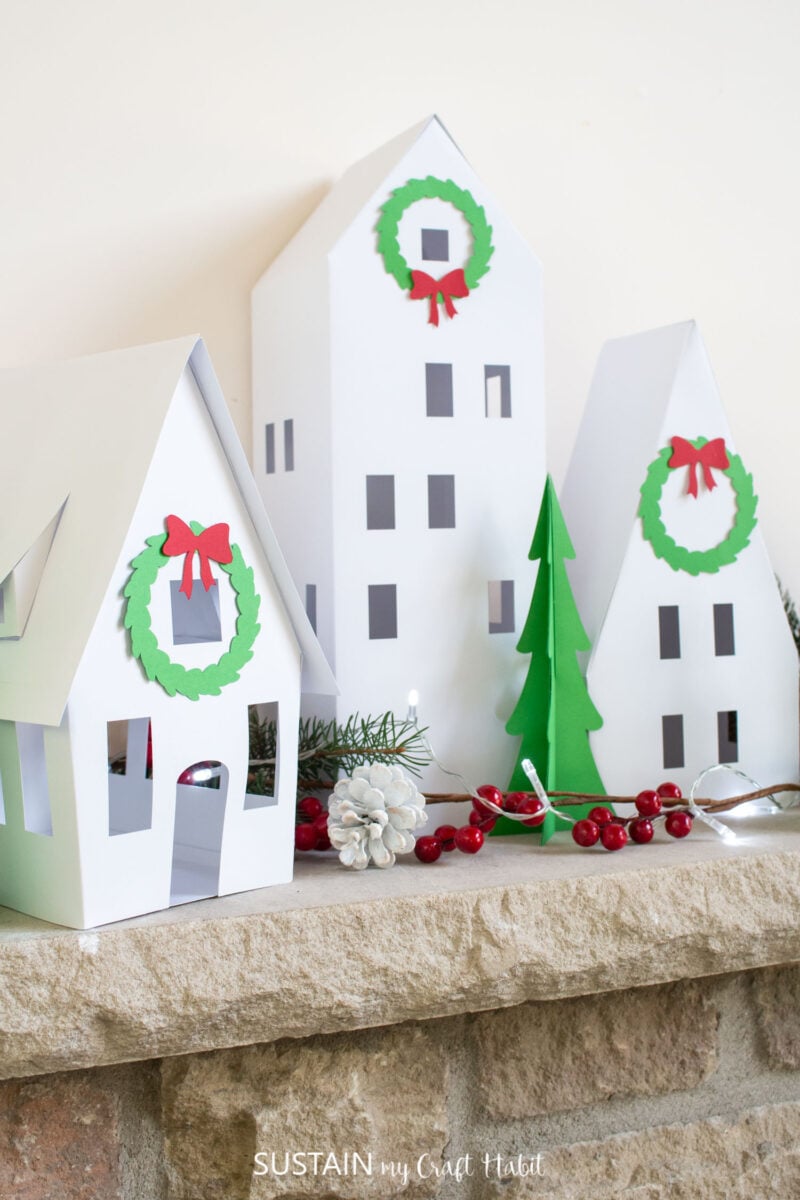
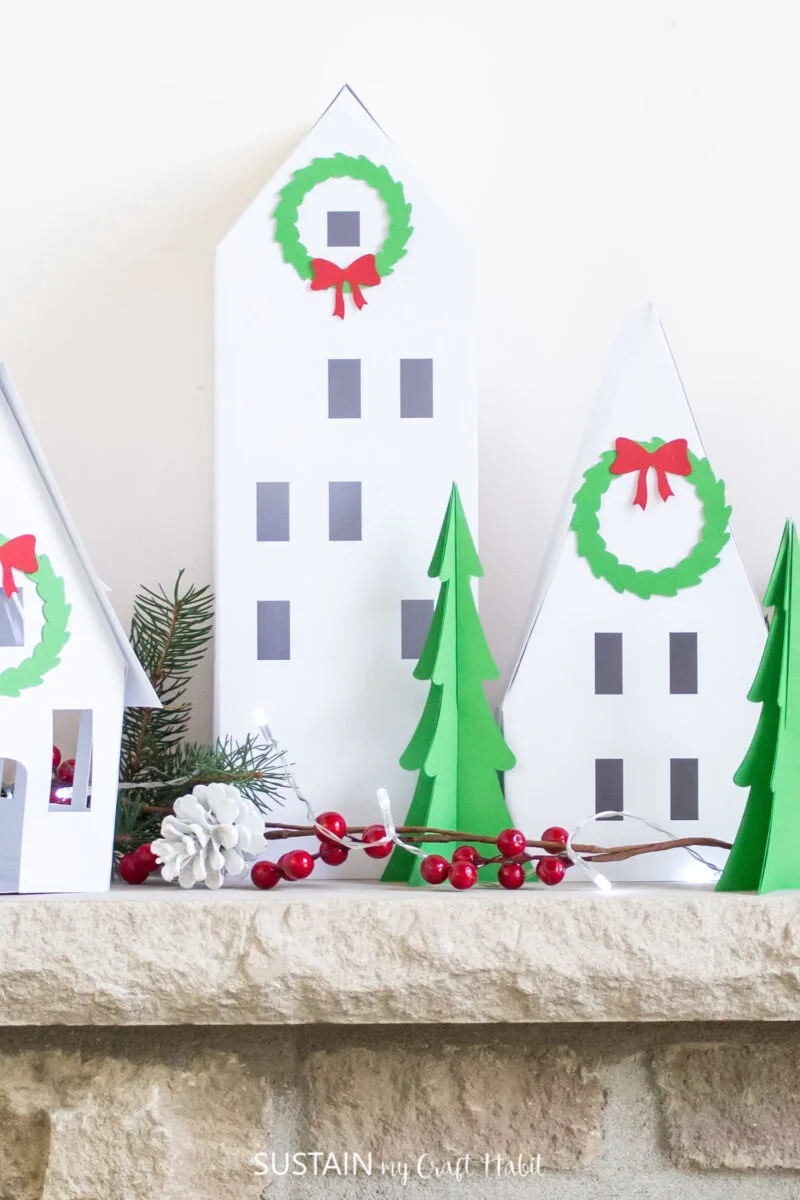
it’s possible for you to start with the essentials like houses, churches, and other buildings.
And lets not forget about the finishing touches.
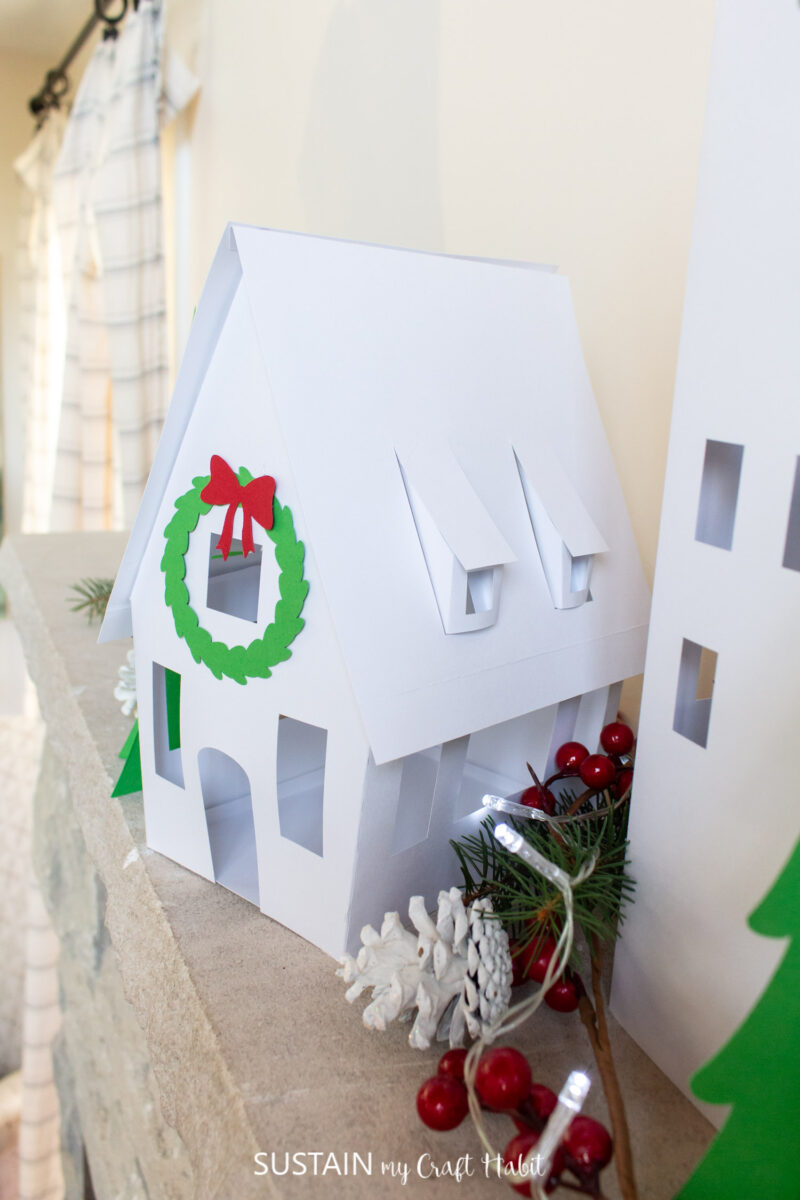
The Cricut Venture allows you to add intricate details and decorations that will make your village come alive.
Getaccess to our resource libraryfilled with SVG cut files and other Cricut craft ideas!
Materials Needed
Disclosure: This post contains affiliate links for your shopping convenience.
you might readour full disclosure policy here.
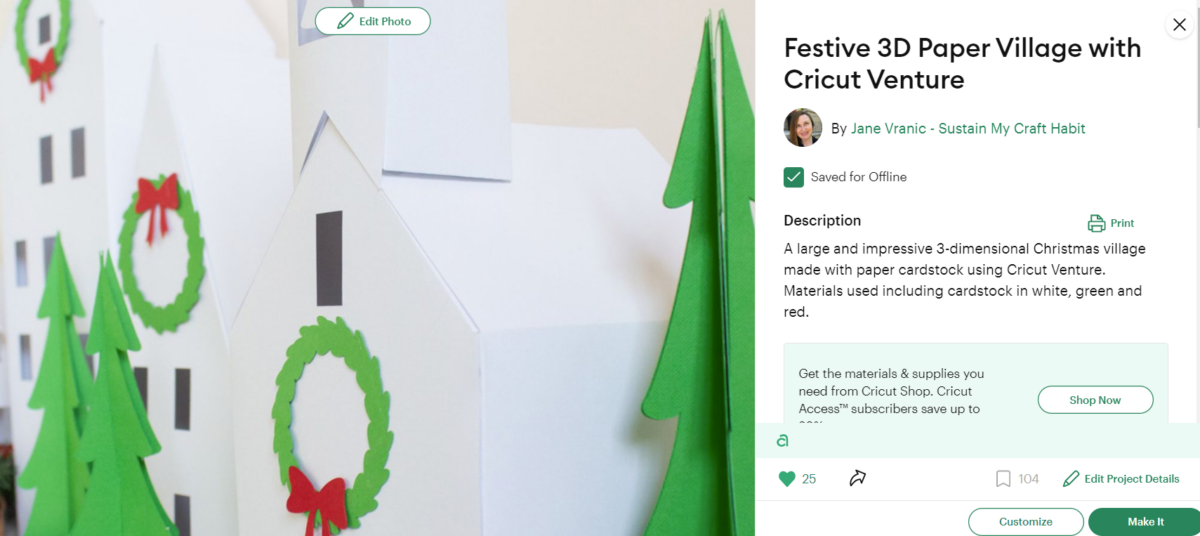
All pieces are already sized and colored to match the completed project.
If you wish to make any adjustments, this would be the place to do it.

With the machine set to Cricut Venture, select Make It in Design Space.
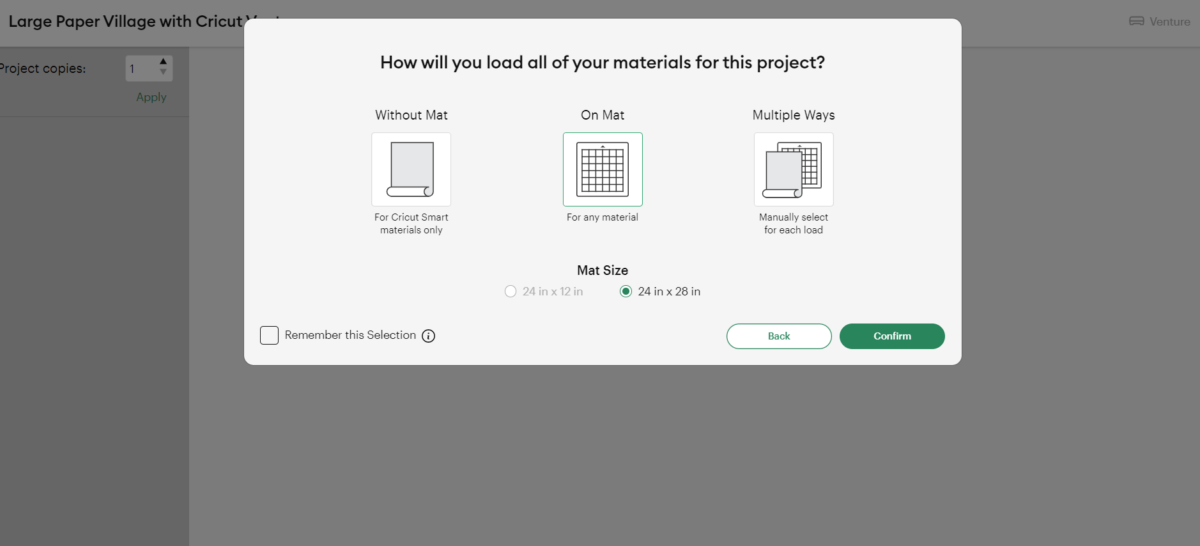
Select cut on mat and choose the 24wide paper size.
Set material bang out to Cardstock, choosing the appropriate weight based on your paper.
In our case, we used the light cardstock setting.
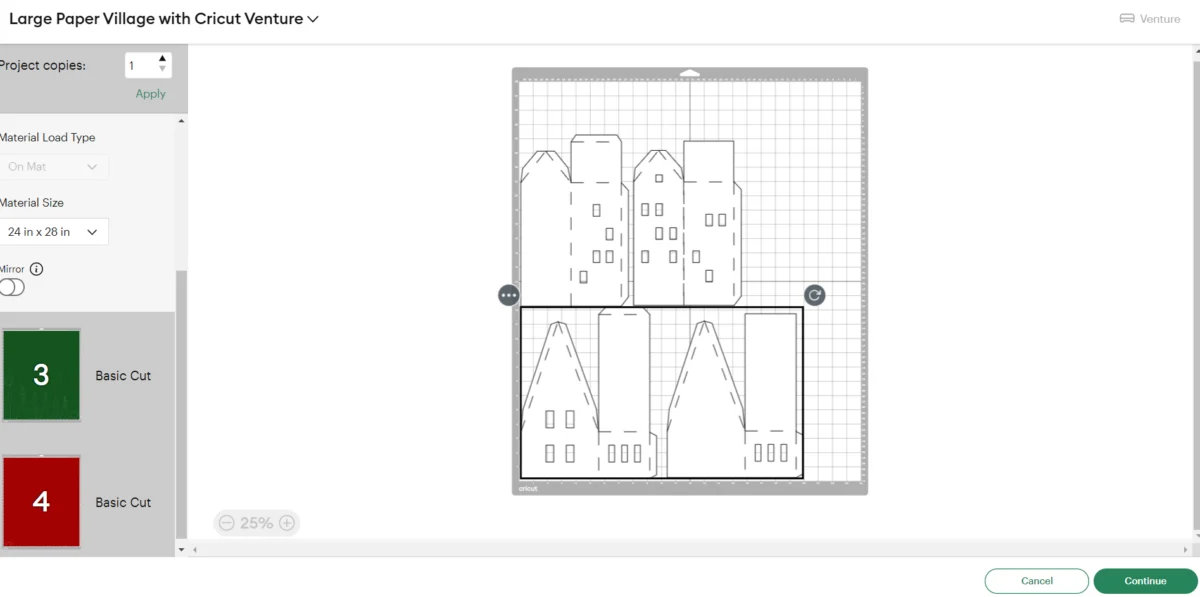
Place the first paper color onto the Cricut Venture grip mat.
For best results, place the texture side facing down on the mat.

When the cut is complete, unload the mat from the machine.
Simply raise the lever and the cutting mat will gently fall into the front holder.
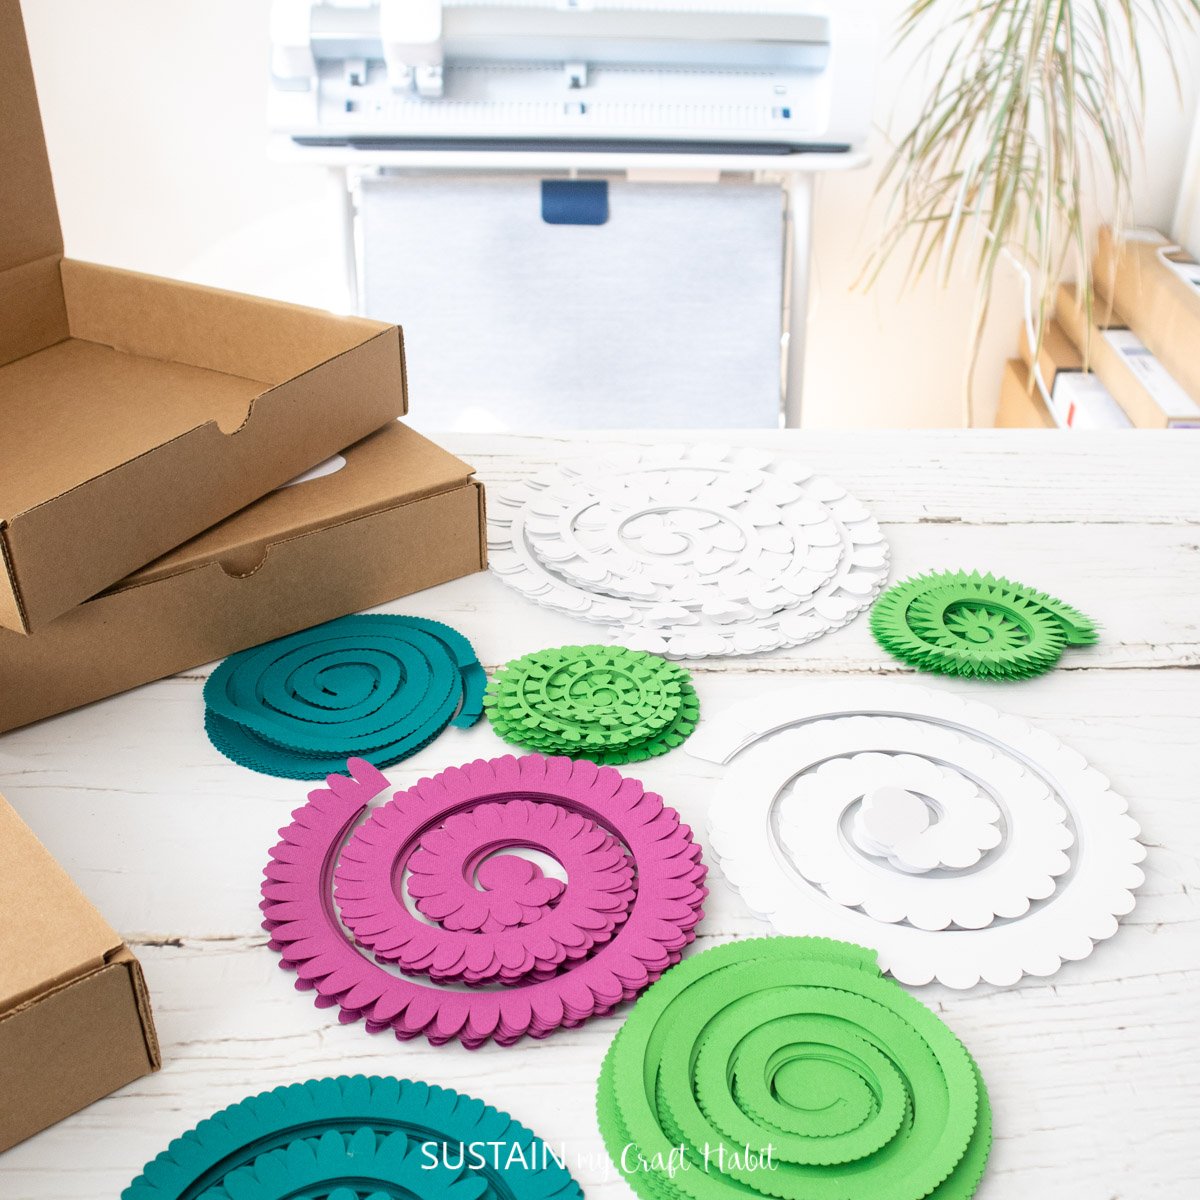
Peel away the cut pieces from the cutting mat.

Repeat for the remaining paper village pieces and colors.
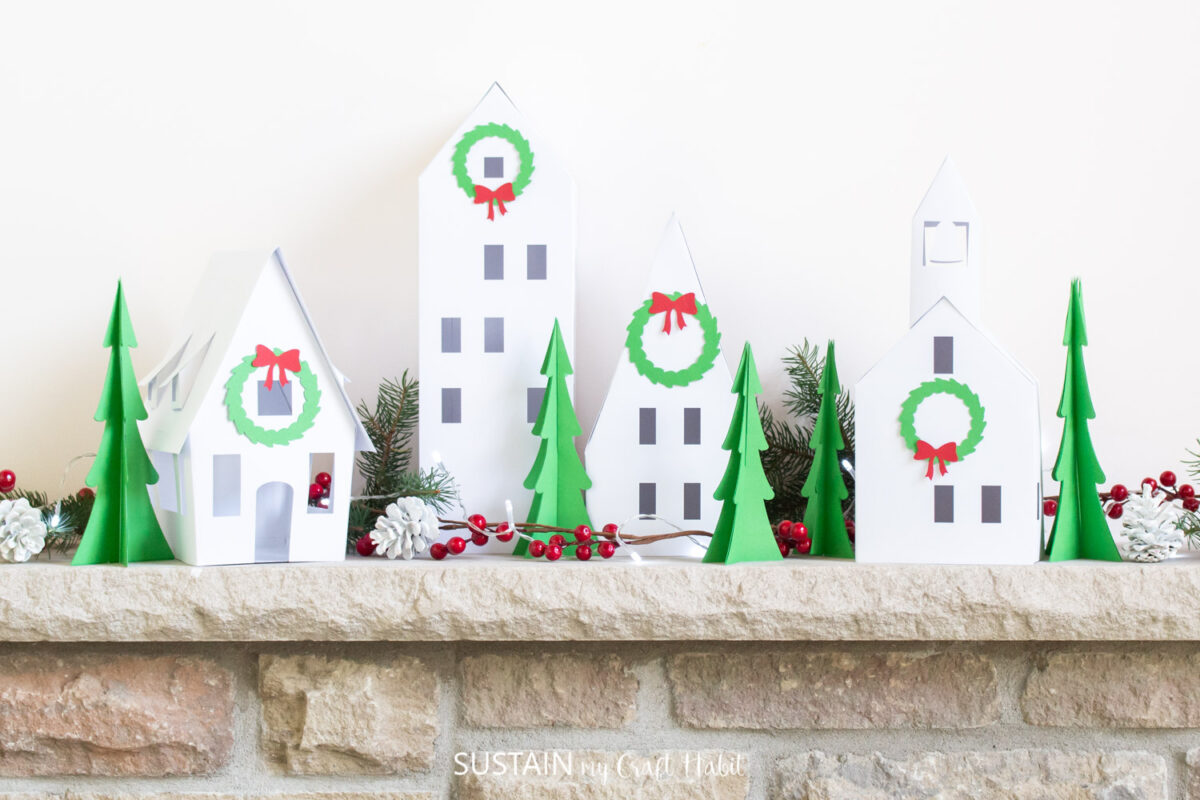
So why not take your holiday decorations to the next level and create your own unique village?
Trust us, it will be a holiday tradition you wont want to miss out on.

Pin it for later!
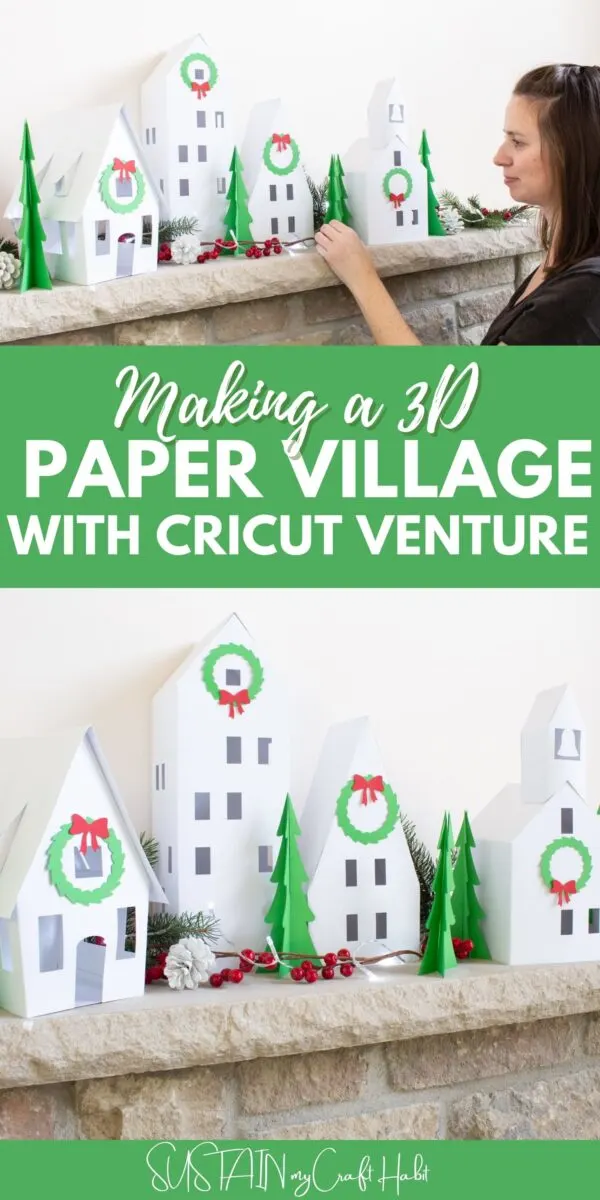
Making a 3D Paper Village with Cricut Venture
Materials
Instructions


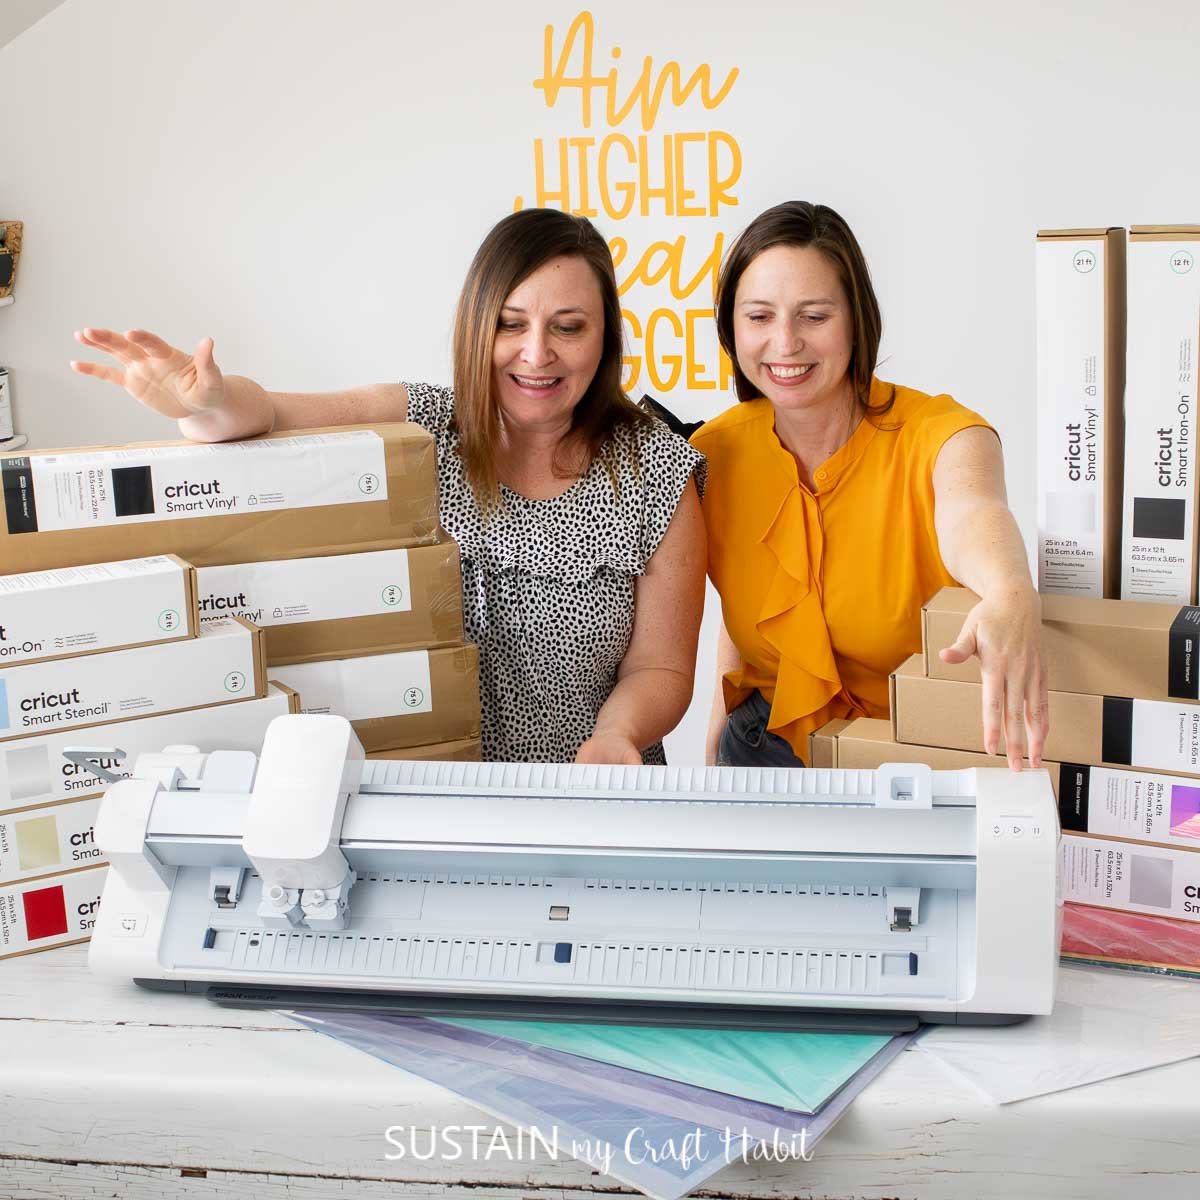
Cricut Venture Review


Family Vacation Tshirts

Paper Succulents


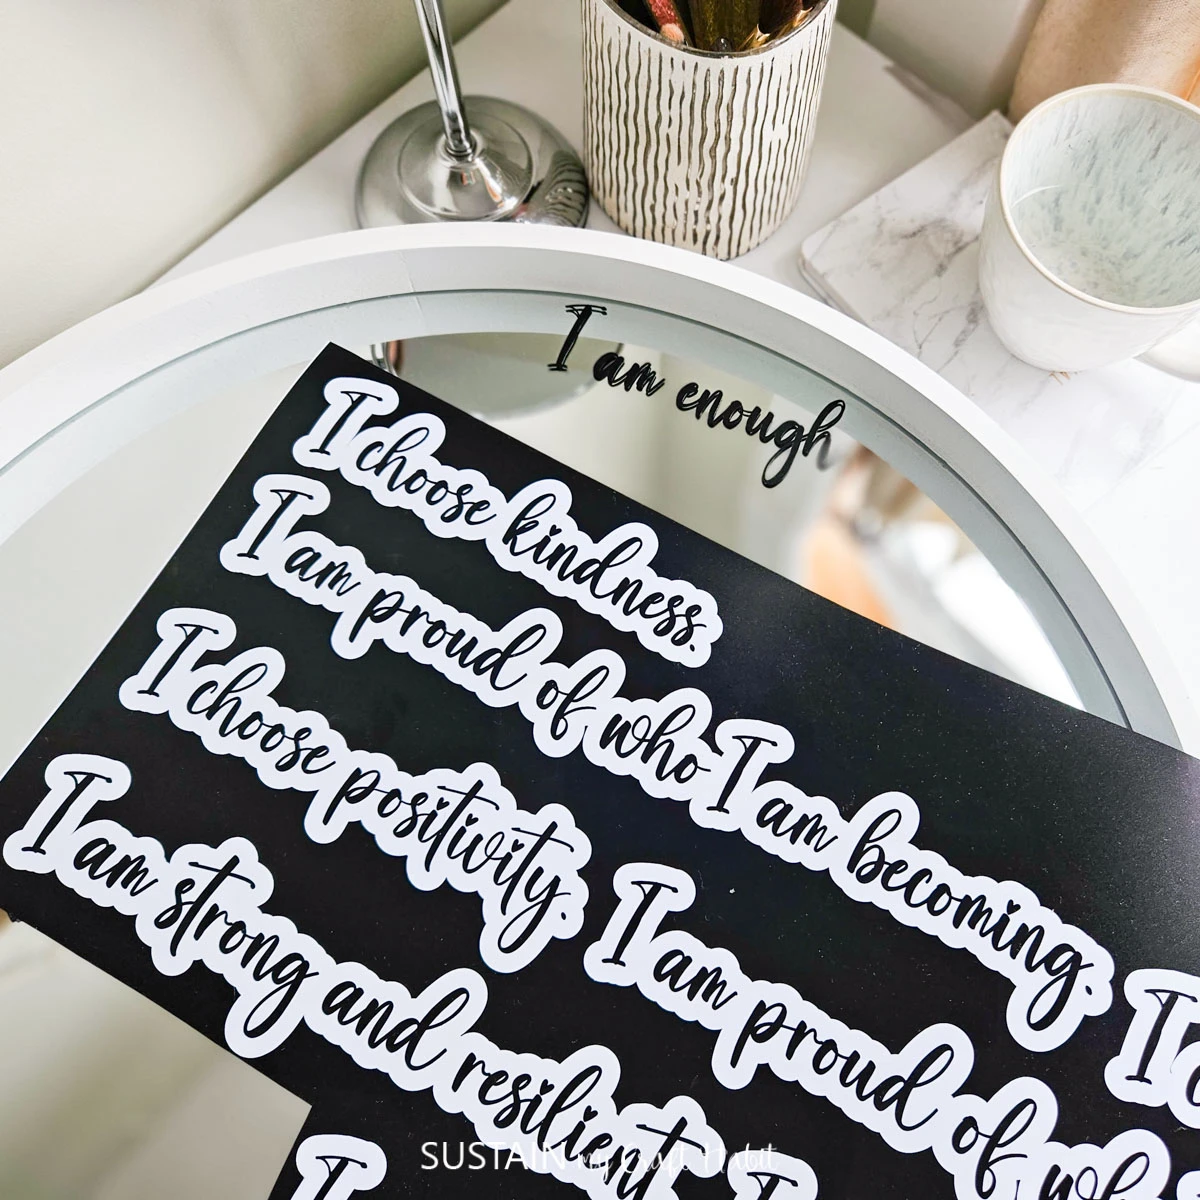
Mirror Decals