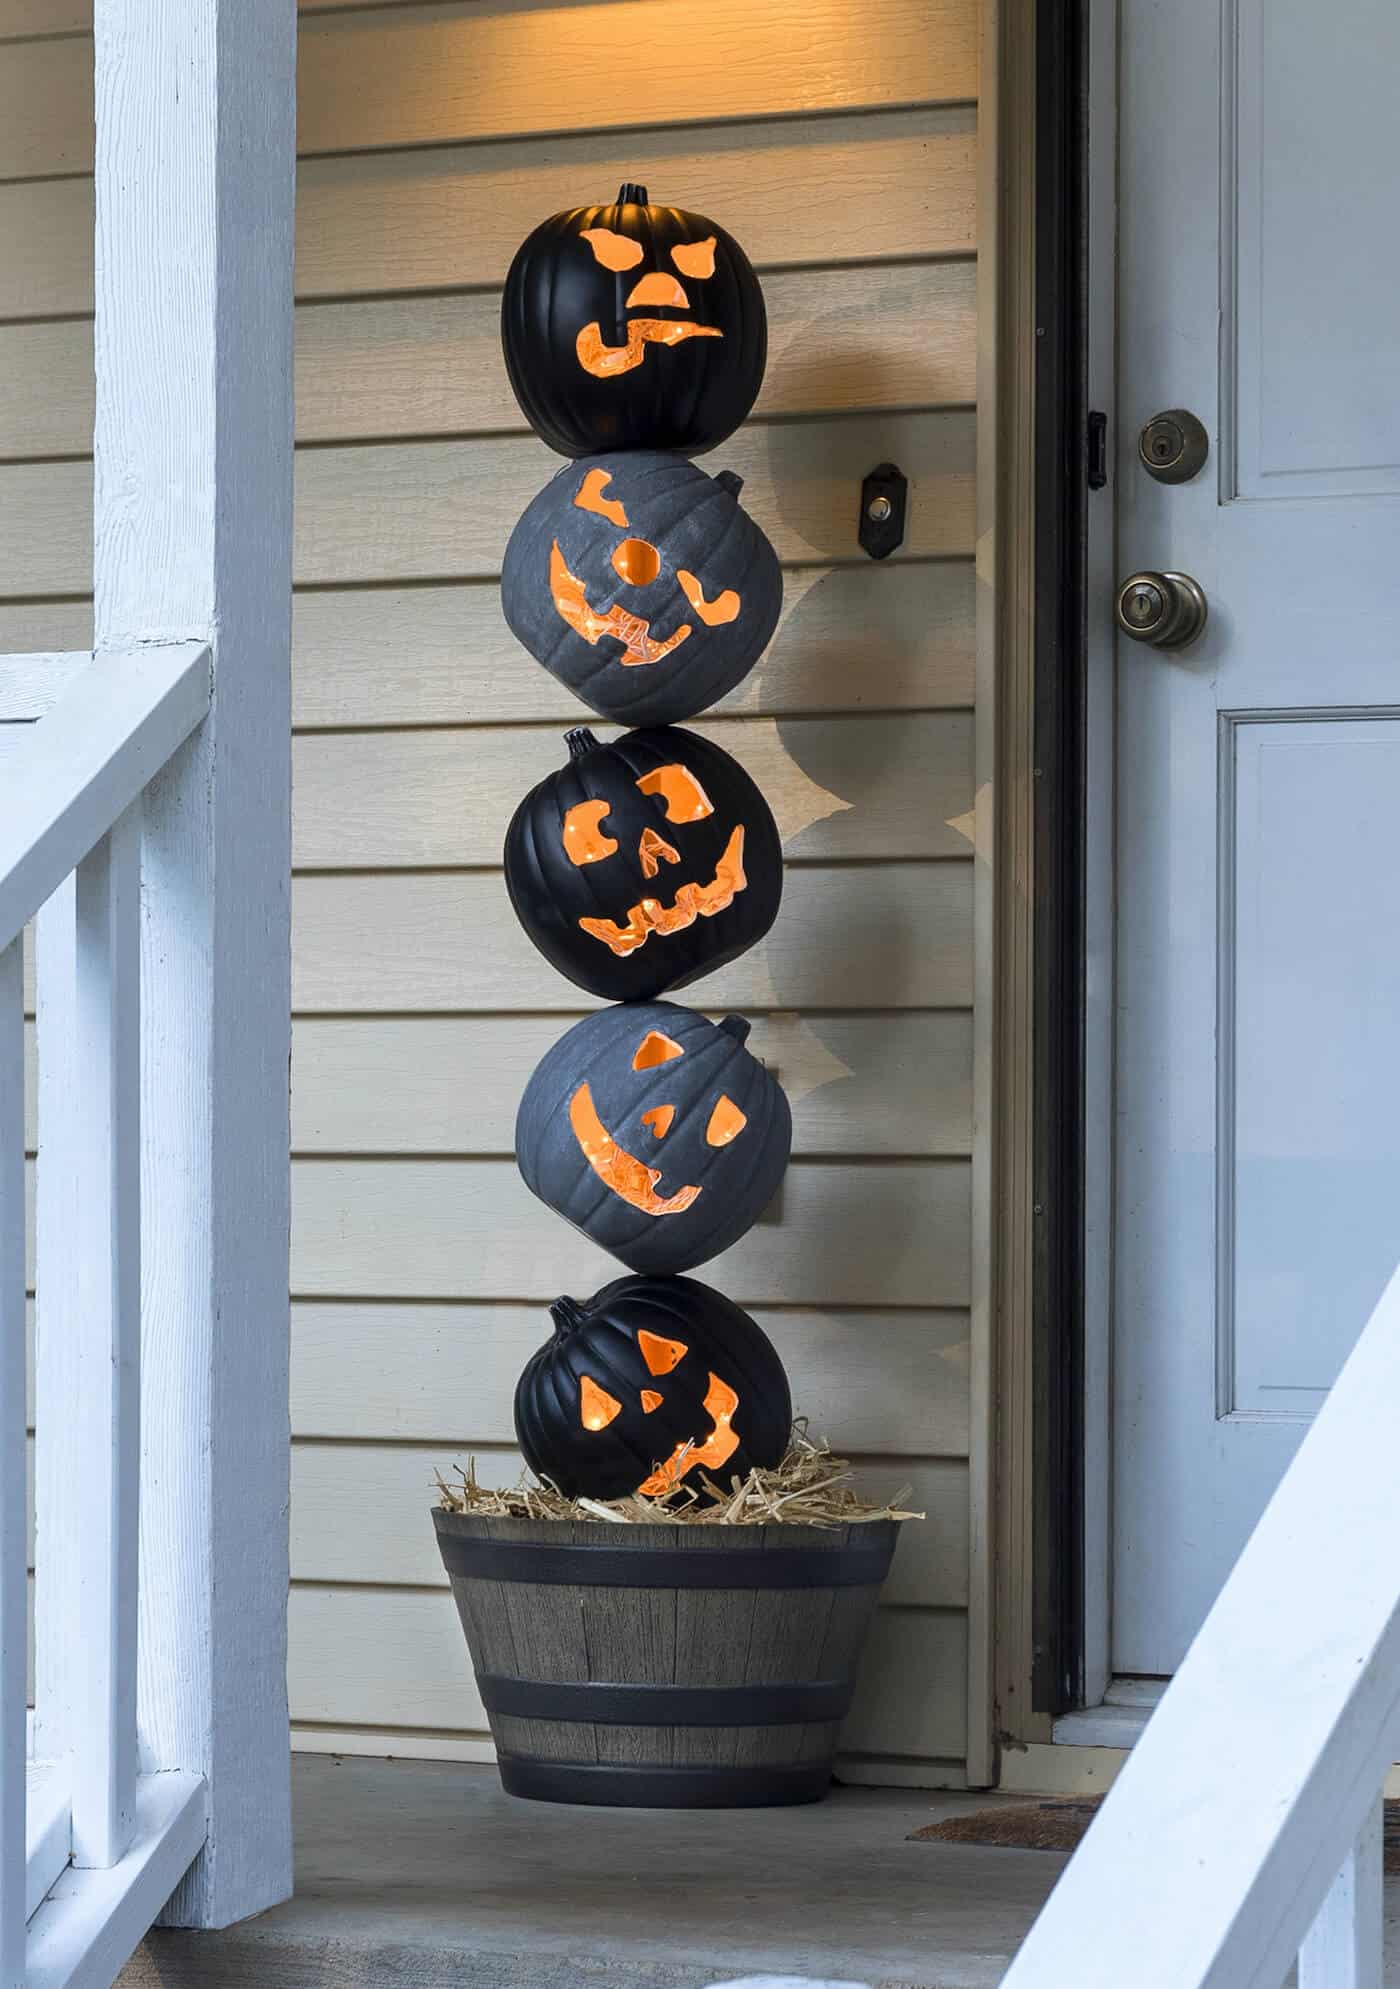
Grab some faux pumpkins from the craft store and create this unique Halloween pumpkin topiary!
It will look perfect on your front porch.
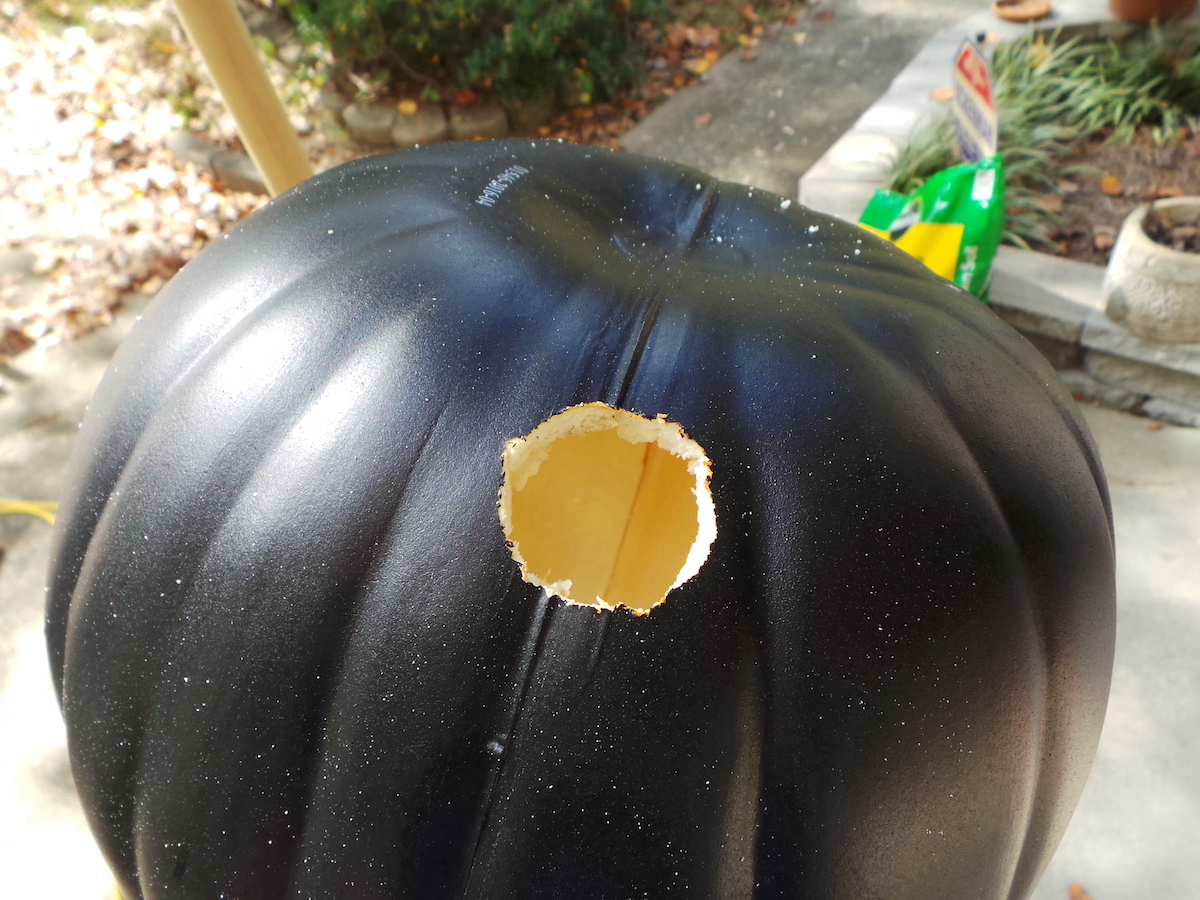
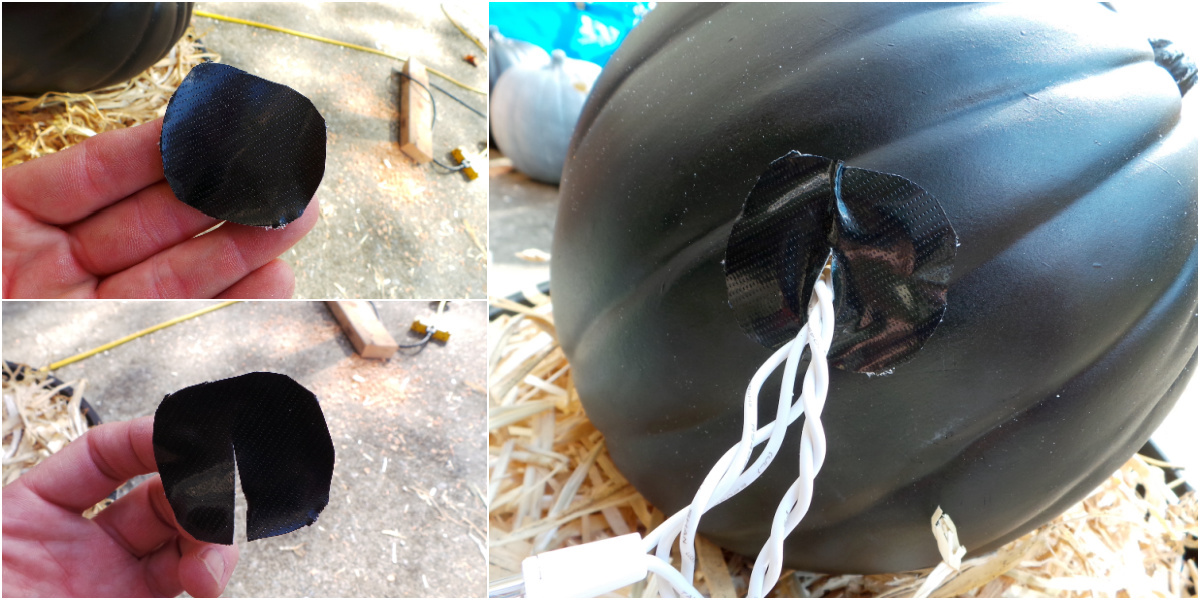
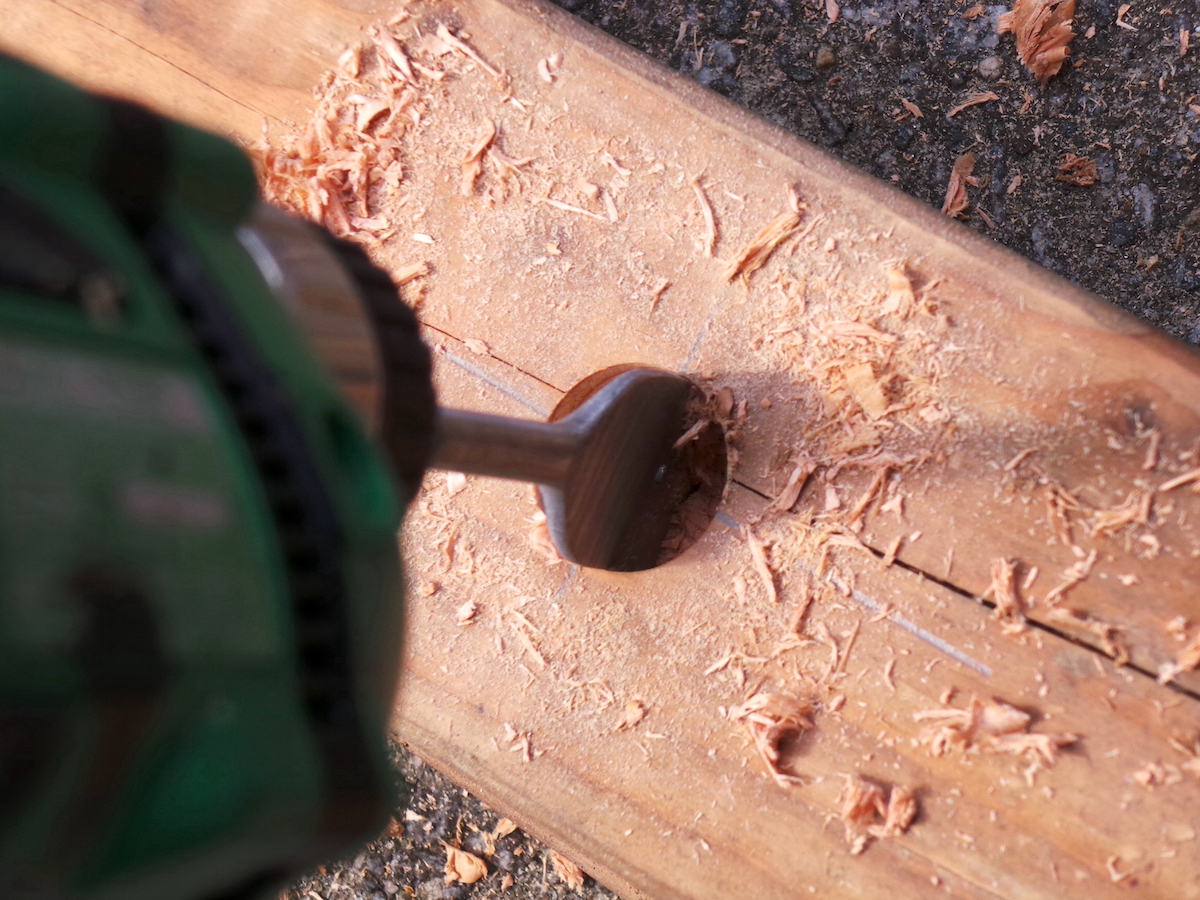
Youll also be drilling into the pumpkins to add lights, then drilling into wood.
Its not that hard if you have used power tools before.
Sometimes you get a brilliant holiday DIY project idea in this case it was Steve.
I made the mistake (?)
of dragging him a long to Michaels to grab some supplies, and I needed some craft pumpkins.
He spotted the black and concrete ones in the bin and declared Im going to make a pumpkin topiary!
So whats a girl to do but support her man in hisHalloween decoratingendeavors?
And thats exactly what I did.
There are some steps to it, but its not hard.
Learn how to make it below.
Things that were learned through the process!
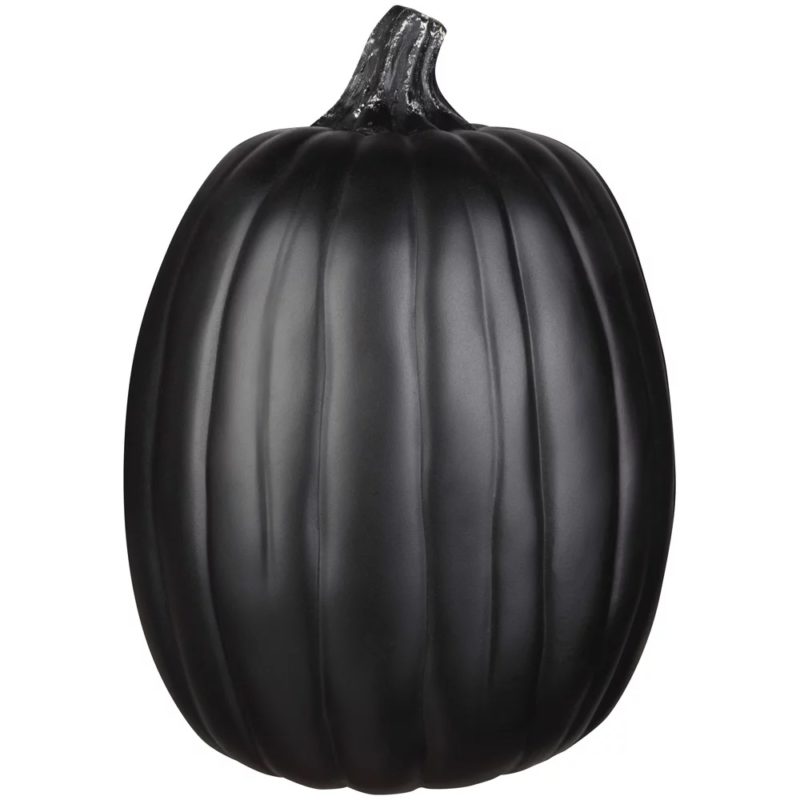
First you oughta pick your pumpkins.
These are the key in of craft pumpkins we used.
They were about 9 each and we chose three black and two cement colored pumpkins.
Id never pay full price for craft pumpkins (insider tip!).
NOTE: I havent found craft pumpkins with theconcretefinish since this post was done.
You have a lot of options.
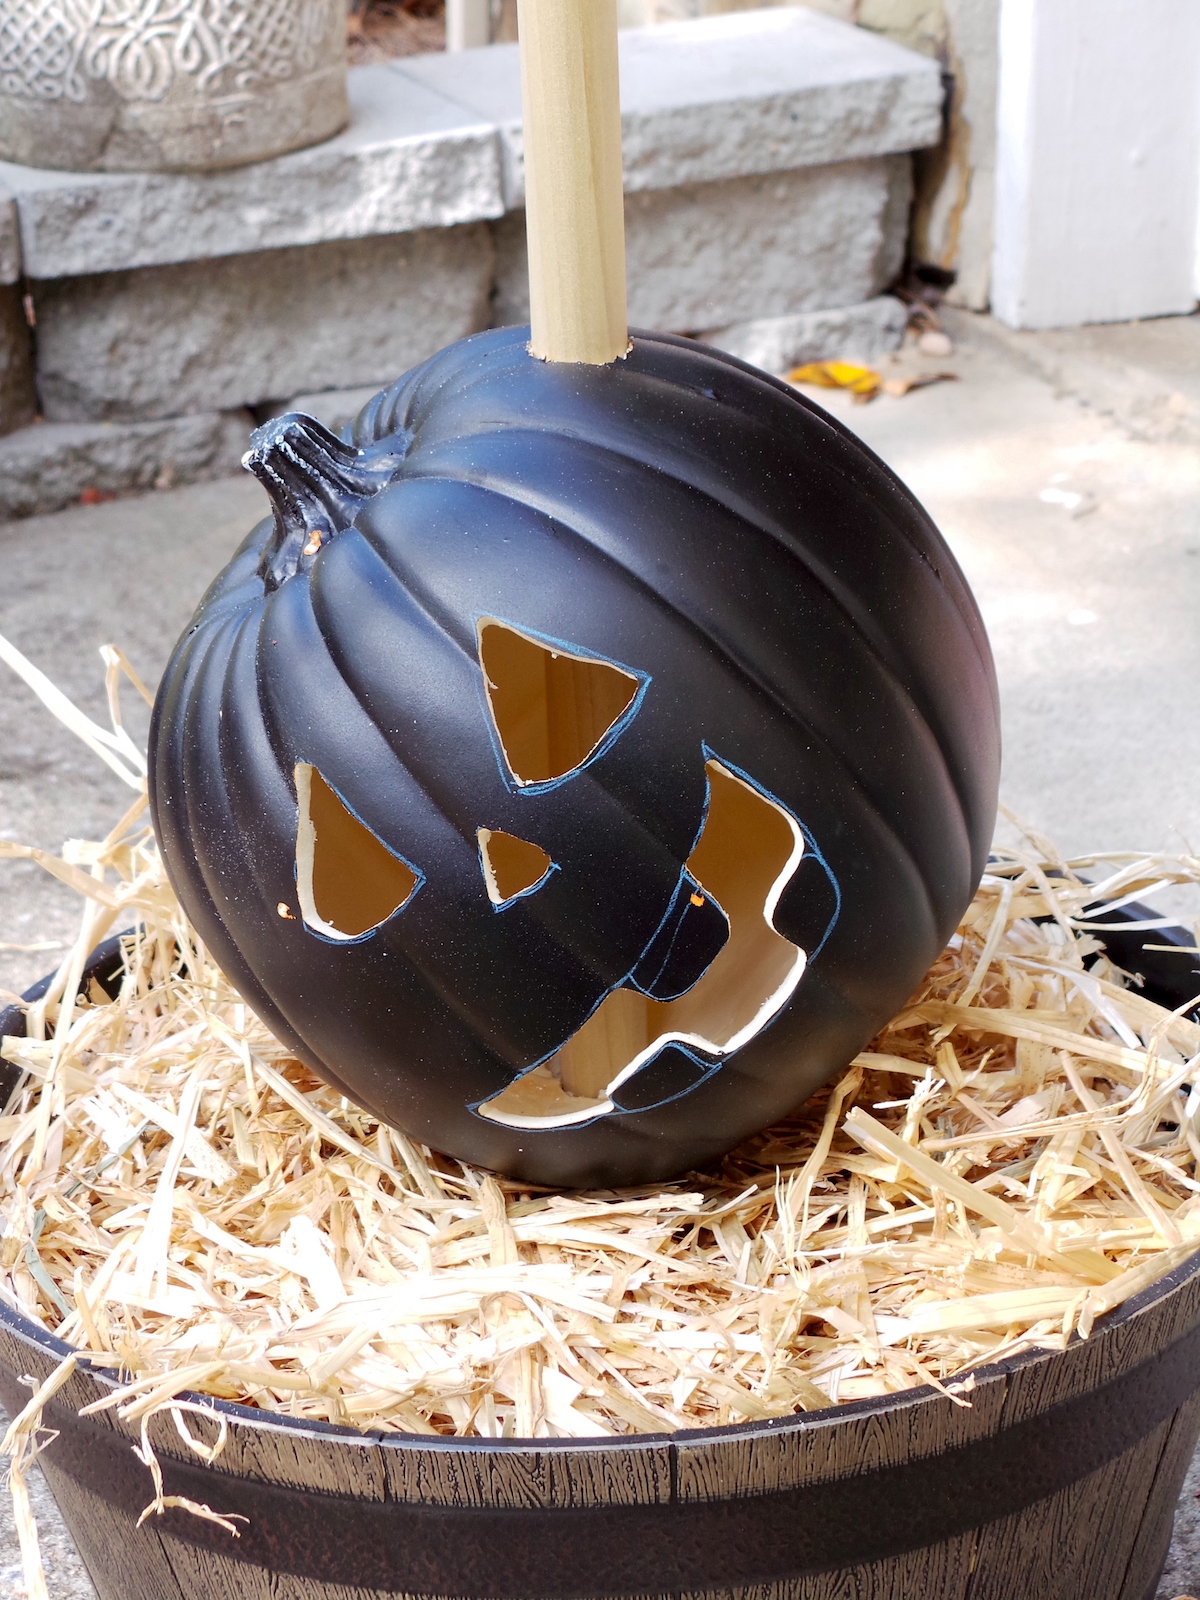
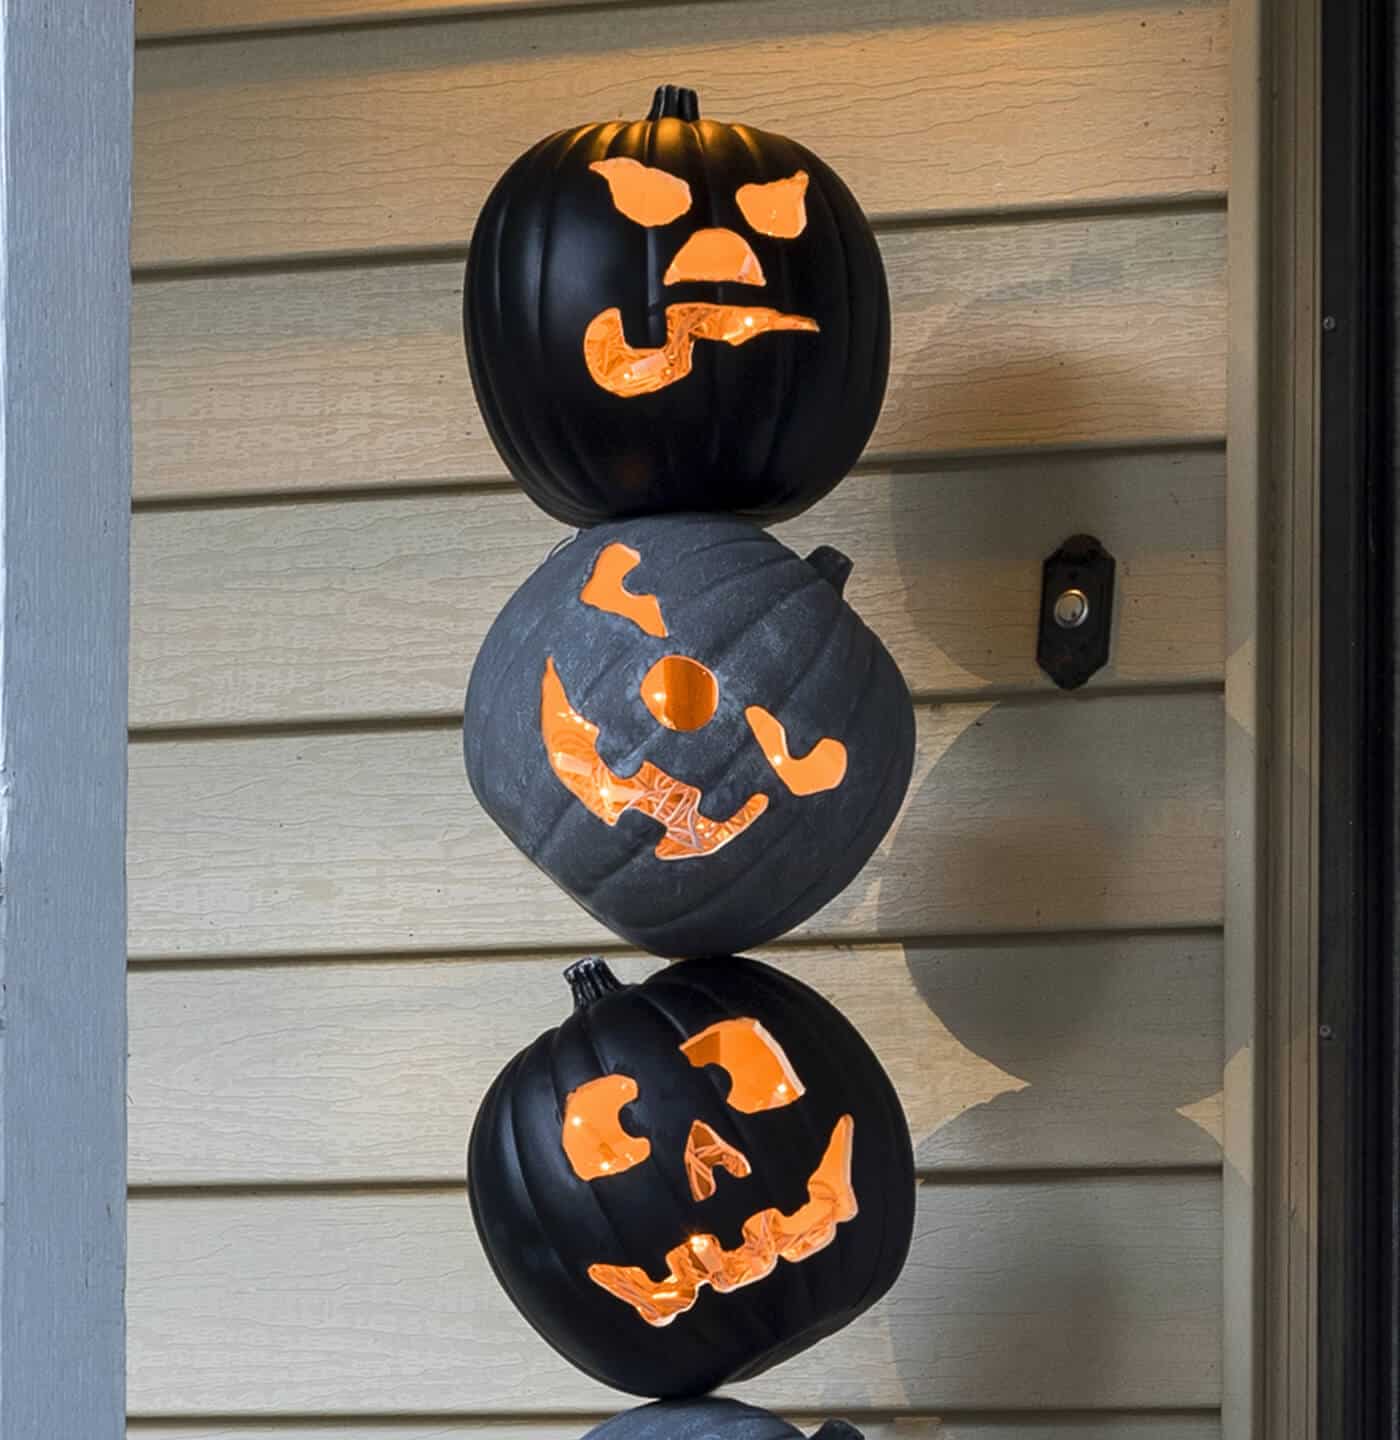
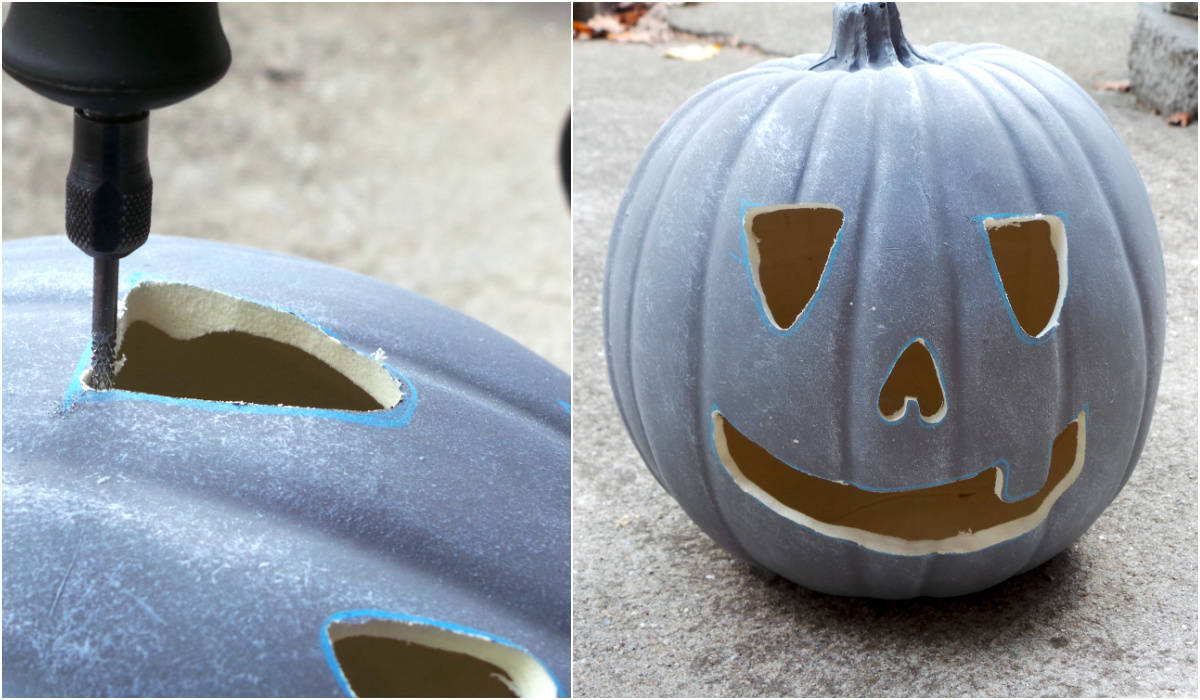
Once youve picked your pumpkins, choose your faces.
We just picked five different templates forcarvingonline; they are very easy to find by Googling.
Cutting out the pumpkin faces is the most time consuming part of the process.
Keep in mind it doesnt have to be exact .
you’re able to see we didnt quite cut on the lines.
Its going to look fine when its done.
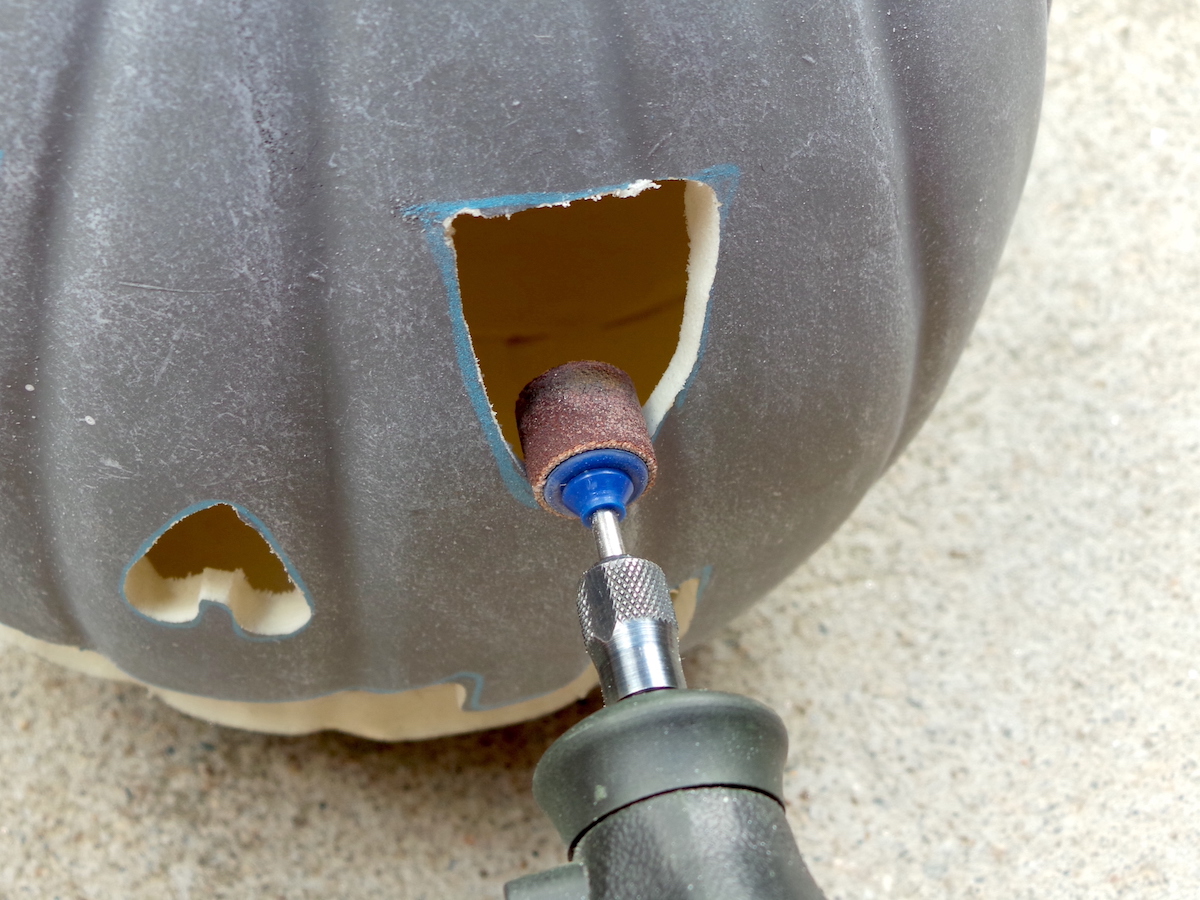
The cutting will have left ragged edges, and thesandersmooths them out, which is why will use it.
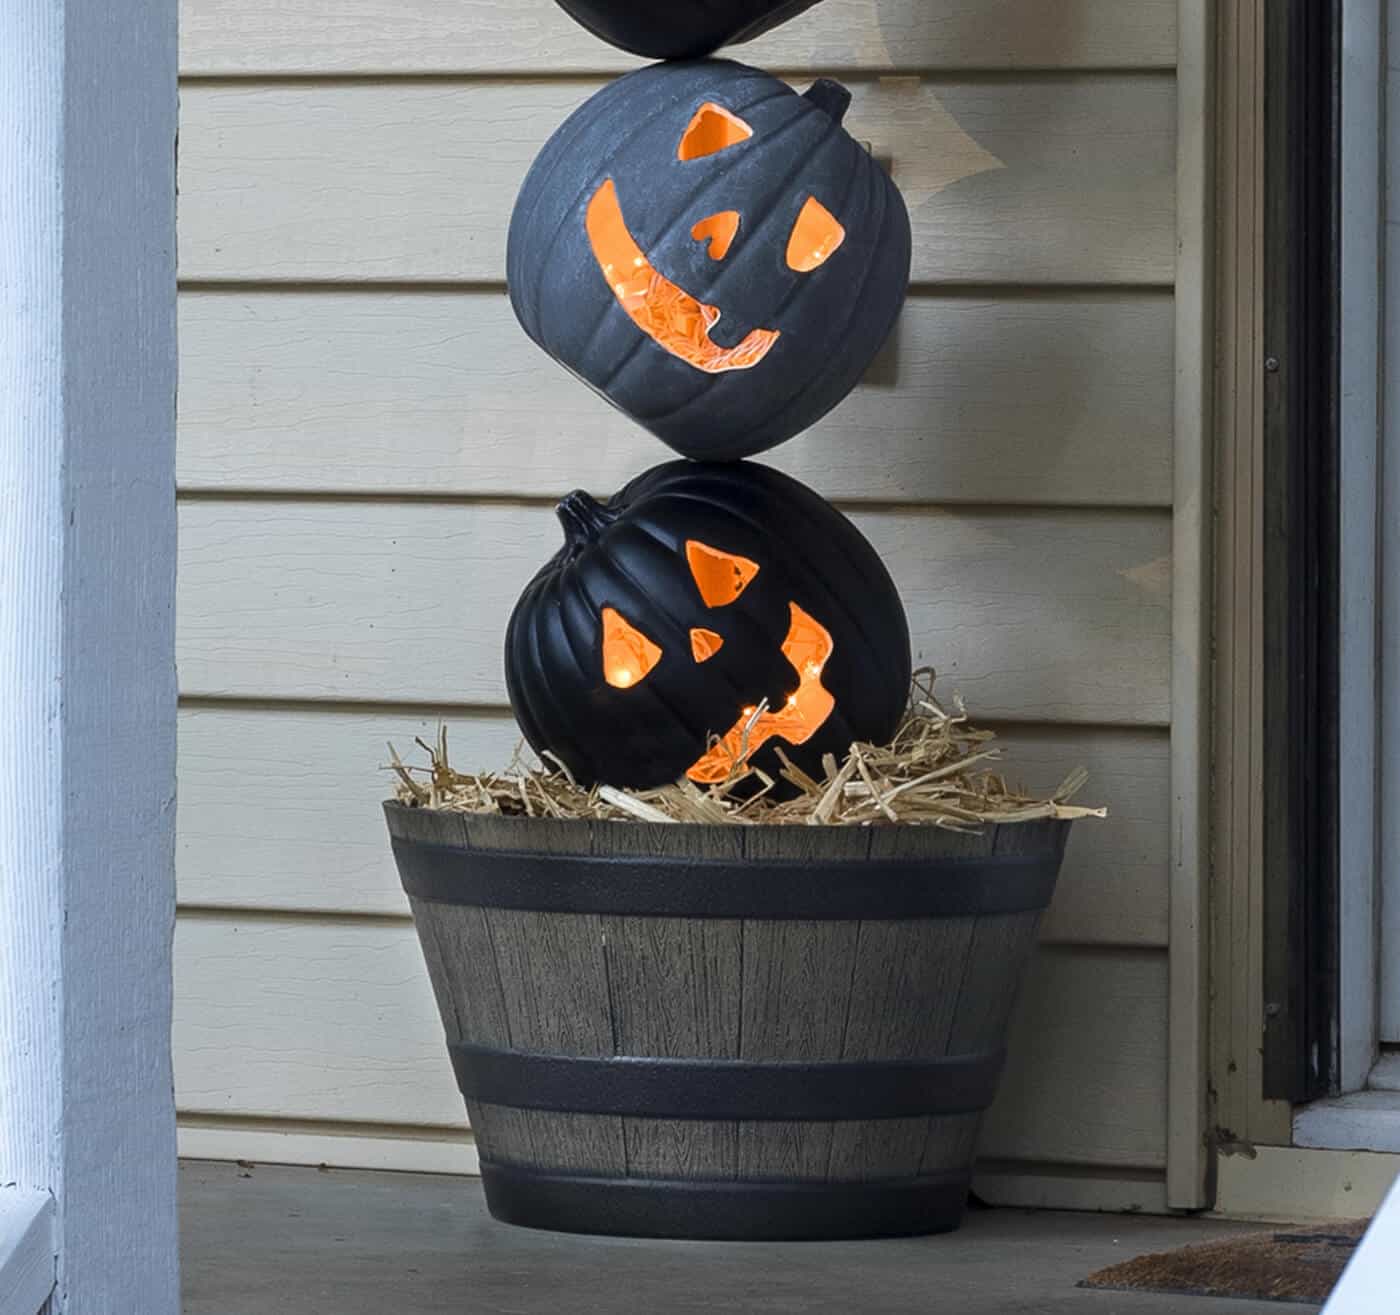
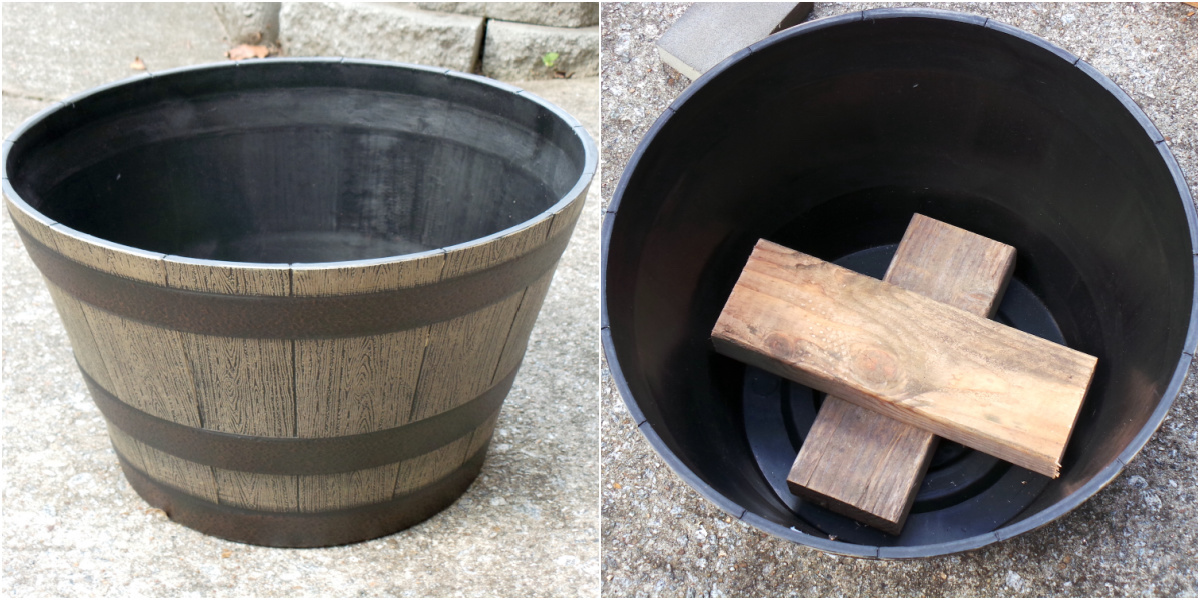
Youll need to choose a planter for your Halloween topiary.
Ours is about 12 tall and 19 1/4 wide at the top.
It needs to fit wood at the base.
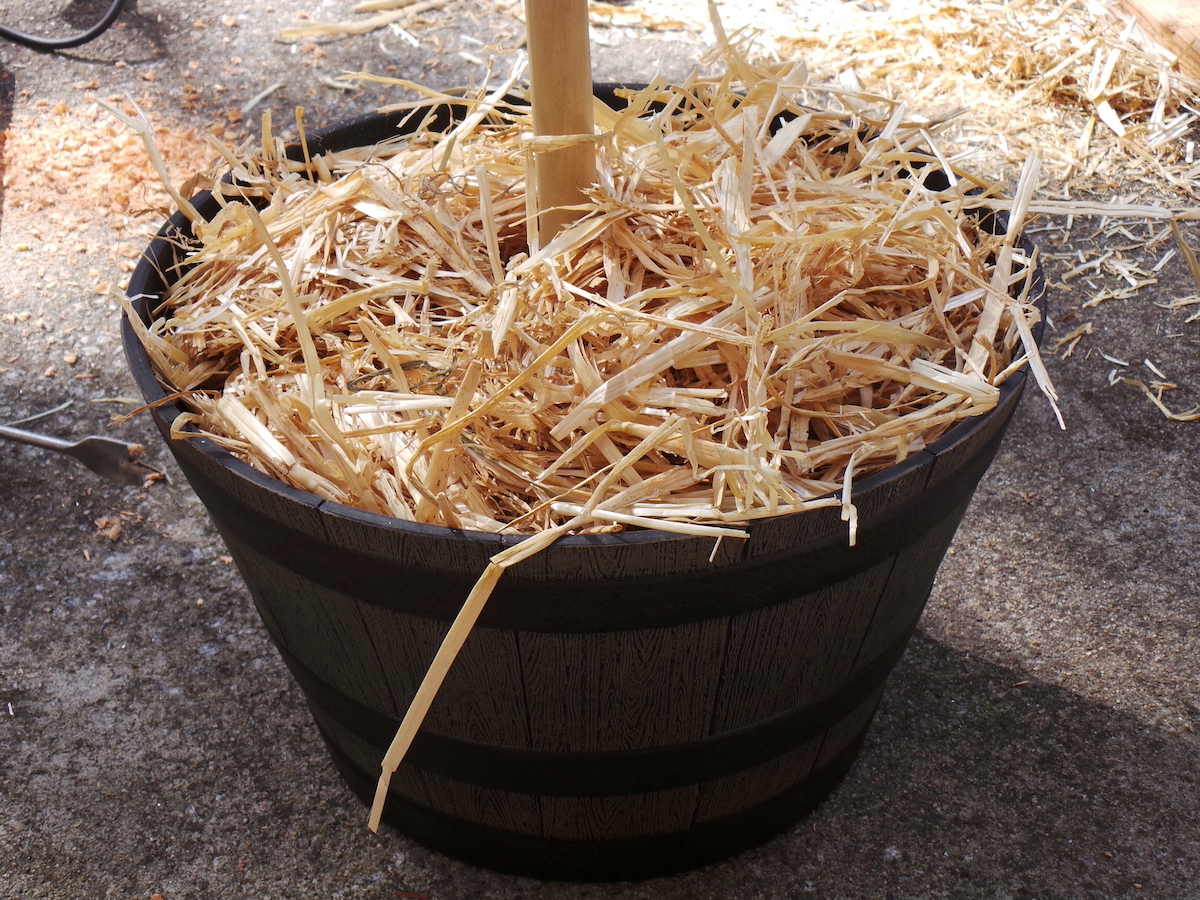
If the wood splits a bit while you are drilling a hole into it, its fine.
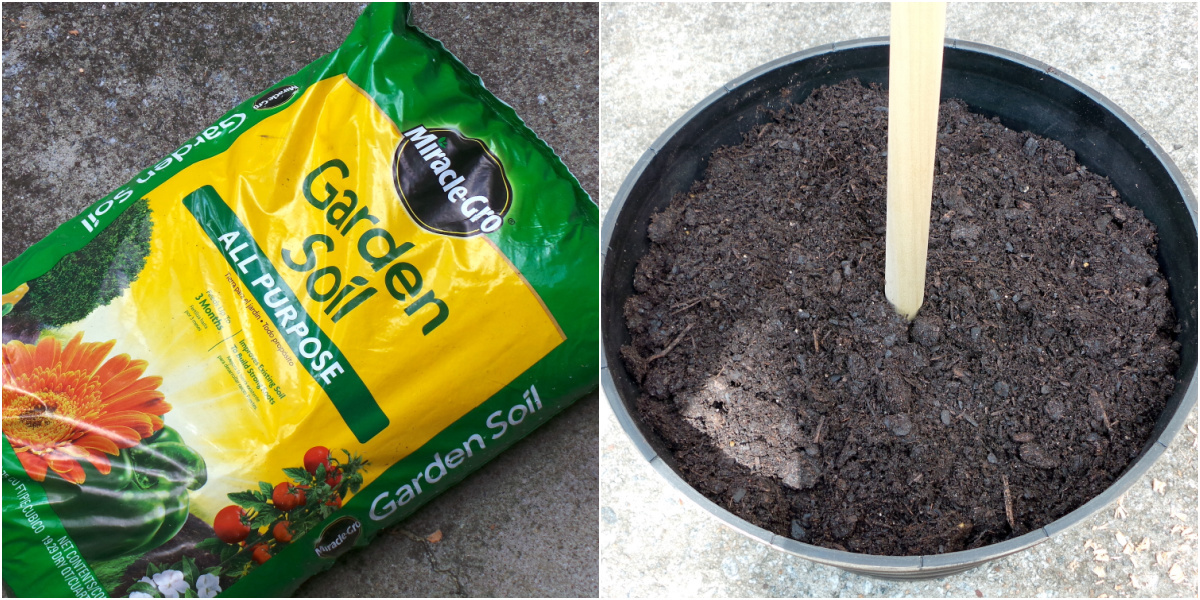
The soil stabilizes it.
The bottom pumpkin will obviously go into a light plug.
Place this Halloween topiary by an outlet or use an extension cord.
Also be safe and dont leave it plugged in all night or unattended for too long.