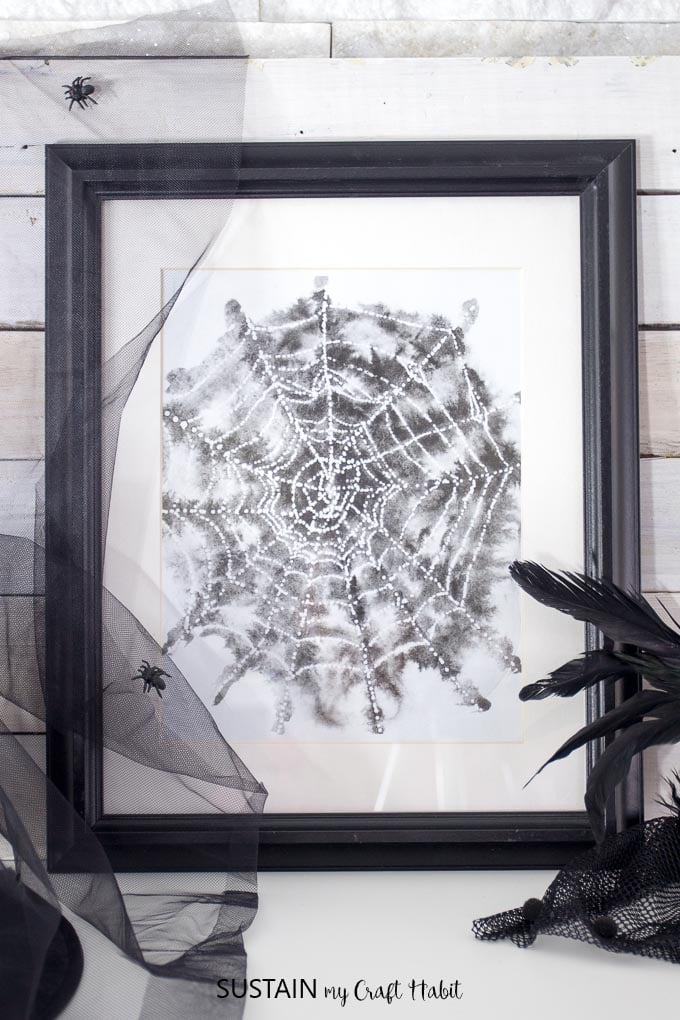
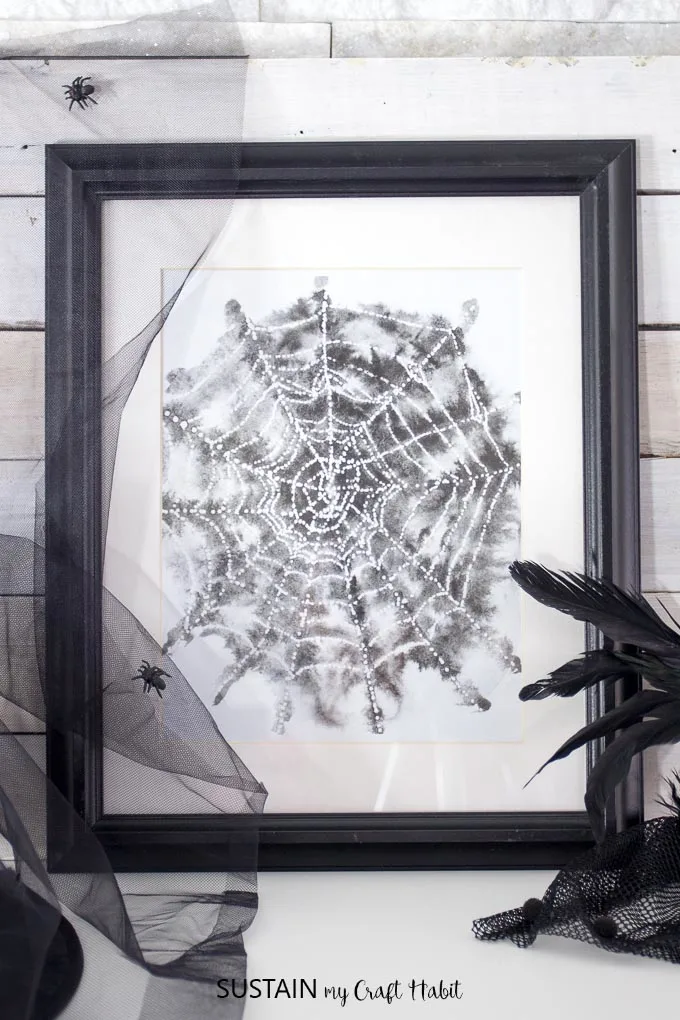
For more spider web art, head over to this post and grab thefree printable watercolor spider web.
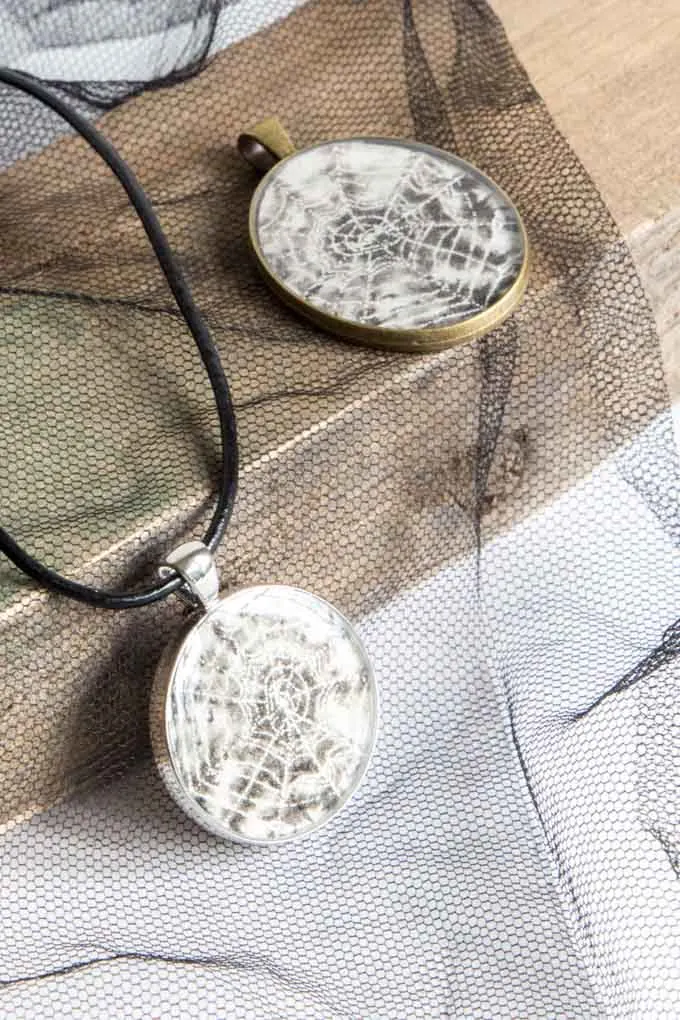
We used the same watercolored spider web to make theseresin pendants for Halloween.
And for some spooky chuckles, check out these frightfully funHalloween riddles!
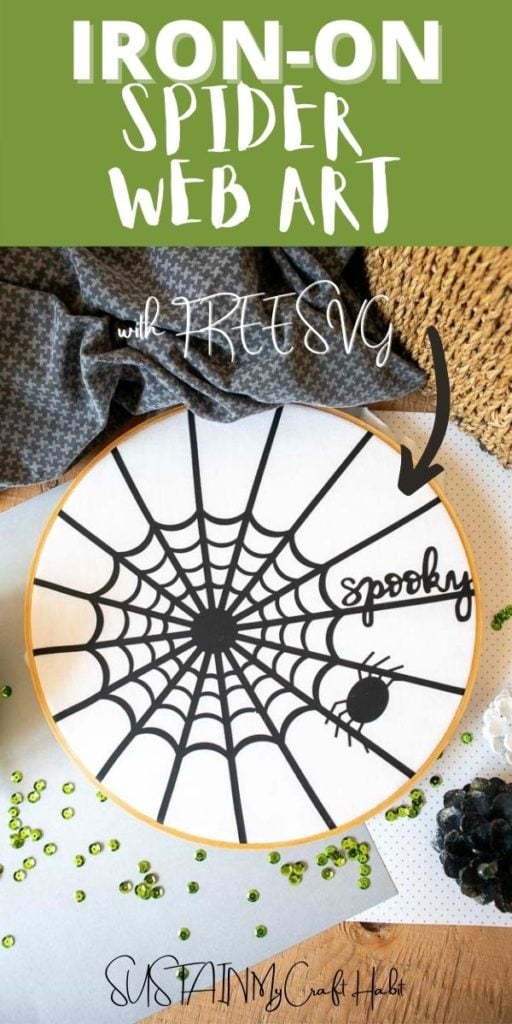
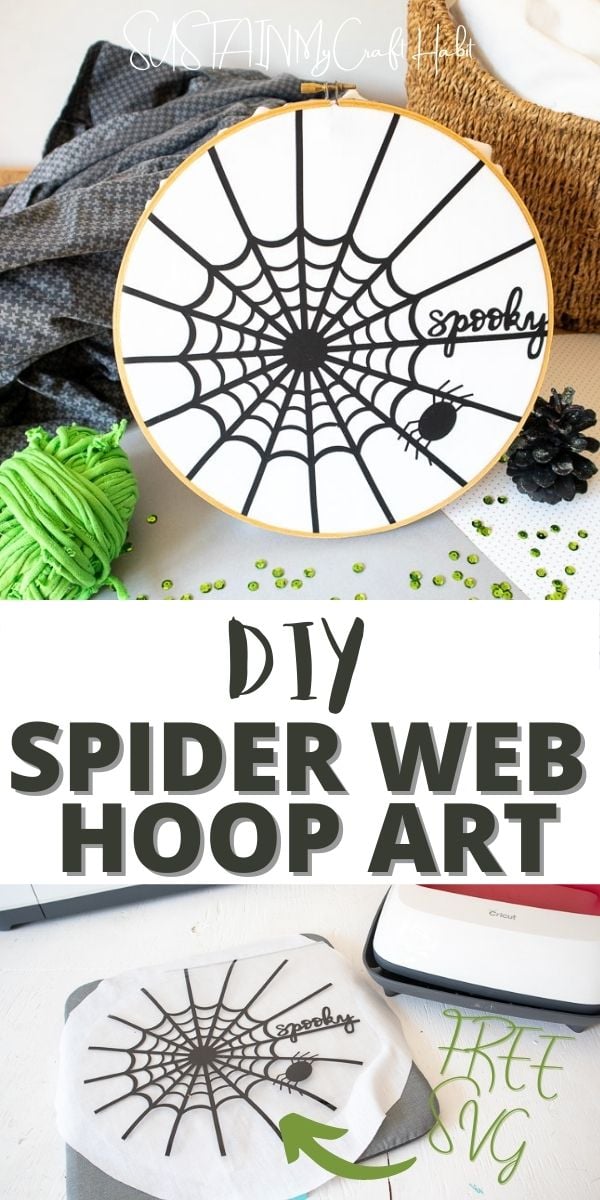
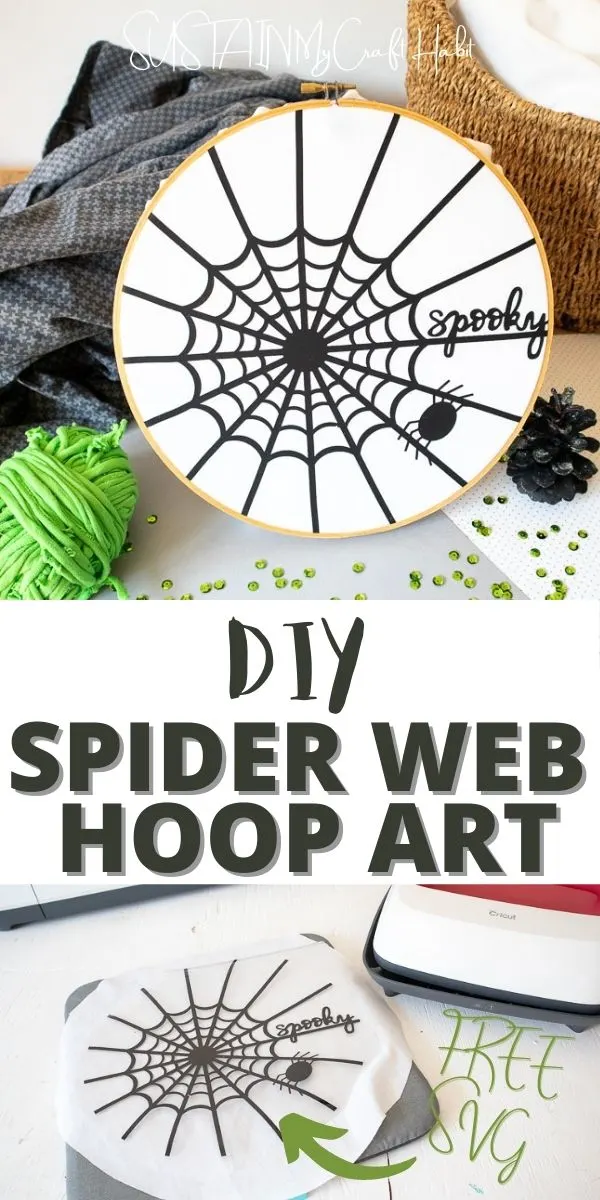
Spiderweb Watercolor Art
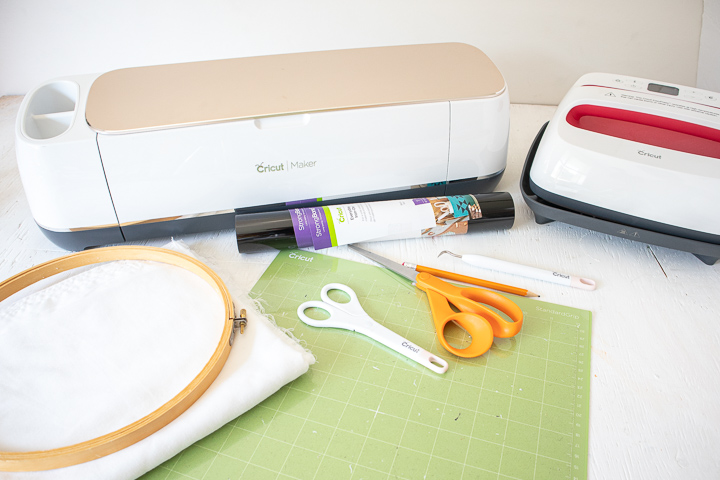
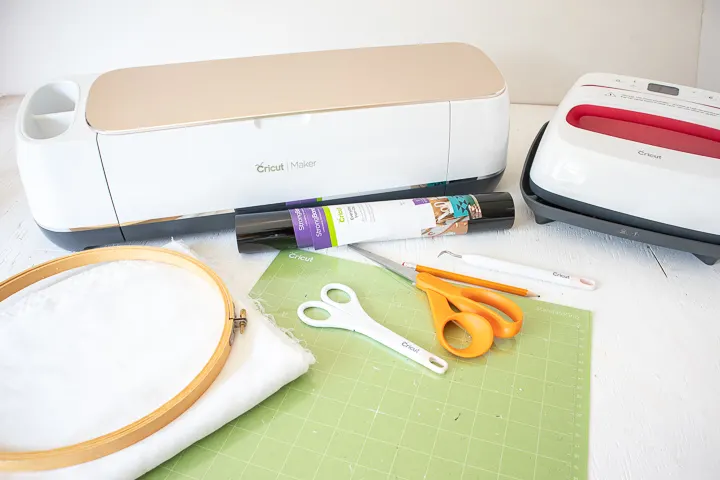
Materials Needed
Disclosure: This post contains affiliate links for your shopping convenience.
you’re able to readour full disclosure policy here.
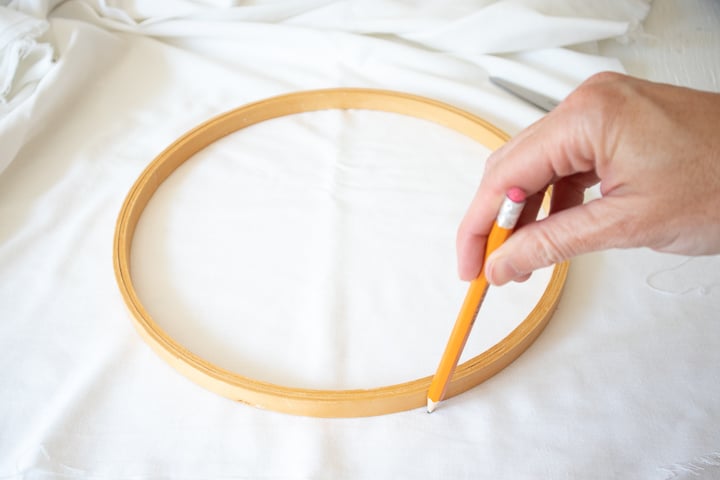
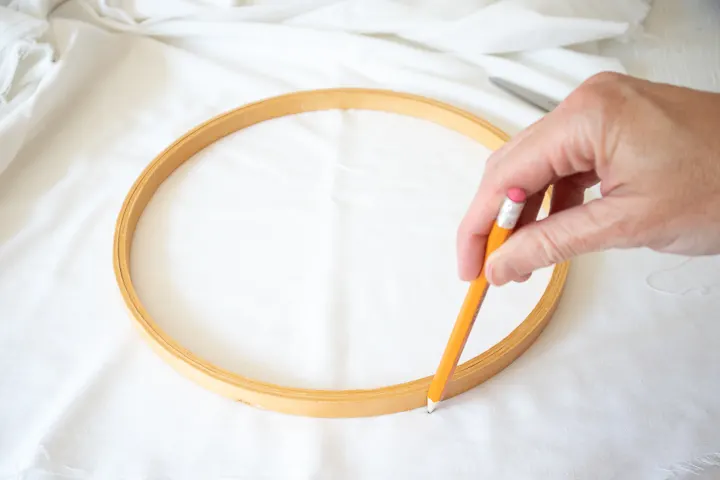
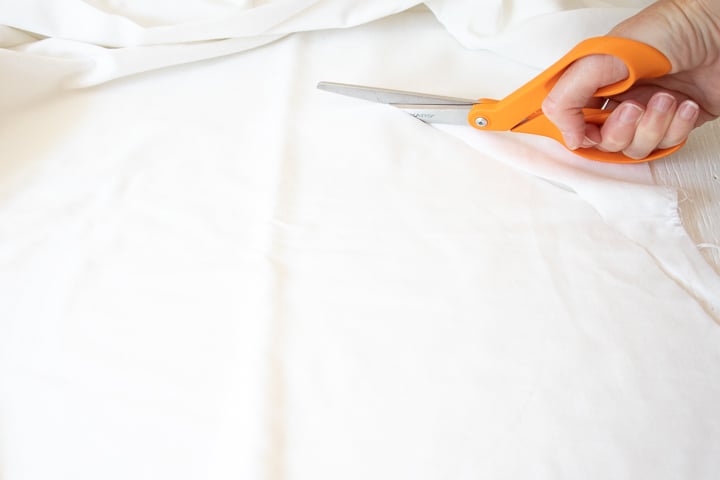
Leave about 2 around the pencil line and cut out a circle shape.
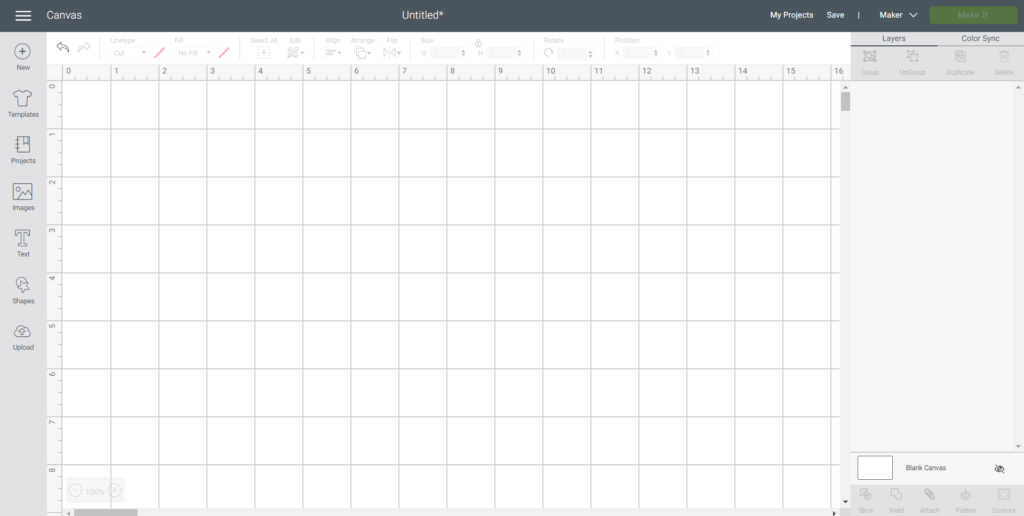
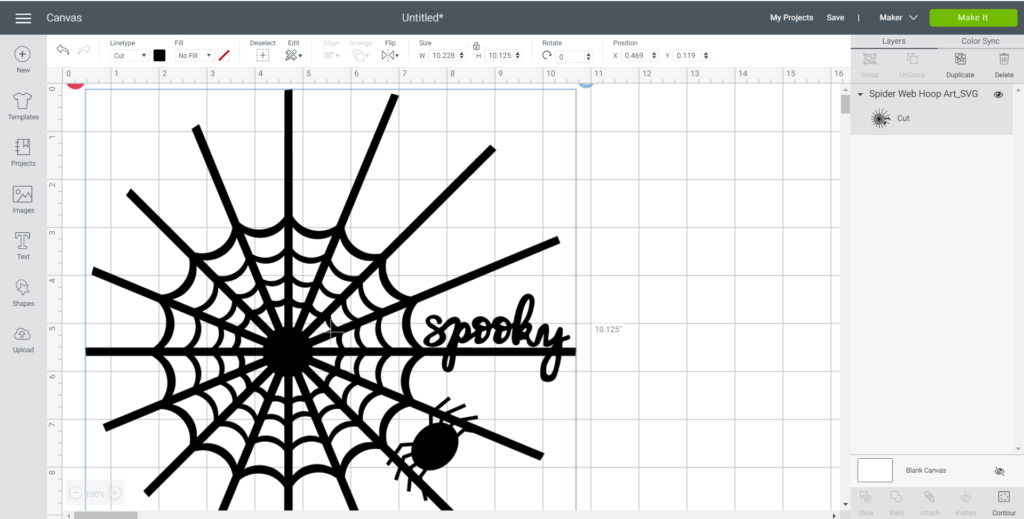
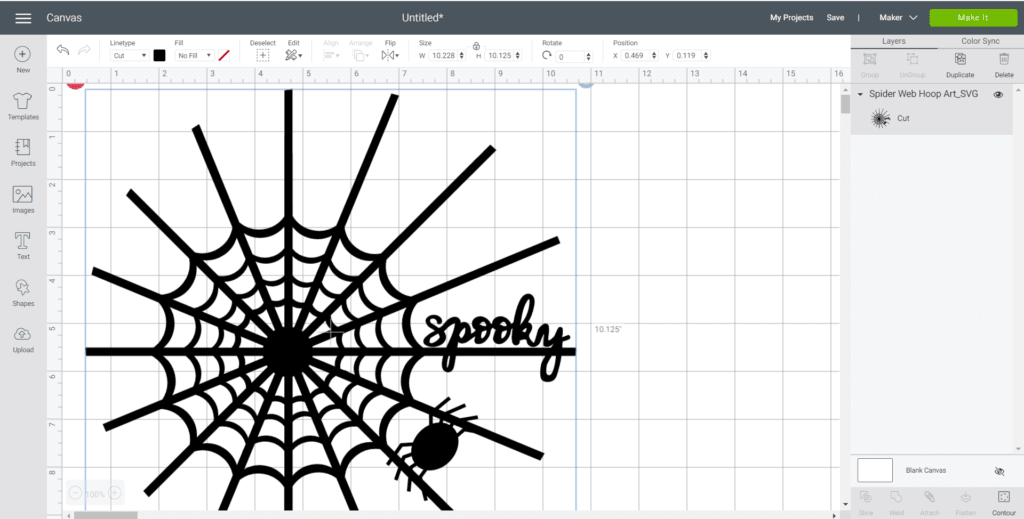
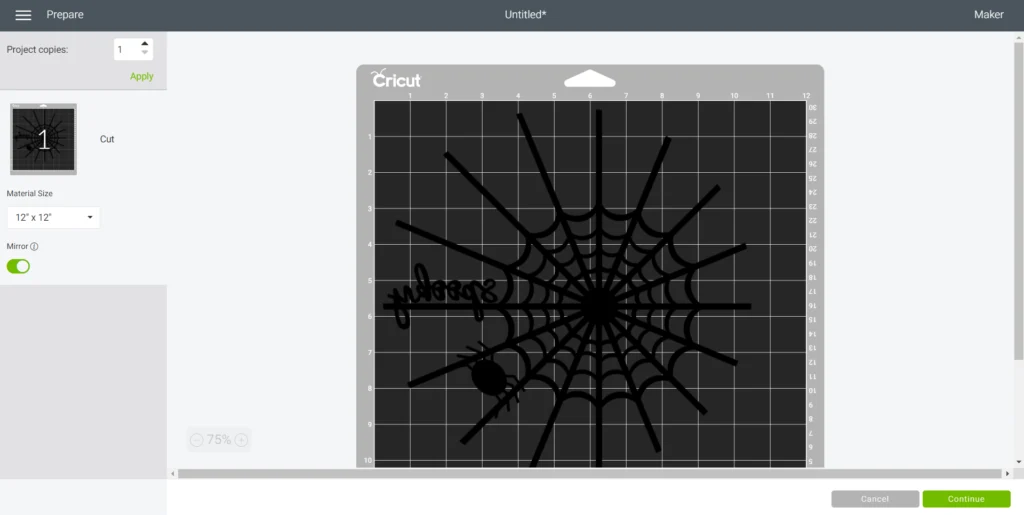
tap on the Upload button from the toolbar to insert theSpiderweb SVGfile onto the canvas.
Select Make It in the upper right corner to proceed with cutting.
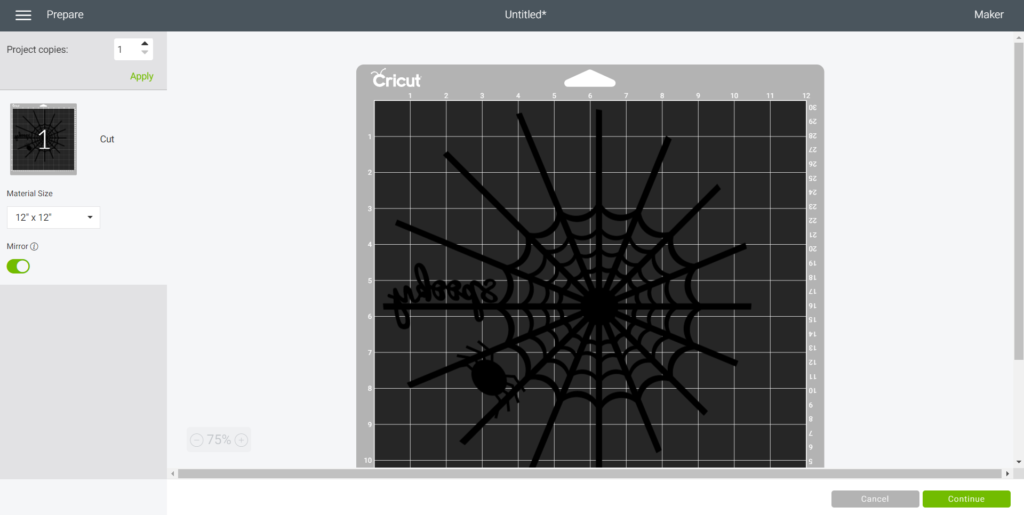
smack the Mirror toggle button to on as this is necessary for ALL iron-on vinyl cuts.

Choose Everyday Iron-On Vinyl from the list of options in the drop down menu.
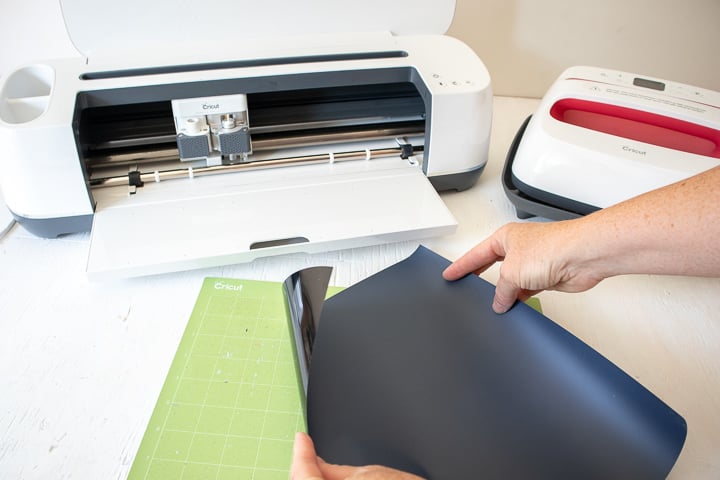
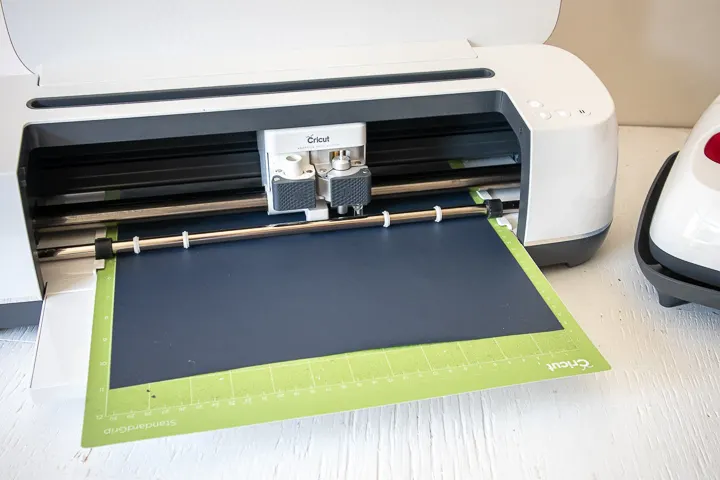
Place the Iron-On vinyl directly onto the standard grip mat with the SHINY SIDE DOWN.
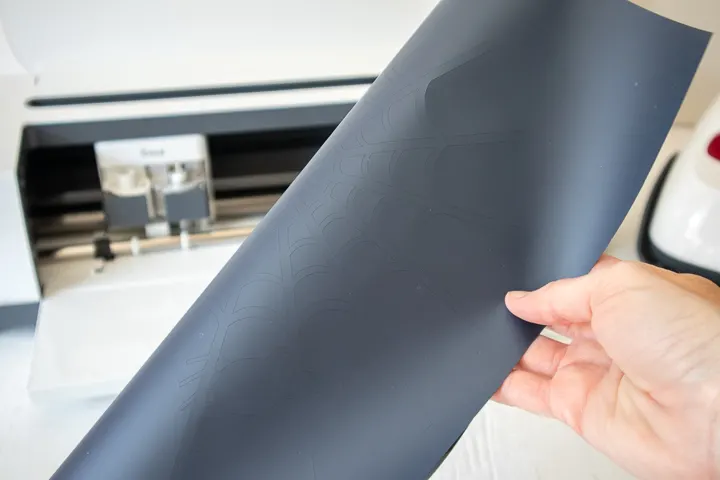
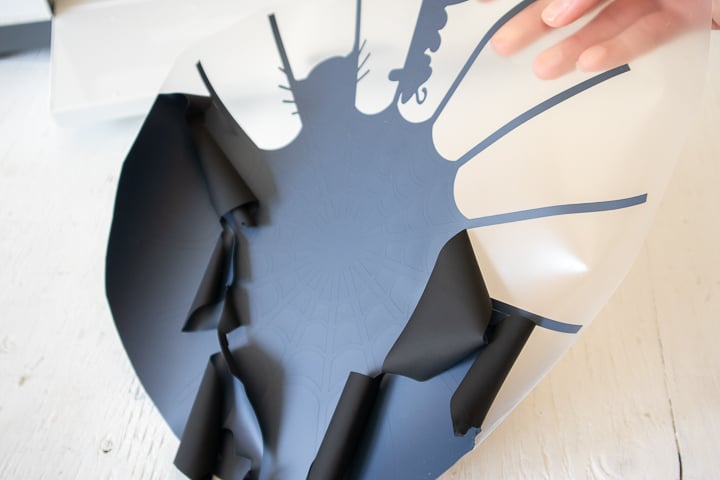
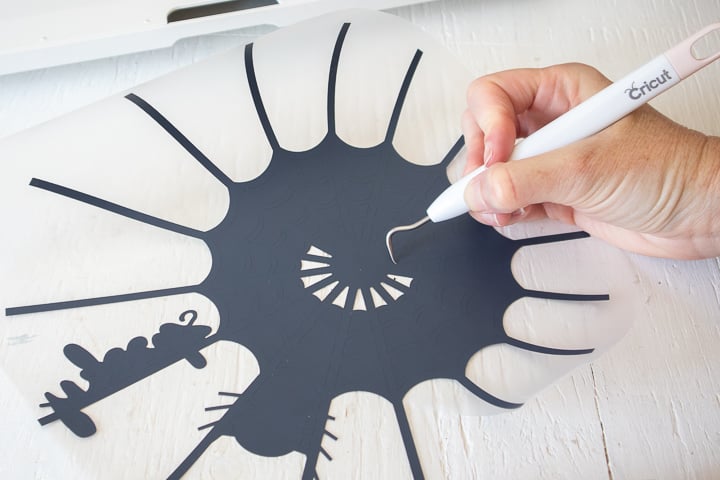
Remove the Everyday Iron-On Vinyl from the mat.
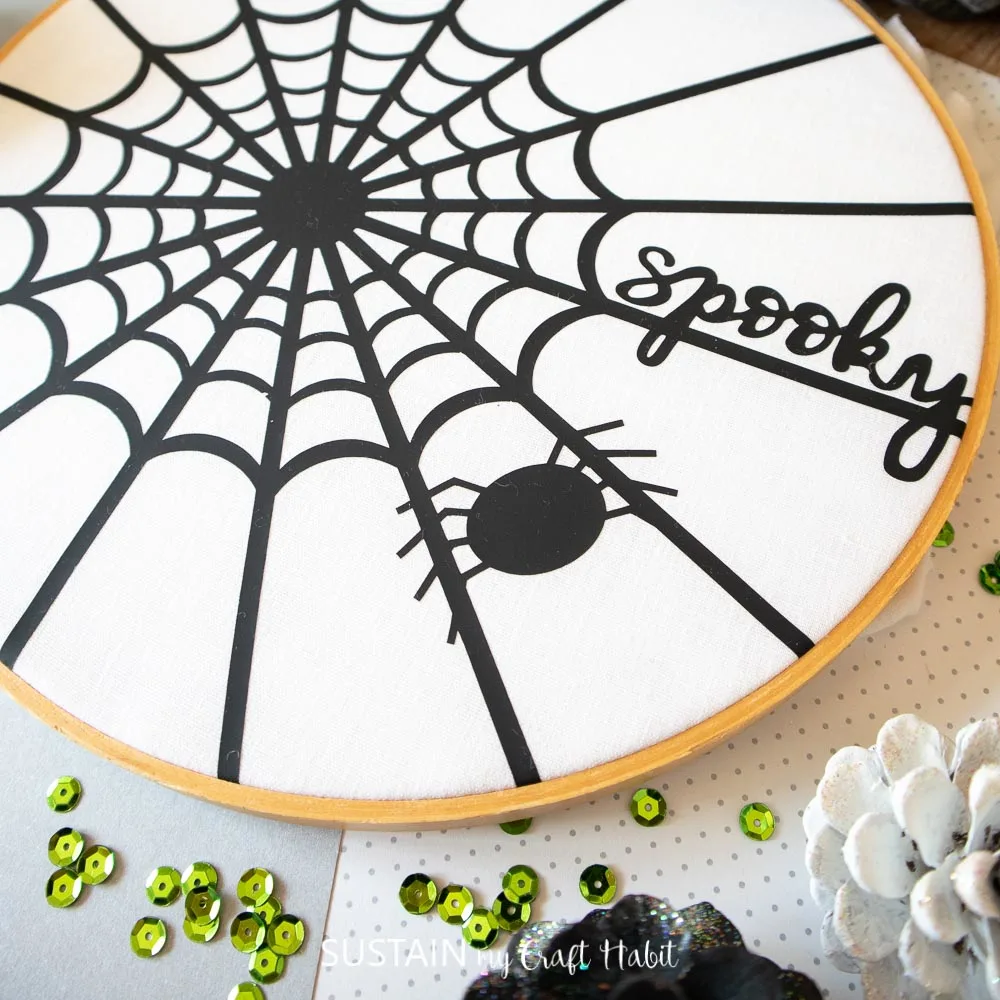
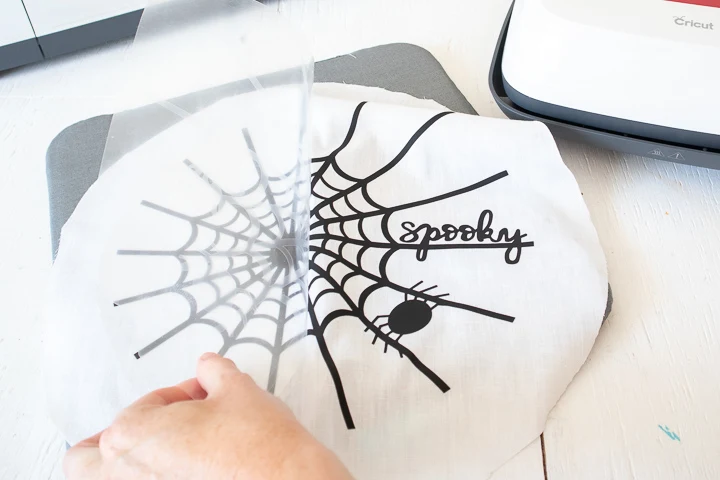
Using a weeding tool, peel away the excess vinyl leaving only the spider web image.
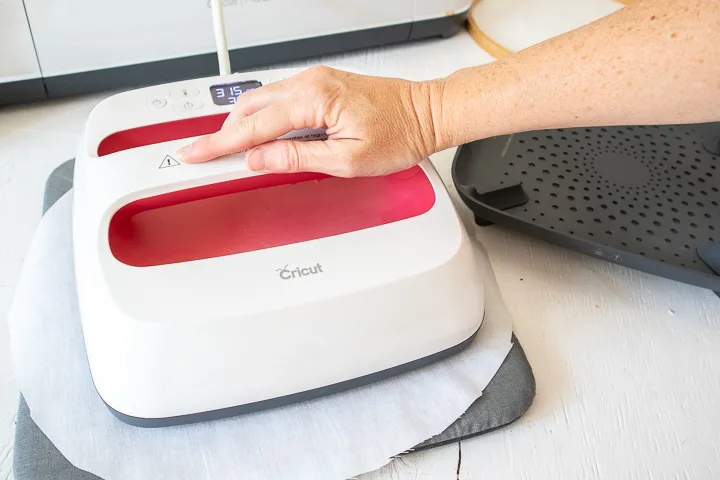
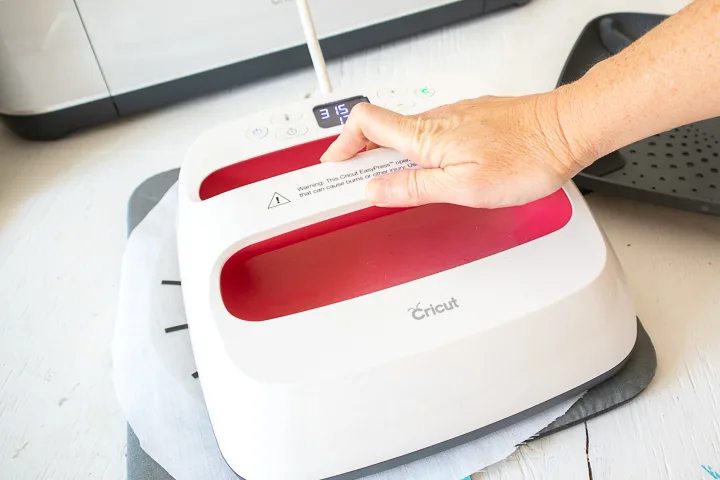
In our case, we set the EasyPress 2 to 315F for 100% cotton fabric.
Preheat the fabric (the cut circle shape) for 5 seconds to get rid of any wrinkles.

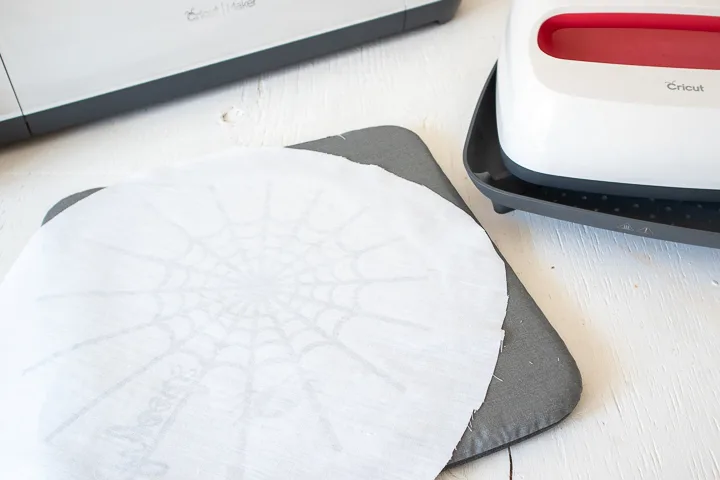
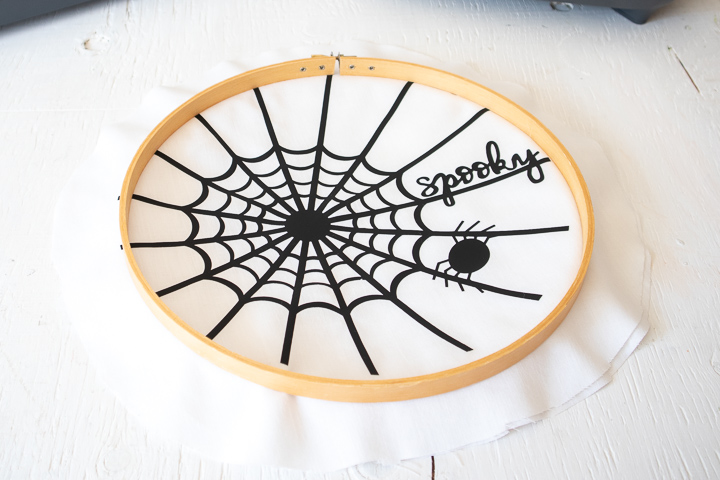
Place the cut image on the fabric with the shiny side up, centering it in the middle.
Press the image on to the fabric for 30 seconds with light pressure.
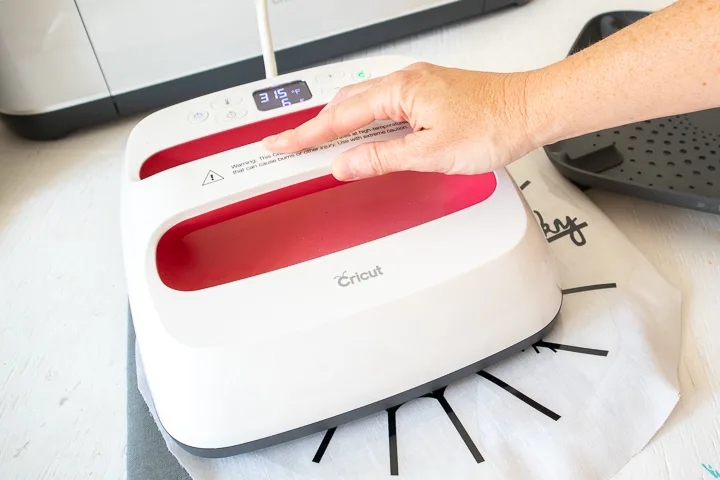
Turn the fabric upside down and apply heat for another 15 seconds with light pressure.
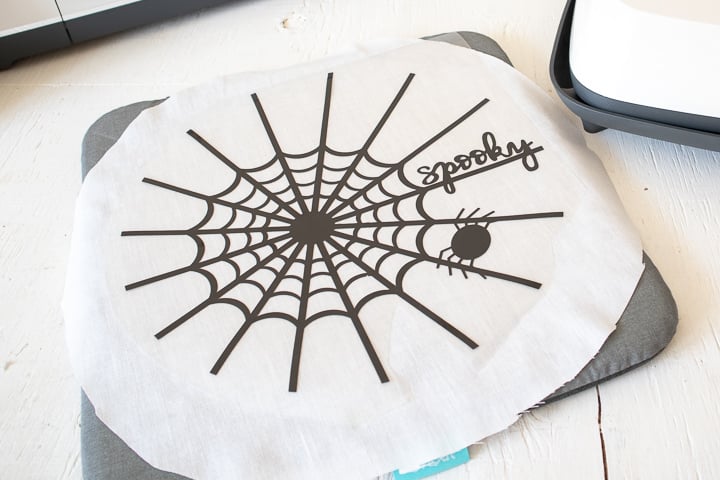
Peel the plastic part of the vinyl off carefully once it cools down and discard the plastic portion.
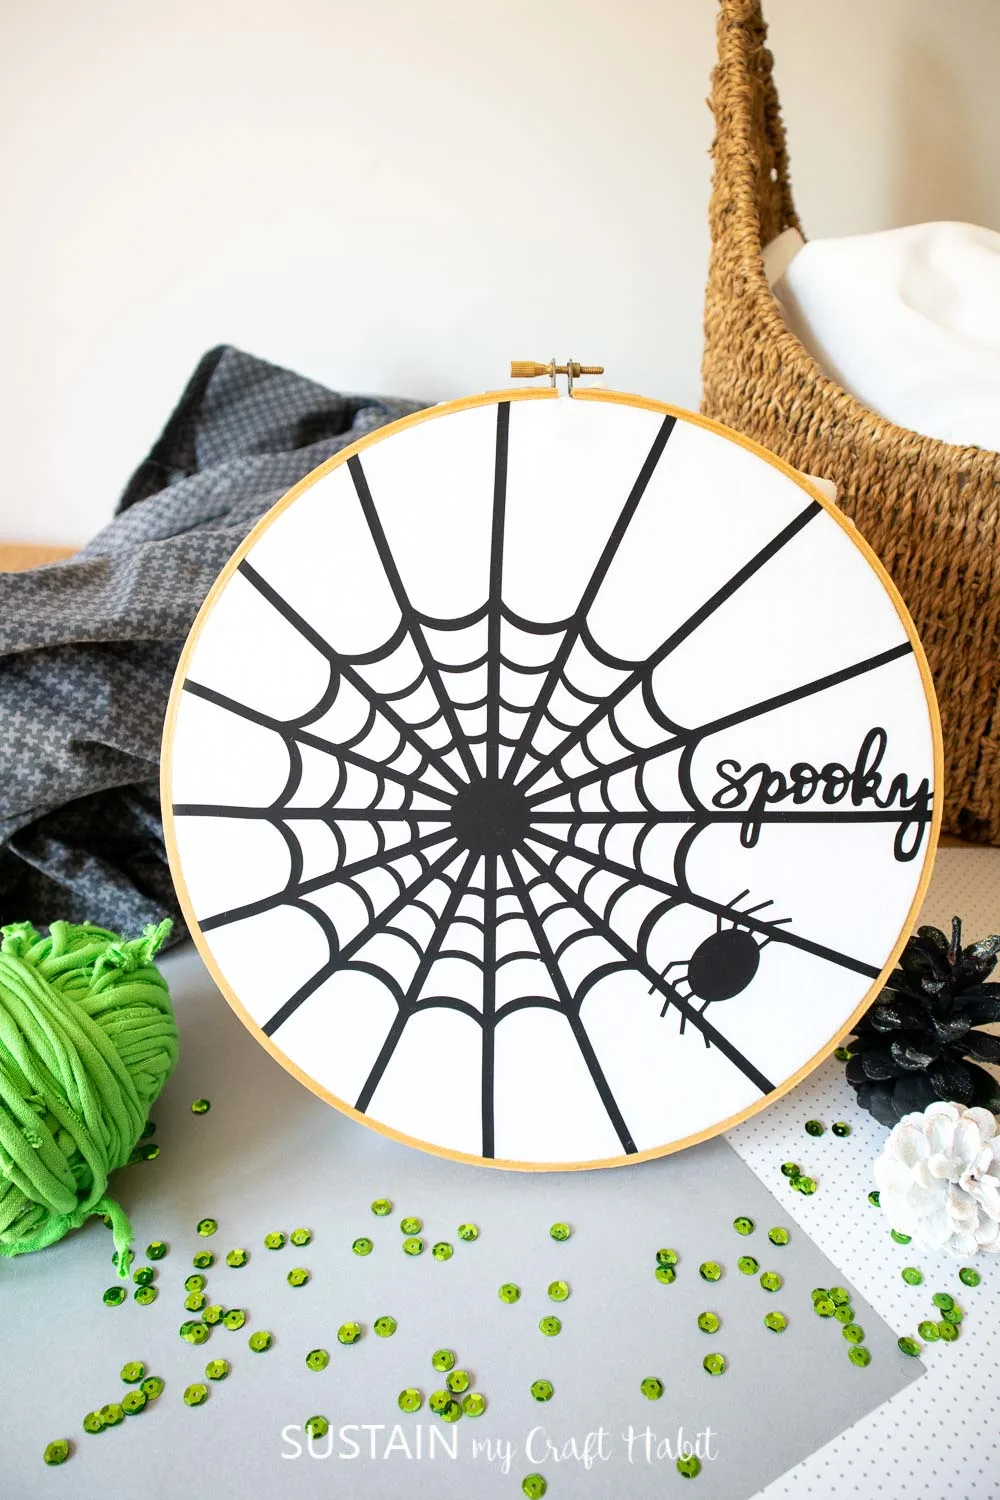
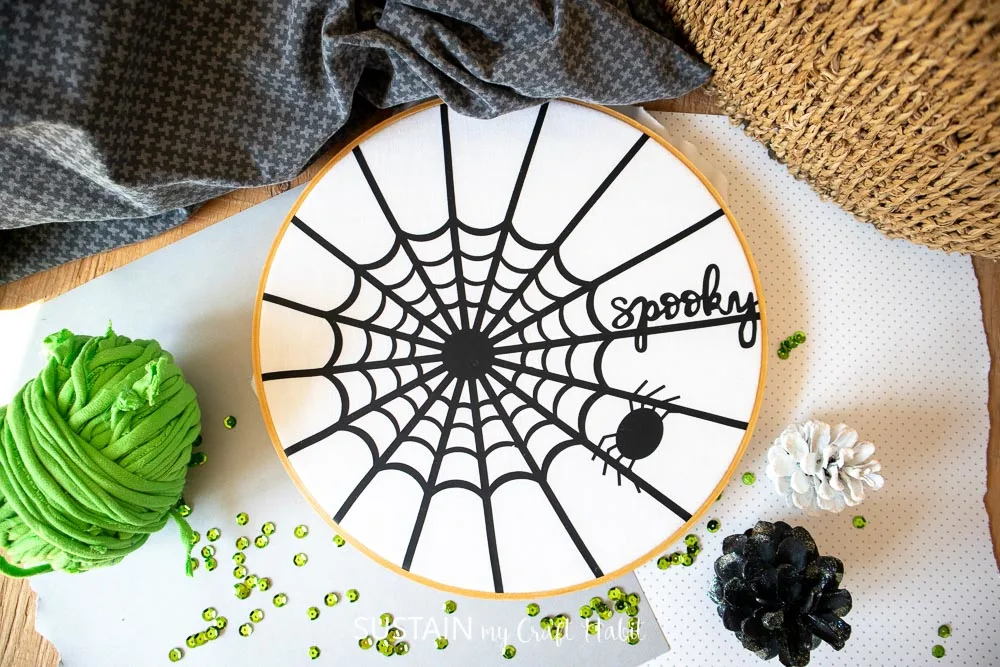
Trim away the excess fabric and tuck the fabric behind the embroidery hoop.
Hang to enjoy this Halloween!
Spiderweb Watercolor Art
Cant get enough crafting for Halloween?
Weve got you covered with these fun (and non-spooky) project ideas:
Like it?
Pin it for later!
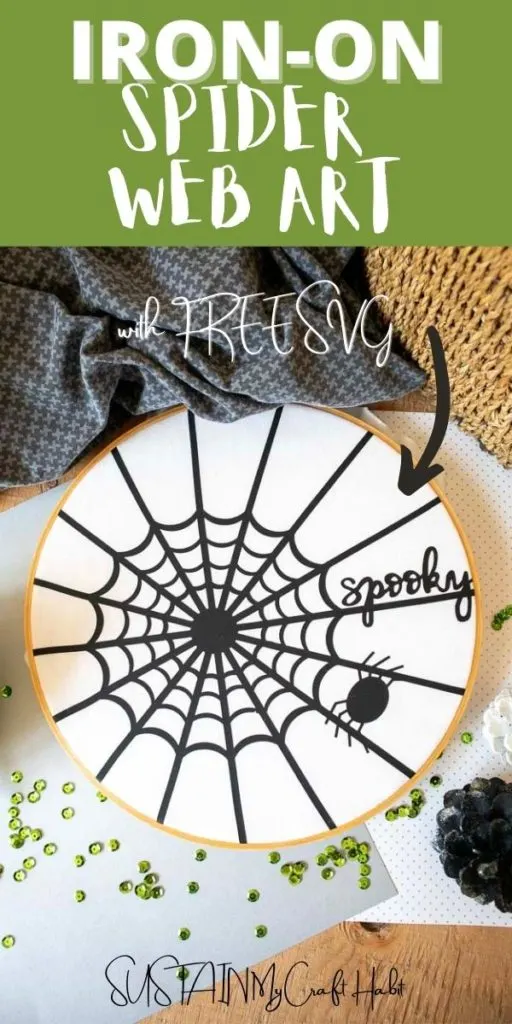
Iron On Spider Web Art with Free SVG
Materials
Instructions

Spiderweb Watercolor Pendant
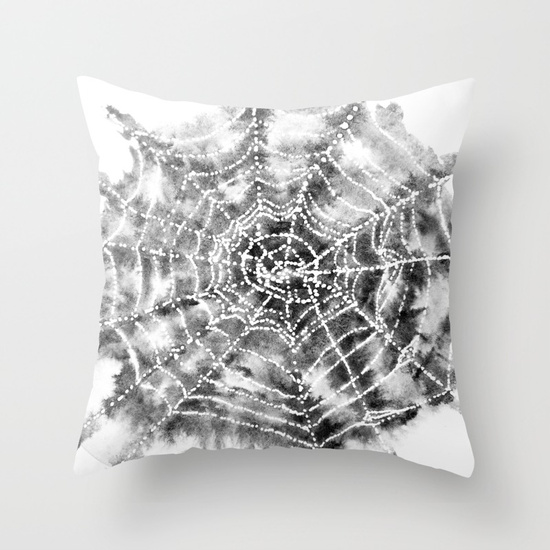
Spiderweb Watercolor Throw Pillow
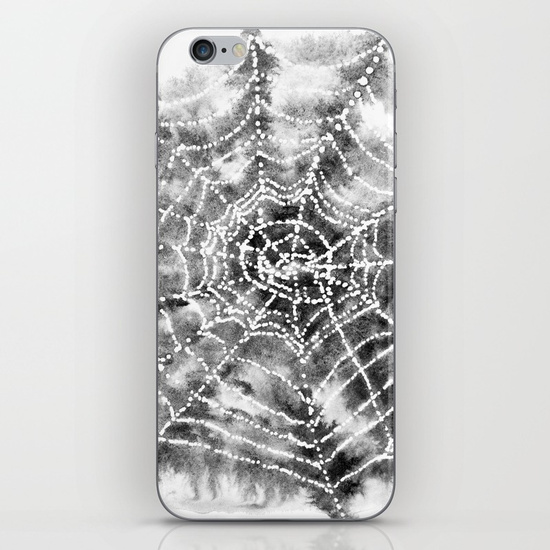
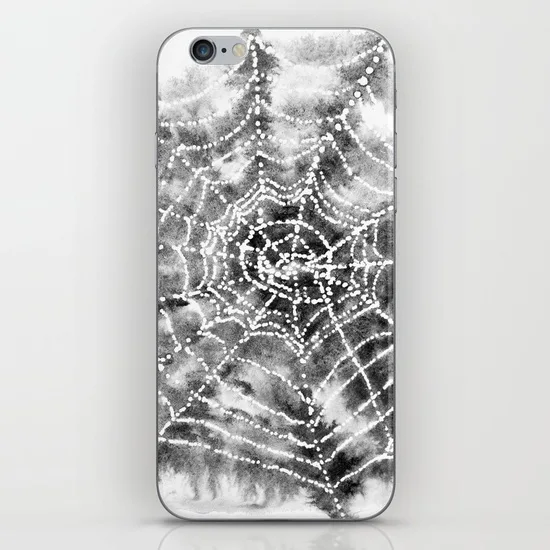
Spiderweb Watercolor Phone Case


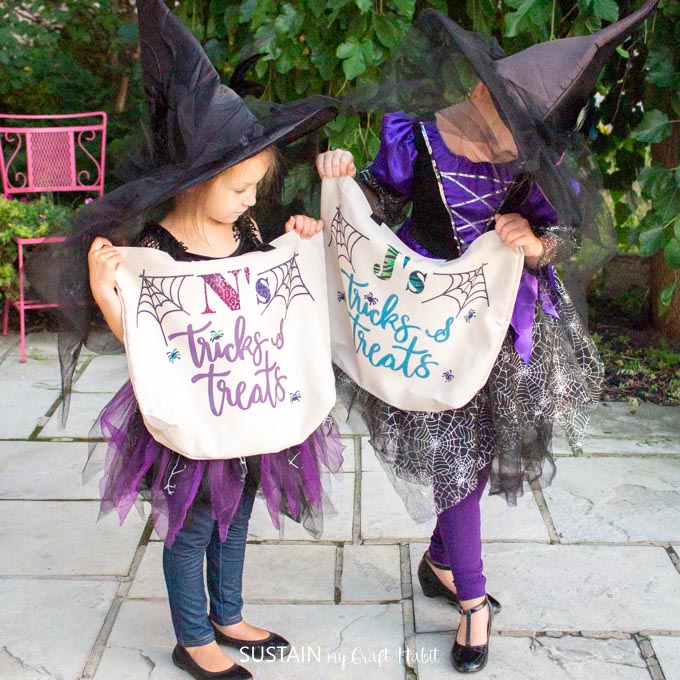
DIY Trick or Treat Bags

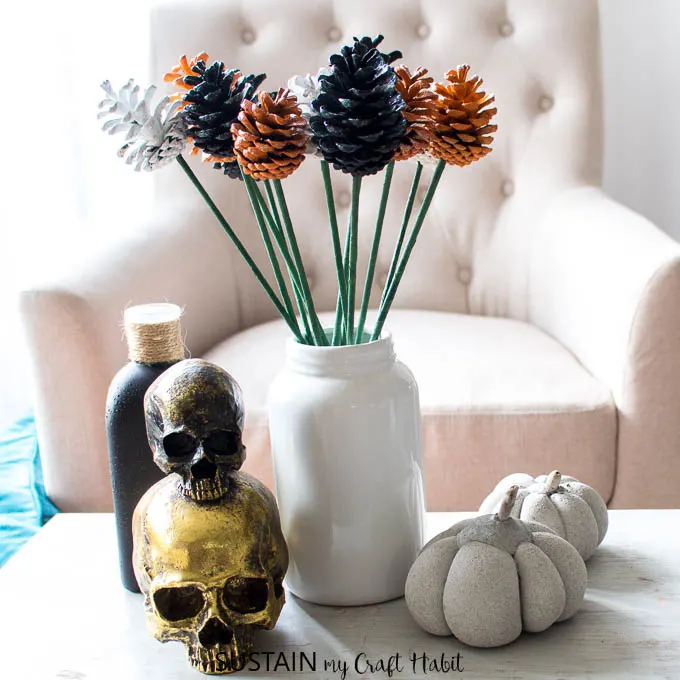
Halloween Pine Cone Flowers
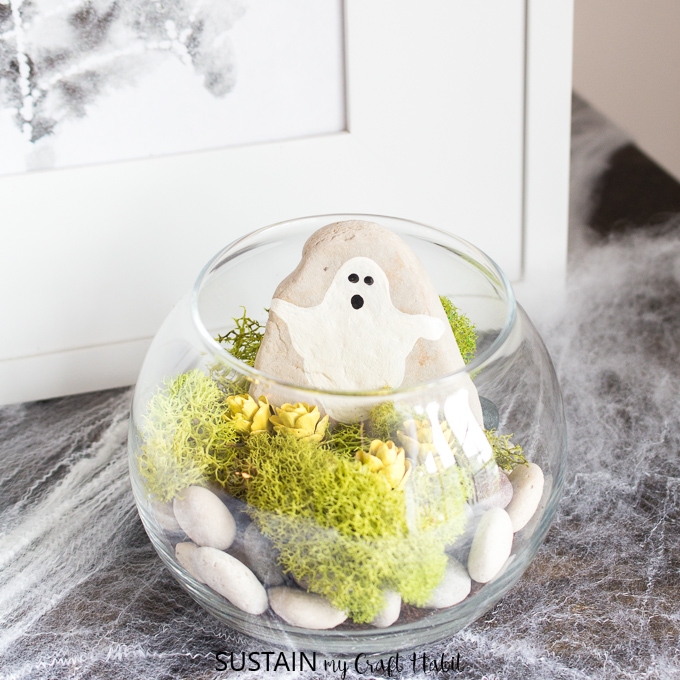
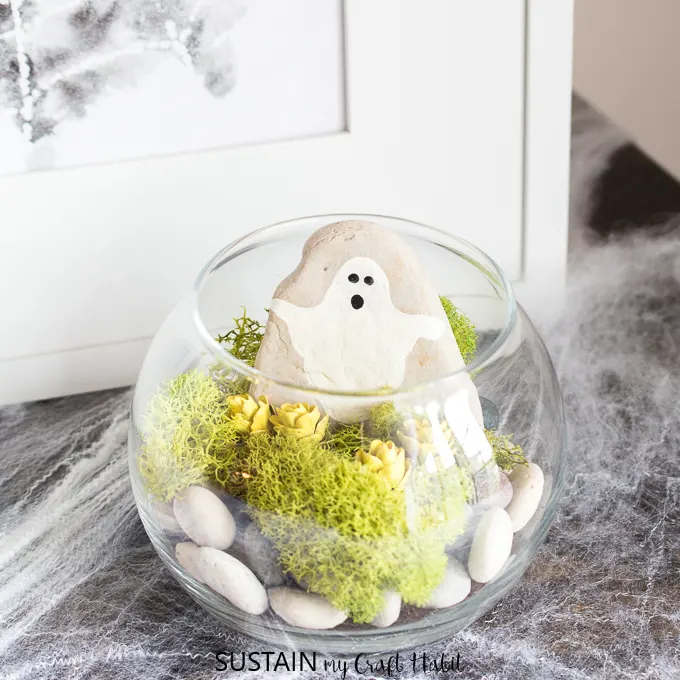
Cutest Halloween Terrrium

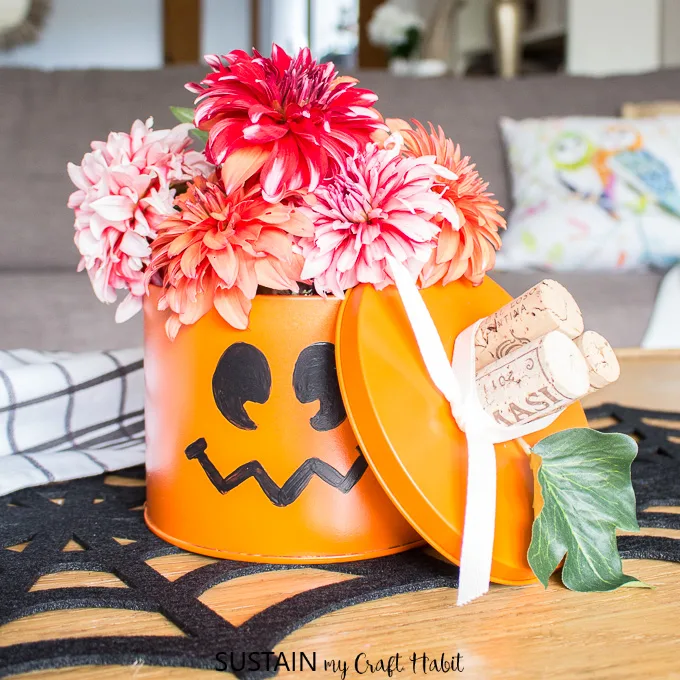
Upcycled Candy Tin Pumpkin Decor