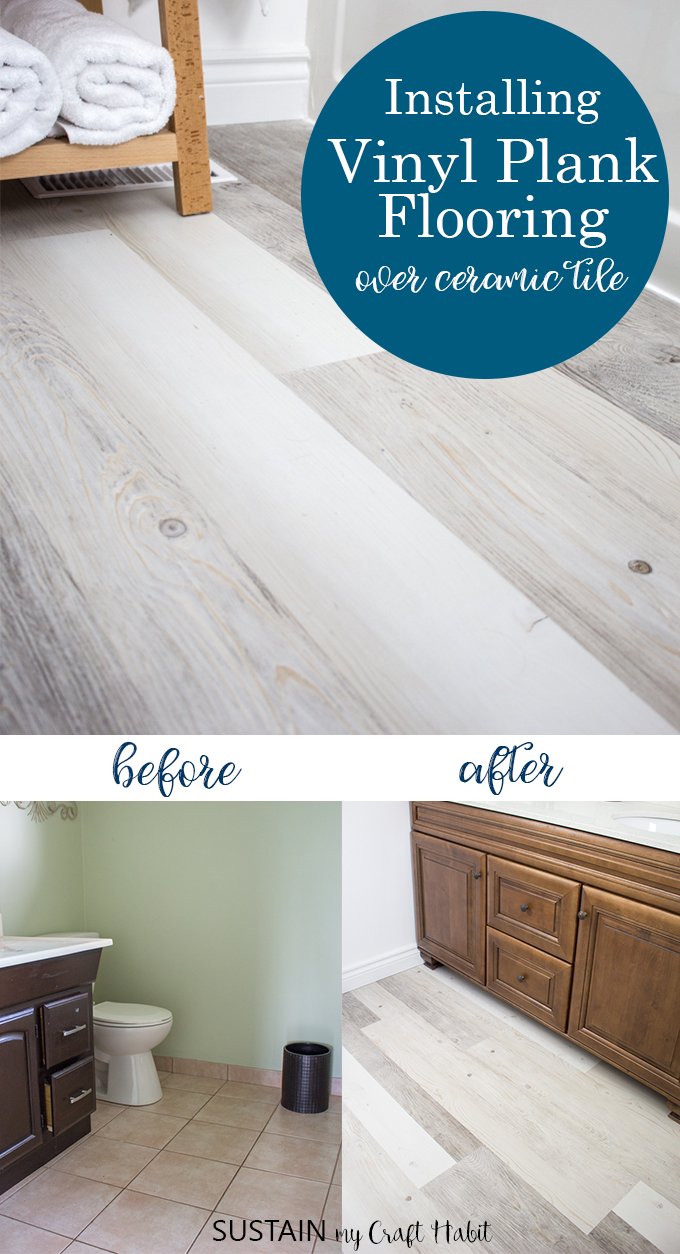
HomeInstalling Vinyl Plank Flooring: Lifeproof Waterproof Rigid Core
Are you considering flooring options for your next renovation?
Heres our experience ofinstalling Lifeproof vinyl plank flooringover ceramic tiles for our bathroom renovation.
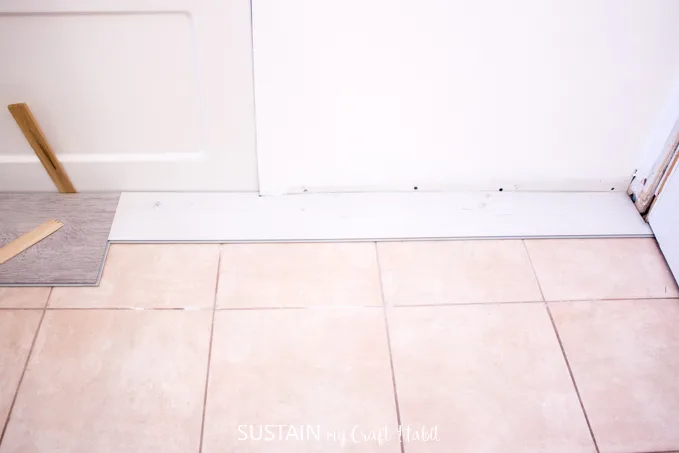
Lifeproof Flooring Installation over Existing Ceramic Tile
Yes, thats right, OVER existing ceramic tile.

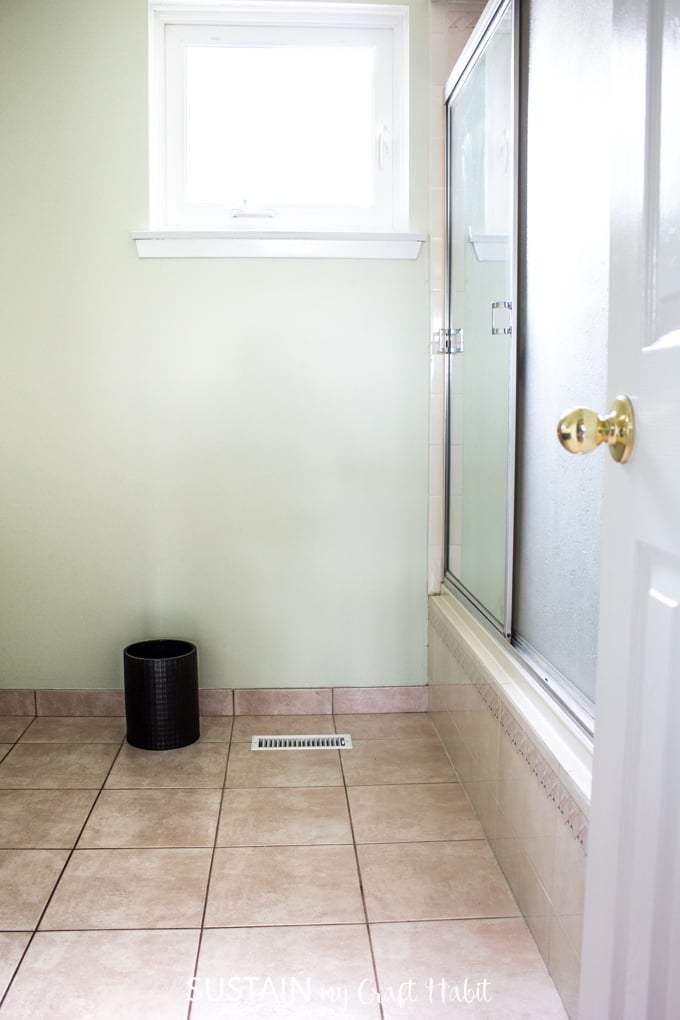
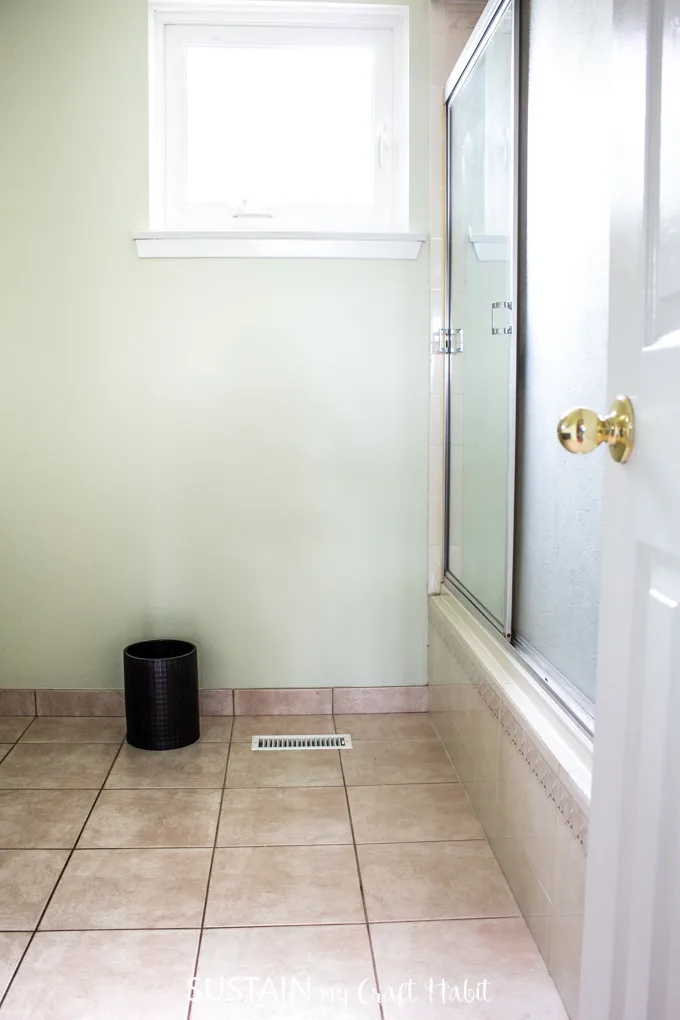
The “Before”
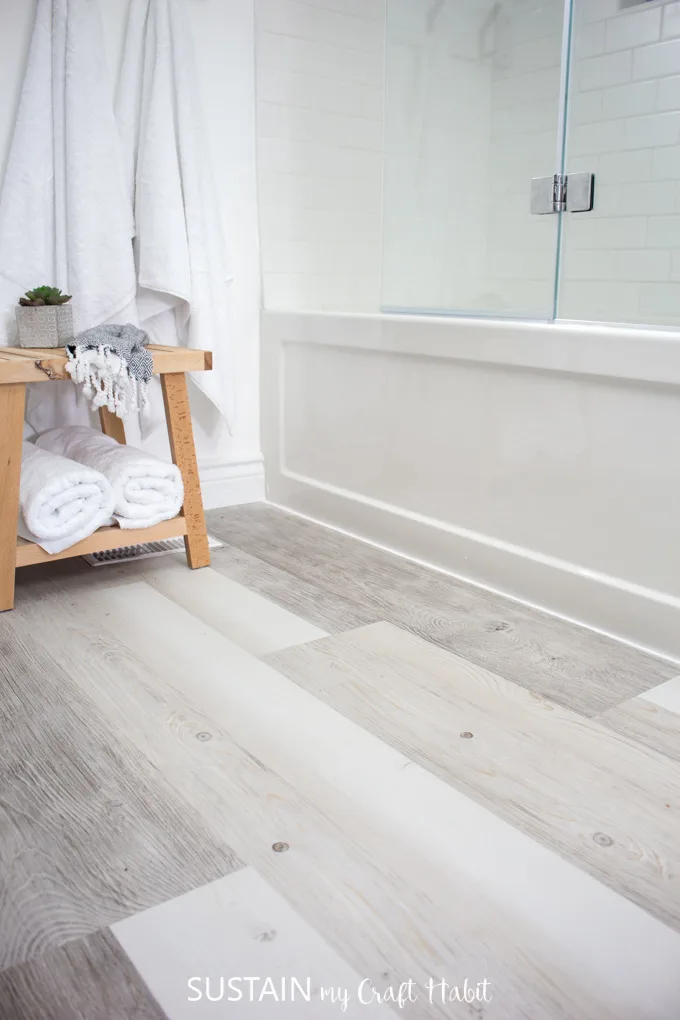
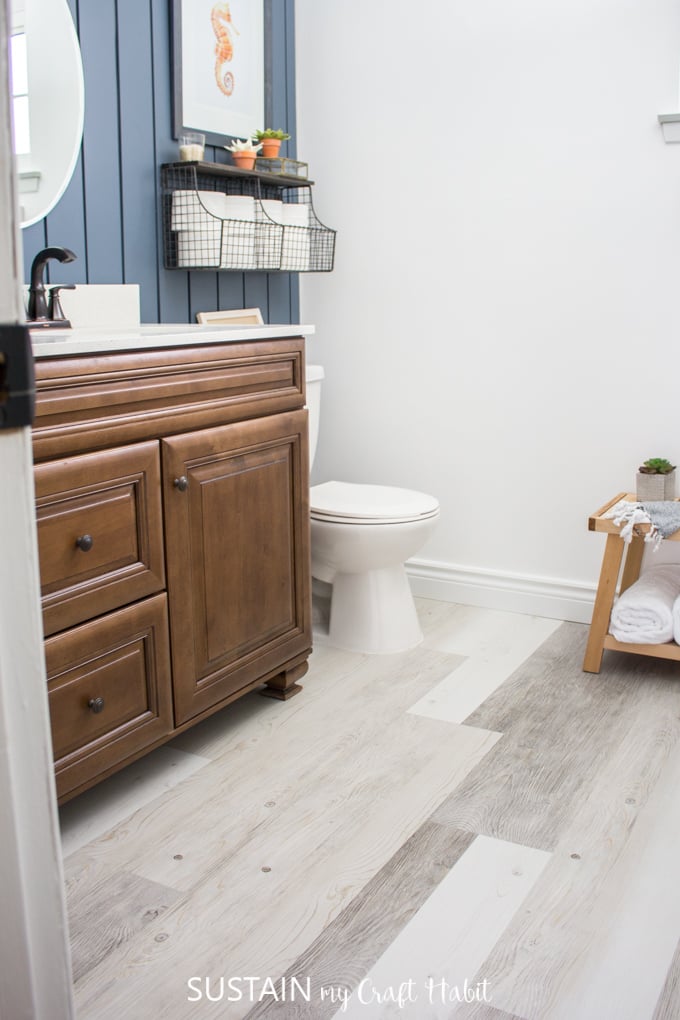
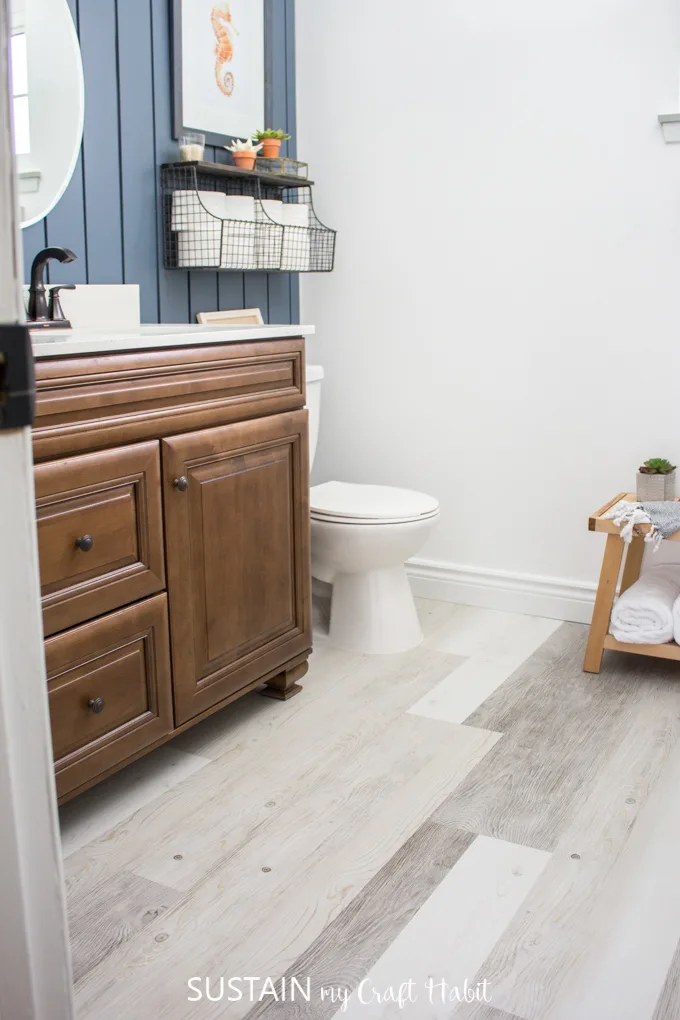
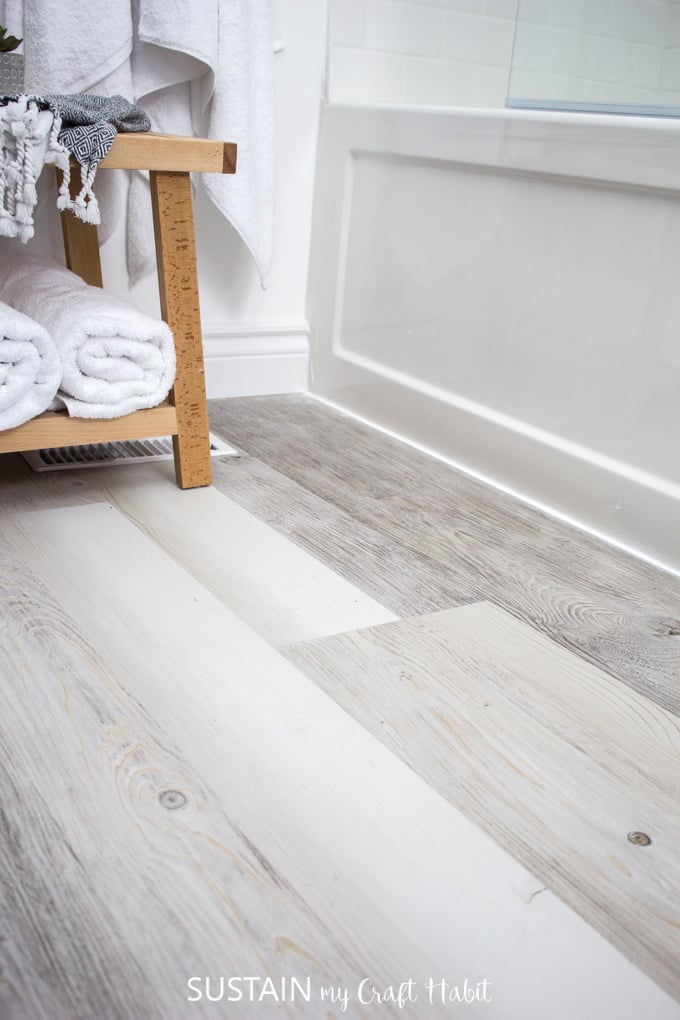
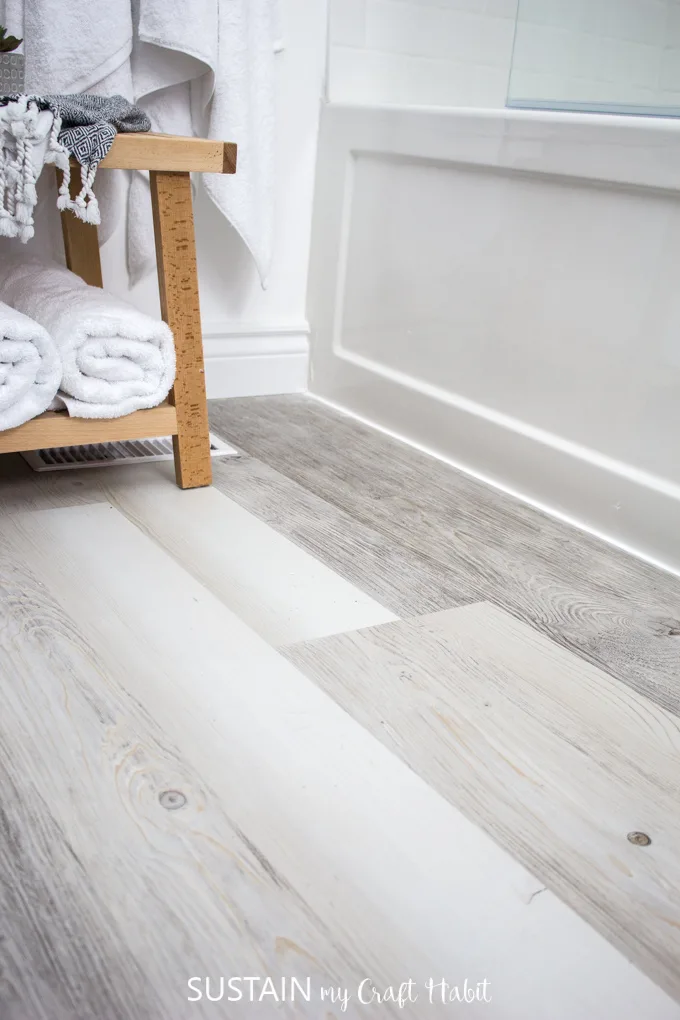
We couldnt be happier with the look and quality of our finished new flooring.
Just imagining the demolition with all its mess, dust, noise and back breaking work made me anxious.
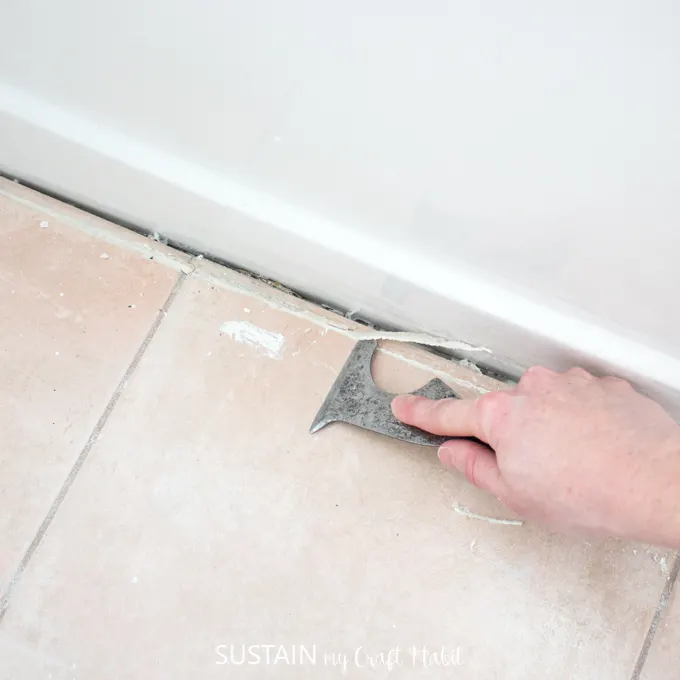
TIP: Ensure your floor is completely free of debris before starting to lay the vinyl planks.

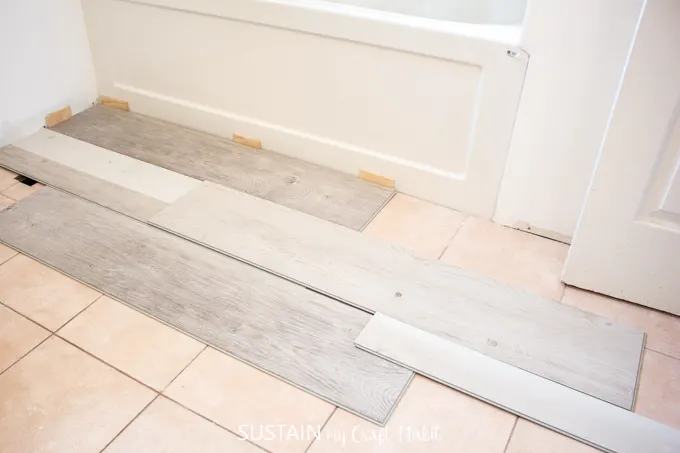
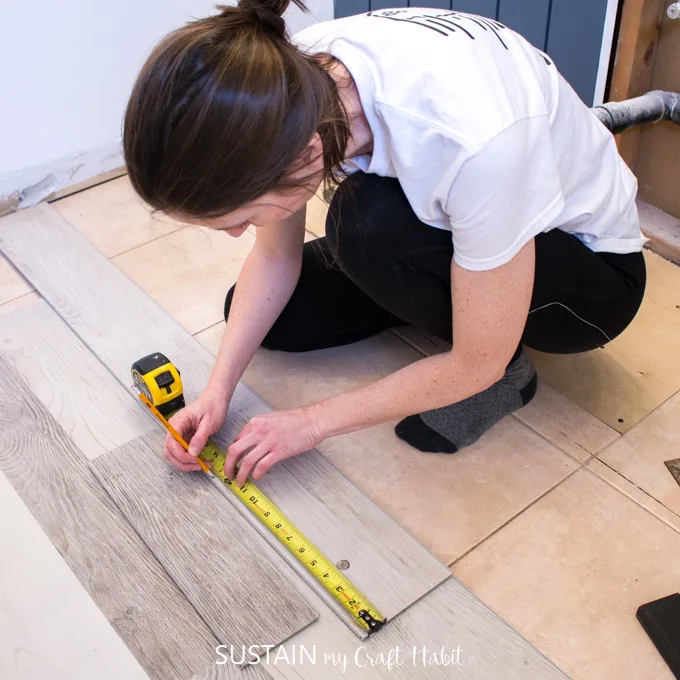
With these multi width planks, we took extra time to figure out the pattern and layout we wanted.
TIP: Unpackage several boxes of the vinyl planks and plan out your pattern before installing the flooring.
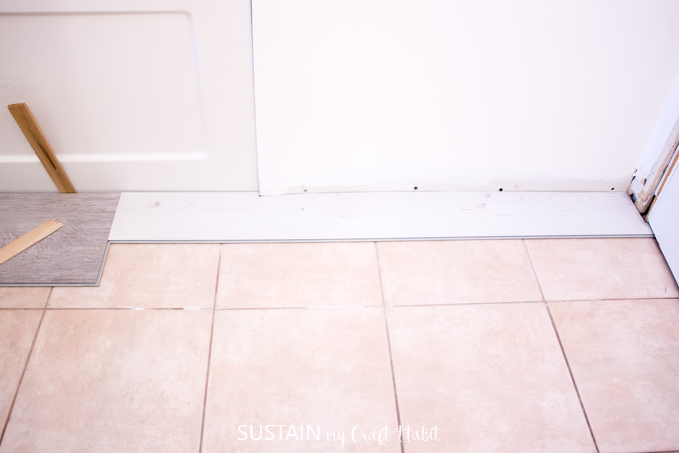
We used several pieces of paper to create a template for cutting.
Instead we found using a jigsaw to cut out the excess vinyl worked best for us.
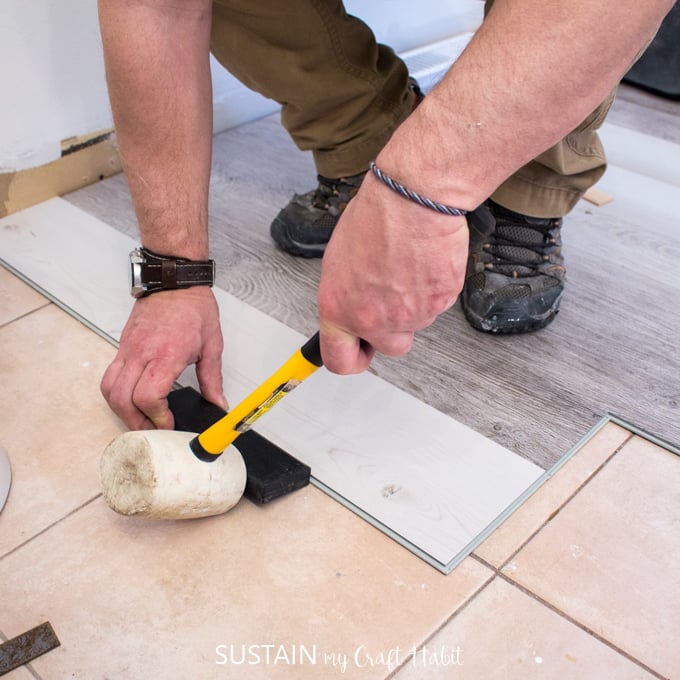
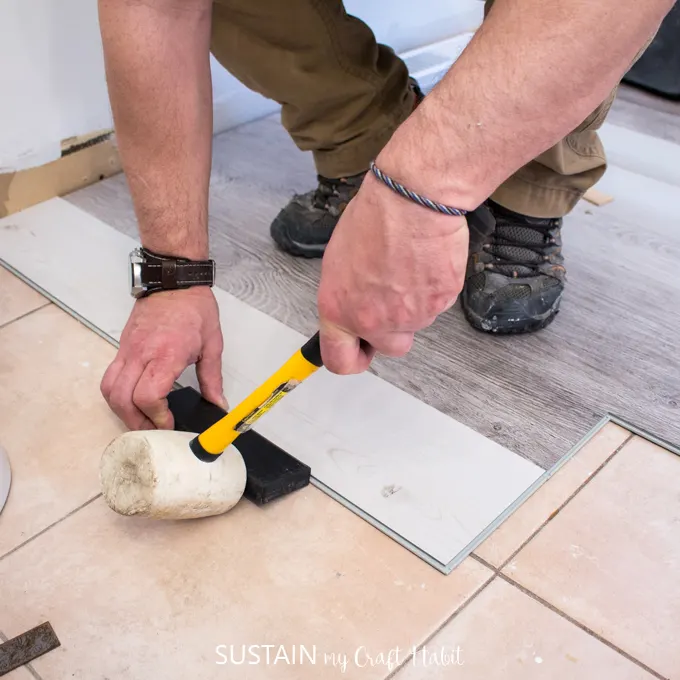
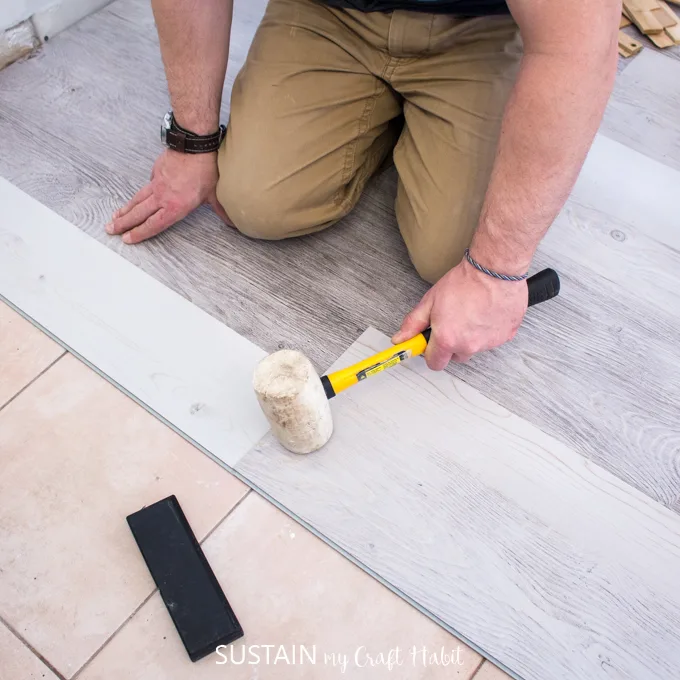
The actual installation of the Lifeproof vinyl flooring was quick when there werent too many cuts needed.
Throughout the installation, we measured and marked the cut lines working one row at a time.
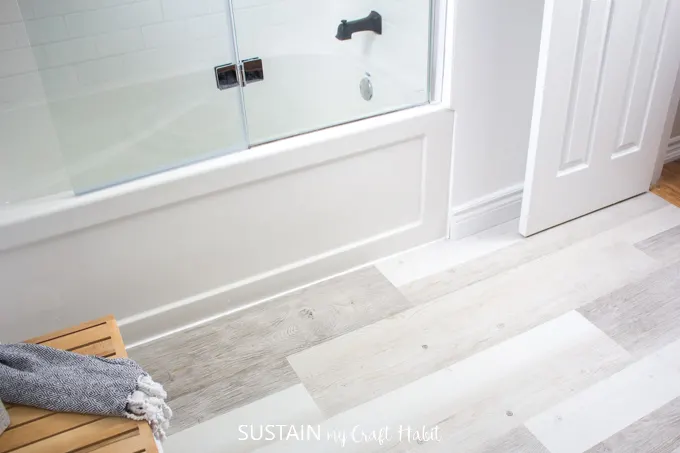
Afterwards we filled the gaps around the toilet (and bathtub) using a kitchen and bath adhesive caulking.
TIP: Create templates with paper to help with cutting around more complicated areas.
This renovation was full of DIY projects: you might check out ourfinal cozy contemporary bathroom makeover revealhere.

We cant wait to share that with you soon!
We hope this tutorial will help you should you chose to install vinyl flooring.
Or do you have any experience with installing vinyl plank flooring to share?

Pin it for Later!
The “Before”

The “After”