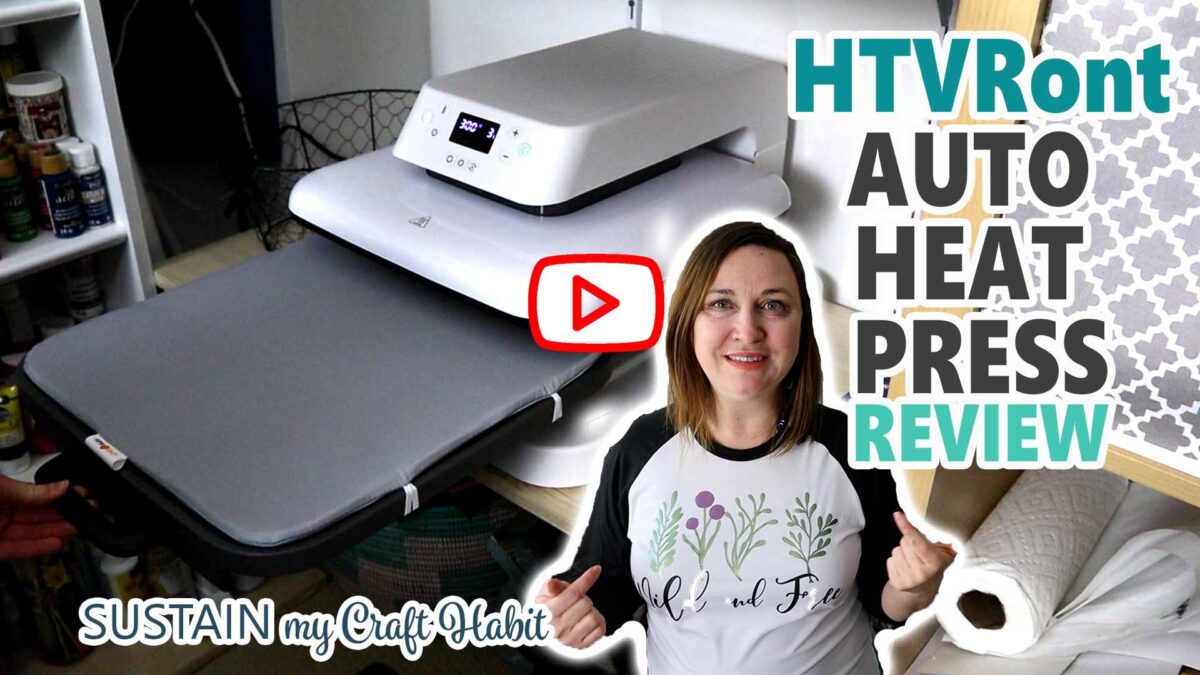
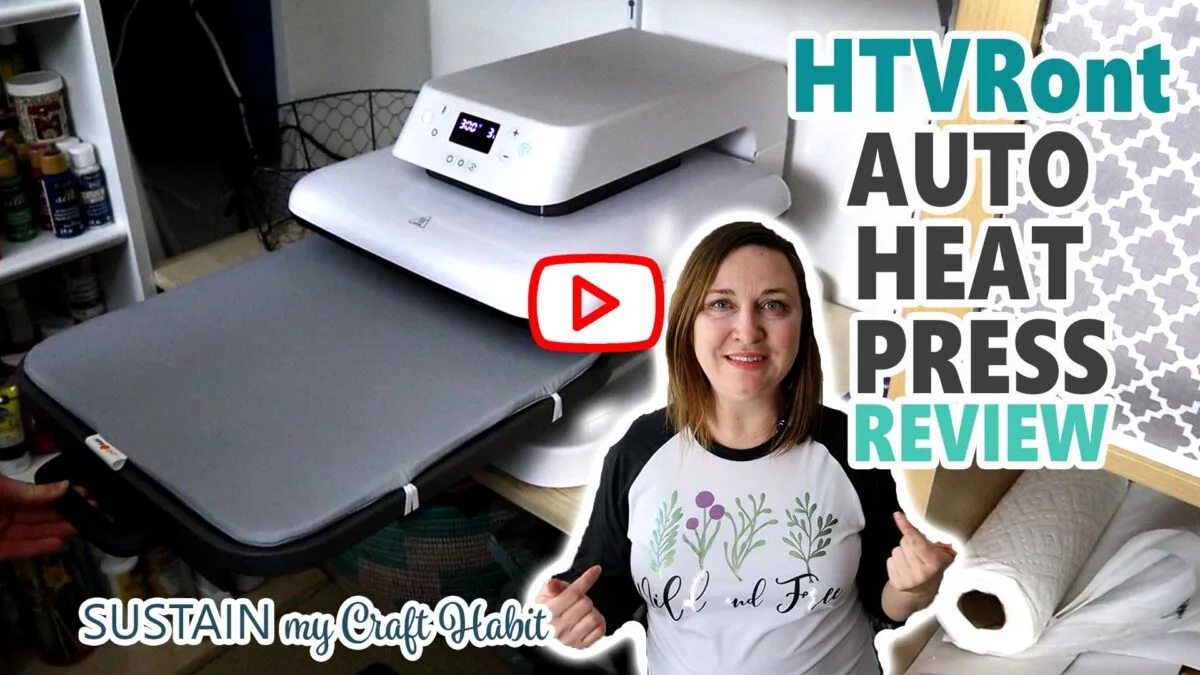
HomeArts and Crafts IdeasHTVRONT Auto Heat Press Review (with First Project!)
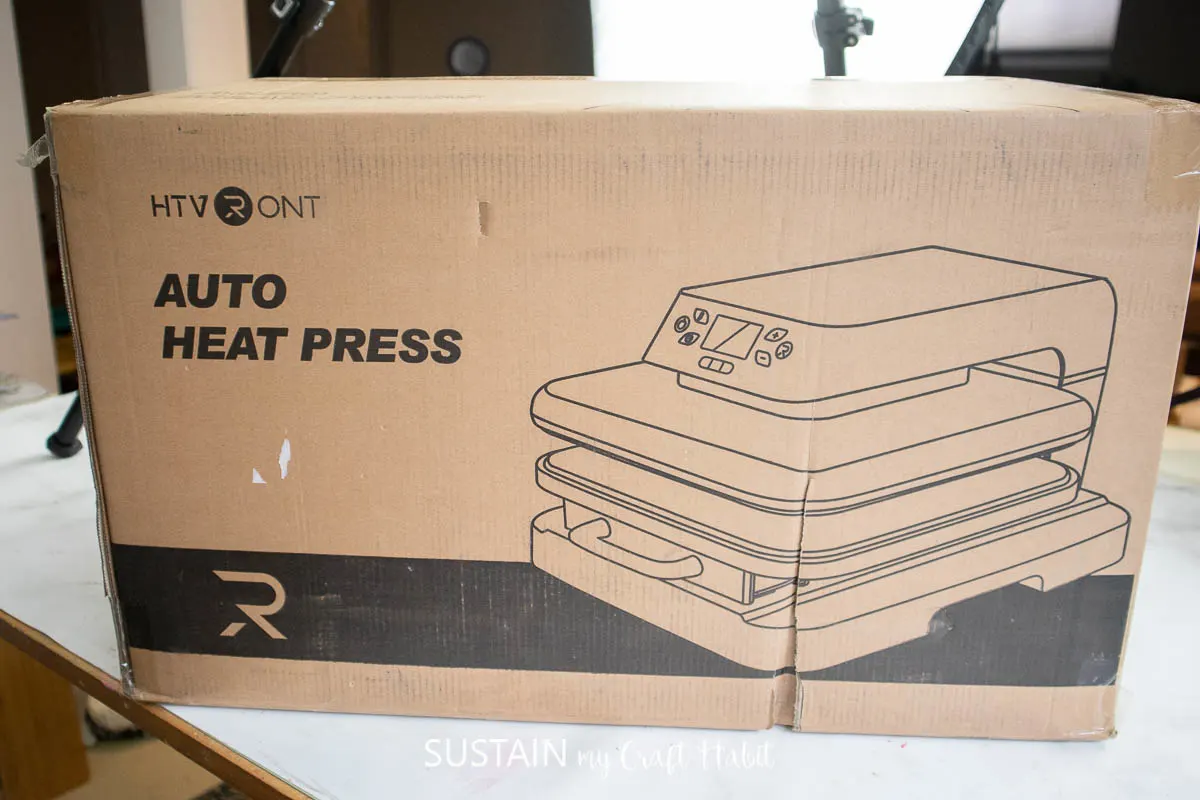
We recently got our hands on the new HTVRONT Auto Heat Press and were excited to try it out!
All opinions are our own.

In this post well show you:
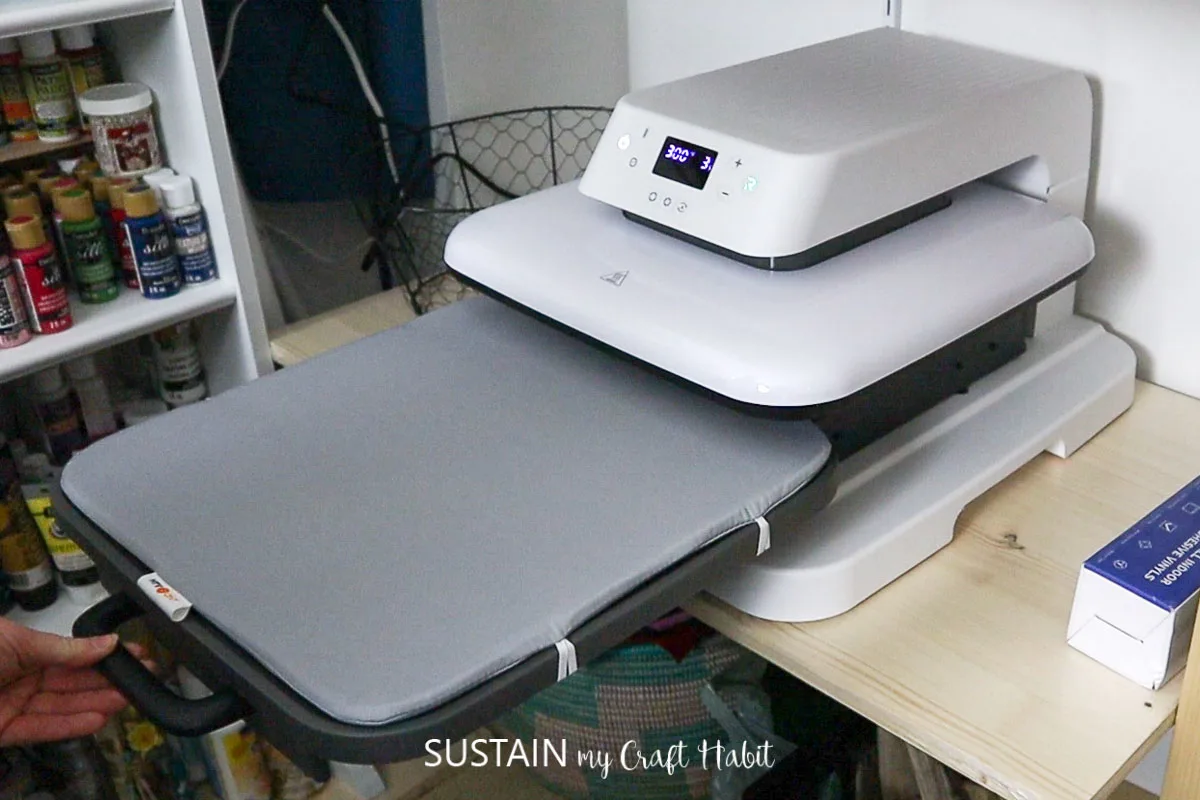
What is an Auto Heat Press?
What else do you’re gonna wanna use with the HTVRONT Auto Heat Press?
How do you use the HTVRONT Auto Heat Press?

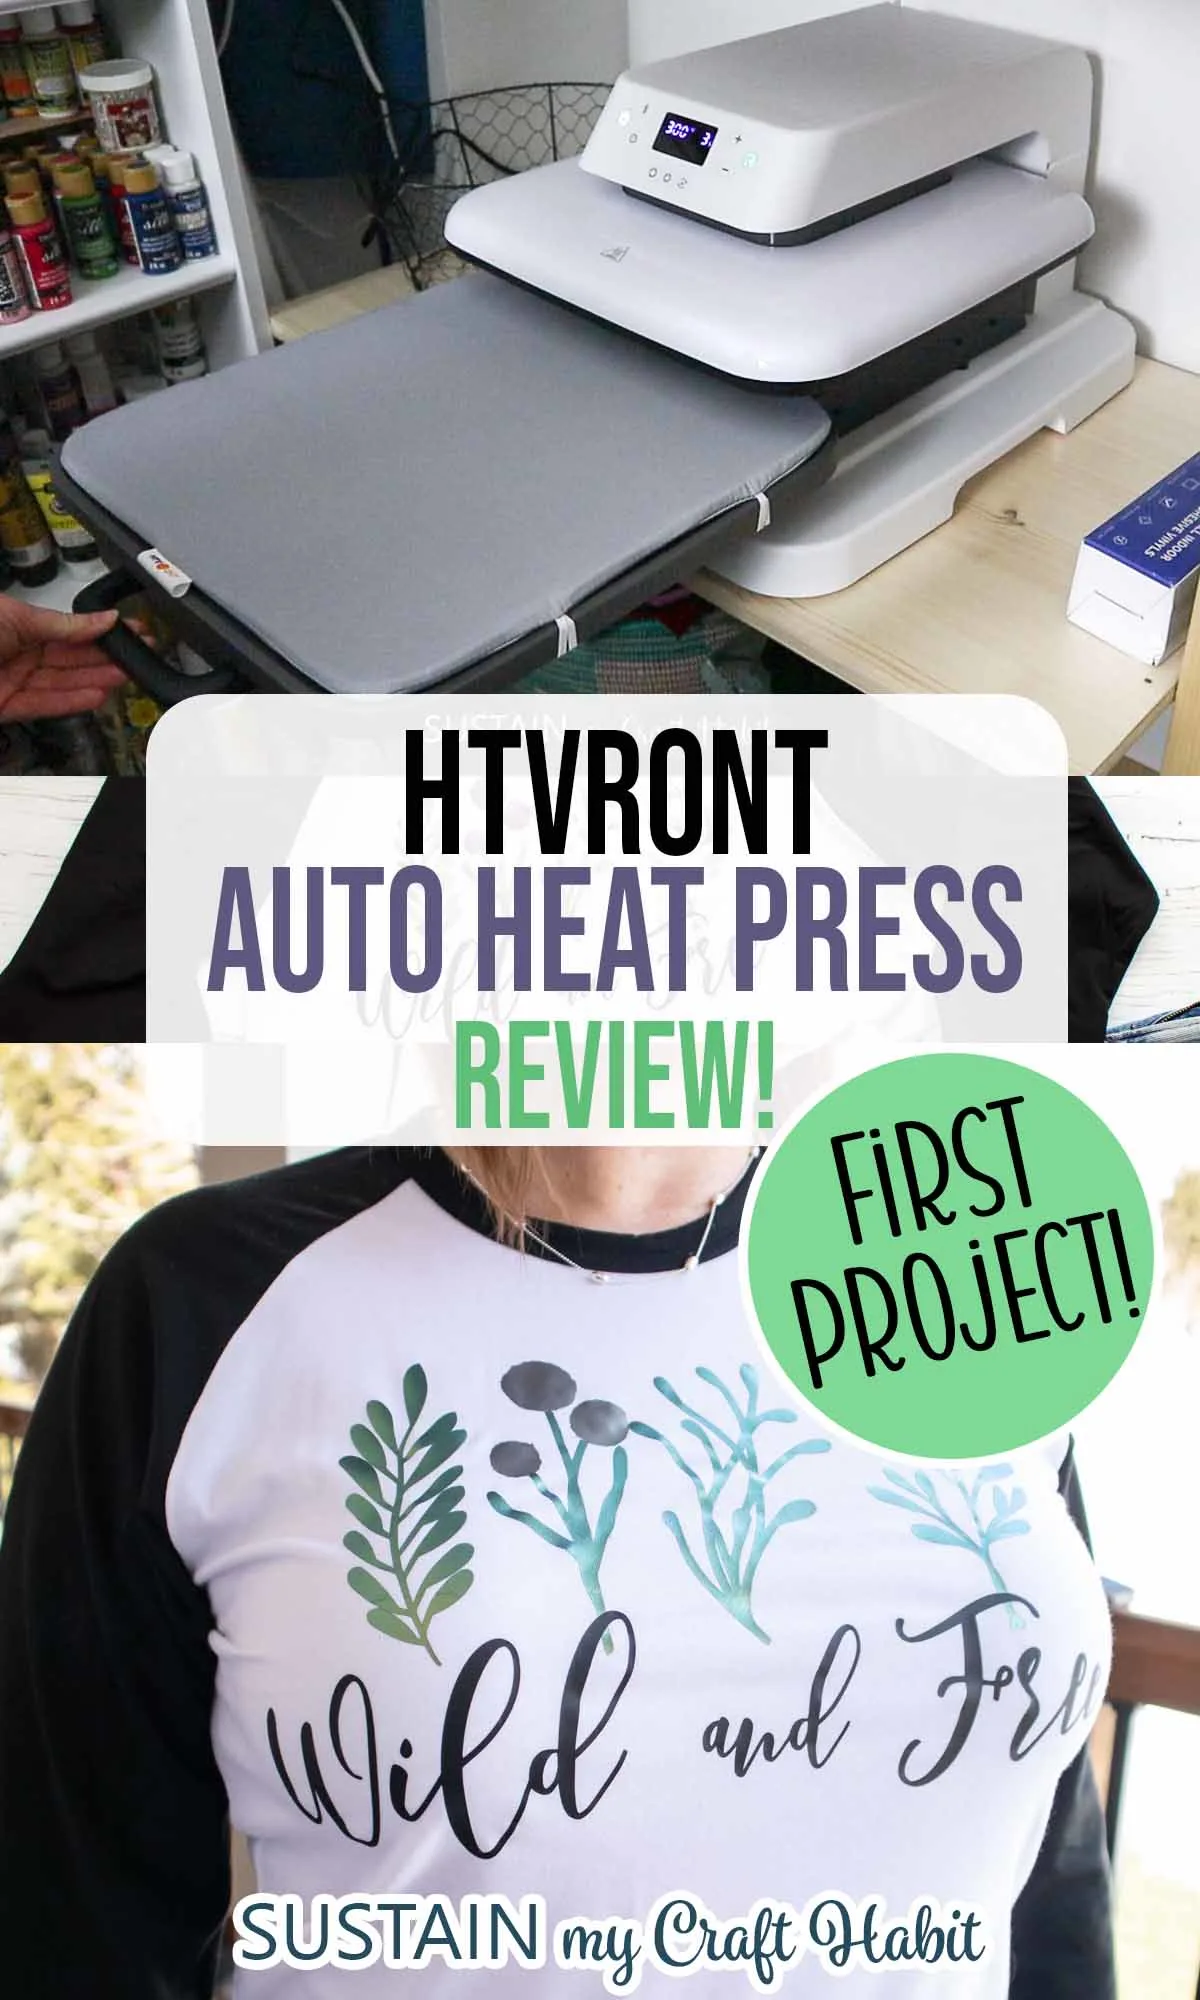
The HTVRONT Auto Heat Press is easy to use.
You simply power on the machine and set the temperature and duration based on your HTV materials recommended tweaks.
Then, place your surface of choice on the slide-in mat and push start.
The heat press will automatically apply the right pressure and temperature for the set time and then release.
you could also check outour YouTube videowhich demonstrates the process.
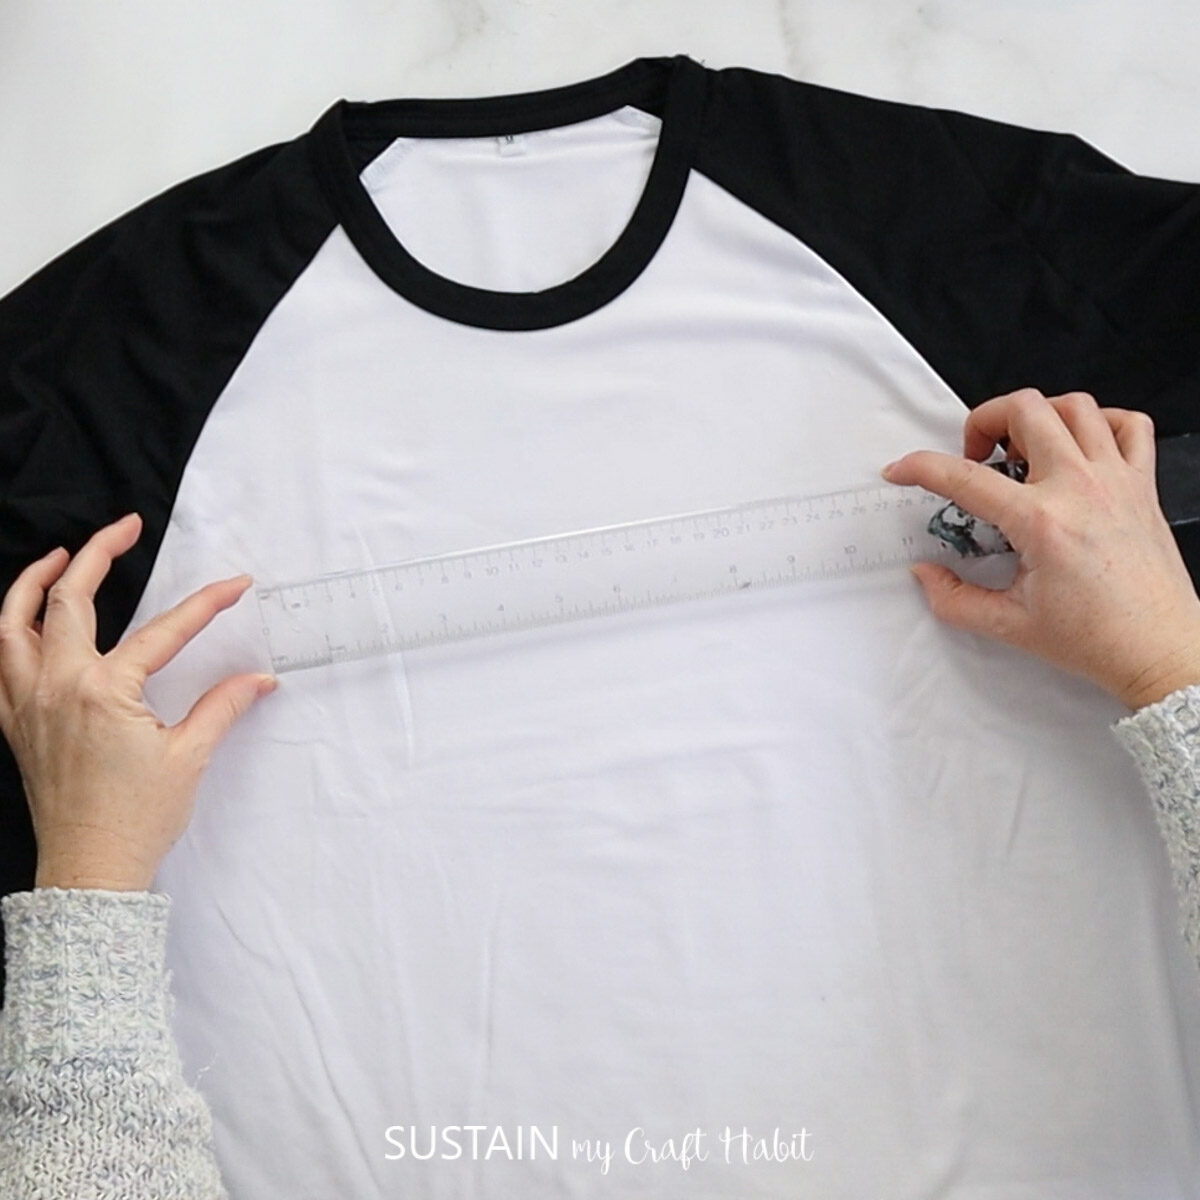
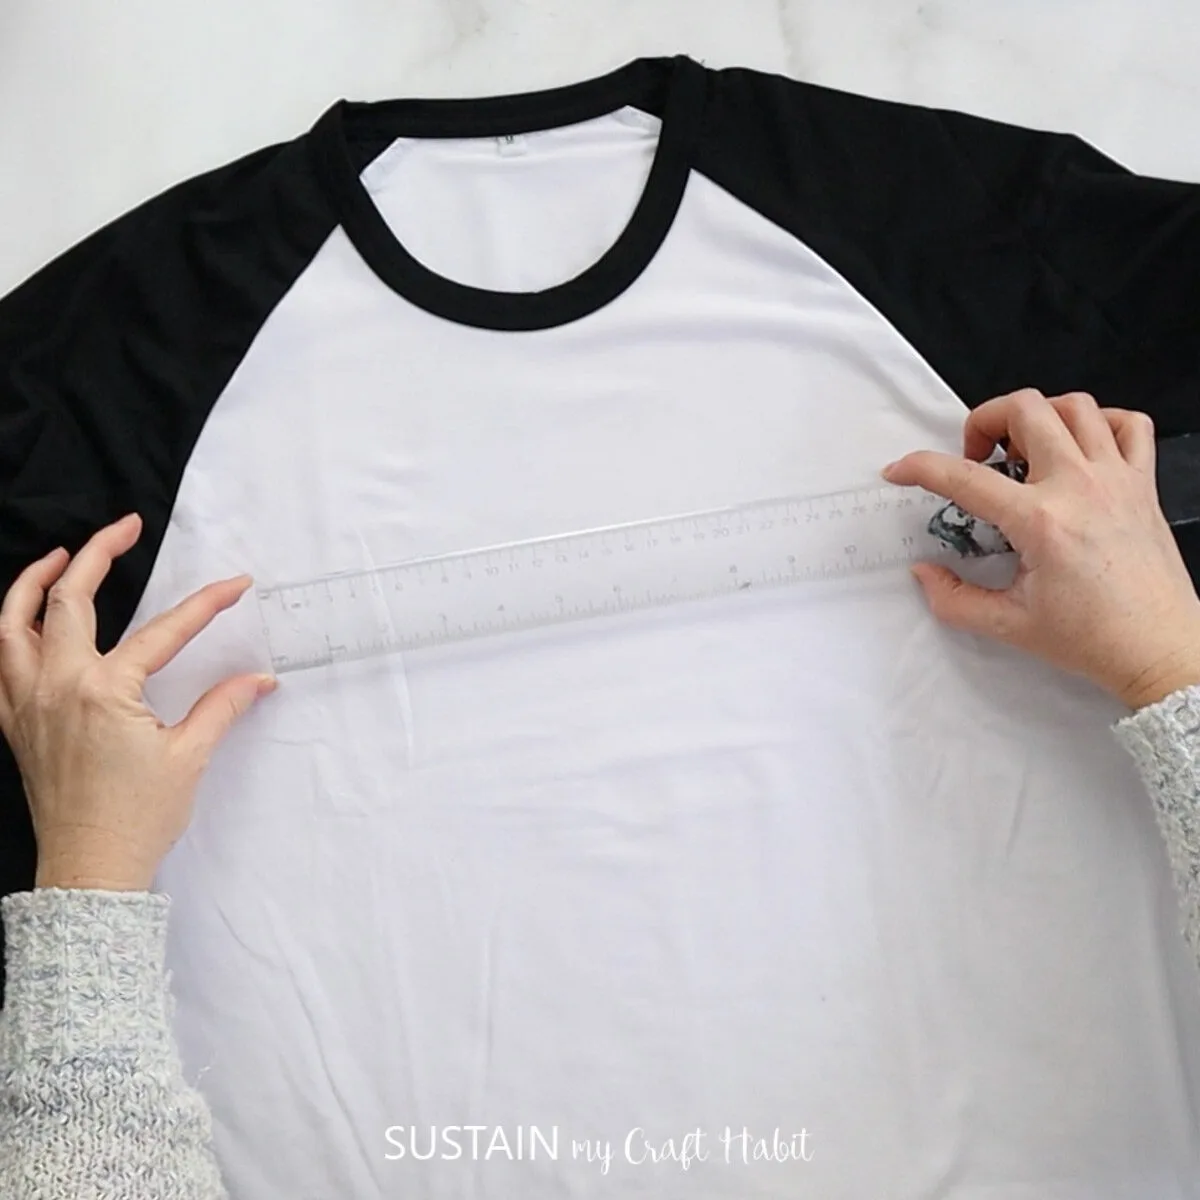
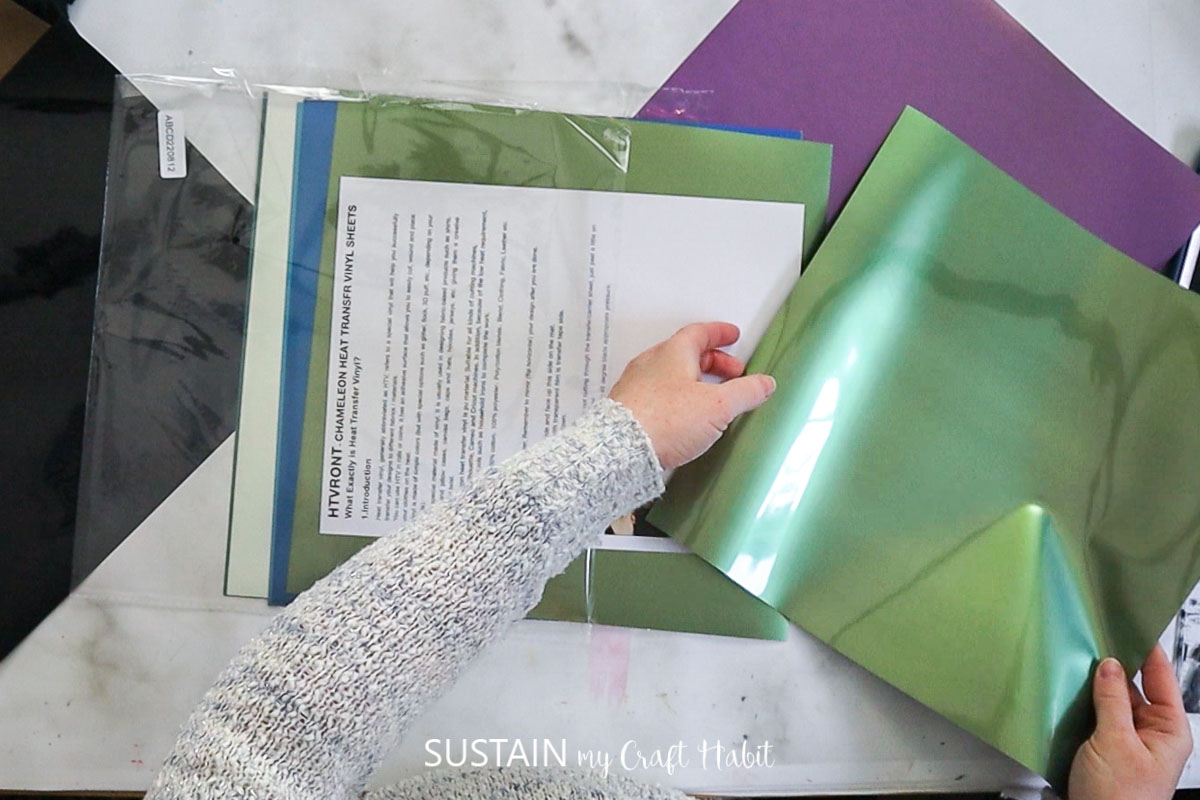
I measured the width of the design that I wanted on the shirt and adjusted the image accordingly.

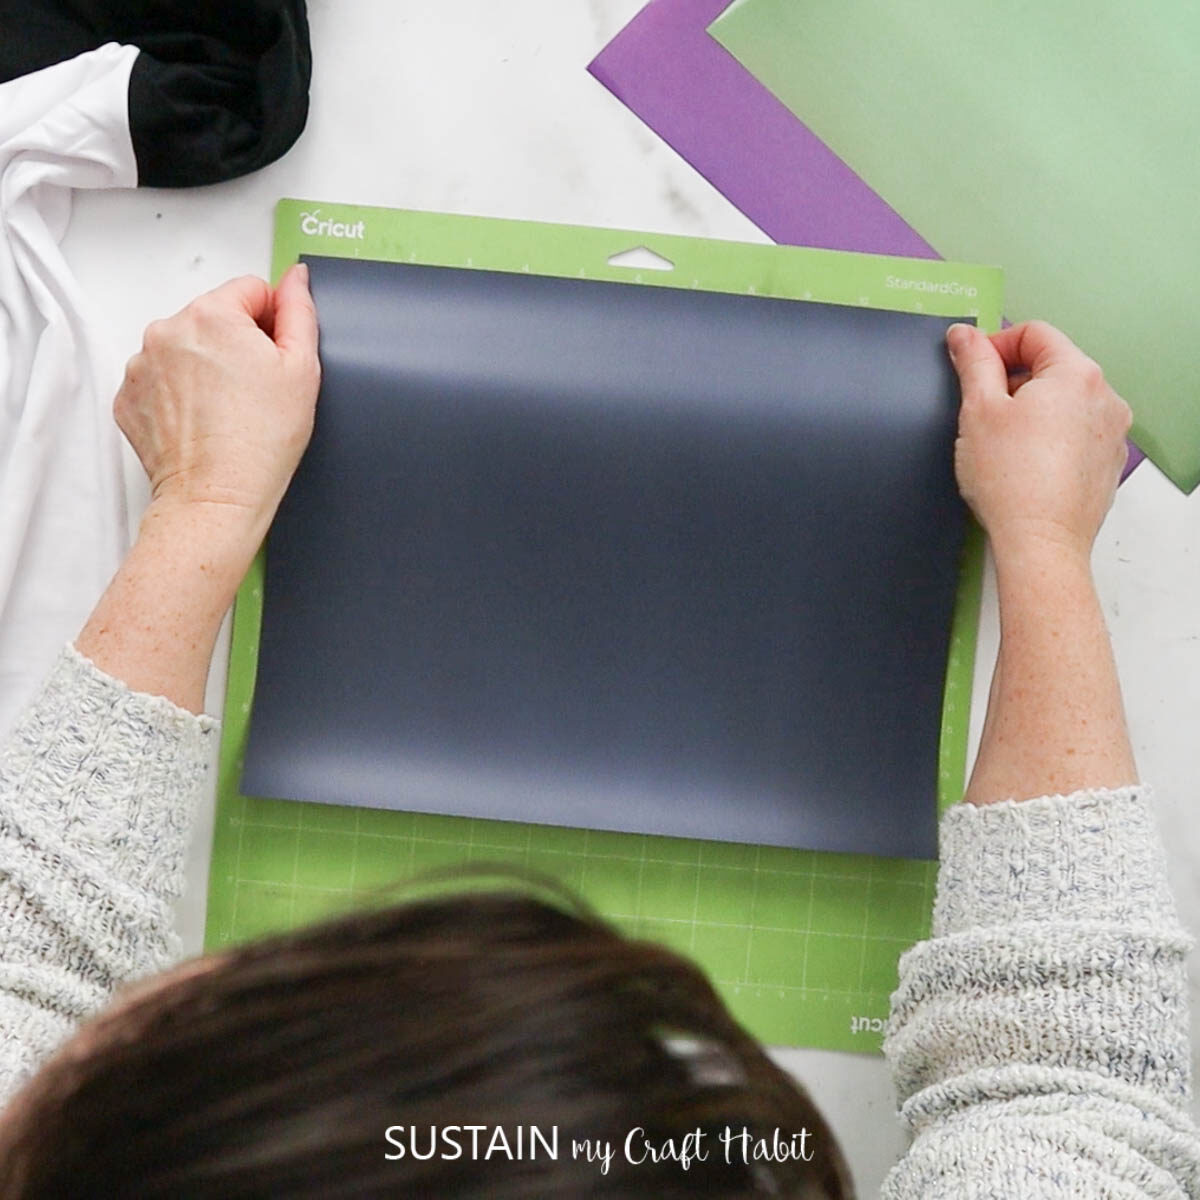
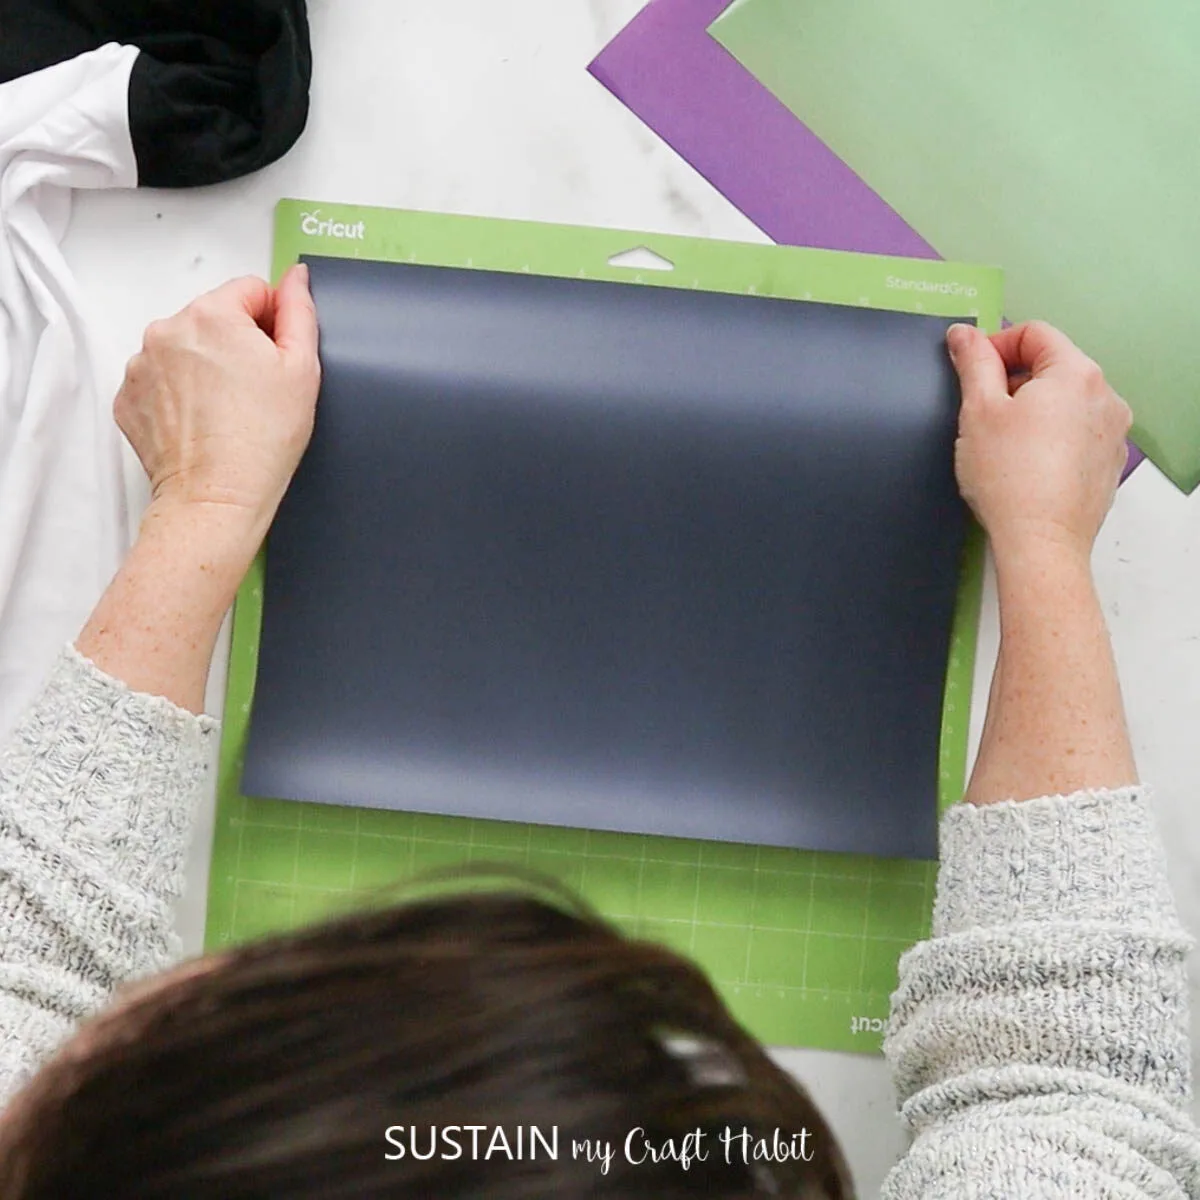
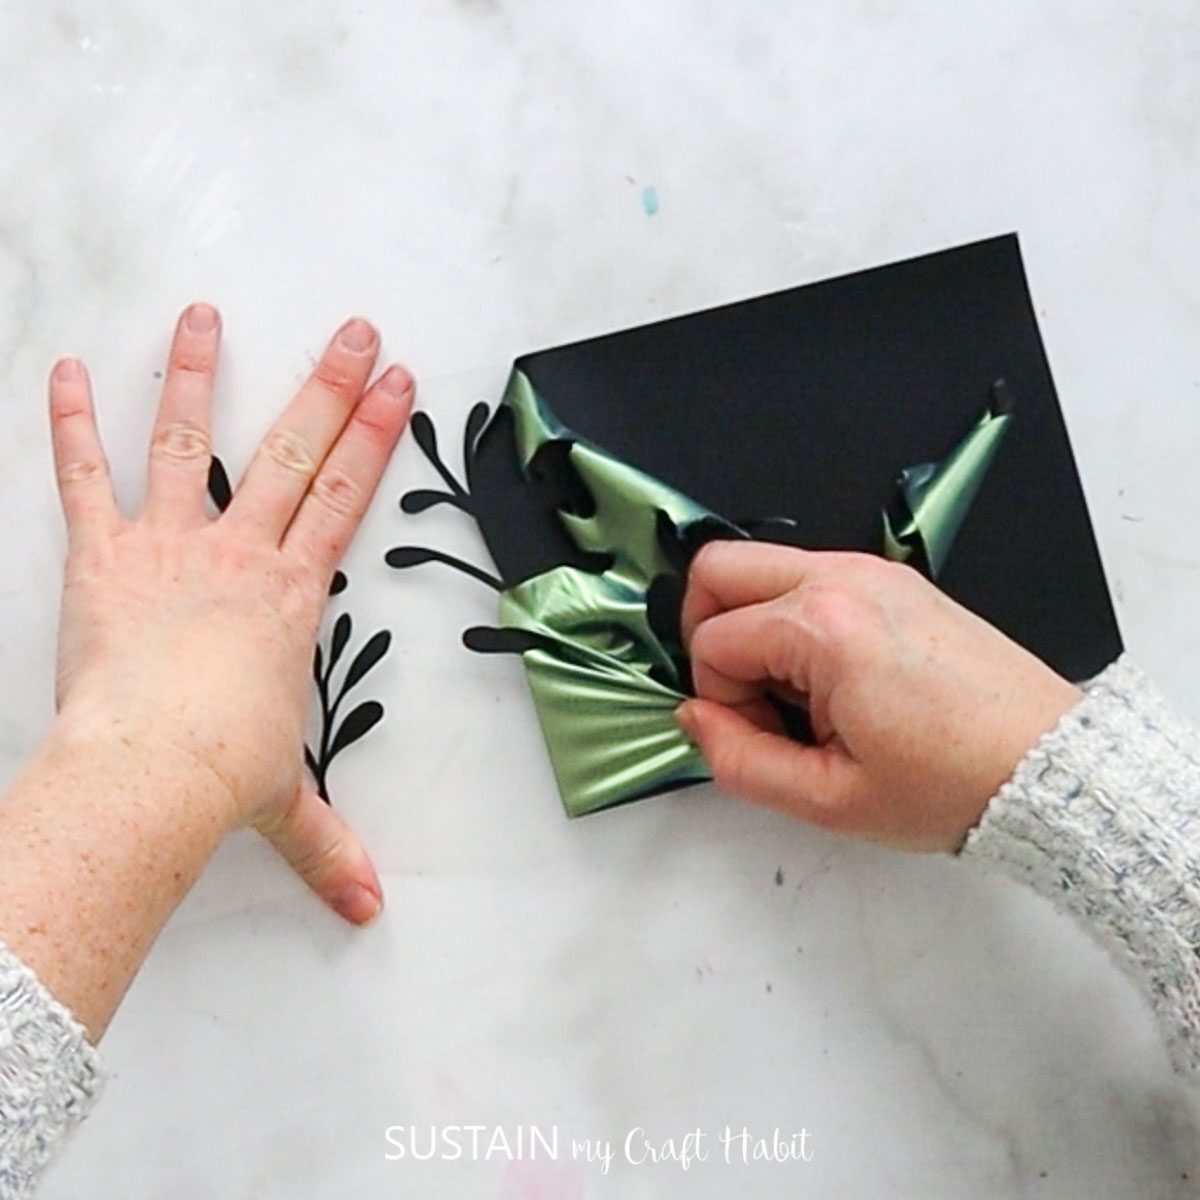
So youre cutting the vinyl from the back side, leaving the carrier sheet in tact.
OK, now that all the vinyl pieces are cut, its time to do the pressing.
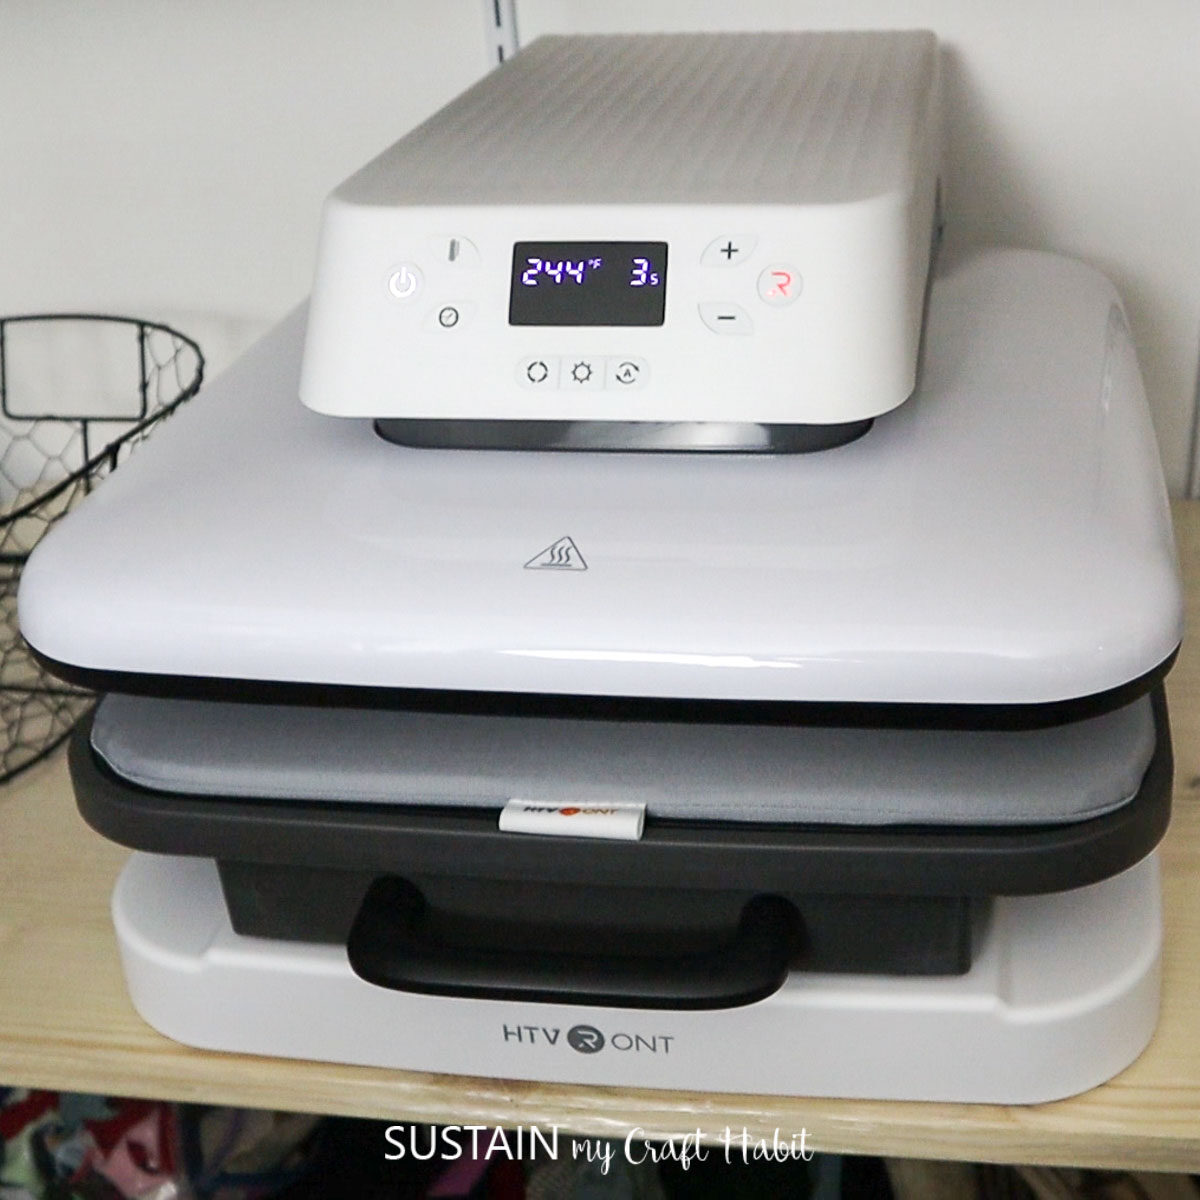
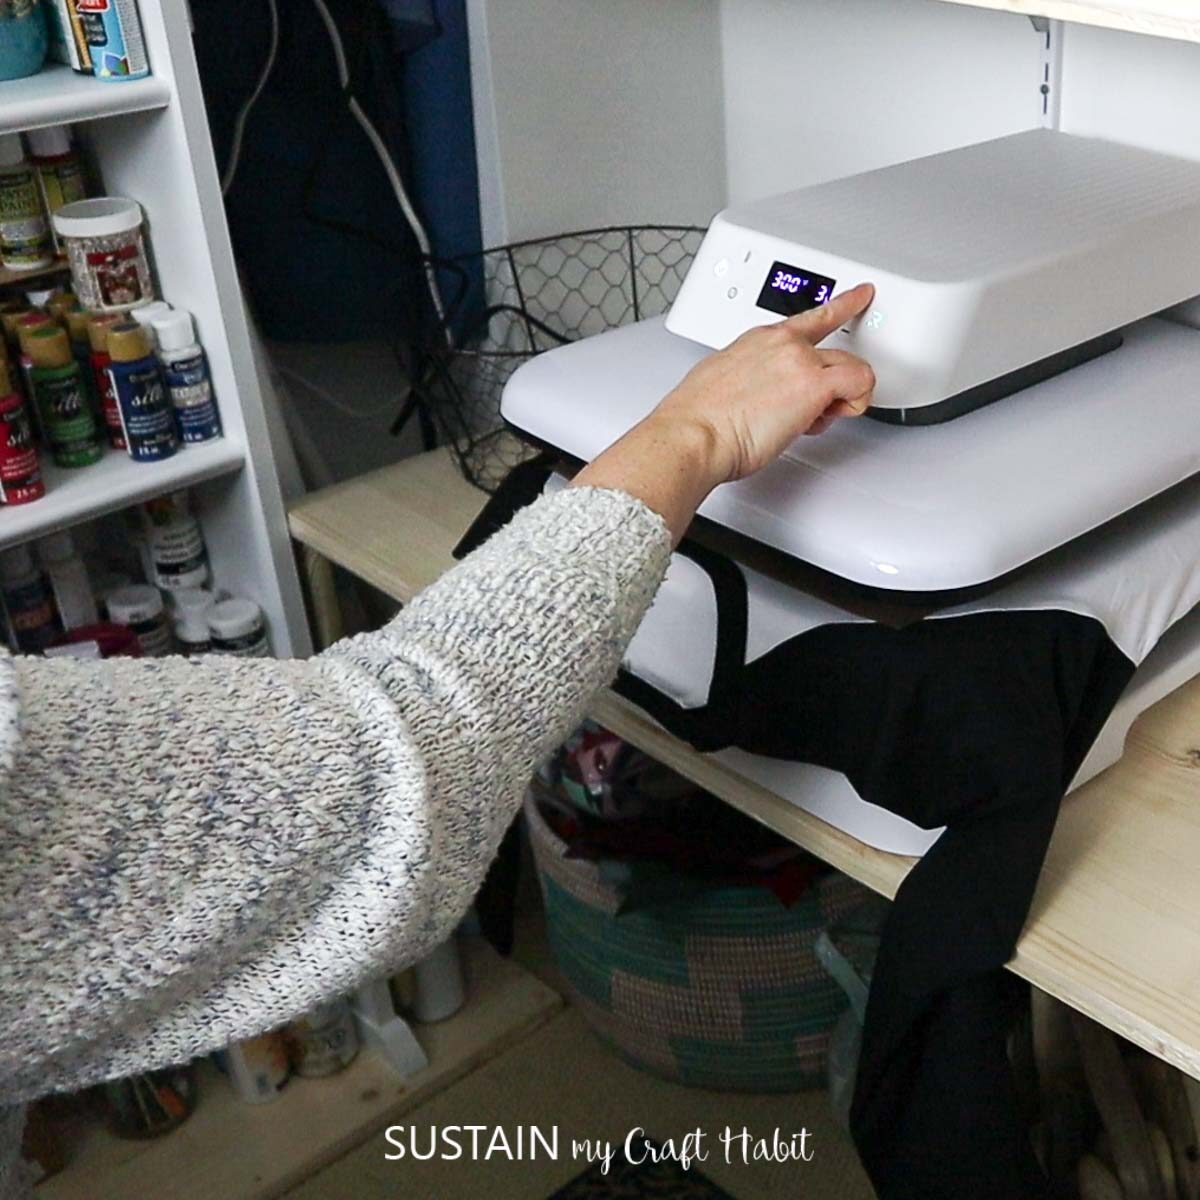
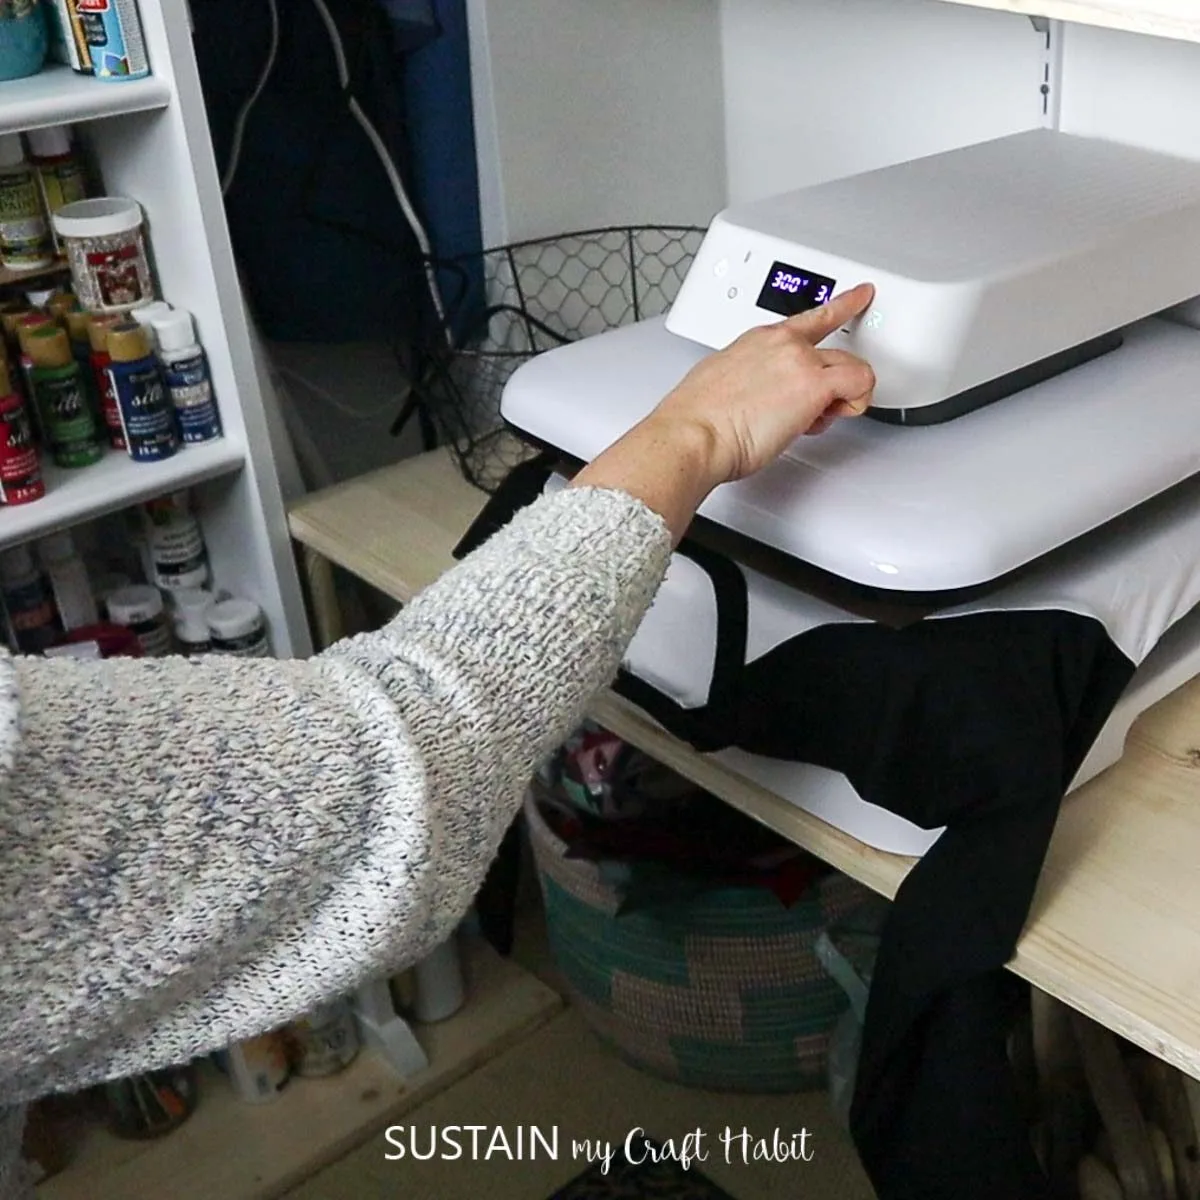
We basically just need to turn the machine on by pressing the power button.
Itll need about 6 minutes to warm up to the default temperature.
Then, adjust those configs on the machine and let it get to temperature.
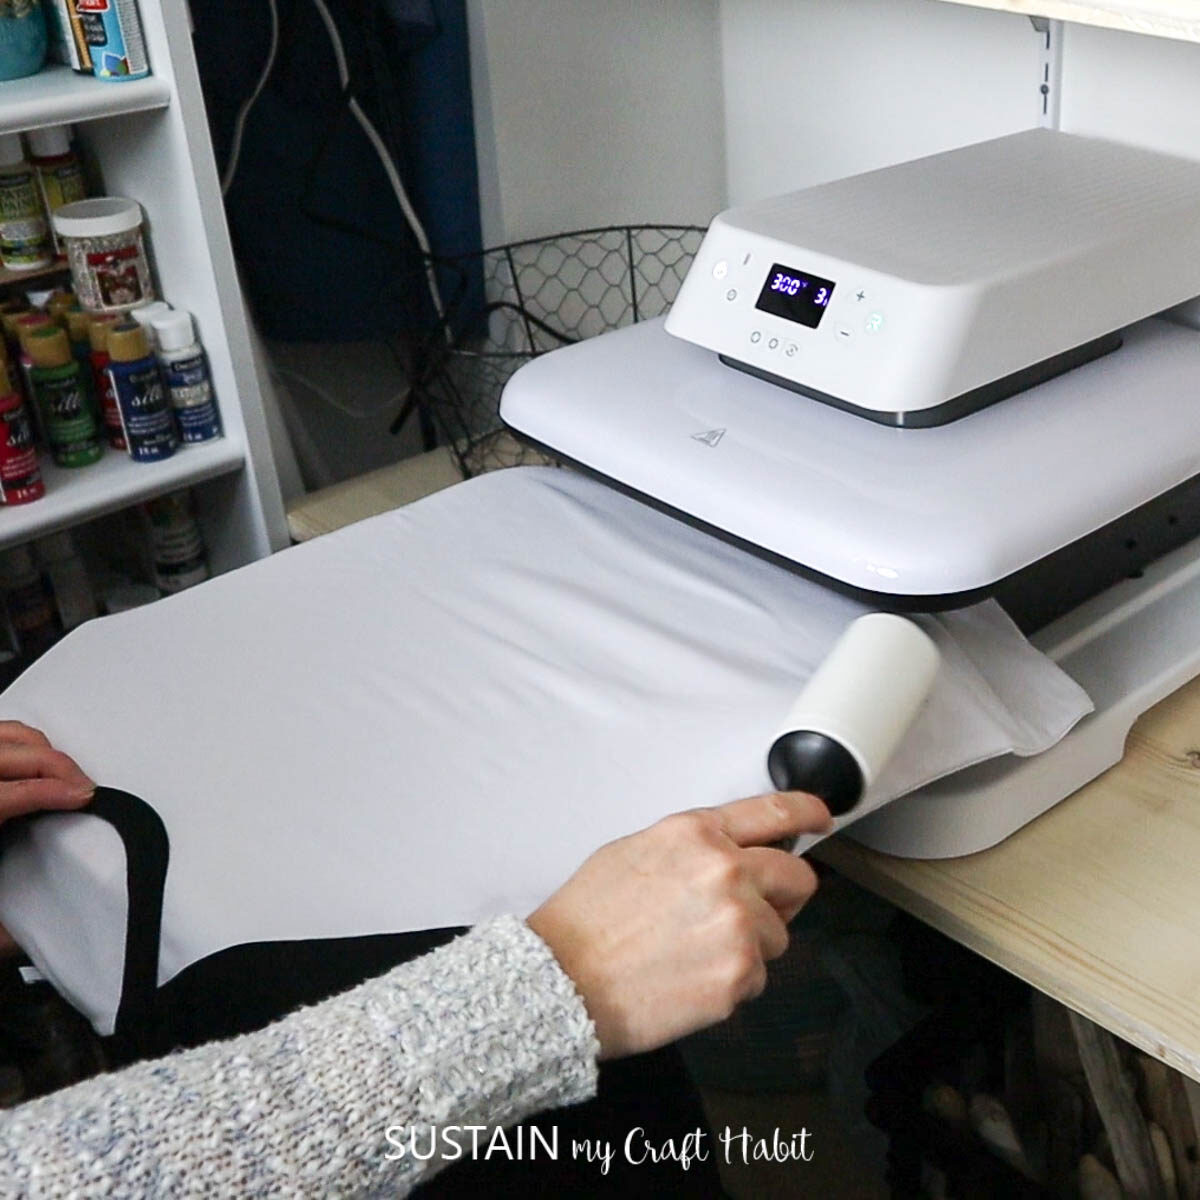
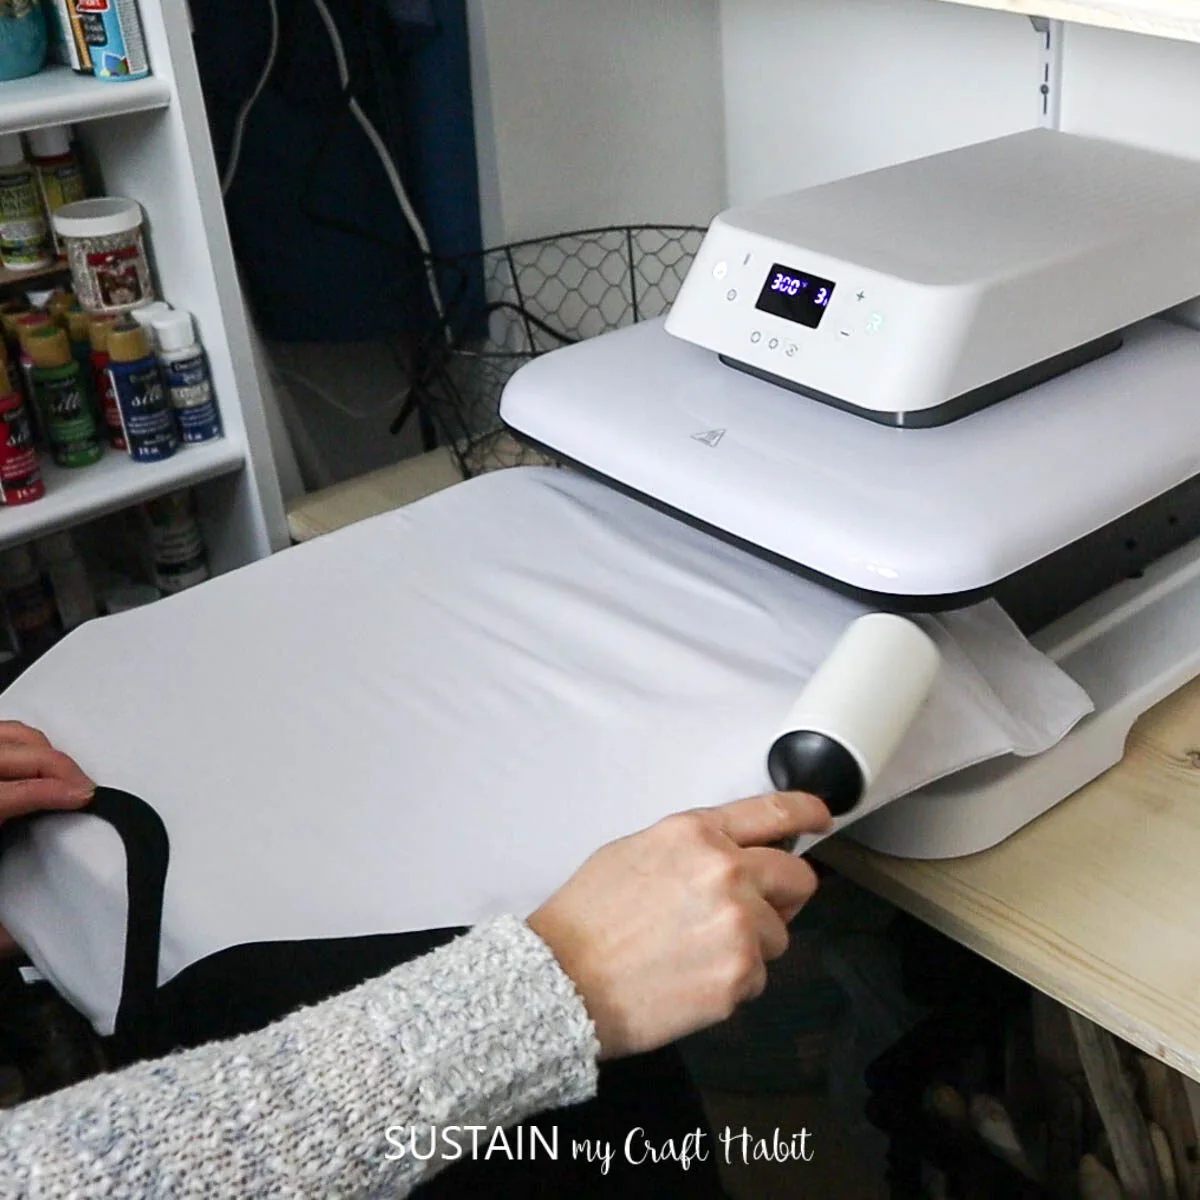
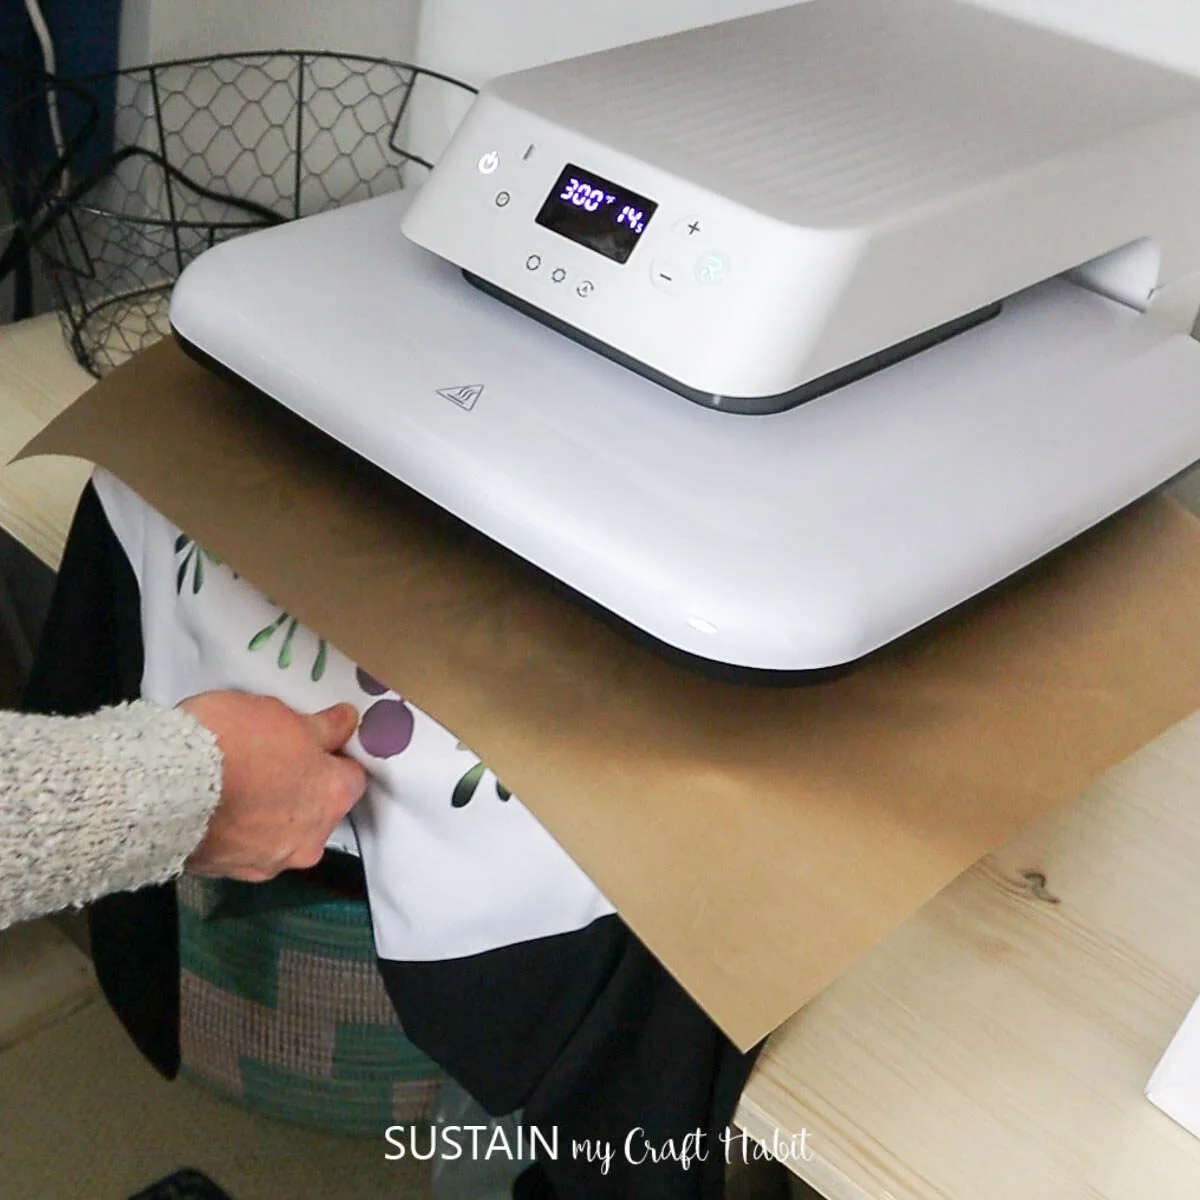
With most HTV projects youll want to preheat the garment for a couple of seconds.
This helps the vinyl adhere and also removes any moisture from the fabric.
Next, remove any lint with a lint roller.
Then slide the mat in and press the green button.
The machine automatically then presses the sheet at the preset temperature and time.
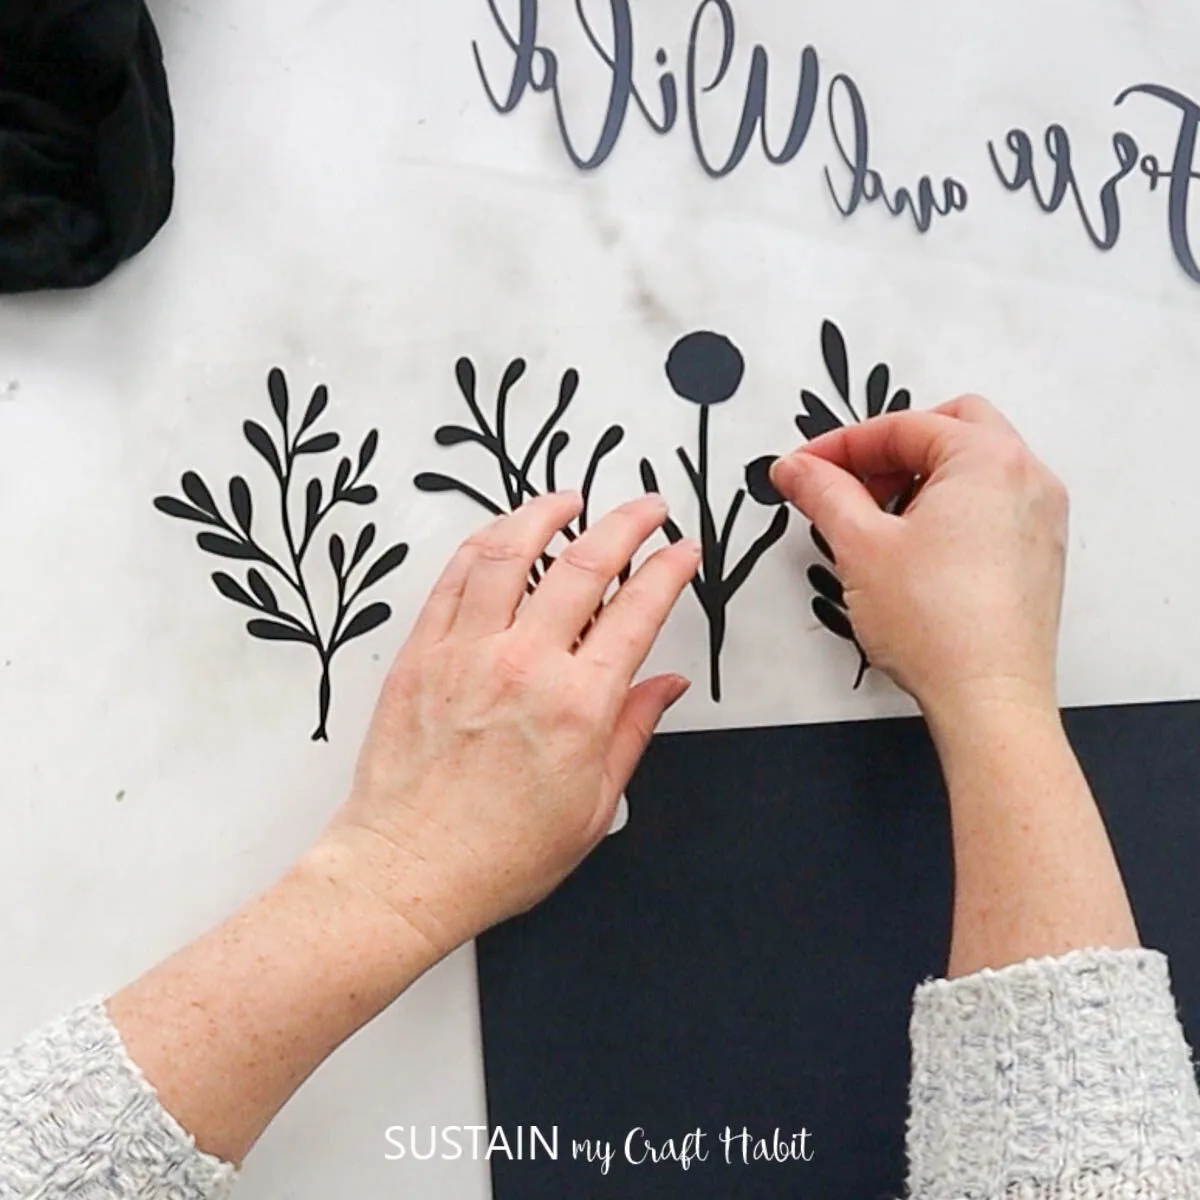
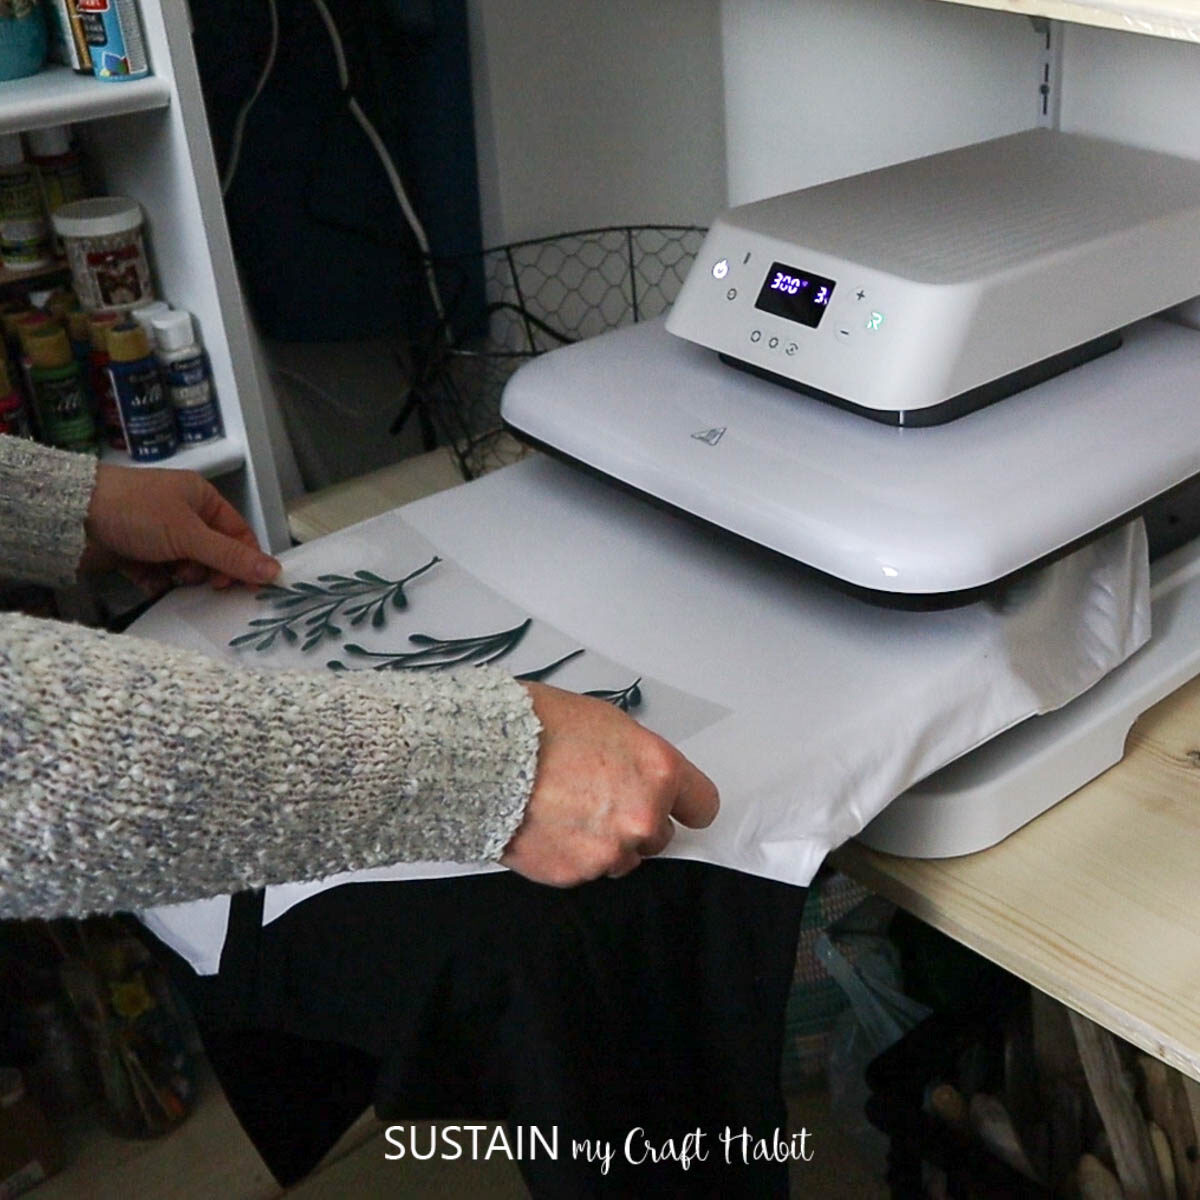
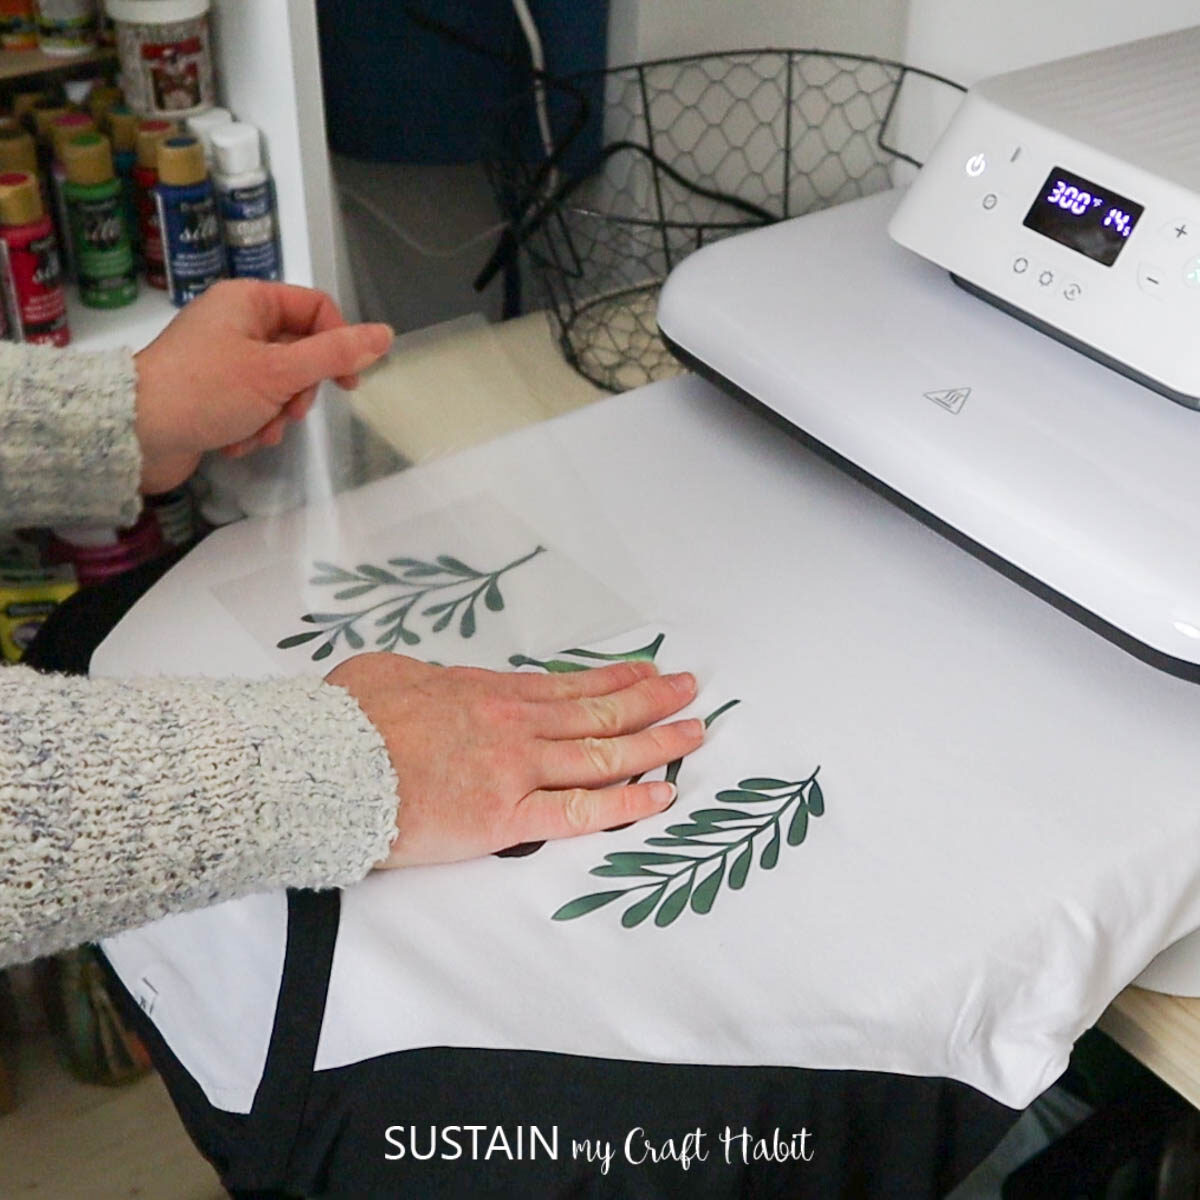
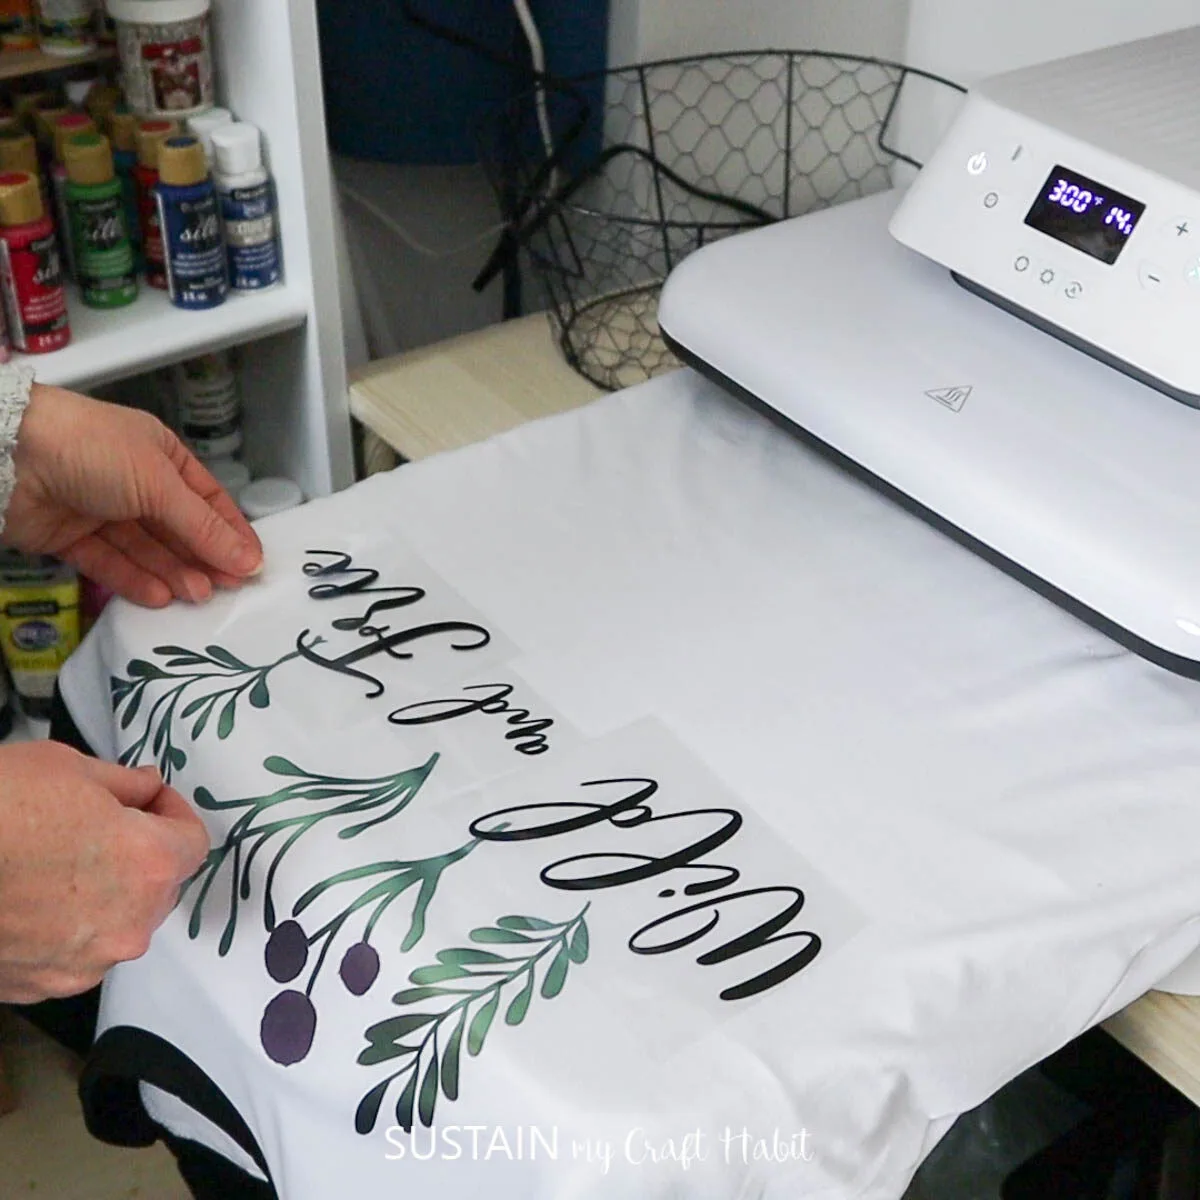
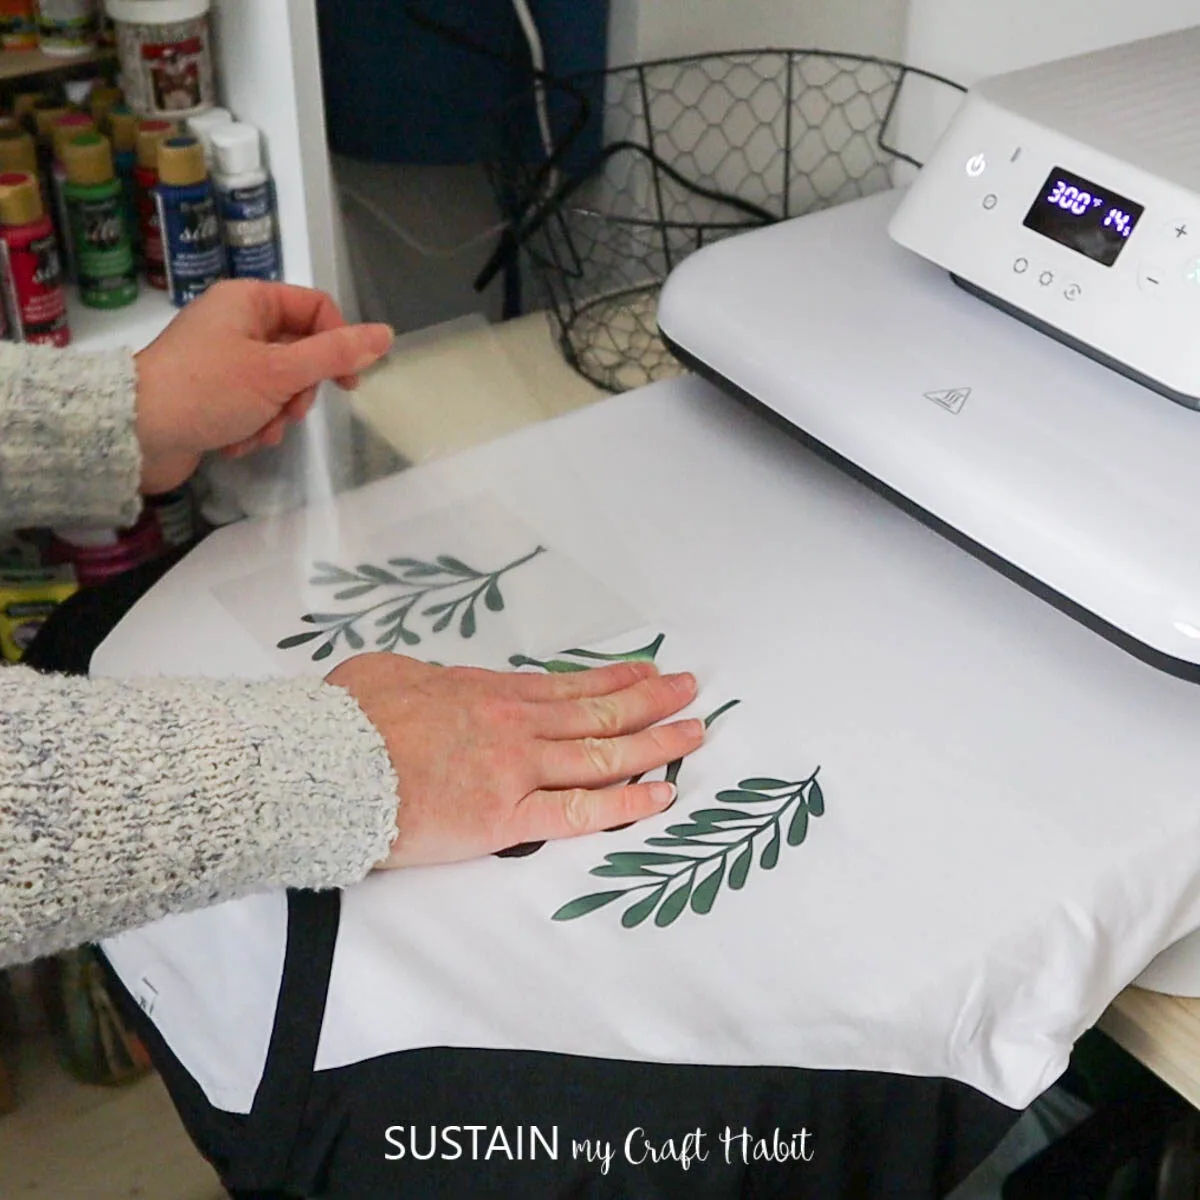
Now that the shirt is preheated its time to add the design!
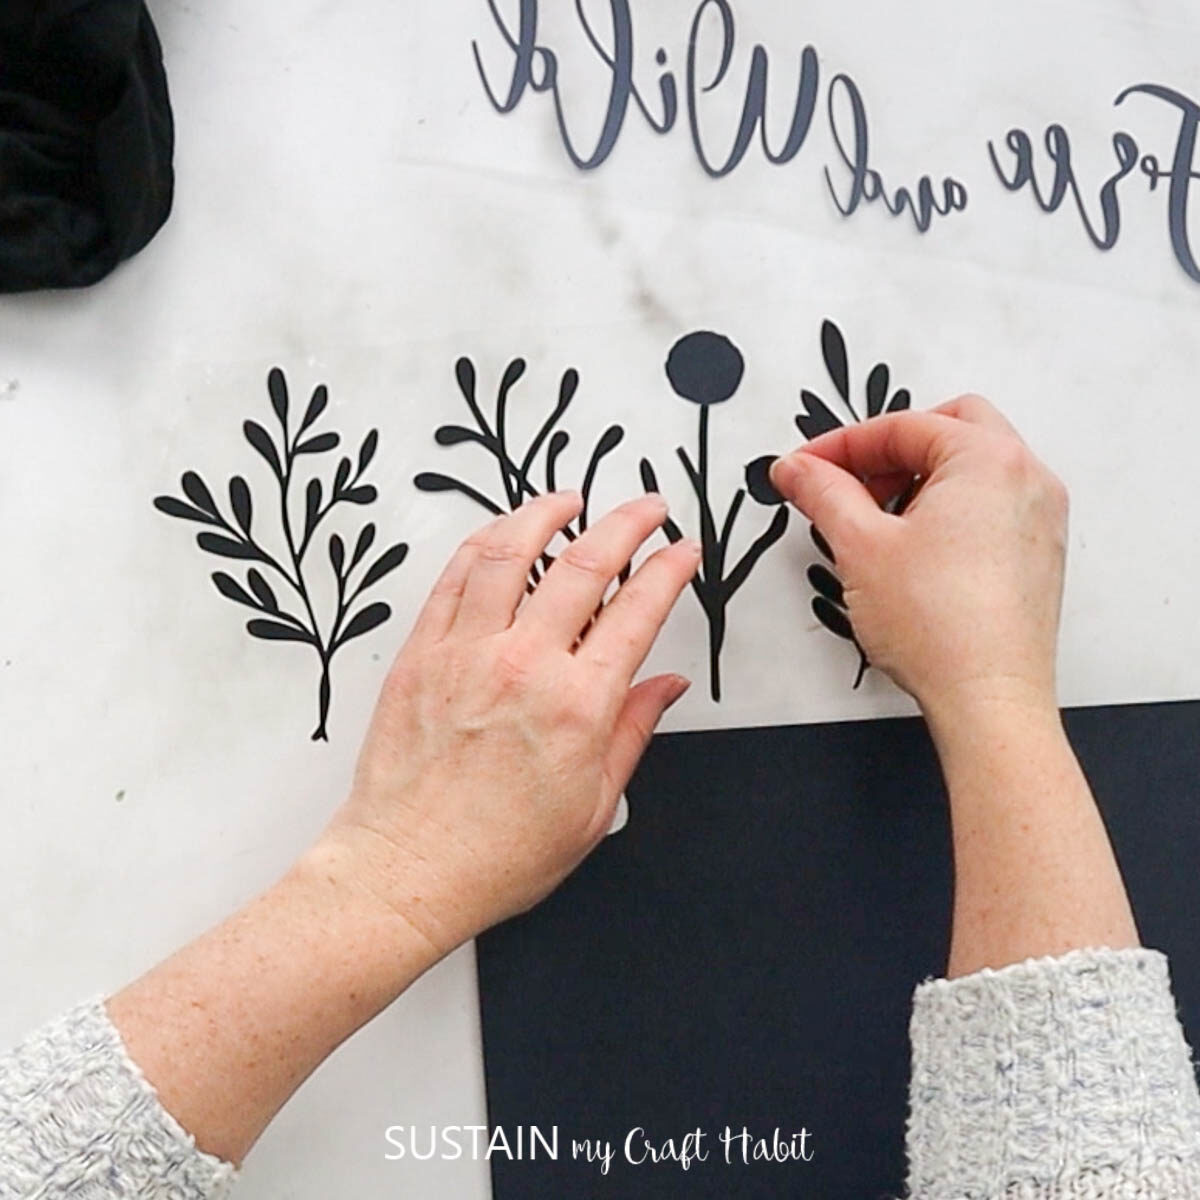
To make placement simpler, I started with the leaves.

Position that in place (face up!
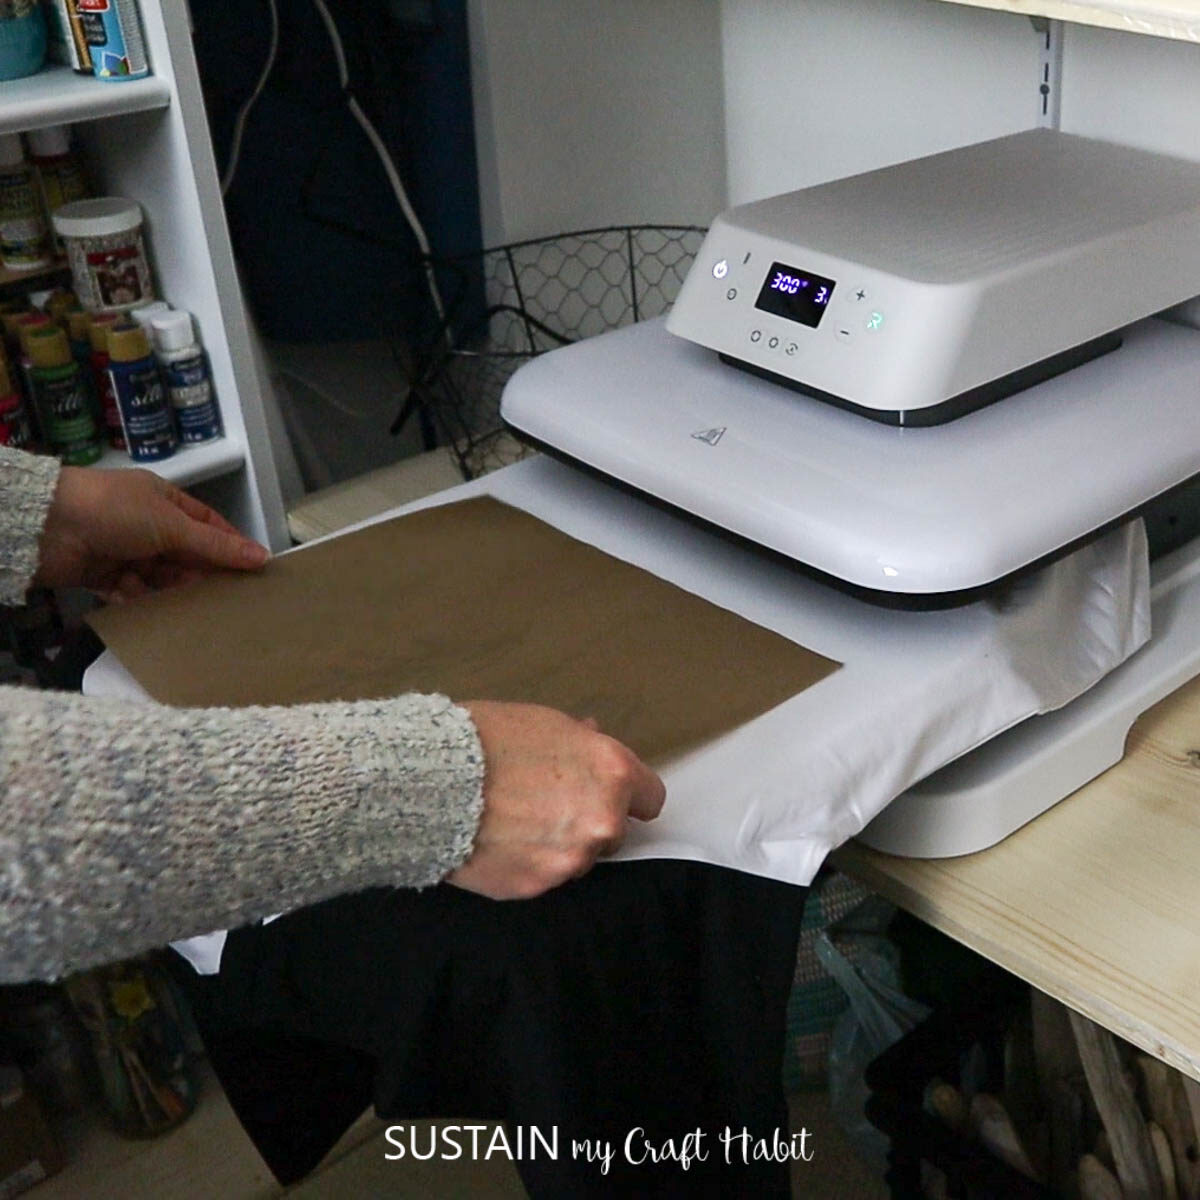
), smooth down, cover with the Teflon sheet and slide into the press.
This took only 15 seconds.

Youll next want to find out if your instructions say warm or cold peel.
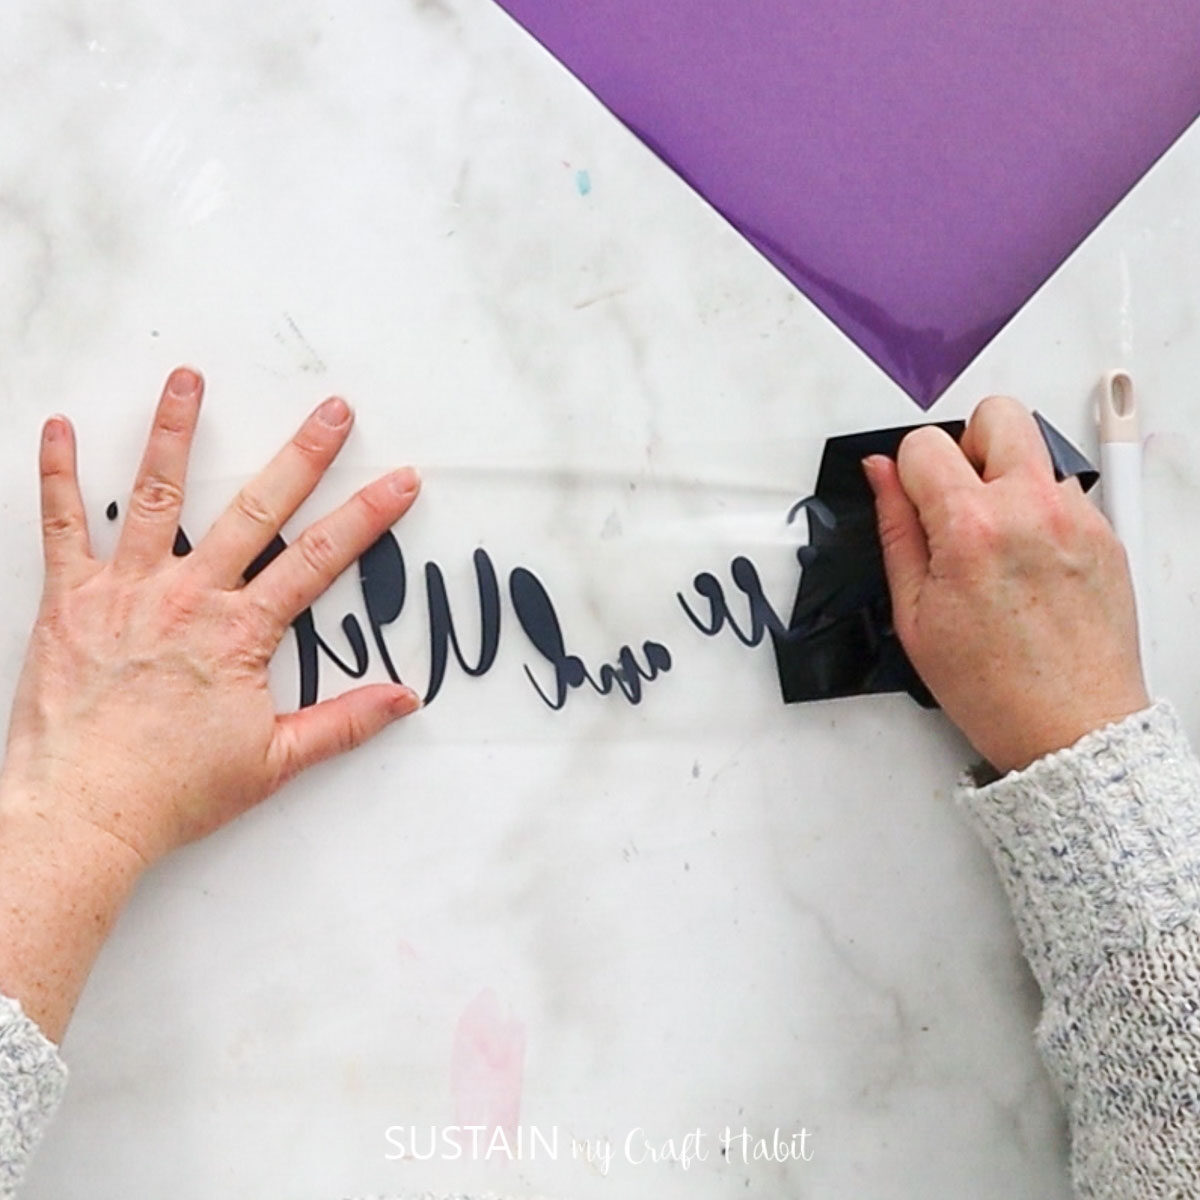
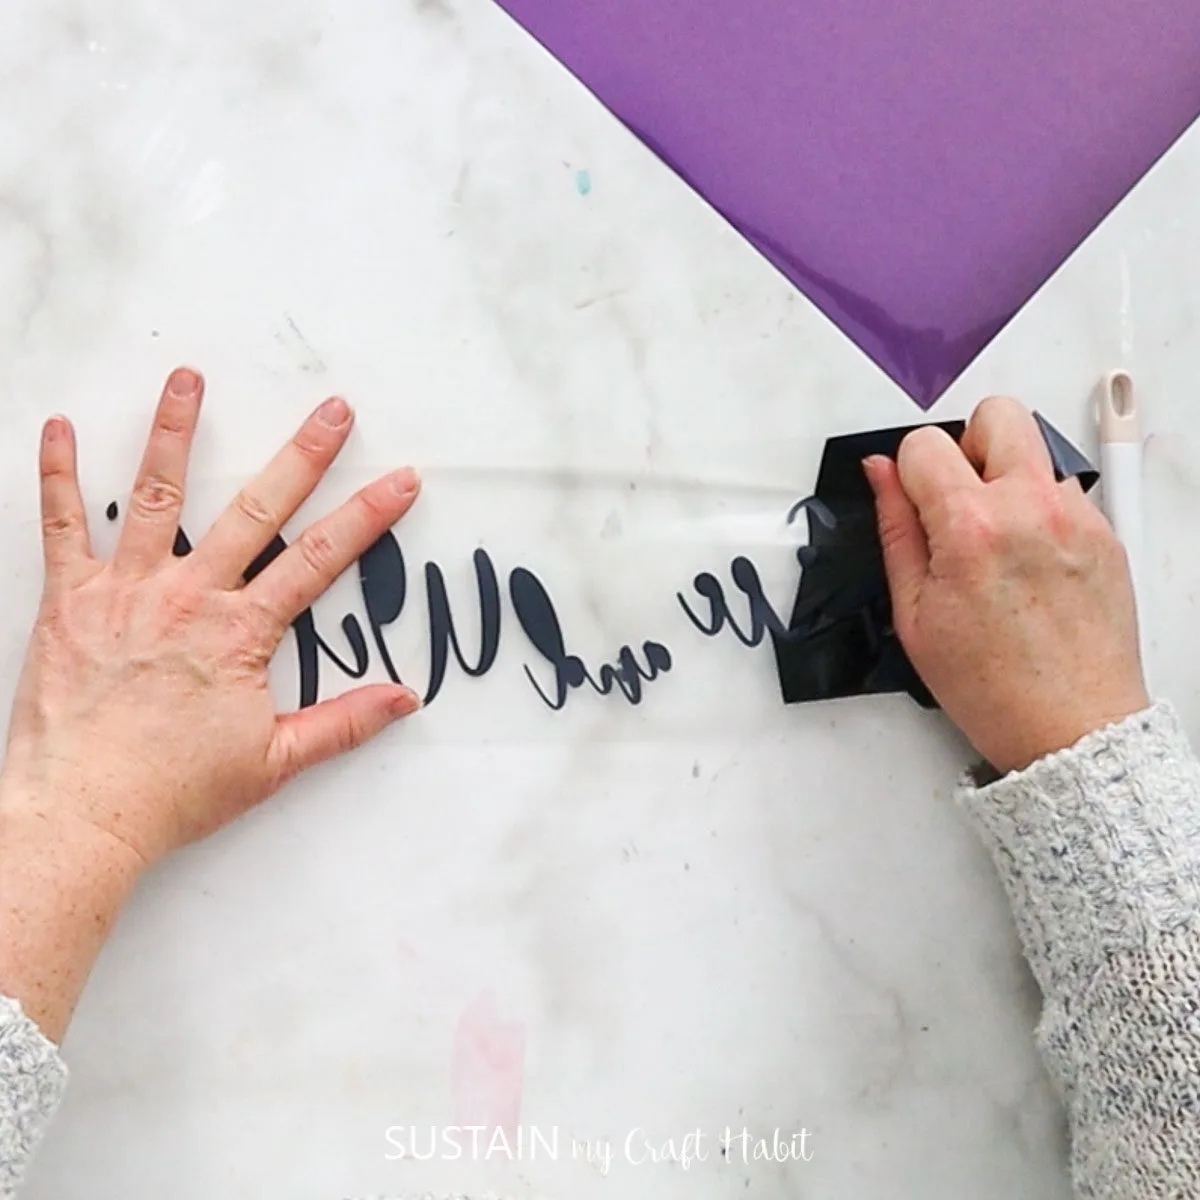
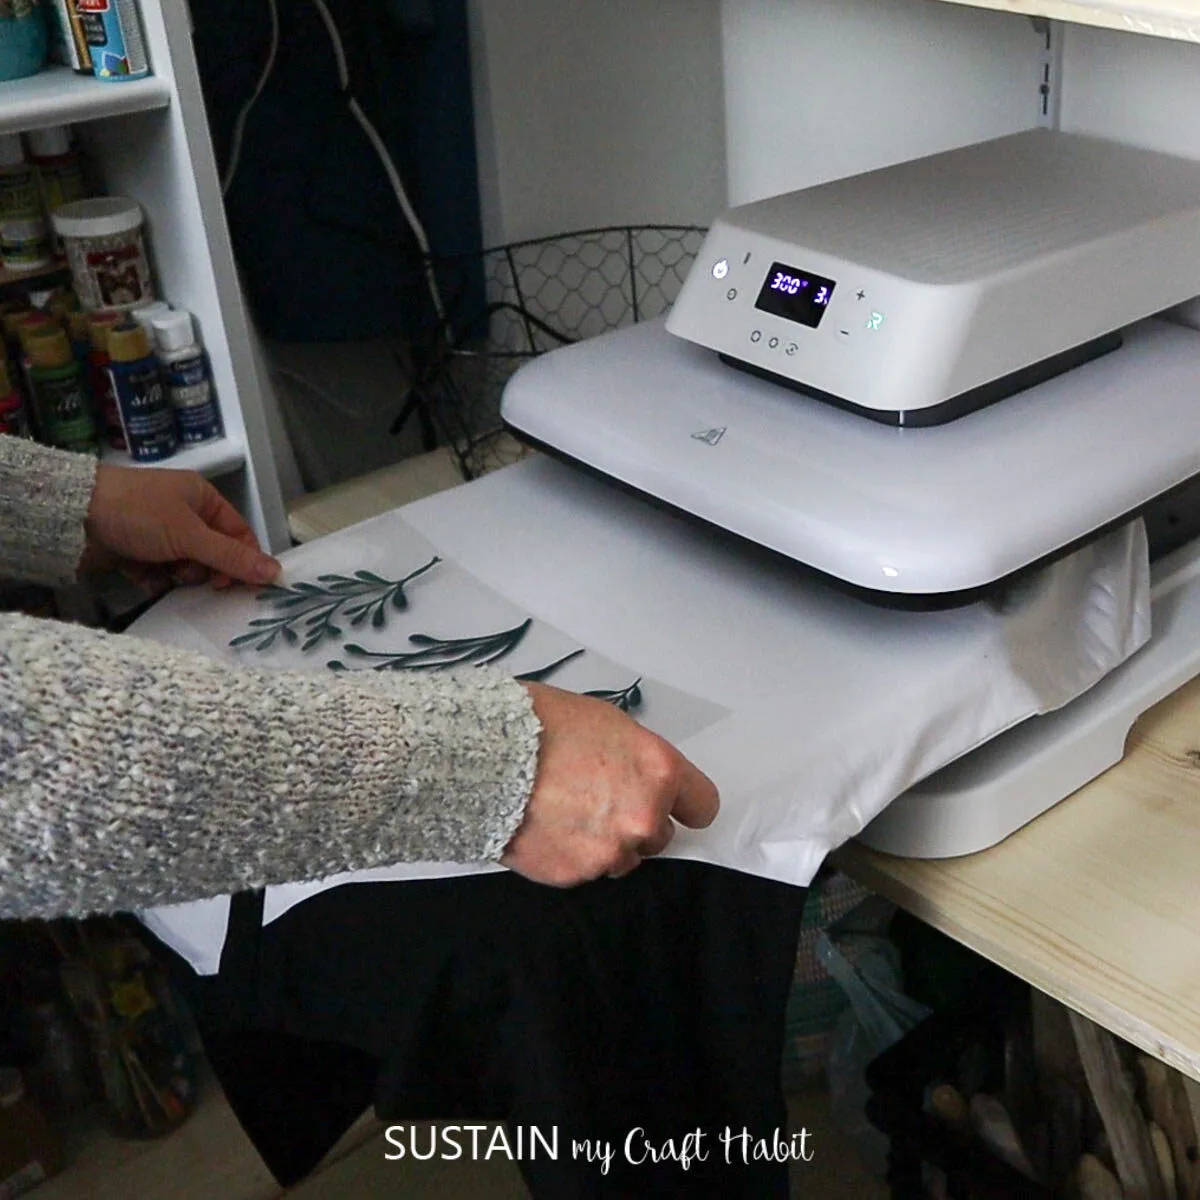
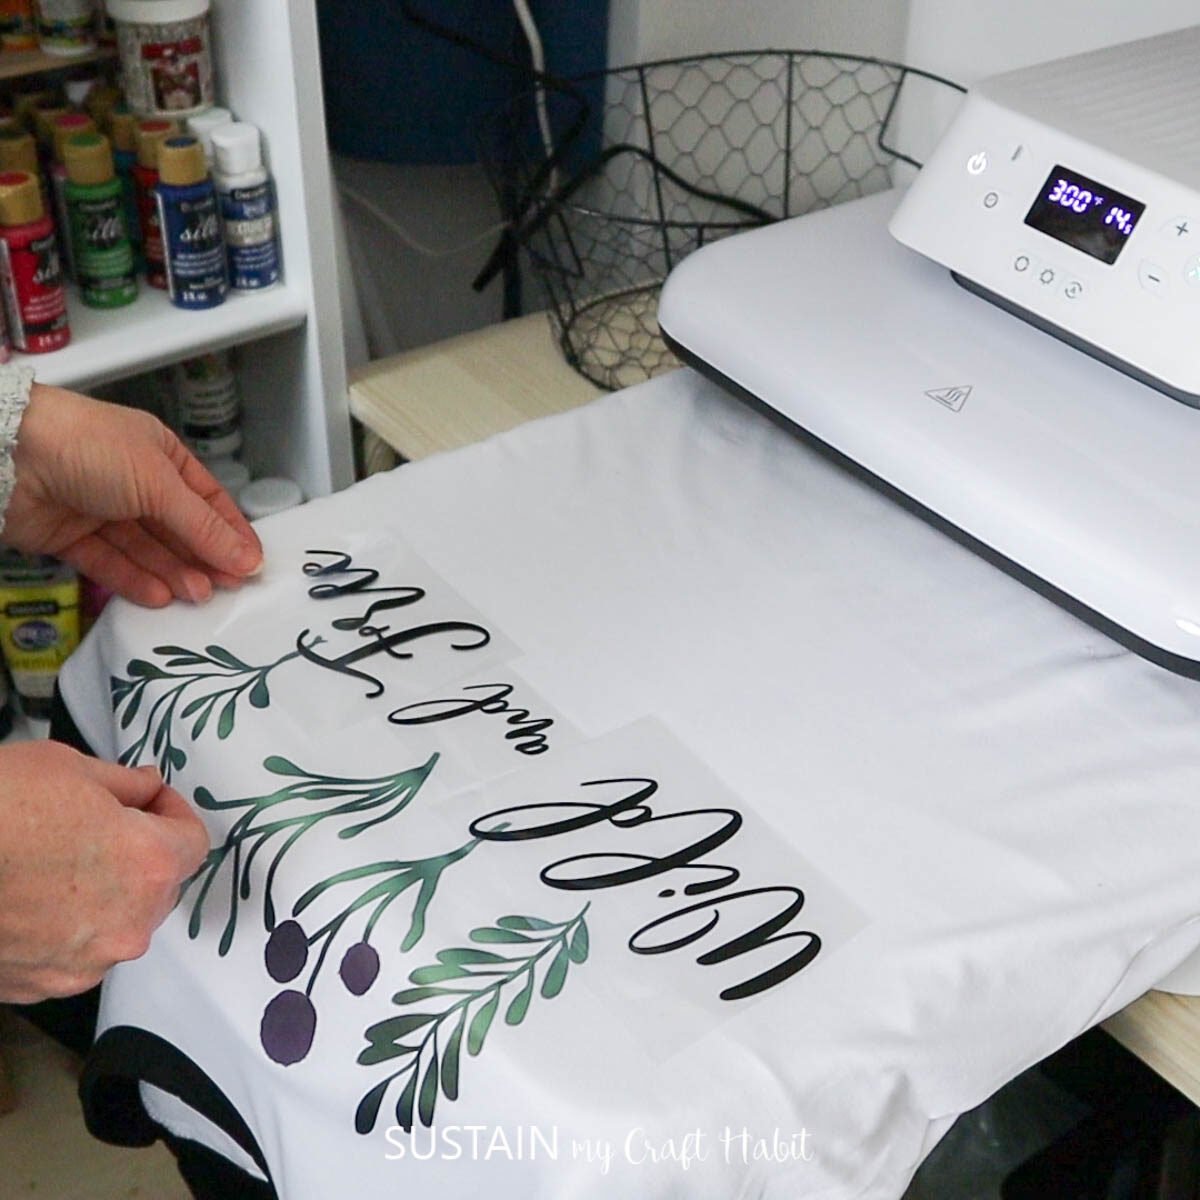
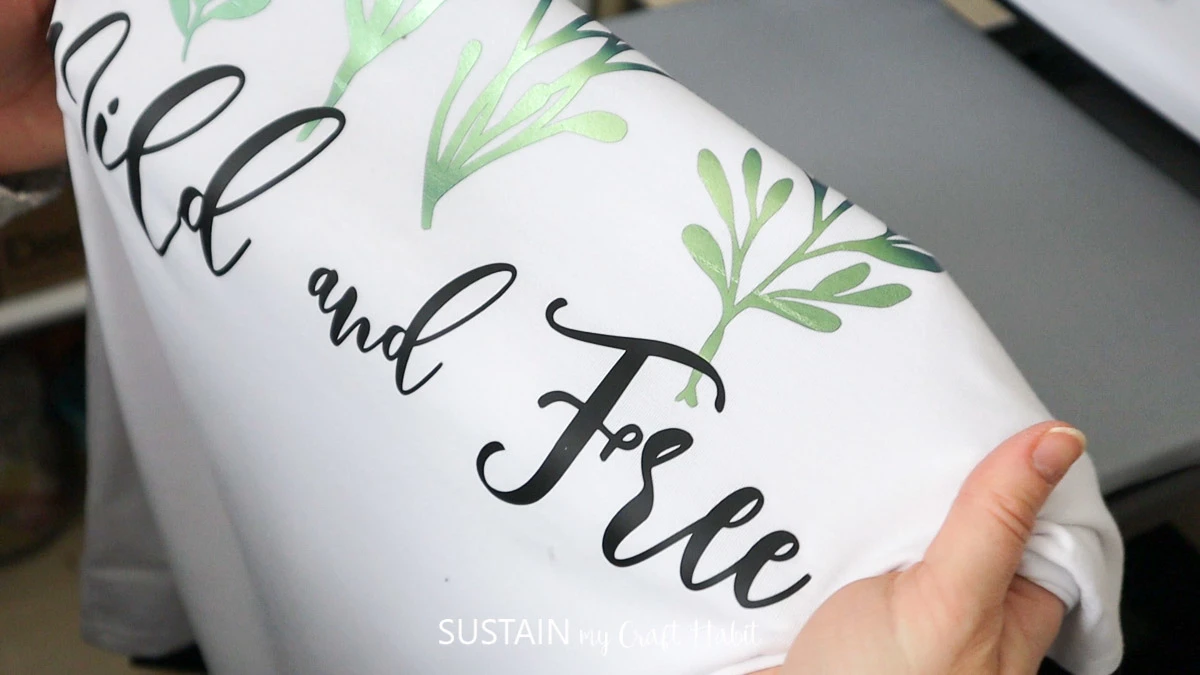
Now were going to add on the phrase.
I fixed the by cutting the pieces apart before positioning them on to the shirt.
Now, adjust your configs if needed and press away!
Finally, cool peel the carrier backing and youre good to go.
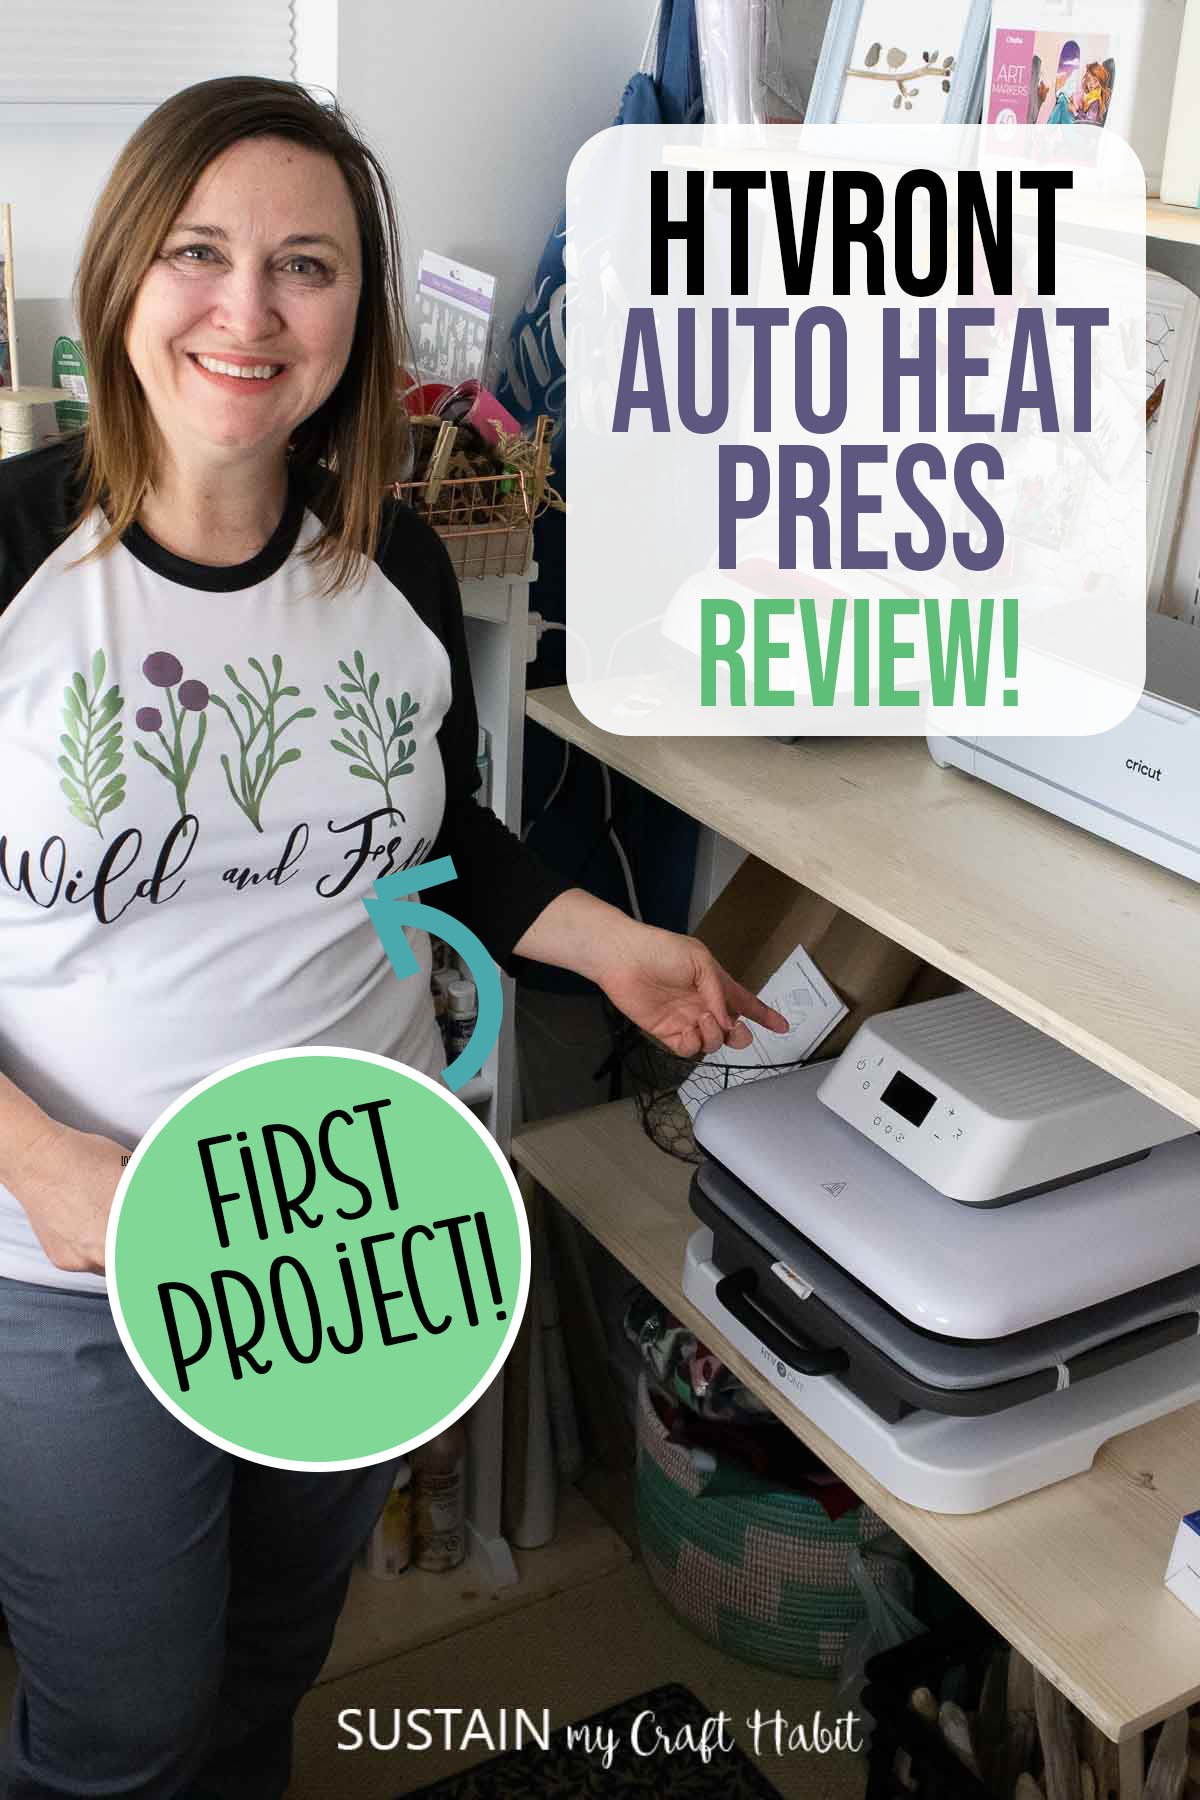
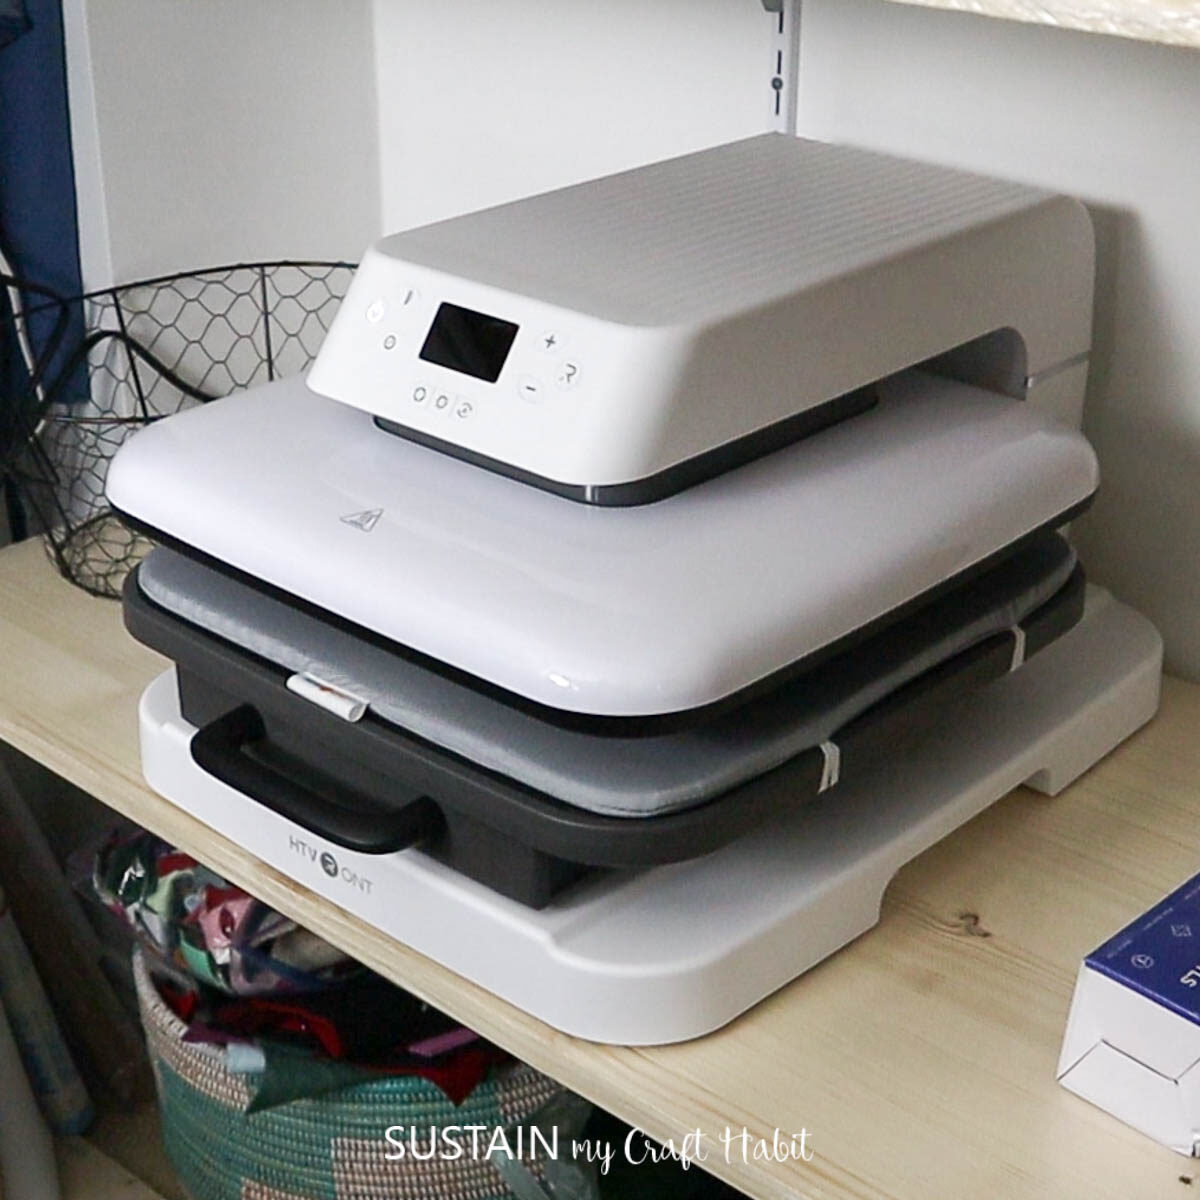
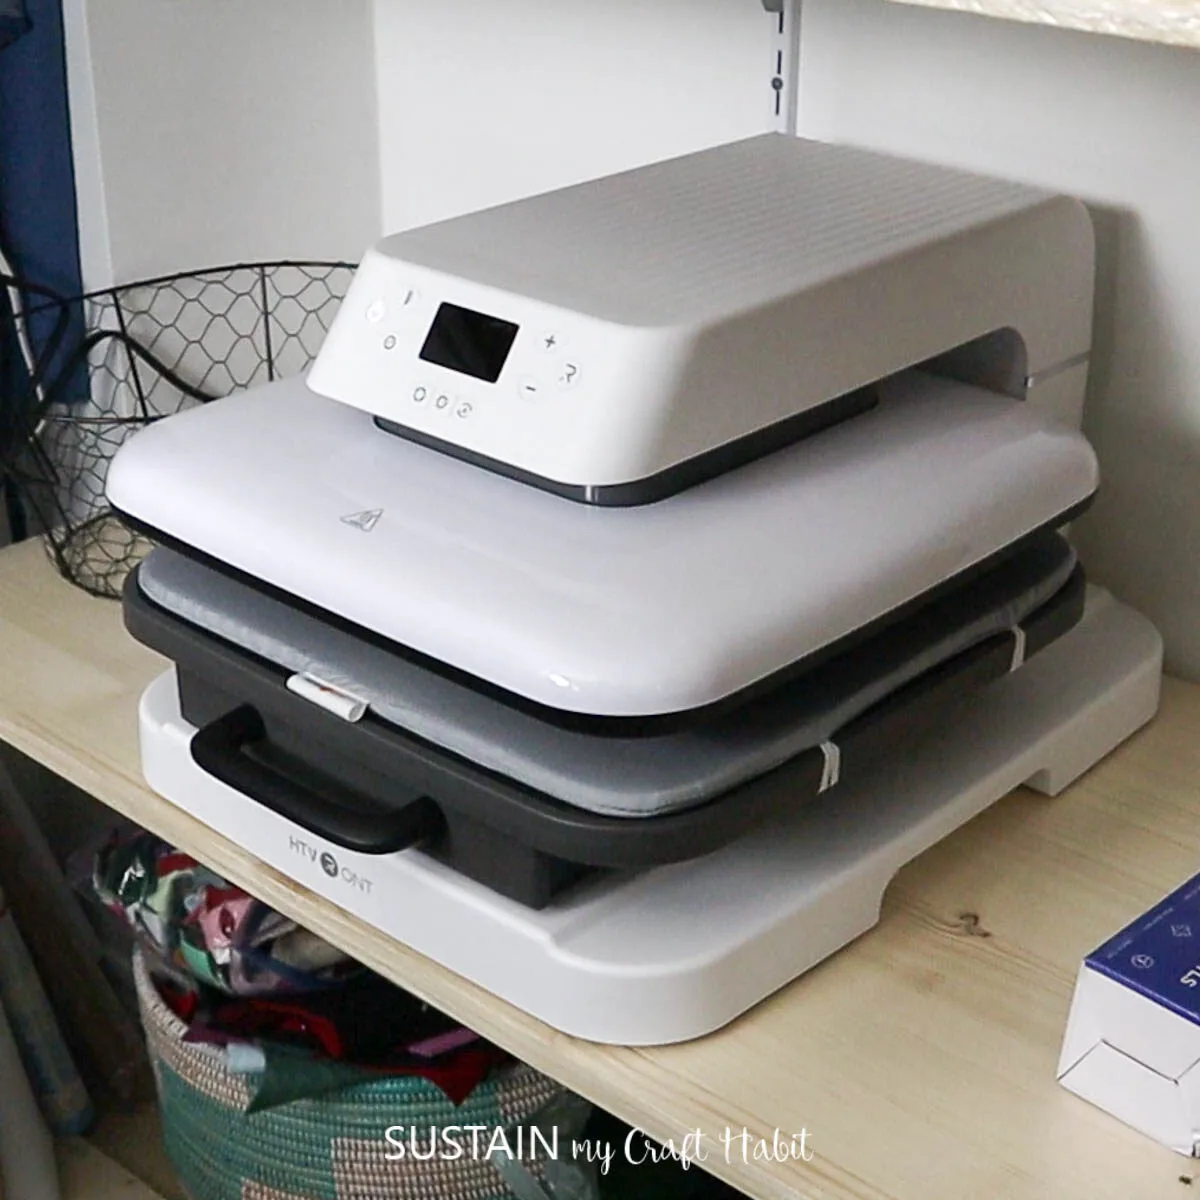
To store the HTVRONT Auto Heat Press, simply slide the mat back in and power off.
I basically took it out of the box, plugged it in and made my first project!
Im looking forward to making more projects shortly.
you might find it directly on theHTVRONT website(currently $30 off!
),on Amazon, and online at Walmart.com .
Let us know if you have any questions about the HTVRONT Auto Heat Press below.
Pin it for later!