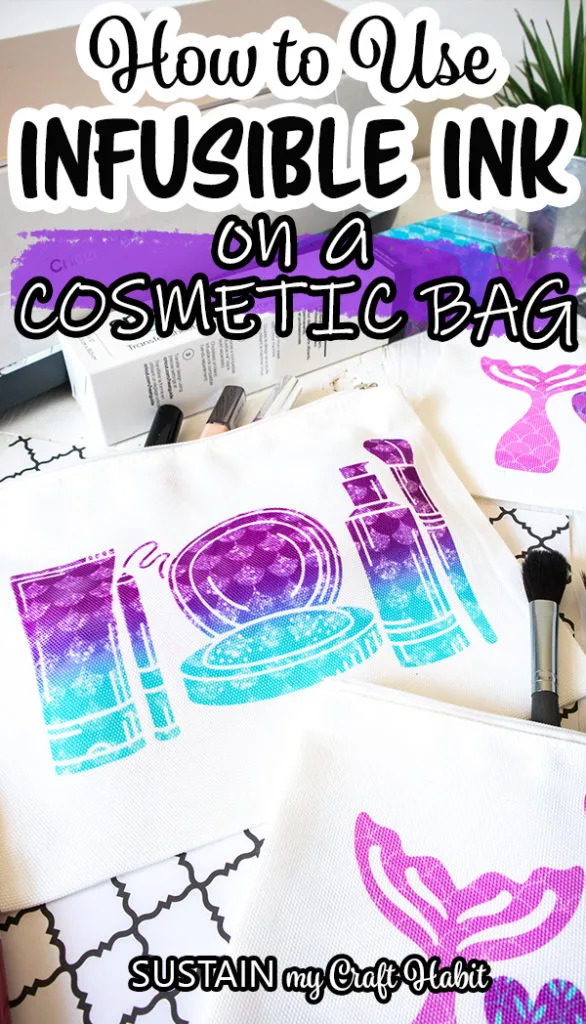
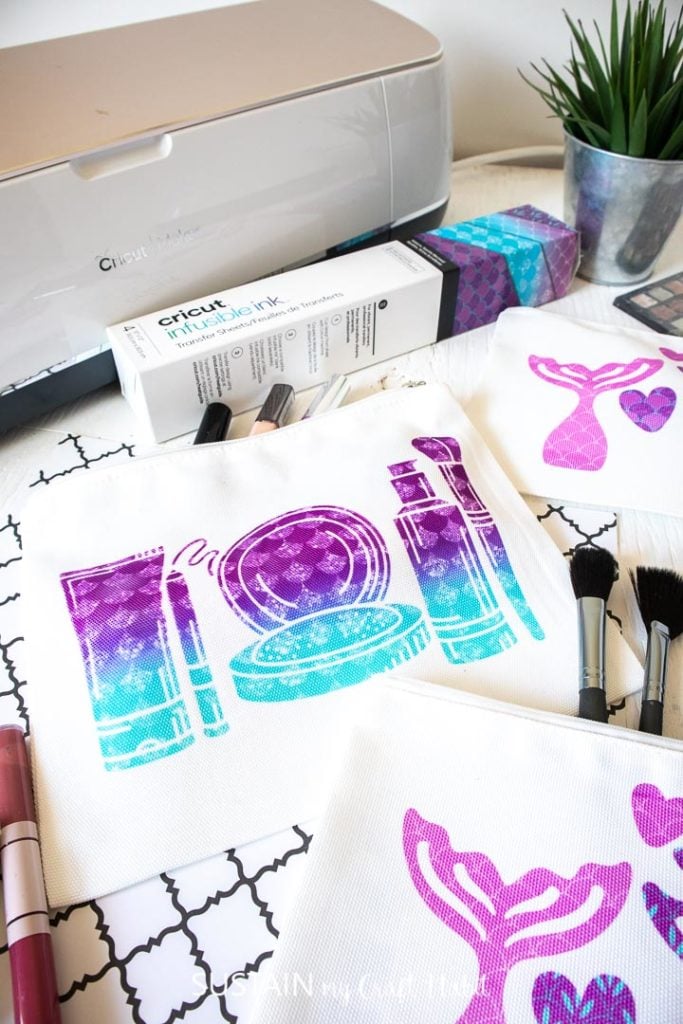
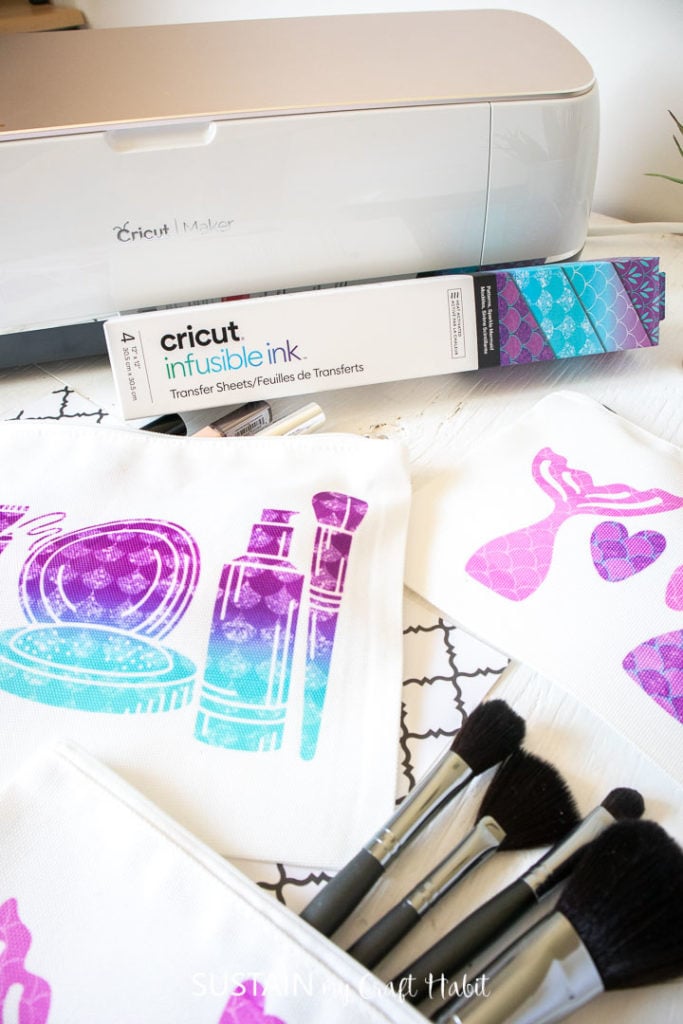
Were sharing this tutorial forhow to use Cricut Infusible Inkon one of their blank cosmetic bags.
Any excuse to craft, right?
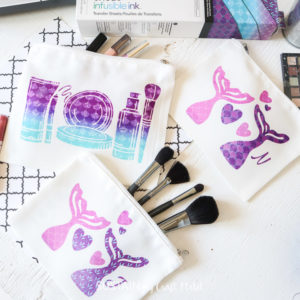
I even made a couple extras for my mermaid-loving girls who enjoy using my makeup for their pretend play.

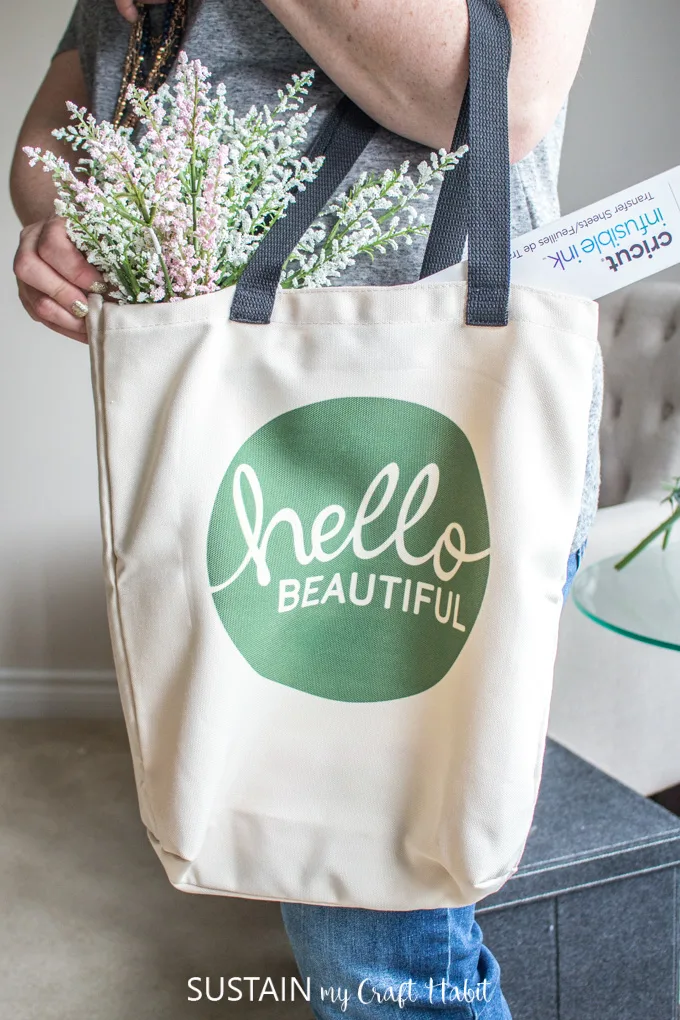
Hello Beautiful Tote Bag
you might search any image in the Design Space library to personalize it for yourself.
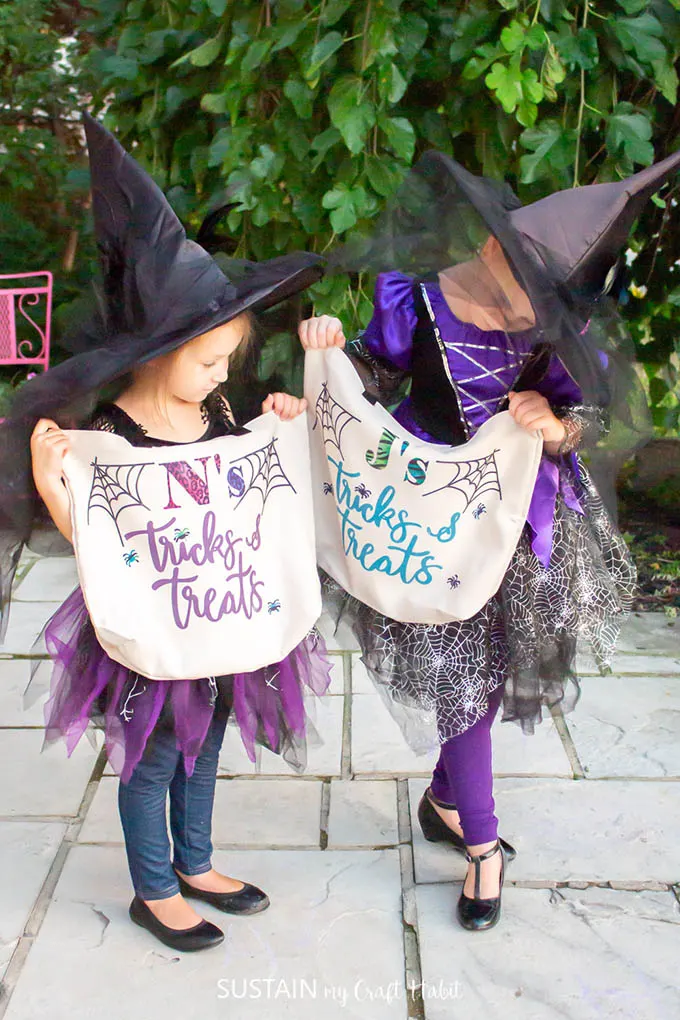
We even added a monogram to each my girls bags so they wouldnt get mixed up!
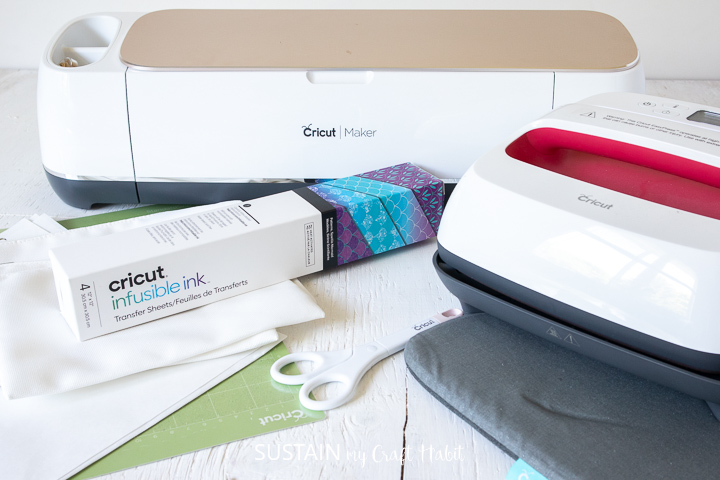
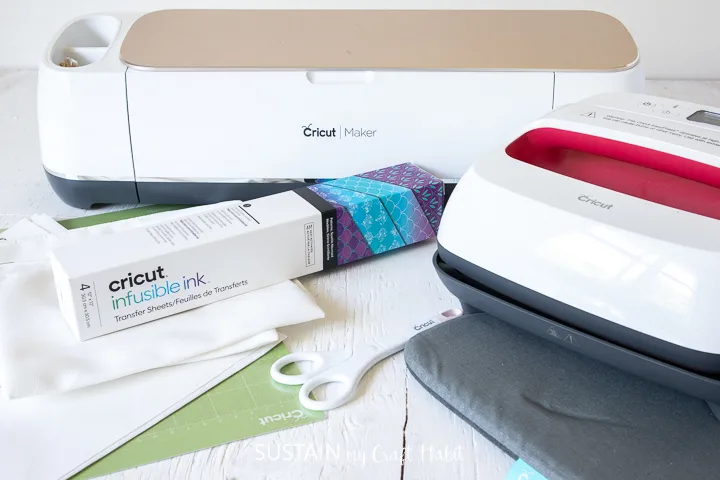
Materials Needed:
Disclosure: This post contains affiliate links for your shopping convenience.
you’re able to readour full disclosure policy here.
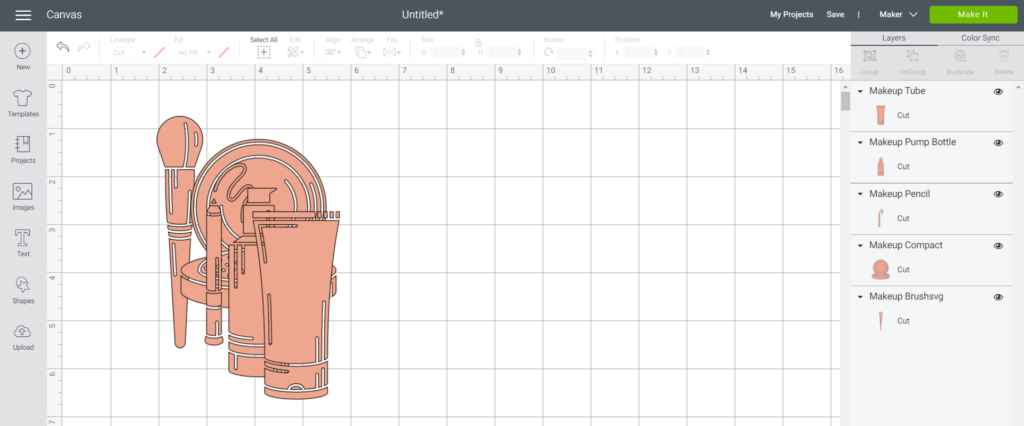
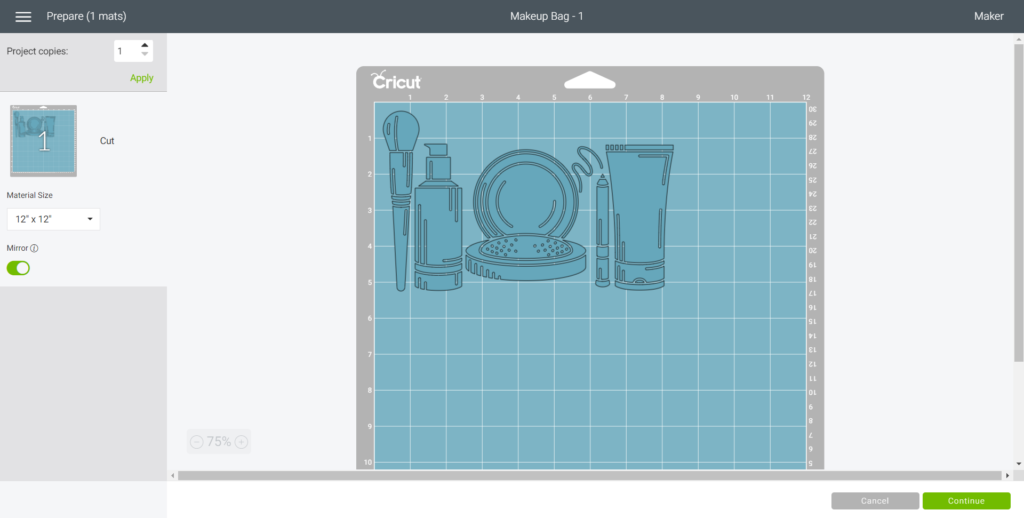
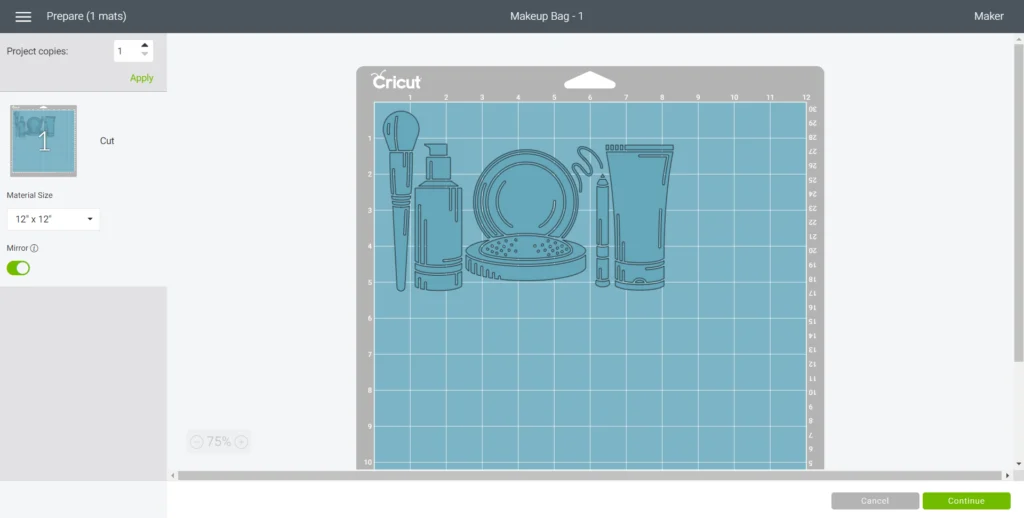
Upload all the images onto the blank canvas.
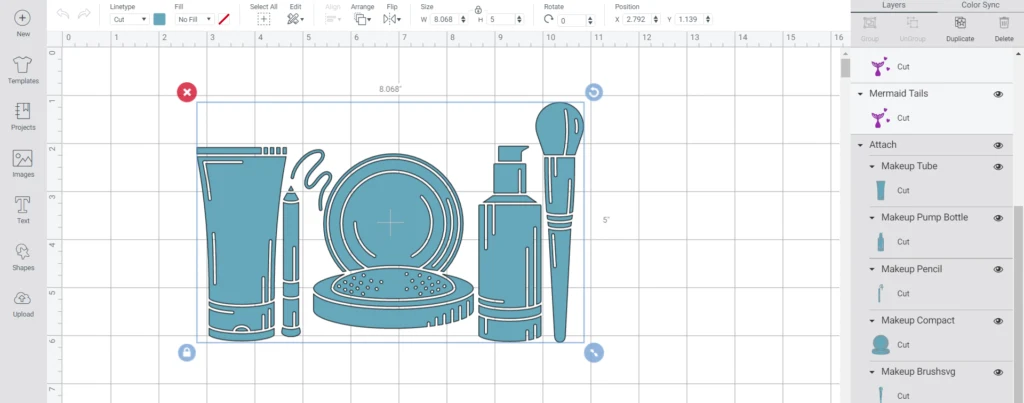
Place them in a line as shown they measure together 5 high x 8 wide.
Highlight and click attach to group all pieces together for cutting and then click Make it.
Set the Mirror toggle button to ON position.
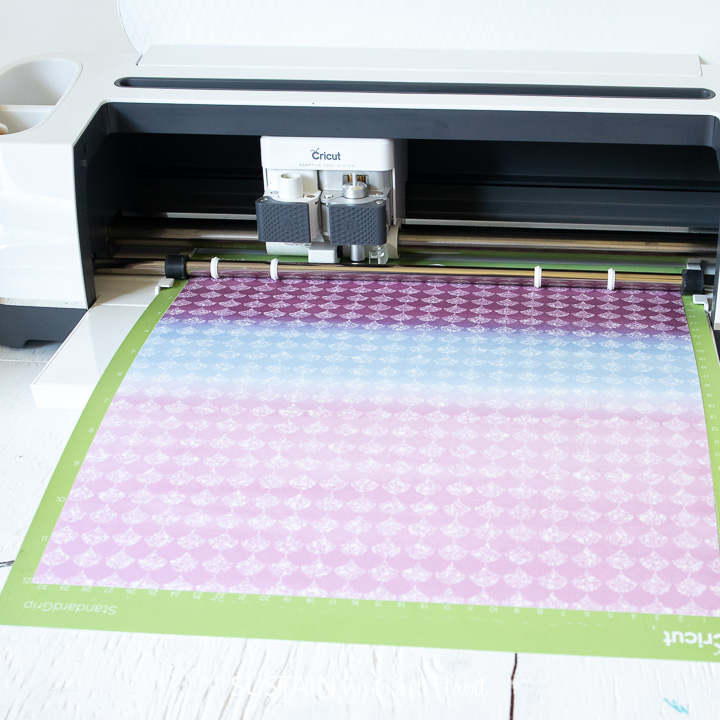
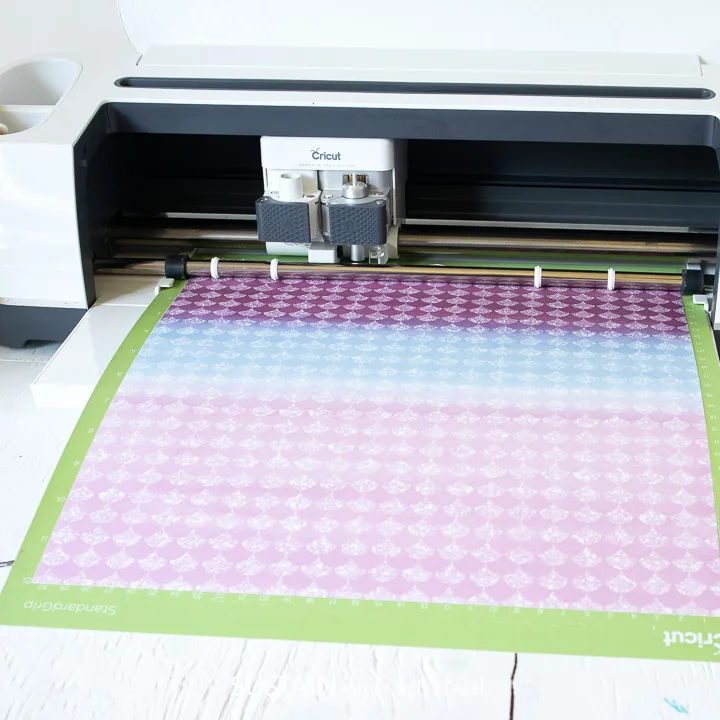
Ensure the fine point blade is inserted in the Maker and load the prepared mat.

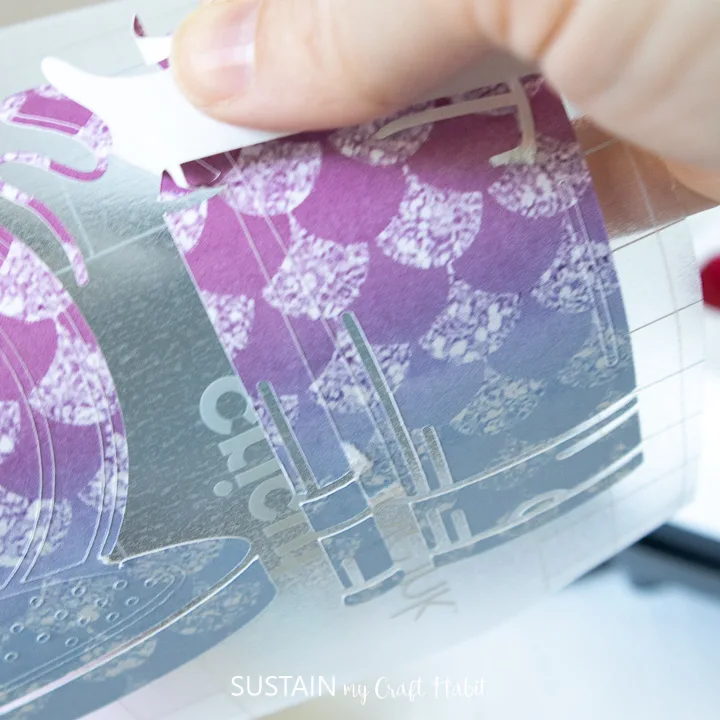
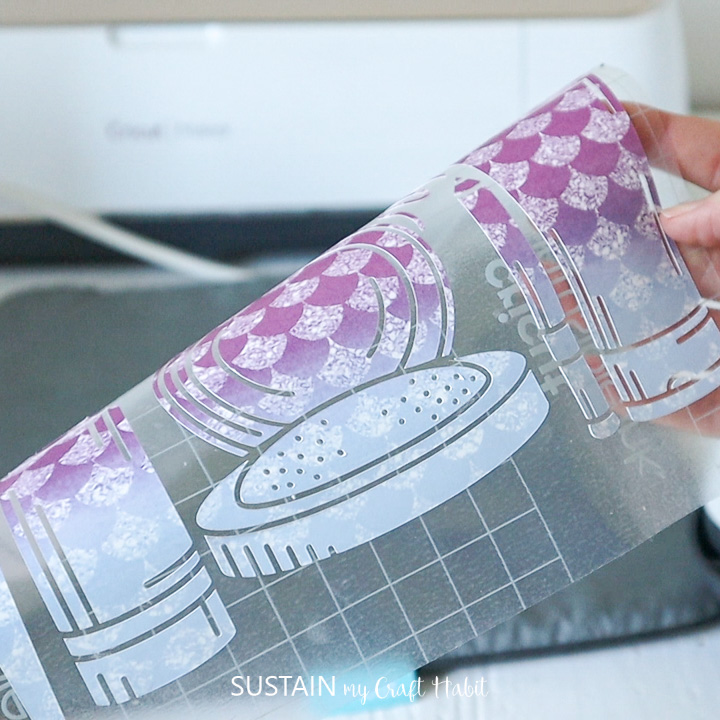
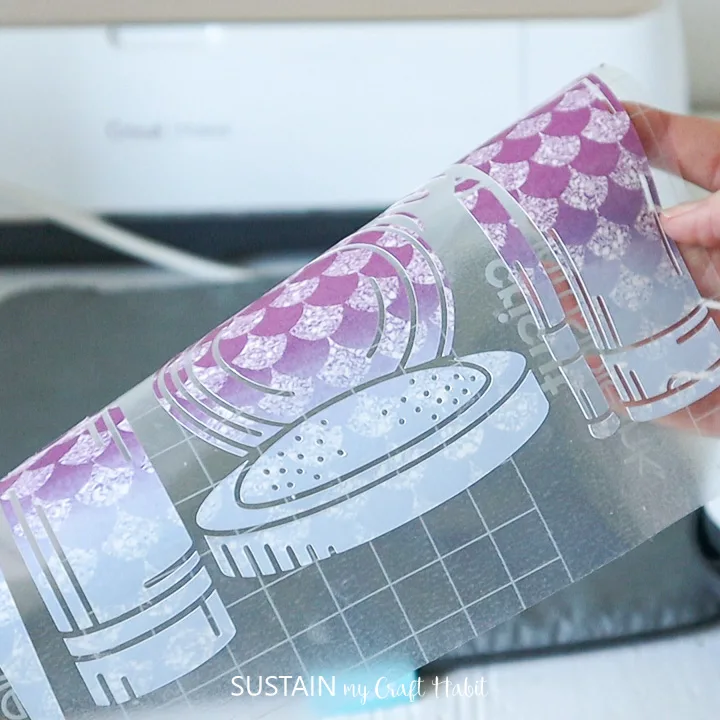
Unlike vinyl, there is no need to use the weeding tool with infusible ink transfer sheets.
Simply use your fingers to peel away the excess part of the cut design.
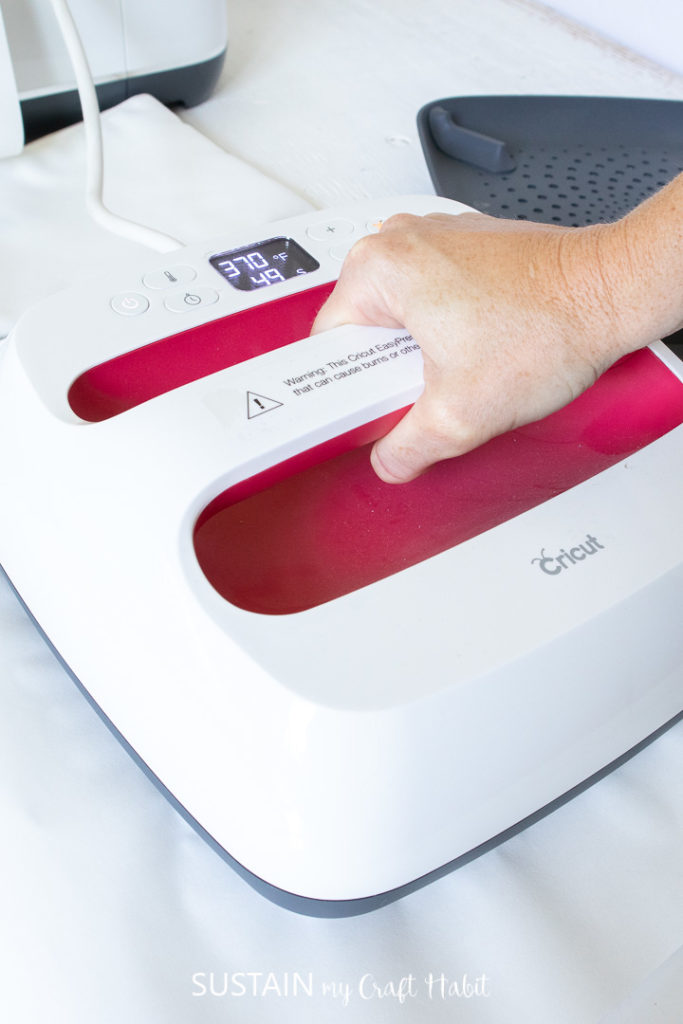
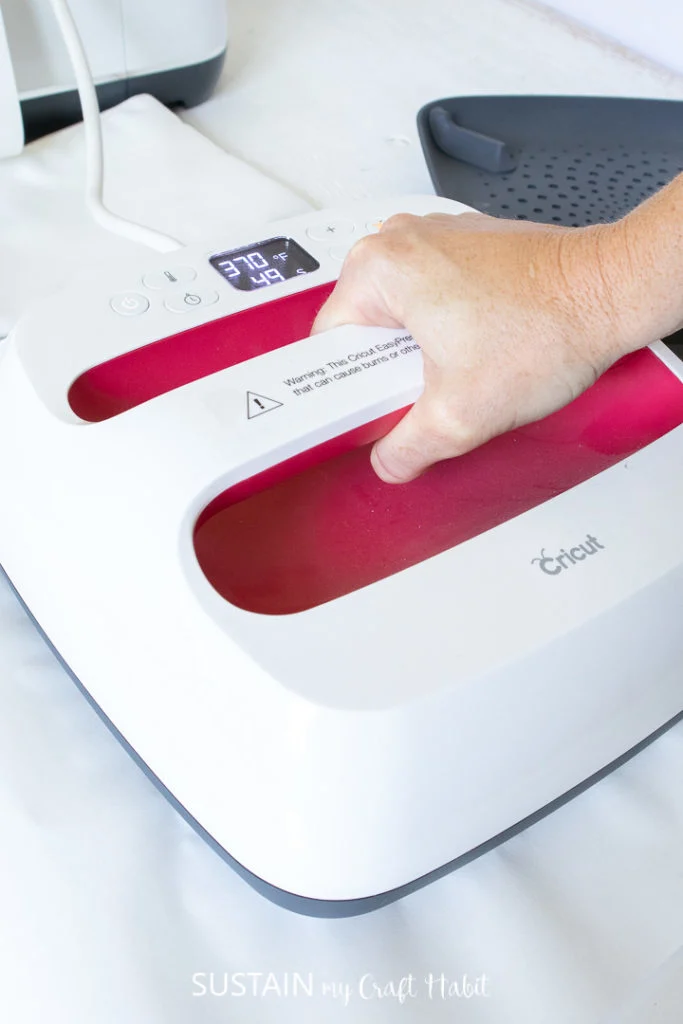
Preheat the EasyPress2 to 400F and set the time to 40 seconds.

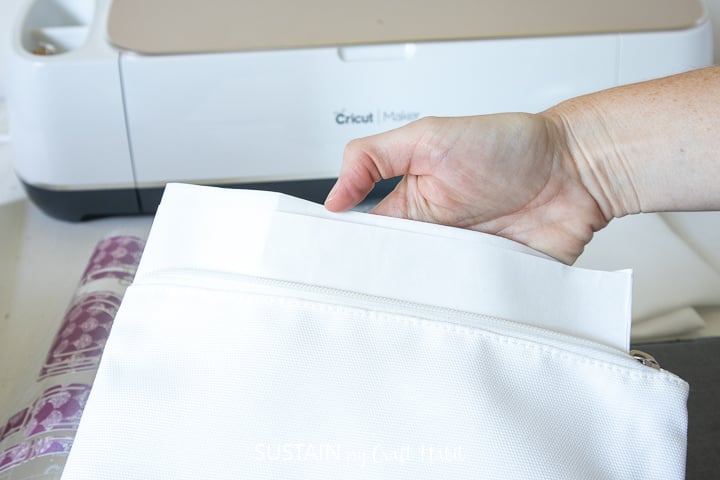
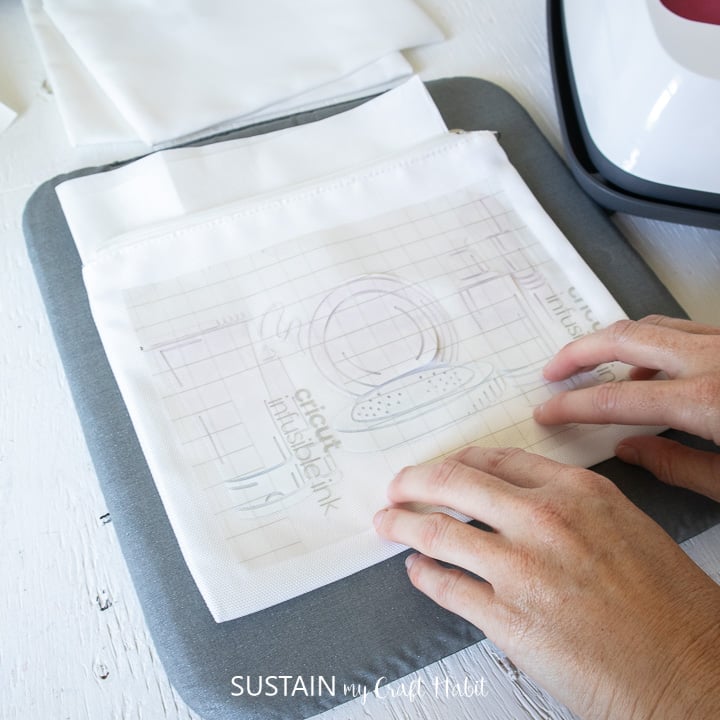
Place the bag down on top of the mat and insert the cardstock into the bag.
This is important in preventing bleedthrough from the ink.
Use the lint roller over the tote bag to eliminate any loose fibers before heat pressing.

Remove the butcher paper carefully as it may be warm to the touch.
Be sure to preheat all areas you will be placing the design.
Lift the press and carefully remove the butcher paper.
Wait for the surface to cool completely before peeling away the liner.
Which images would you like to embellish your makeup bag with?
Pin it for later!
How to Use Cricut Infusible Ink on a Cosmetic Bag
Materials1x2x3x
Instructions


Hello Beautiful Tote Bag
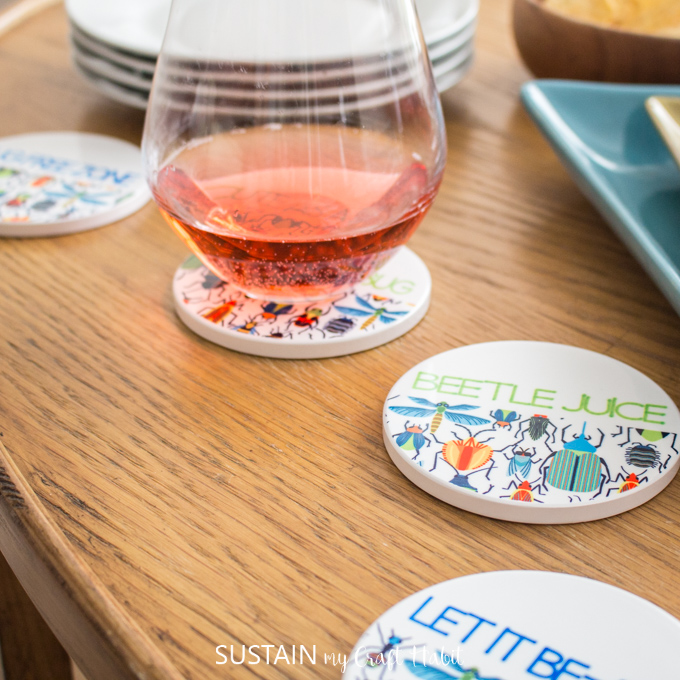
Ceramic Coasters with Infusible Ink


Personalized Trick or Treat Bags