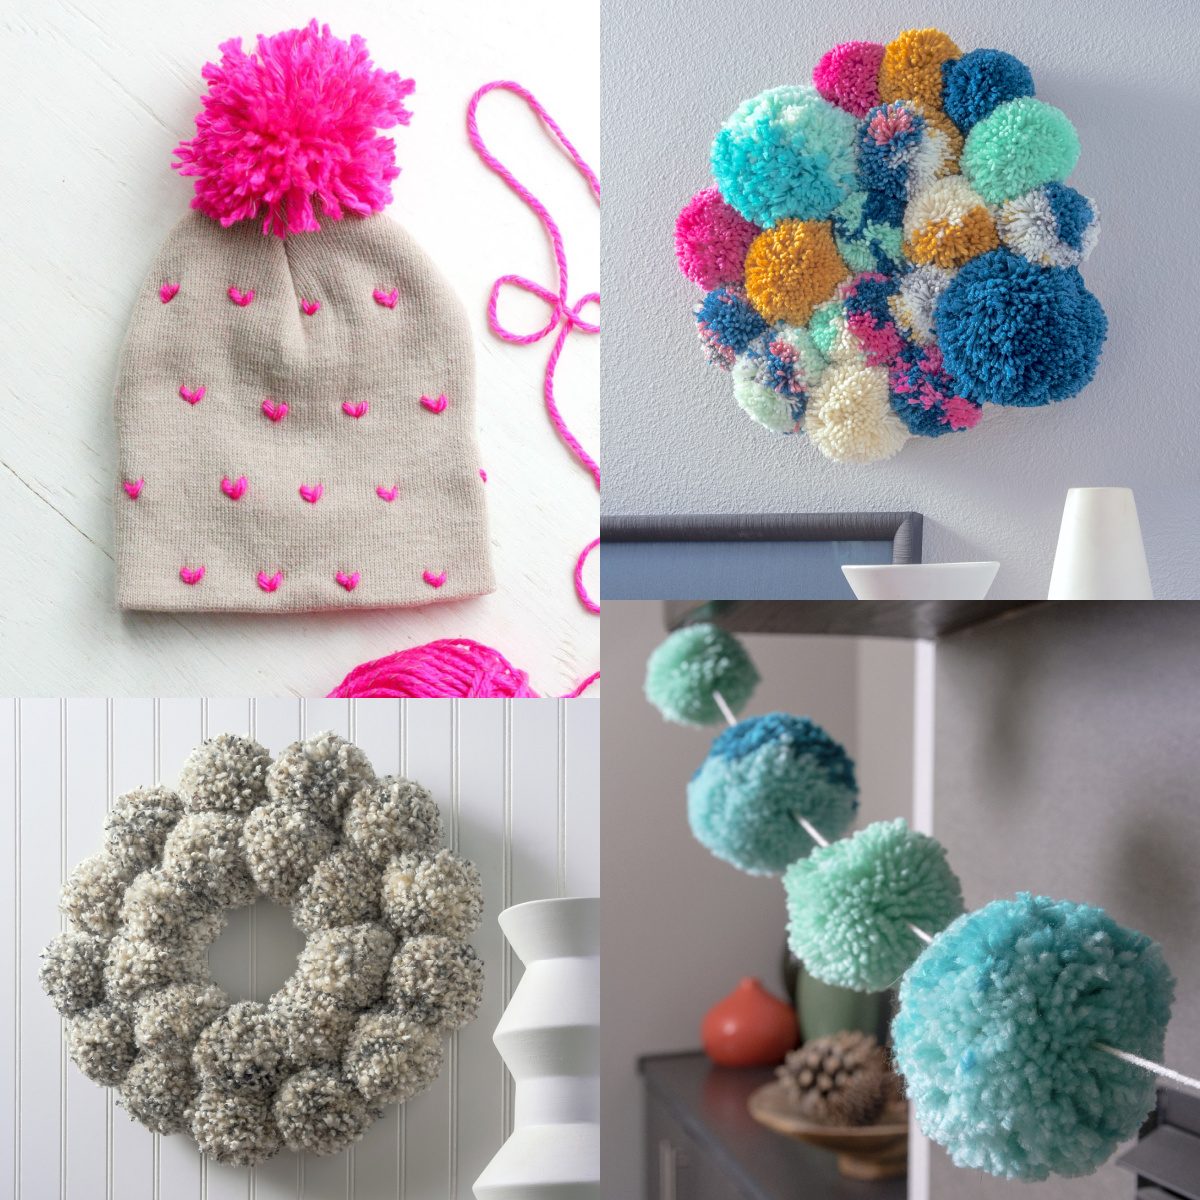
Learn how to use a pom pom maker with this tutorial!
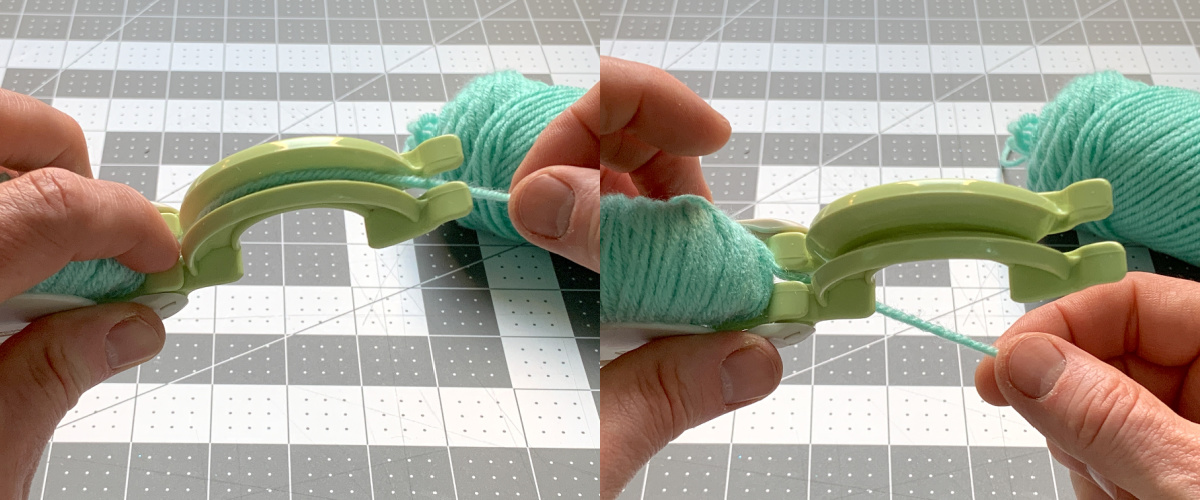
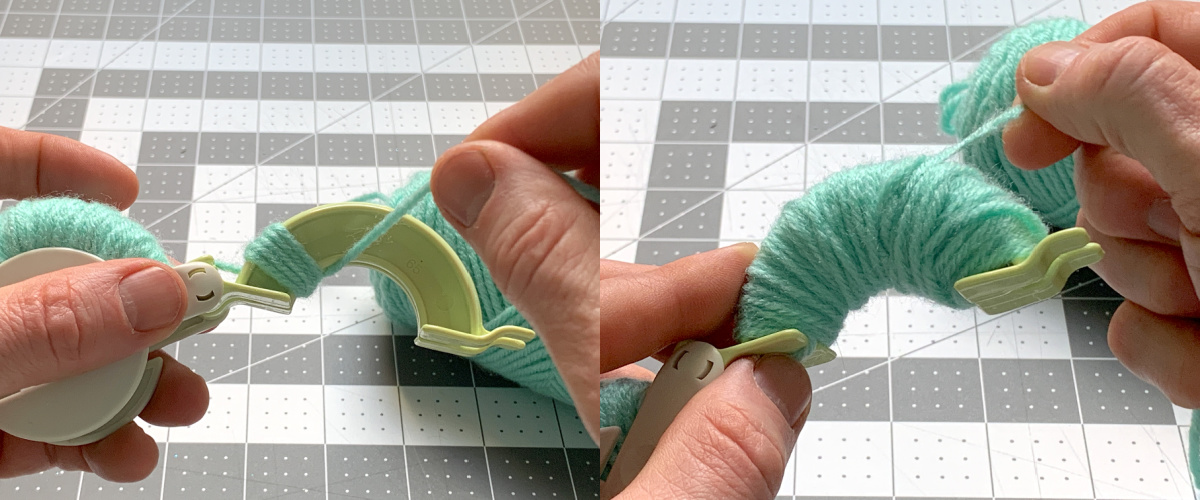
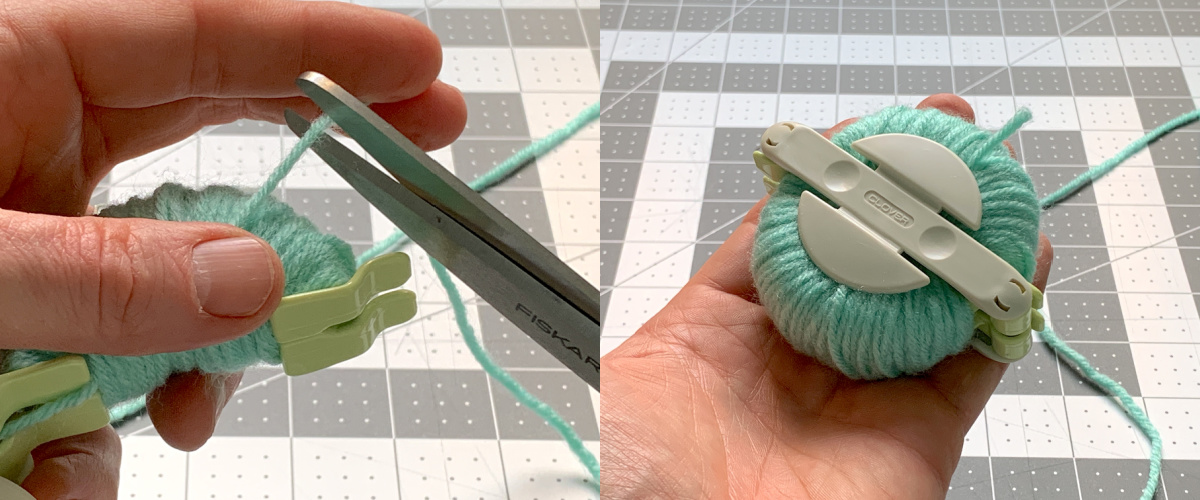
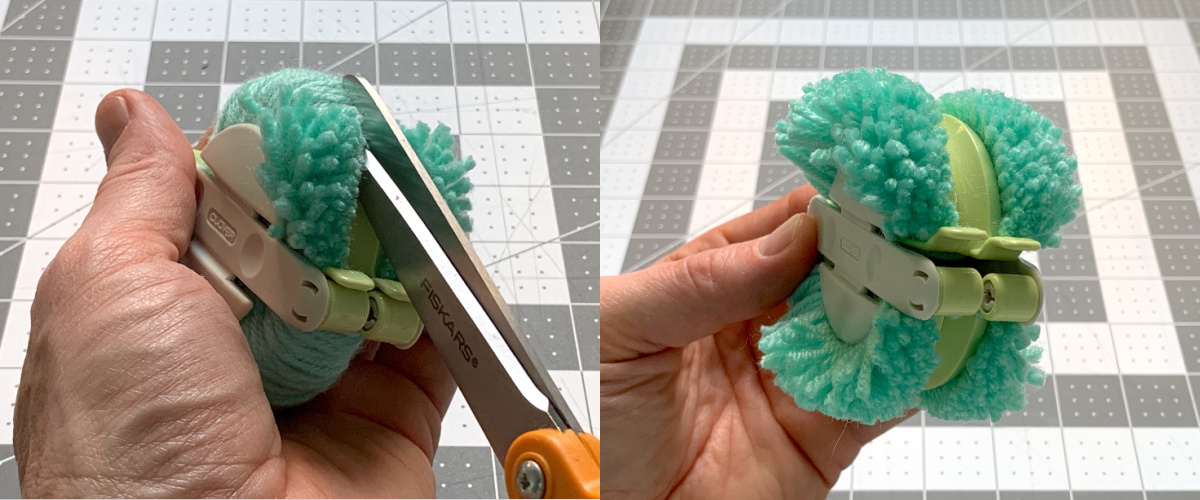
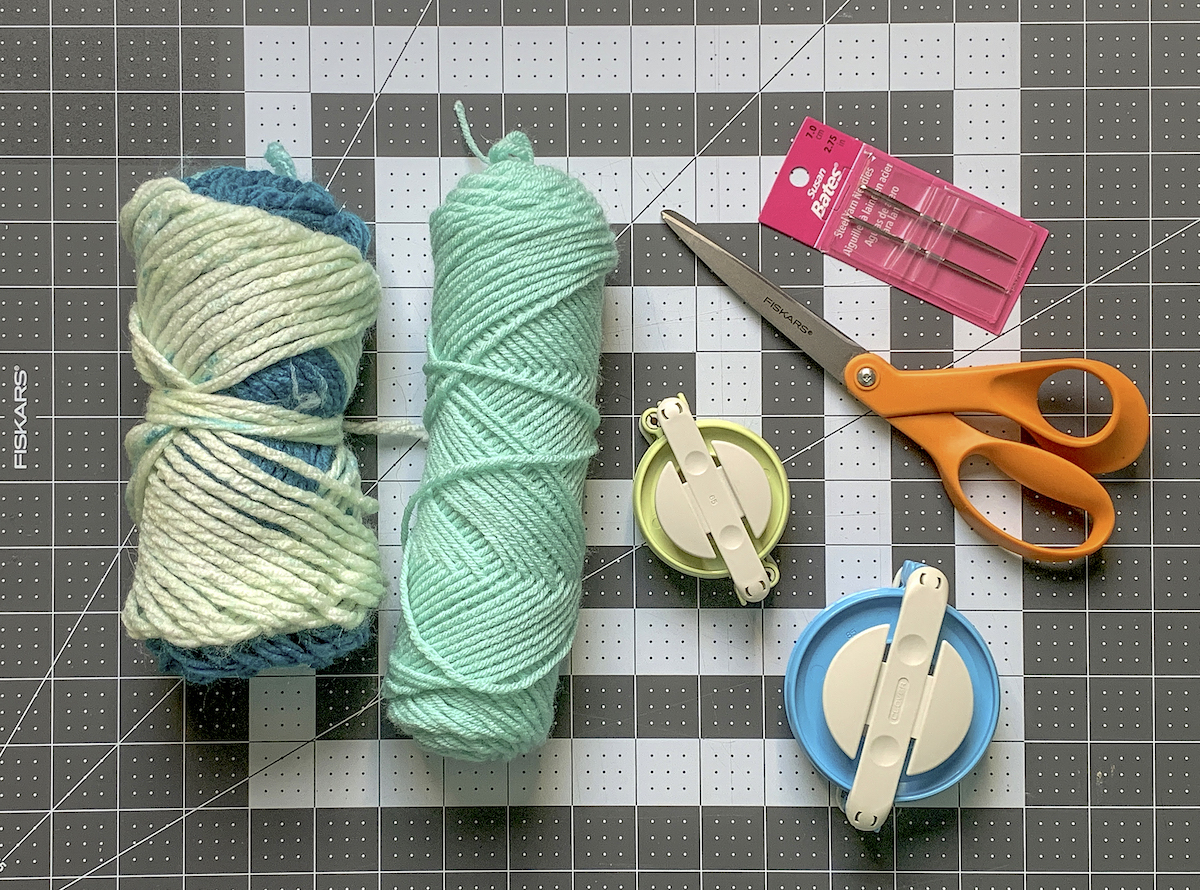
Youll be wrapping yarn on a plastic tool and then trimming.
Yes, that delightful little gadget that promises to transform ordinary yarn into spheres of joy.
If youve ever found yourself wondering, How do you use a pom pom maker?
(Spoiler alert: There isnt.)
Theres something magical about turning simple materials into something that brings smiles and color into our lives.
And lets be honest, who doesnt love a goodpom pom?
Gone are the days ofcardboardcircles and uneven trimming.
In this blog post, were diving deep into the heart of pom pom creation.
So, grab your pom pom tool, pick your favoriteyarncolors (the brighter, the better!
), and lets embark on this fluffy journey together.
You might just find yourself looking for excuses to add pom poms to everything in sight.
Visit ouryarn weight chartto learn more.
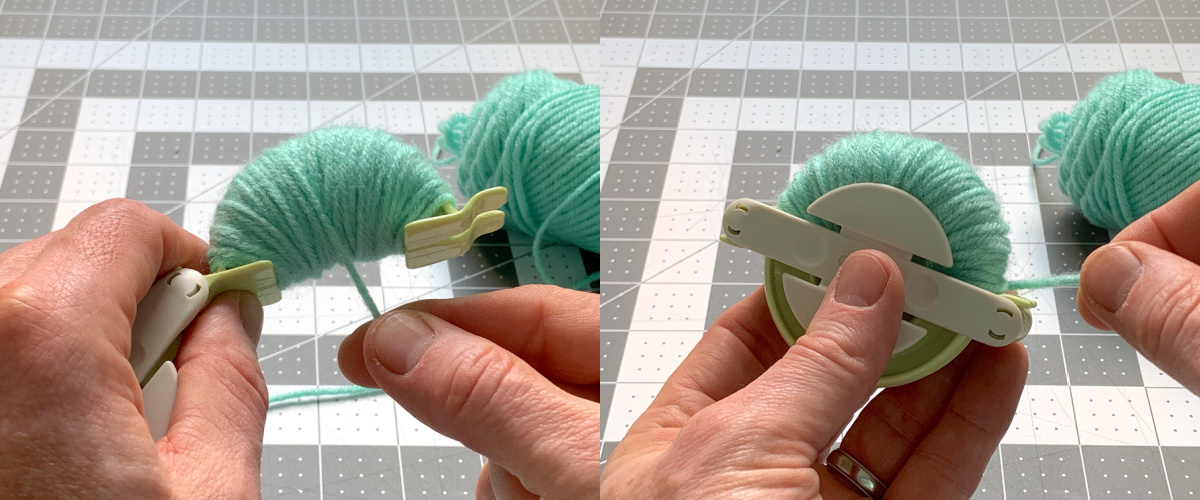
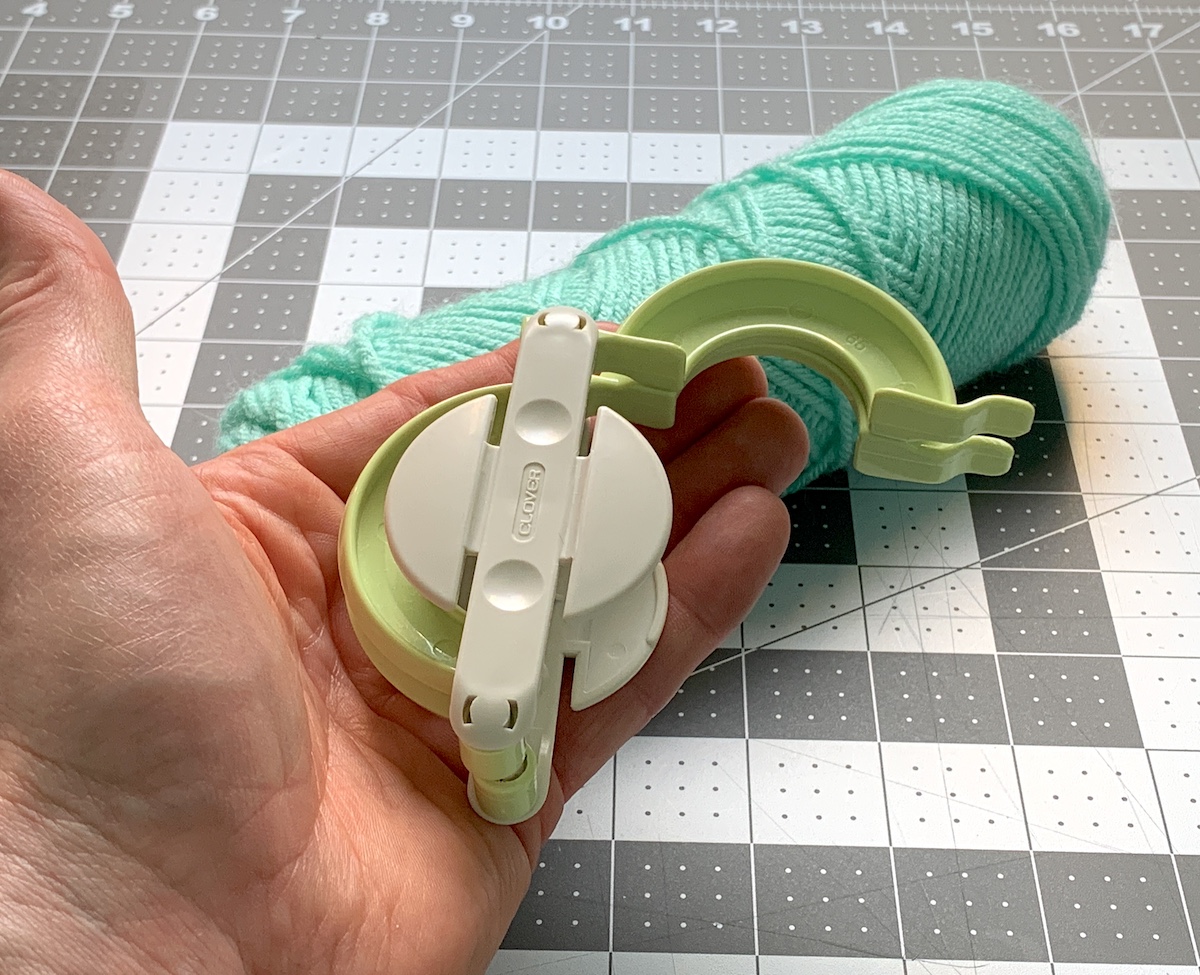
Use medium tension when wrapping the yarn on the arms of the tool.
You dont want the yarn too loose or too tight.
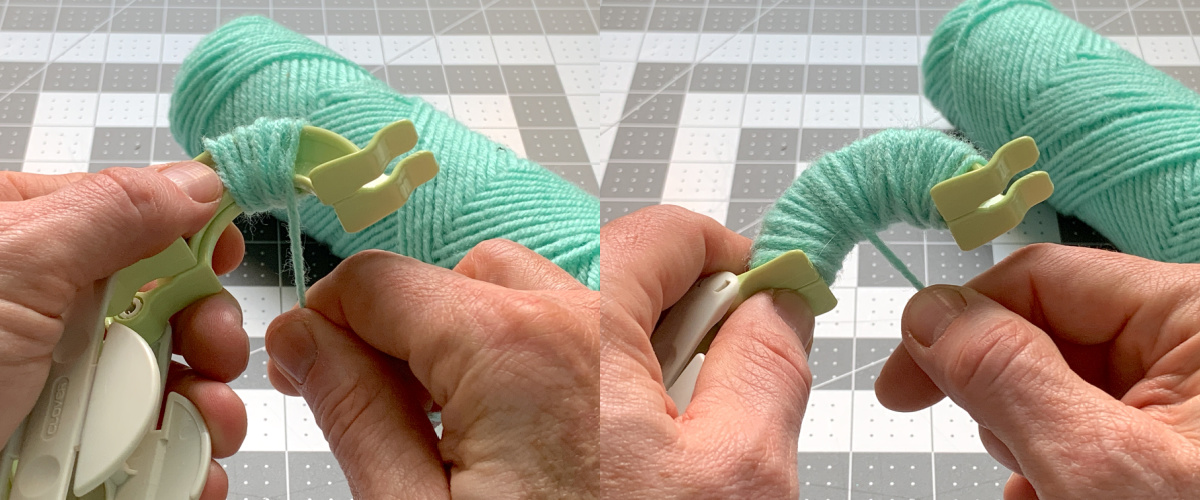
Keep it taut, but you dont need a death grip!
Once you make one pom pom, try experimenting by combining different yarn colors together.
Thats how you might make different shapes and patterns.