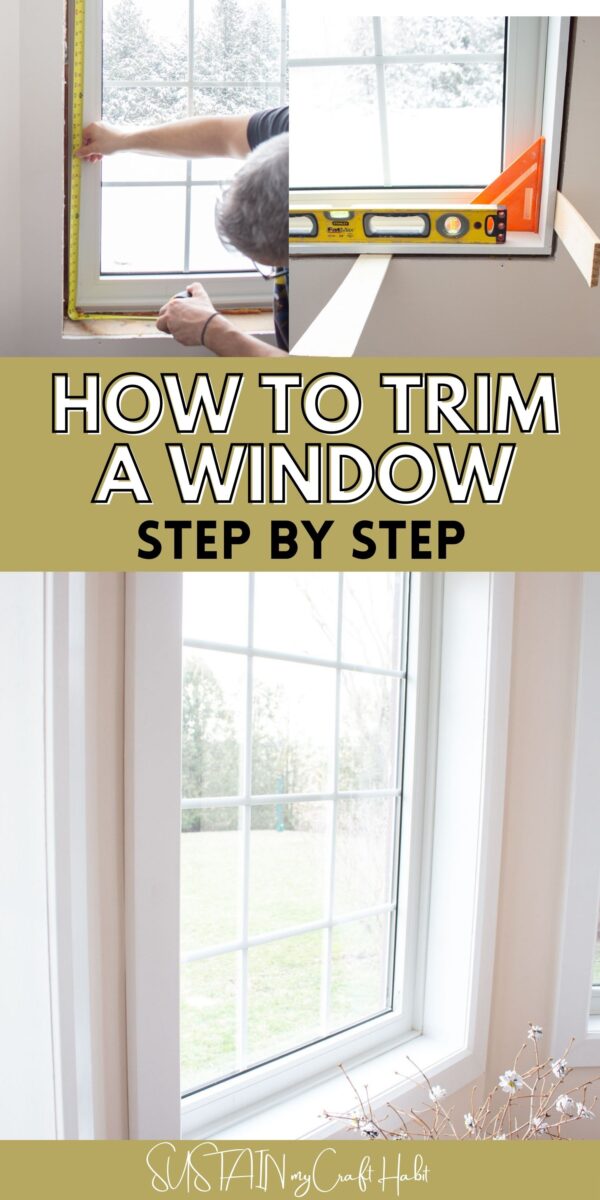
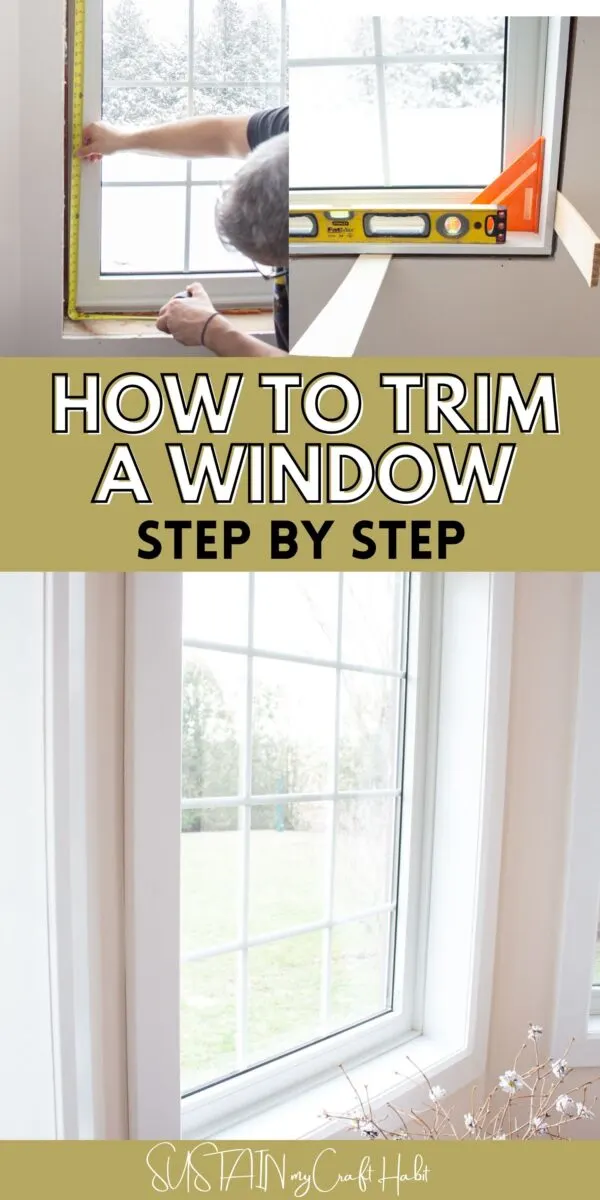
How to Trim Windows
As you may have noticed, the word new was in quotations.
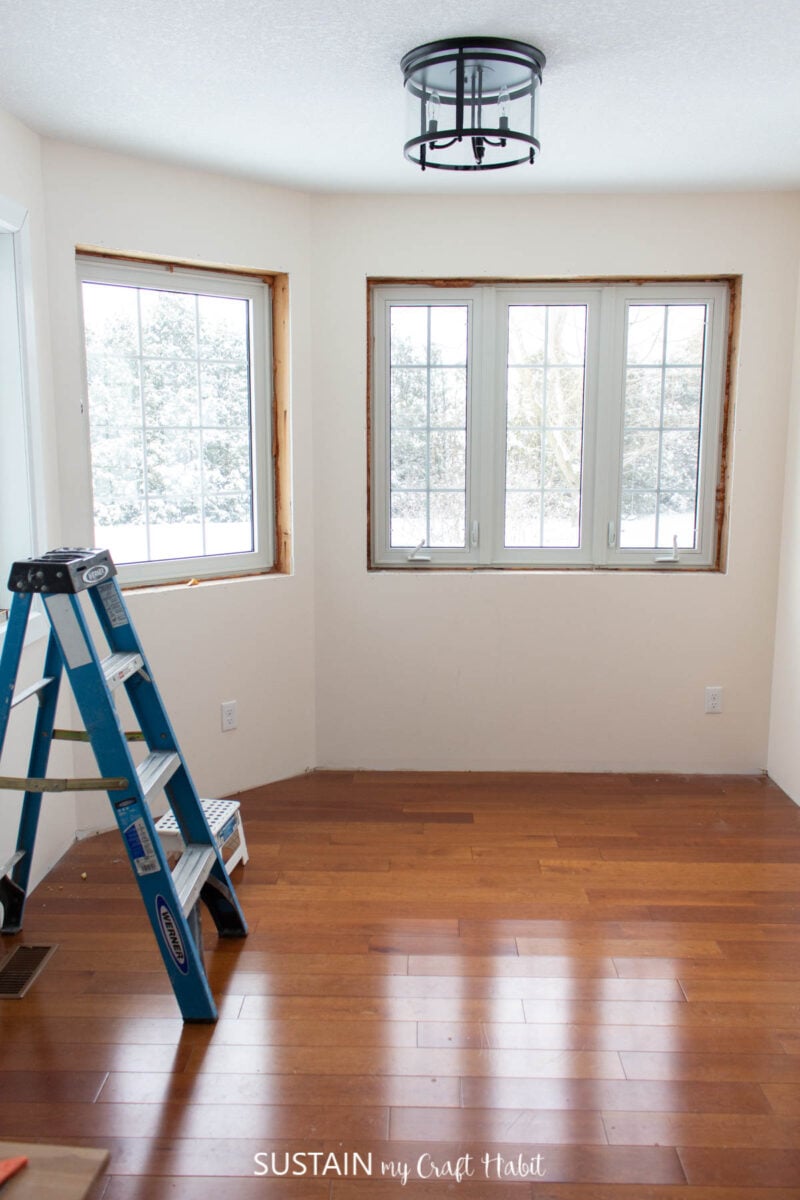
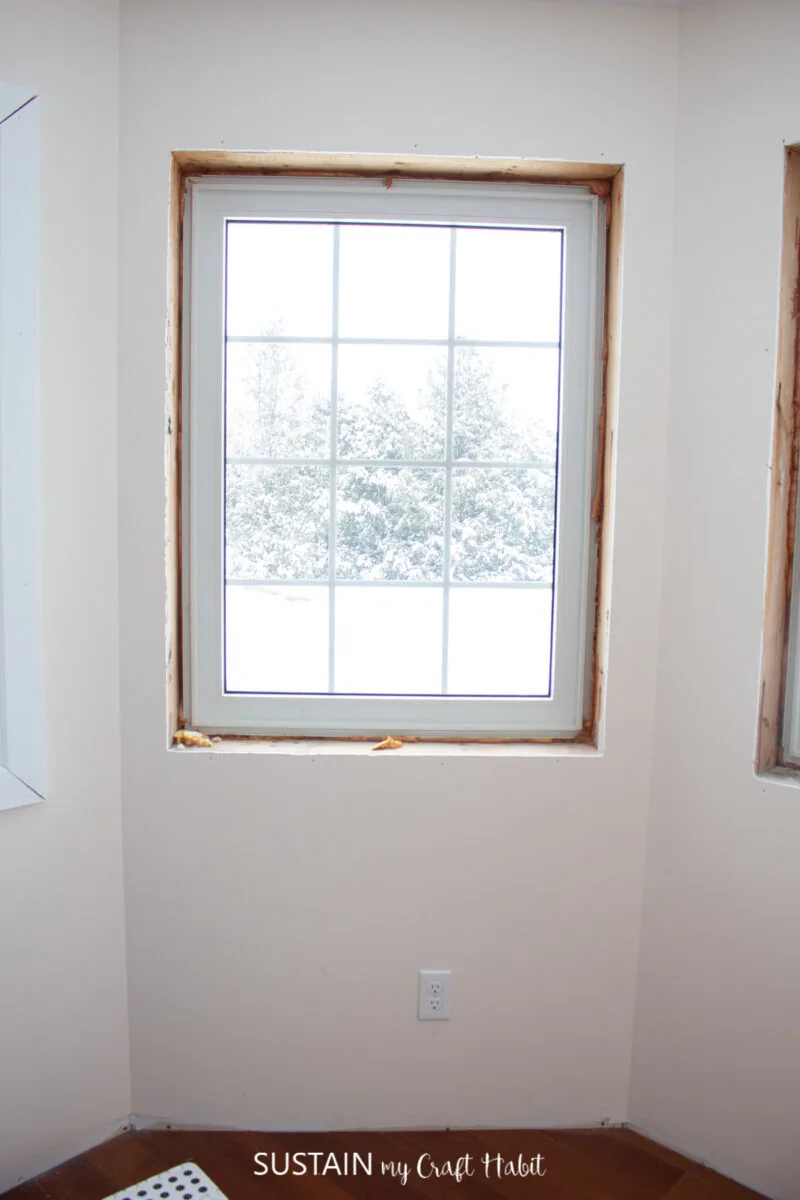
The house itself is about 12 years old yet the interior of the home was never fully completed.
This included things like adding baseboards, painting and trimming the windows.
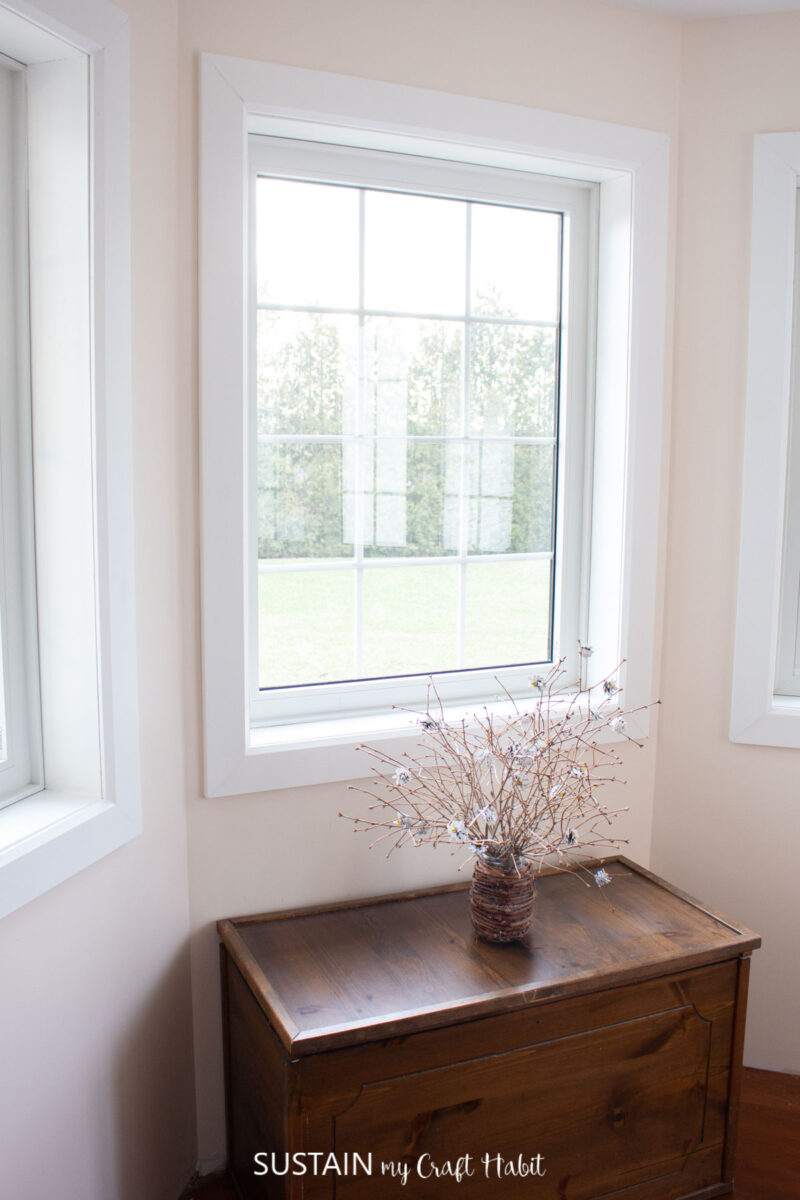
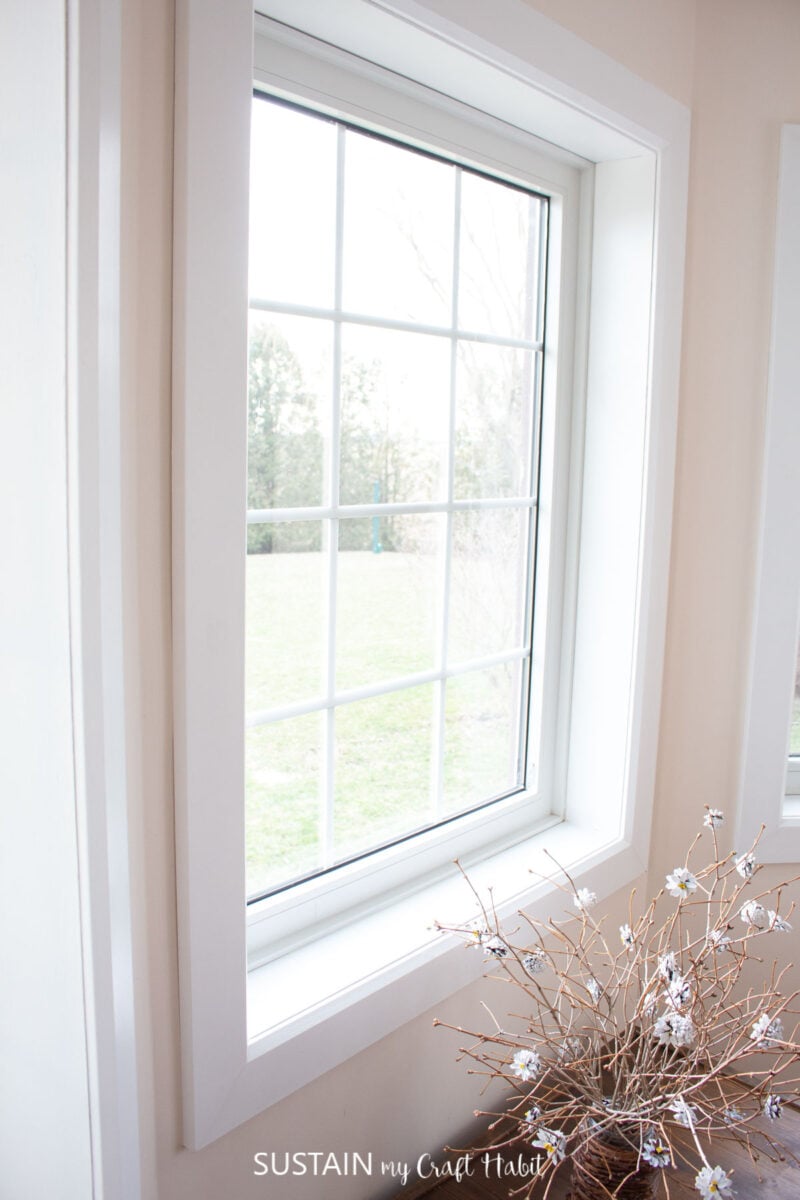
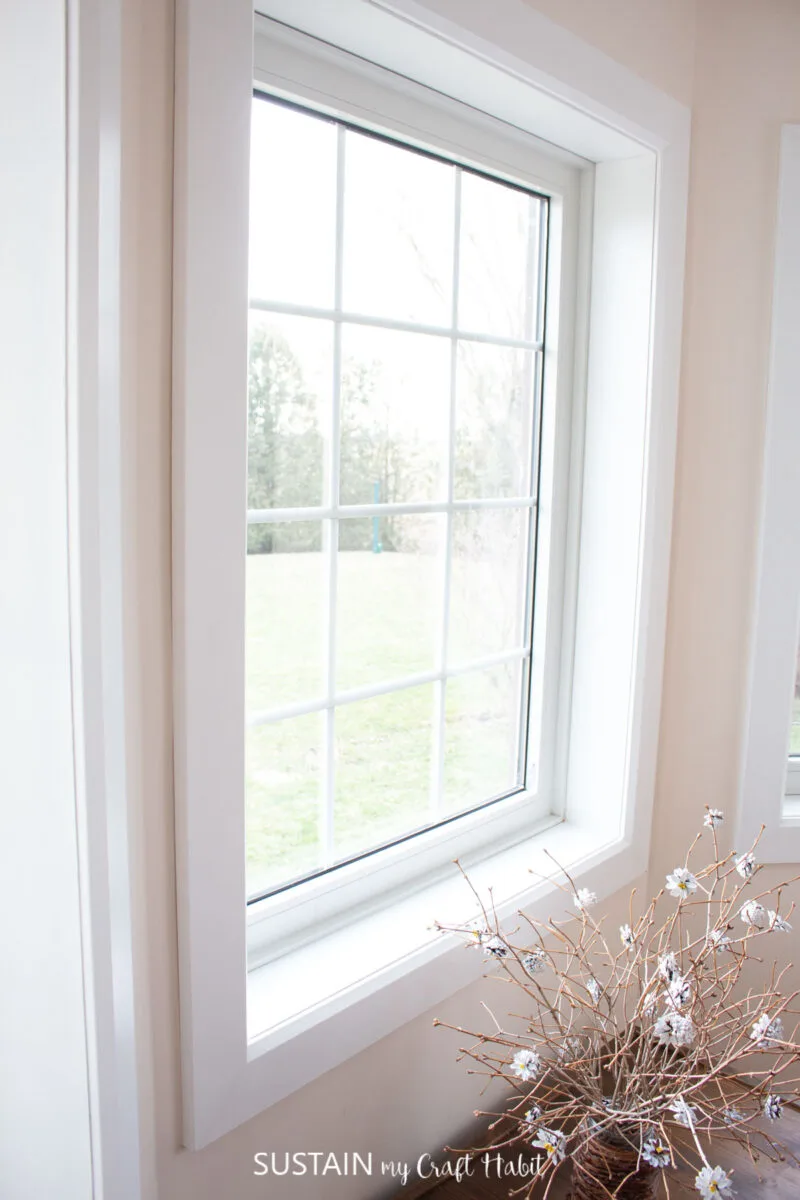
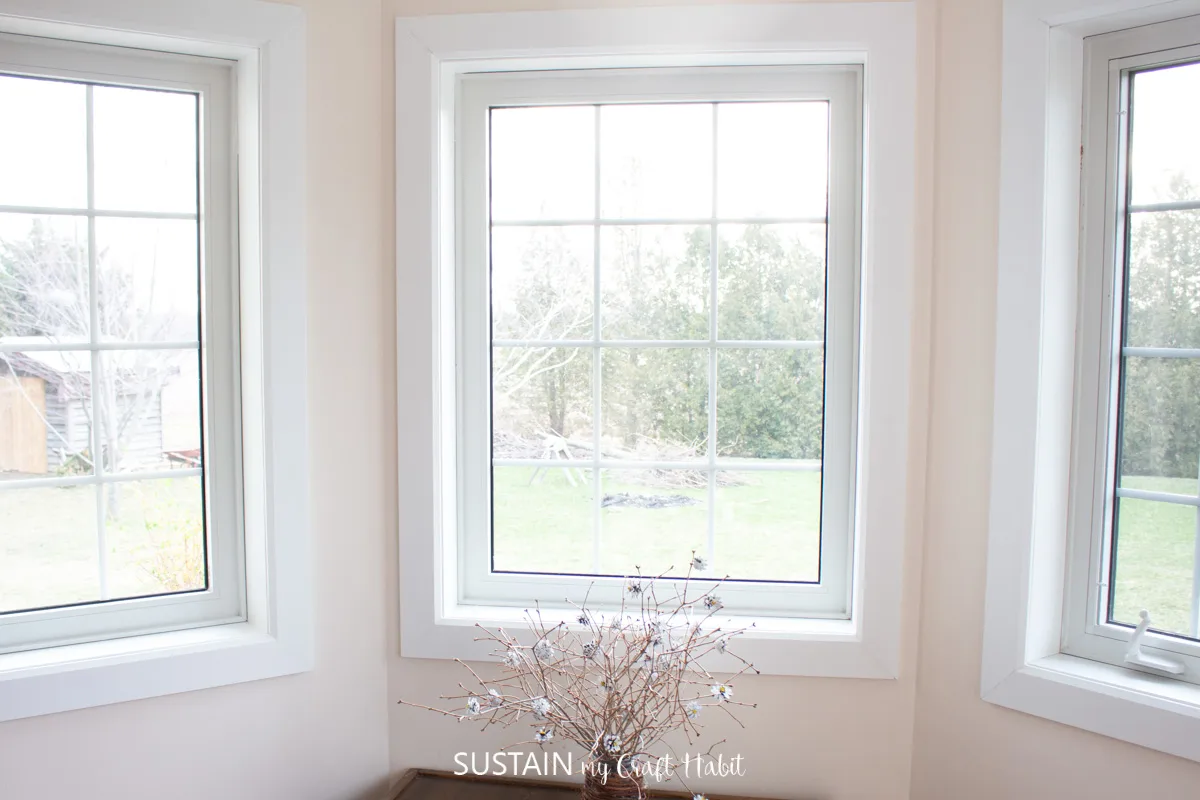
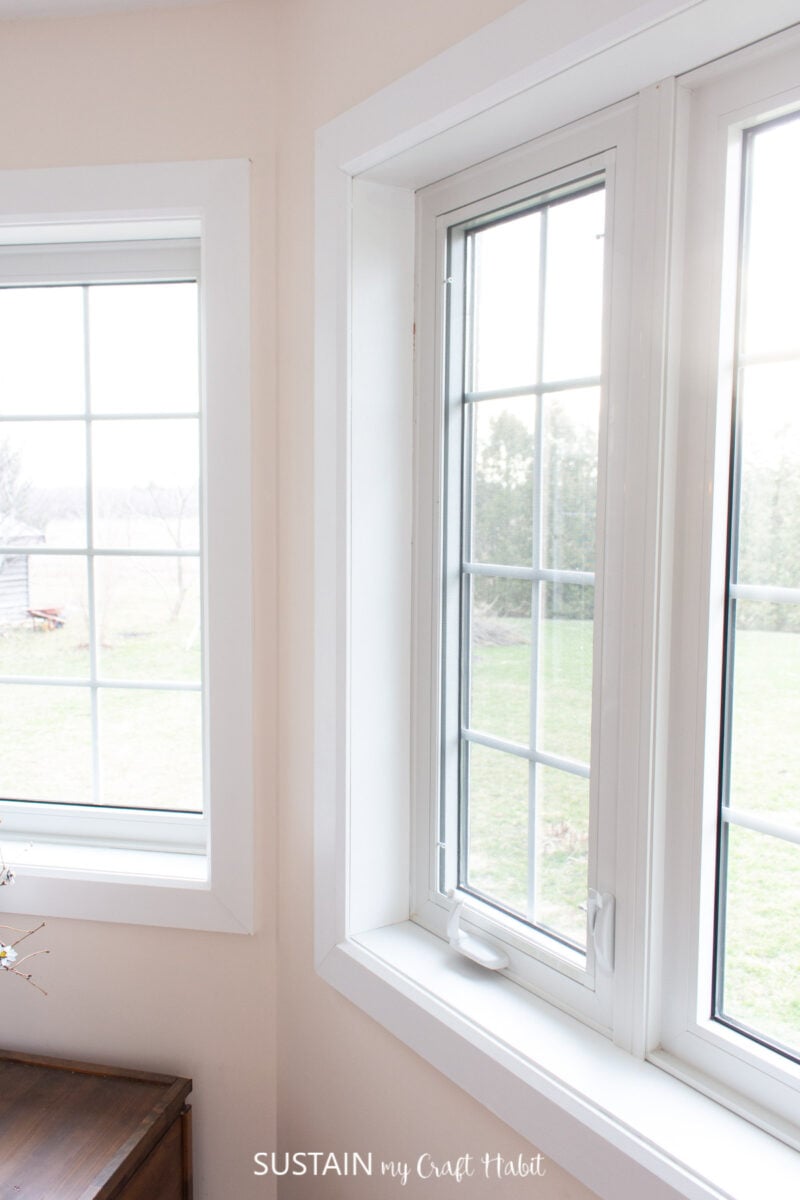
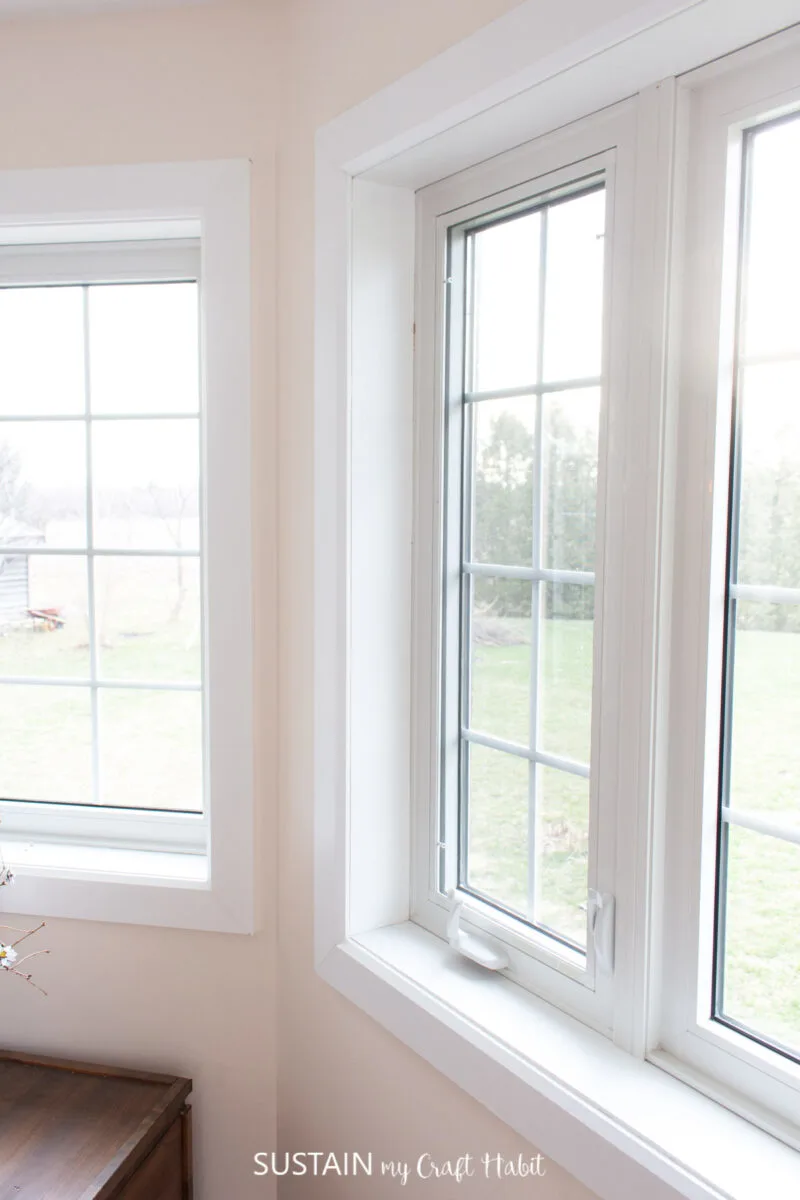
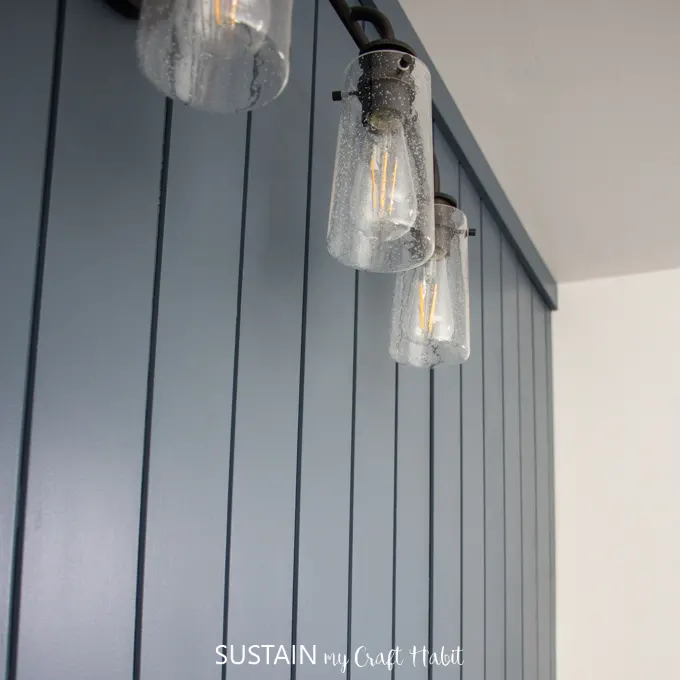
The after
We promise to send you only the good stuff!
And what a difference a finished window can make!
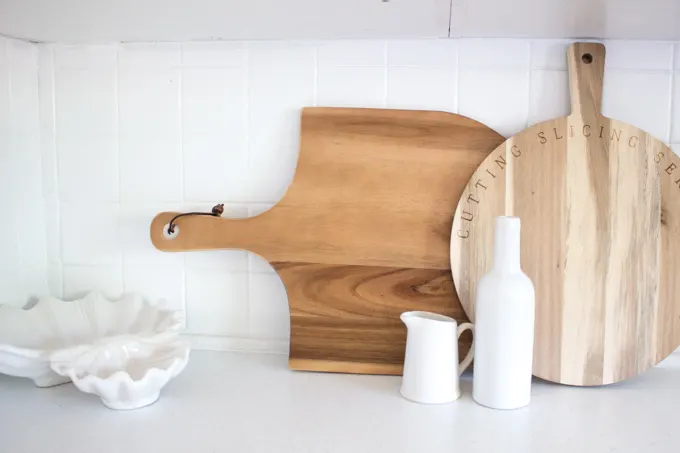
Materials Needed:
Disclosure: This post contains affiliate links for your shopping convenience.
you might readour full disclosure policy here.
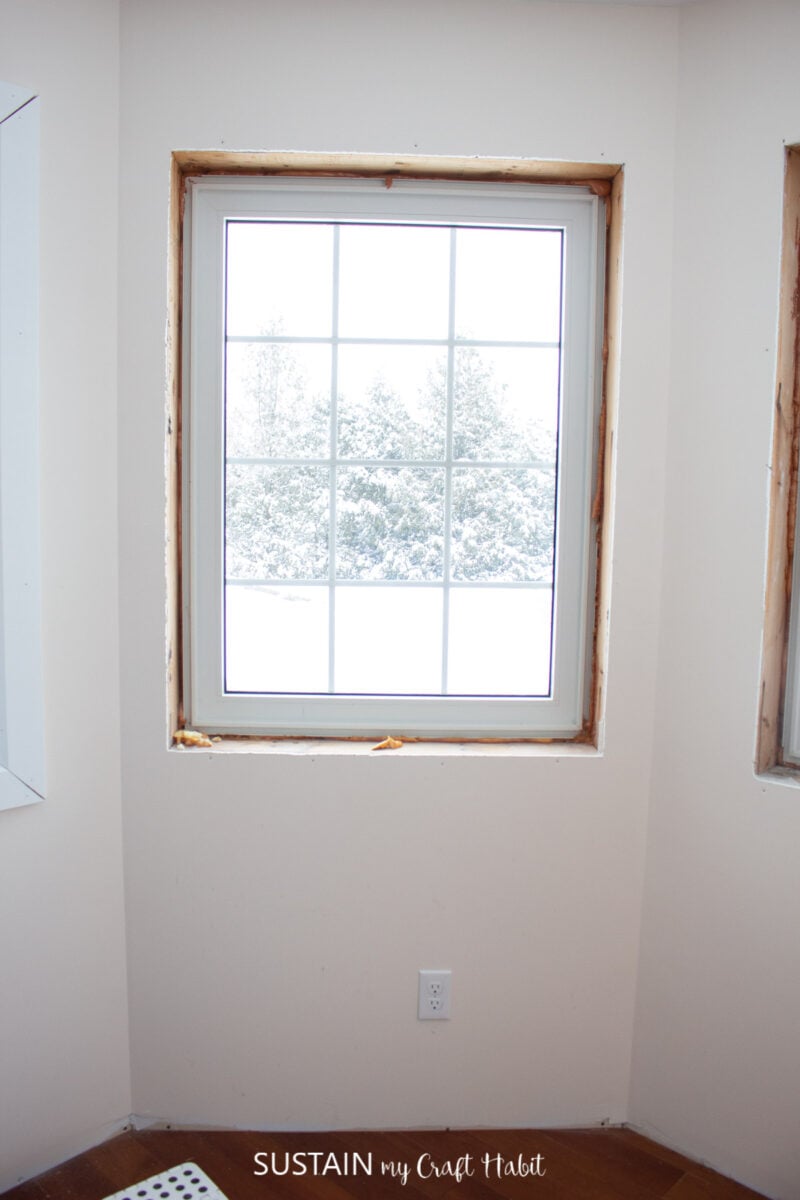
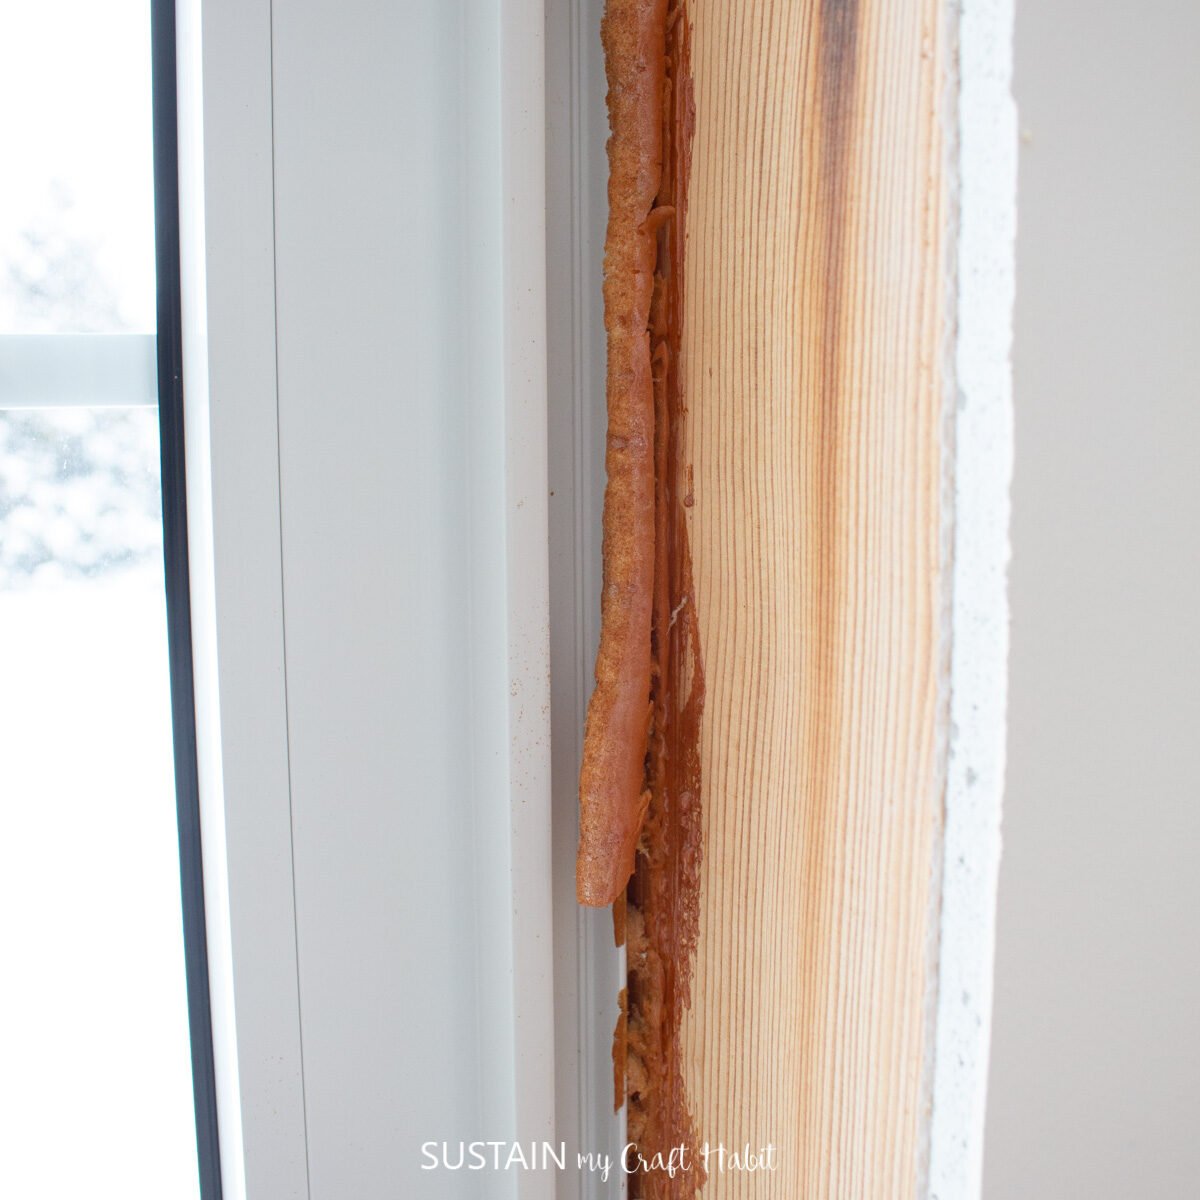
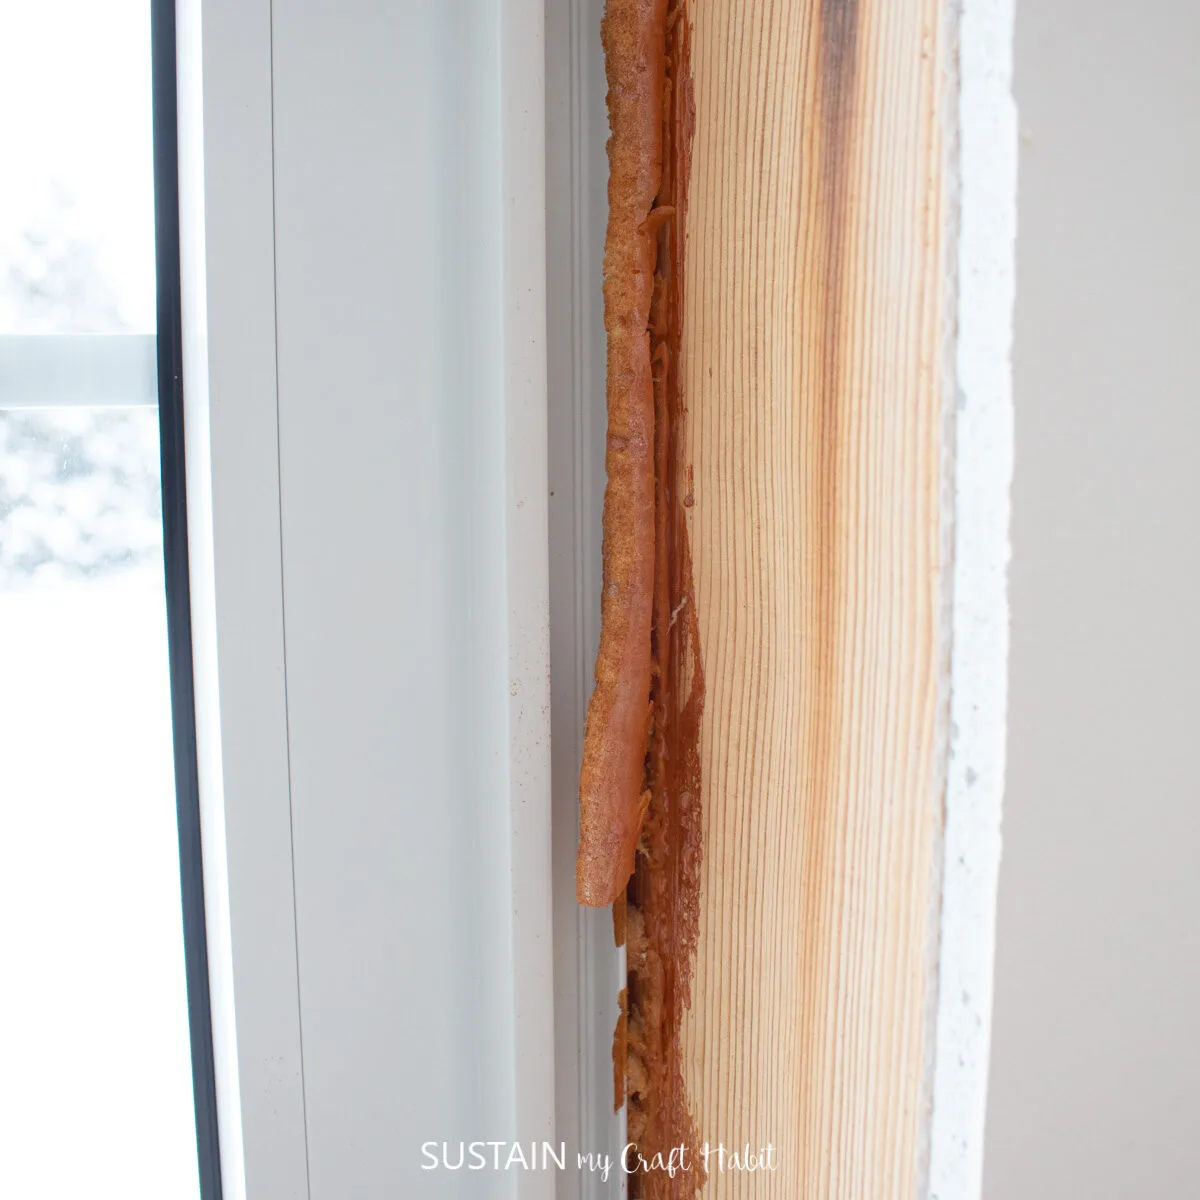
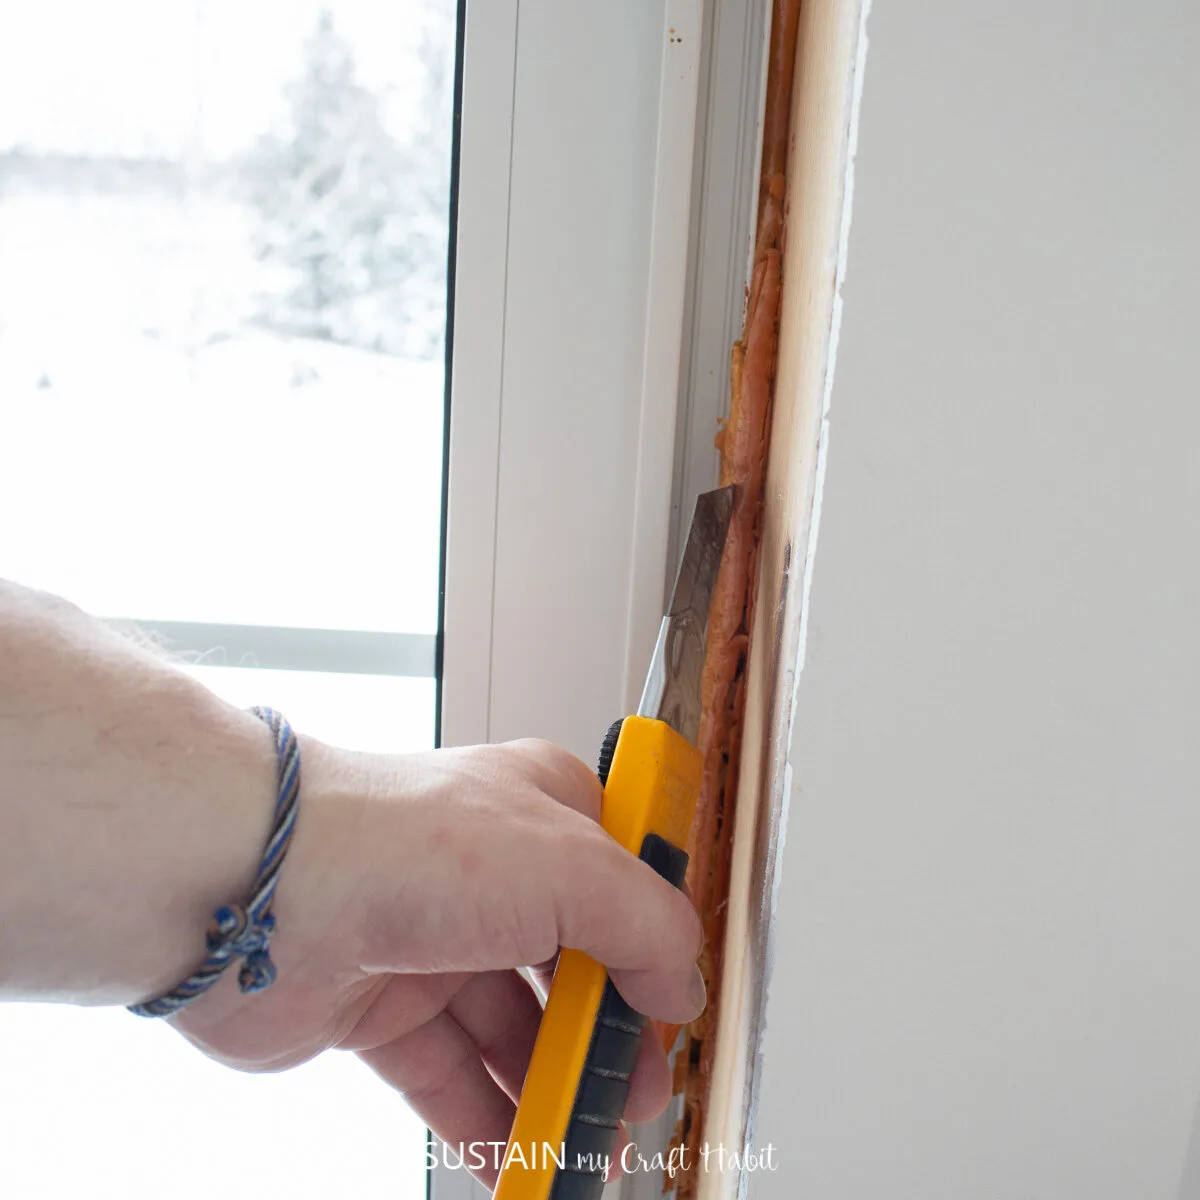
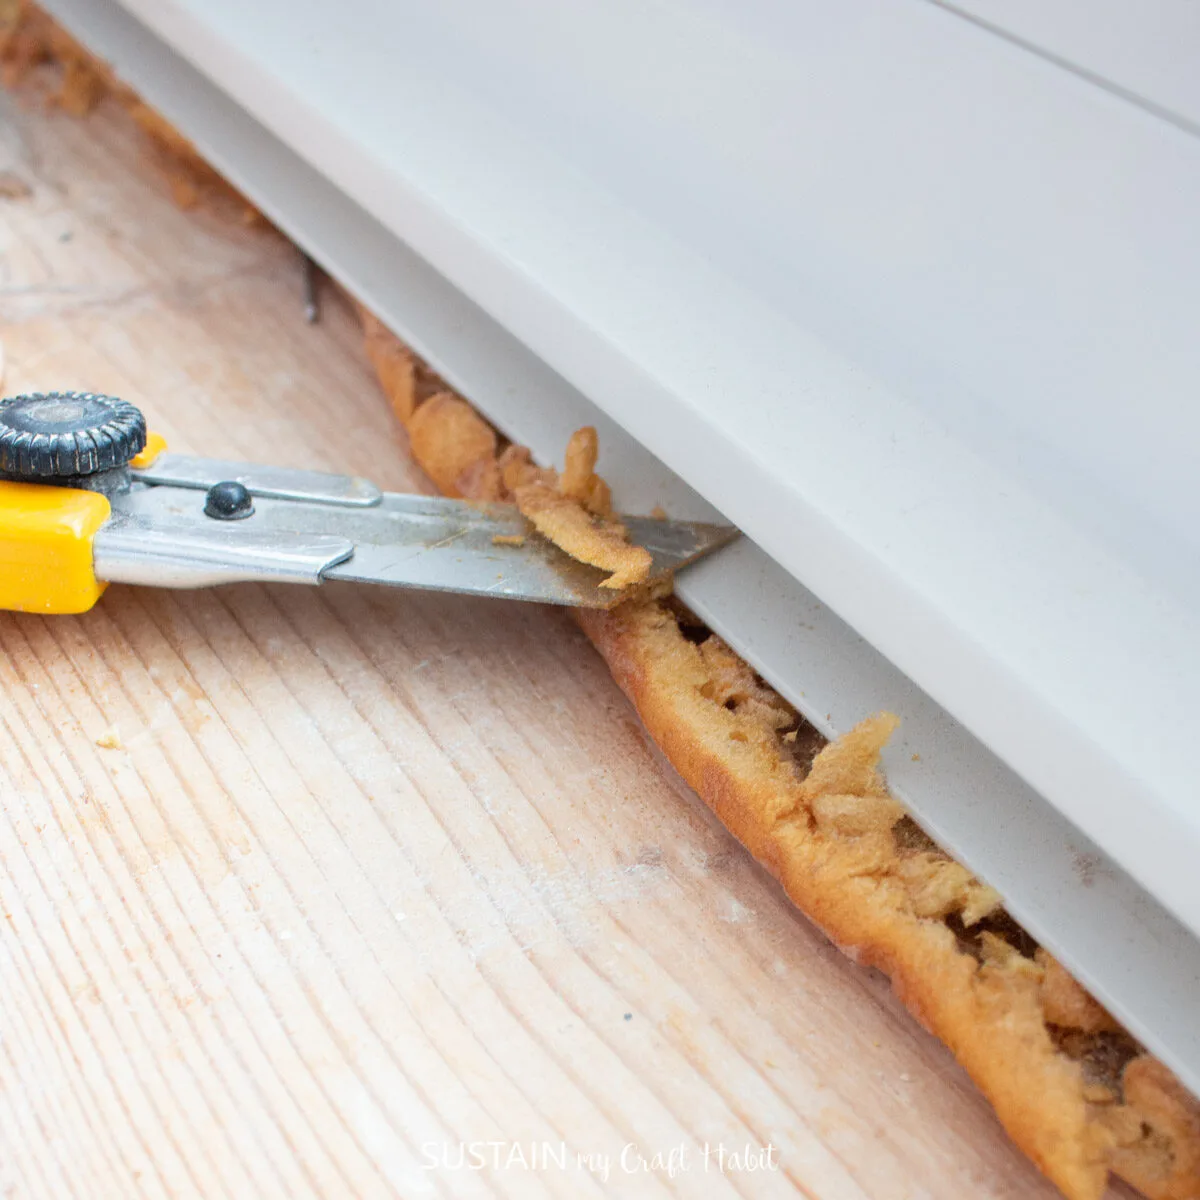
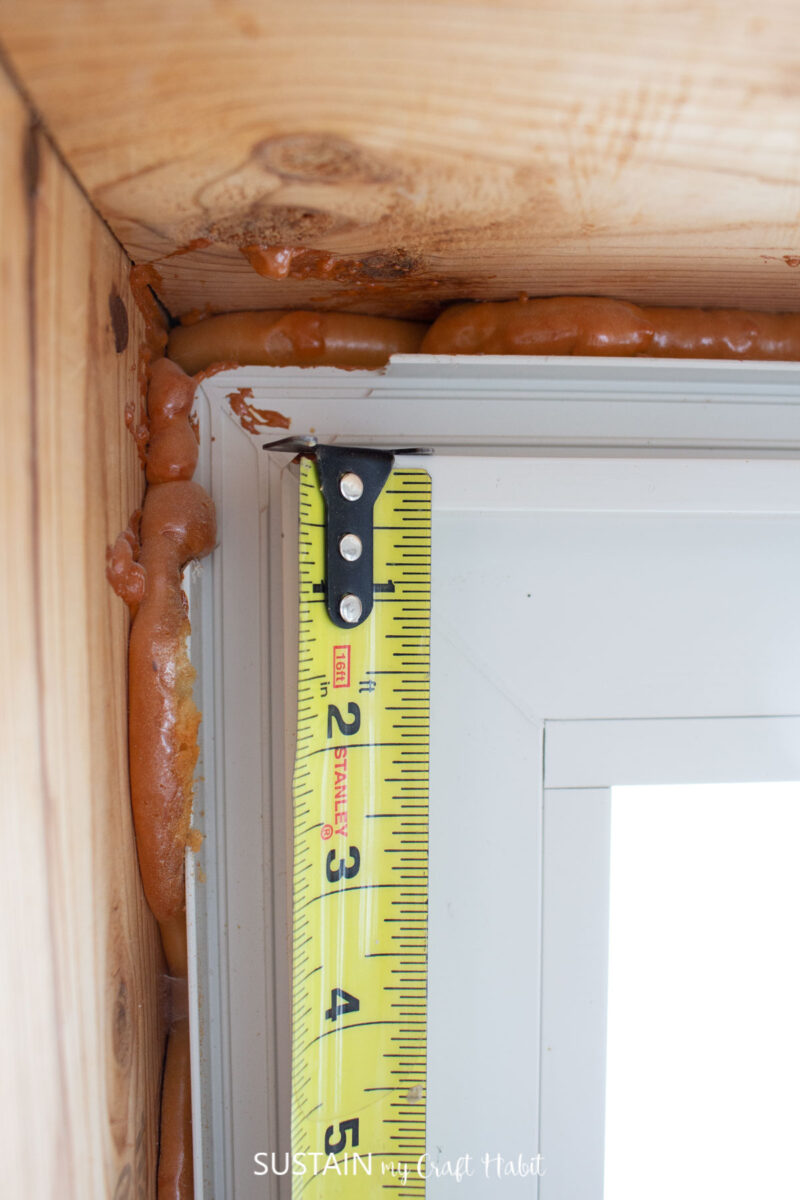
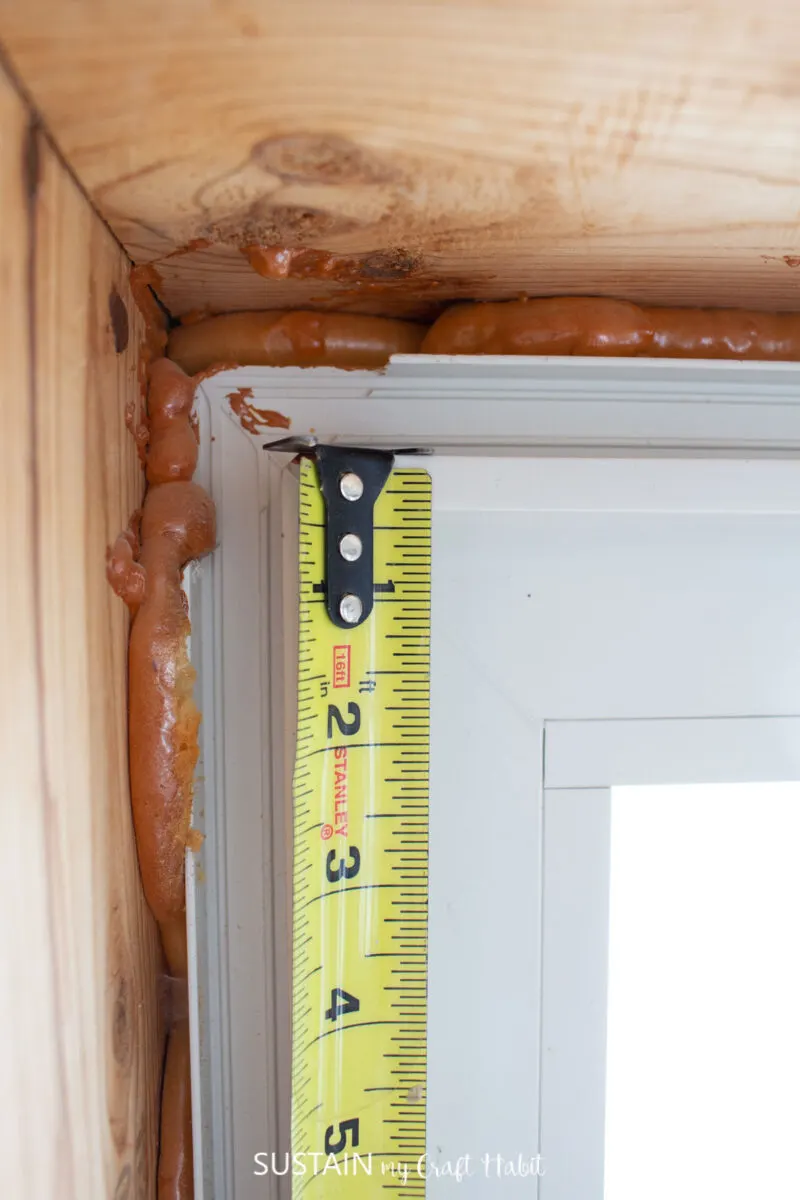
The interior casing covers the frame and any spray foam that is visible.
The spray foam in case youre wondering insulates the area around the windows to keep the cold air out.
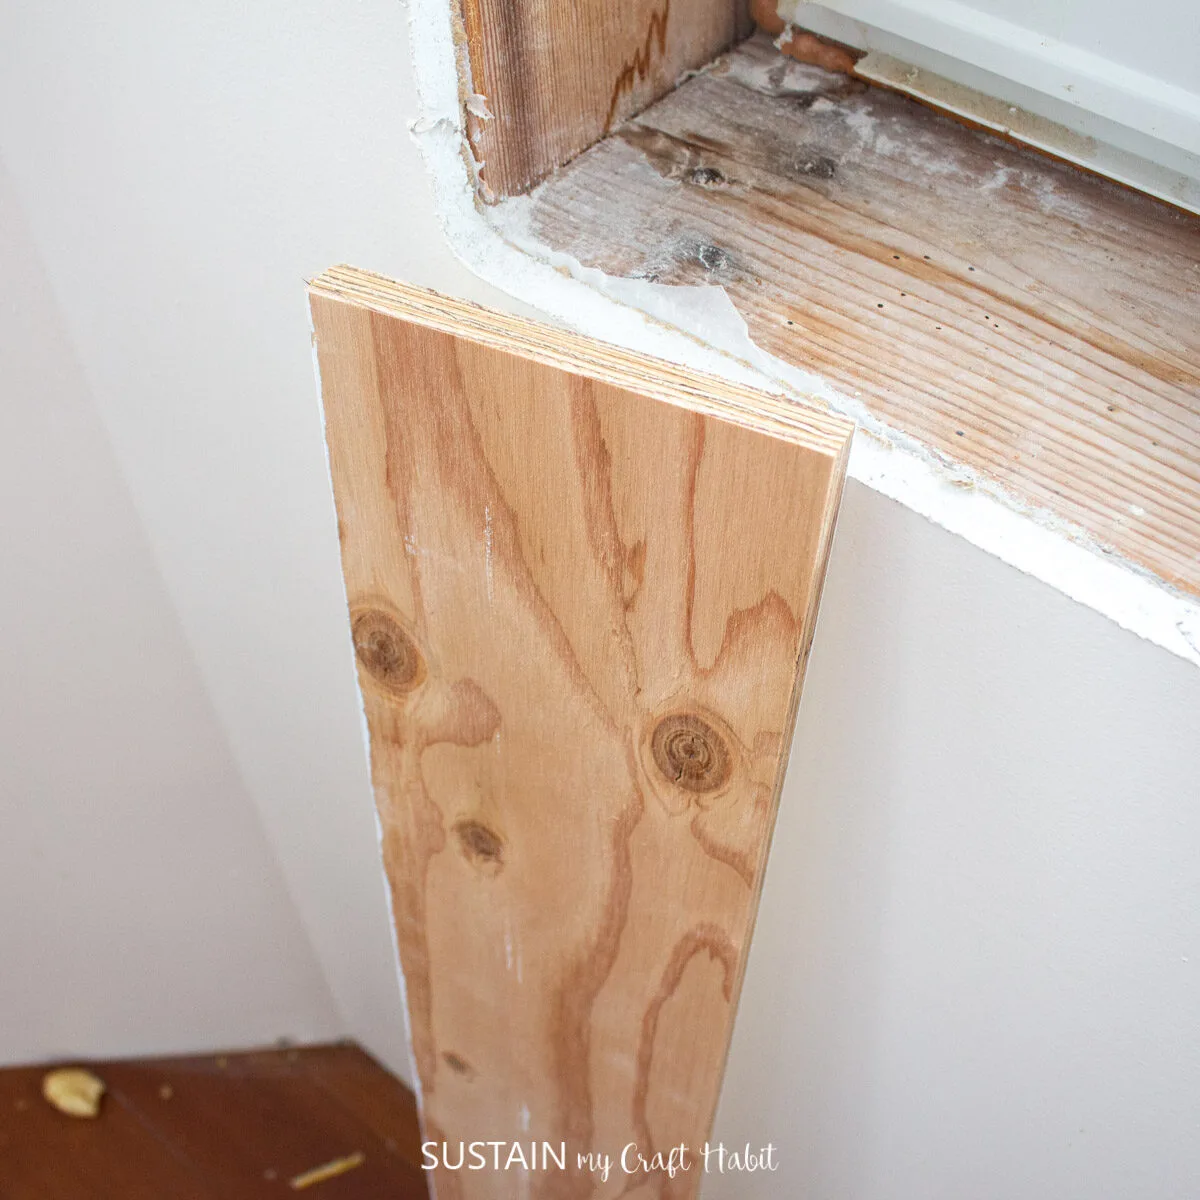
The interior window jambs are the pieces around the window that cover the ugly 24 frame.
This proved to be harder to find than we expected!
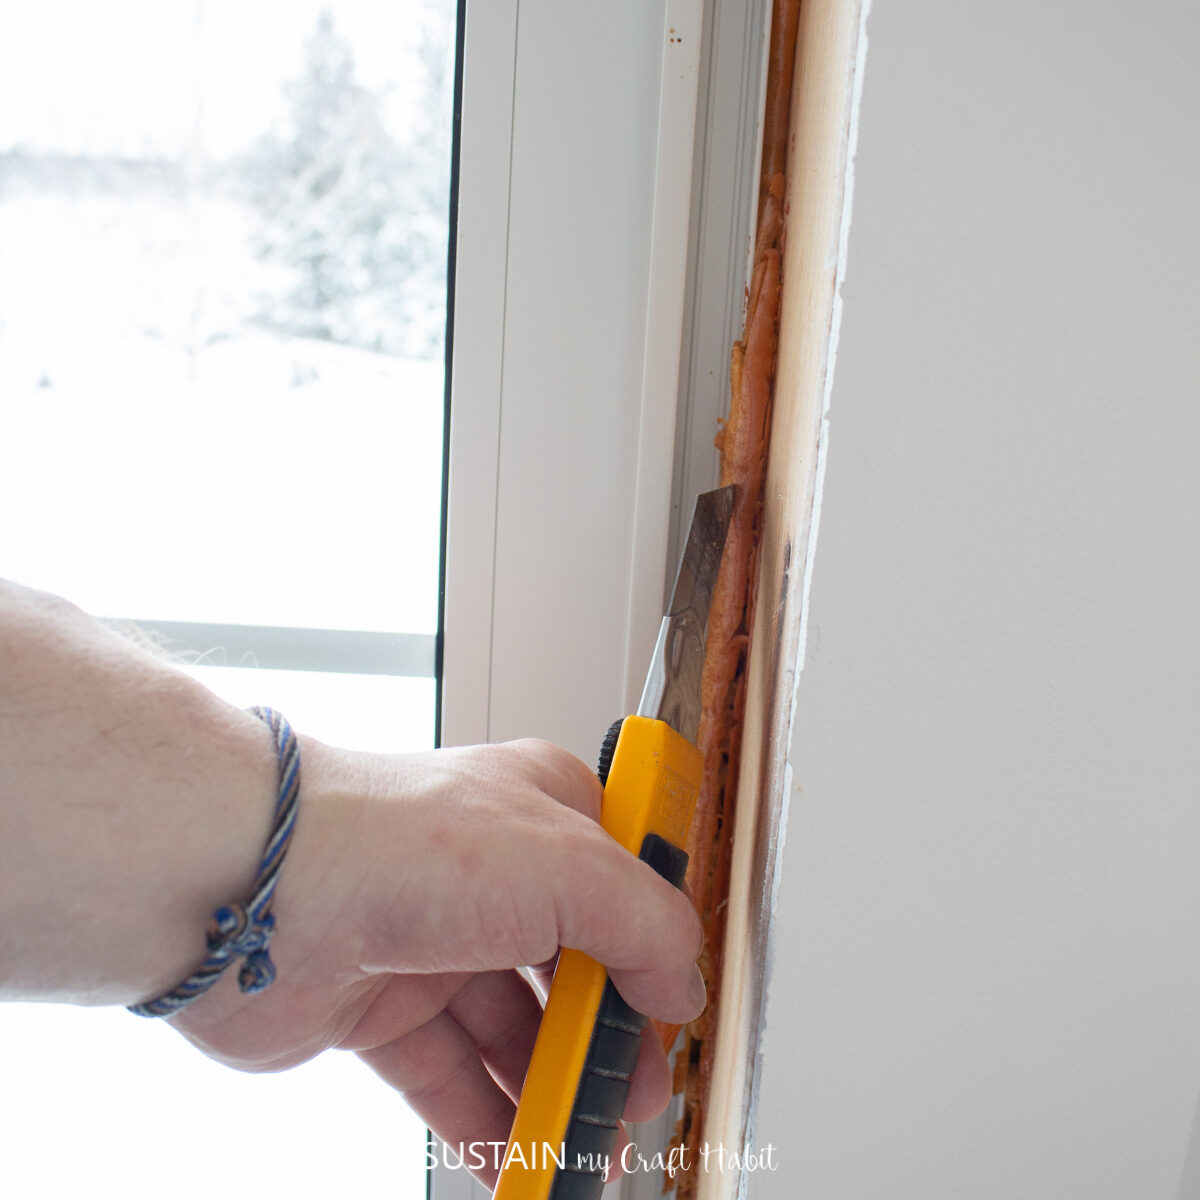
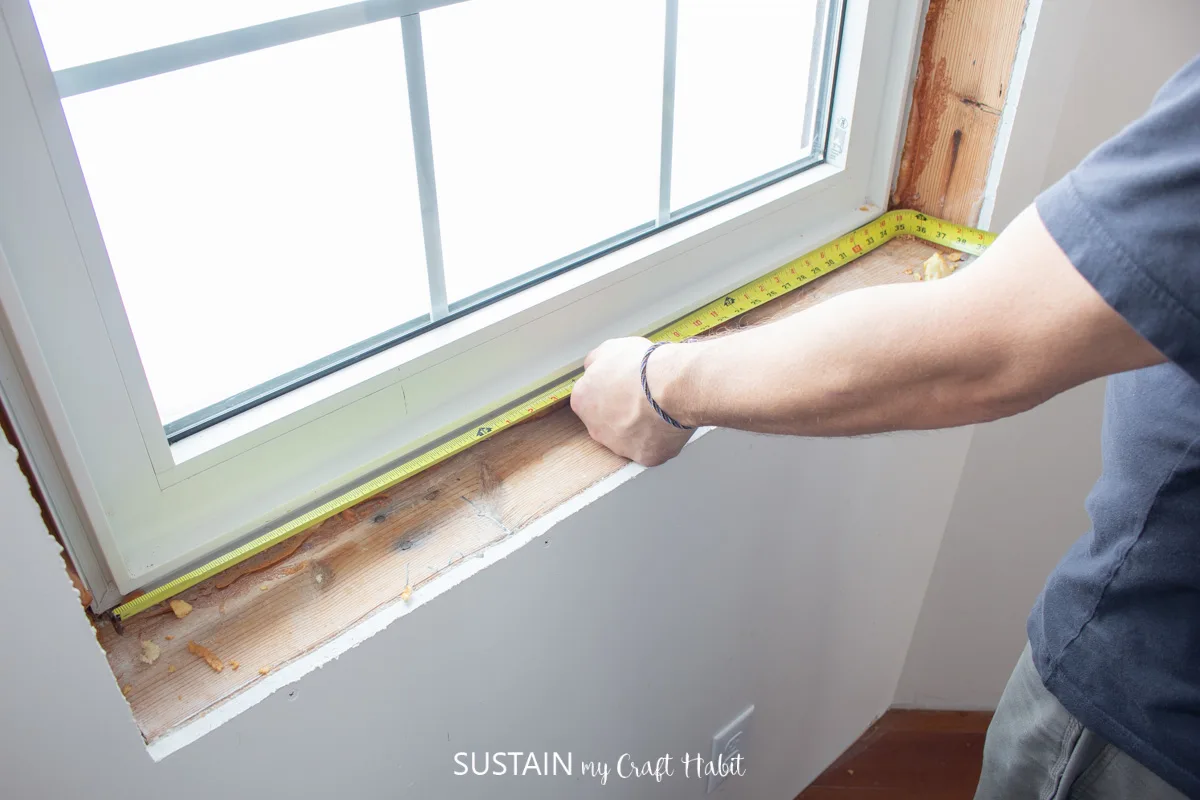
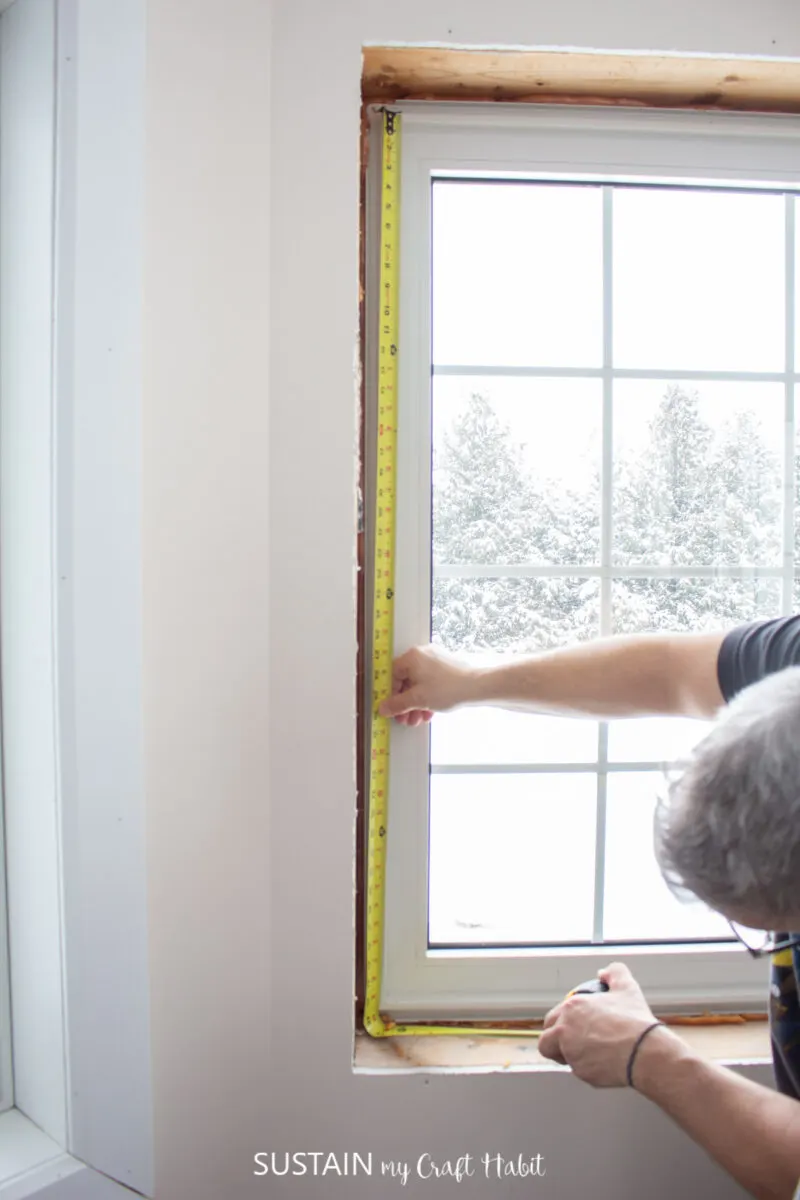
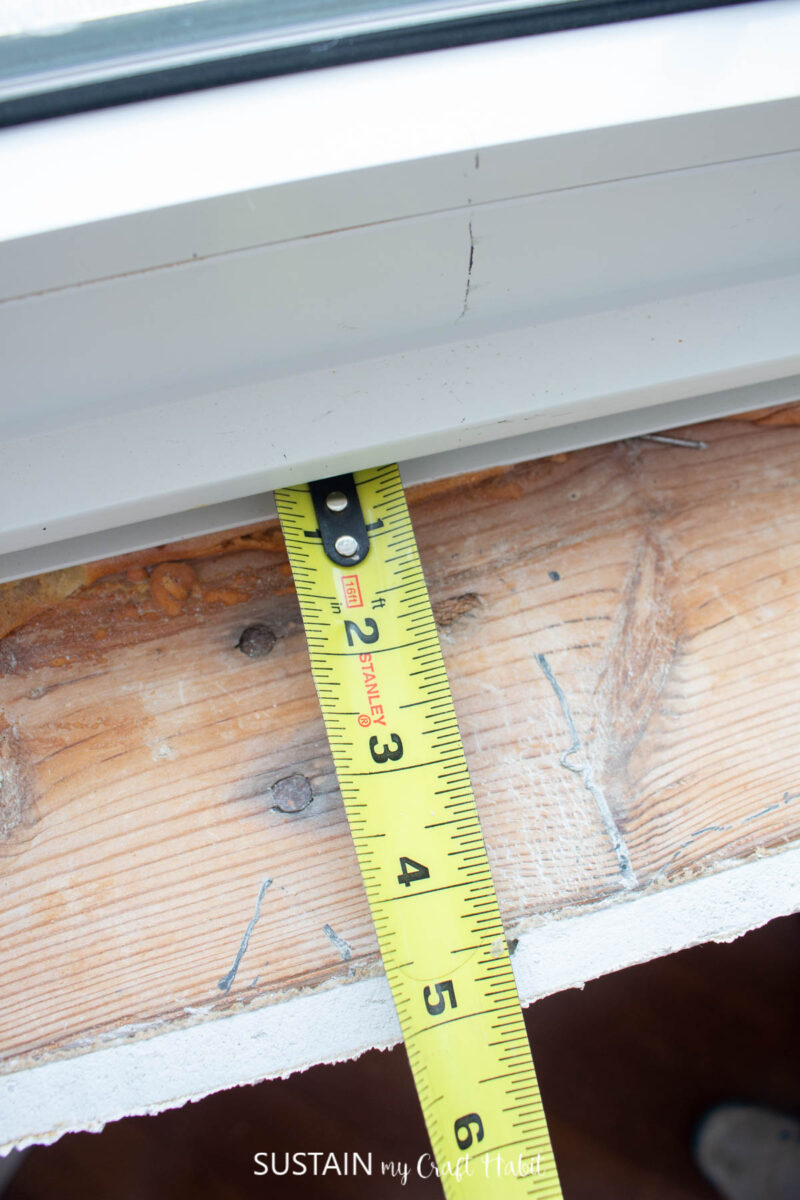
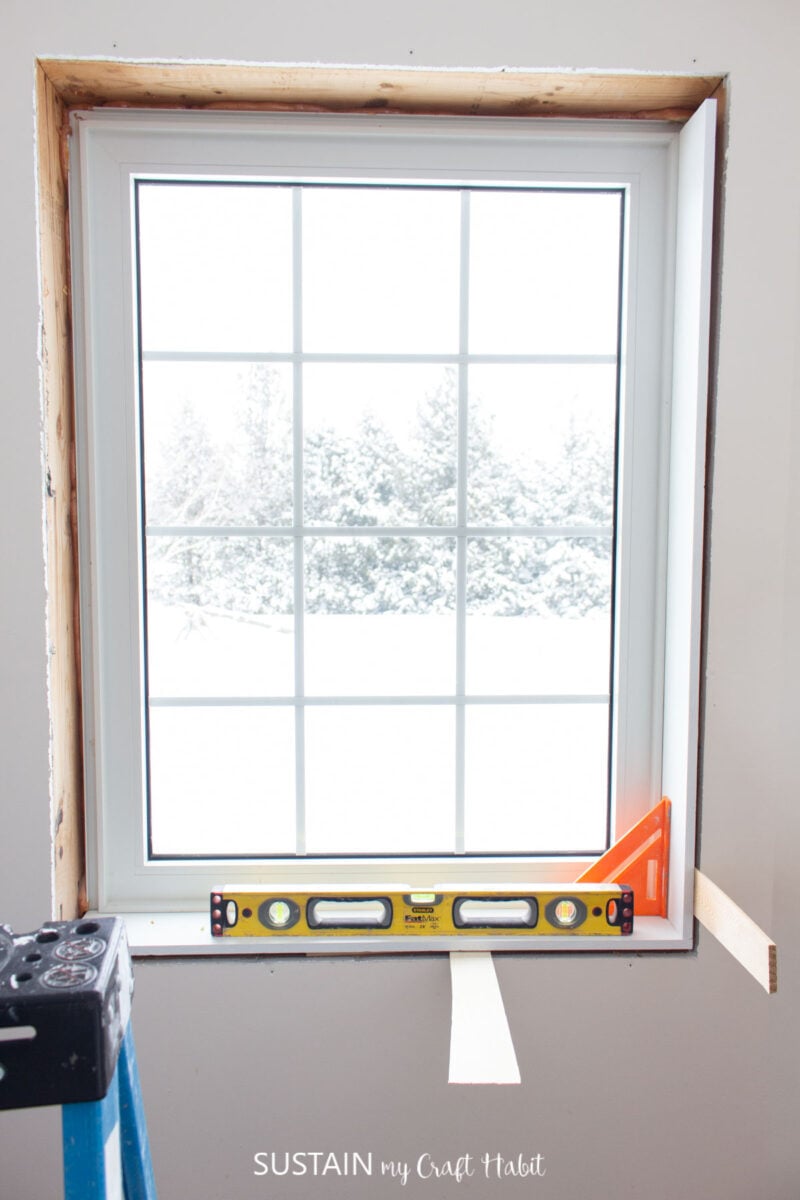
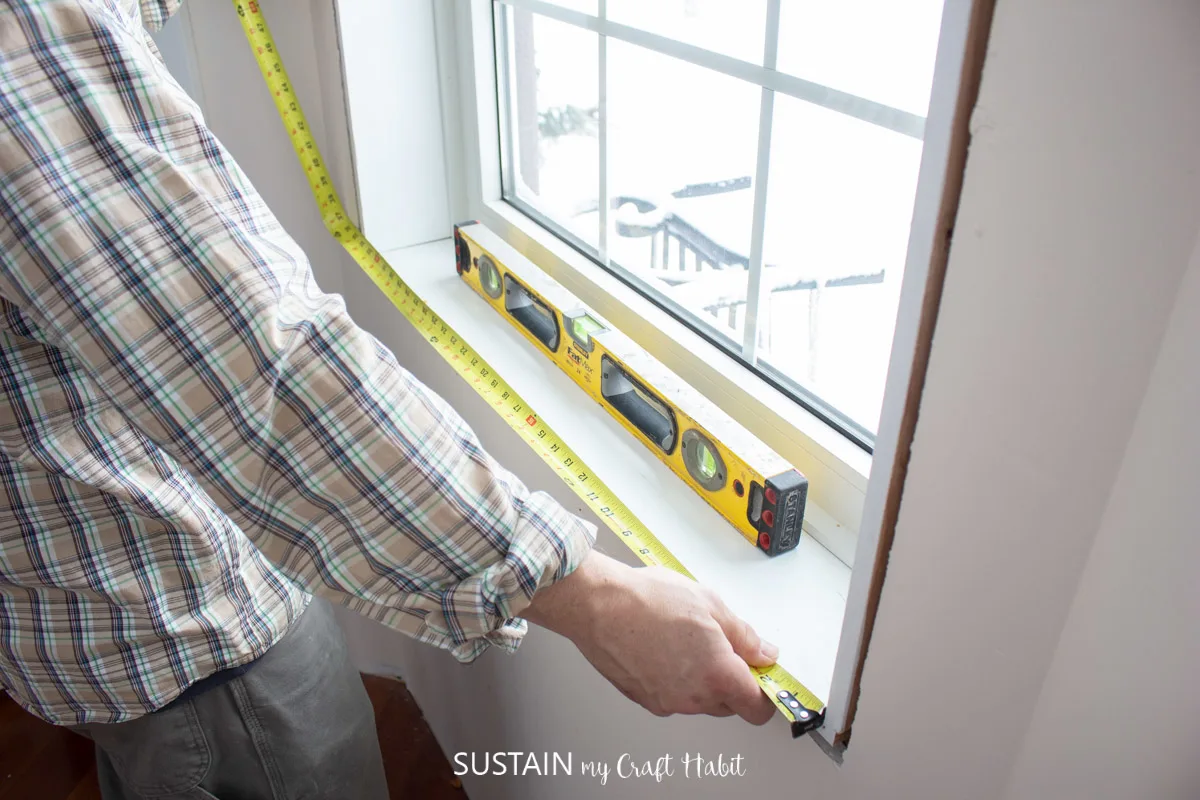
Start by measuring the height, width and depth of the areas needing the jambs.

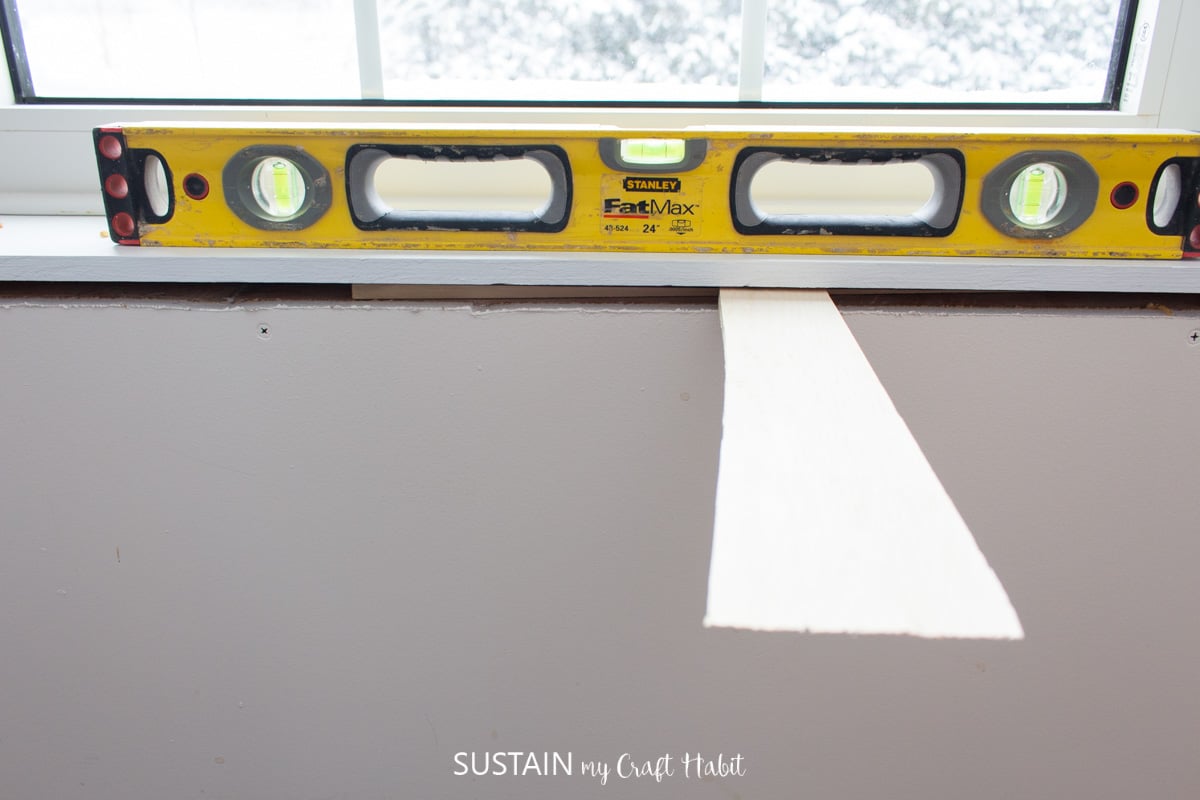
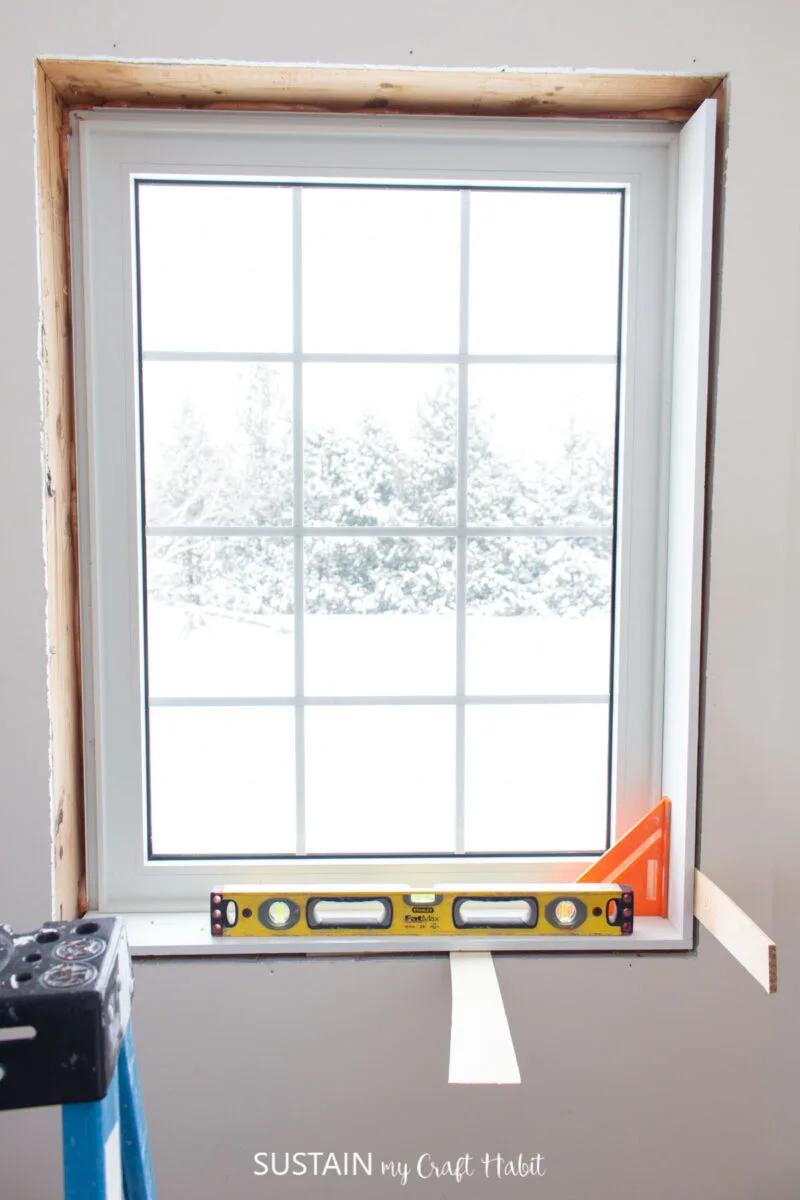
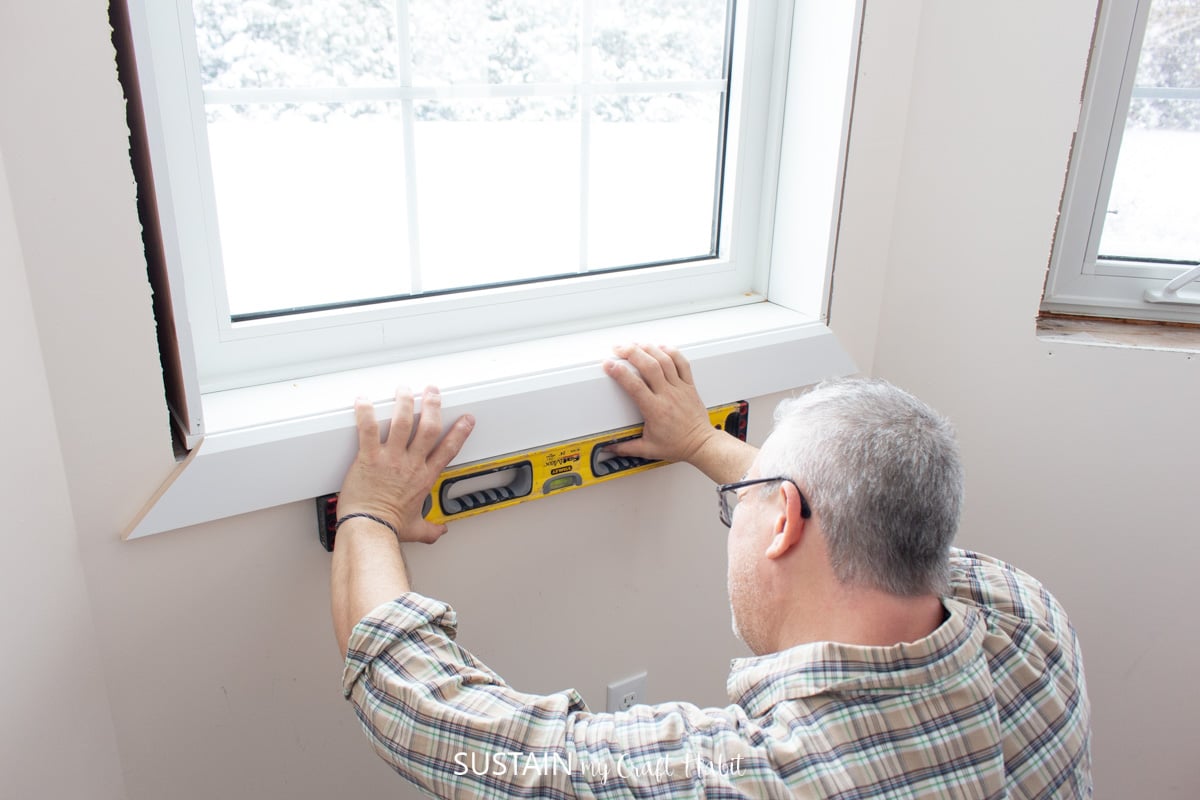
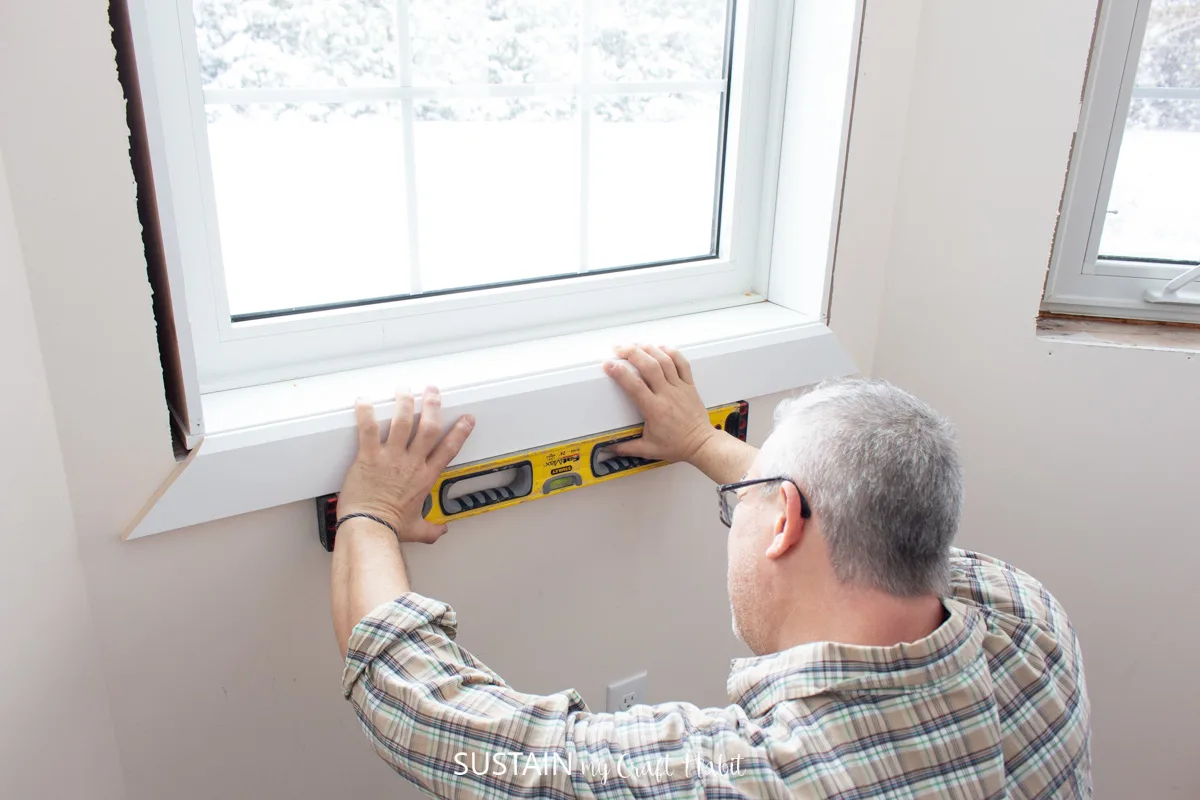
Add the bottom jamb in place first, adding shims underneath to help hold and level.
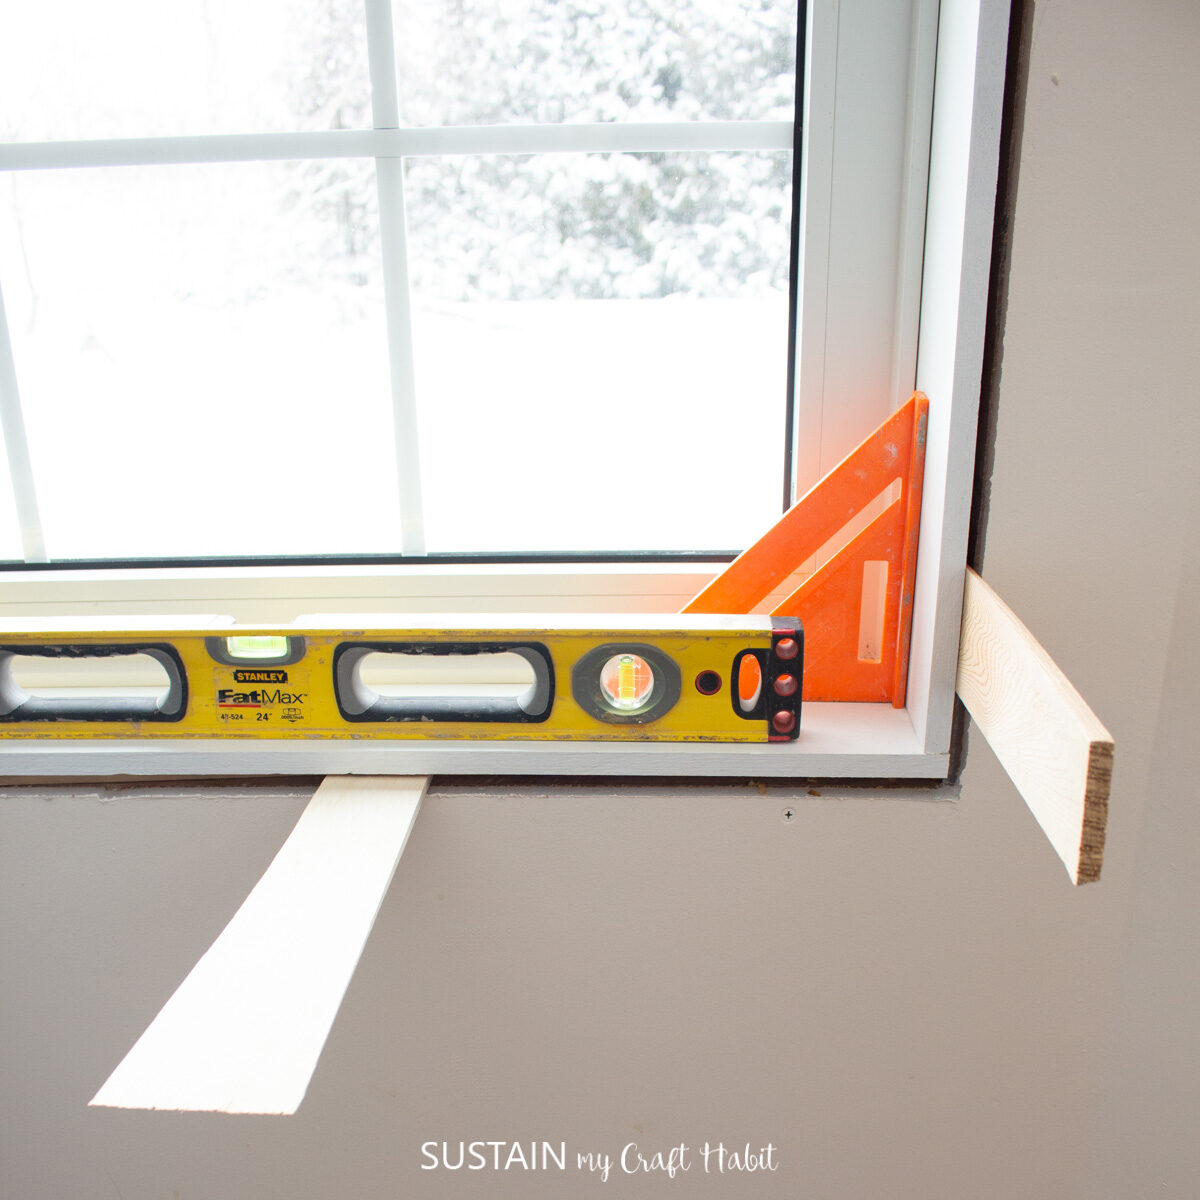
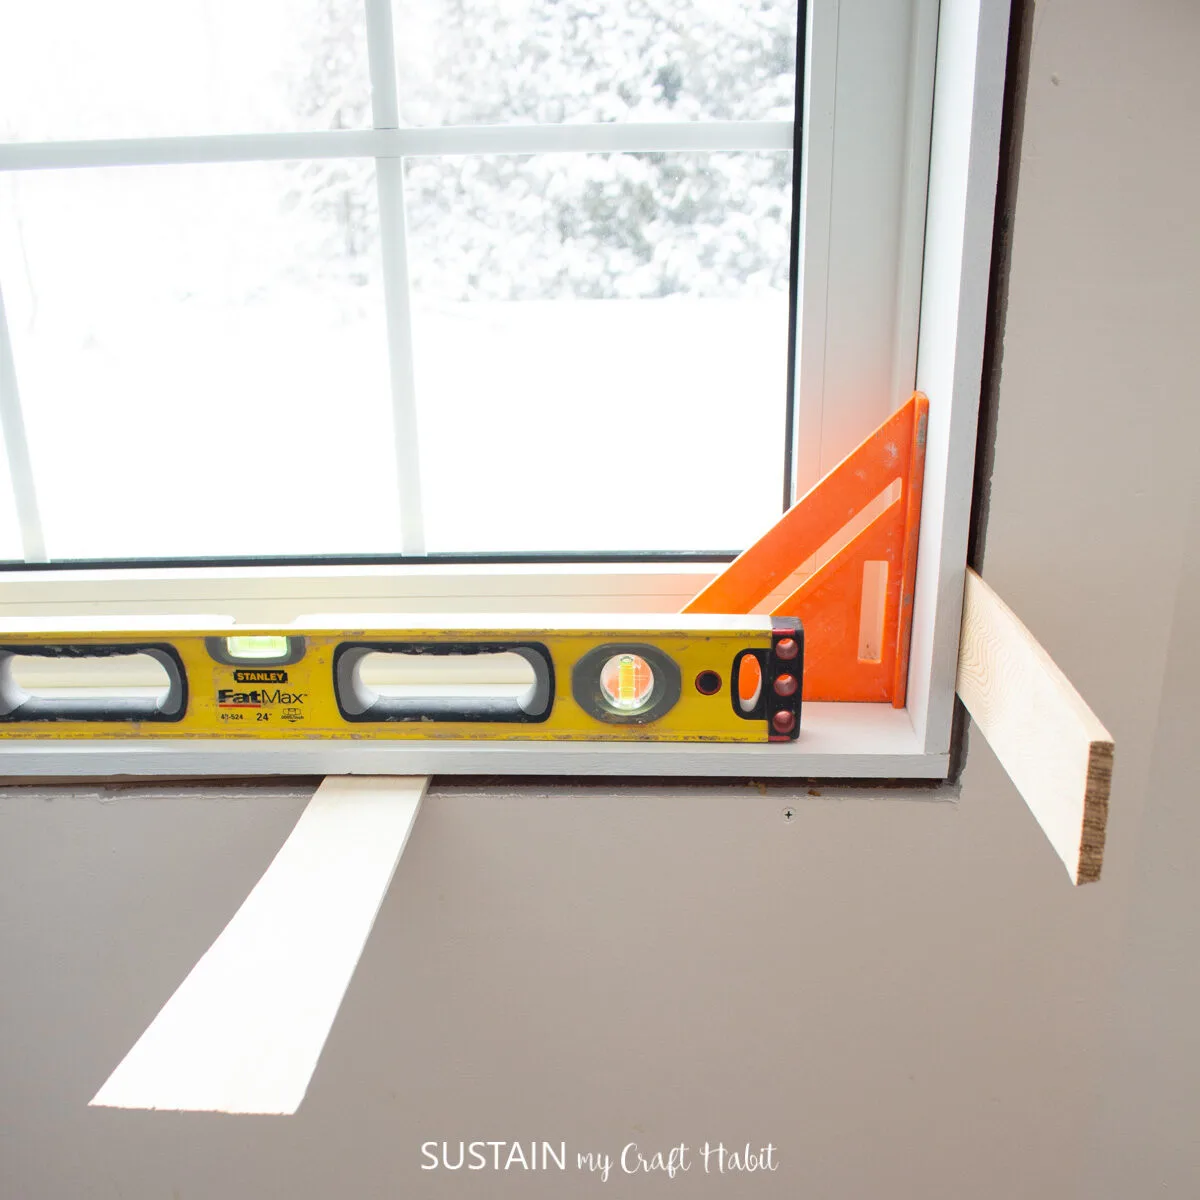
In addition to a level, we used a right angle ruler to ensure the corners were square.
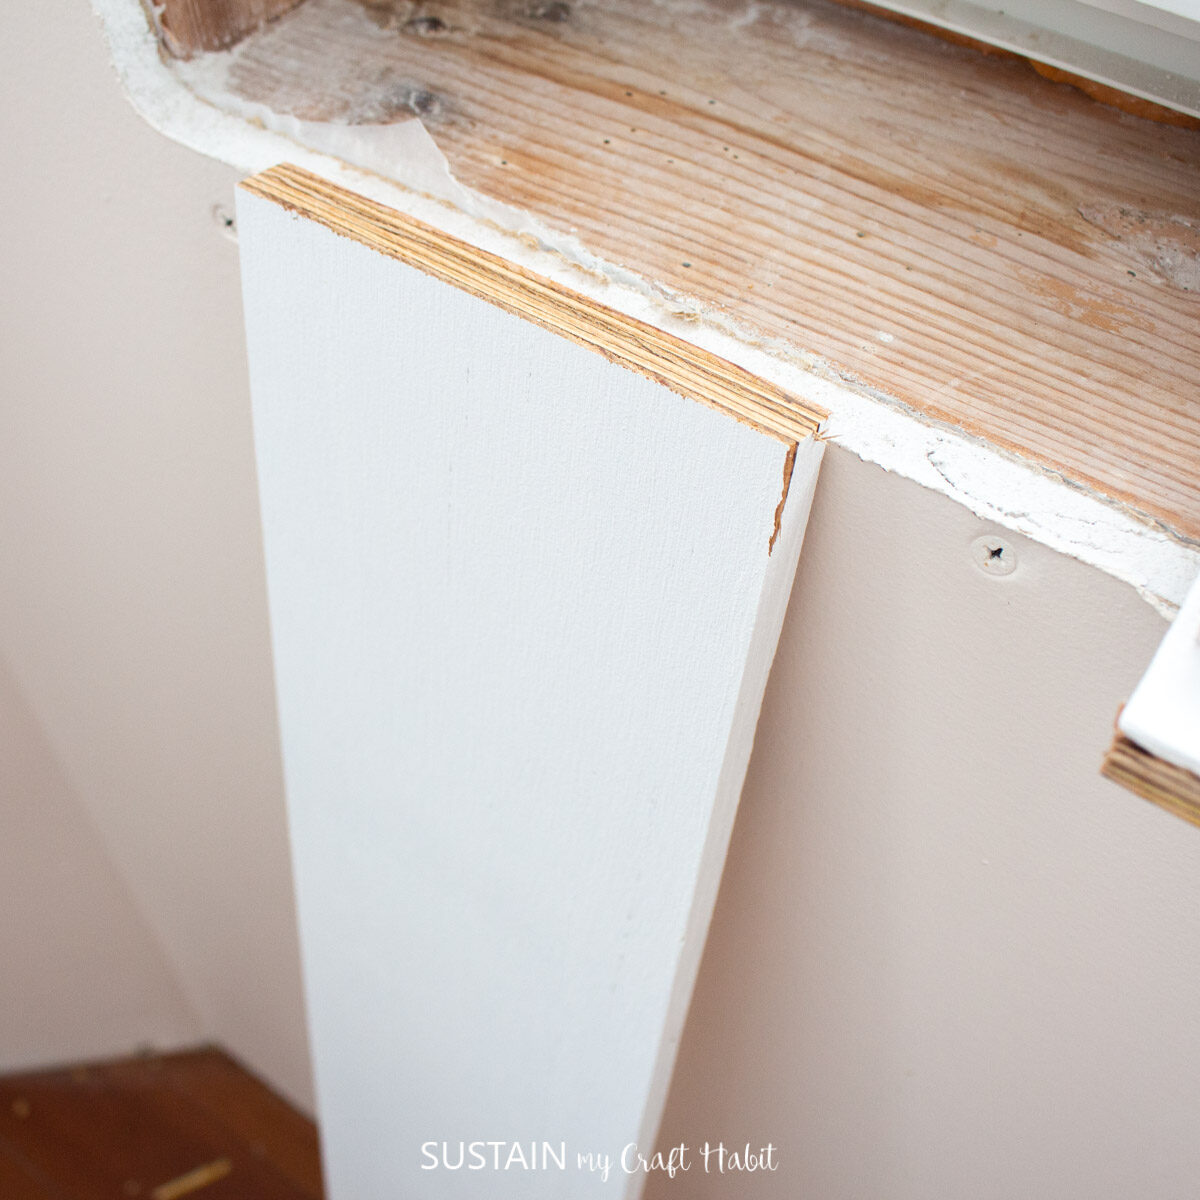
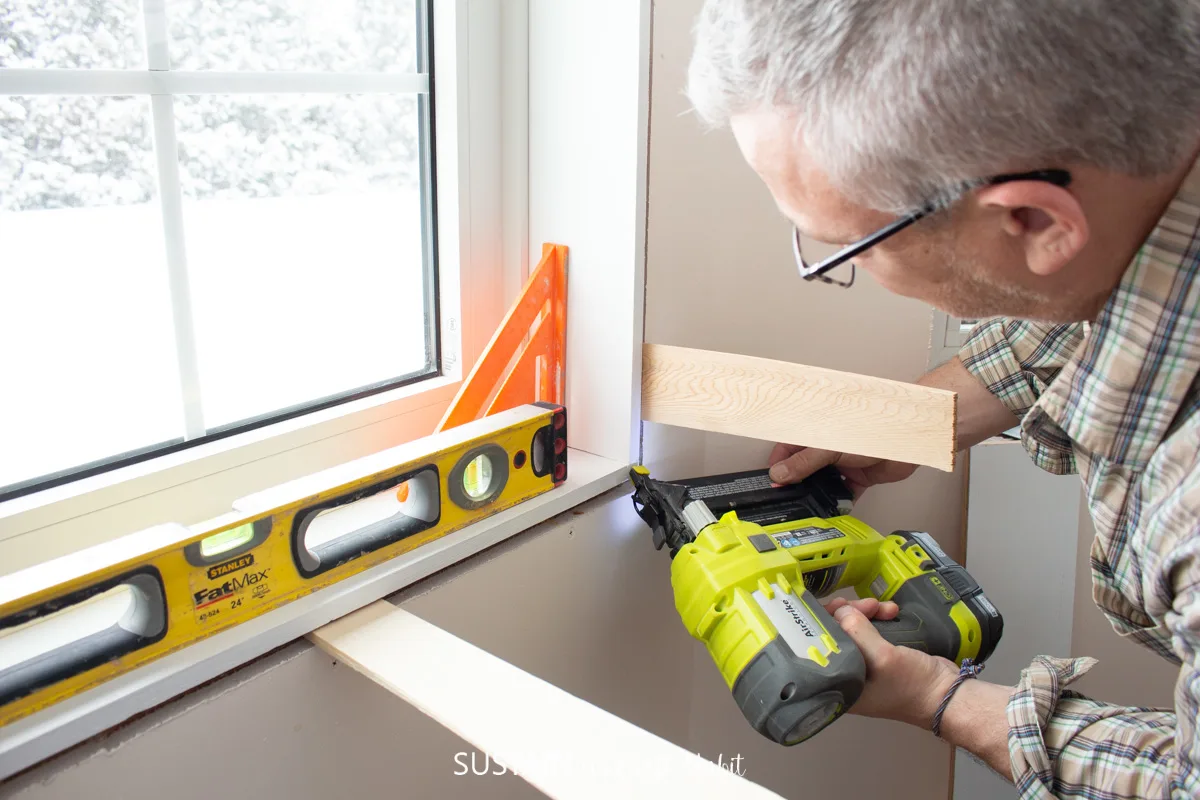
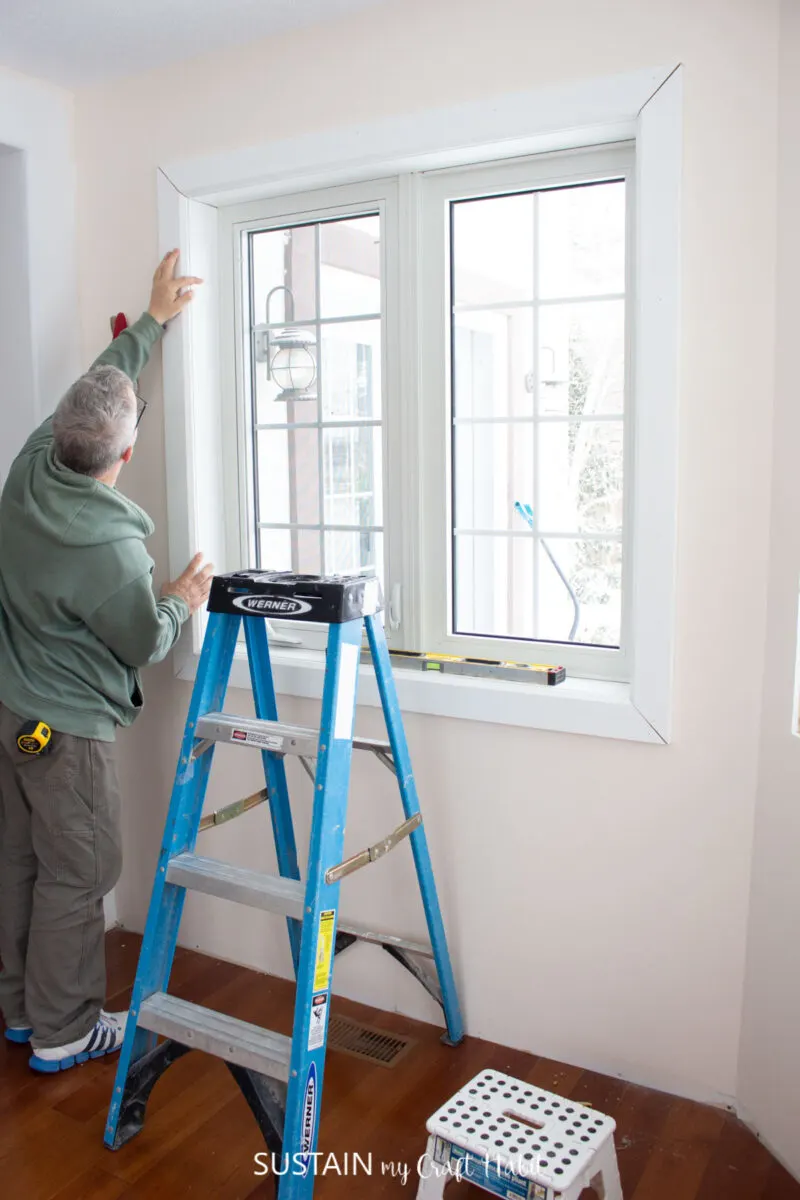
Do the same with the side jambs and then add the top jamb last.
Measure all areas twice to be sure the lengths are correct.
Once the jambs are in place and level, use the nail gun and nail the pieces in place.
We nailed the jambs together at the corners.

Adding the jambs already makes a huge transformation, especially when the jambs are primed and/or painted beforehand.
The side edges of the jambs will be mostly covered by the trim.
Reveal means the amount showing of the jamb, not exactly aligned to the edge of the jamb.
We prefer an 18 reveal so we added that amount to the length of the trim.
Cut the window trim using a miter saw at 45 degree angle.
Place the level underneath the casing to help ensure the trimwork is straight before nailing to the wall.
Using the wood glue, glue the trim to the wall and then nail it with the nail gun.
Were so pleased with how the windows turned out.
Check out these great tutorials for your next DIY.
Thankyou so much for stopping by.
Let us know if you have any questions as you begin trimming your interior windows.
To stay in the know on our latest crafts, special offers and freebies,join our mailing listtoday.
Pin it for later!
How to Trim Interior Windows
Materials
Instructions


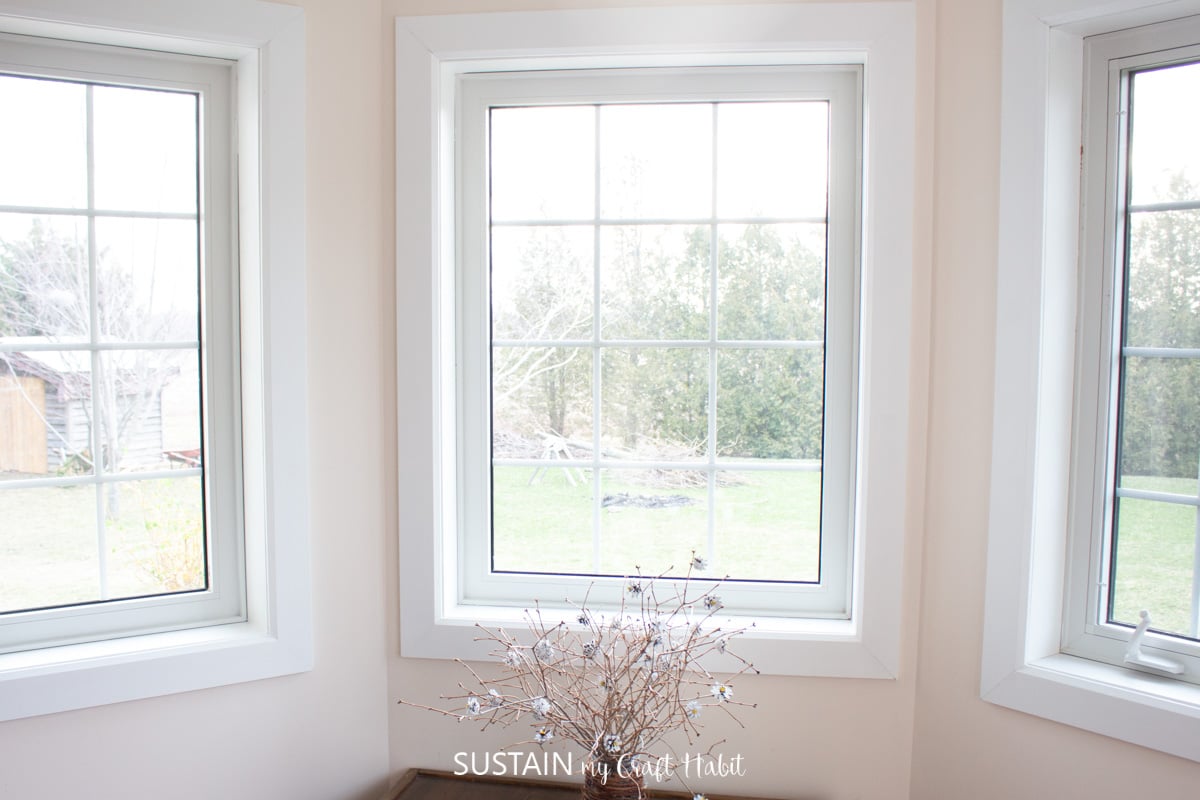
The after


The after