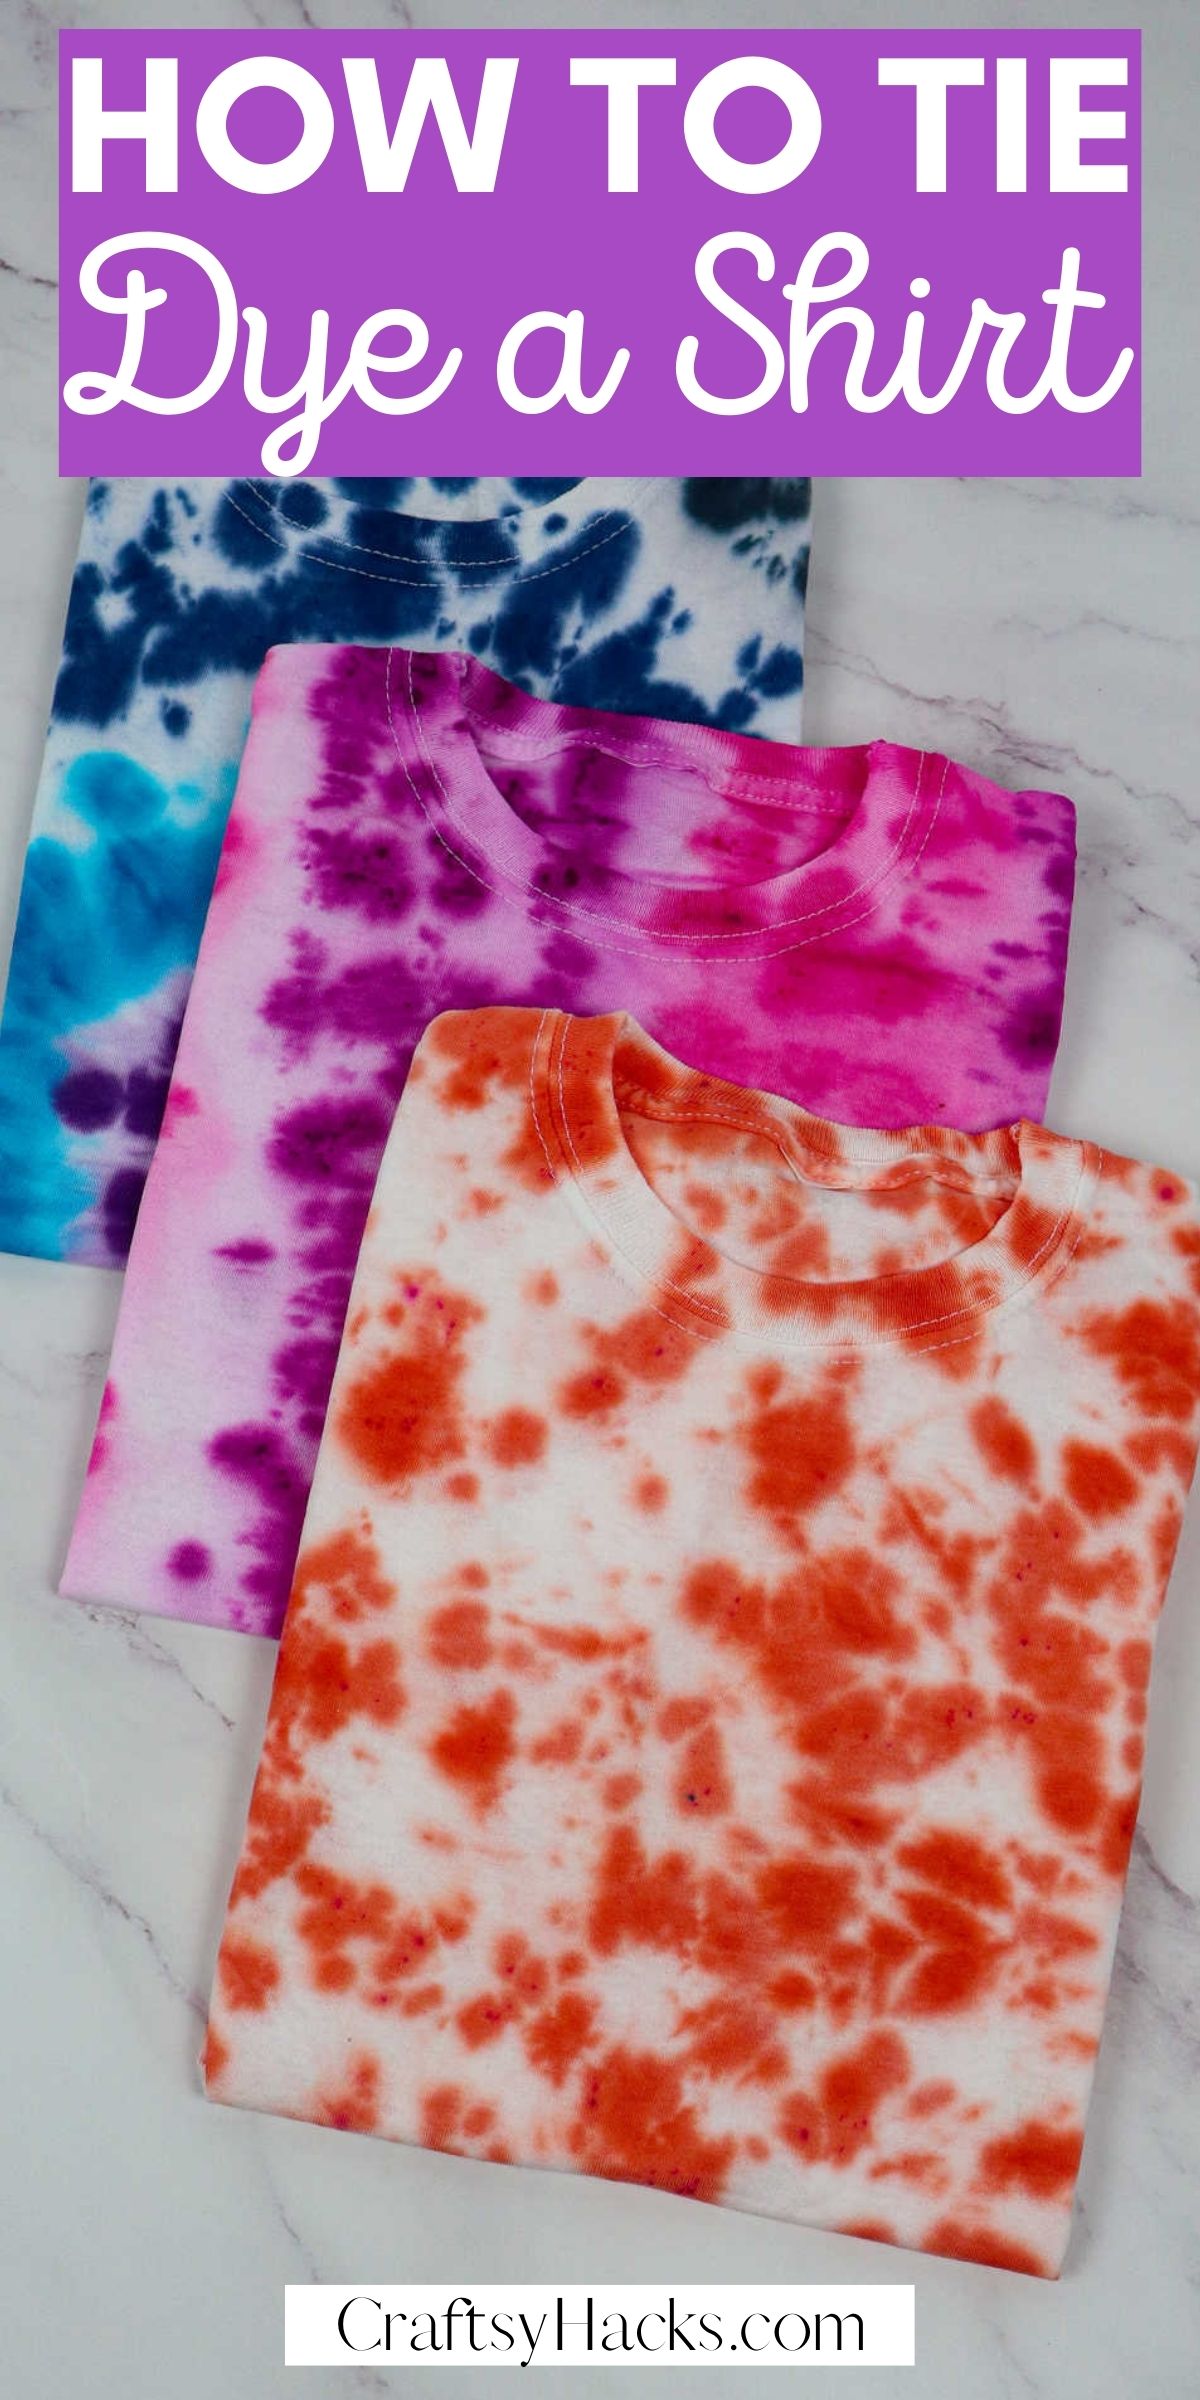
HomeDIY
This post may contain affiliate links:full affiliate disclosure.
Get creative and make your very own clothing just like that.
The best thing isanyone can do it!
So, enjoy this DIY tutorial.
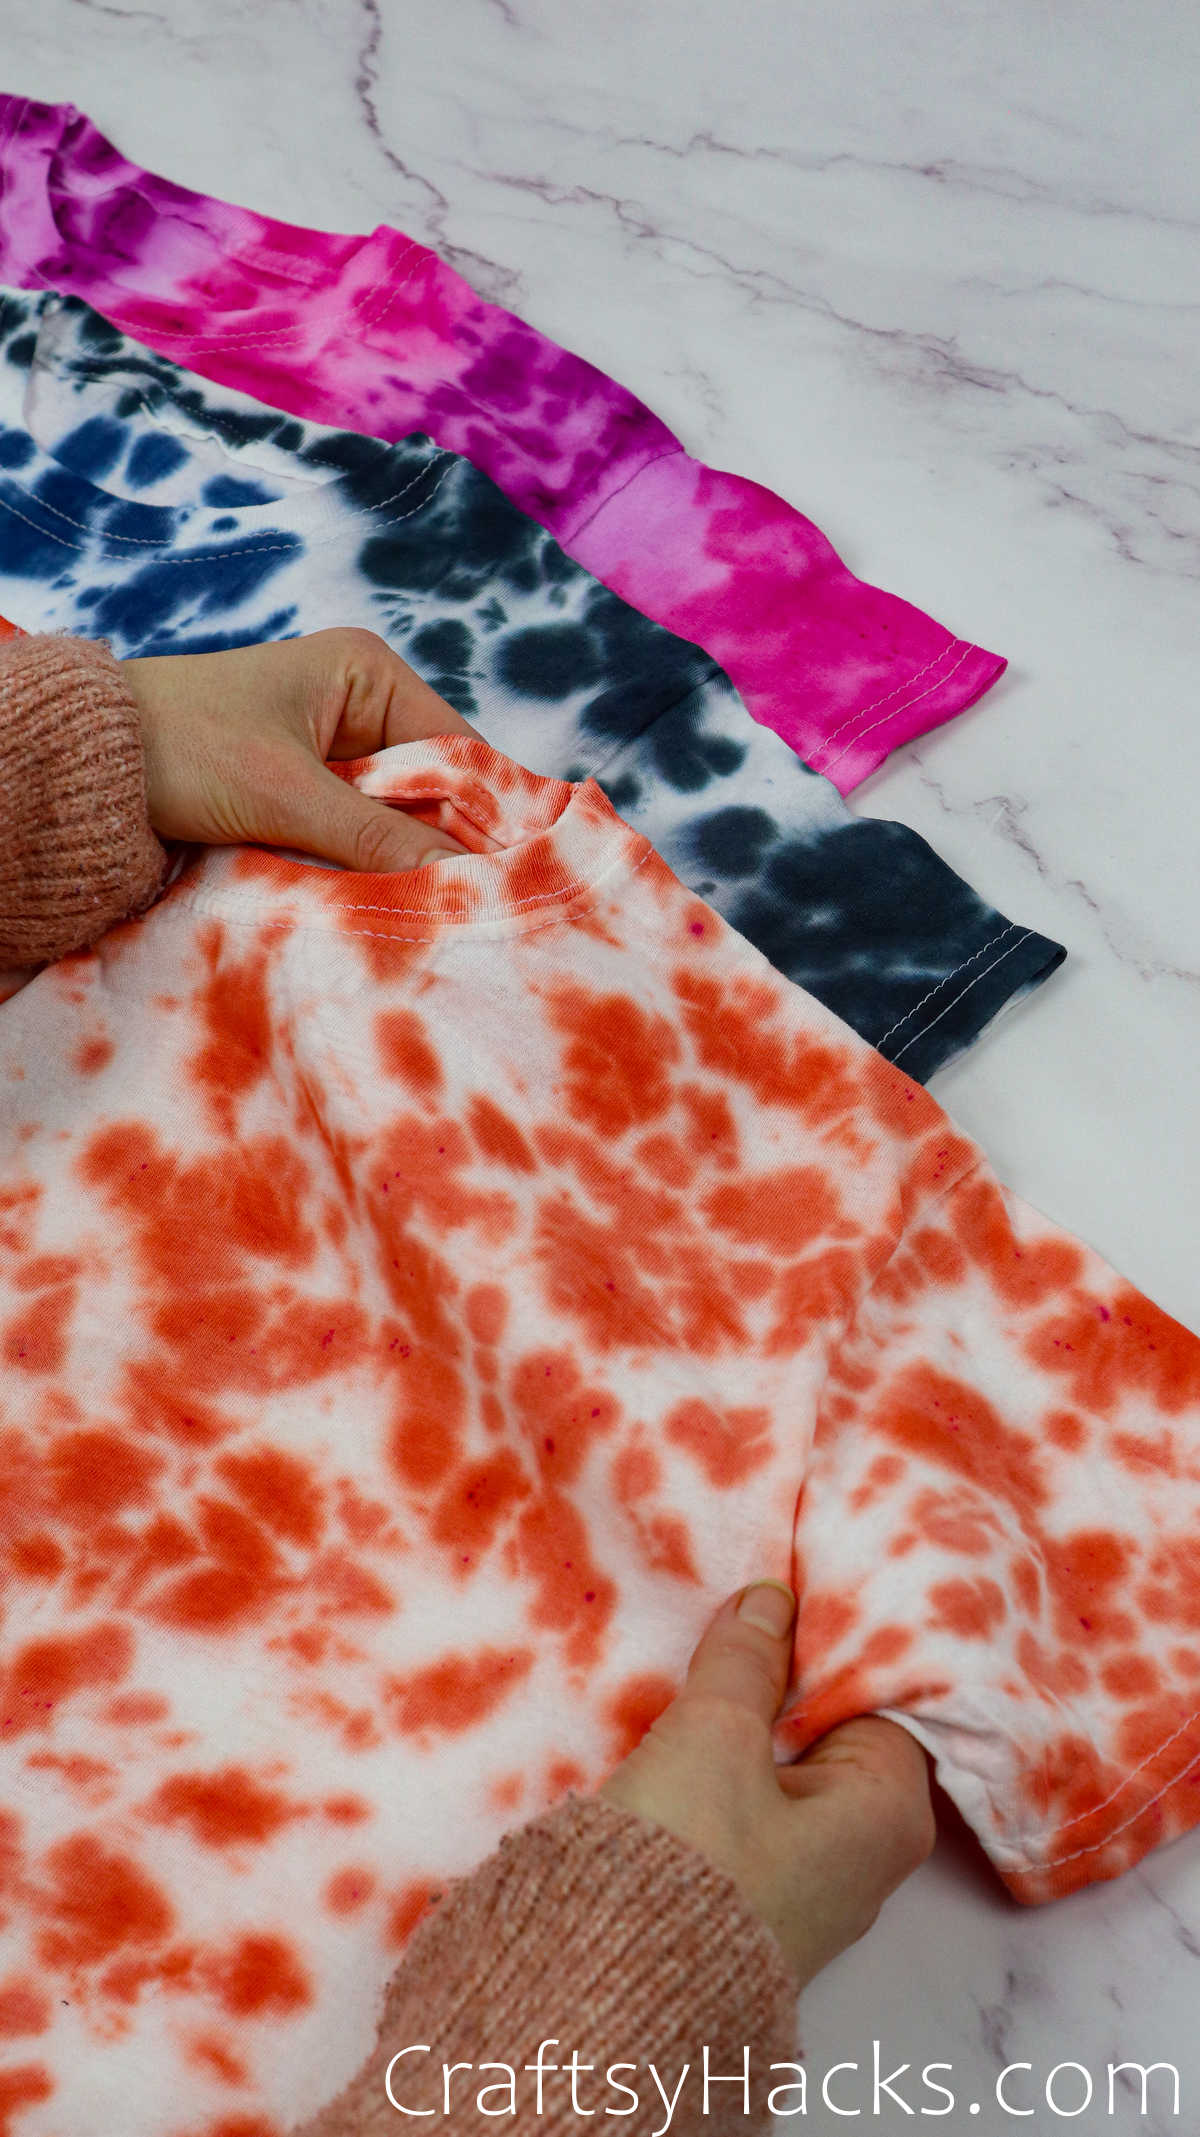
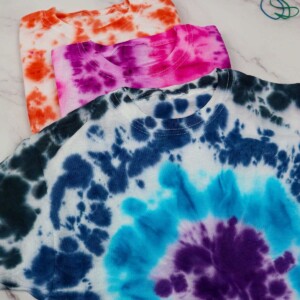
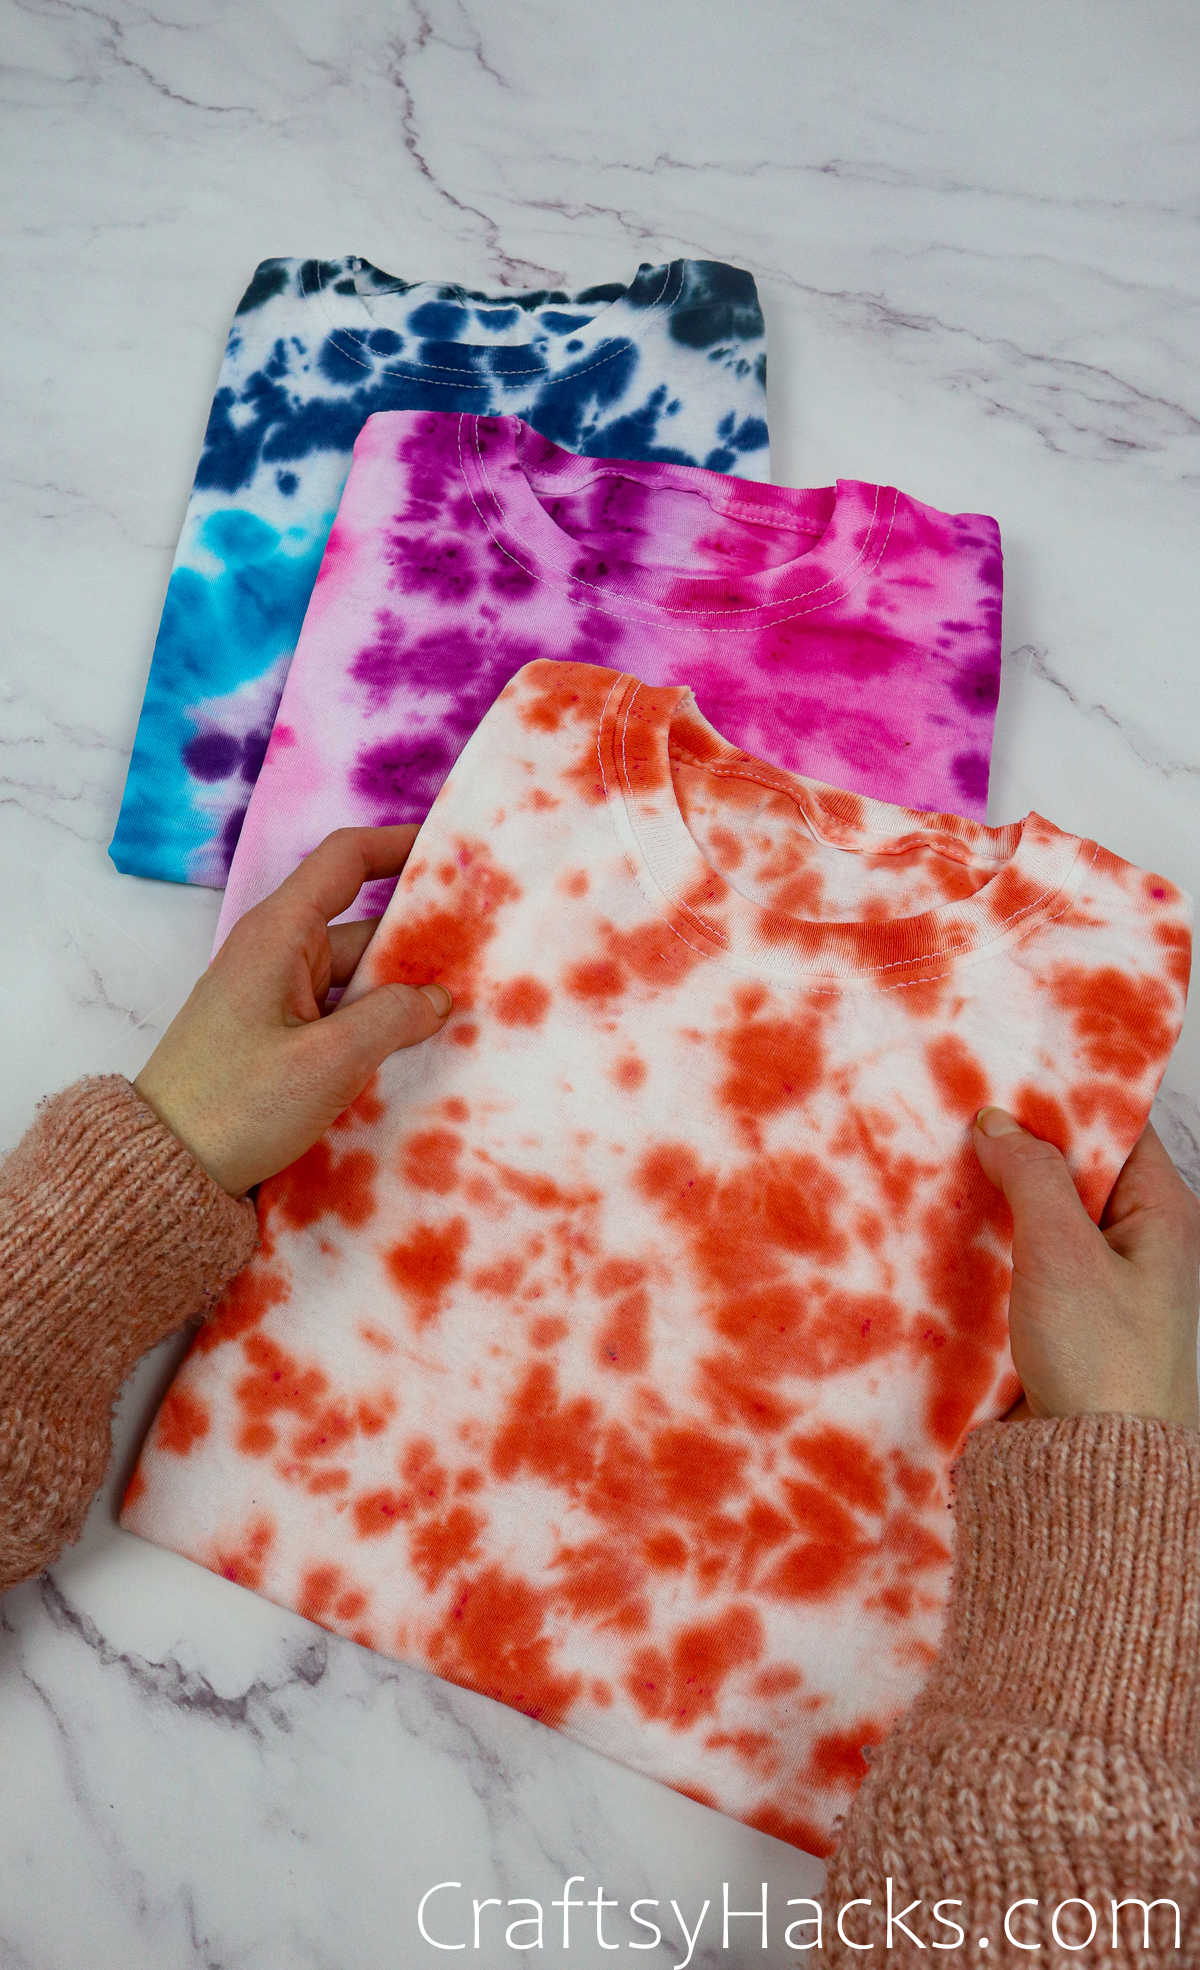
Tie dye shirts will never be a thing of the past.
Each one involves a different technique, and each one is twice as fun as the one before.
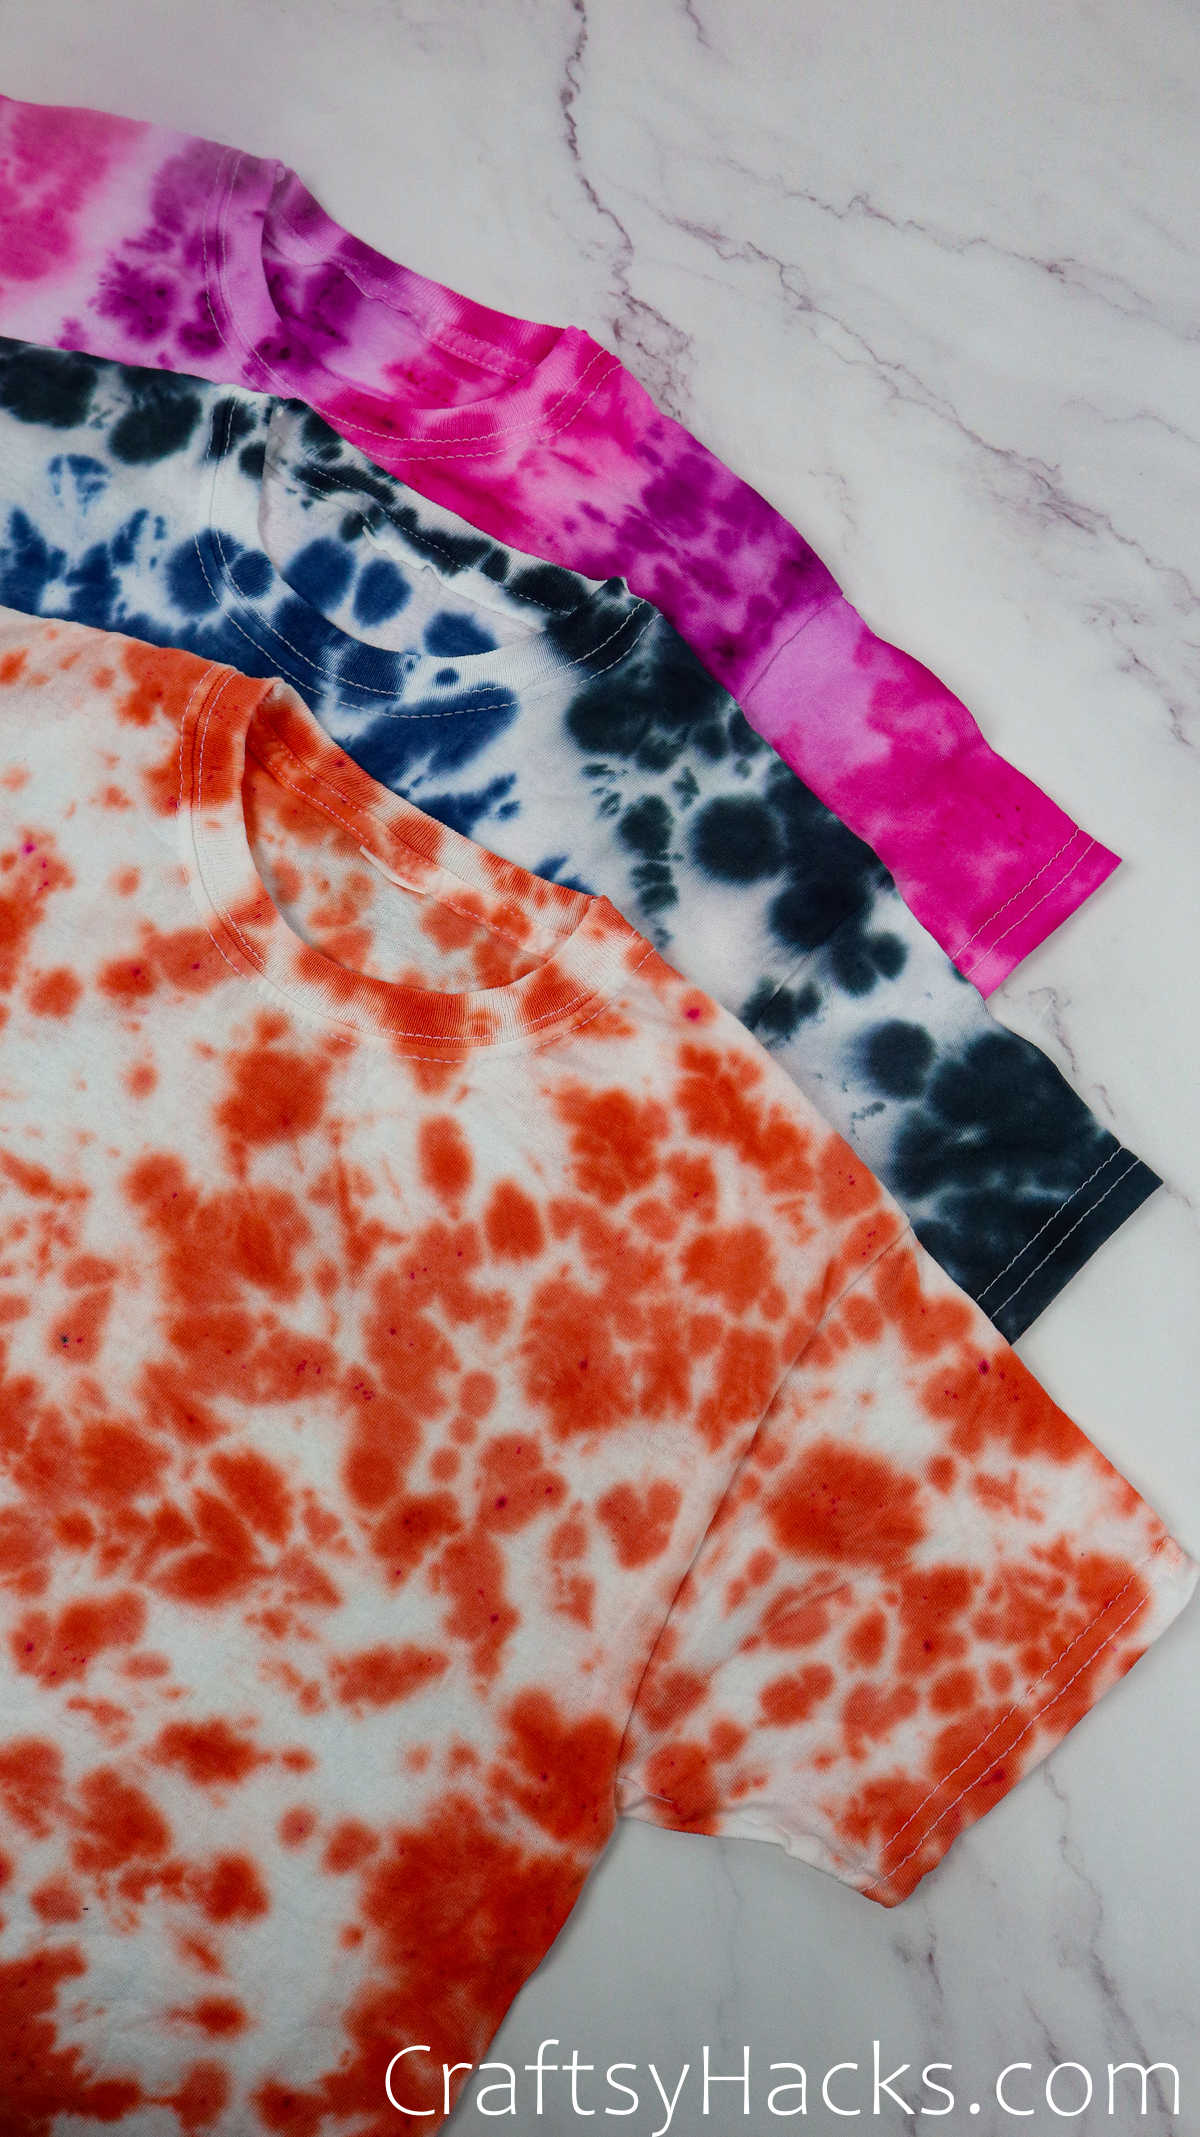
Here are three ways you’re able to tie-dye a tee!
Before you begin, however, consider dampening all the tees with cold water.
This will help the dye stain easier, giving your tee a lovely watercolor finishif thats something you want.
Video Tutorial
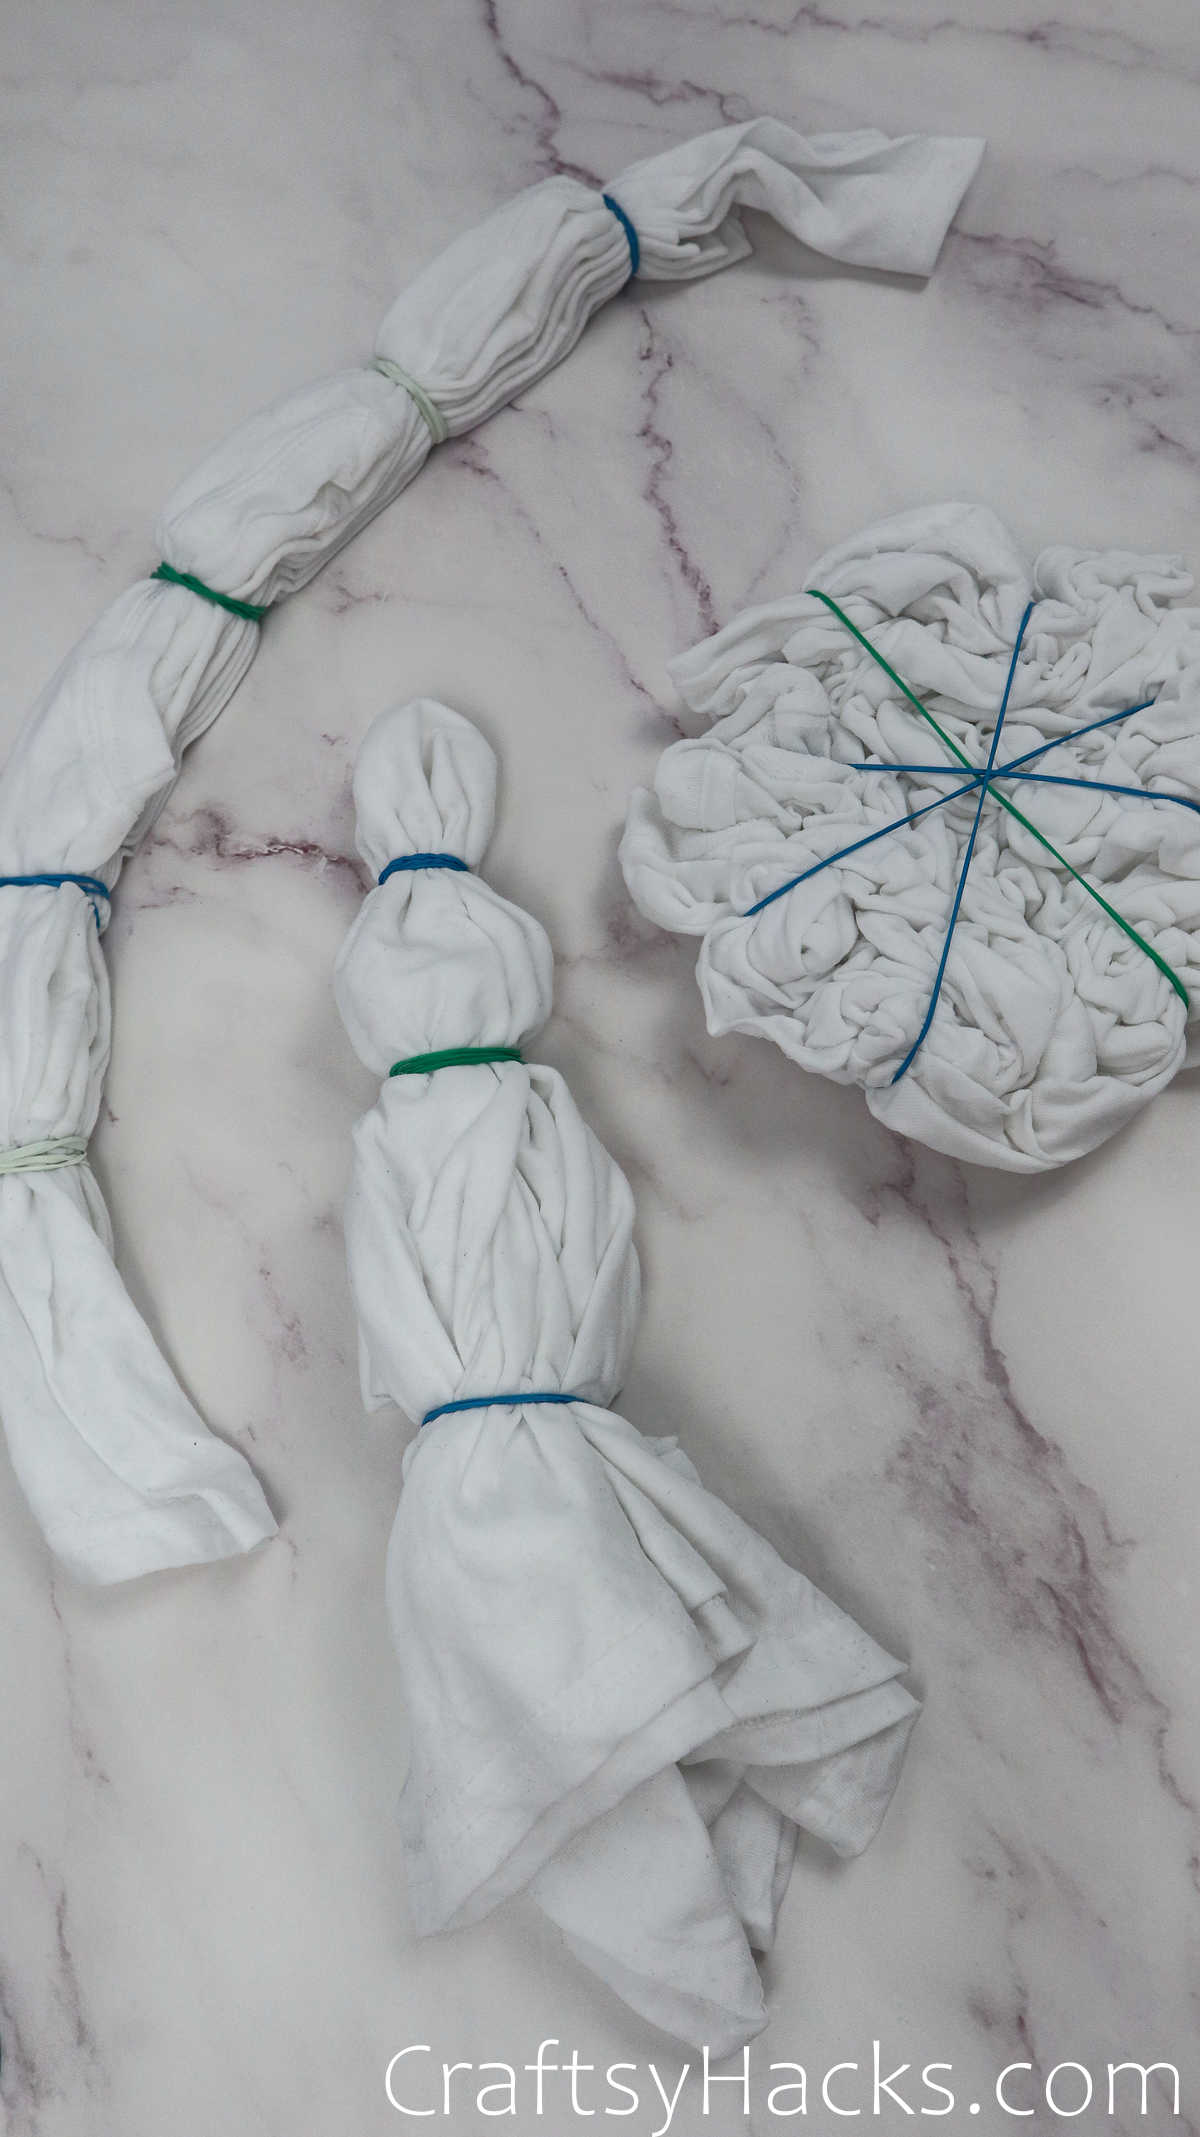
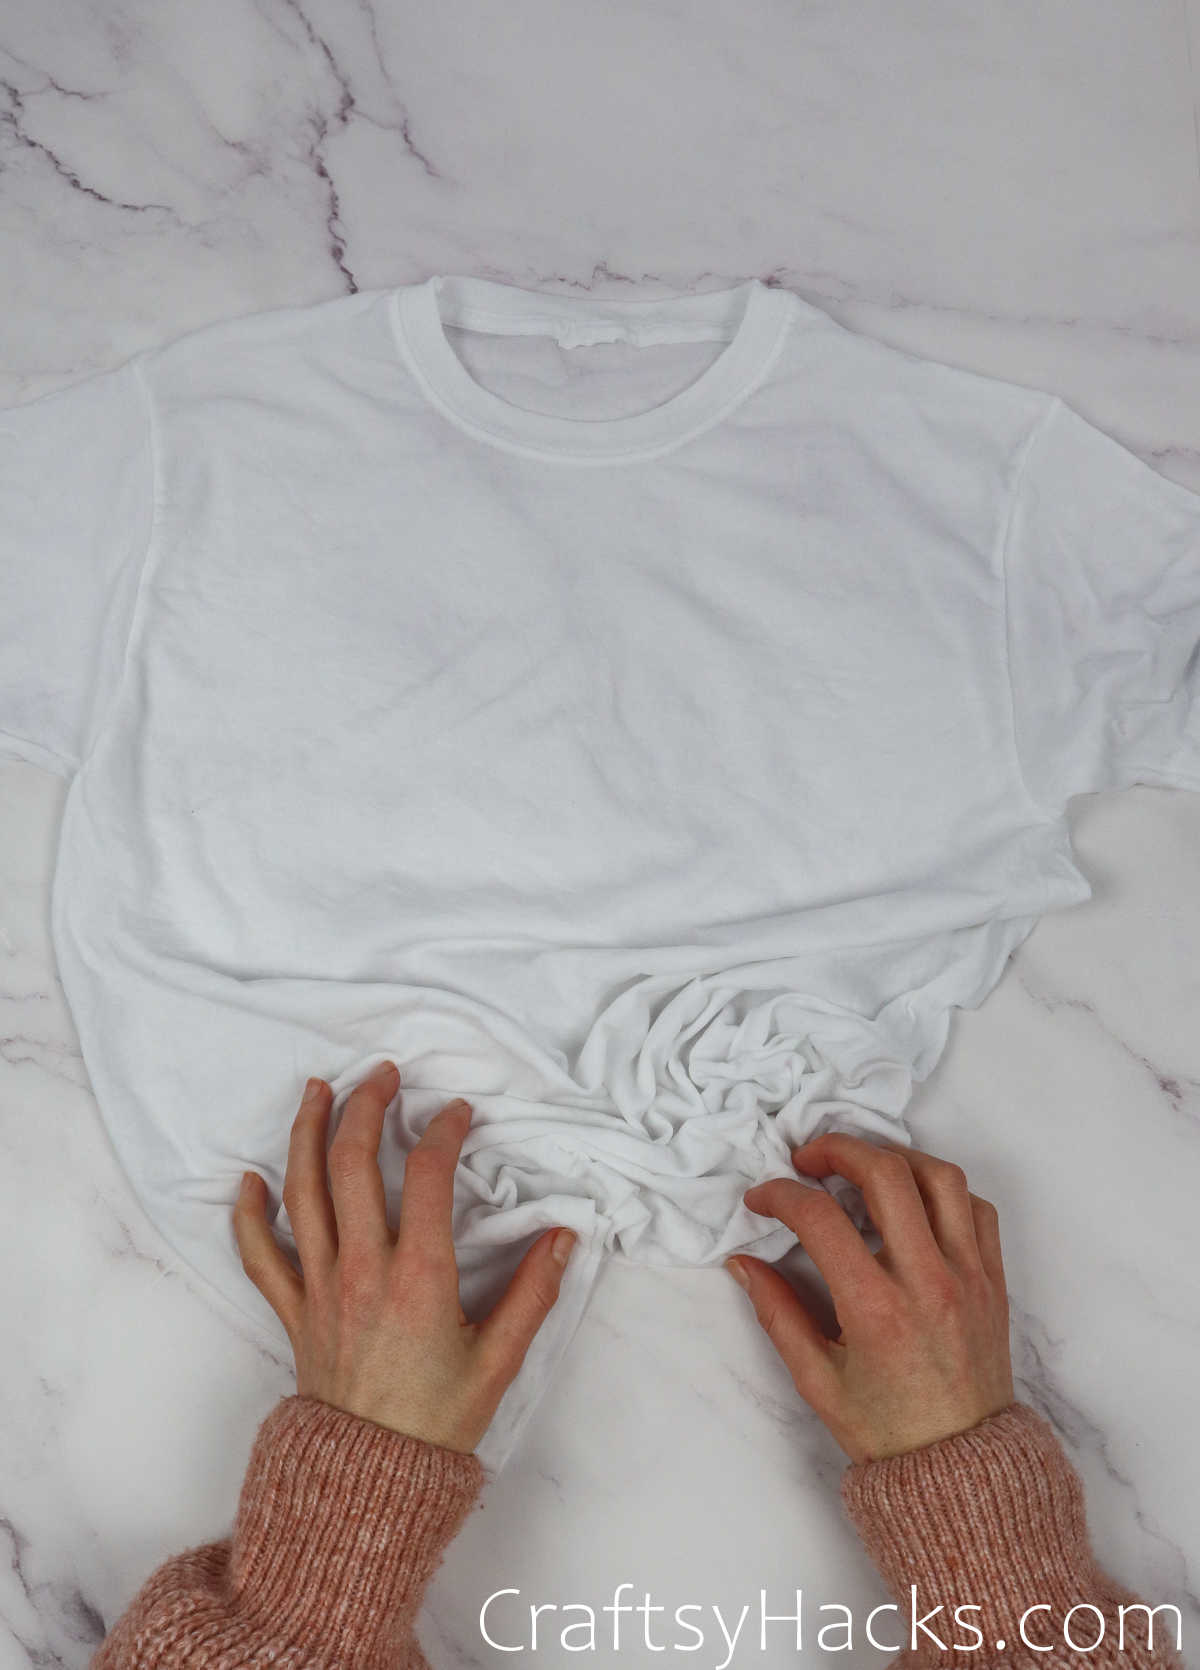
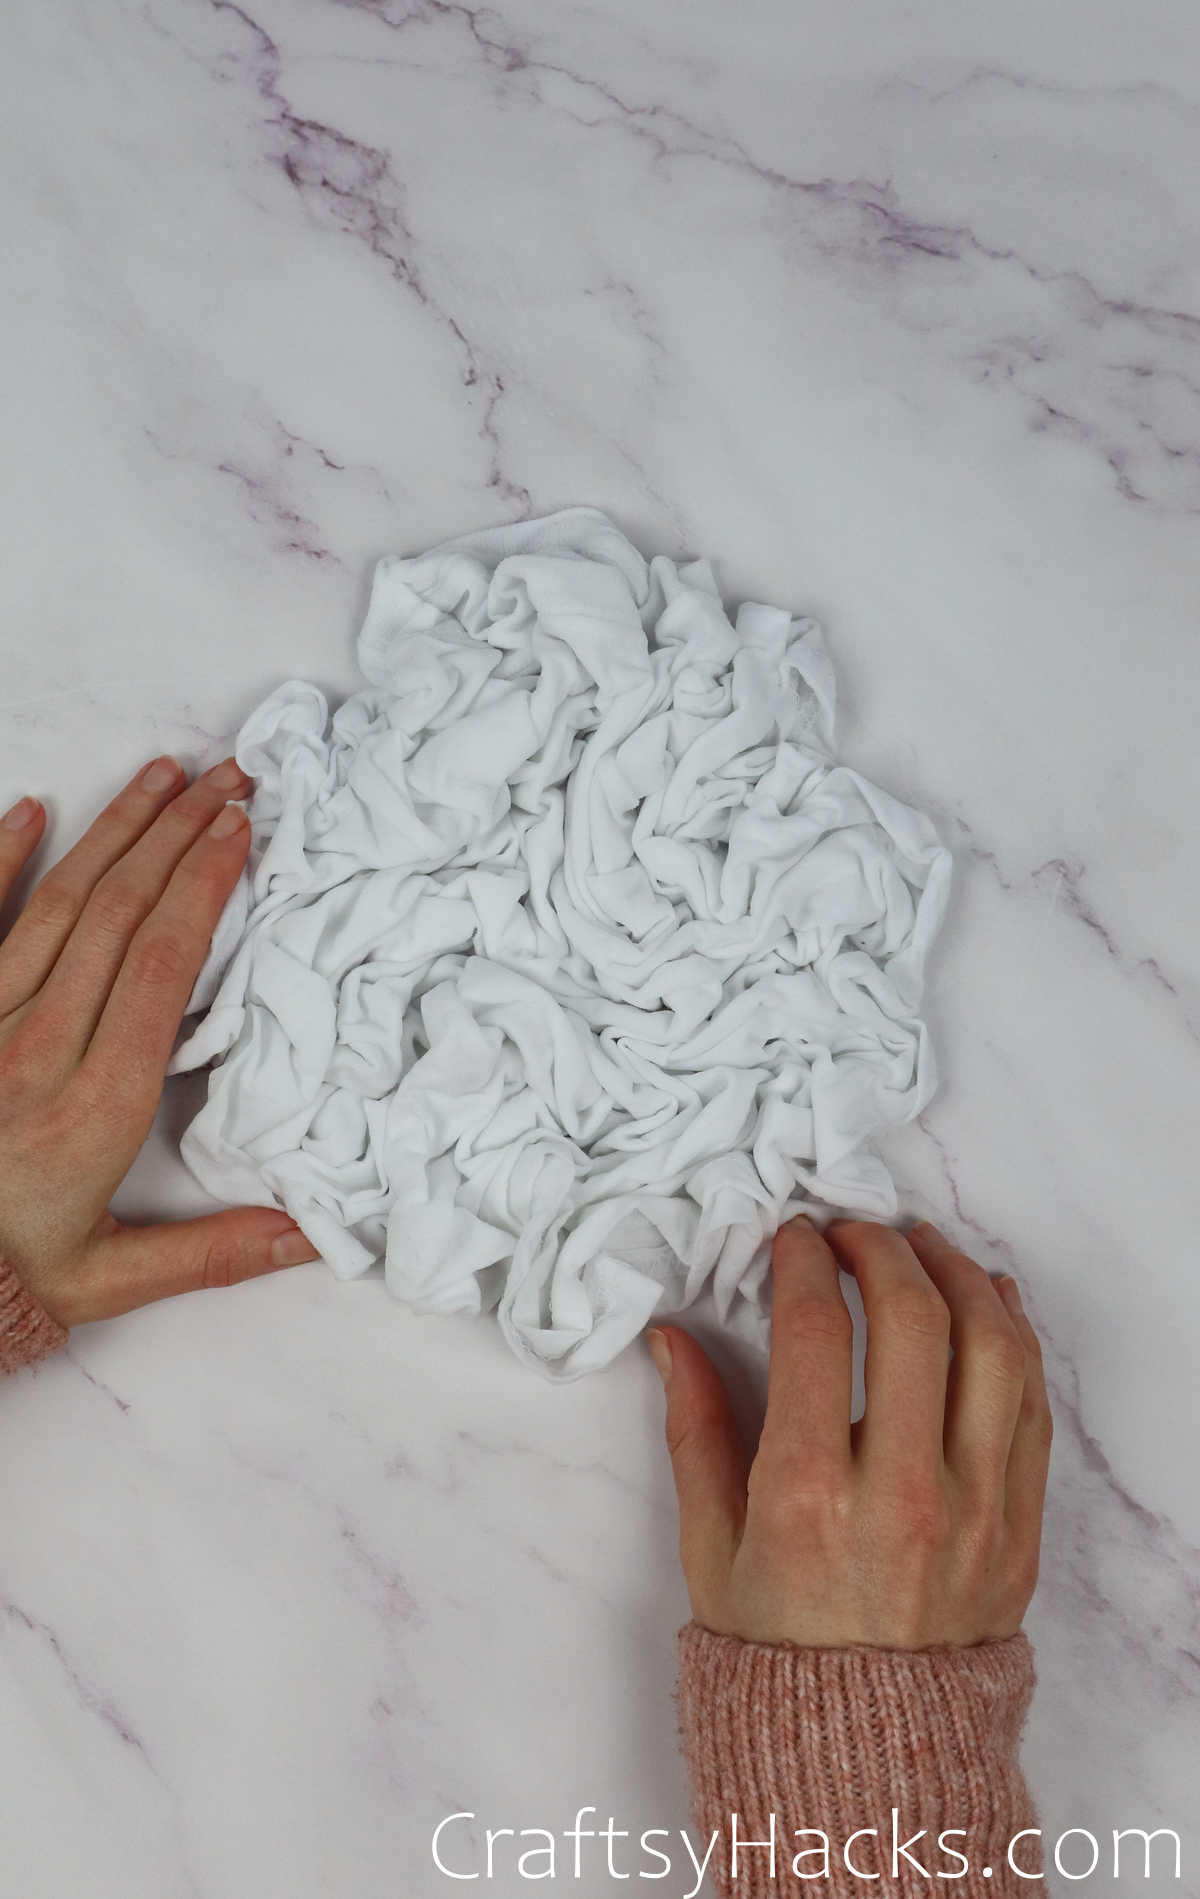
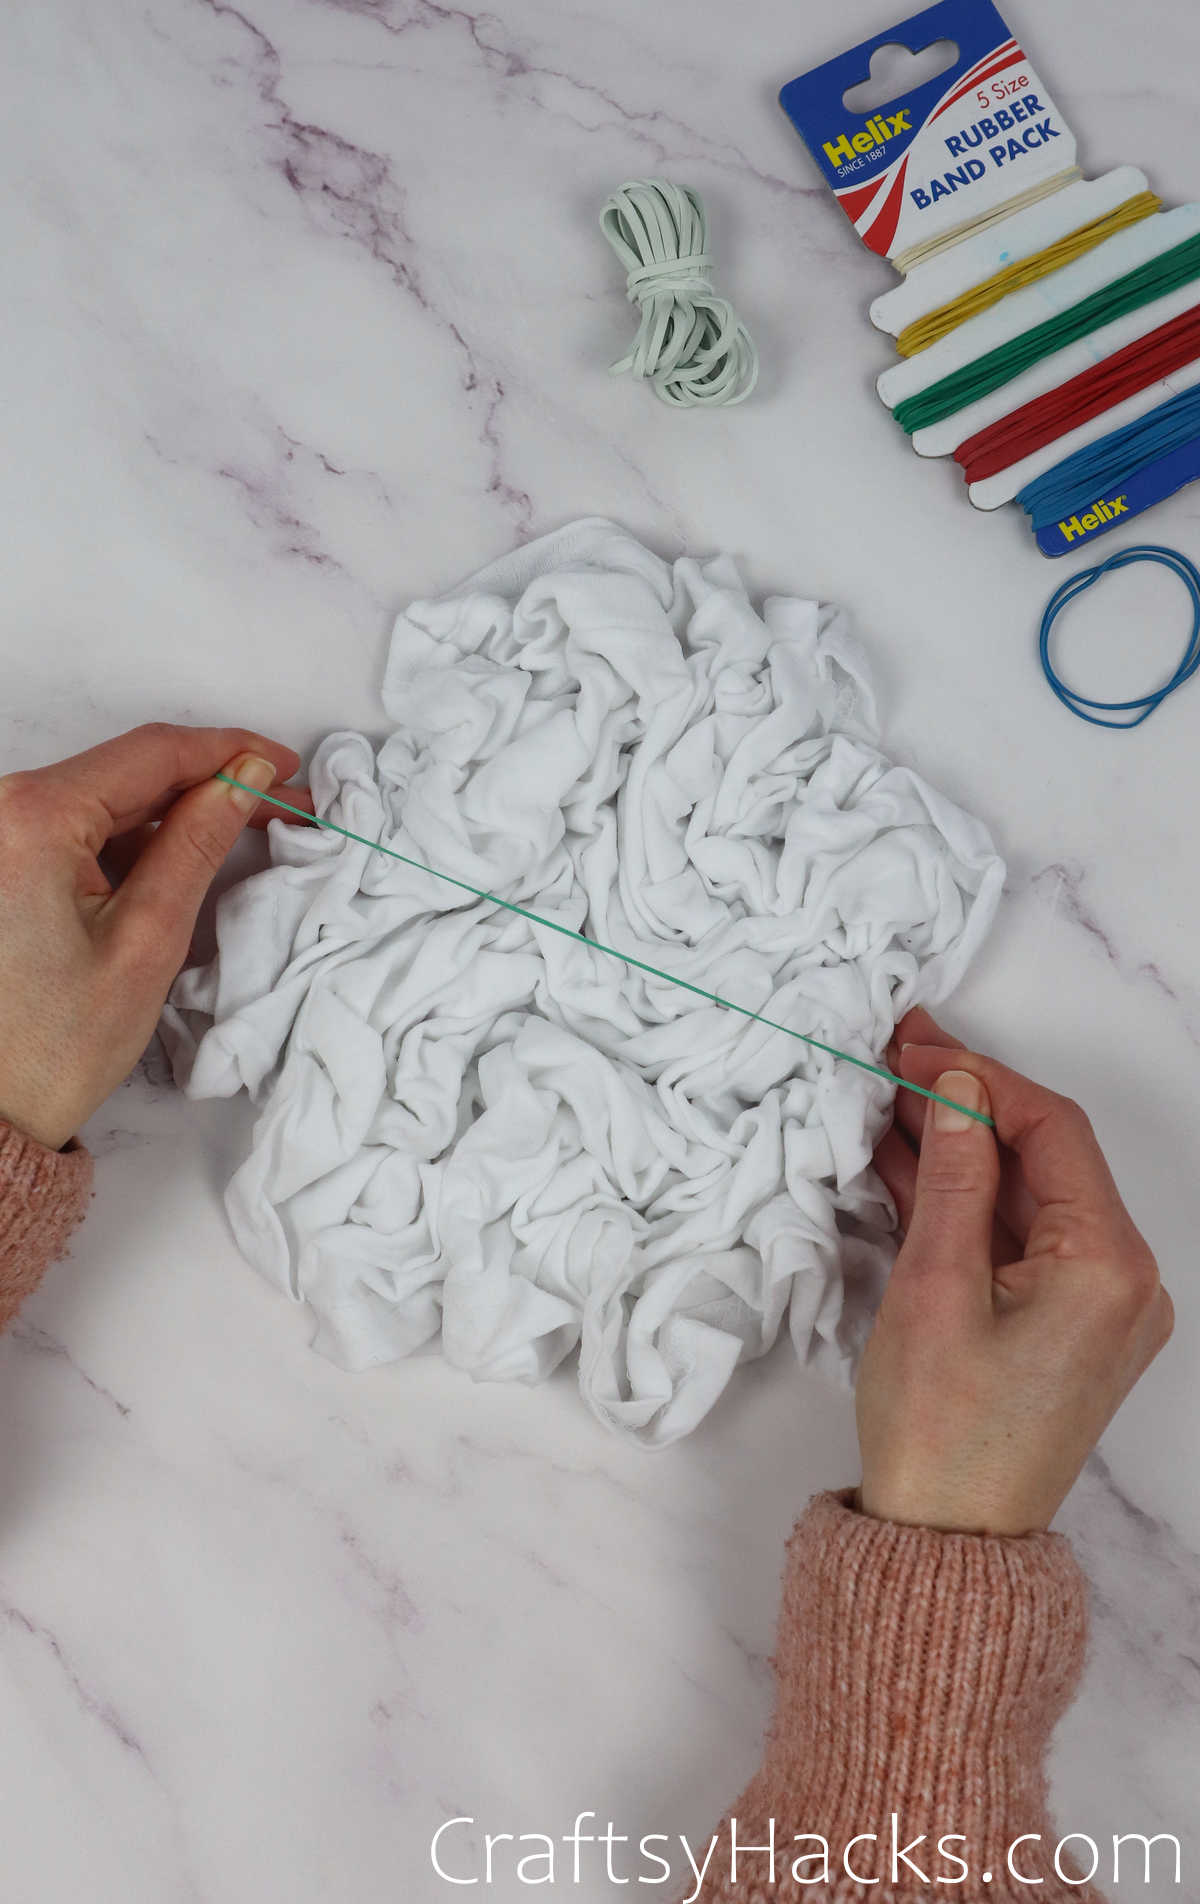
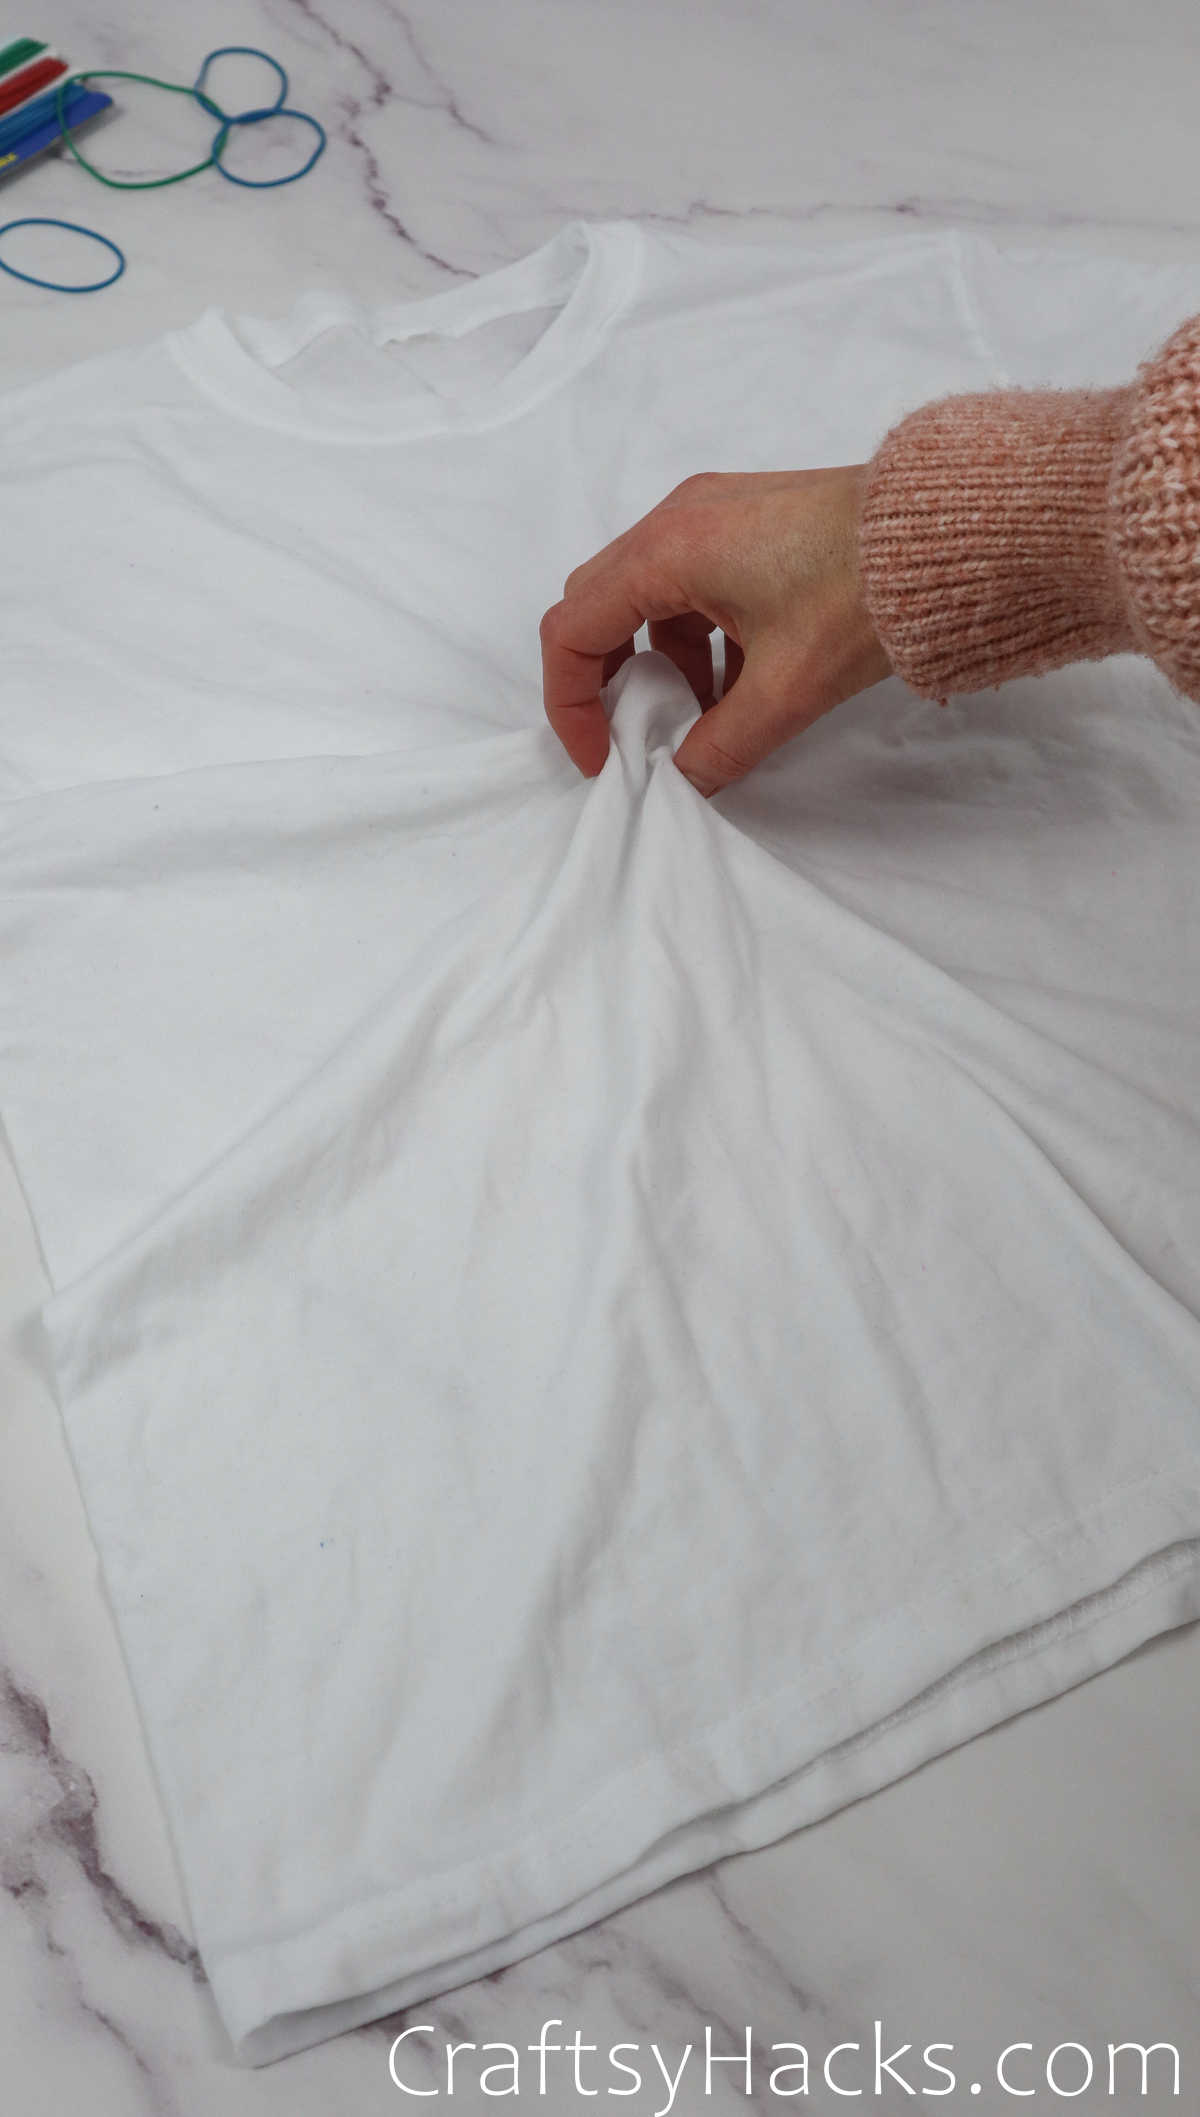
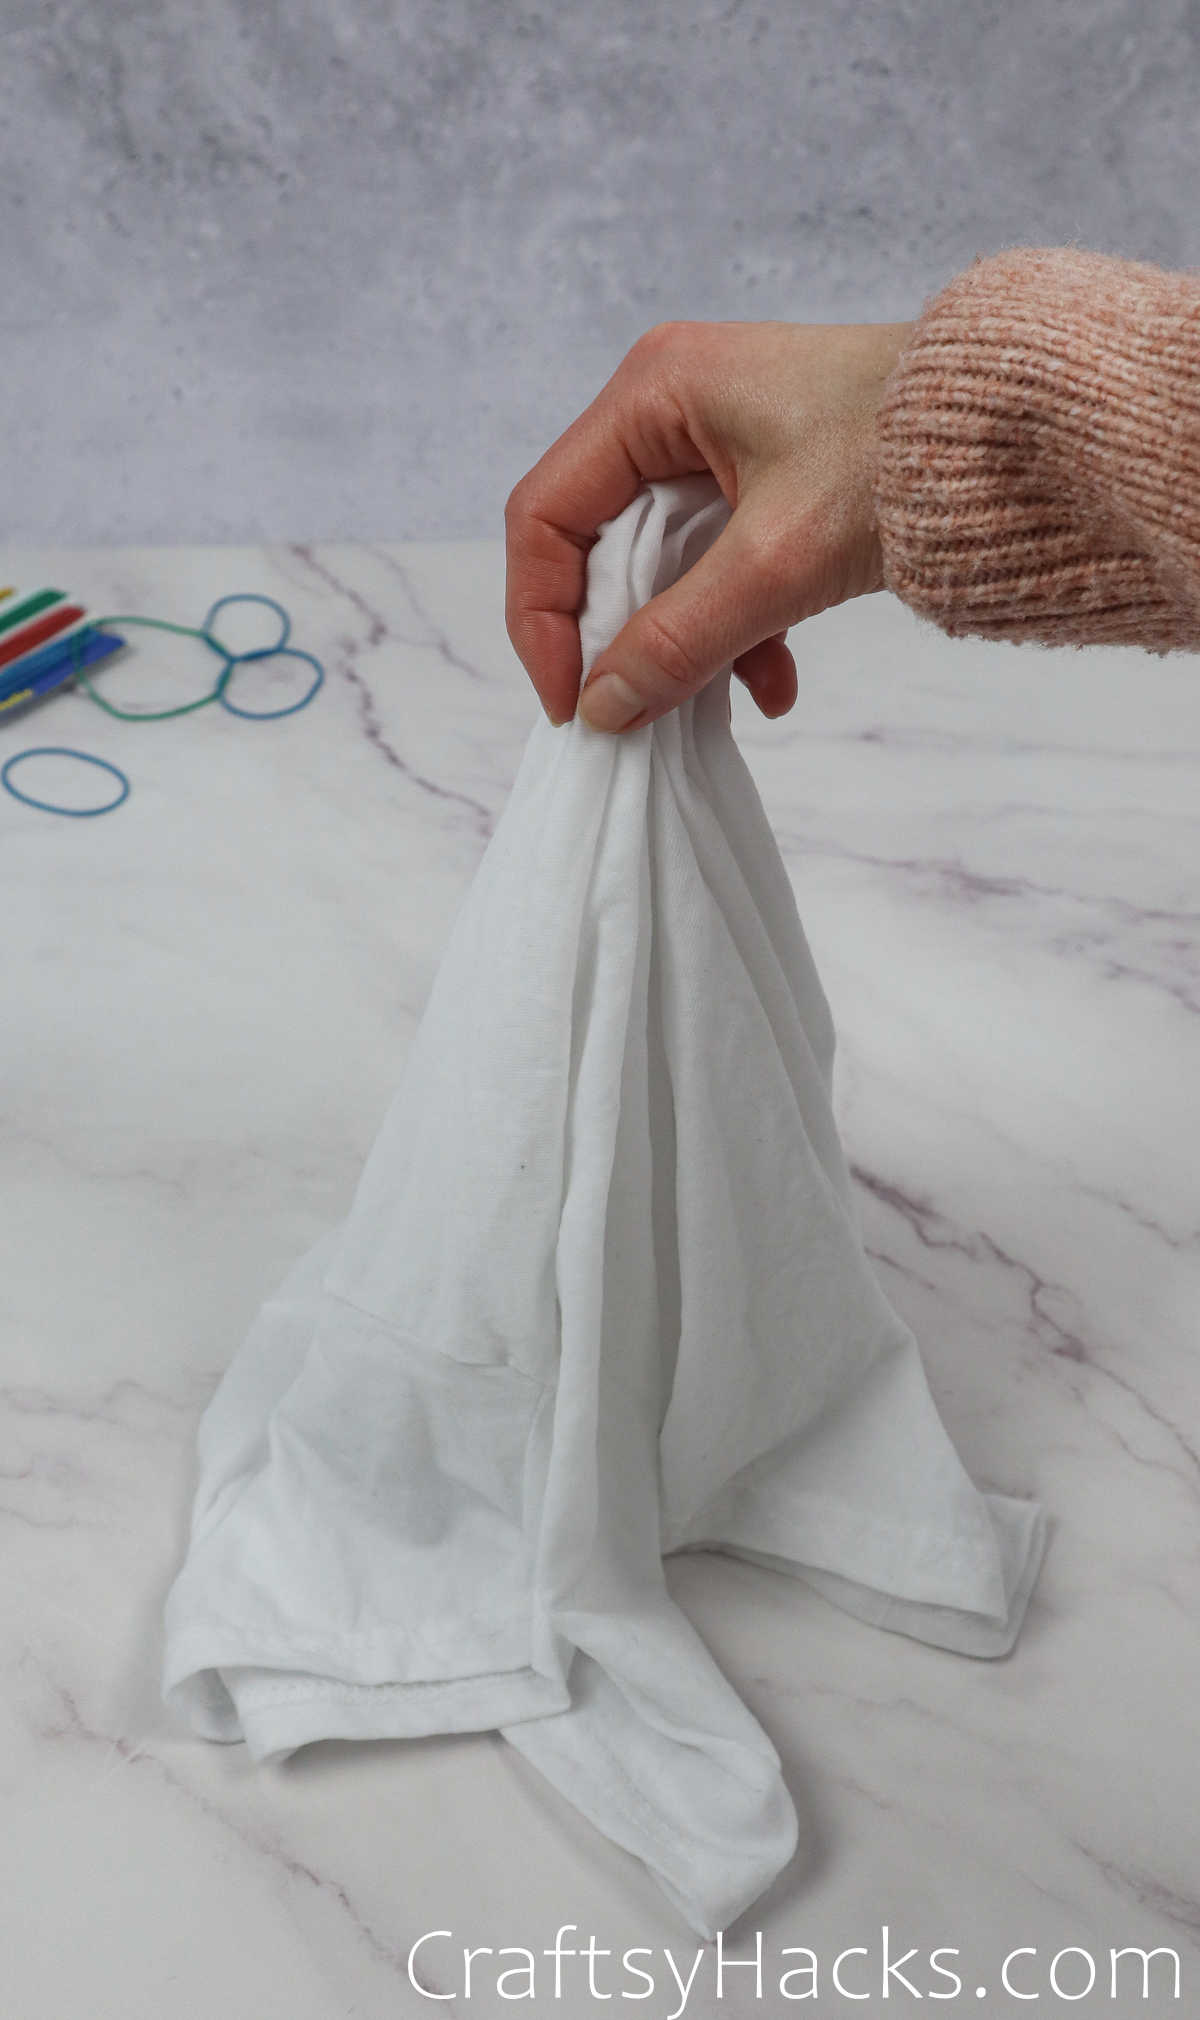
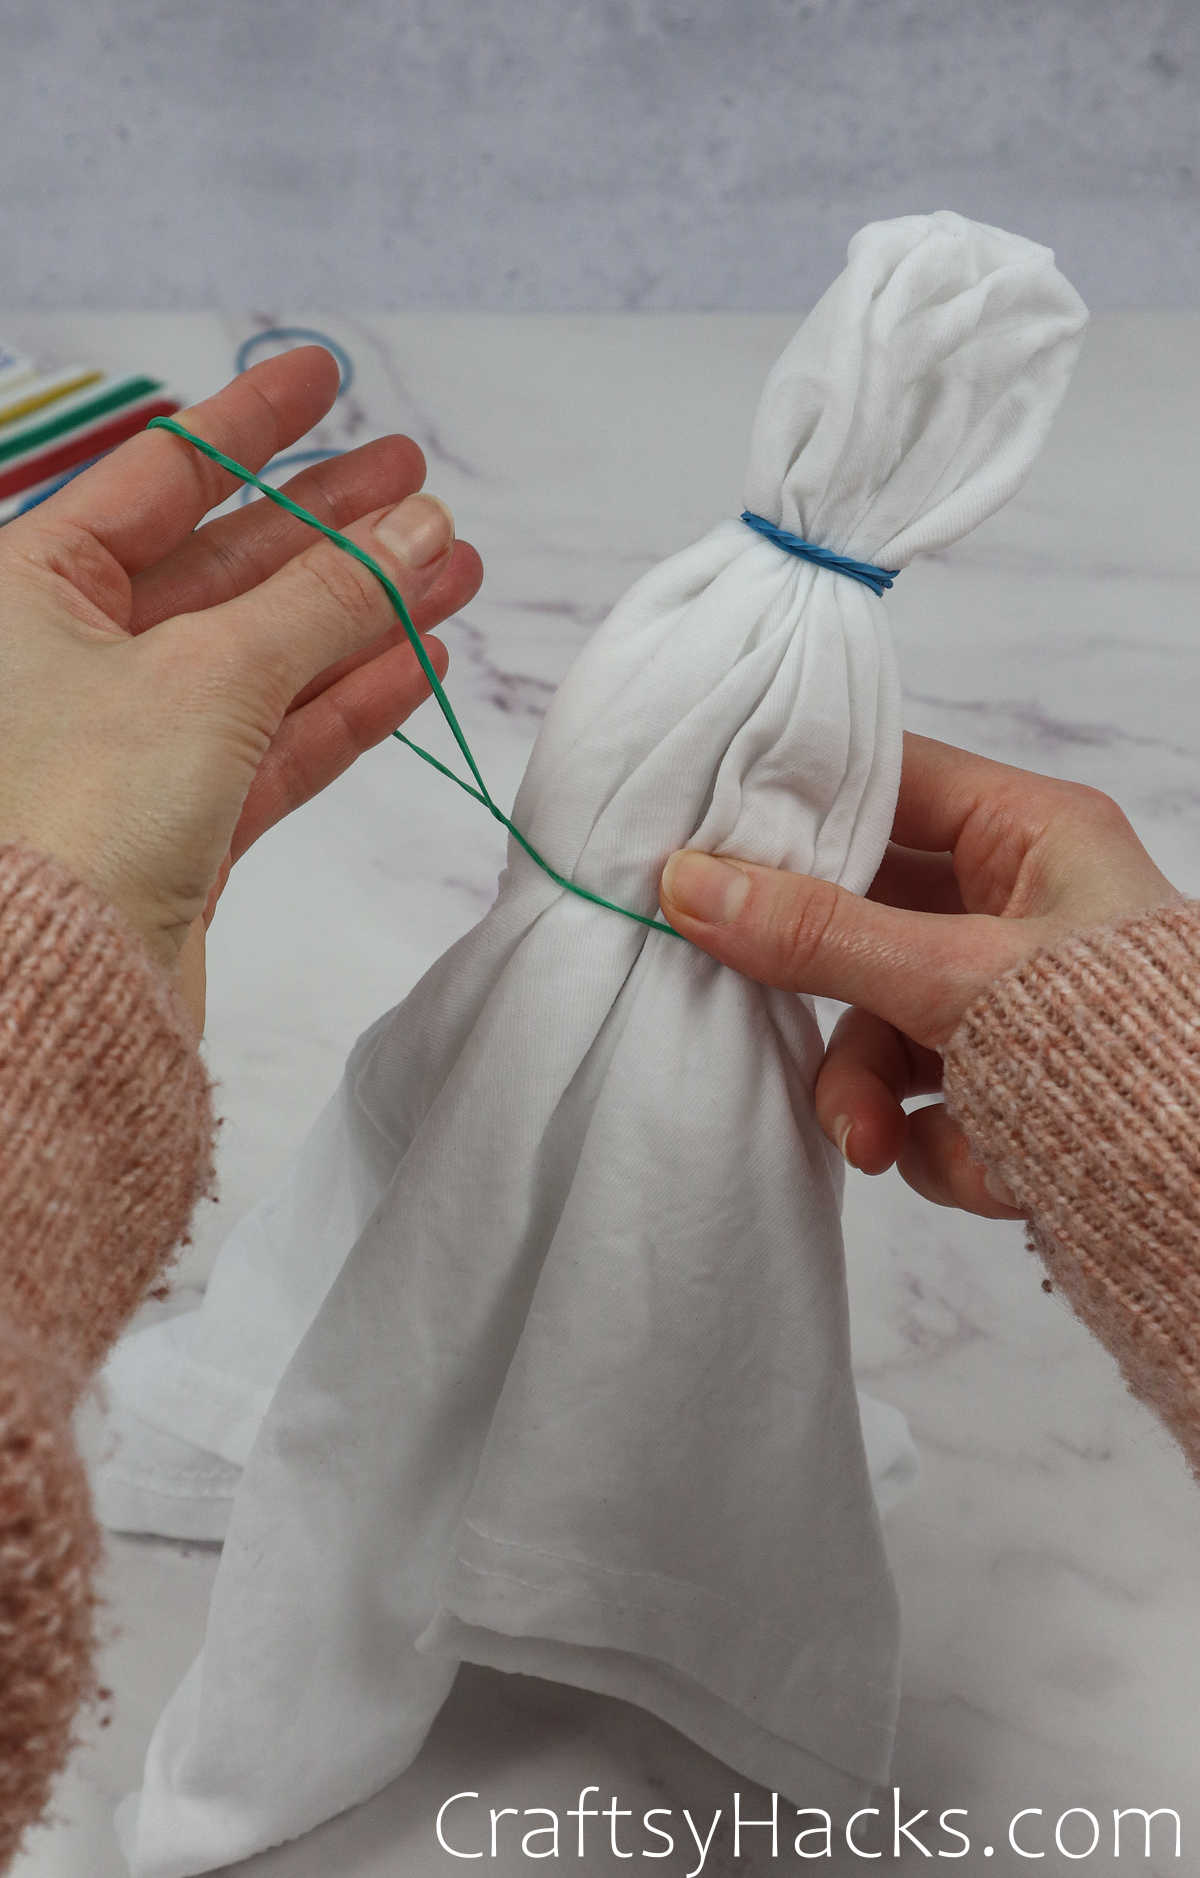
Method 1
Method 1 is the easiest by far.
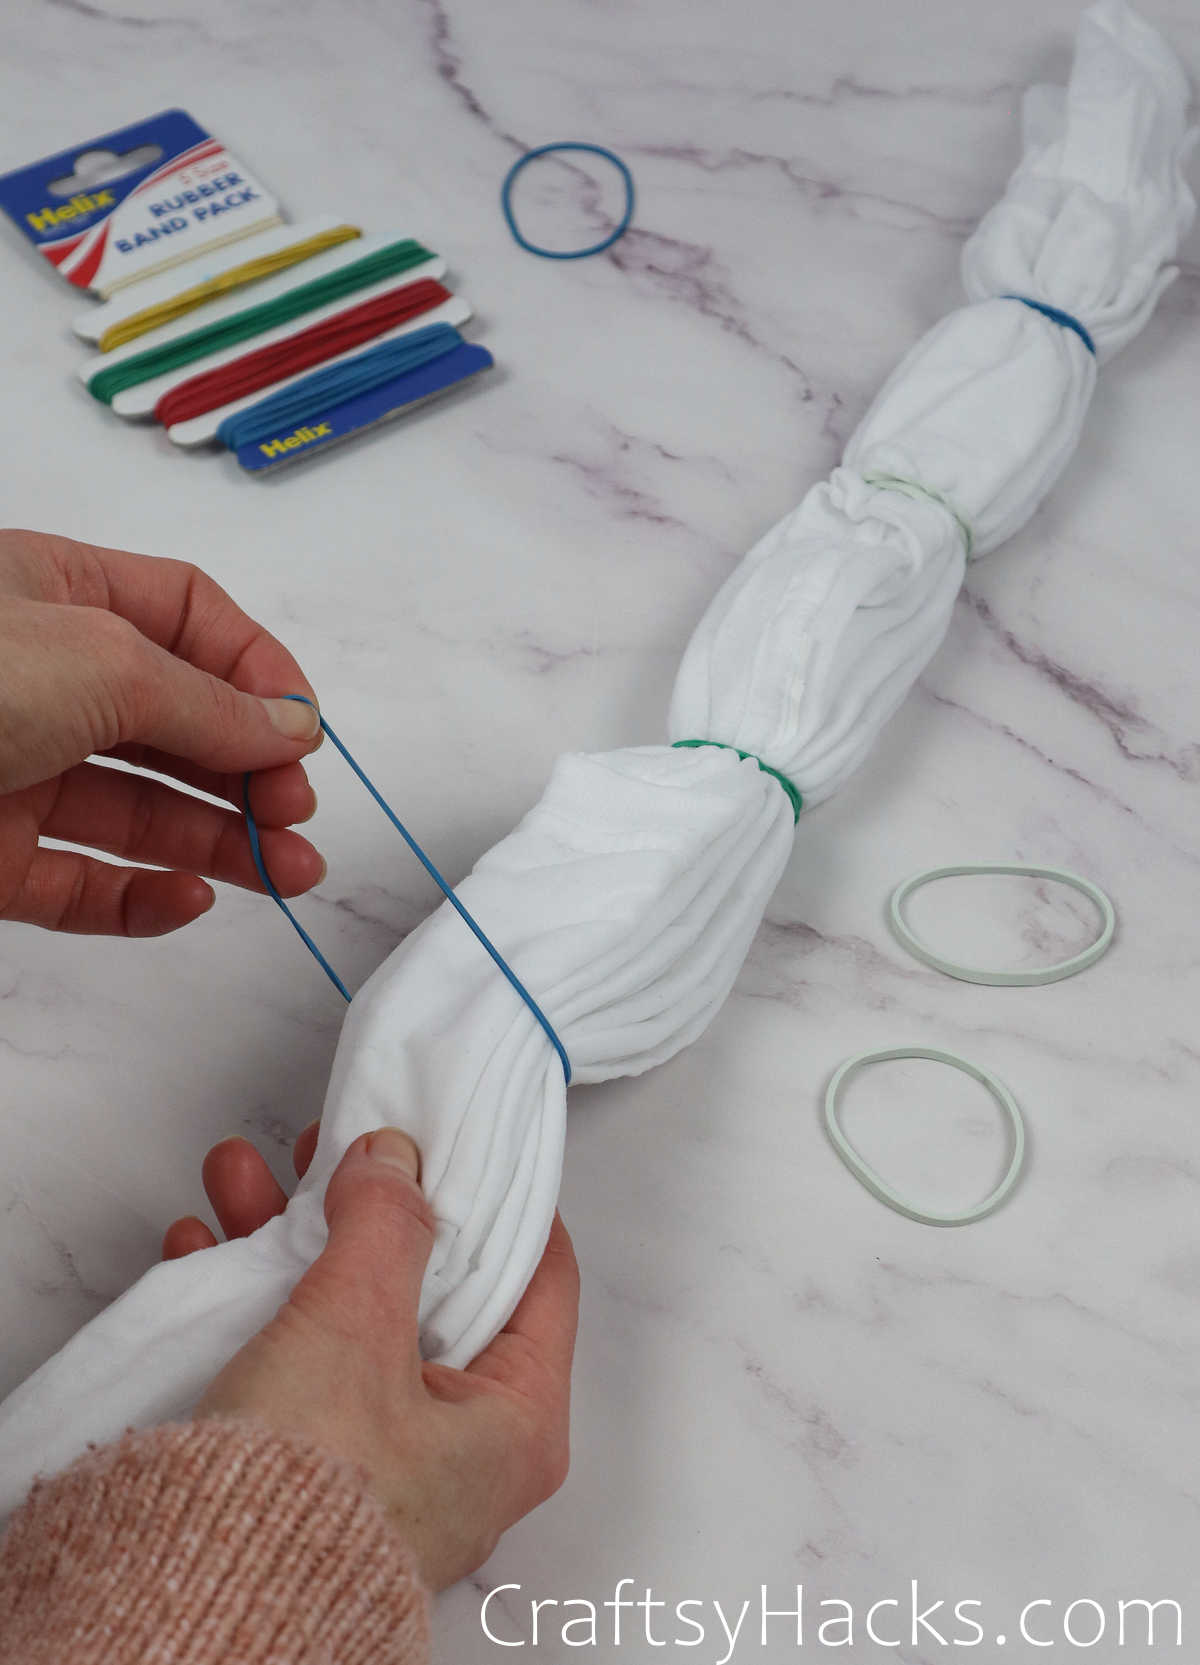
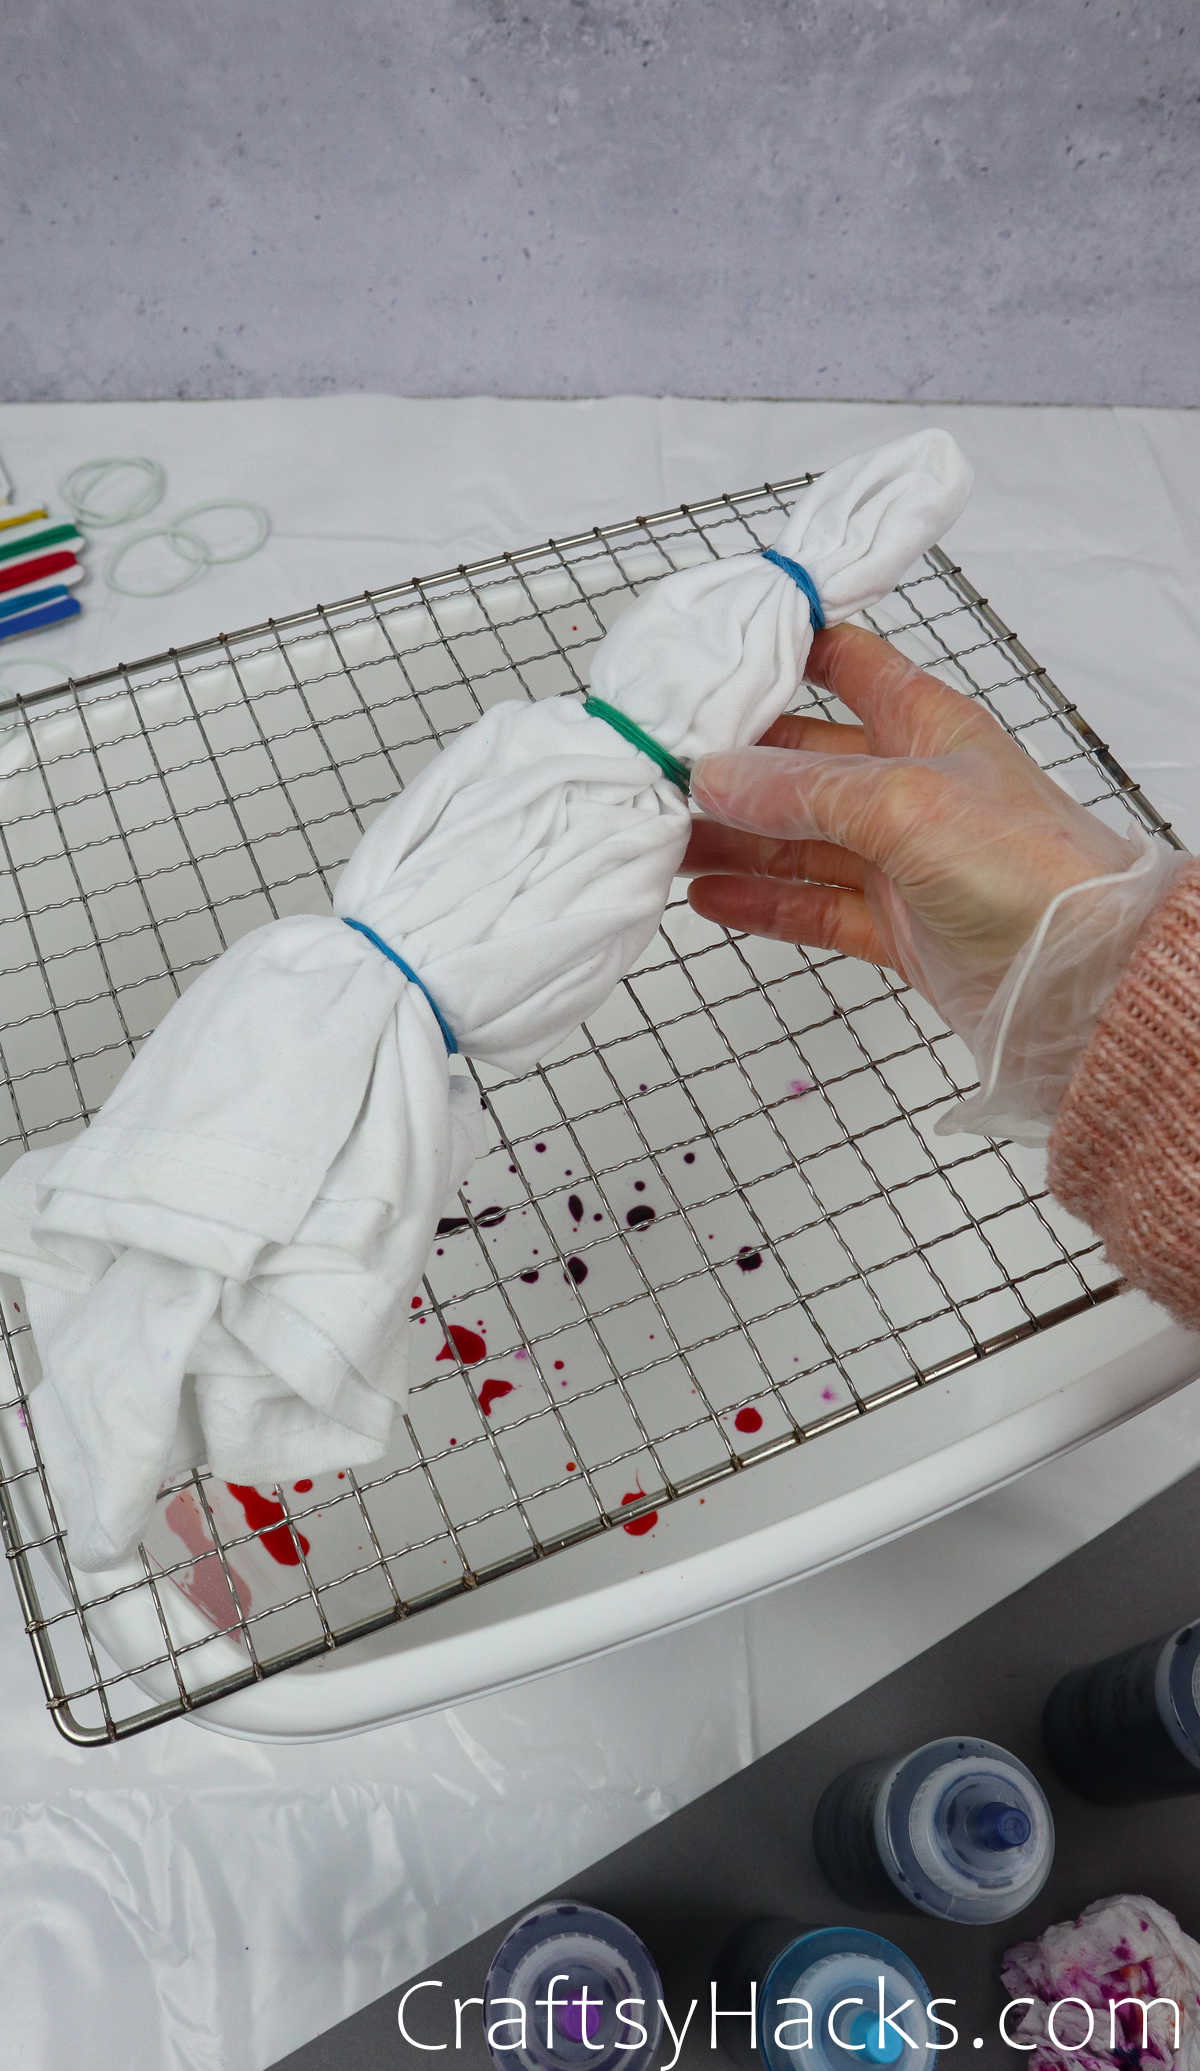
Just secure the shirt along those folds with tight elastic bands to hold the shirt in place.
Remember that the tighter the bands, the more effective your pattern will be.
Method 2
Take another tee and check out the second method!
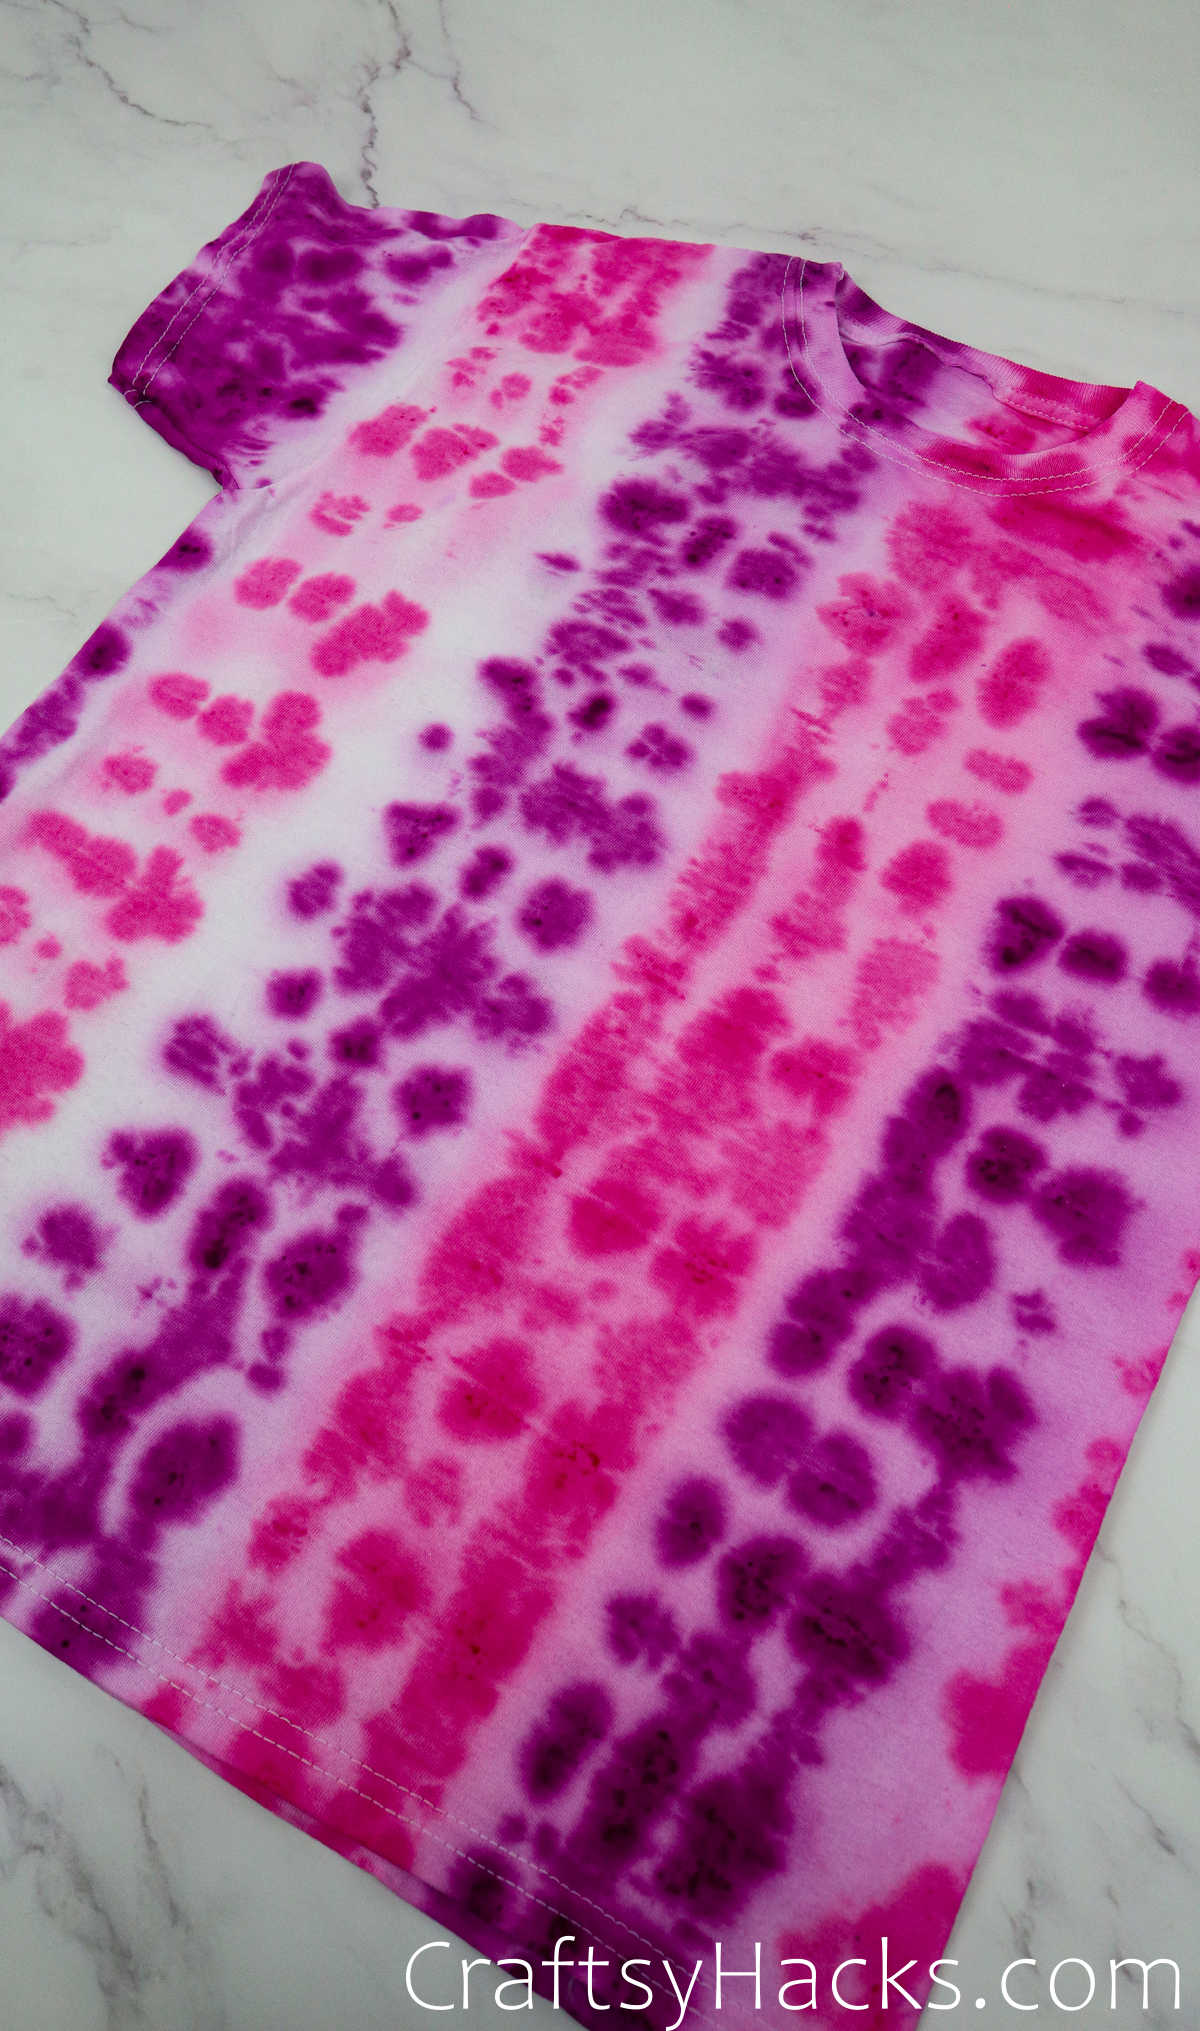
This method is called the bulls-eye method for one obvious reason.
Grab an elastic and secure a tight knot under the bulls eye fold.

Next, take another elastic and fasten it a few inches under the first elastic.
you might use as many elastic bands as you like, and your color pattern will differ accordingly.
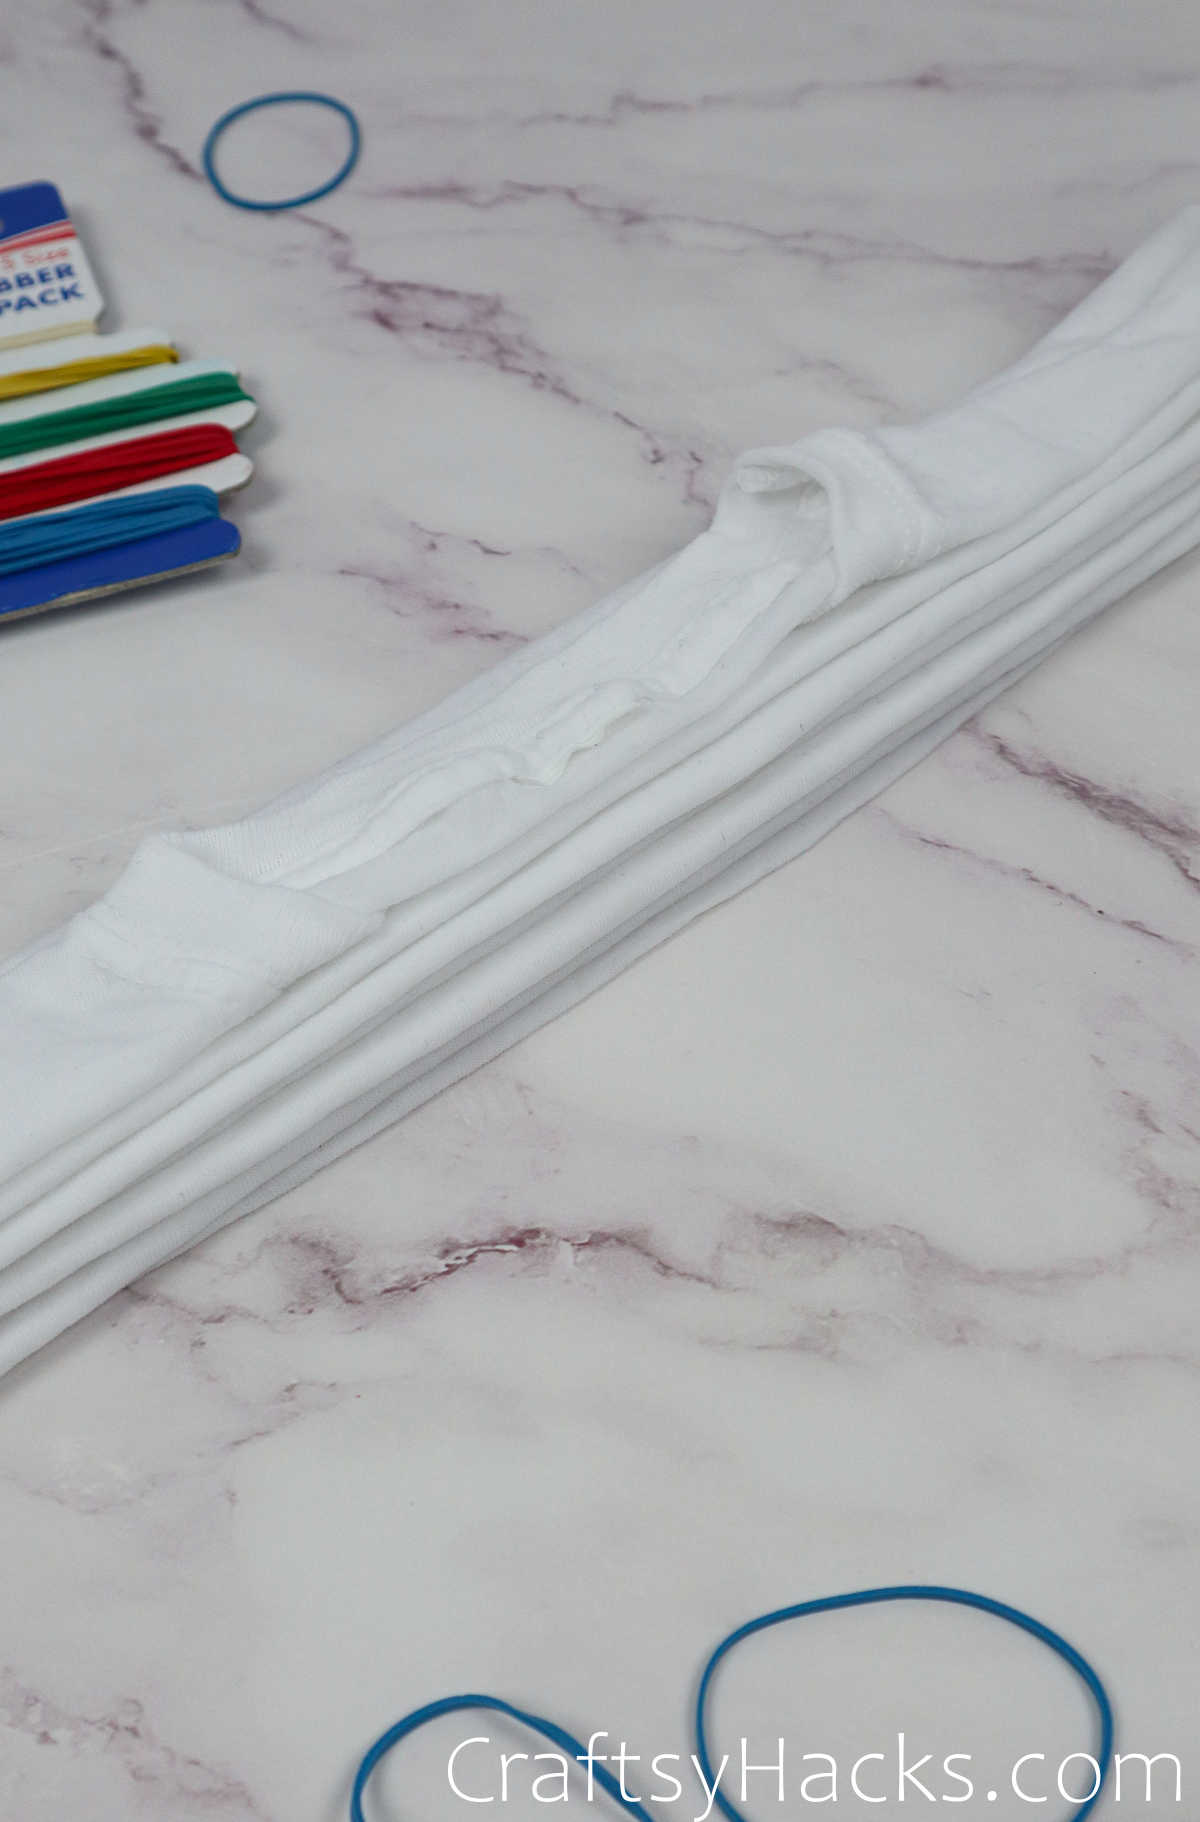
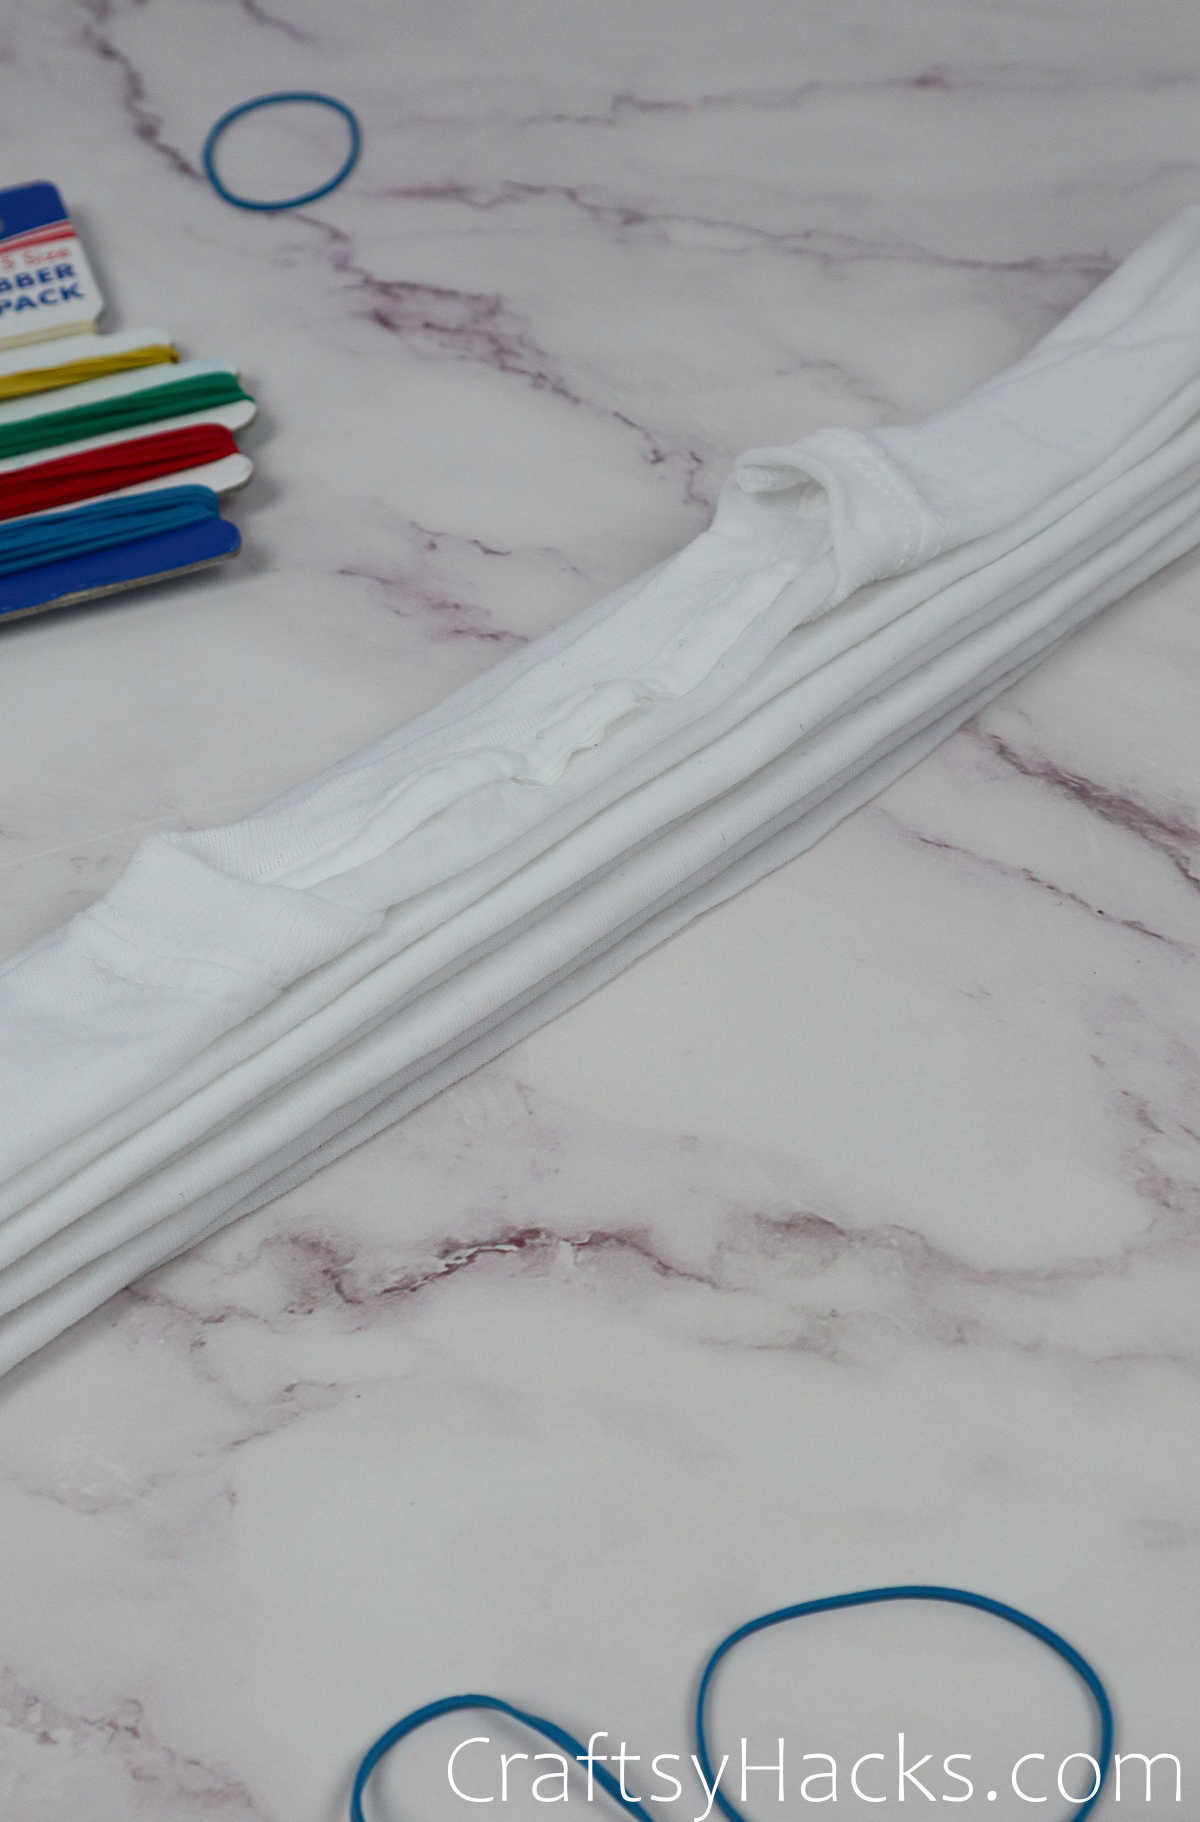
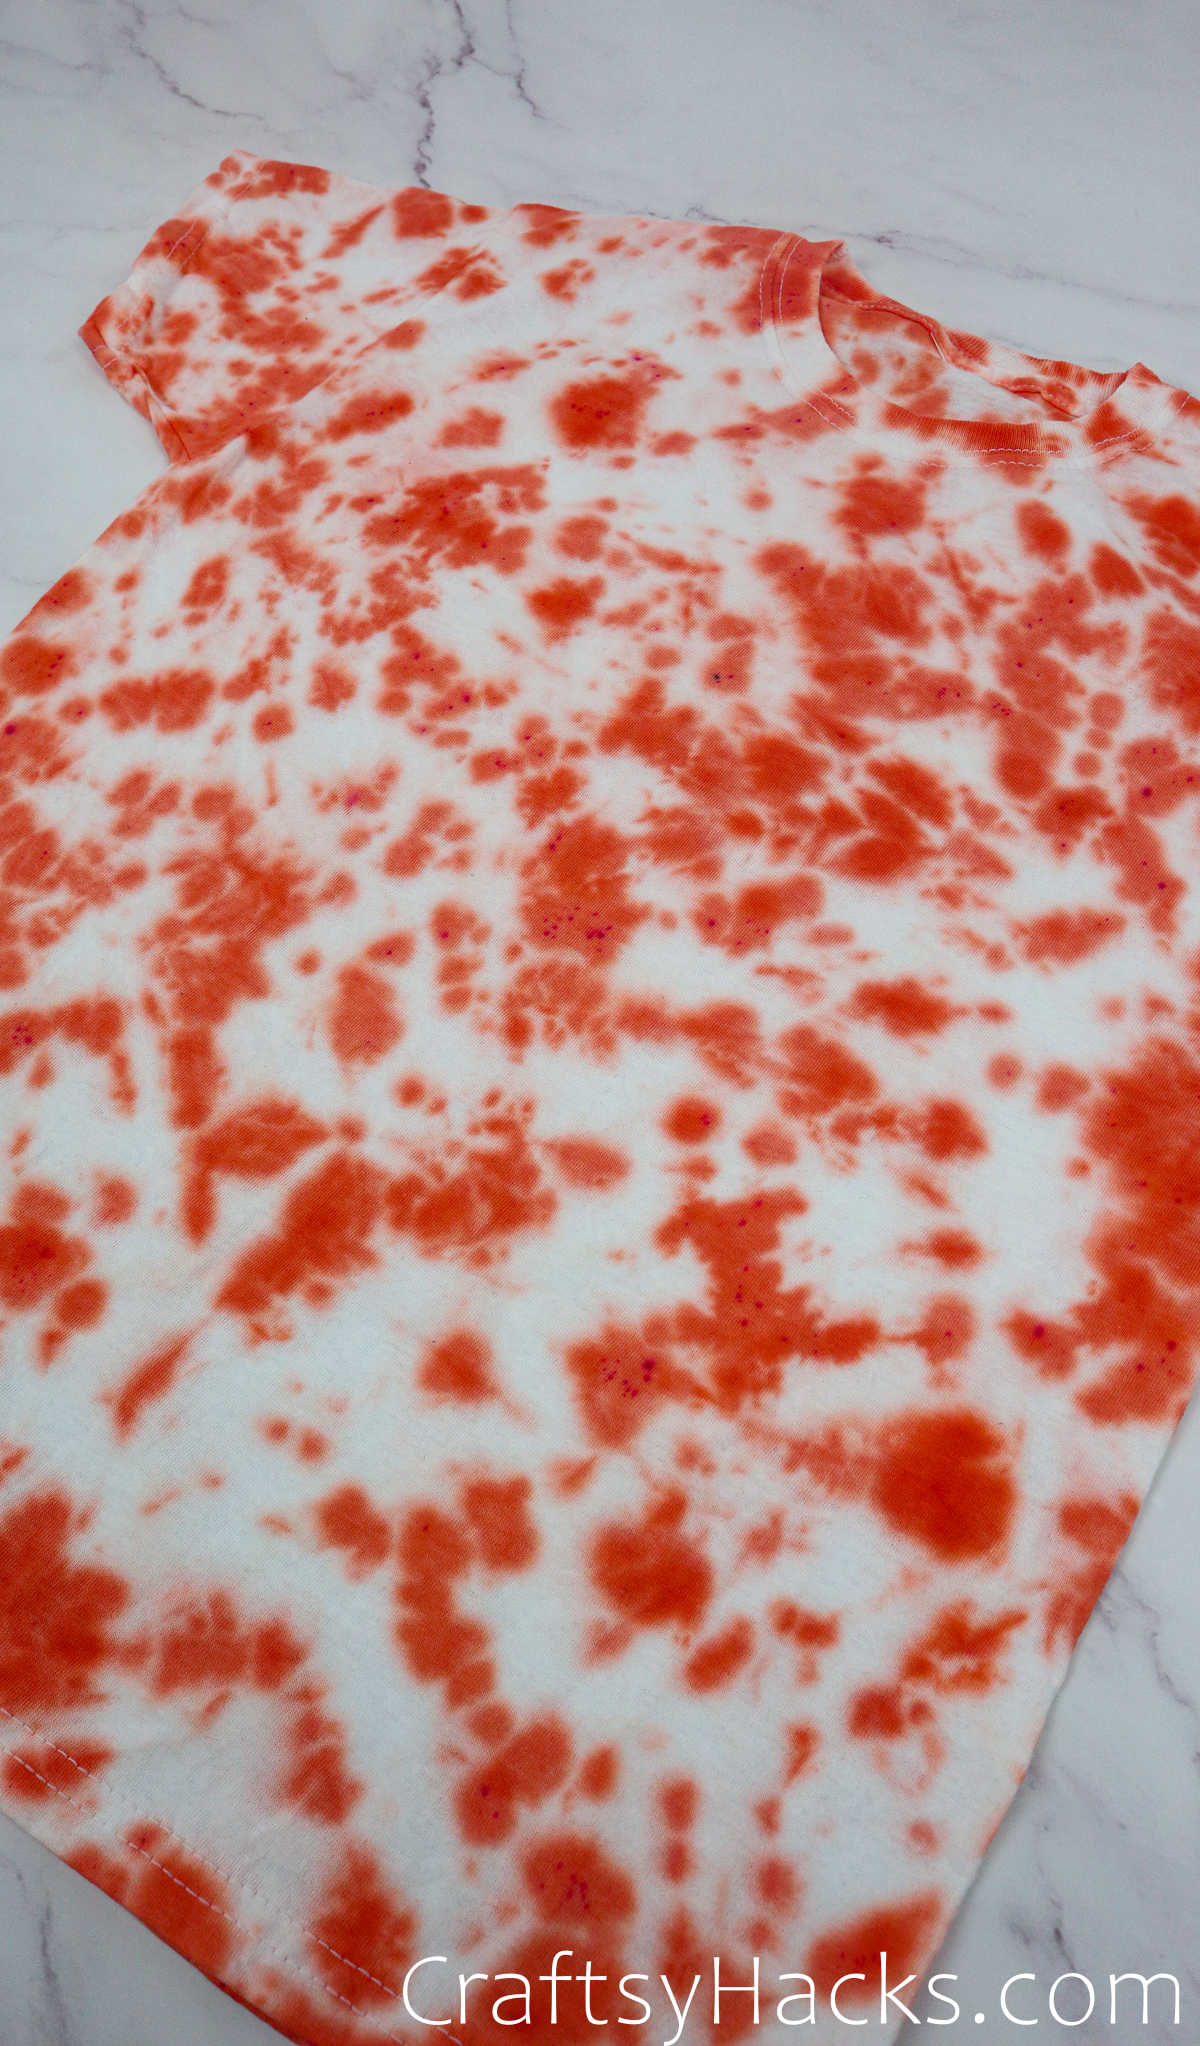
Method 3
The third method is called the stripes method, and its pretty amazing, too.
Youre going to want to lay your tee flat on a work surface first.
You know how youd make those accordion folds with paper to make a paper fan?
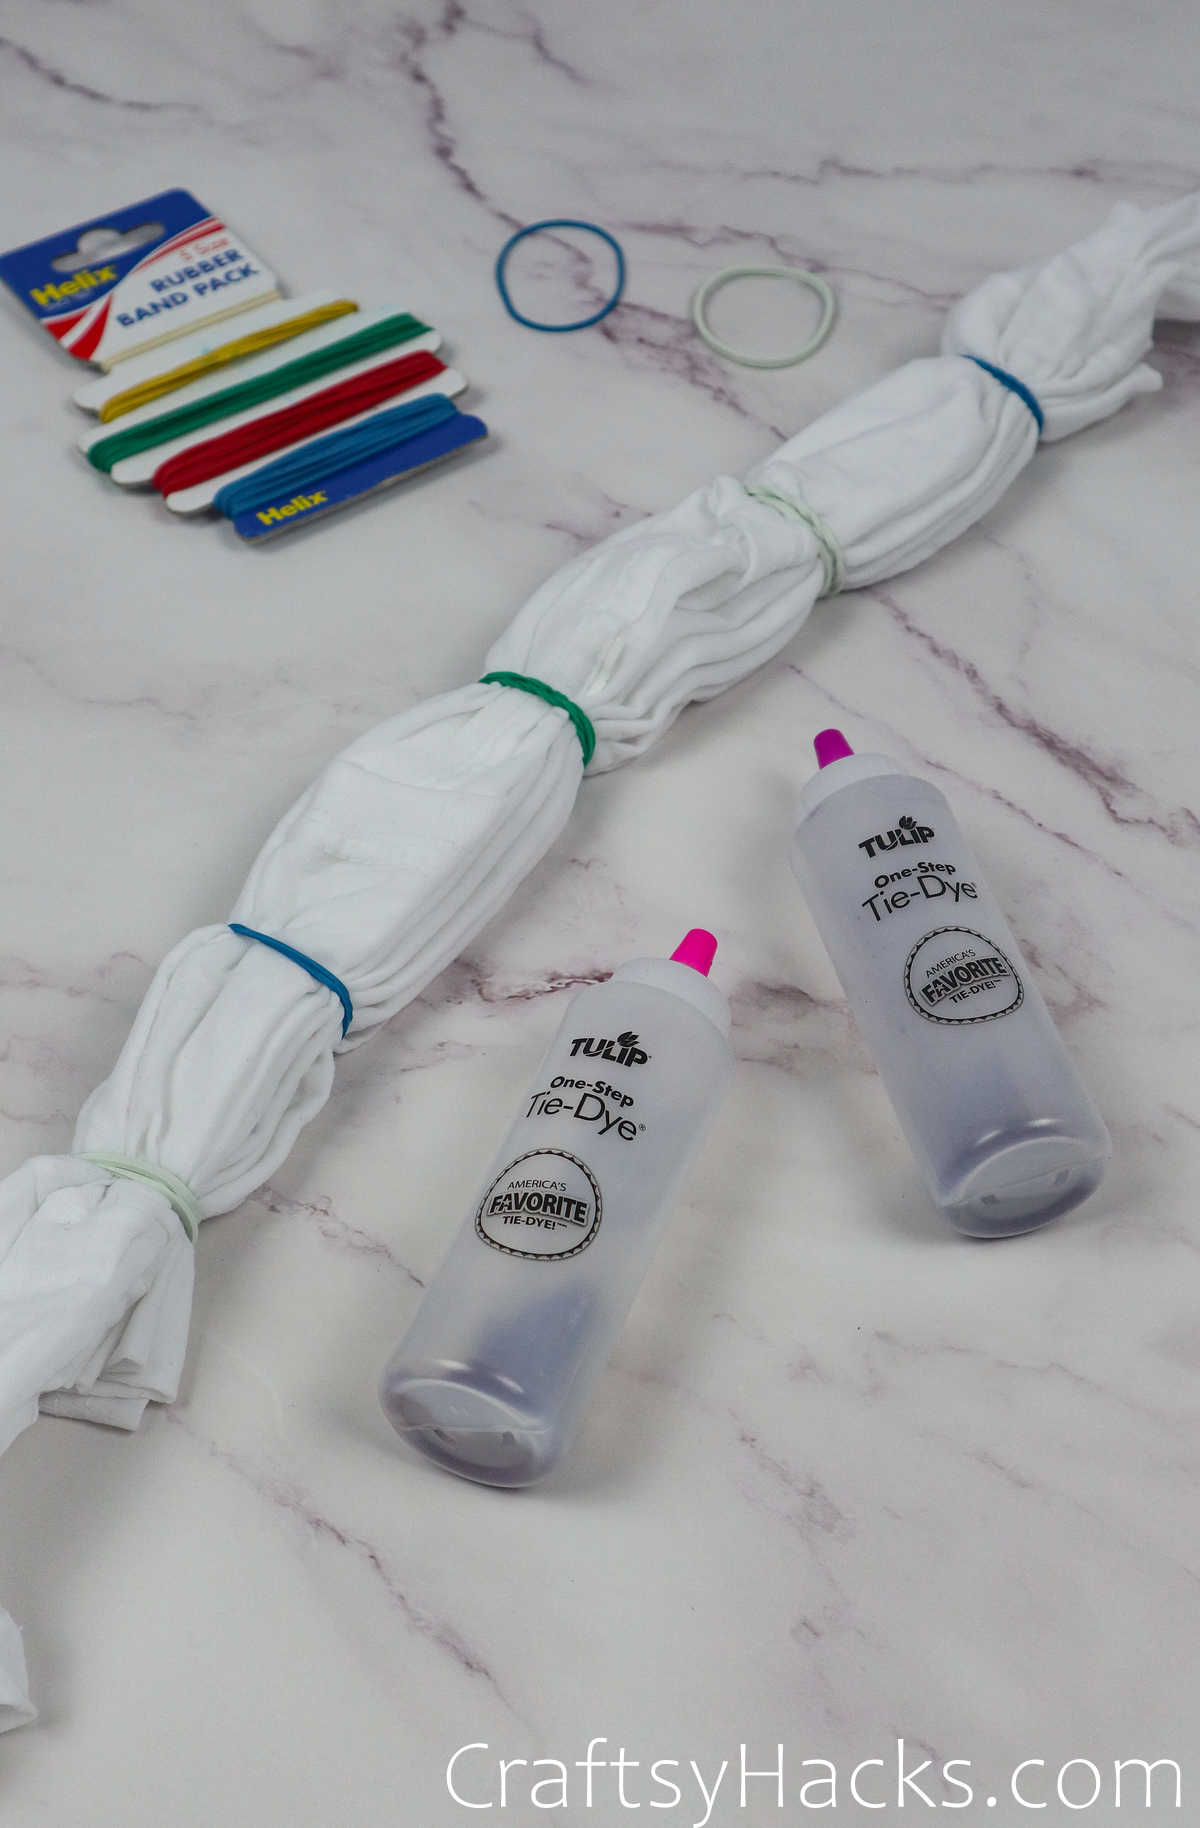
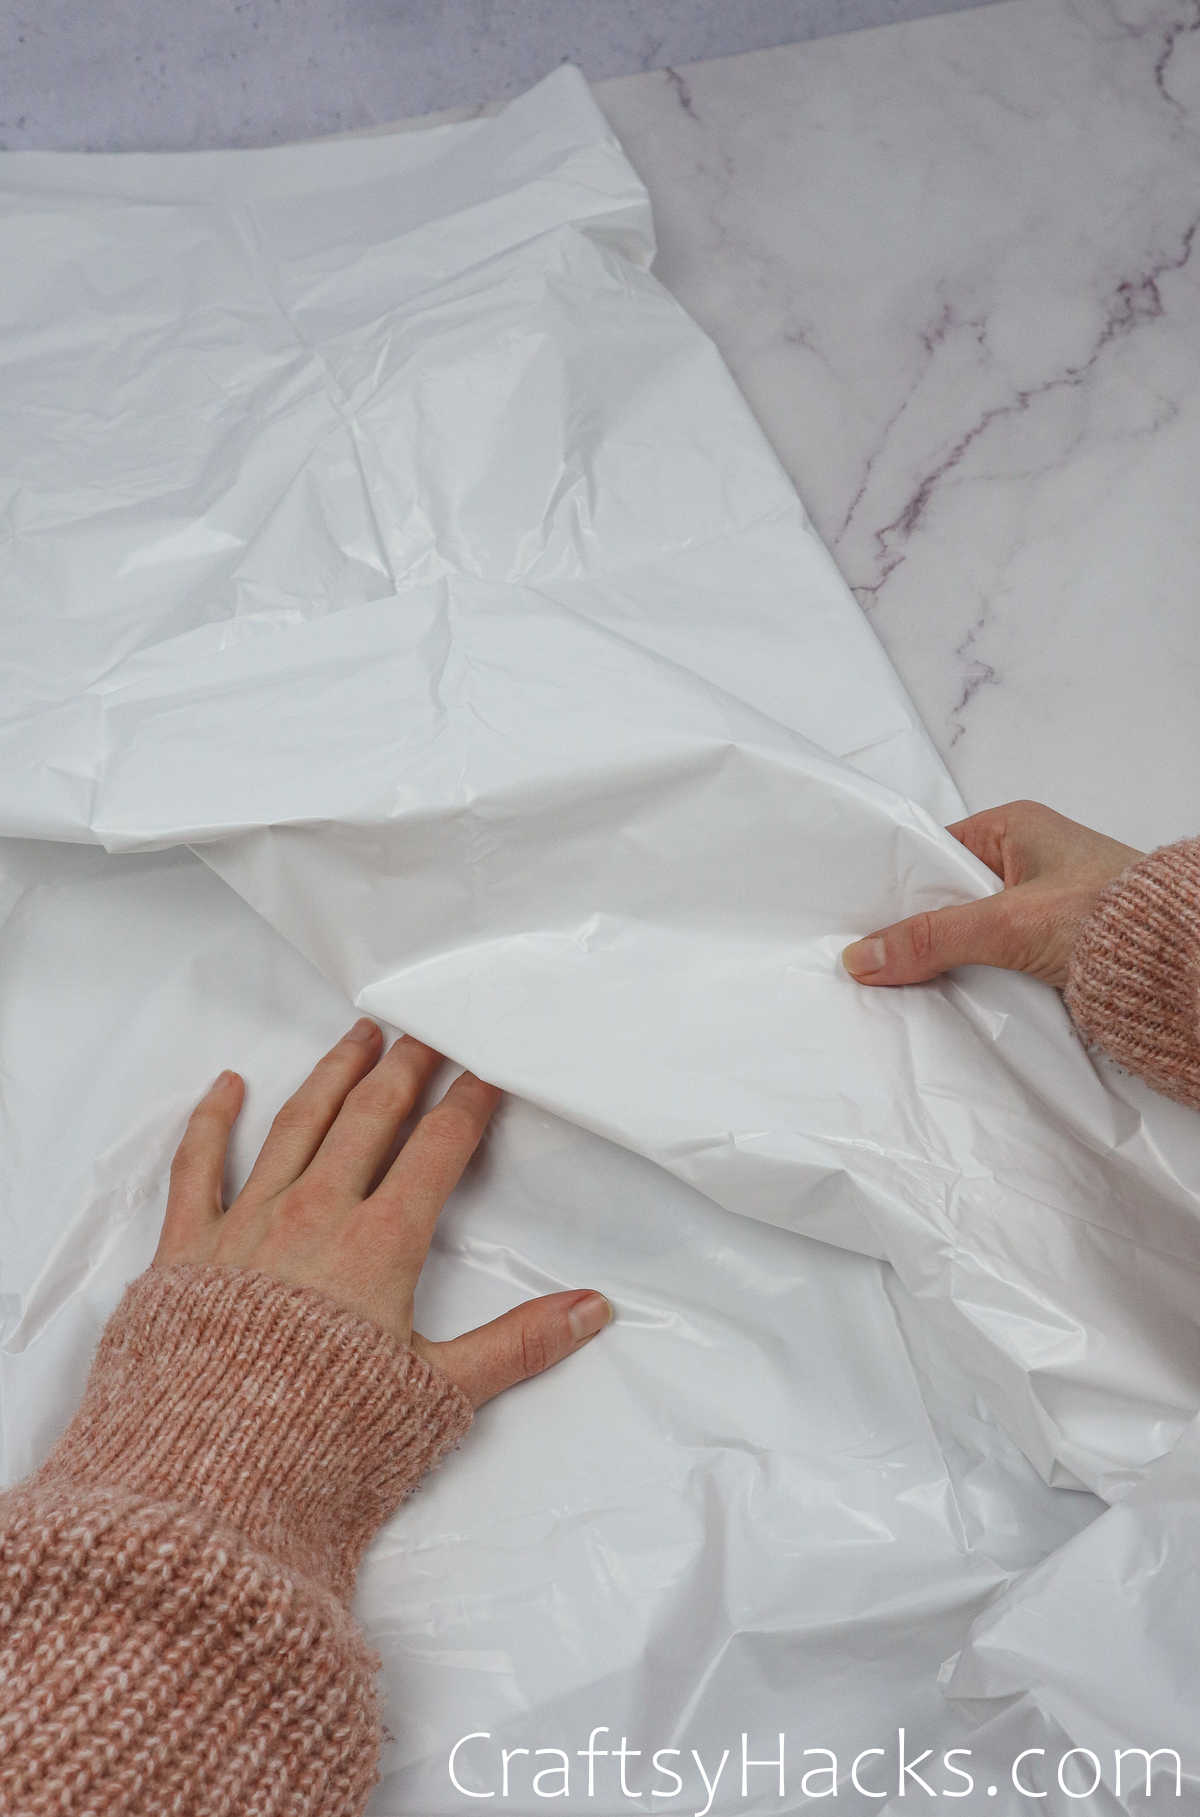
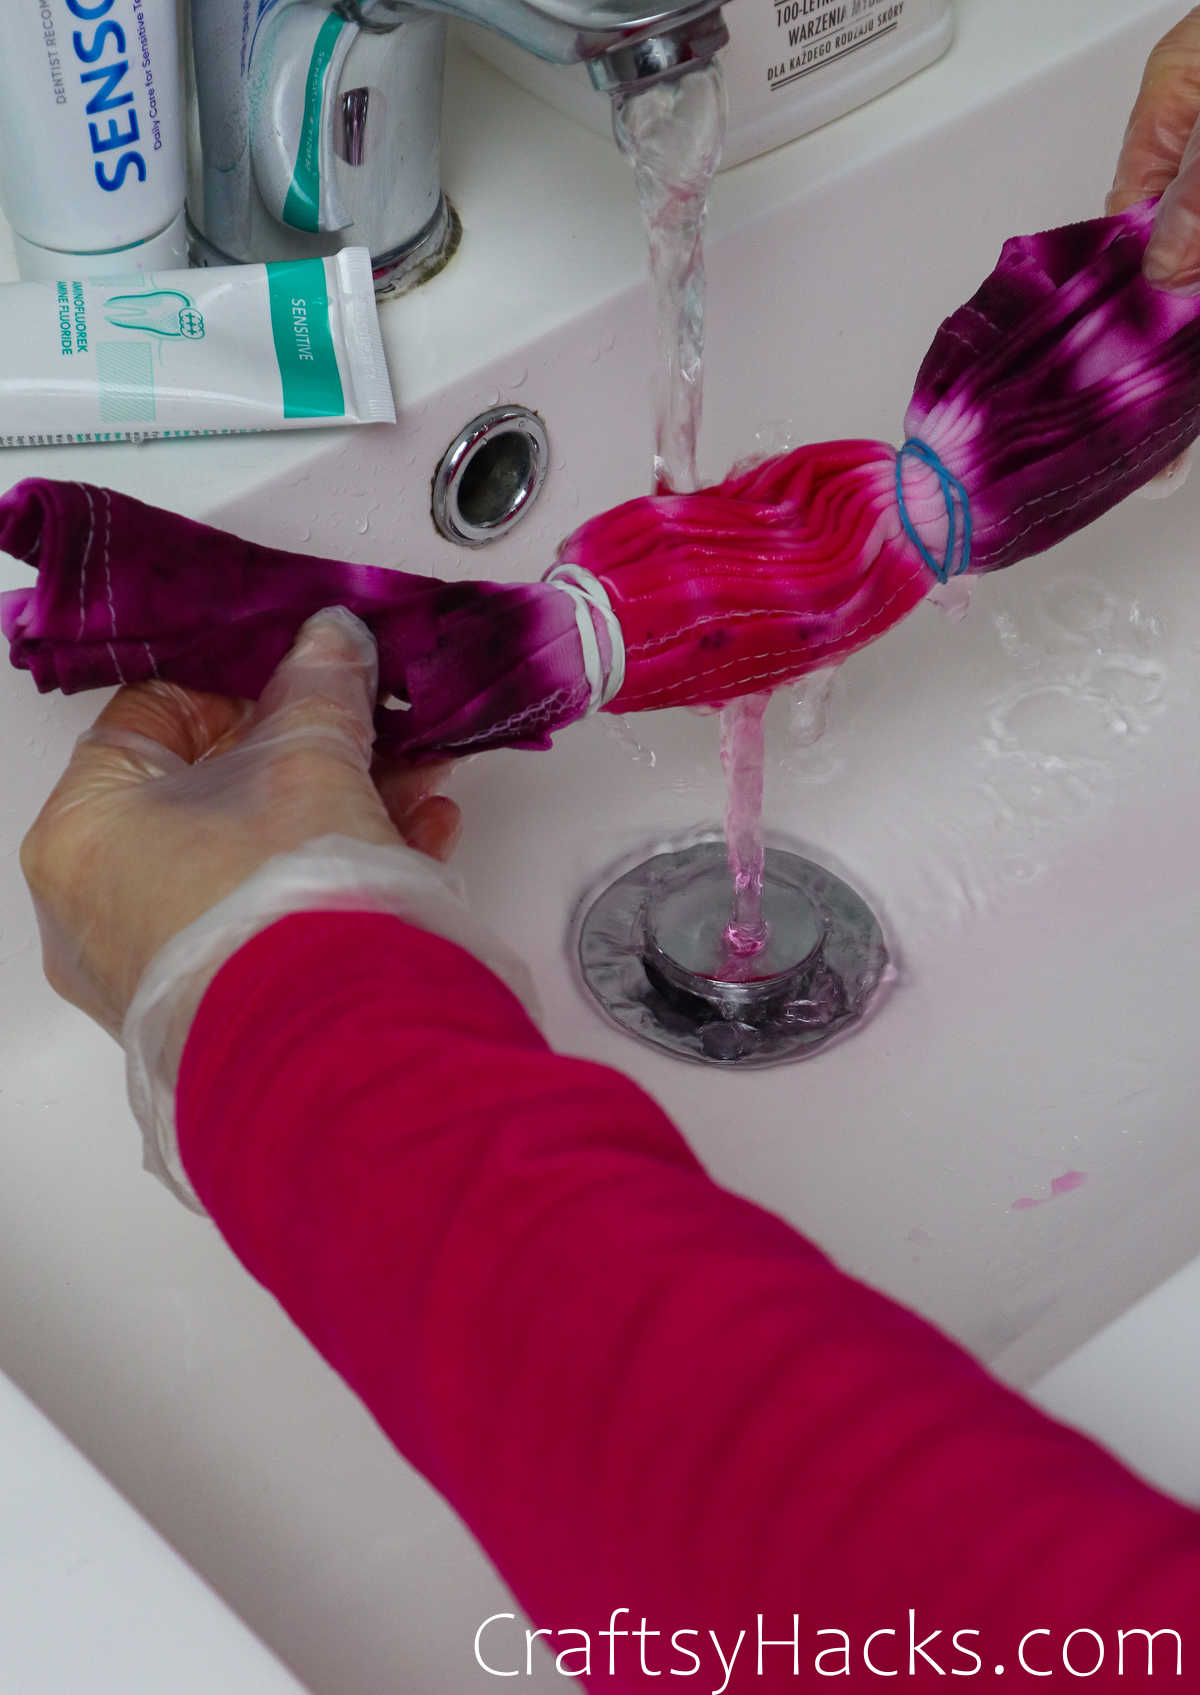
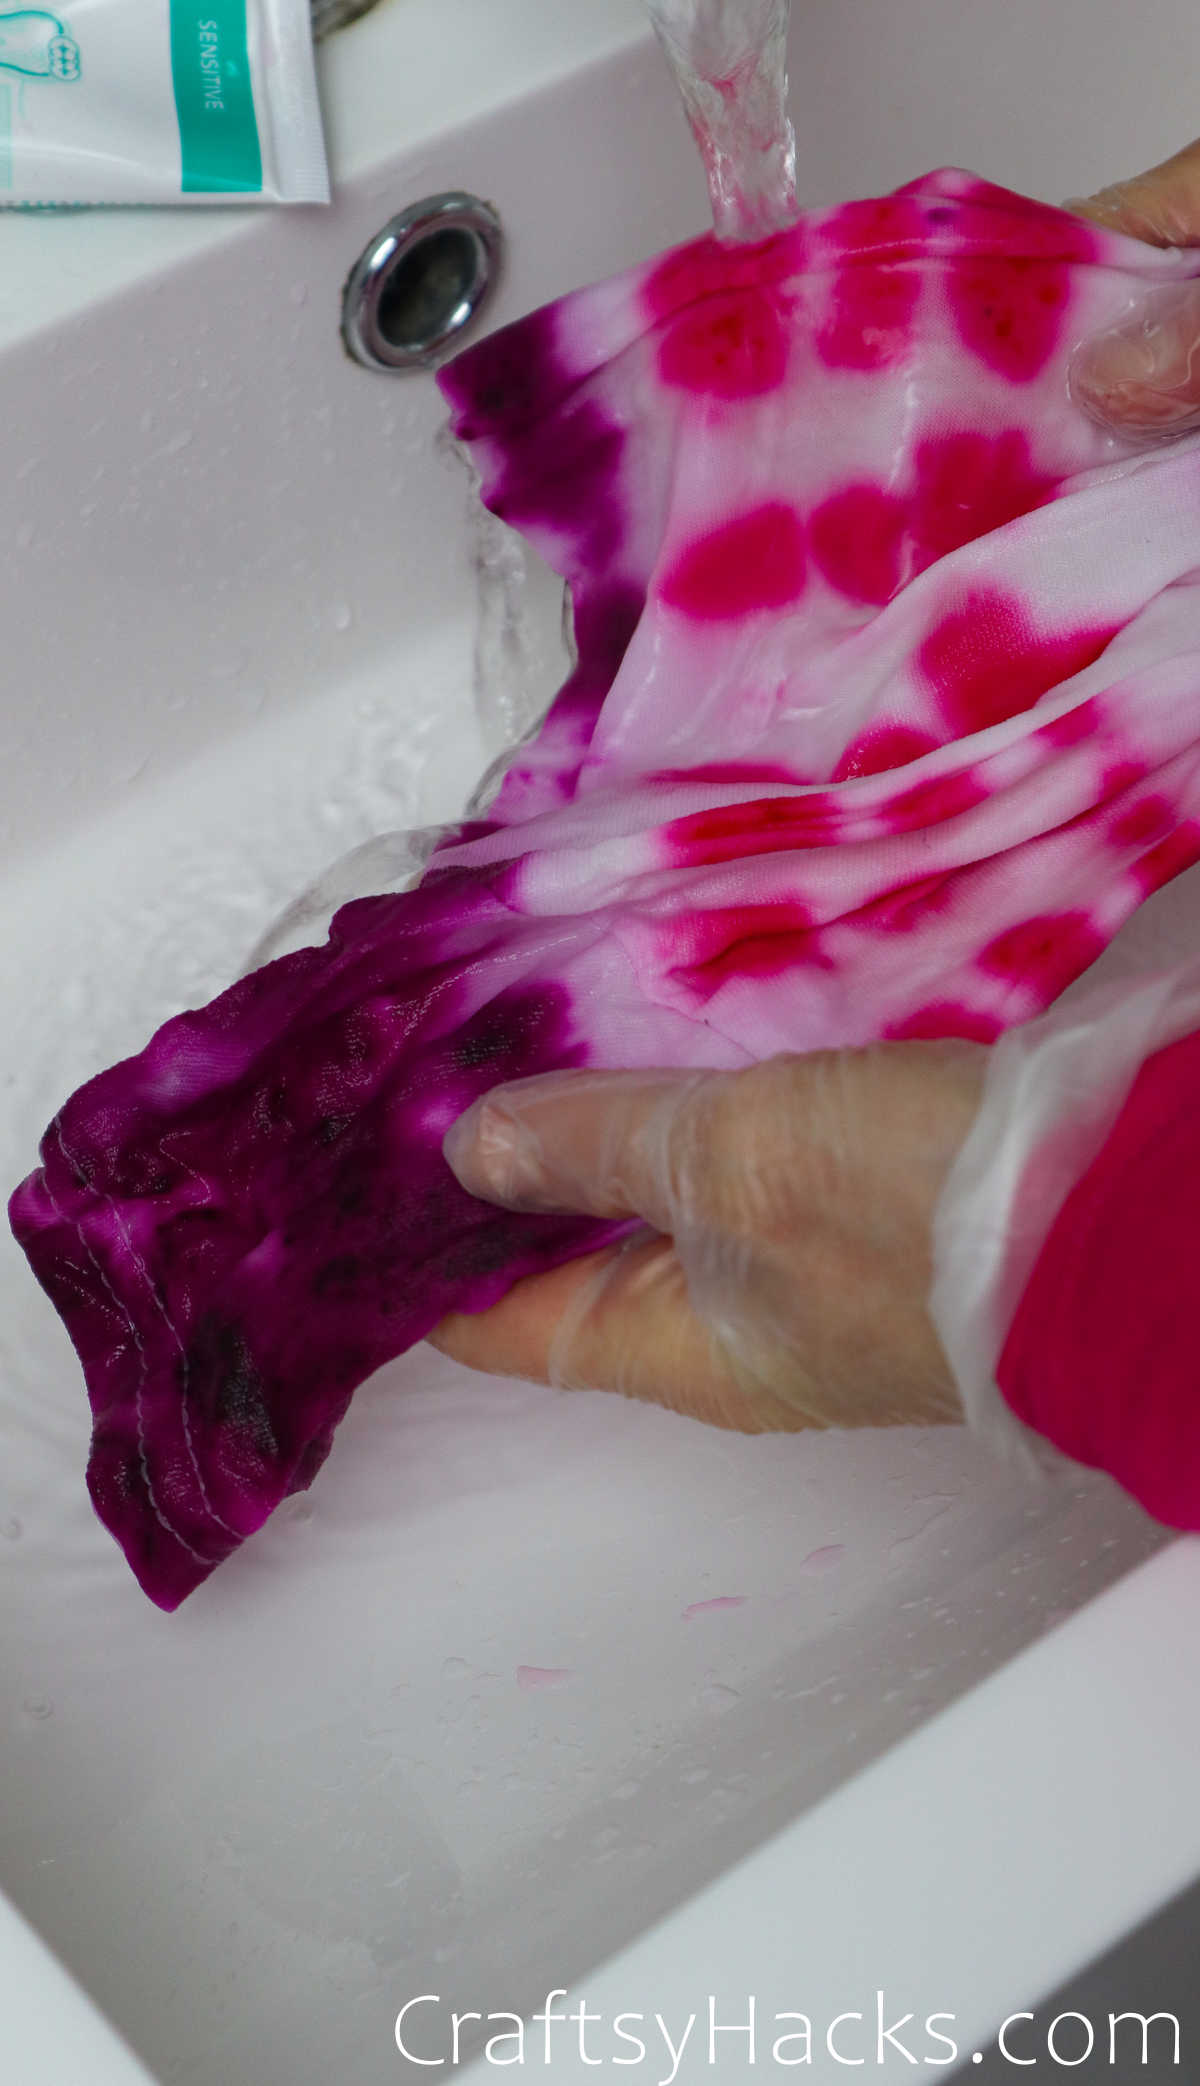
So lets get down to the fun and messy part: dyeing!
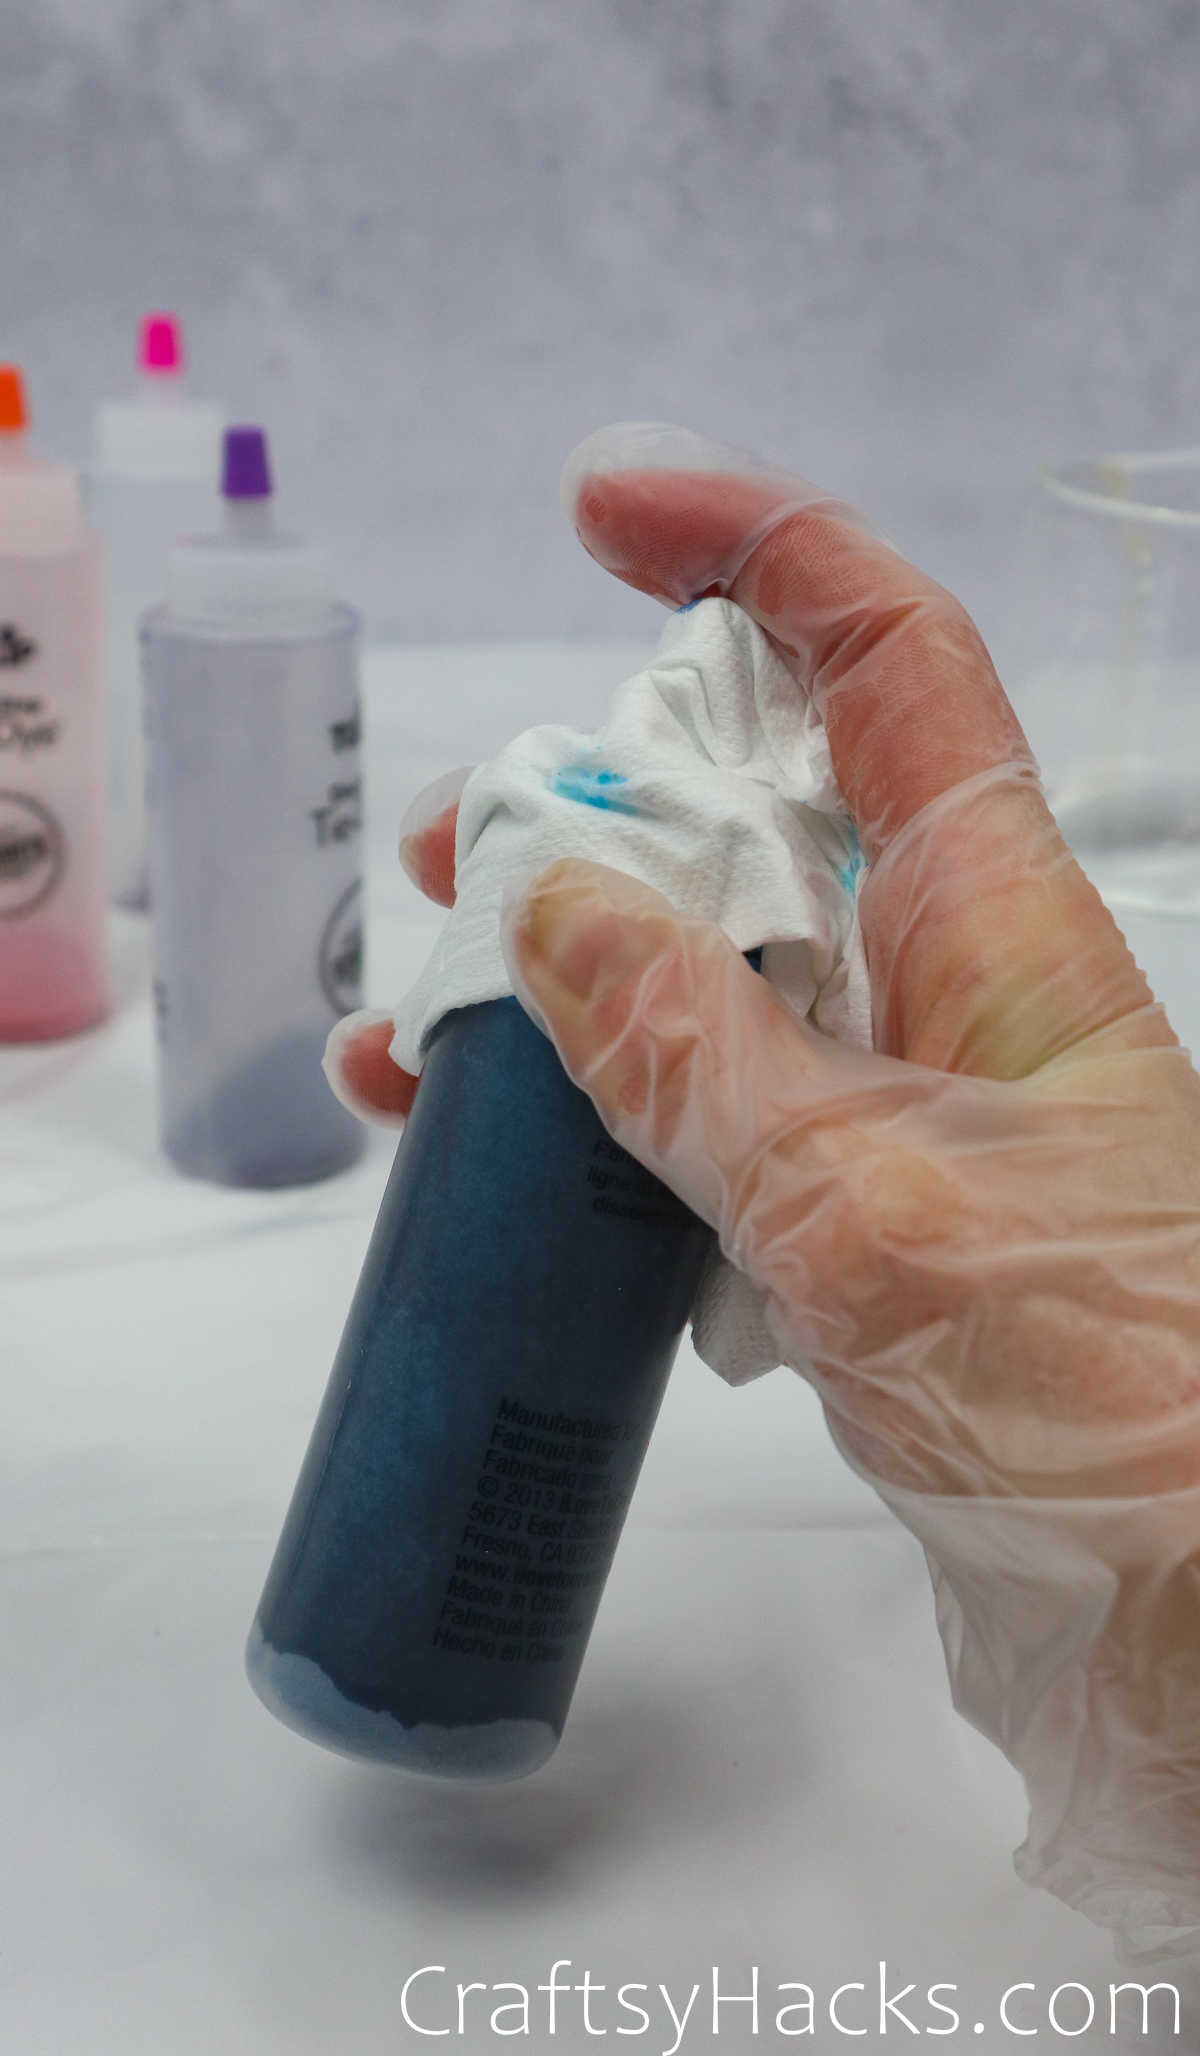
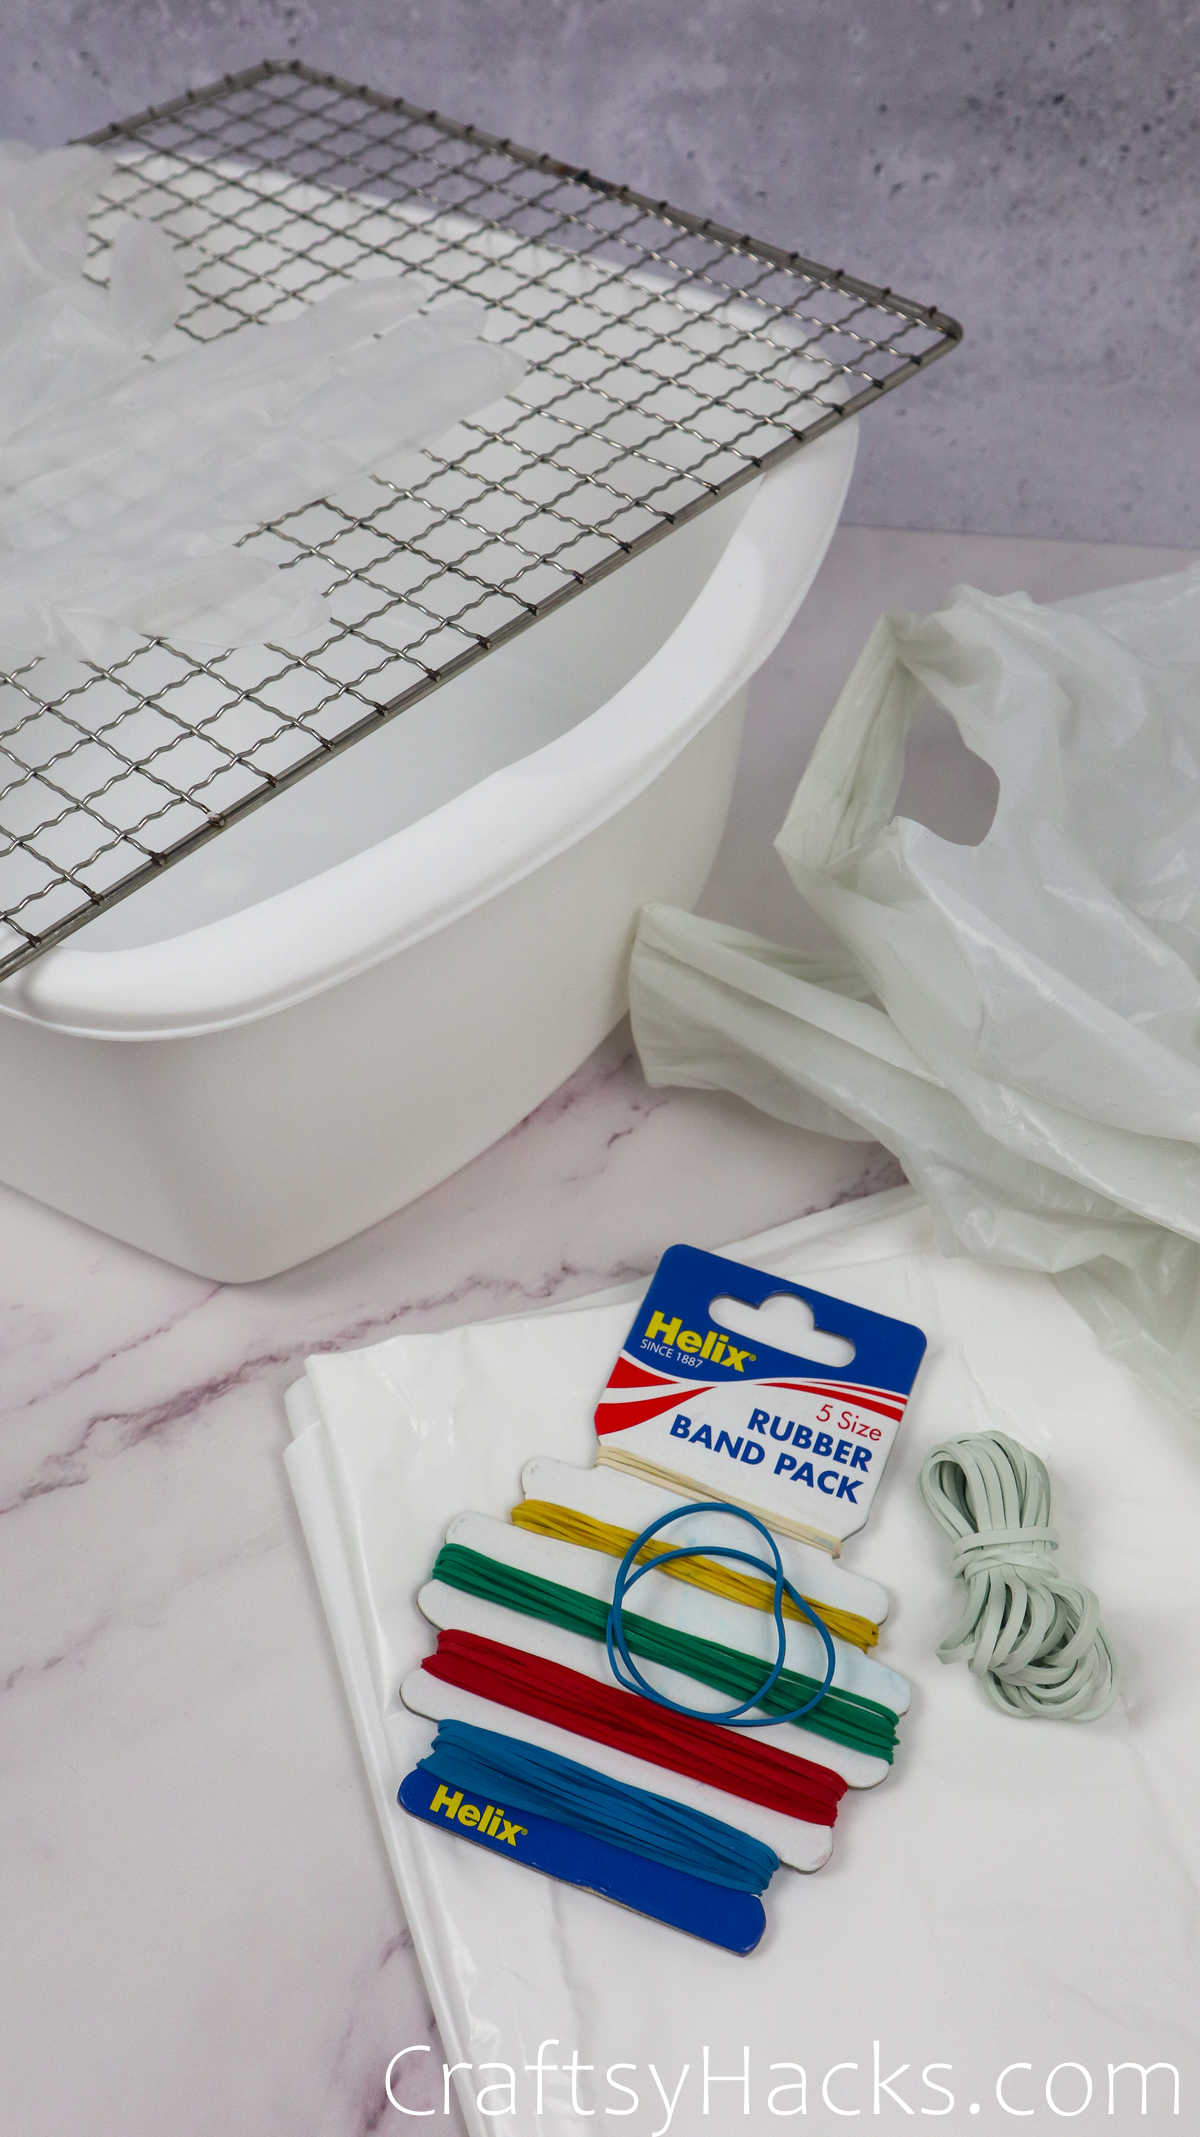
You should also definitely wear protective gloves on your hands, and a smock over your clothes.
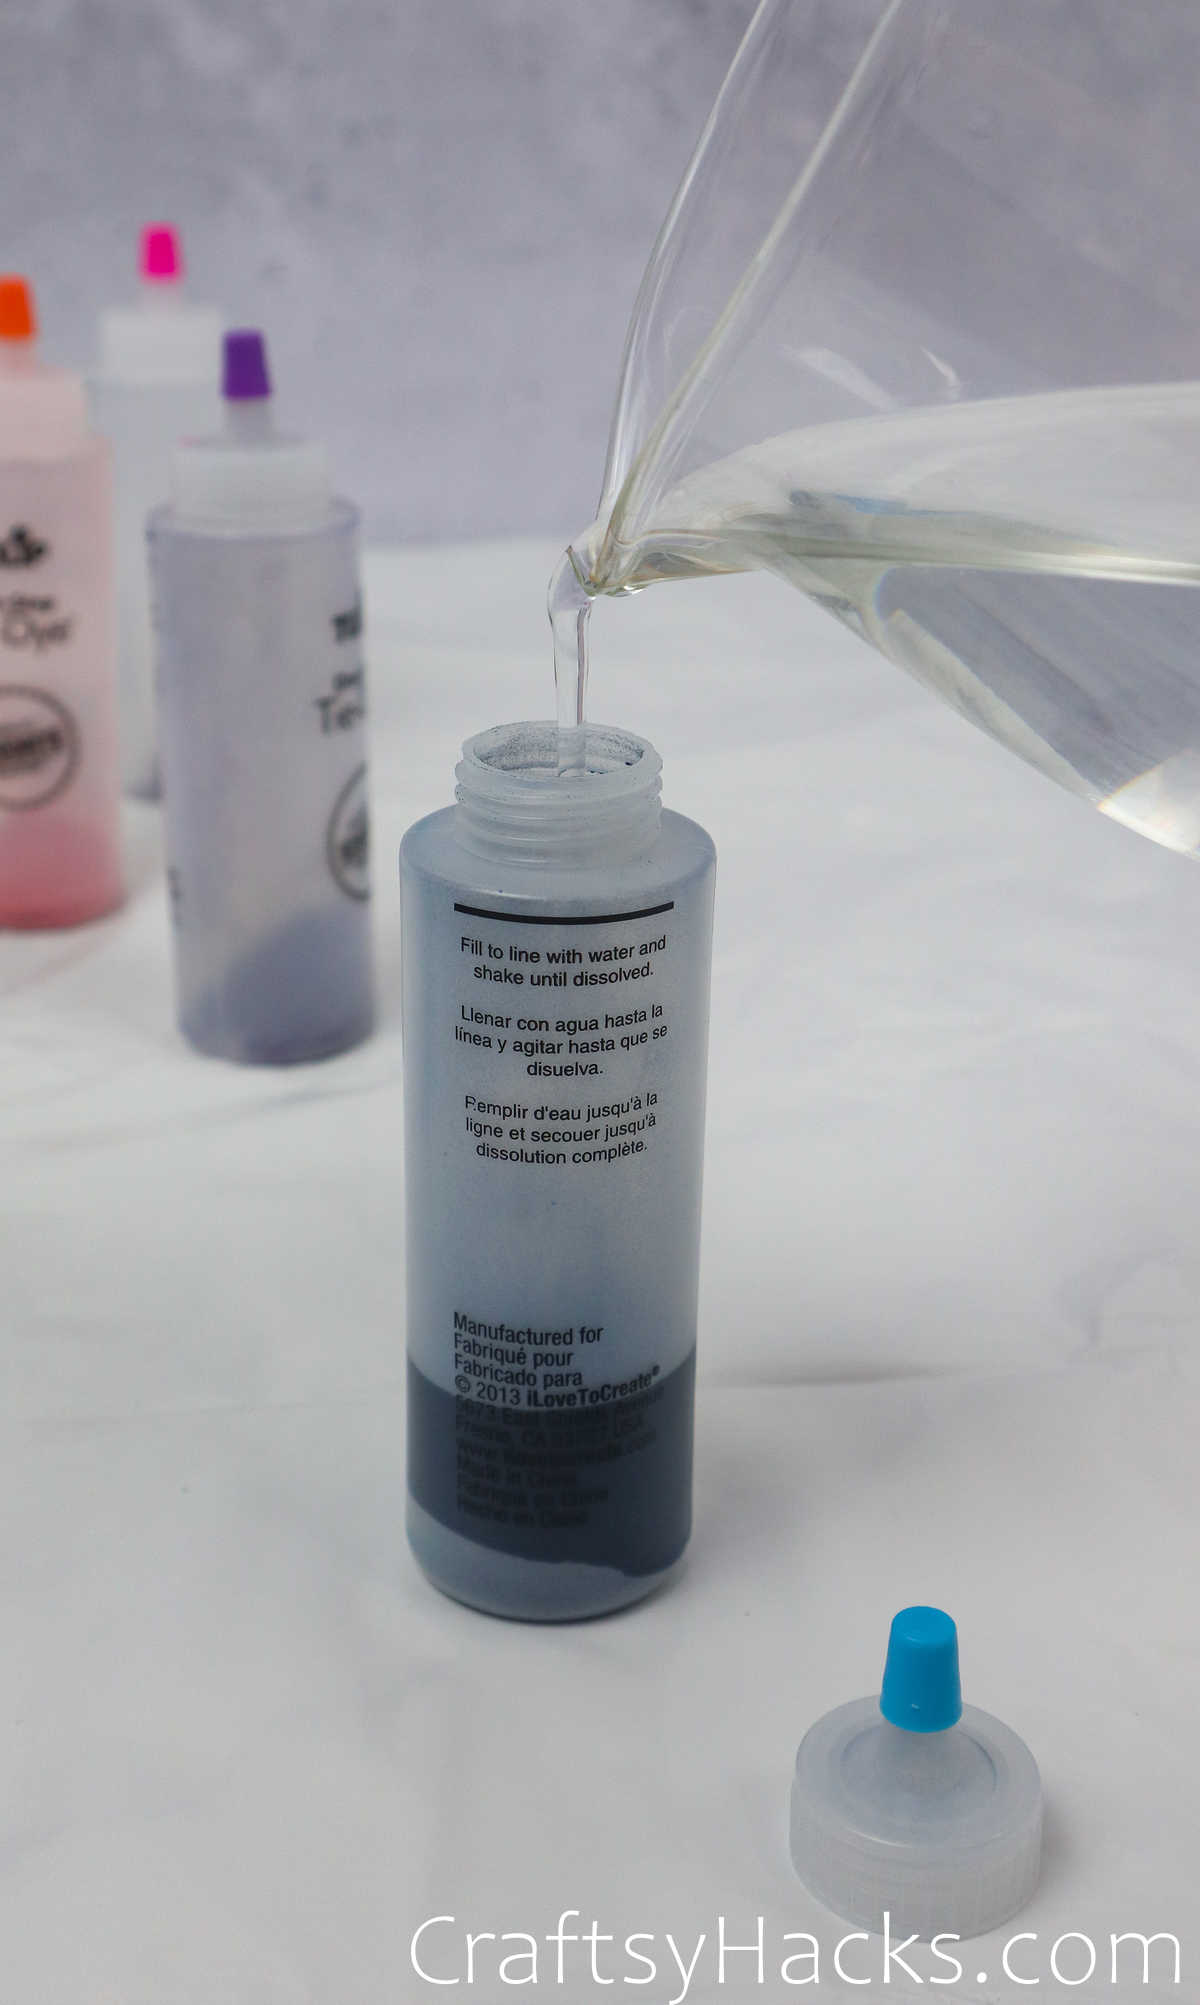
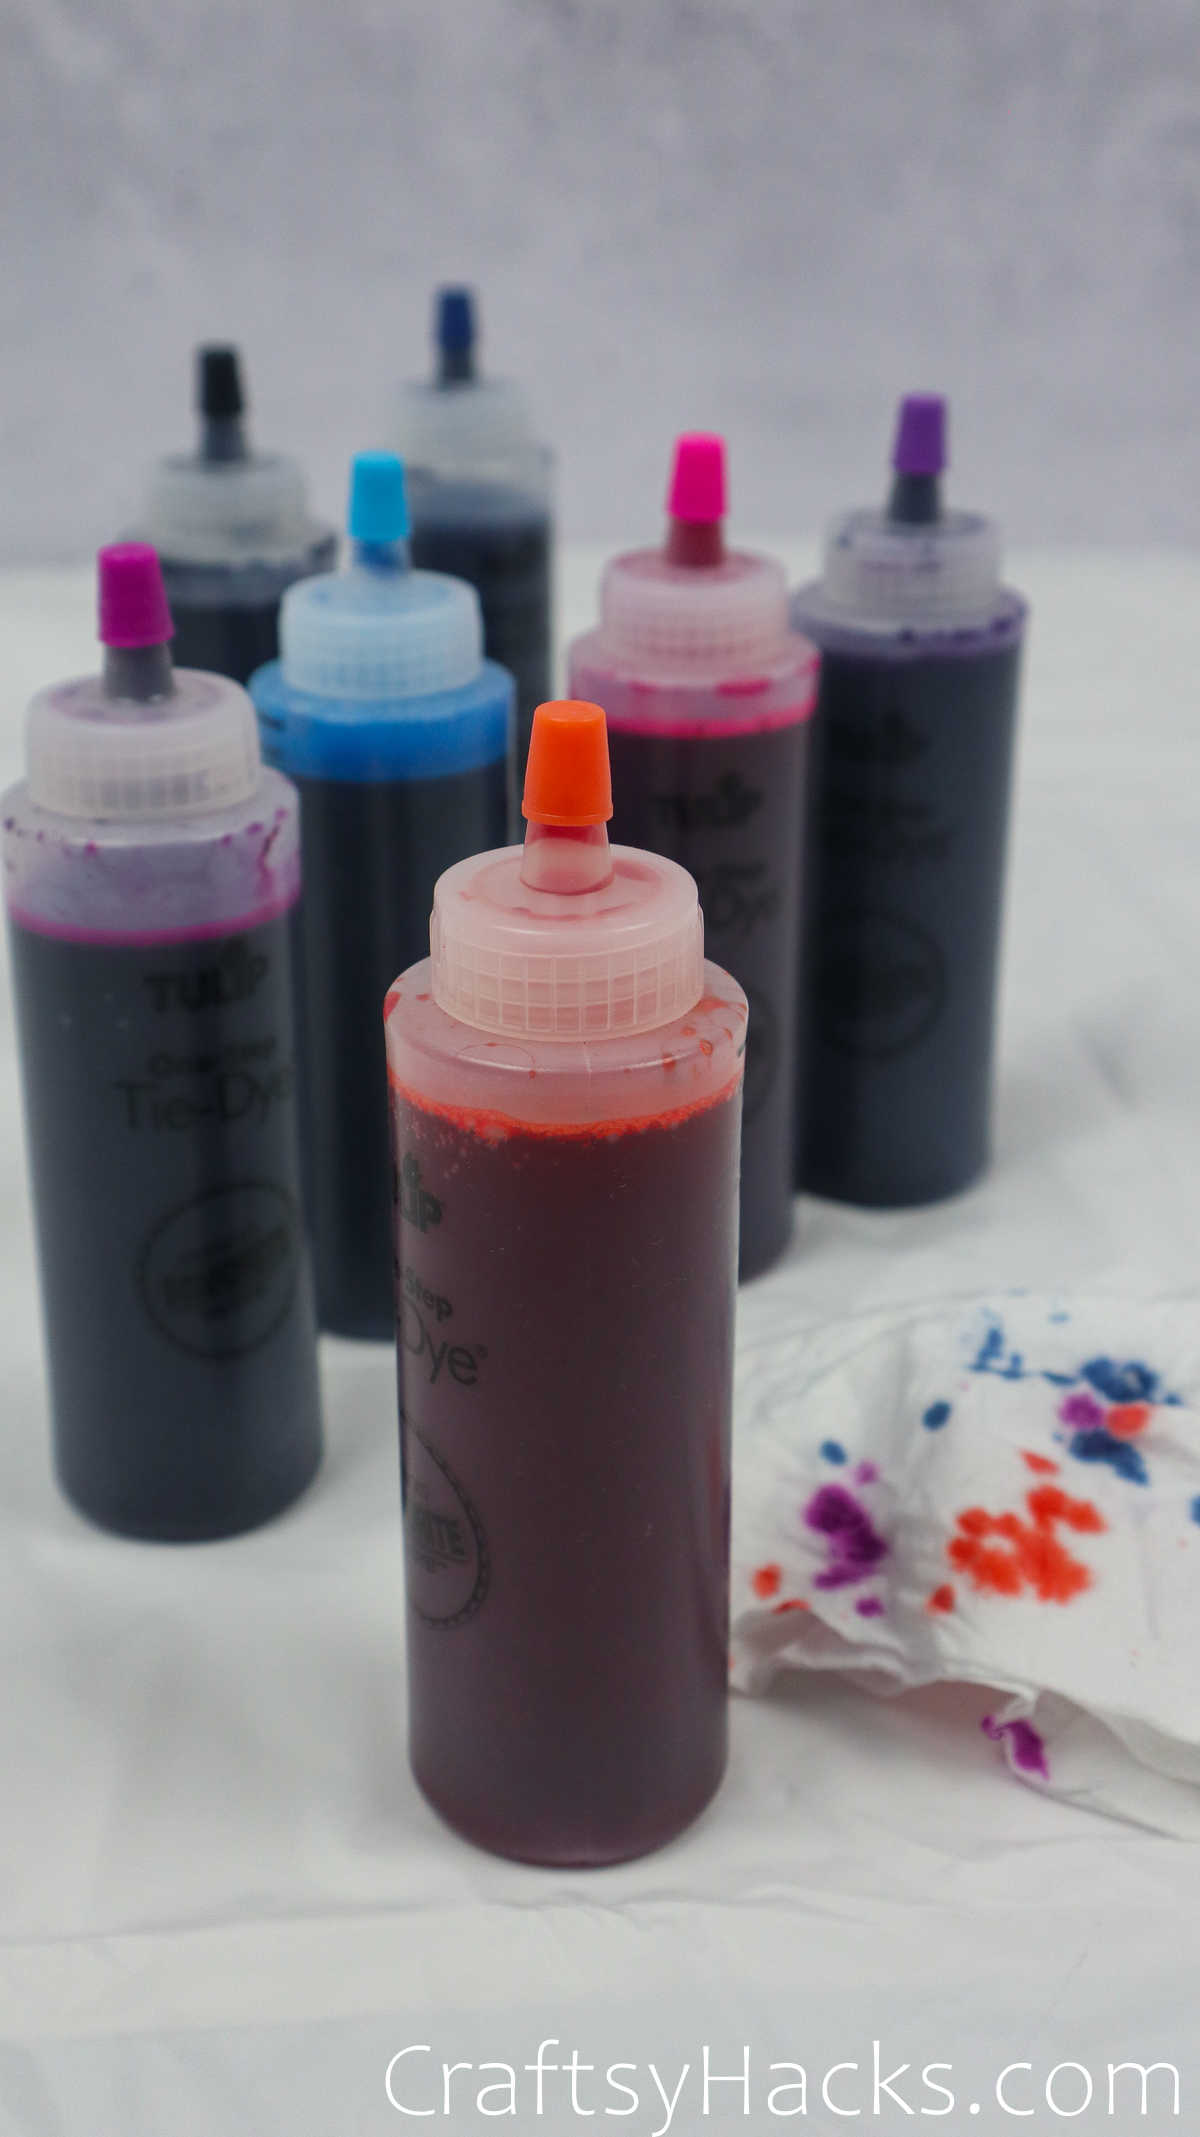
Lets start preparing the dyes!
Depending on the dye kit youre using, the preparation process will vary.
Wedontwant a Jackson Pollock episode, do we?
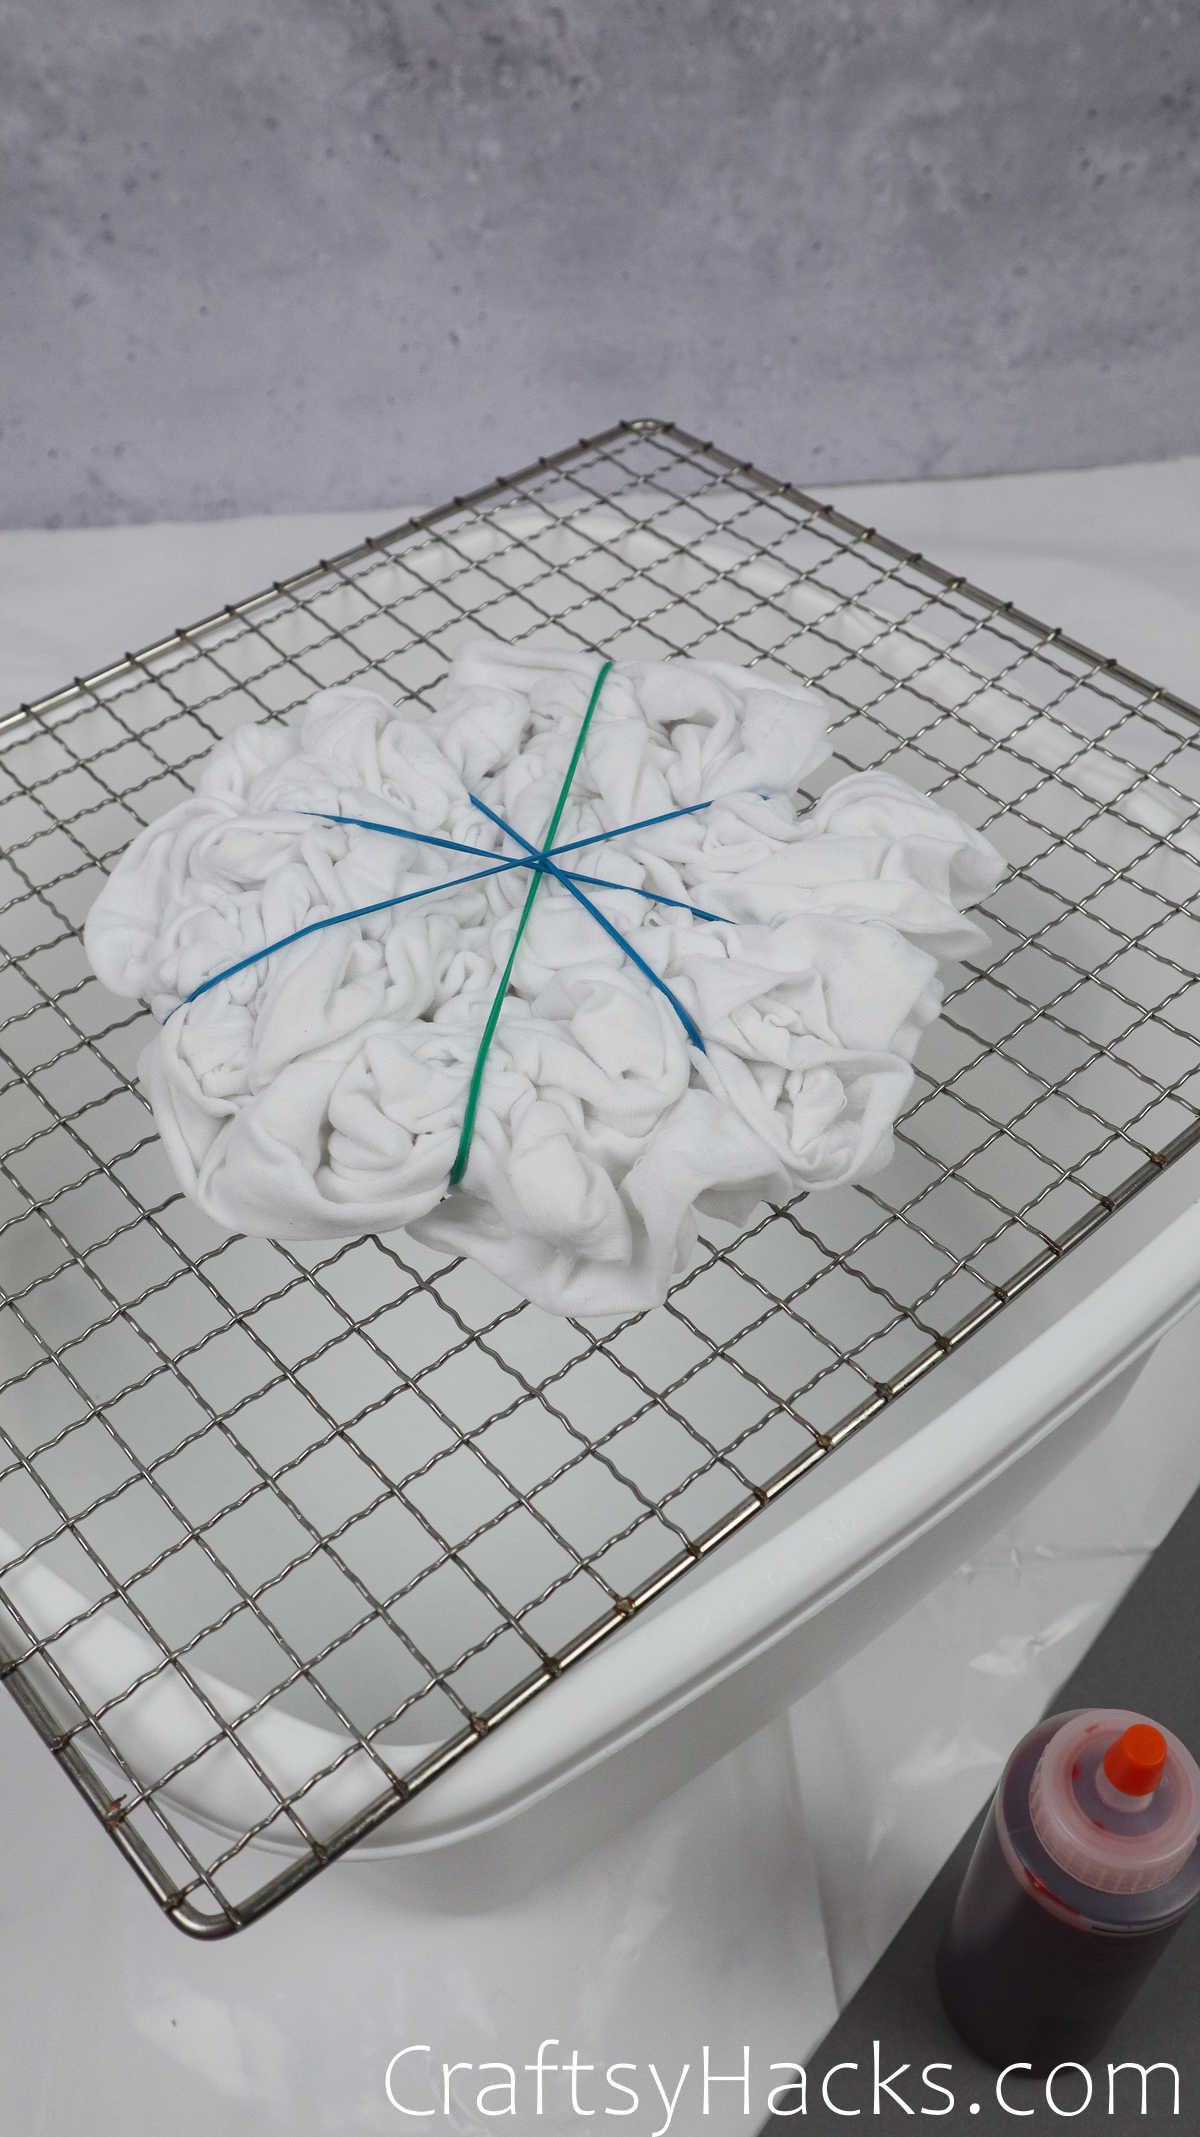
Step 2
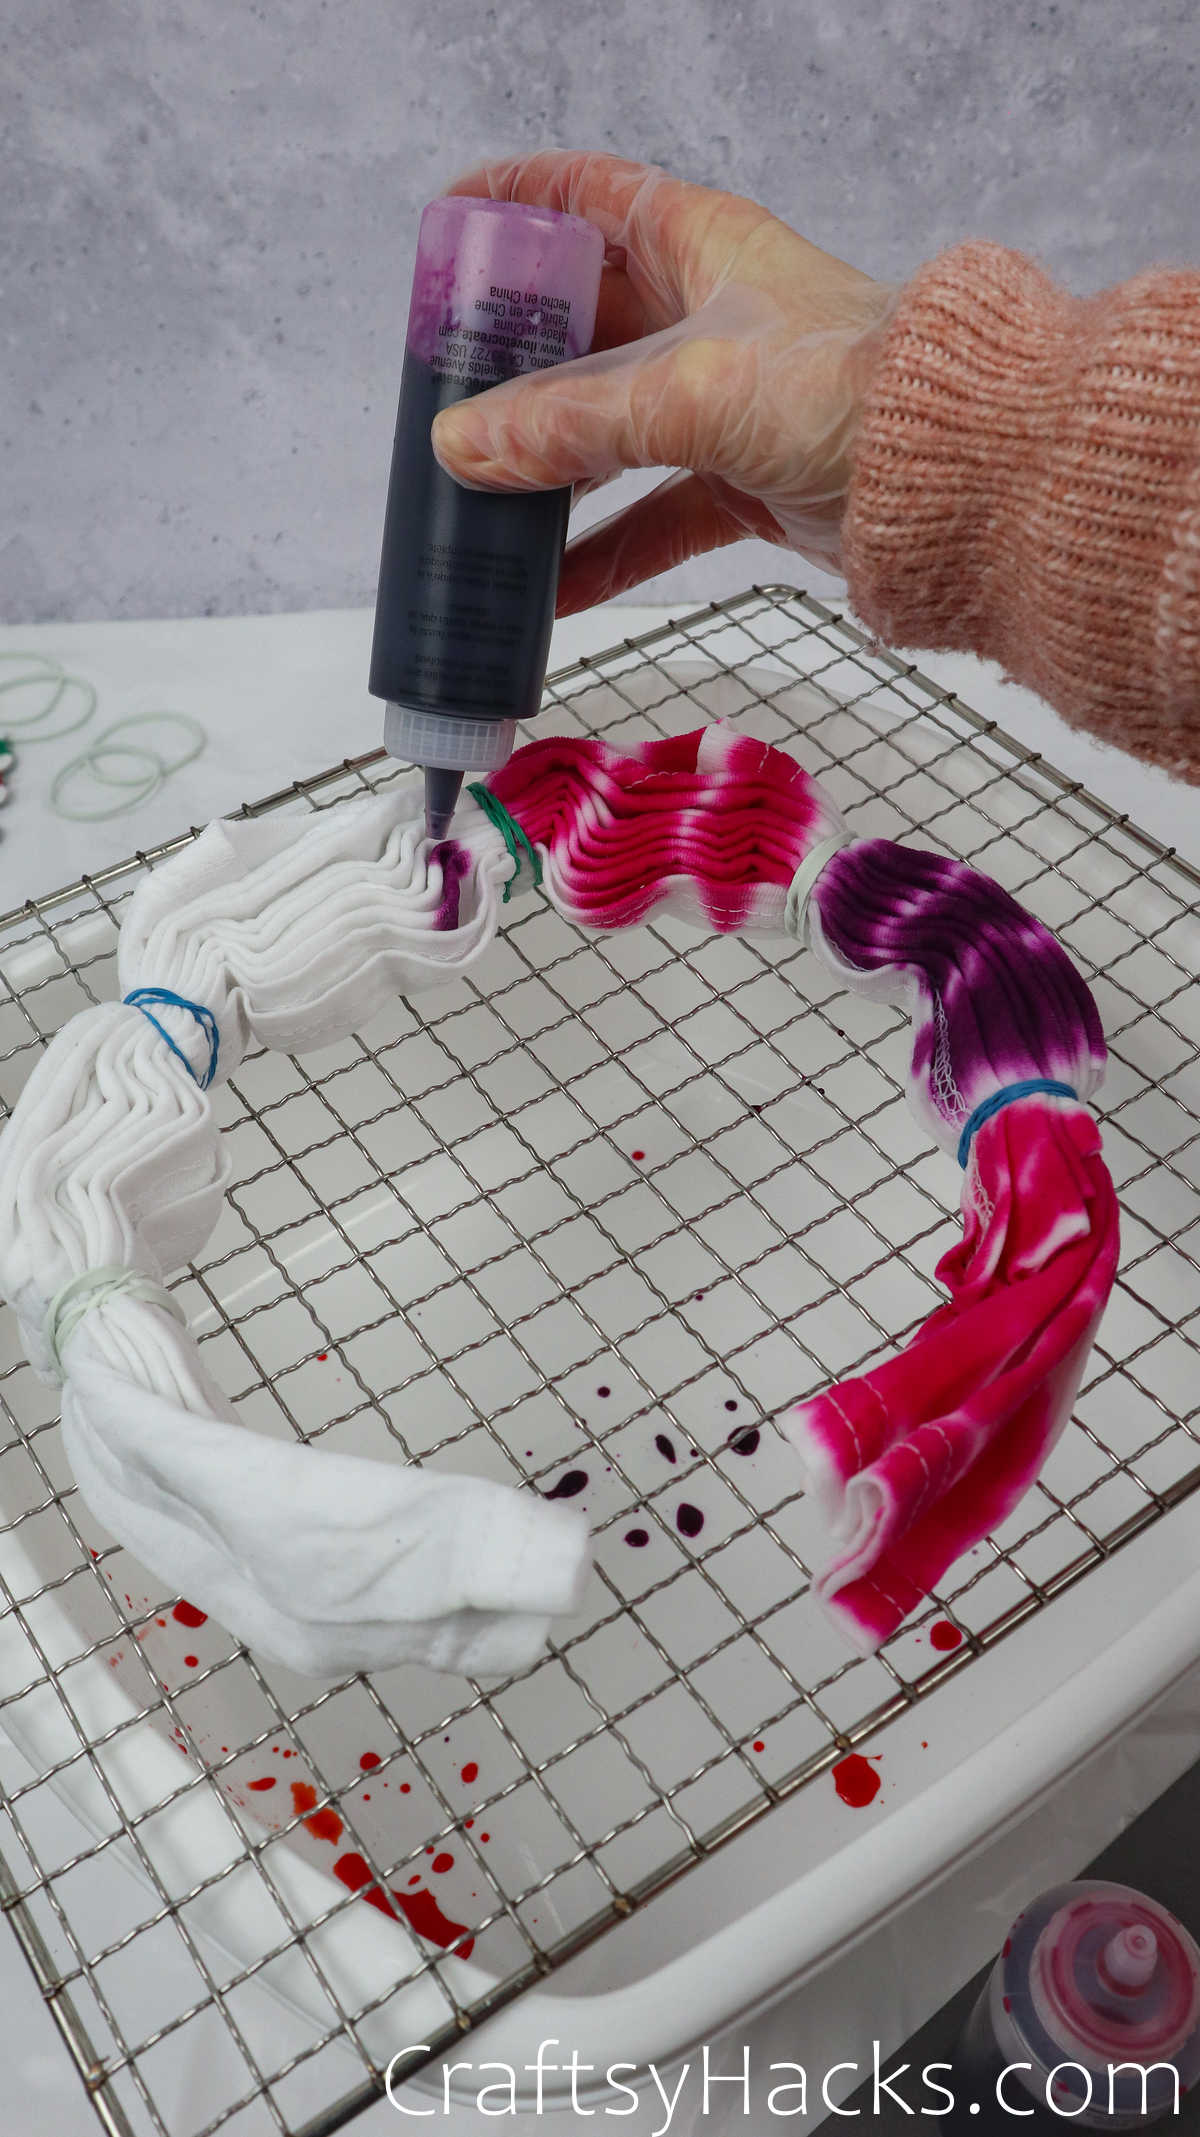
Next, place your first tee on a rack.
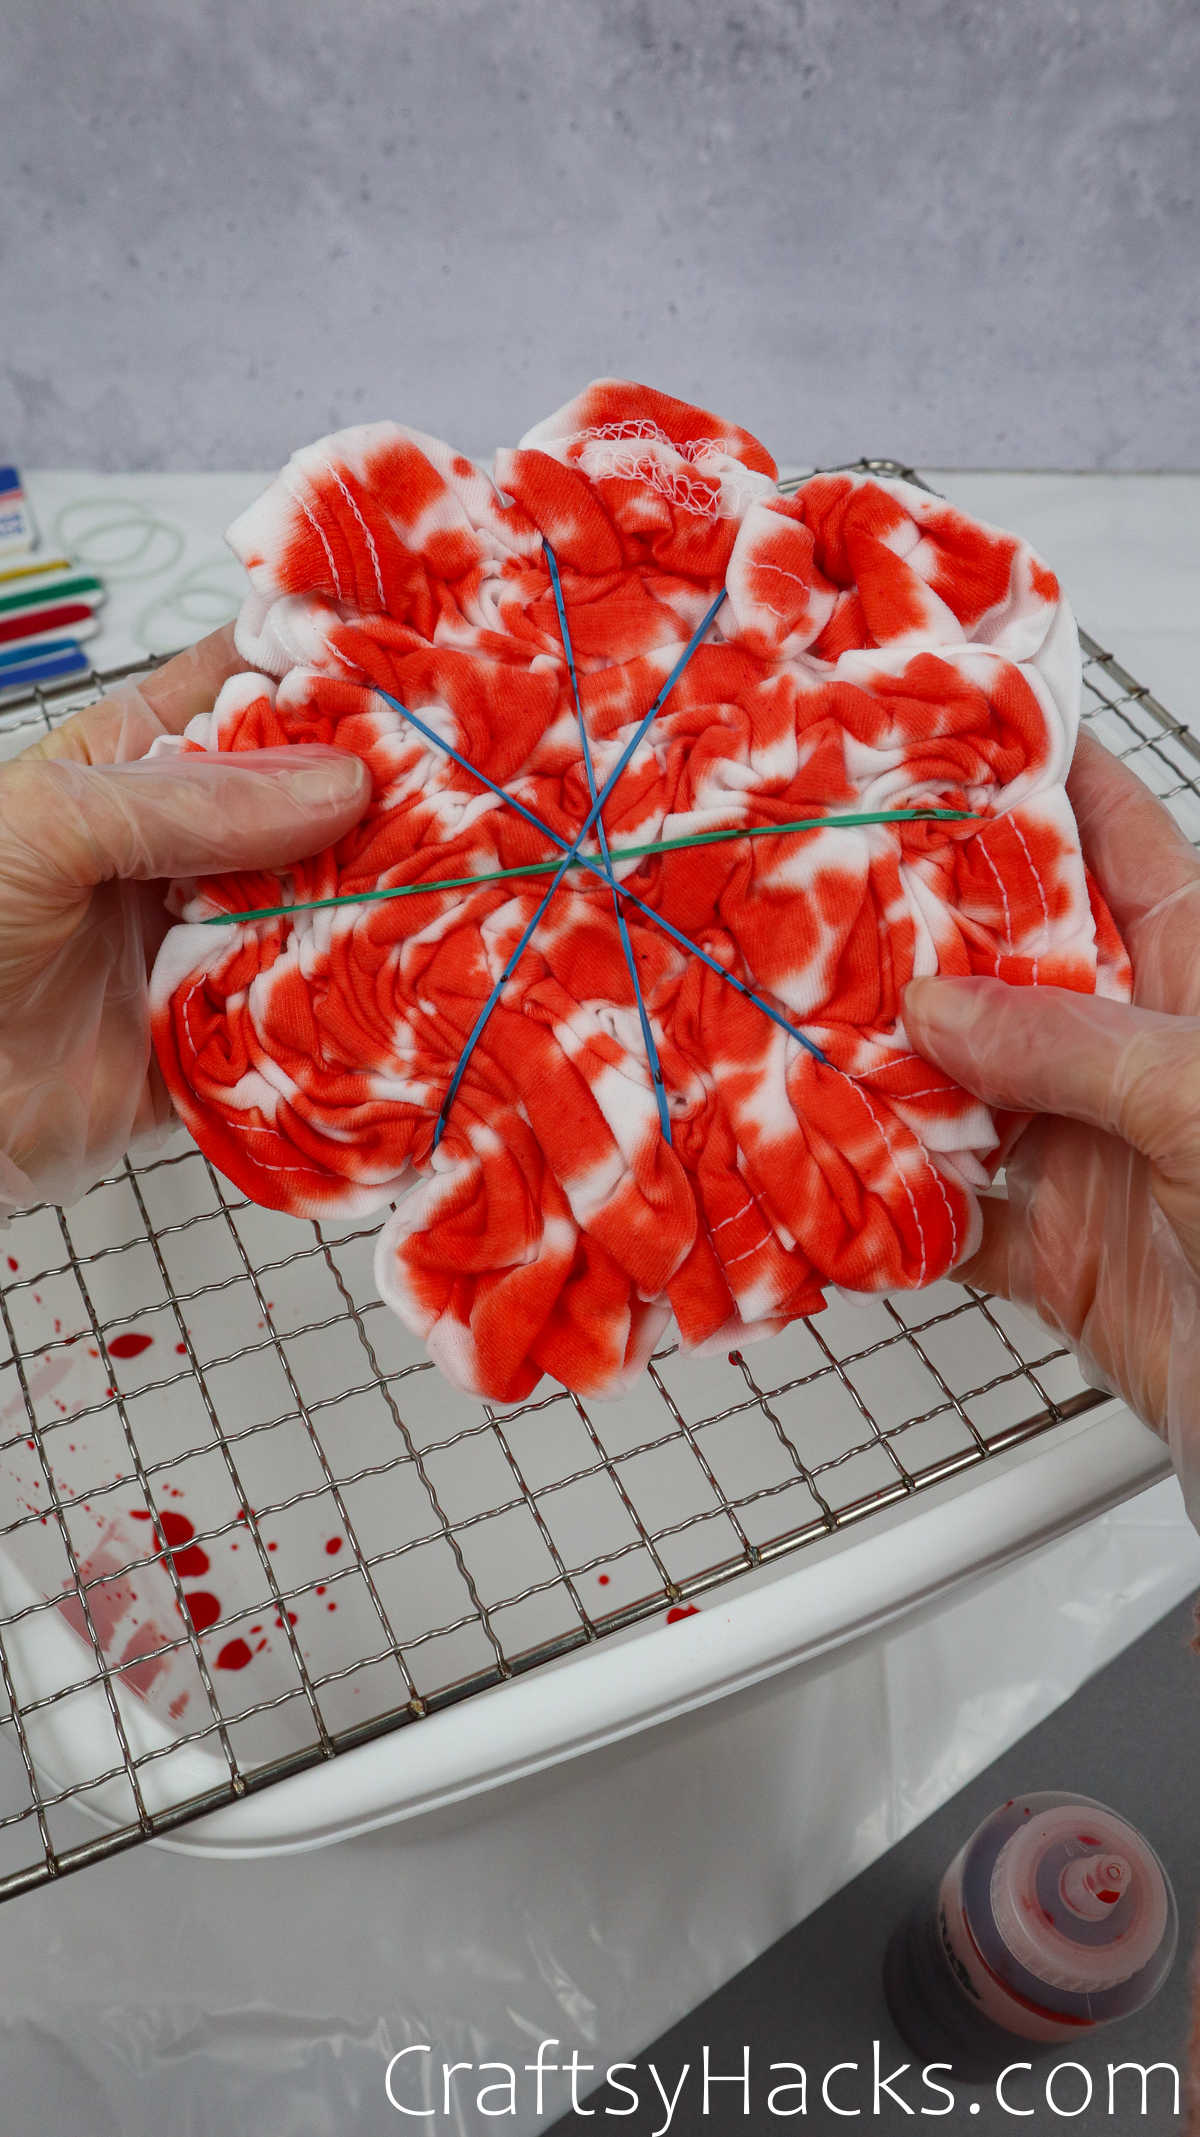
Just grab your bottle of dy and randomly squeeze it onto the top.

it’s possible for you to use more than one color, of course.
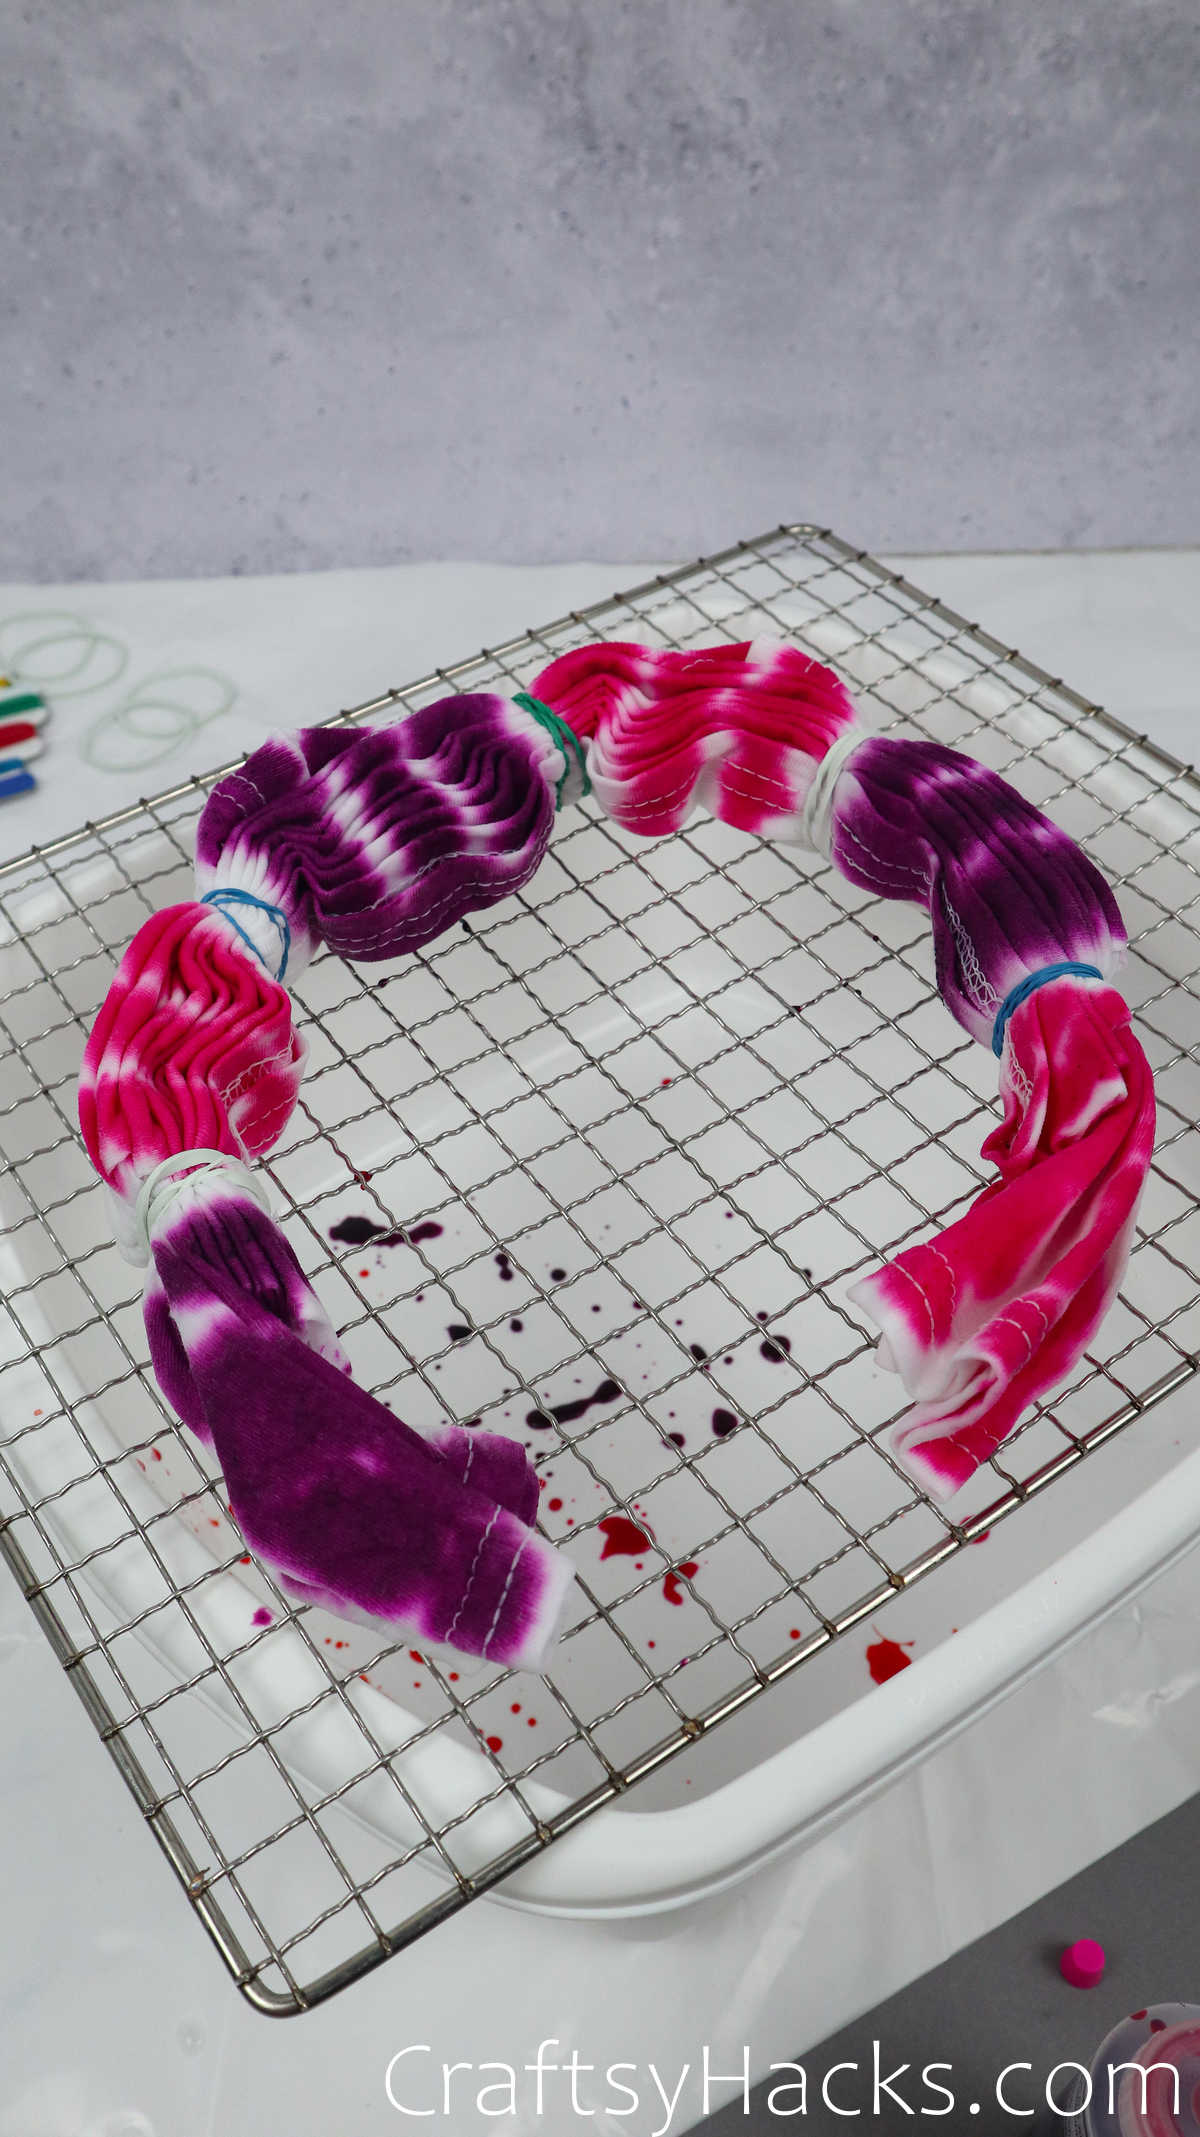
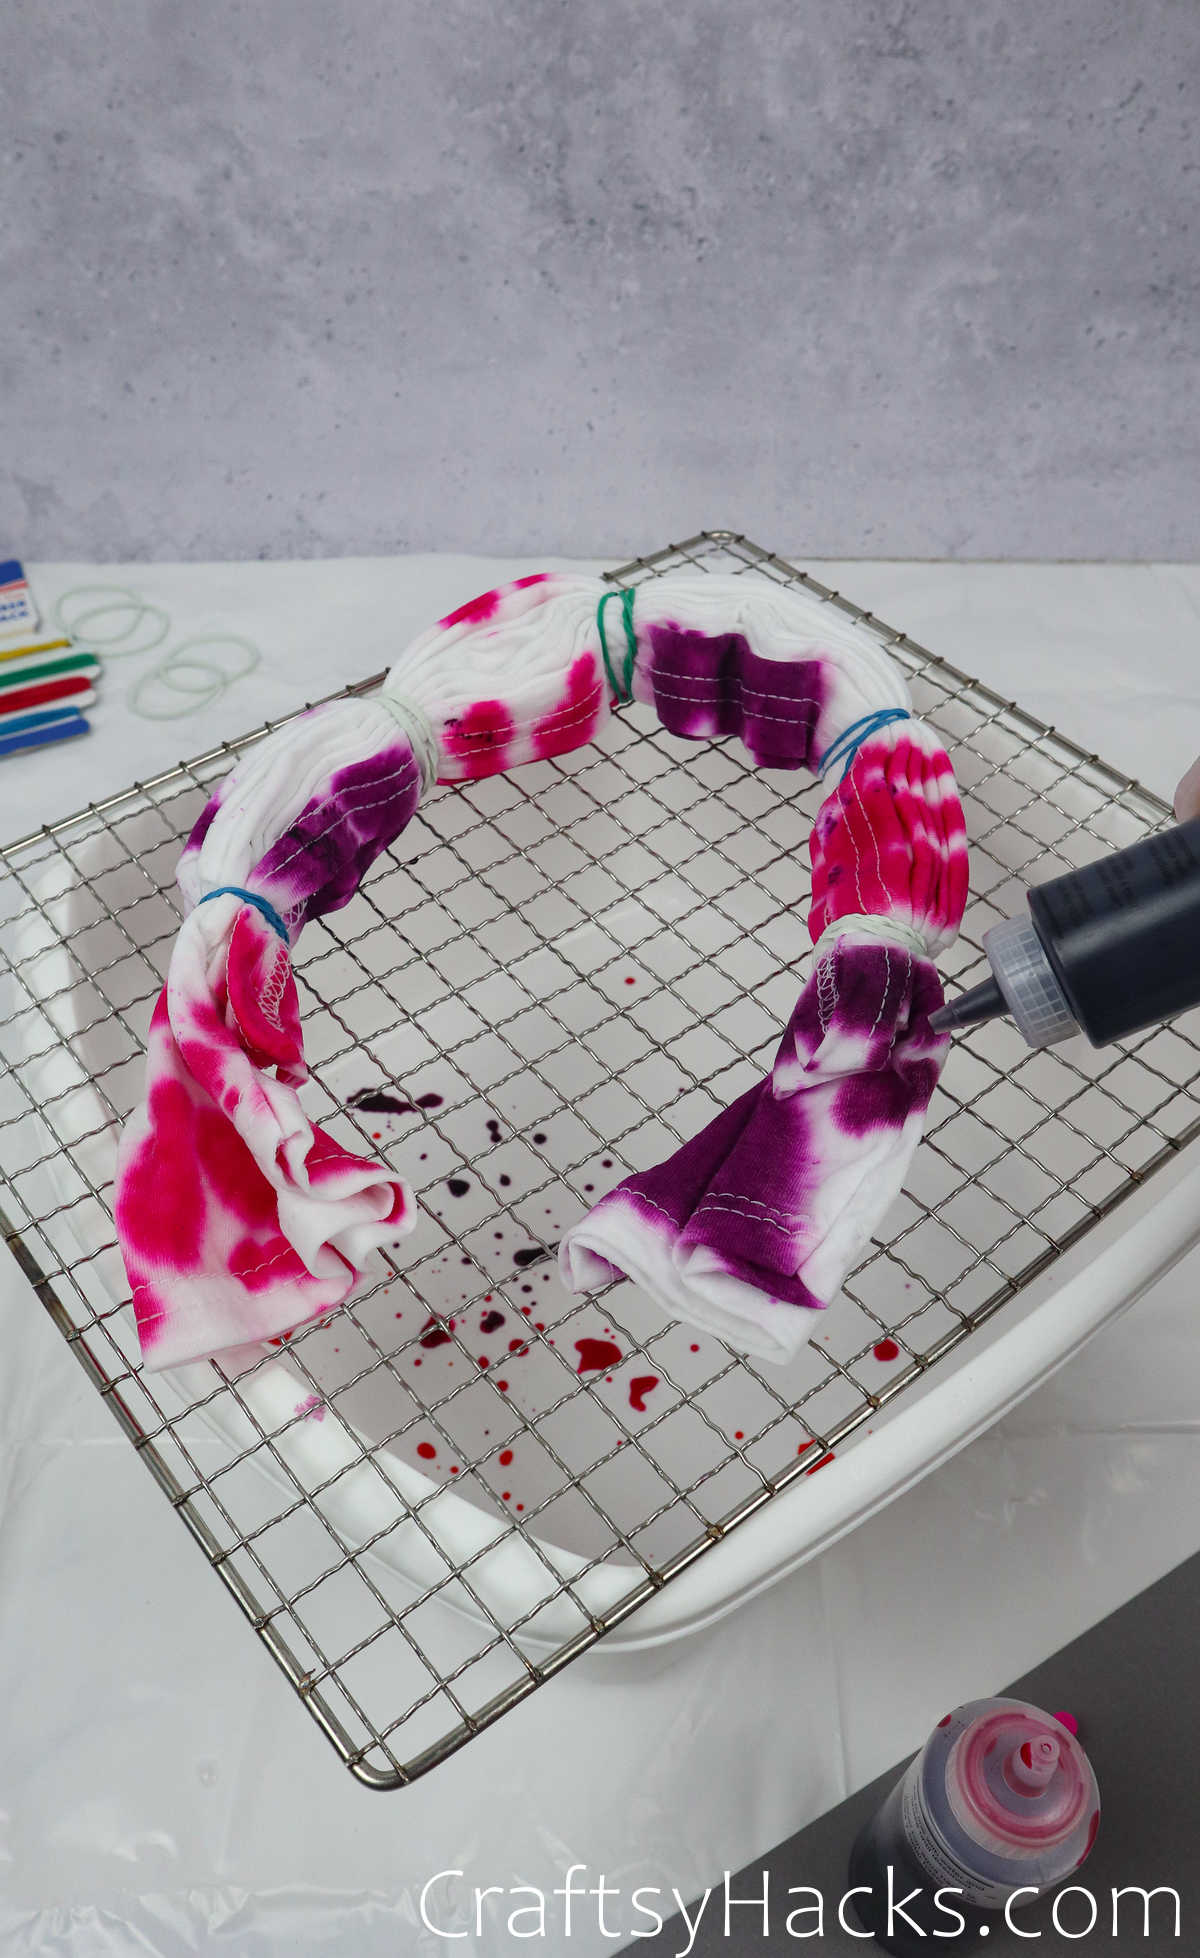
Dont forget to turn it around and dye the backside, too.
Flip it around and dye the other side, as well.
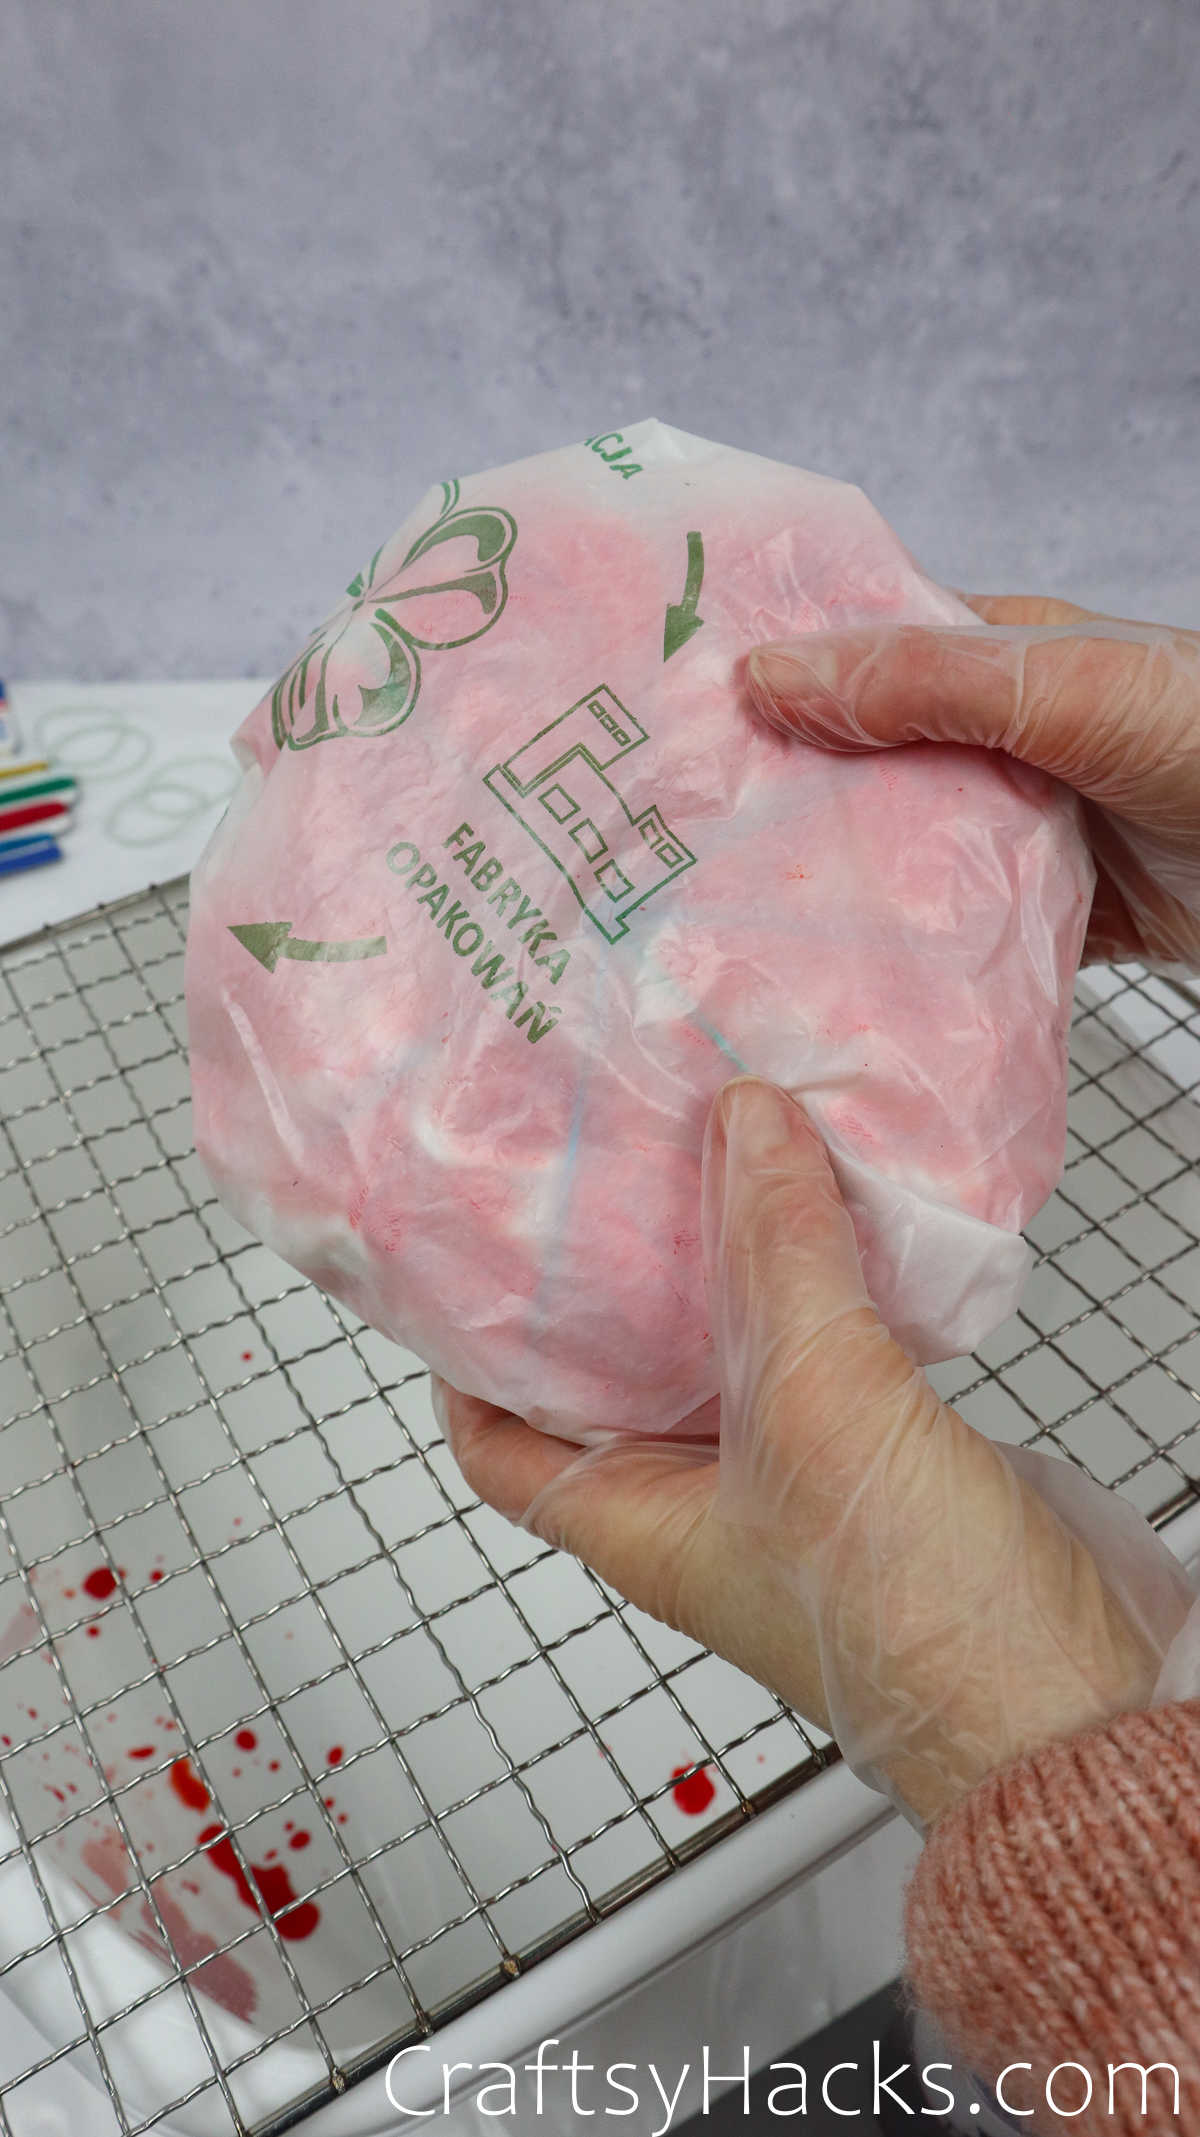
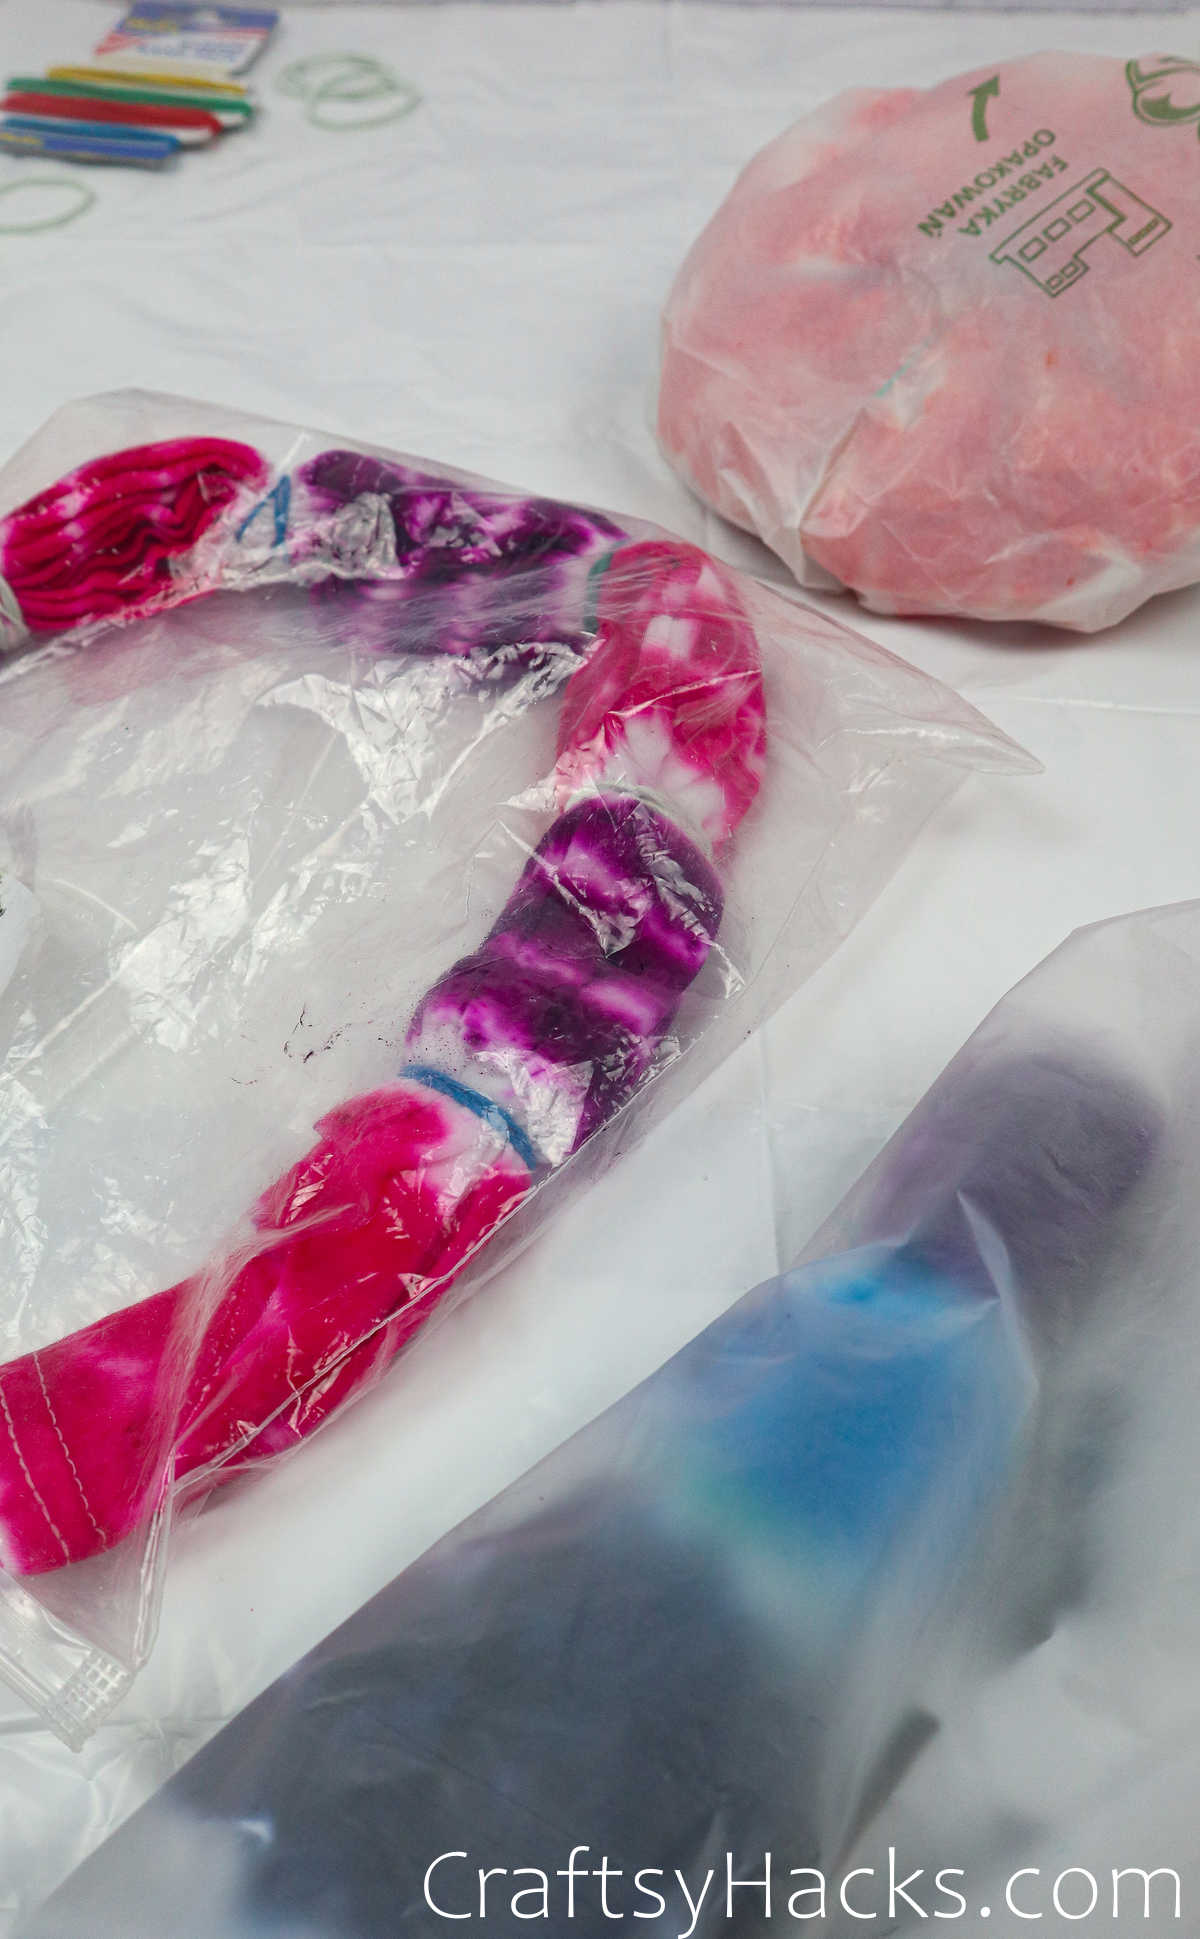
Place the tee in a plastic bag and set it aside.
Step 4
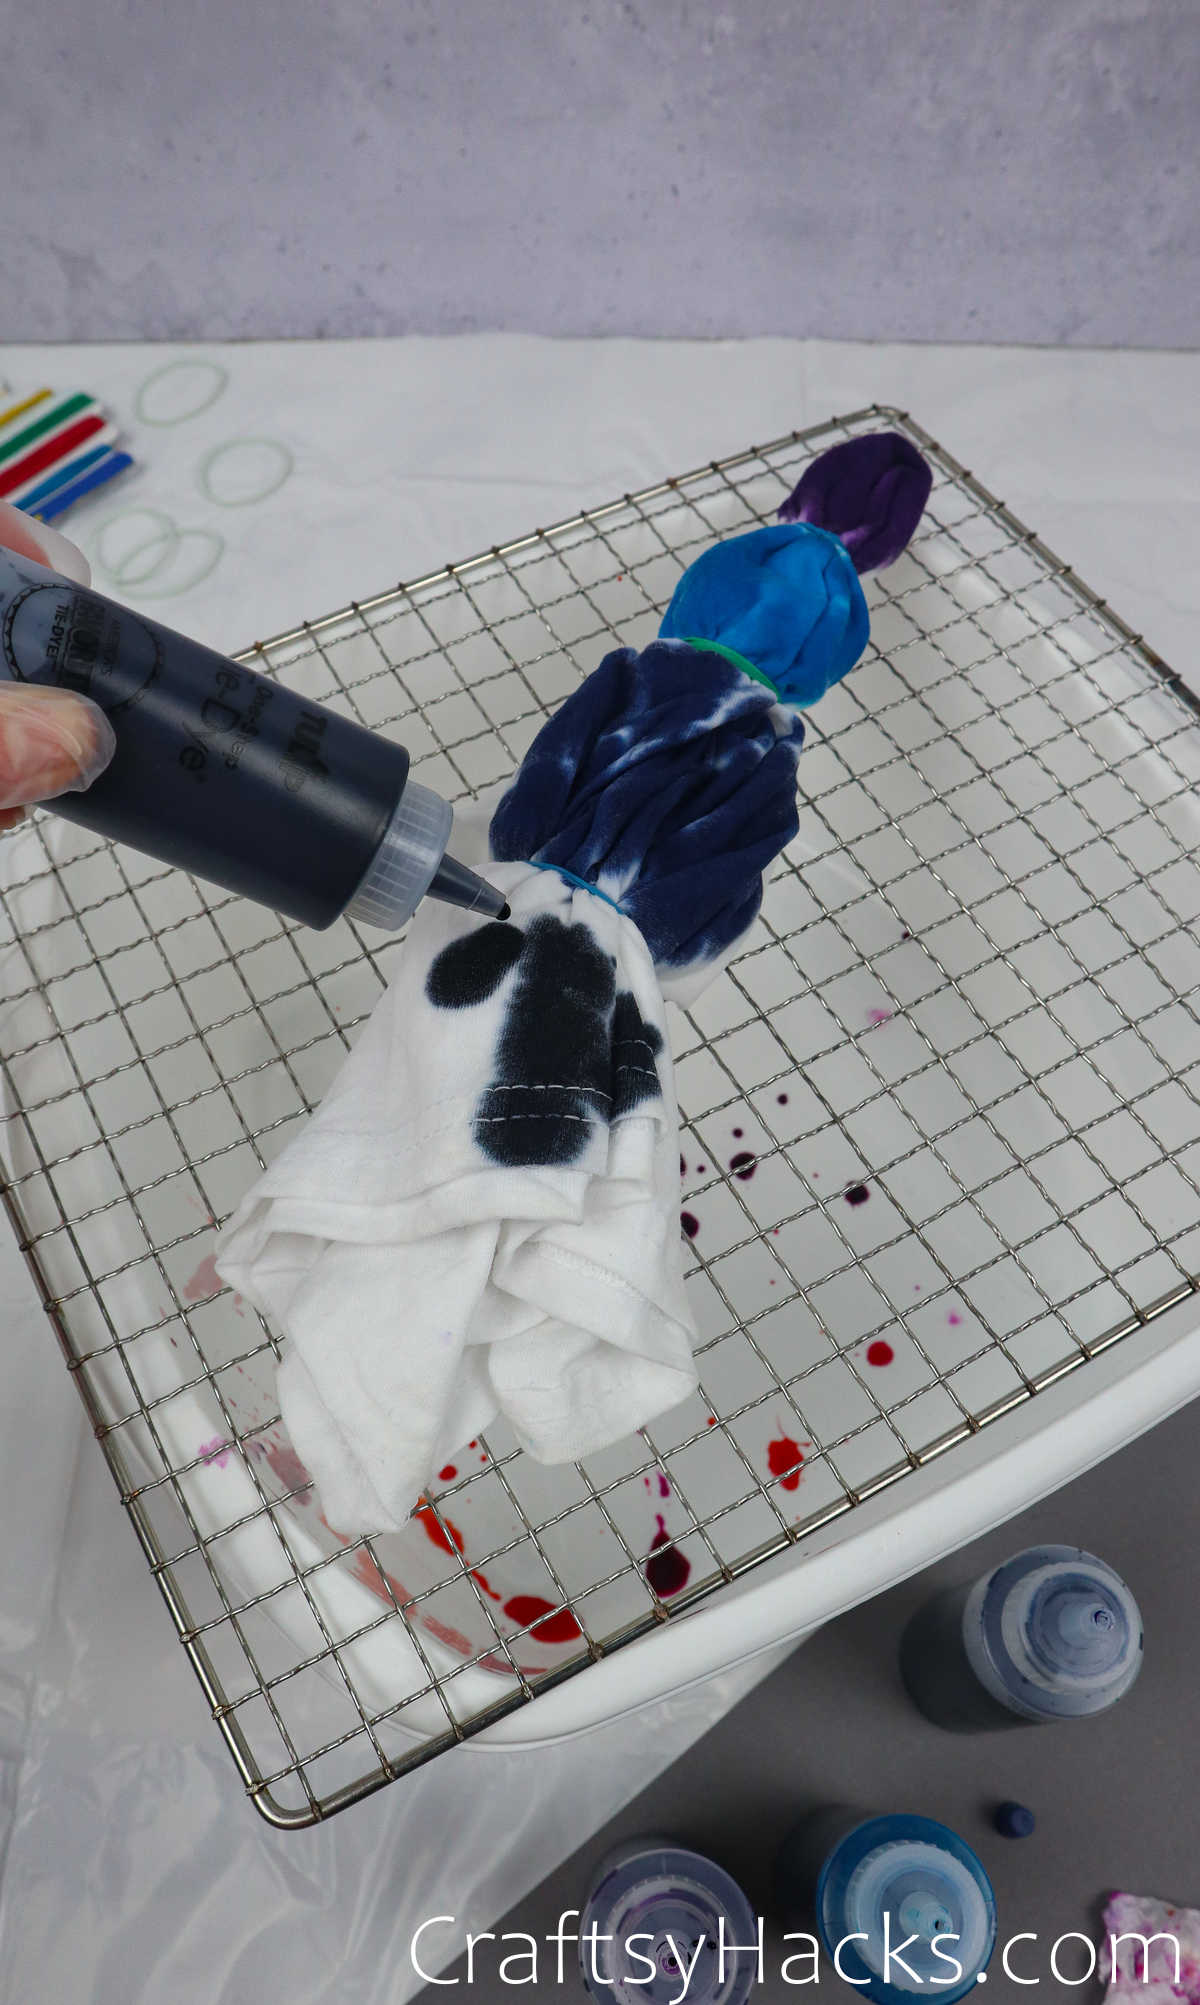
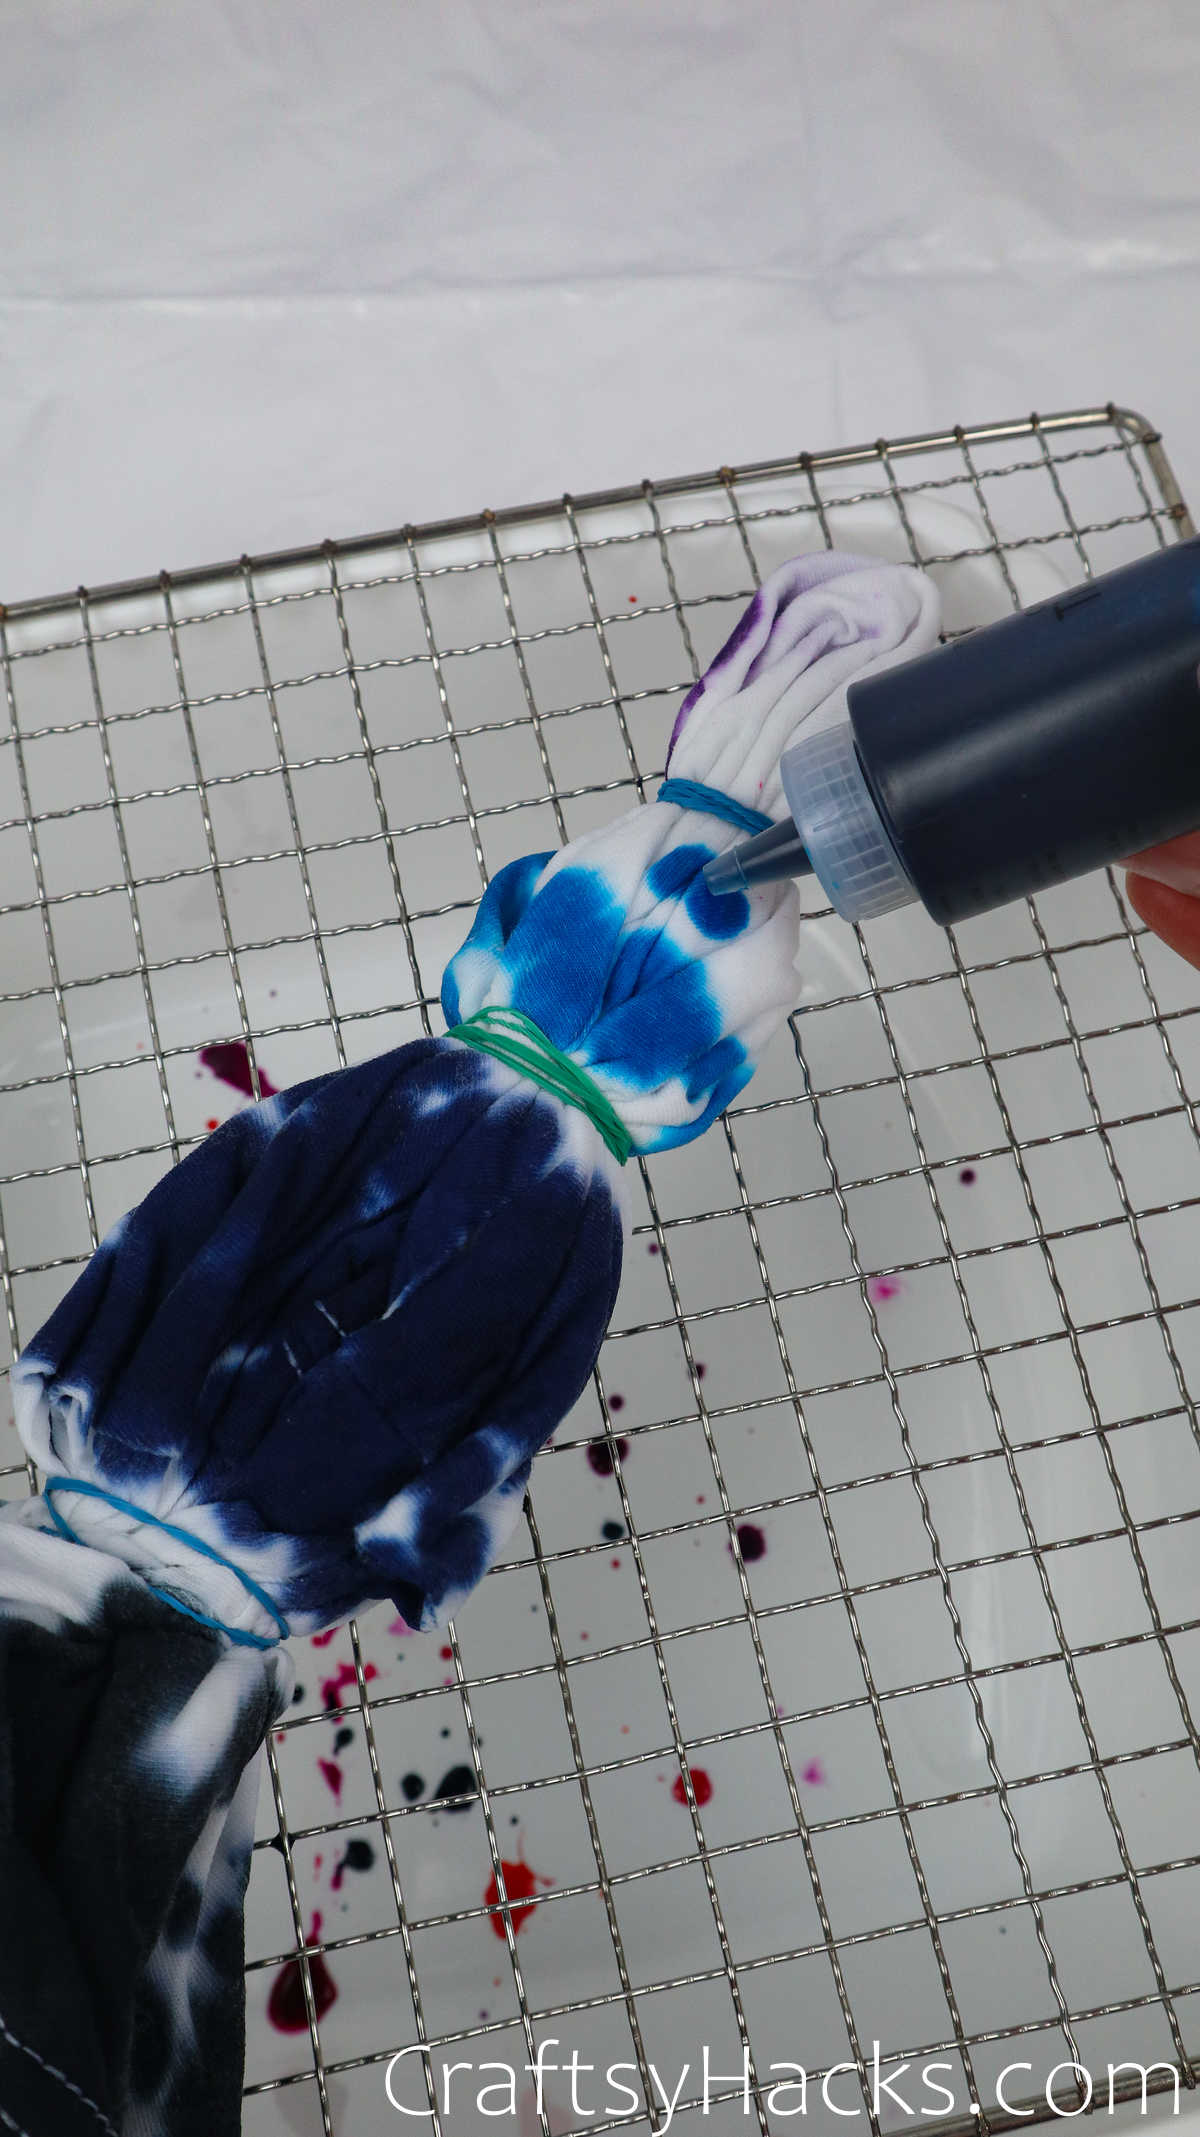
The final teethe bulls eyeis pretty fun, too.
Set it on your rack and grab your dye bottles.
This is the perfect tee to work with gradient shades.
A lovely deep blue center which fades out into lighter hues of blue?
Doesnt that sound fabulous?

you’re able to even go with a classic rainbow color gradient, too!
Flip the tee, dye the other side, and then just pop it into a plastic bag.
The longer you leave it, the deeper the color will be.
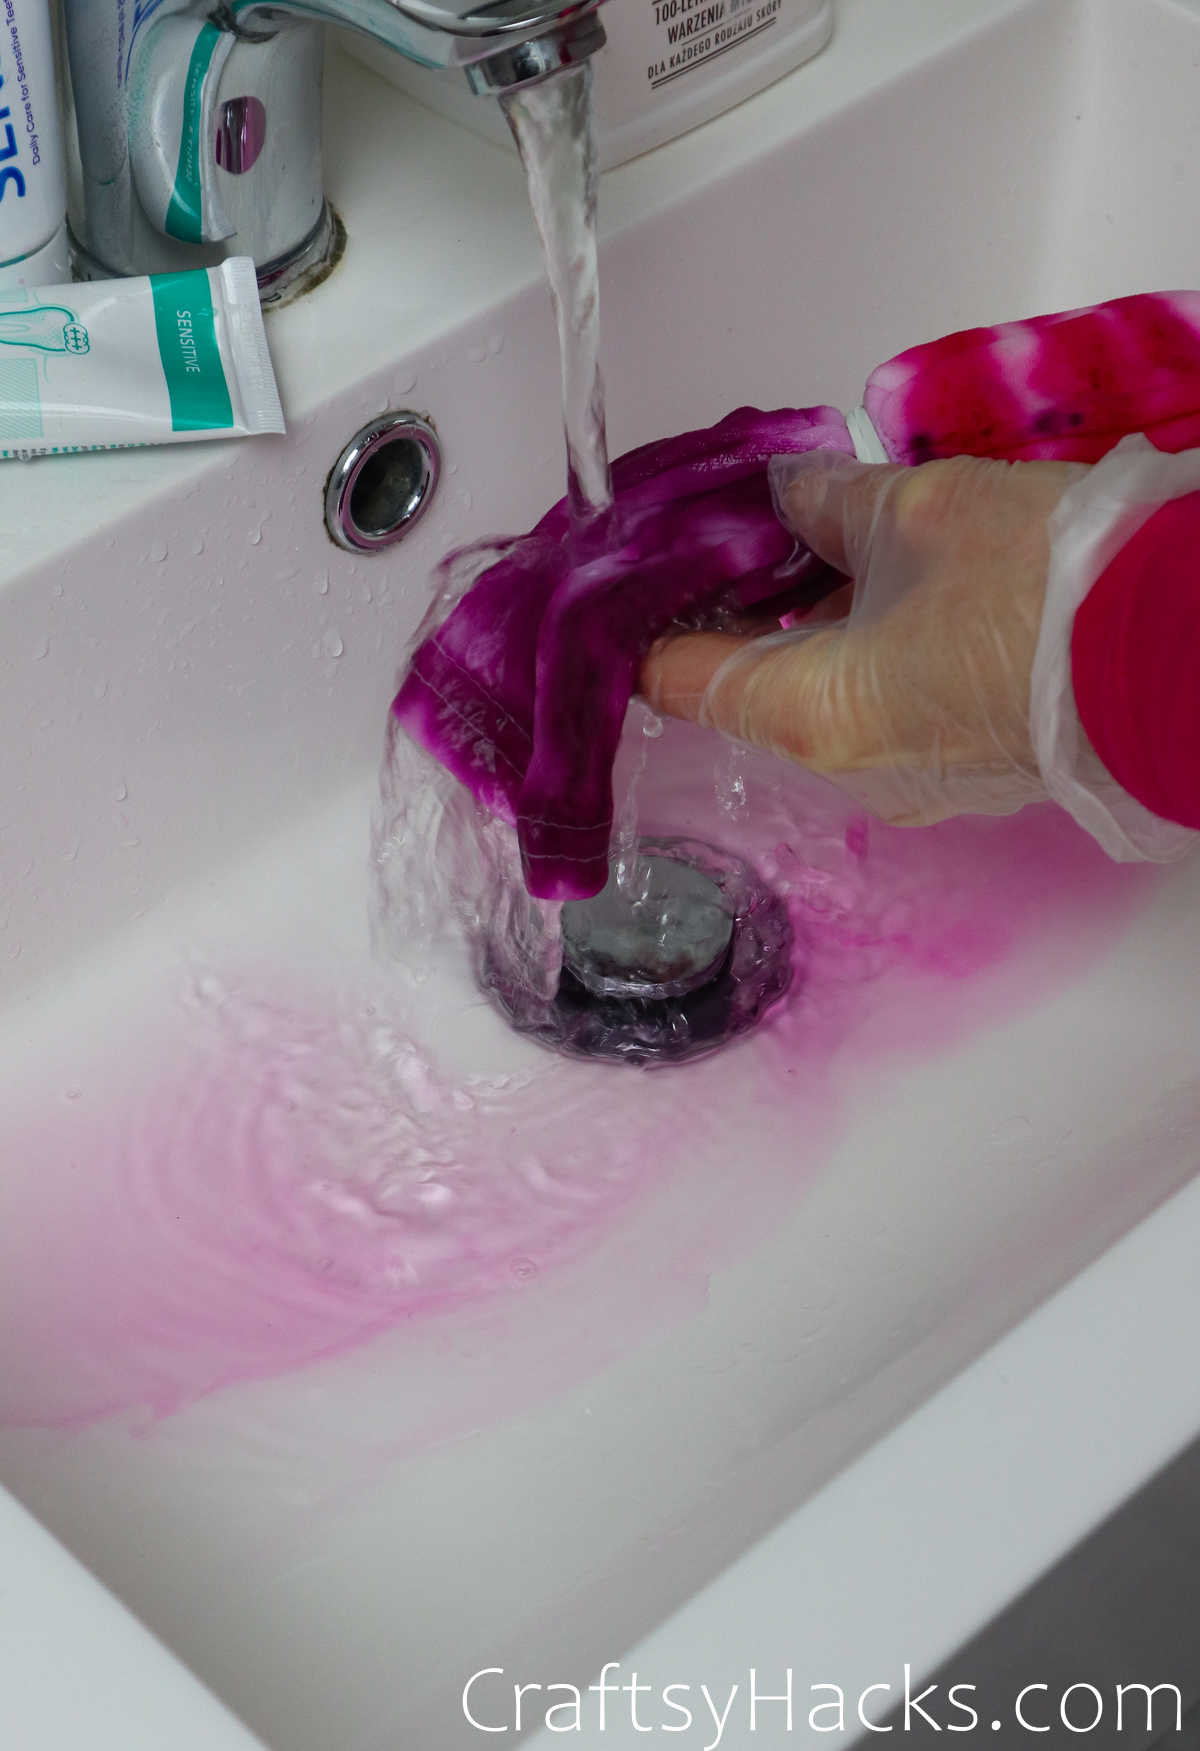
Rinse the tees again with warm water.
Your tees are ready to wear once they dry.
you could toss them in the dryer, or hang them under the sun to air them out.

Is It Best to Tie Dye A Shirt Wet or Dry?
When you dye a wet or damp tee, the colors will flow more freely into the fabric.
However, this is the preferred method, especially if youre a beginner who wants a straight-forward tie-dyeing process.

How Do You Tie Dye a Shirt Without a Kit?
This includes acrylic paints, food dyes, natural dyes, and more.