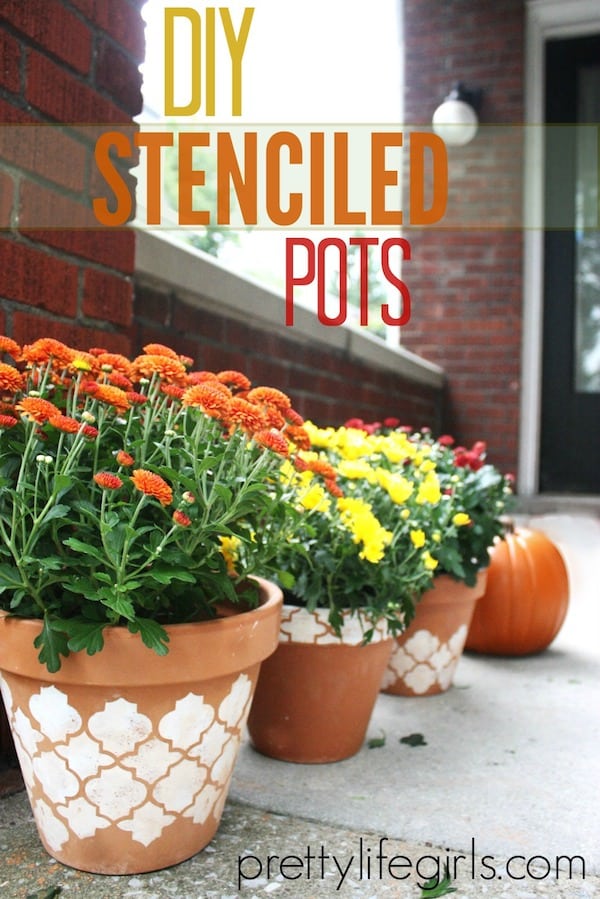
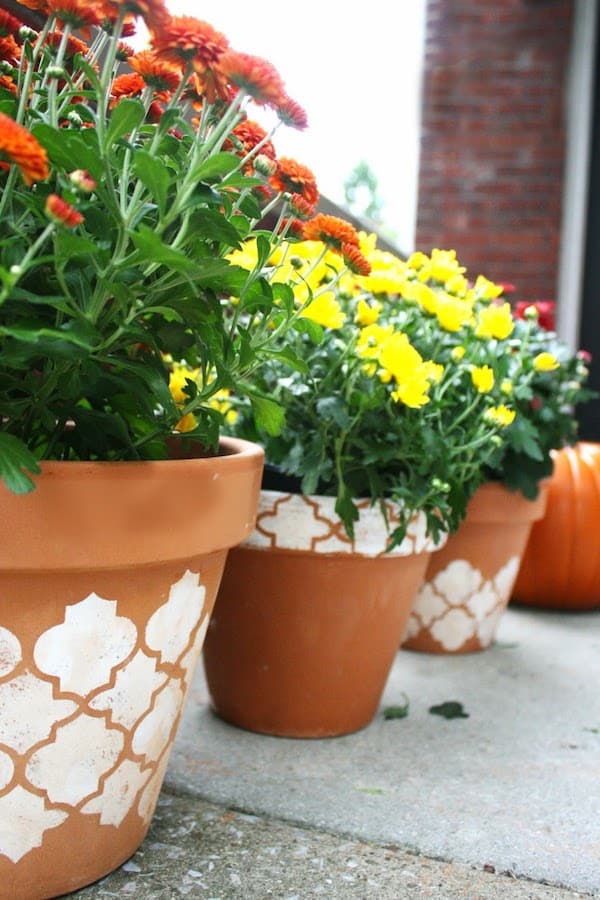
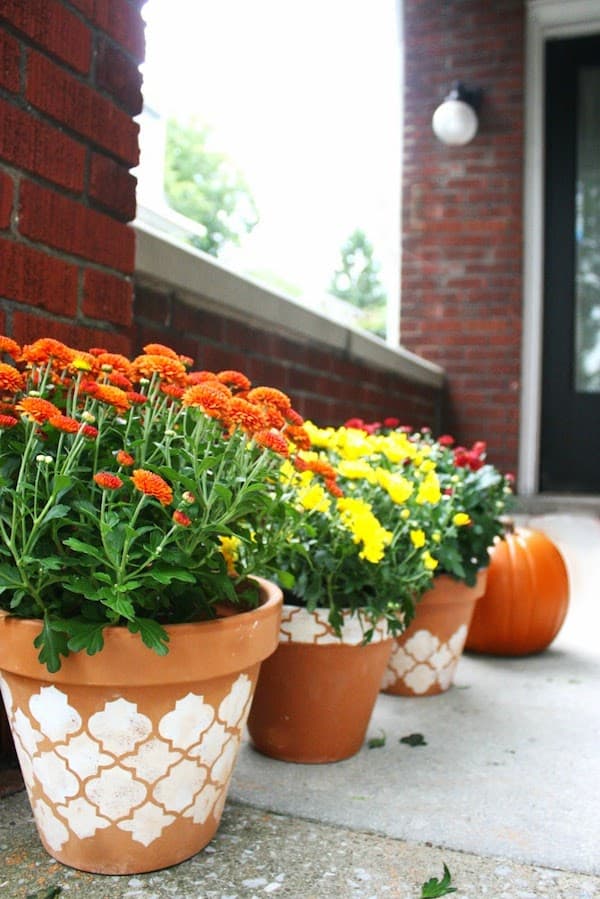
Learn how to stencil these pretty distressed clay pots for your front porch!
These is a great craft for beginners, and easily customized.
Happy (almost) fall, DIY Candy friends!
I love those suckers.
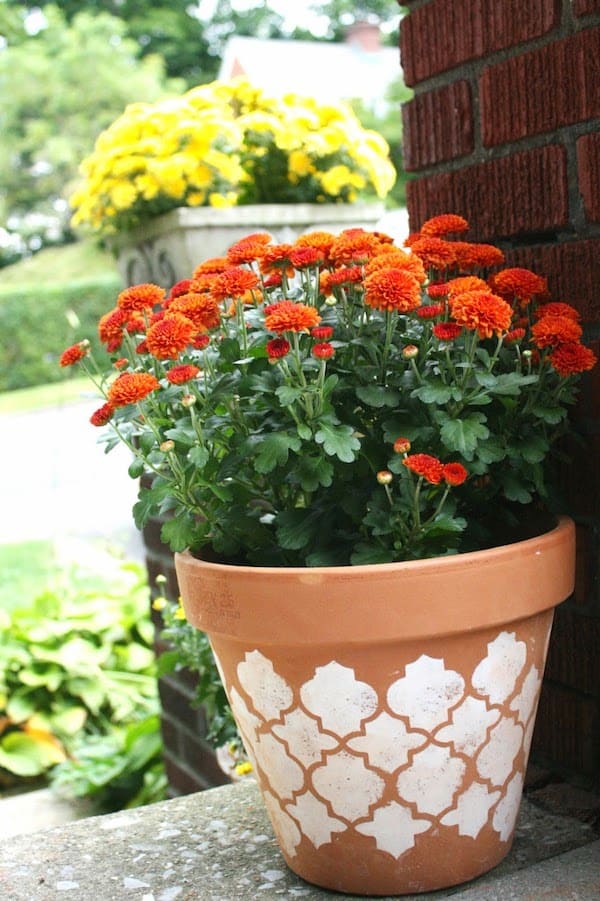
So, since I love my mums I decided that they needed pots that deserved their loveliness.
Heres how to stencilclaypots using my famous (okay, not really) method!
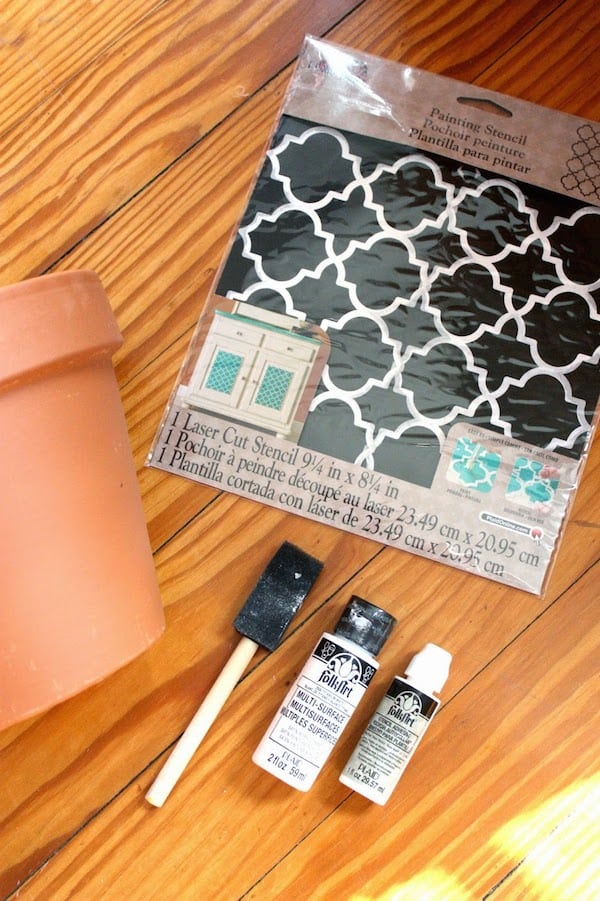
Its in the same section of the craft store as the regular paint.
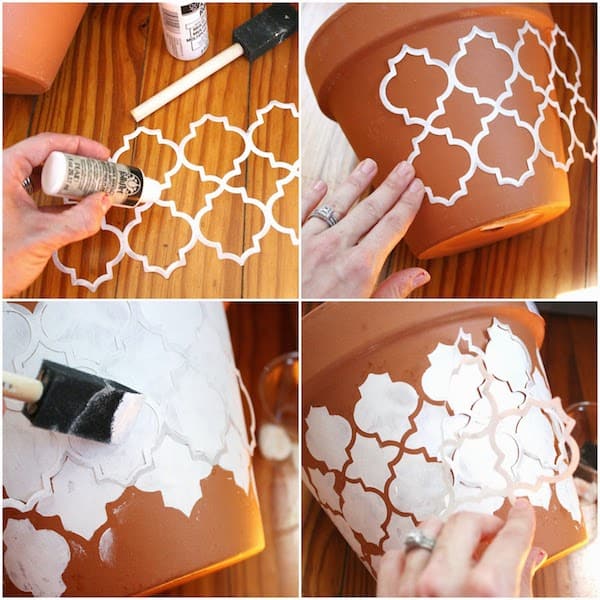
Apply the Stencil
Apply stencil glue to the stencil.
you’ve got the option to try doing this project without stencil glue but I wouldnt recommend it.
Those stencils can be slippery and you have to be fairly precise for them to look good.
Press stencil on pot.
If you are instruction follower, thats probably good.
Paint and Remove Stencil
Paint!
So you’re able to probably use a foam brush to apply the paint.
Apply it lightly either way.
Globbing the paint on will be noticeable.
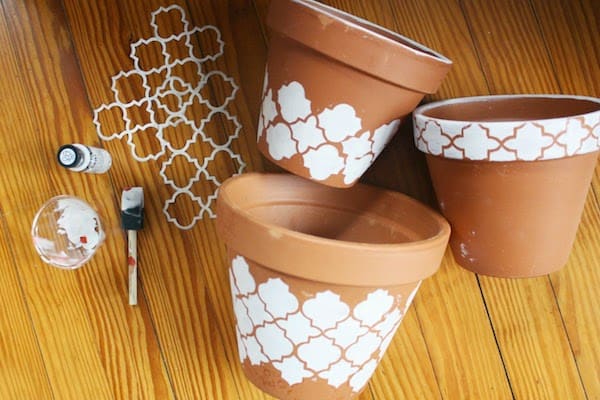
Once youre done painting, remove the stencil!
Be very careful and gentle, and let that section dry before moving onto and painting the next section.
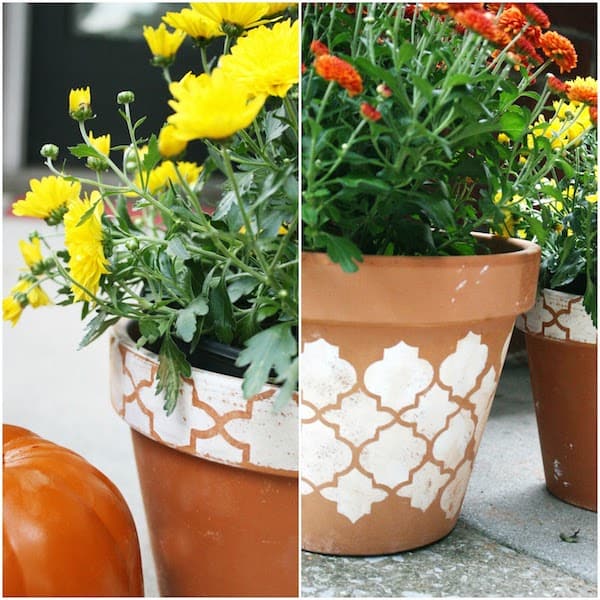
I love the worn look this gave the design.
Seal the Insides
Once youre done painting, let dry completely.
THEN seal the inside of the pot with clay pot sealer.
Especially if its white!
Spray the inside lightly a few times and let dry.
No, it wont kill your plants.
It should be fine.
Just let dry completely before adding anything.
THEN plant your flowers, admire your lovely pots, and dream of crisp fall days!
Id also love for you to check out the following posts and projects:
