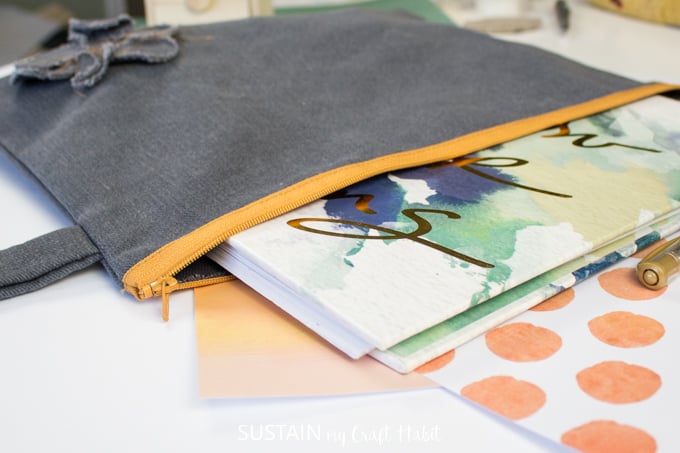
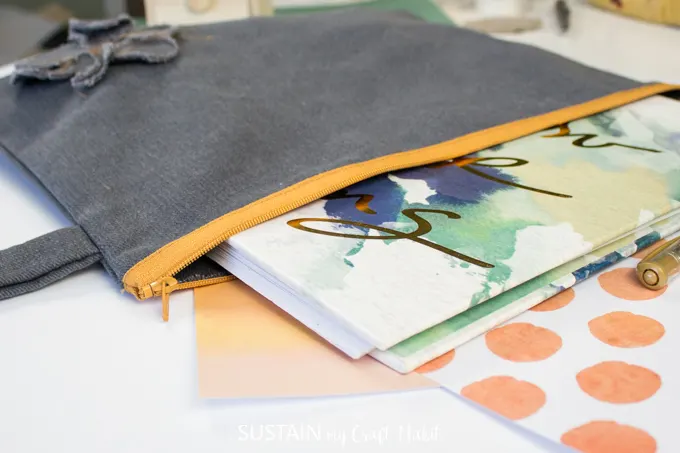
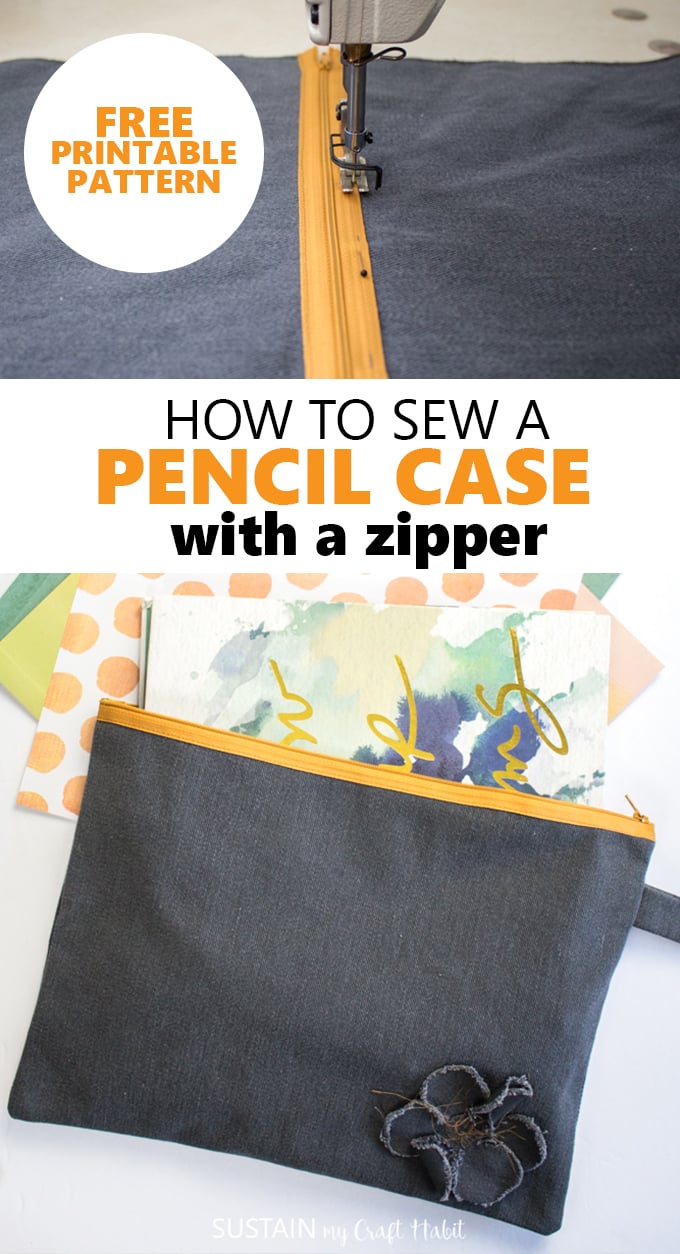
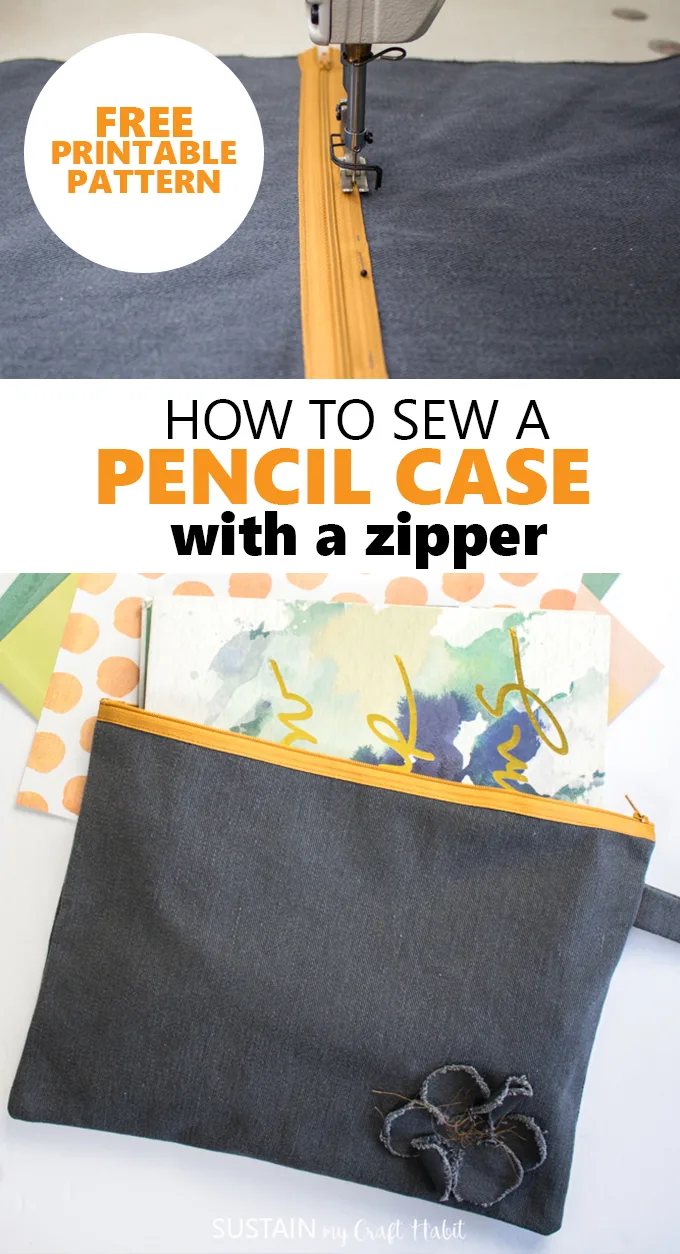
Have you ever wonderedhow to sew a pencil case with a zipper?
I took inspiration from all of thedeconstructed fashionthats currently trending.
You know all those ripped jeans with holes in the knees?
And those shirts with raw edges at the neck?
All those clothes that look unfinished?
Well, they are all meant to look that way!
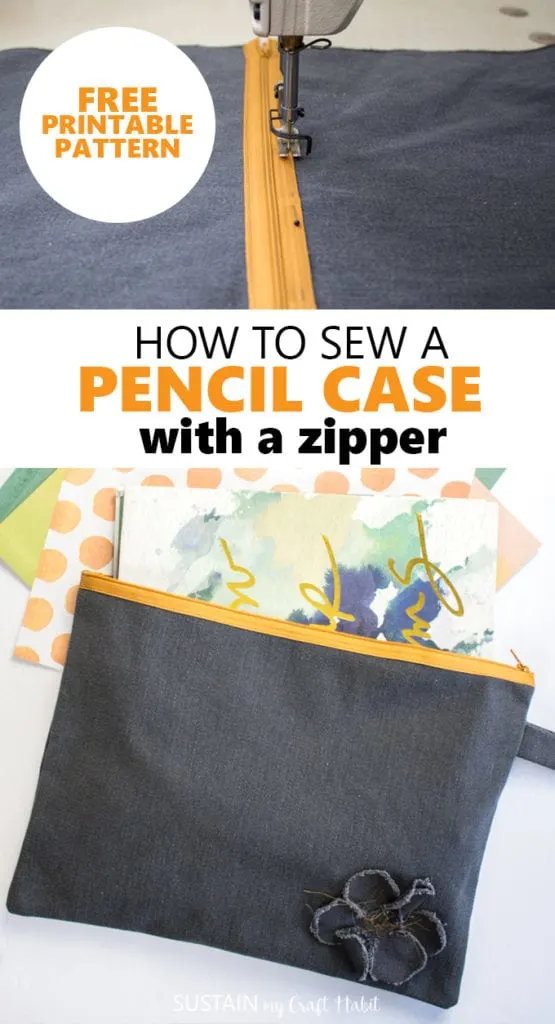
So why not design a pencil case the same way?
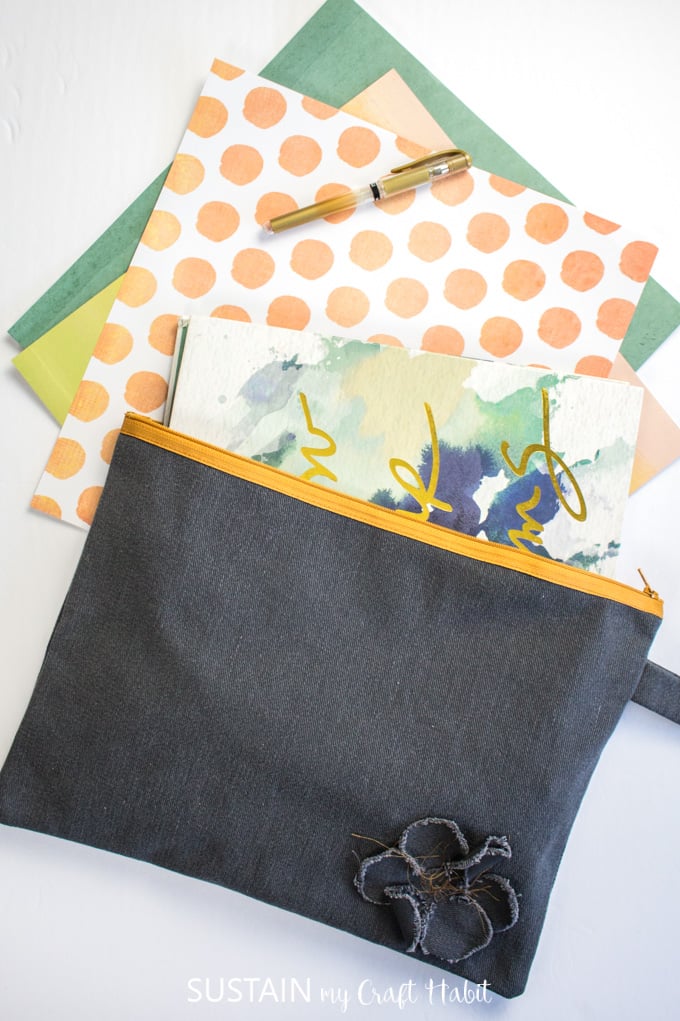
Im staying on-trend by incorporating loose hanging threads, fraying raw edges and exposed zippers.
Thisgraphite coloured 100% cotton twillwith a soft brushed surface from Canvas Etc.
is just the right medium weight fabric for this pencil case.
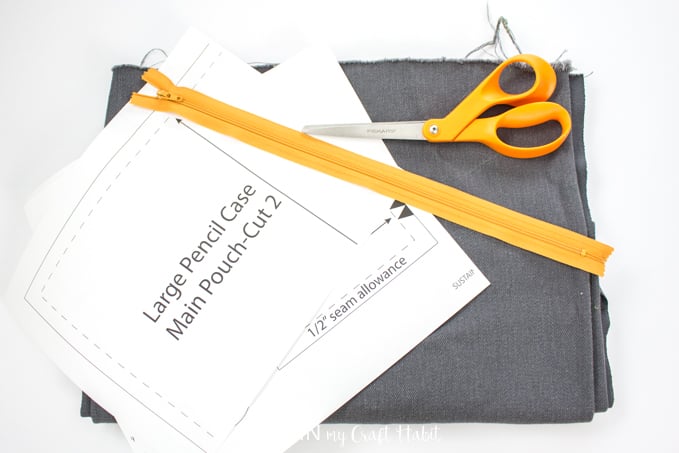
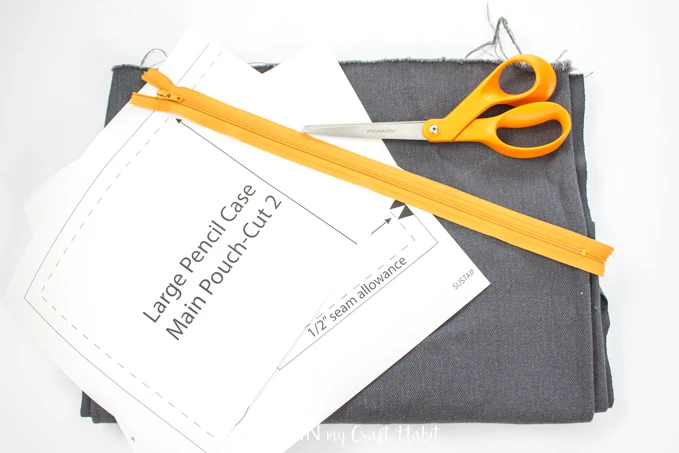
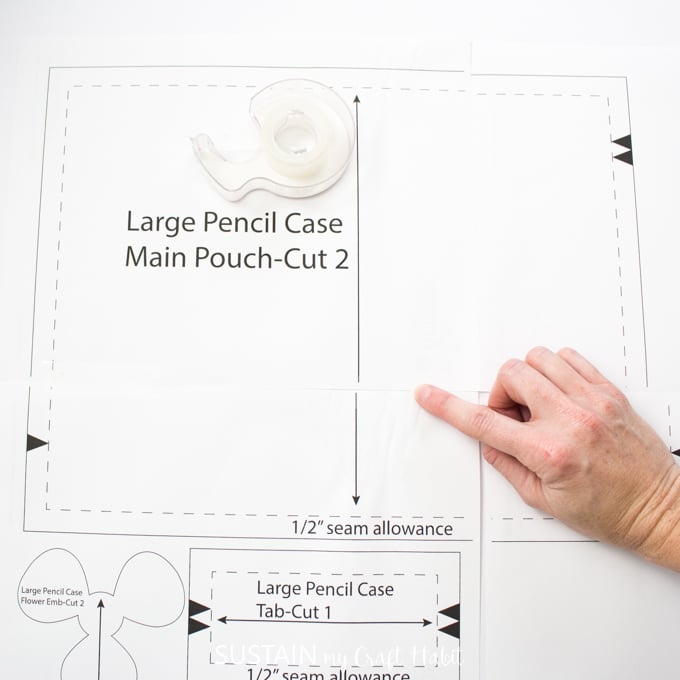
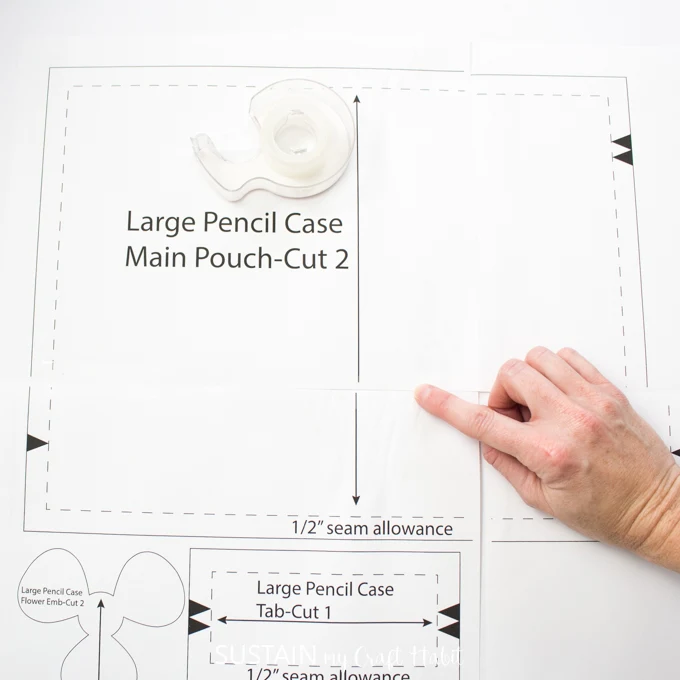
Print off thepencil case patternon 4 sheets of 8.511 paper.
Align the paper edges and tape the pieces together as shown.
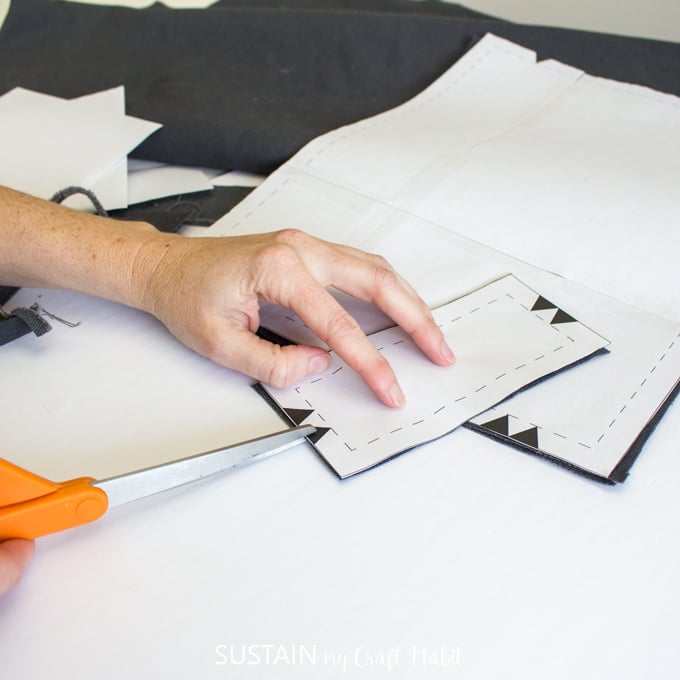
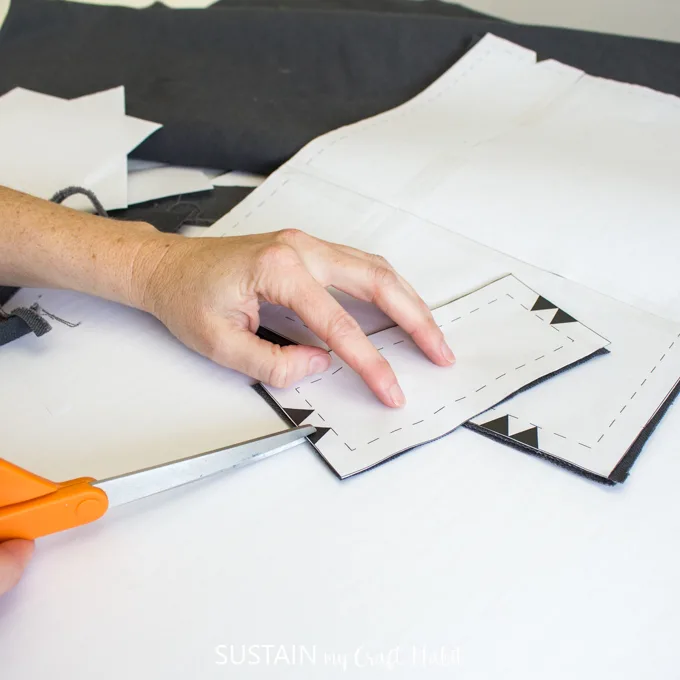
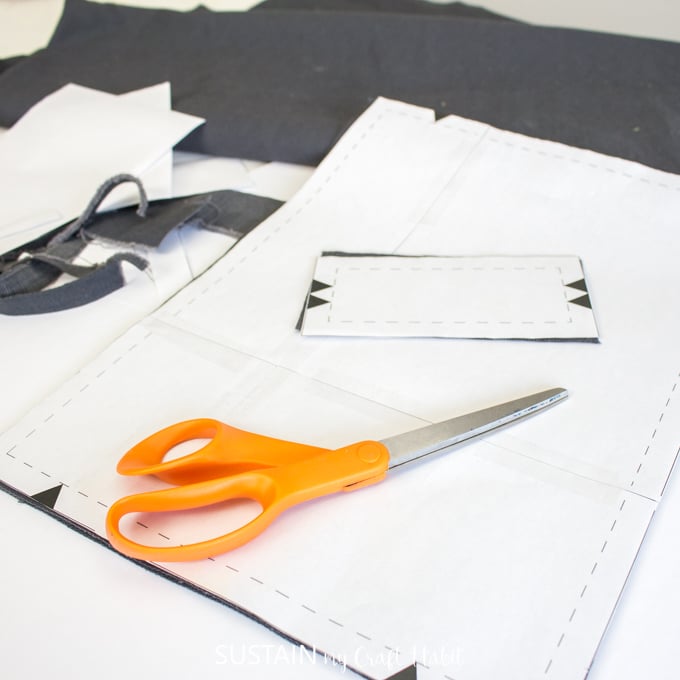
Place the pattern over thefabricaligning the grainline with the fabric grain.
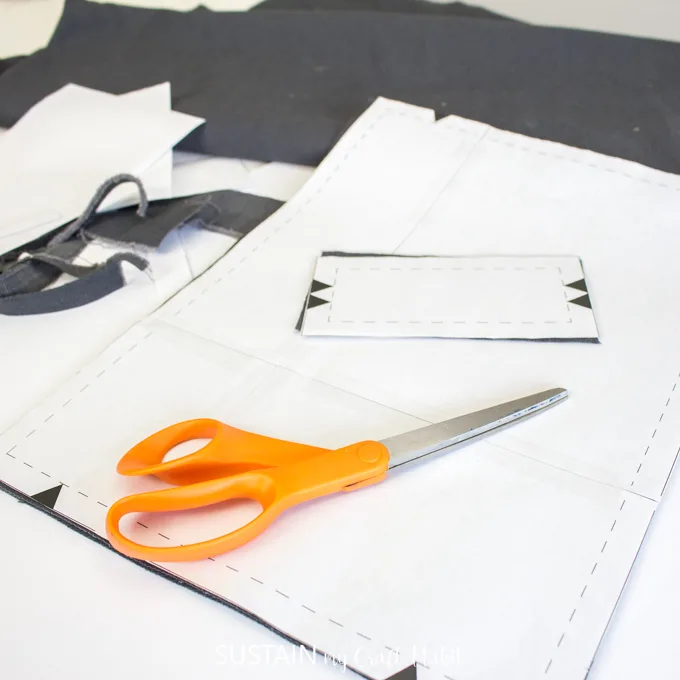
Cut along the solid line (the dashed lines represent the sew lines).
Clip the notches on the pattern as these notches will guide you with aligning pieces together.
As youre cutting, keep your leftover fabric and scraps for other sewing projects.
Those small pieces can be used to make thesepainted canvas ornamentsor thisscrap fabric heart garland.
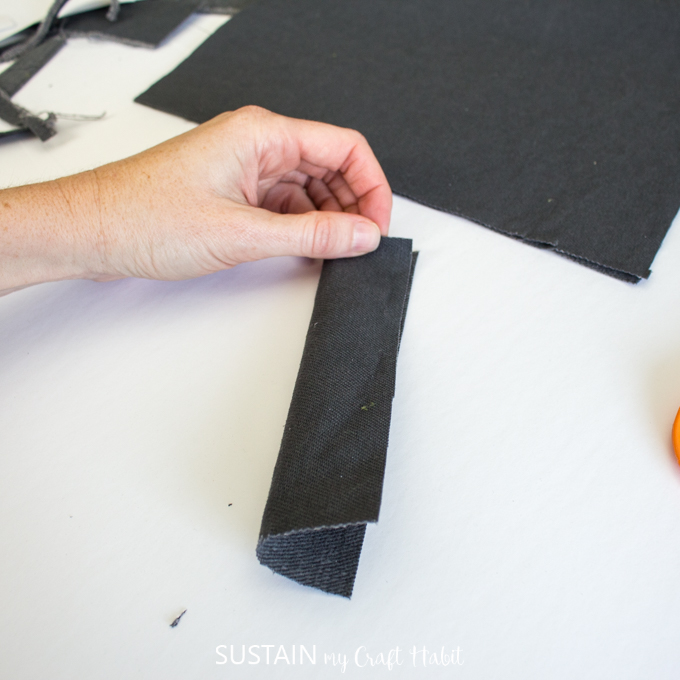
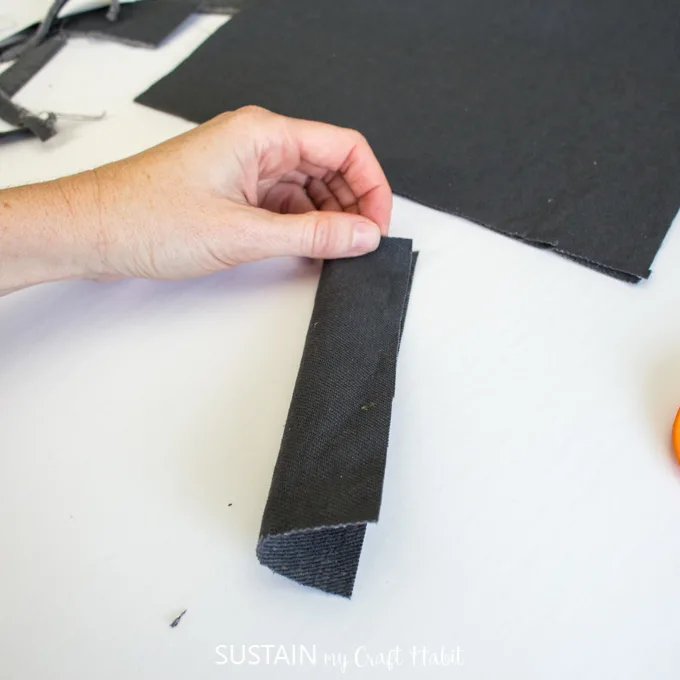
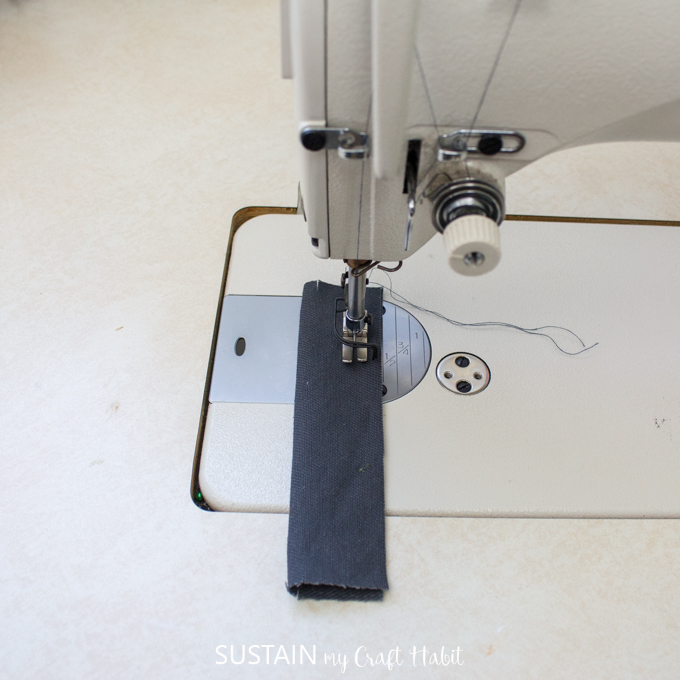
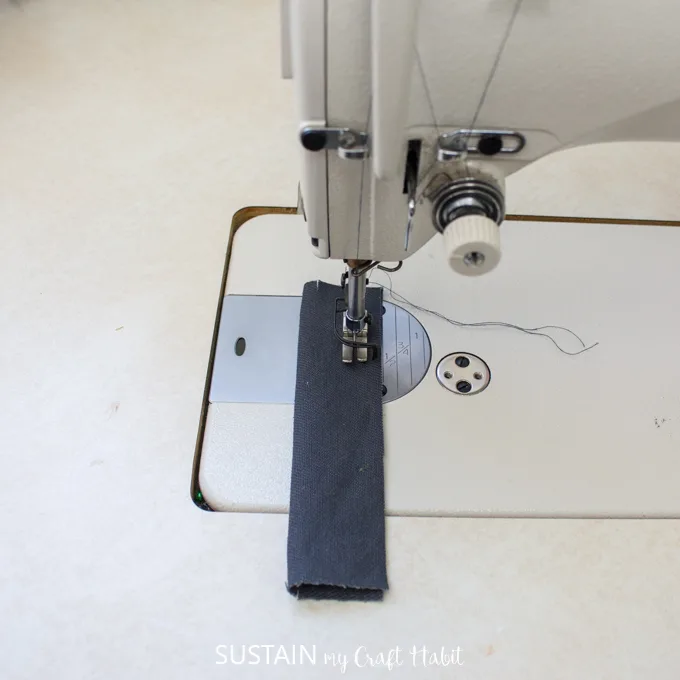
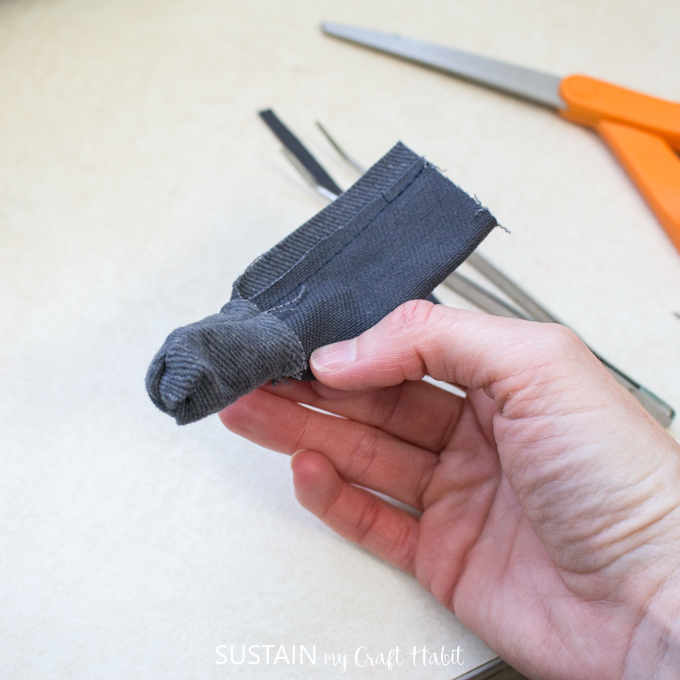
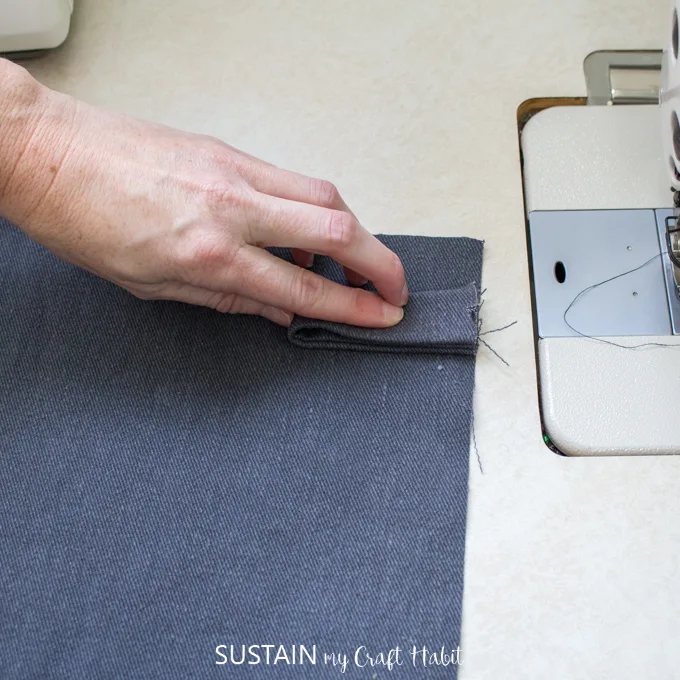
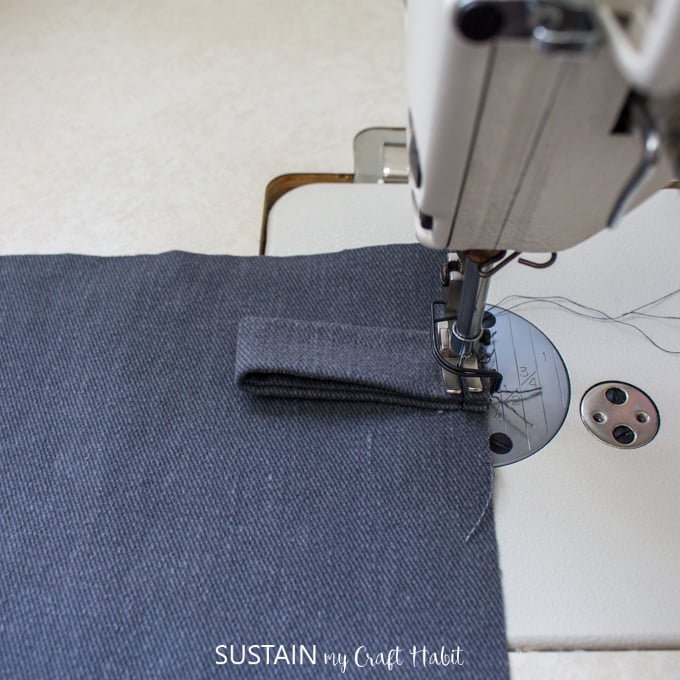
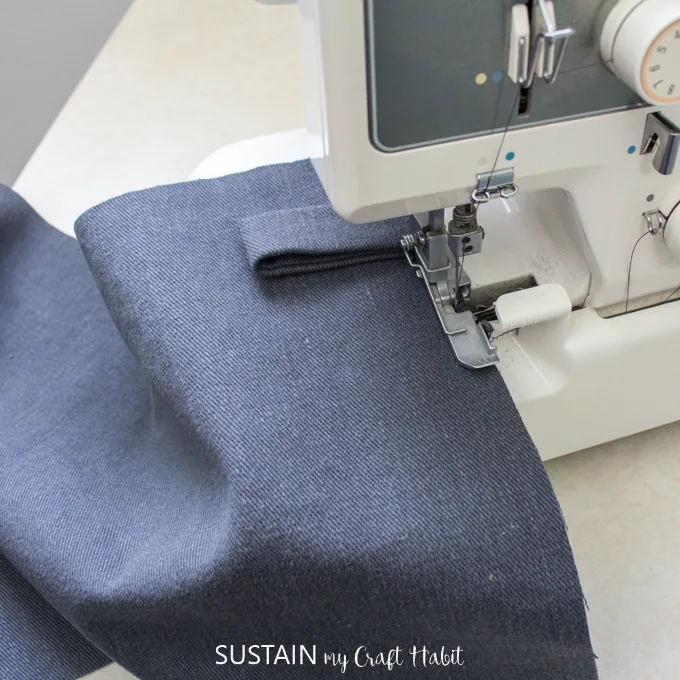
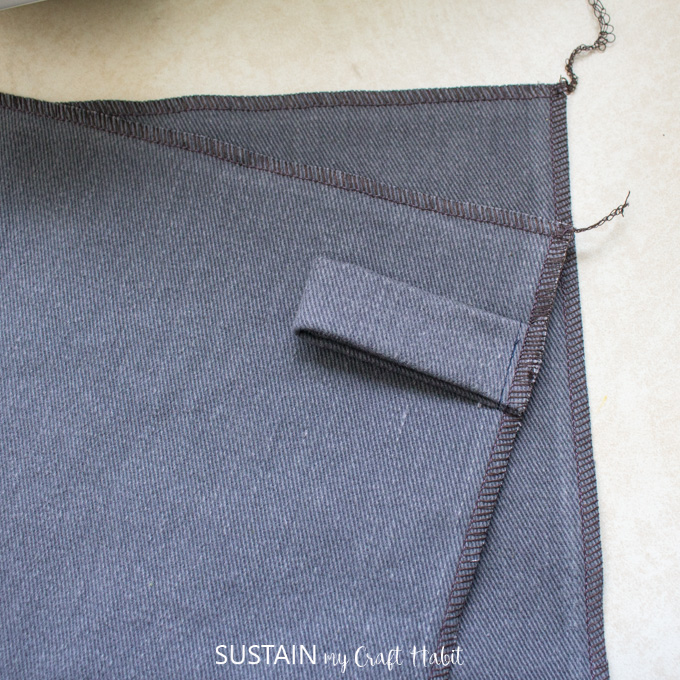
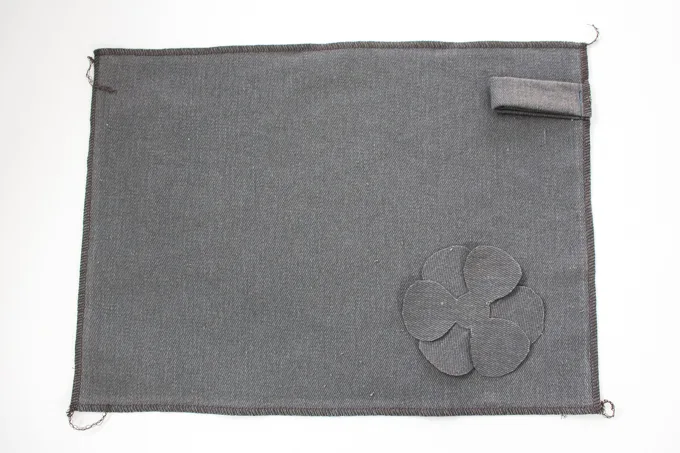
Fold the small tab in half lengthwise with right sides together.
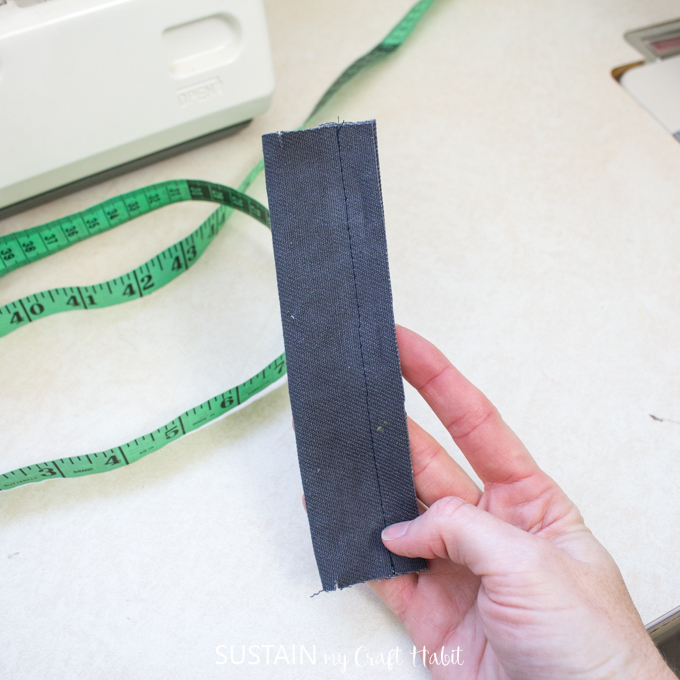
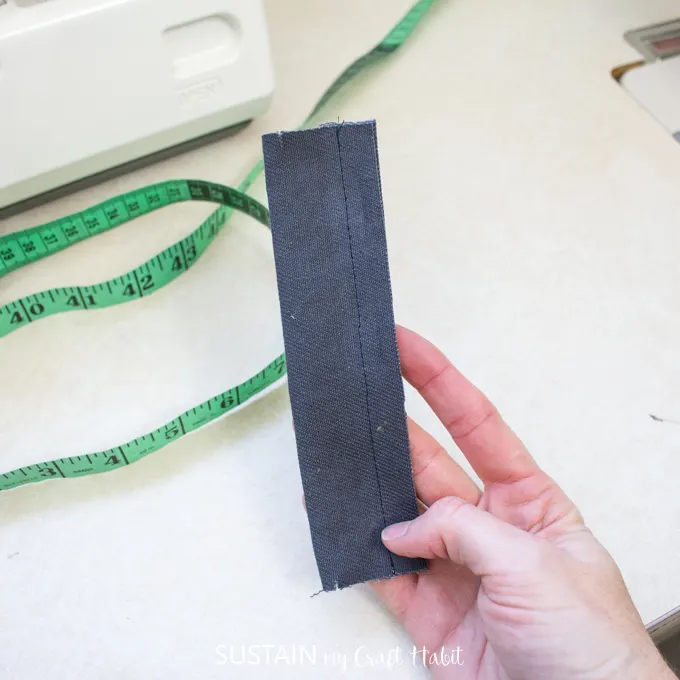
Stitch the tab closed with a 12 seam allowance along the long edge.
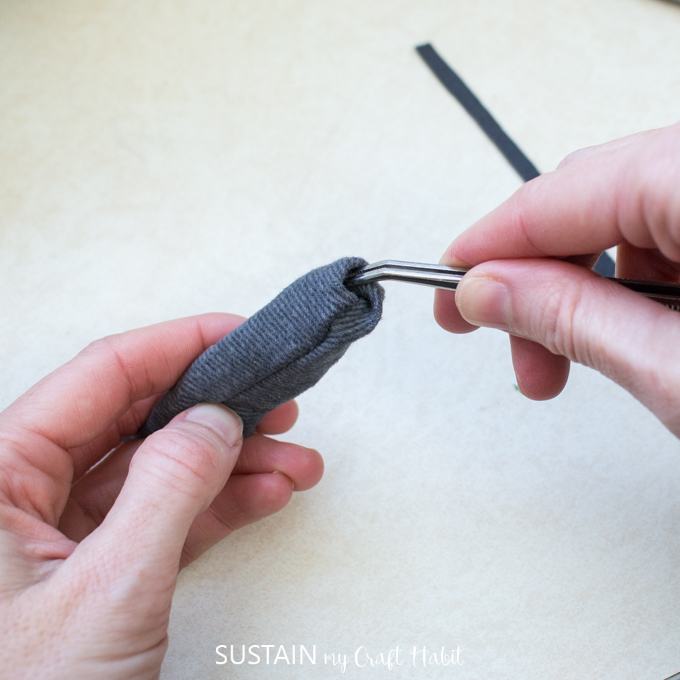
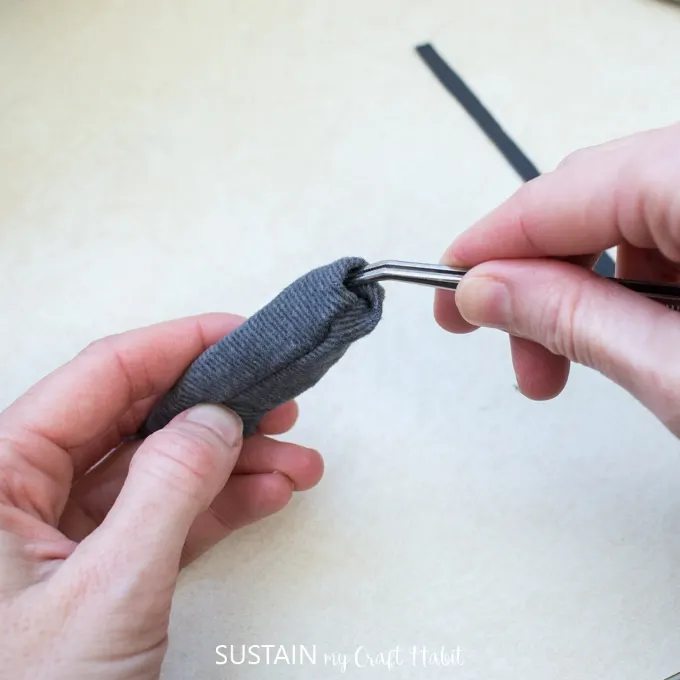
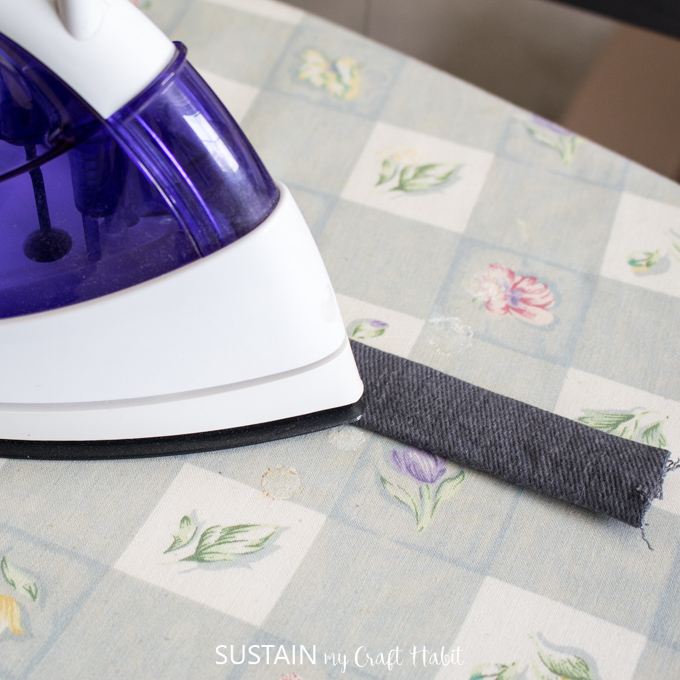
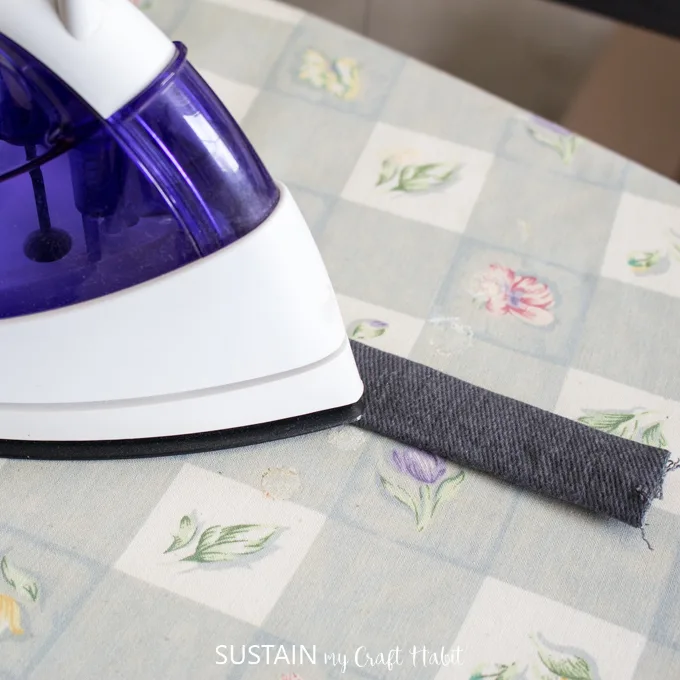
Turn the stitched piece inside out and press flat with an iron.
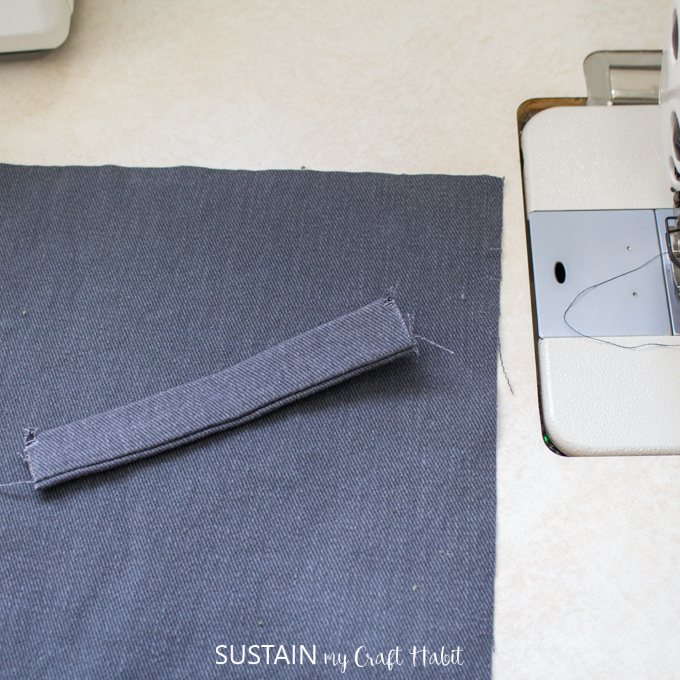
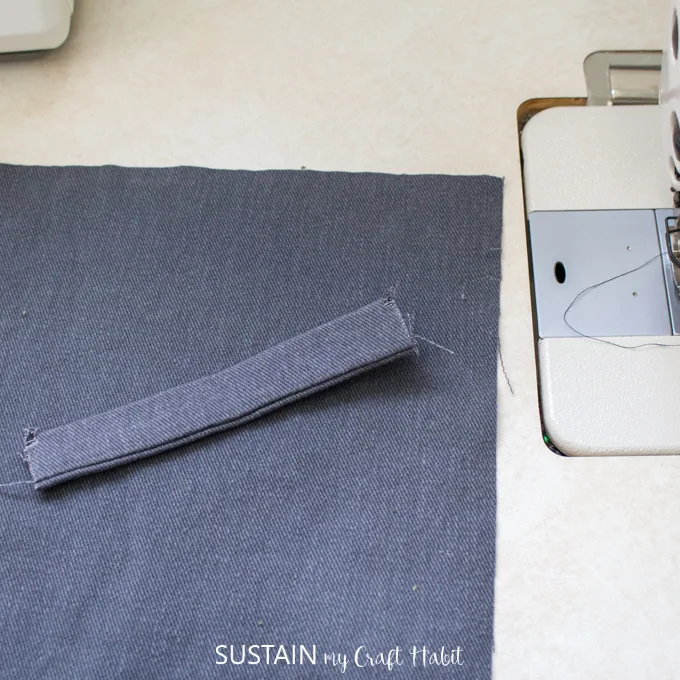
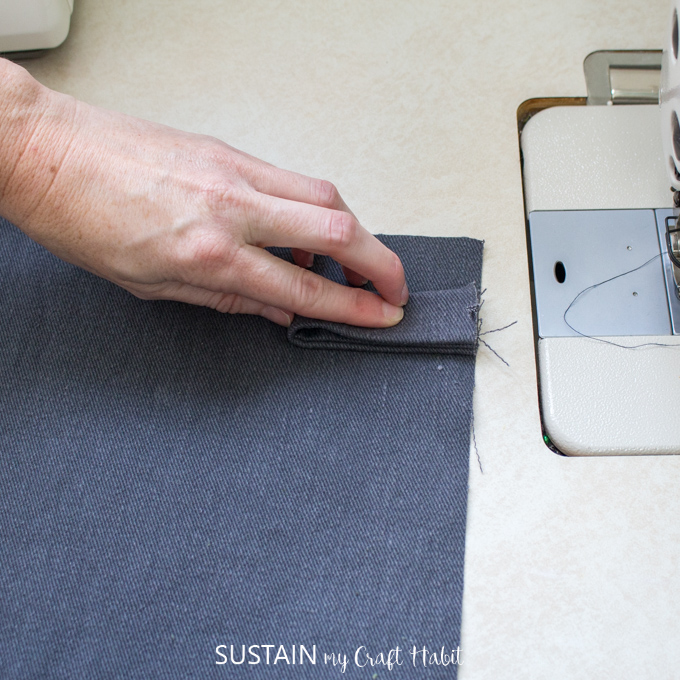
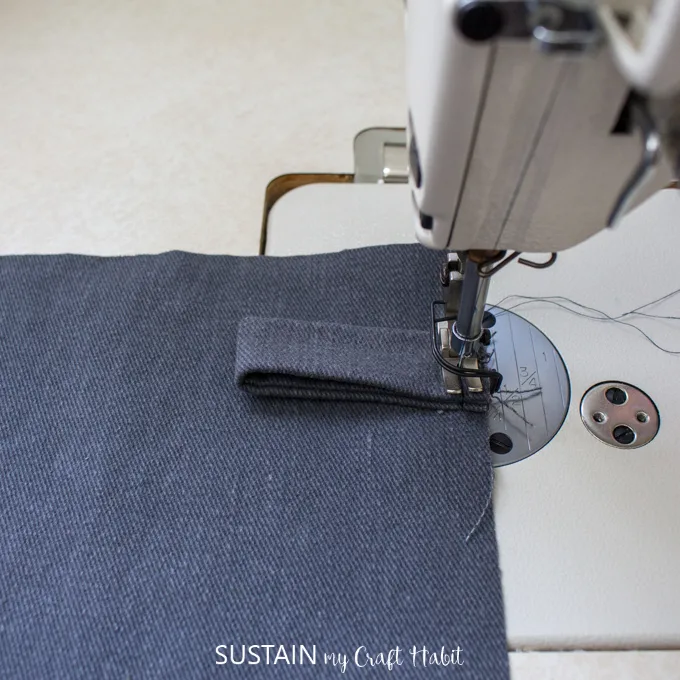
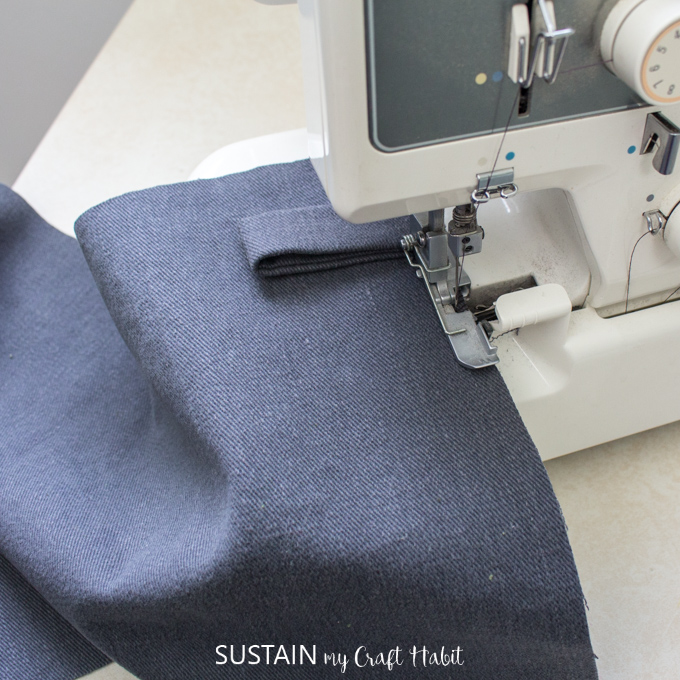
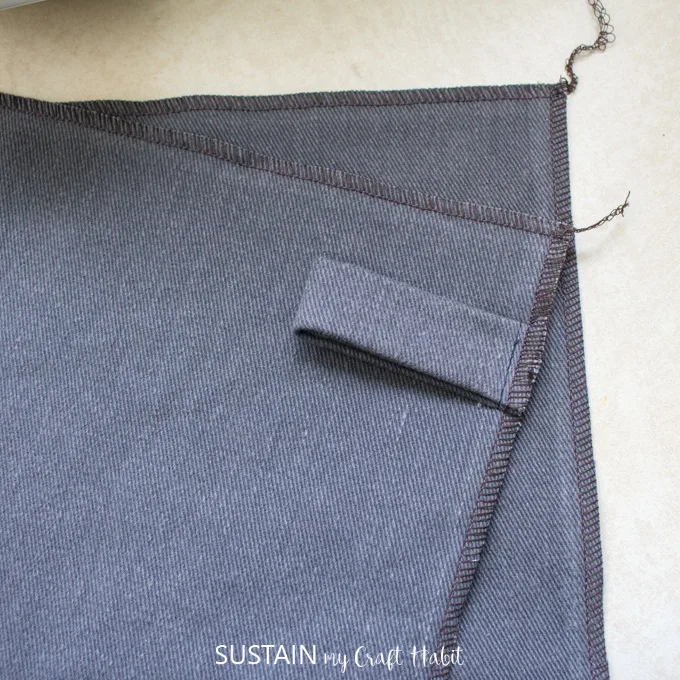
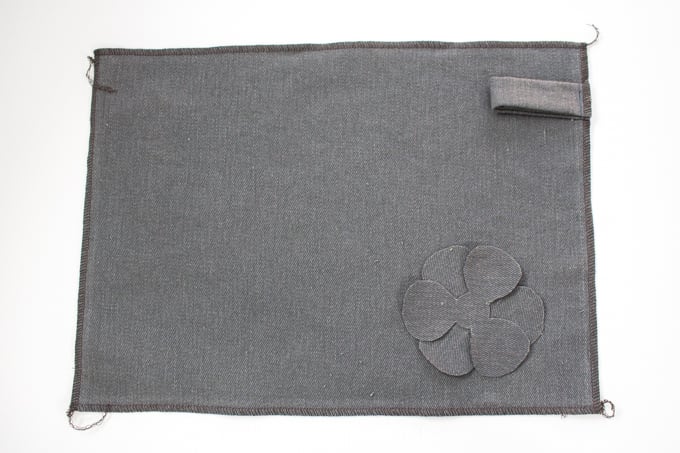
Stitch it to the large pattern piece to hold in place.
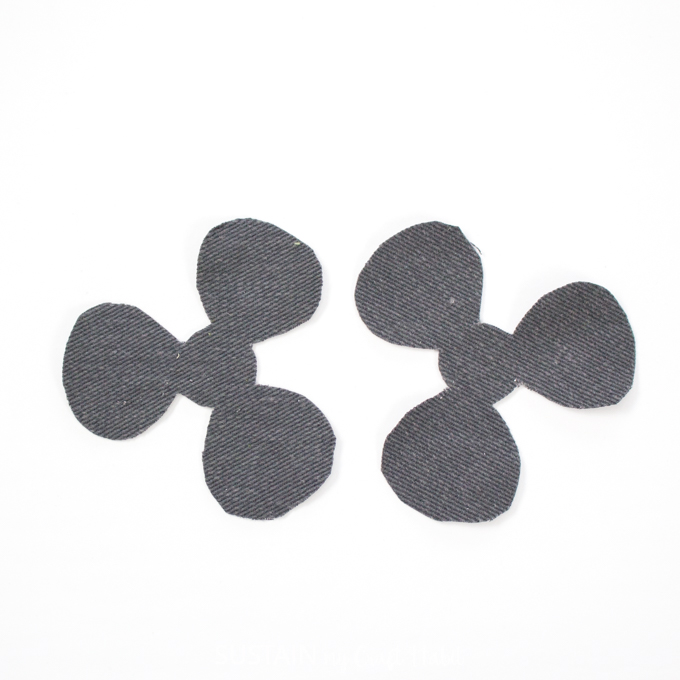
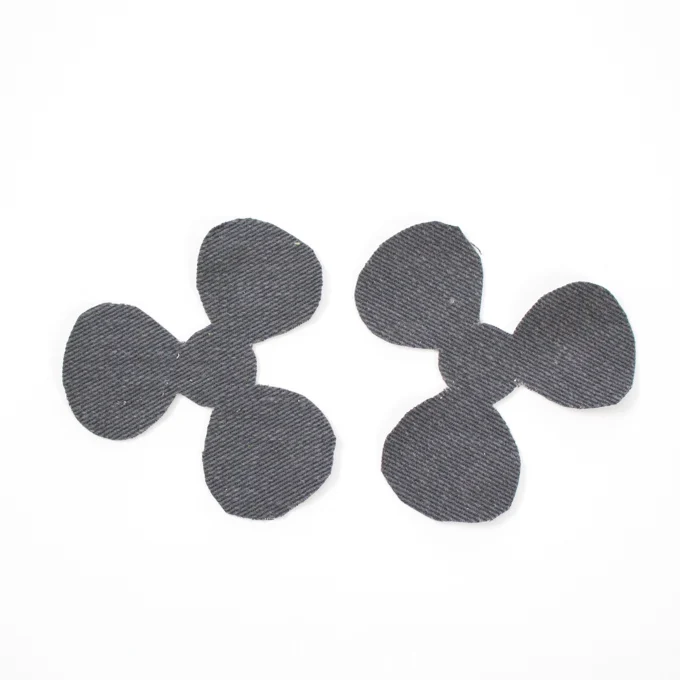
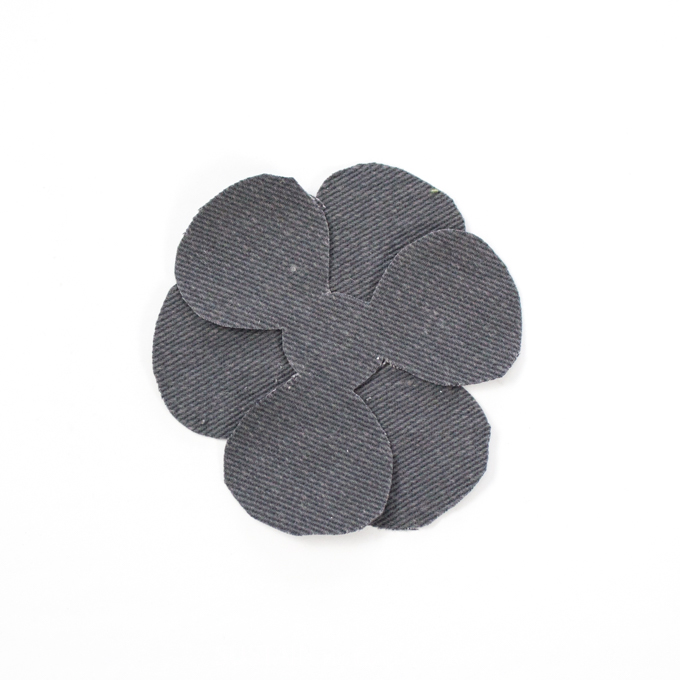
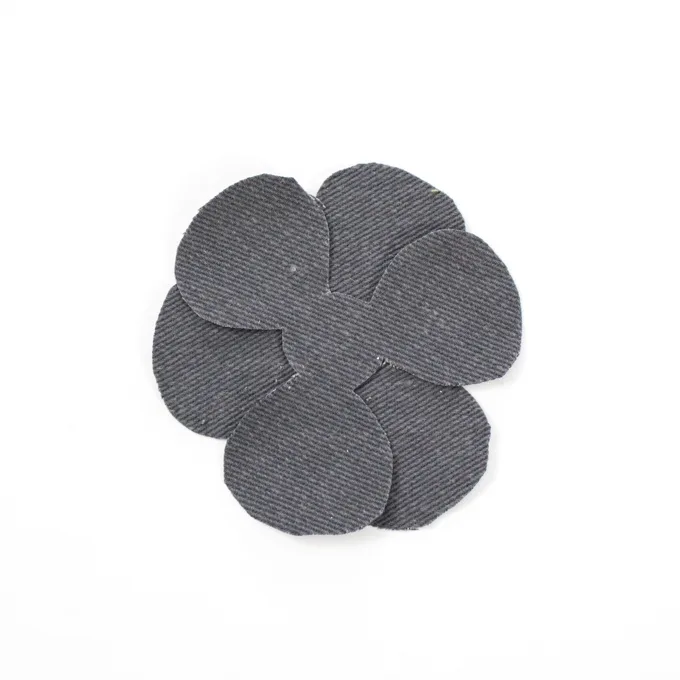
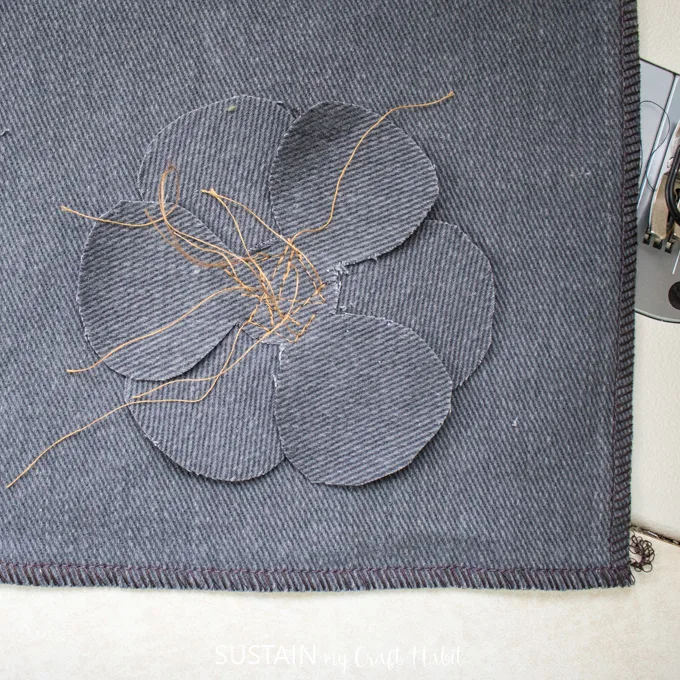
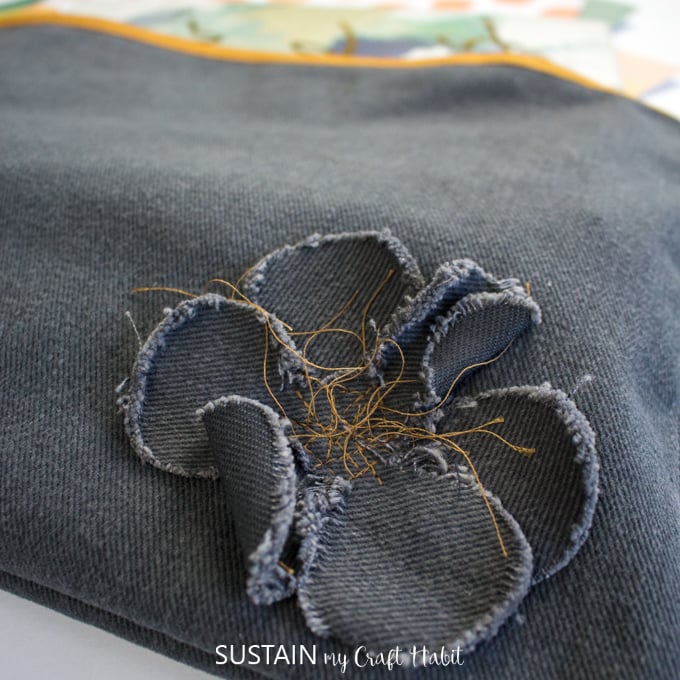
Place the flower in the lower right corner of the large rectangular pattern piece.
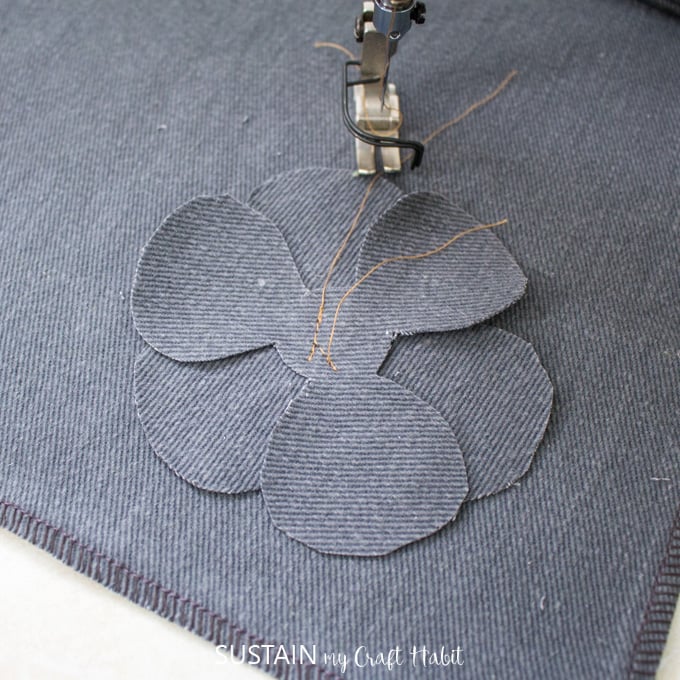
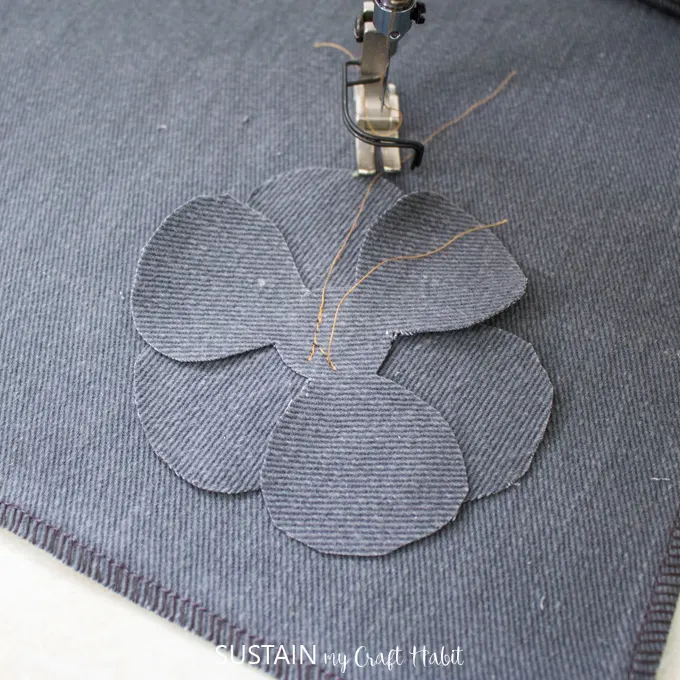
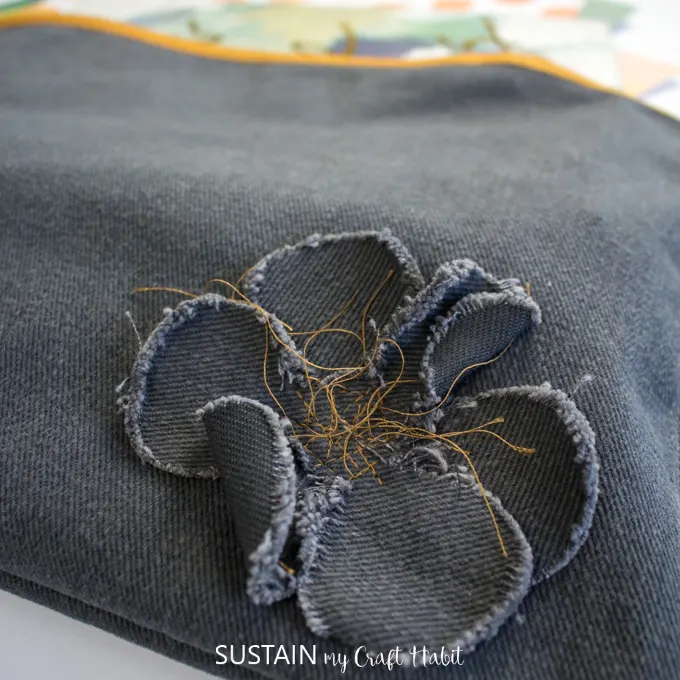
Using a contrasting thread color, stitch the flower in place.
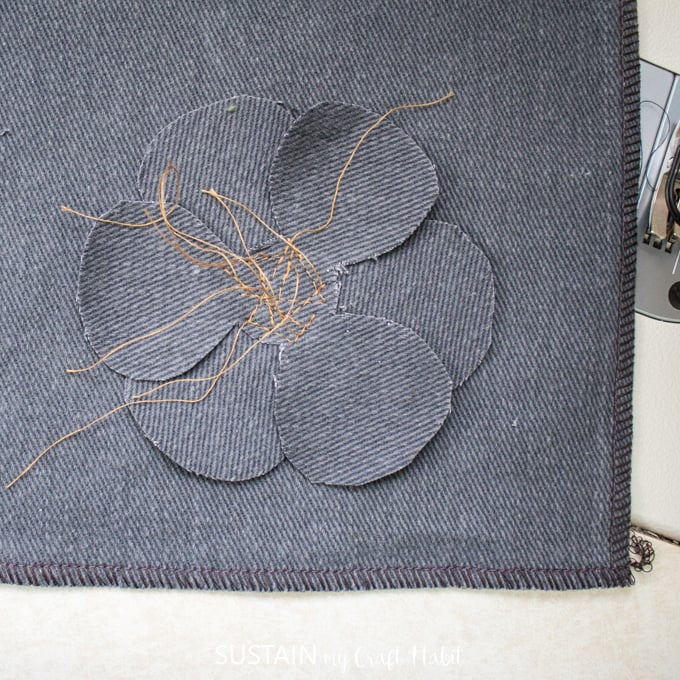
Continue with this until you are happy with the amount of stitches and loose hanging threads.
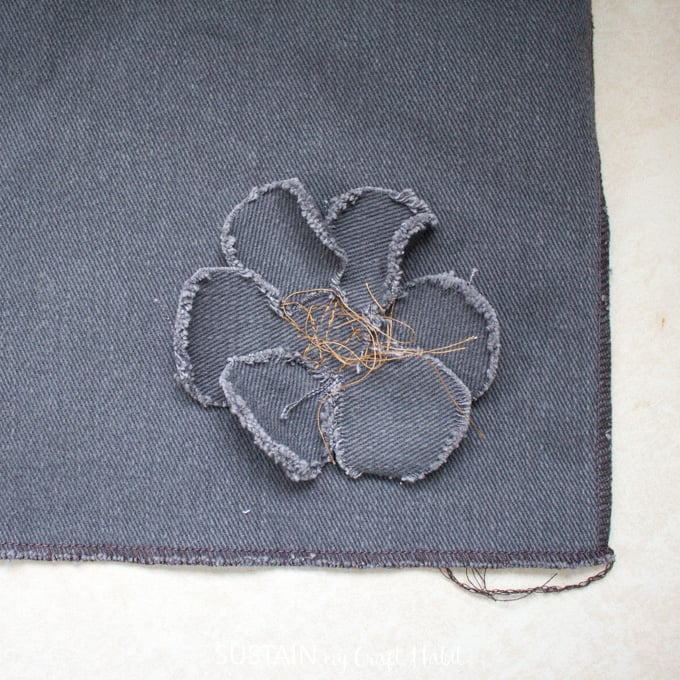
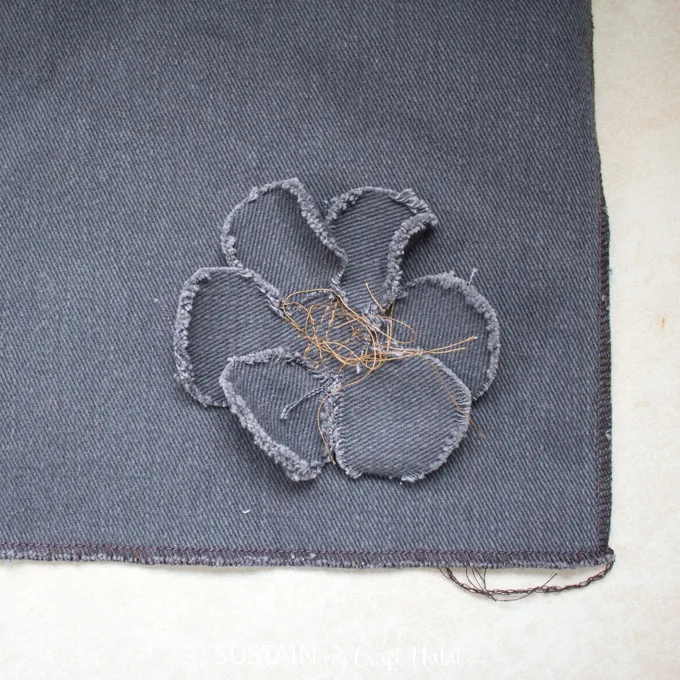
Put the prepared pieces into the washing machine and dryer for a quick cycle.
When you remove the pieces, youll find the flower edges to have frayed giving you that deconstructed look.
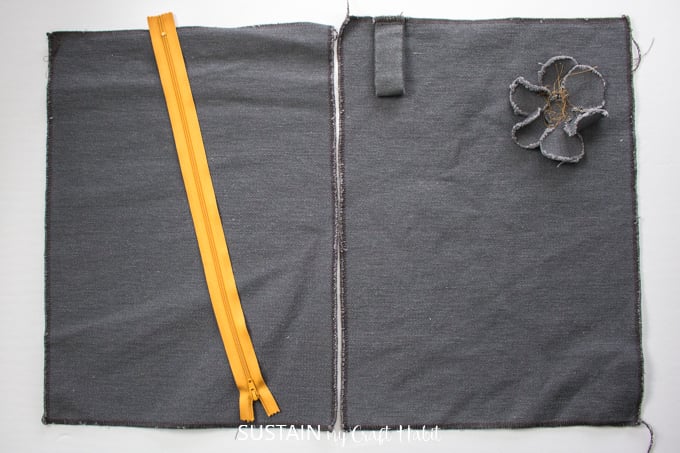
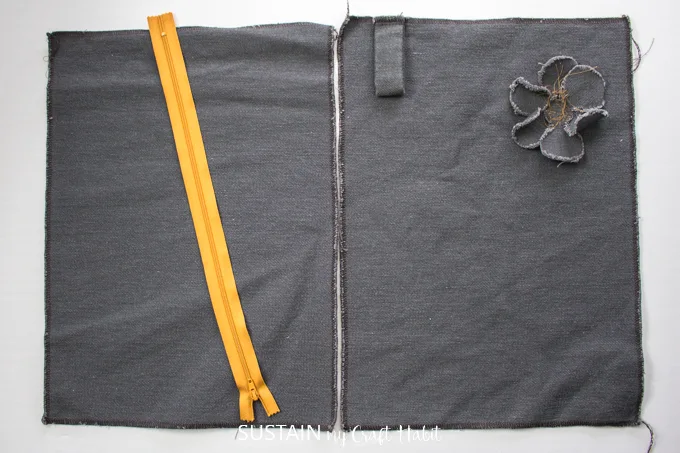
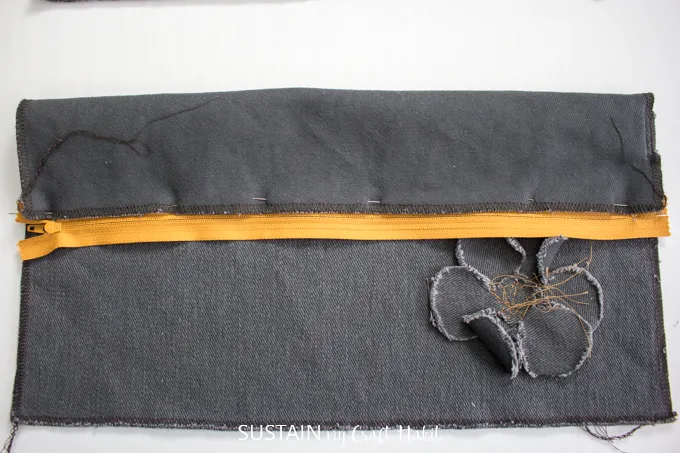
Place the rectangular pattern pieces with right sides up on a flat surface aligning the top edges as shown.
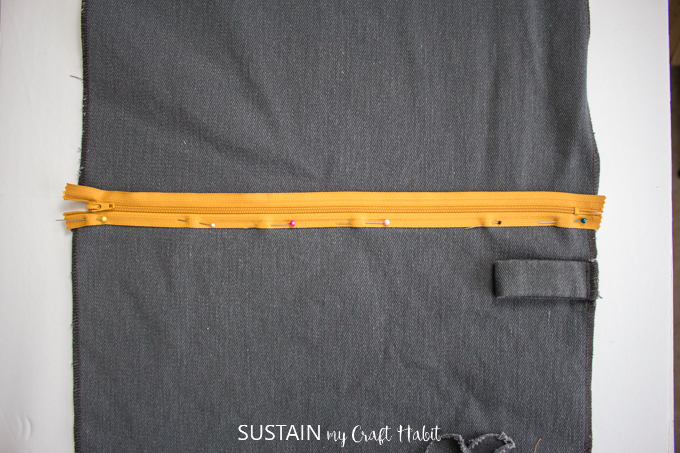
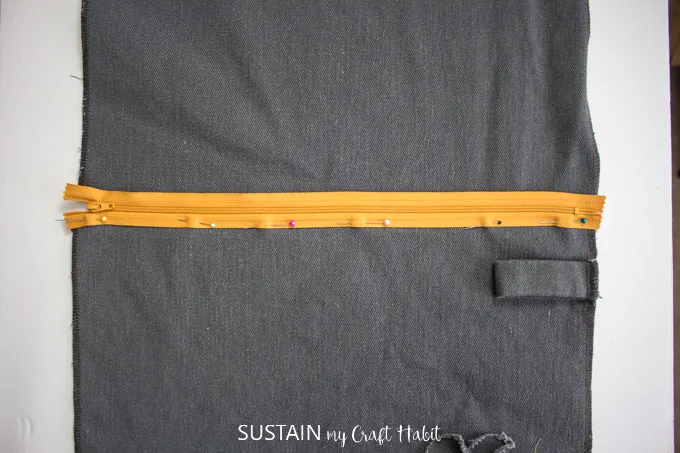
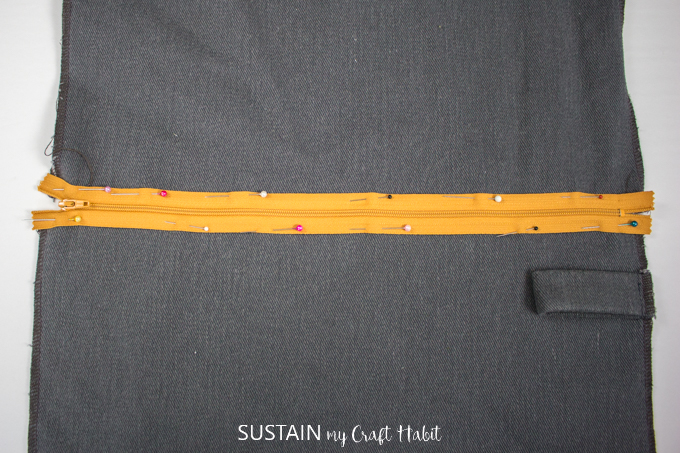
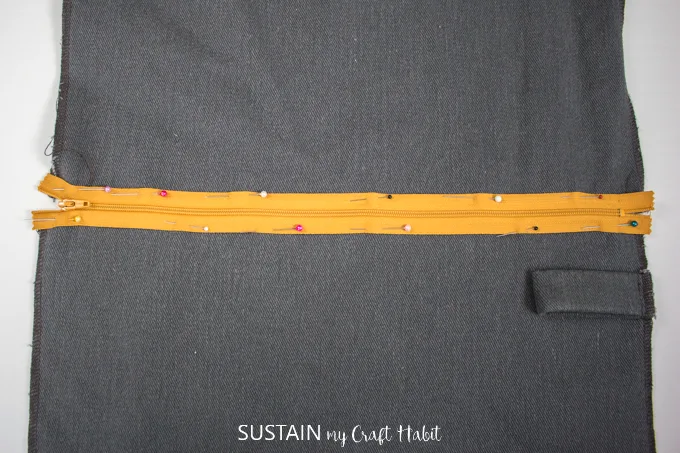
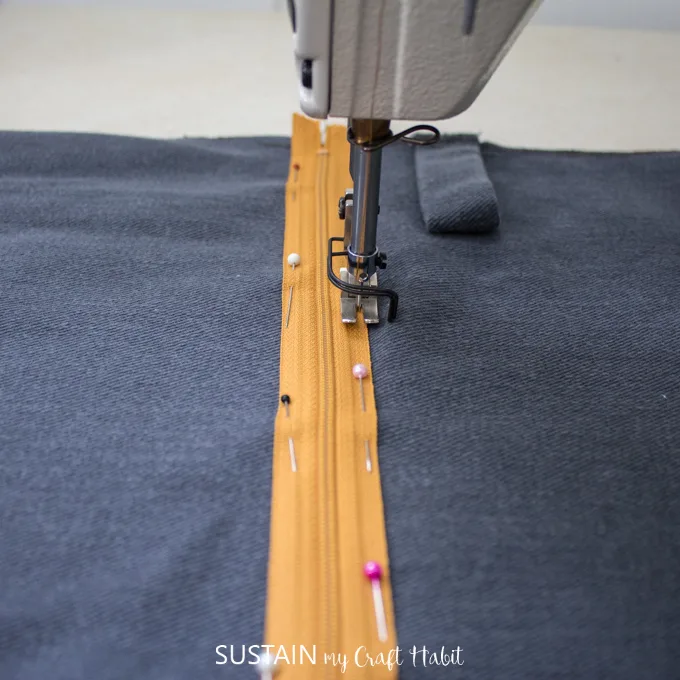
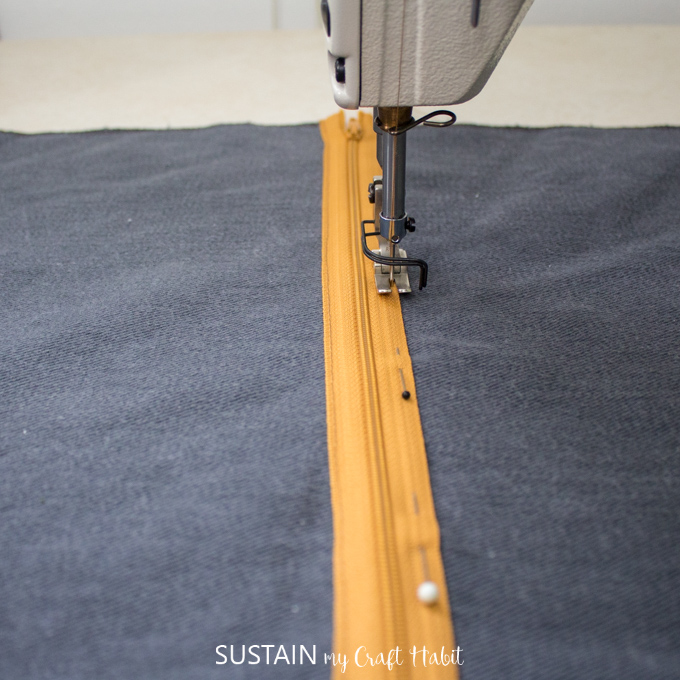
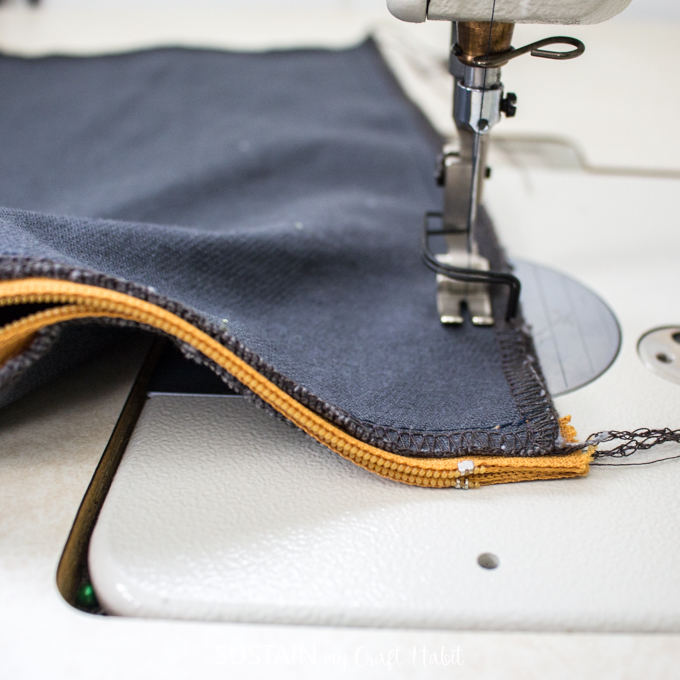
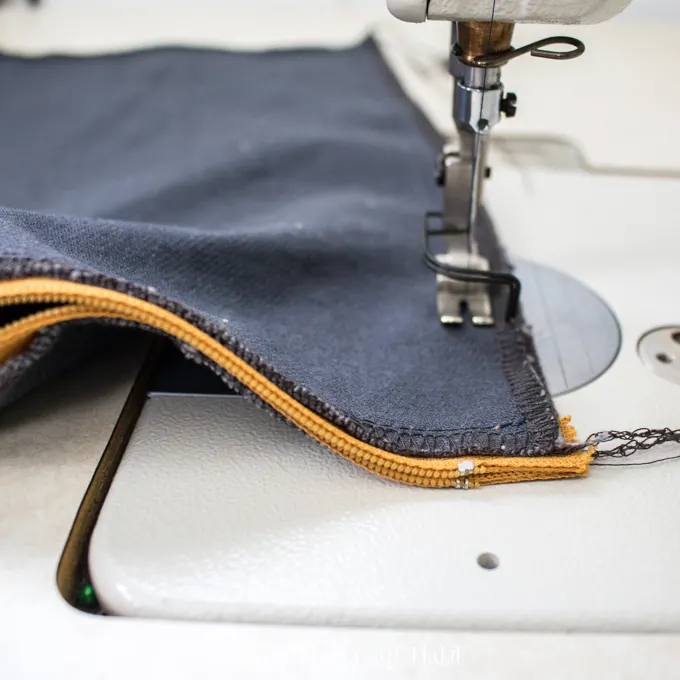
Position the zipper face up in the middle of both pattern pieces and pin in place.
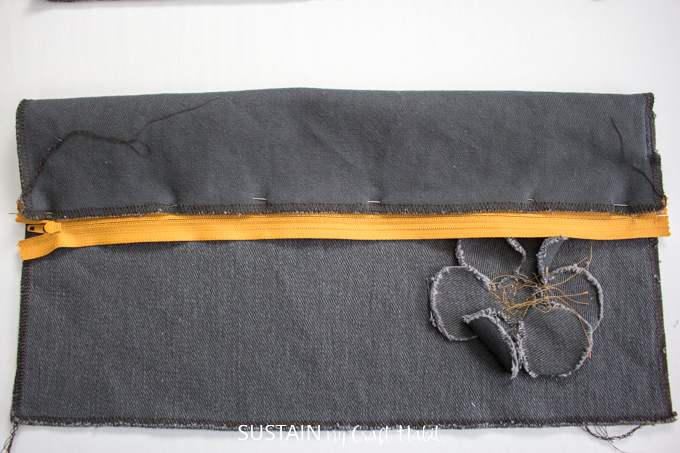
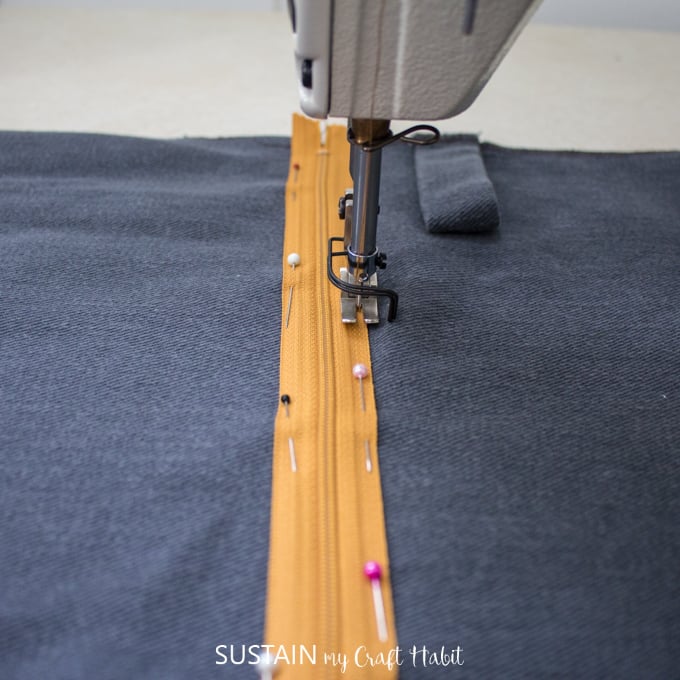
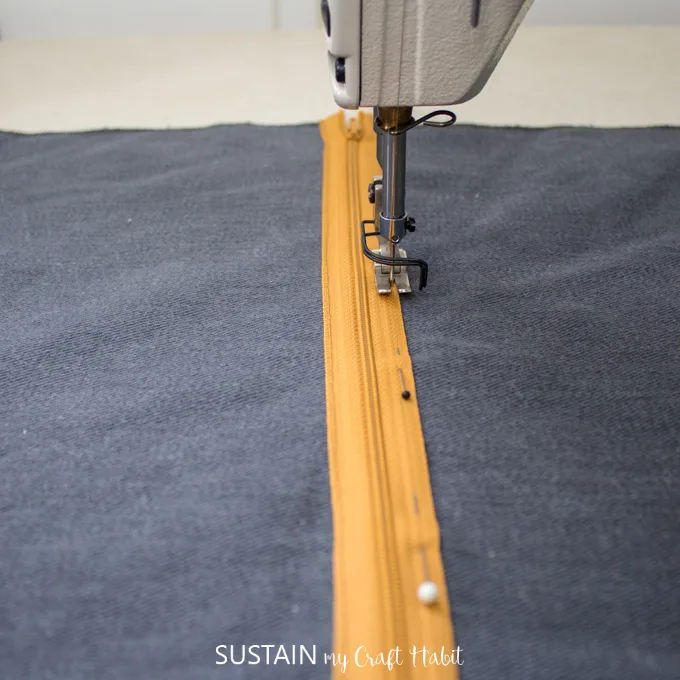
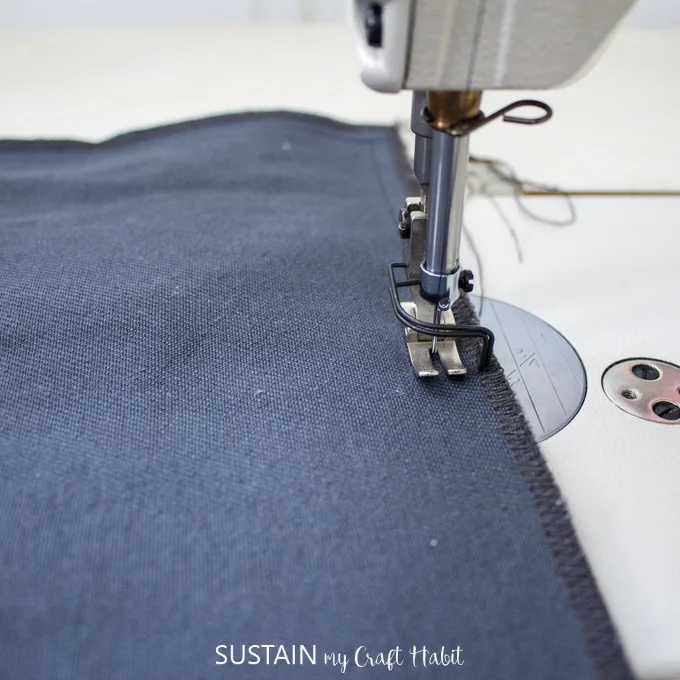
Sew along the zipper tape edges to secure the zipper to the pencil case.
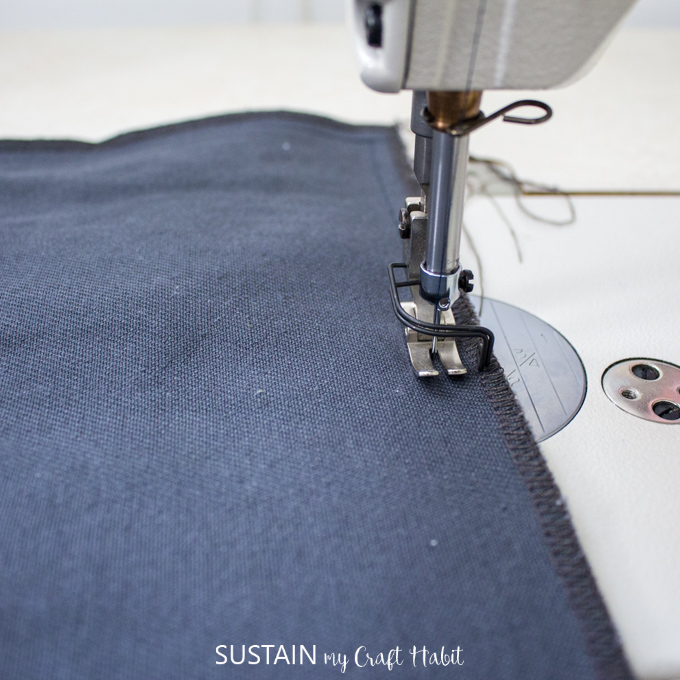
With right sides together and notches aligned, stitch the two large rectangular pattern pieces together.
Sew a 12 seam allowance around the perimeter of the bag.
Be sure to back tack at the start and at the end of the stitch line.
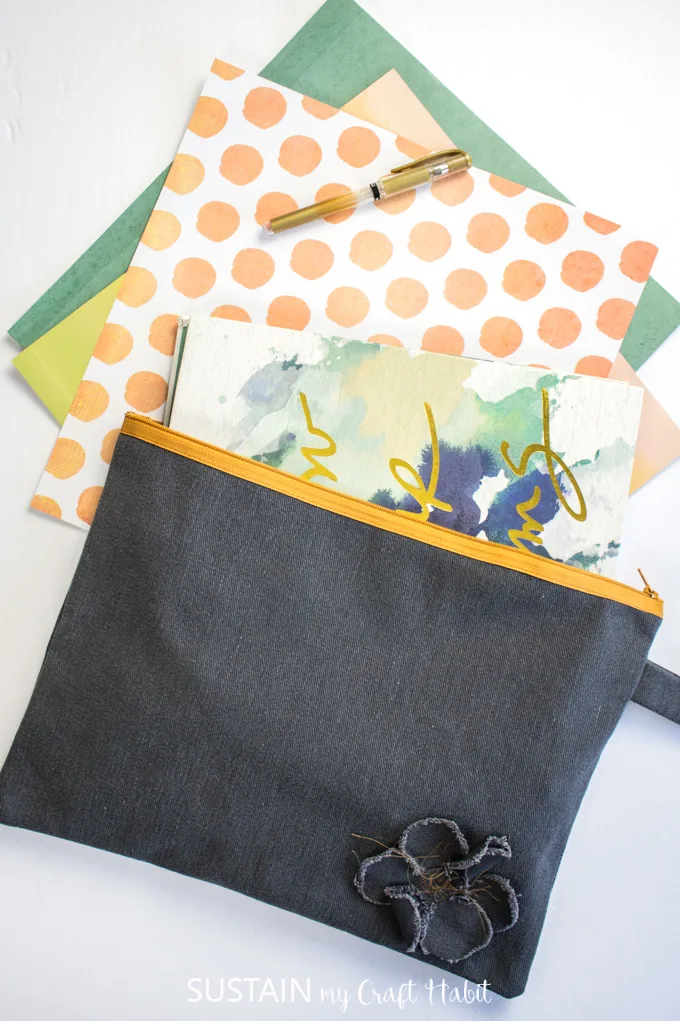
And there it is, the pencil case is complete!
Did you know that CanvasEtc.
offers theirfabric remnants for free!
Just pay a nominal shipping fee for a 5lb box of remnants for your DIY and crafting projects!
What would you use your large pencil case for?
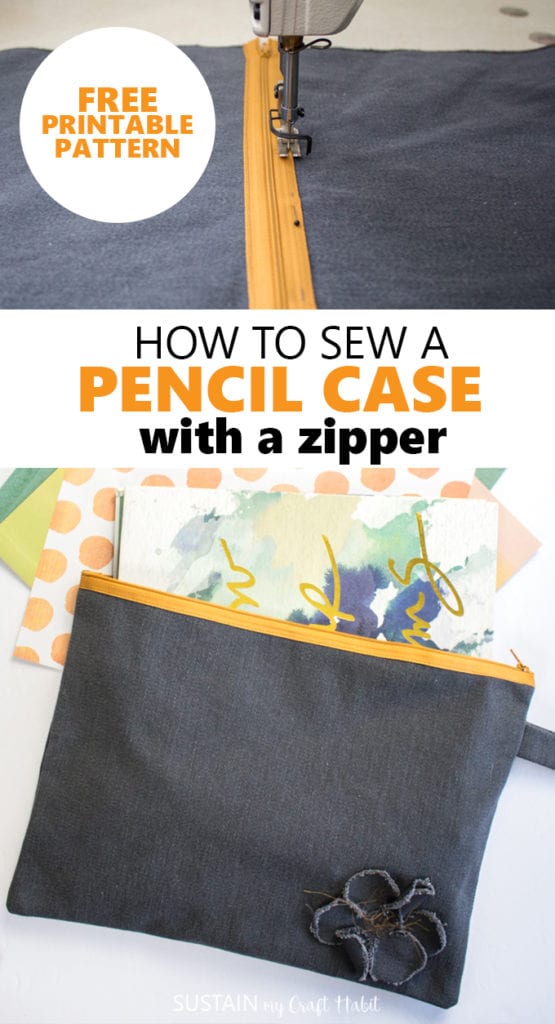
Pin it for later!
