All opinions are 100% mine.
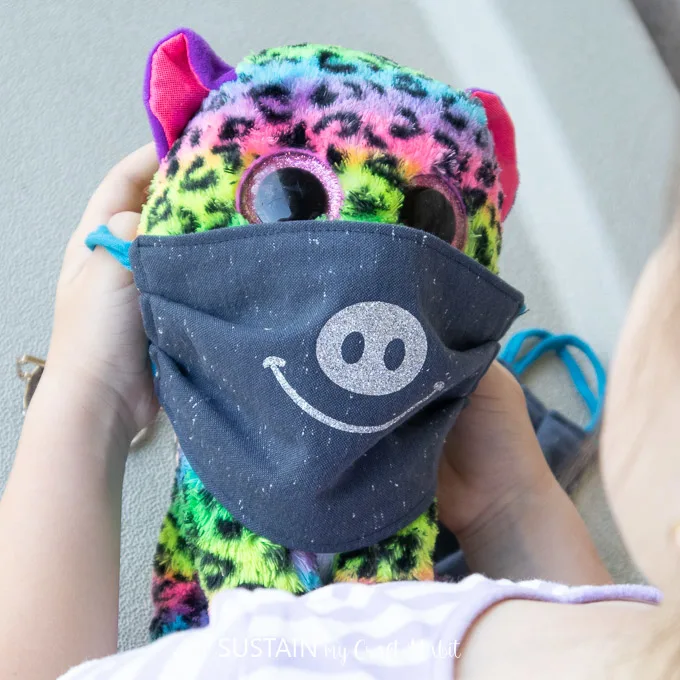
Some things are for certain, however: personalizing their items will be extra important.
Moreover, Ill be able to personalize each of my childs classroom necessities.

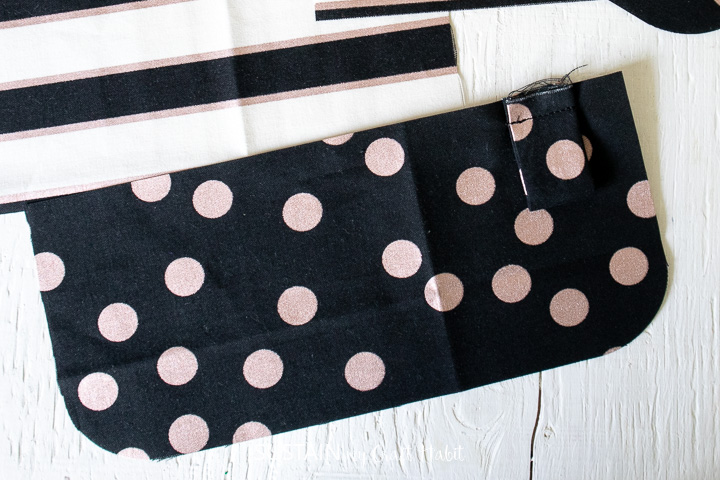
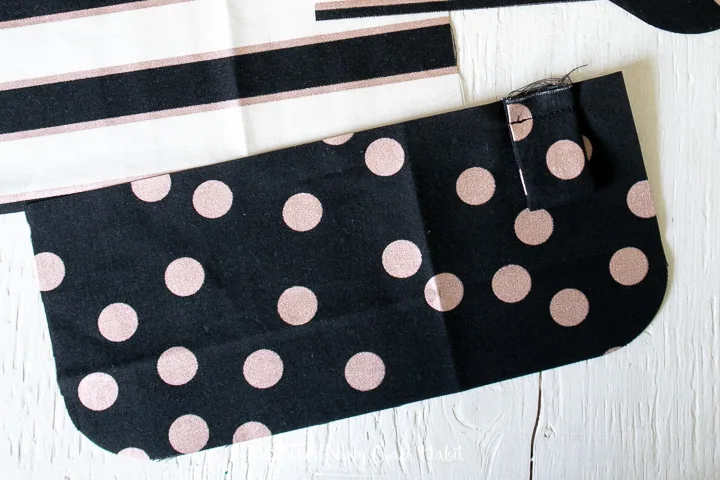
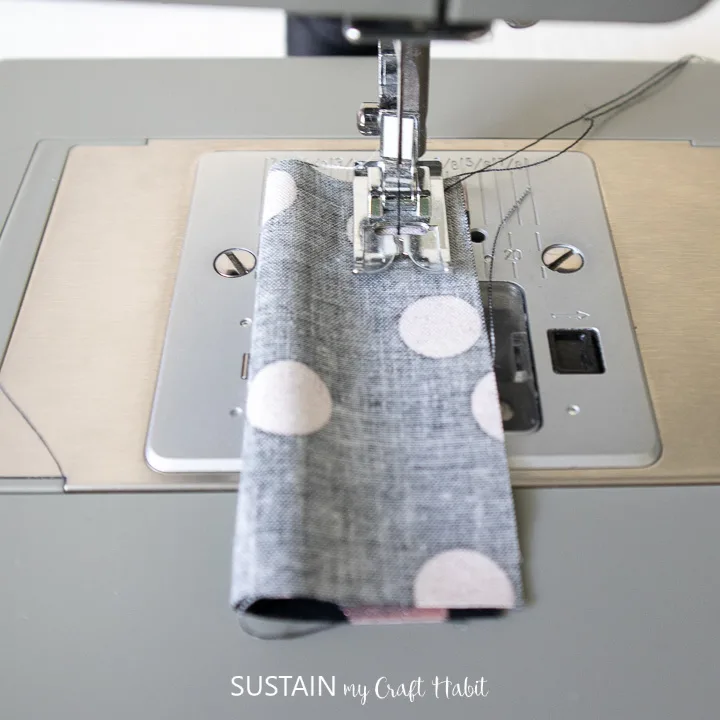
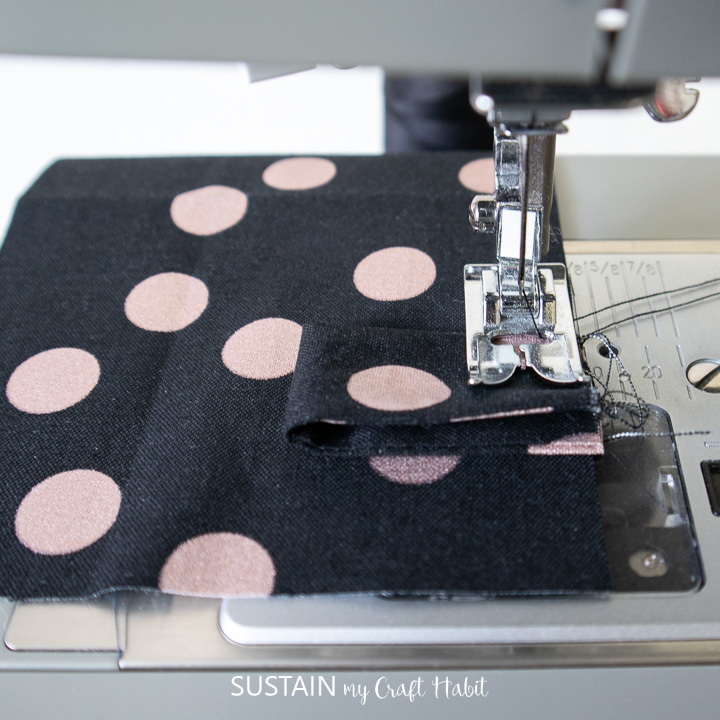
Simply fold the small rectangular piece in half and sew lengthwise sides together to form a tube.
Turn it inside out and press it flat.
Fold the tab in half to form a loop and sew it to one side of the pocket flap.
For the full sewing tutorial, refer to thisDIY fabric mask pouchpost.
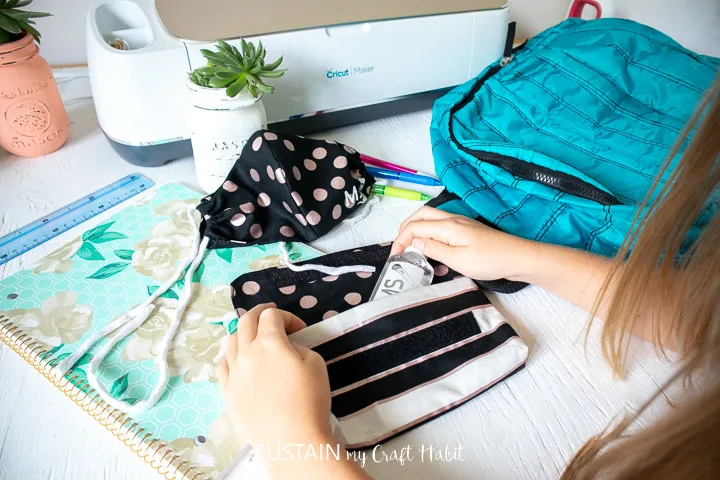
Additionally, we can personalize all the items that will be stored inside in a similar way.
you might readour full disclosure policy here.
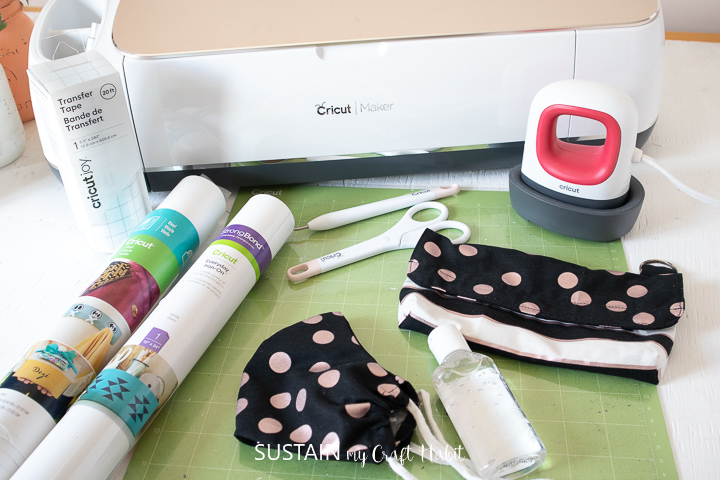
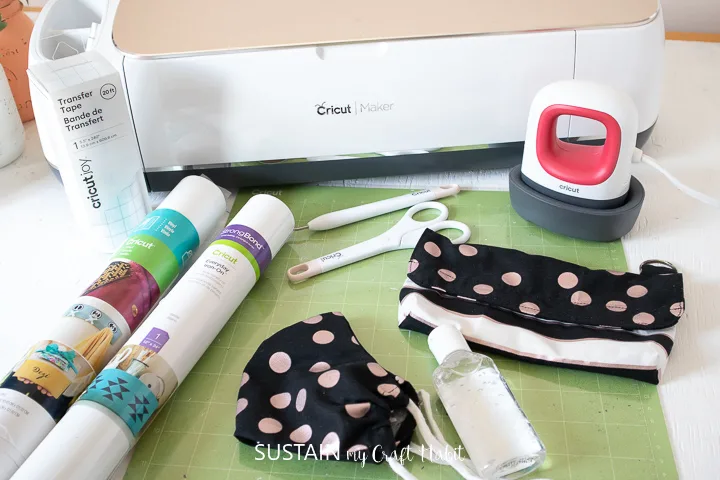
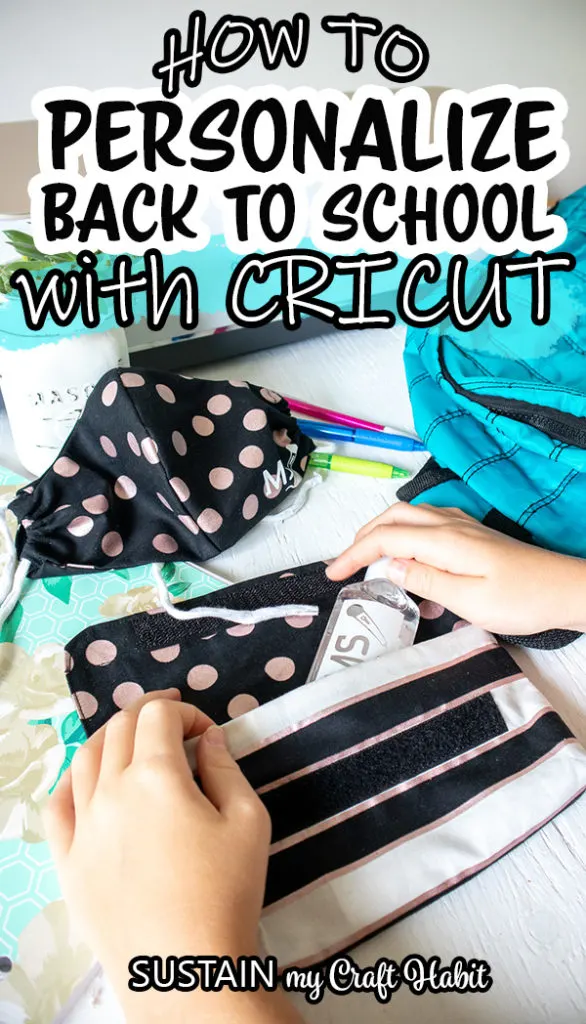
How To Personalize Back-to-School Supplies with Cricut:
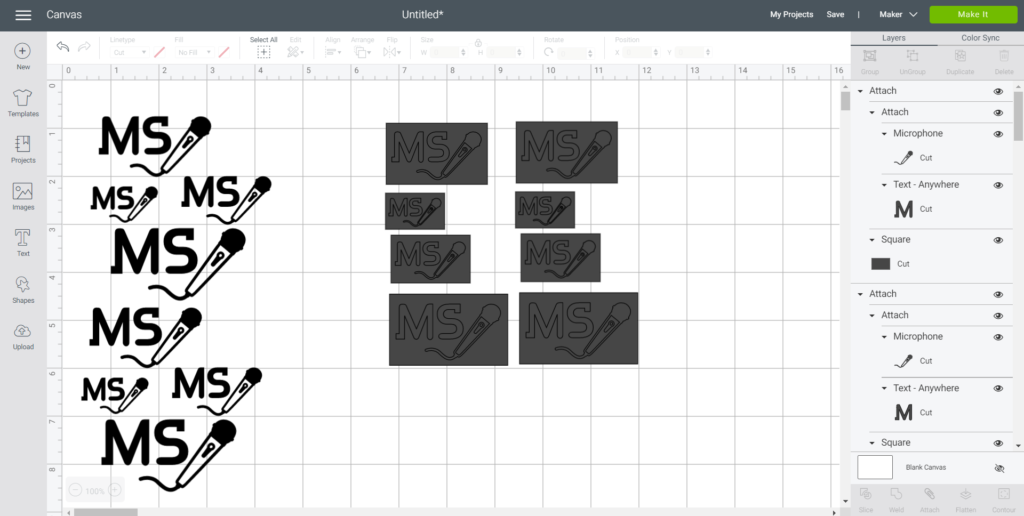
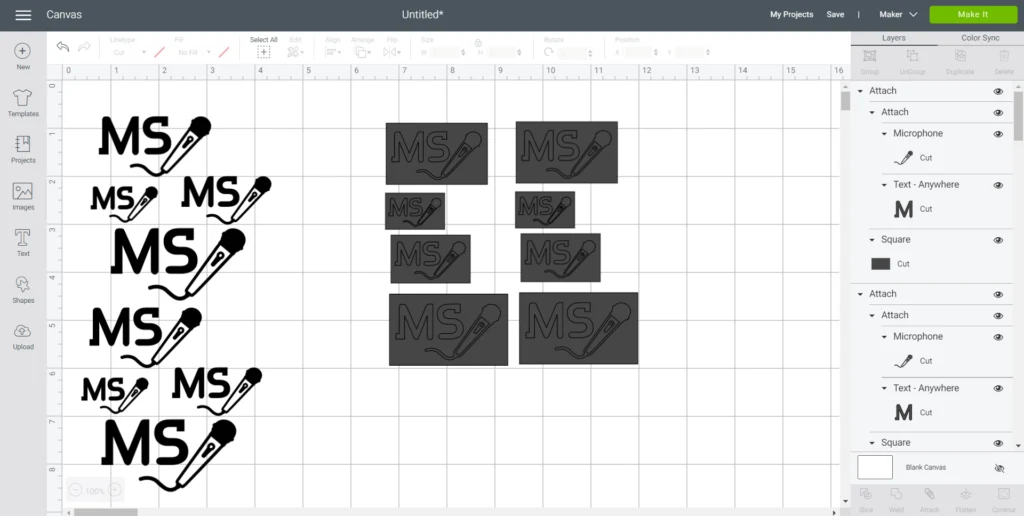
Start by creating the design in Cricuts Design Space.
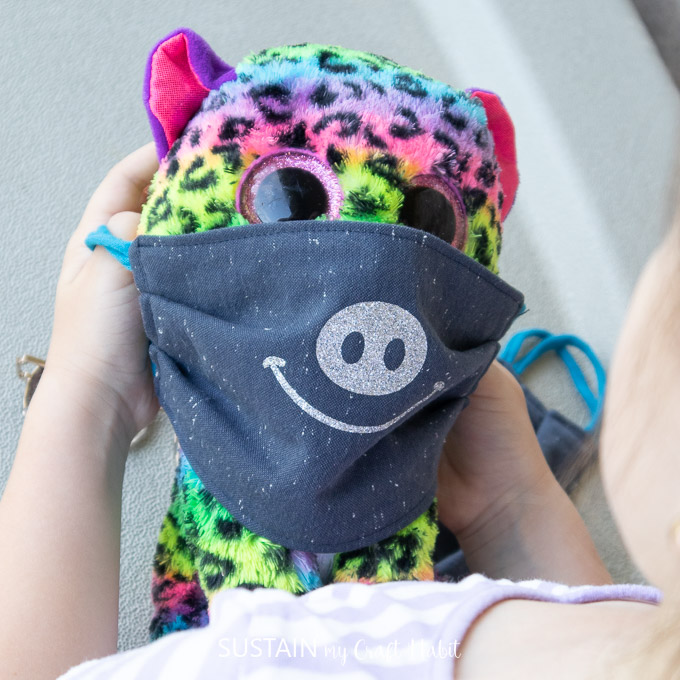
In this tutorial Ill be showing how to add my childs initials along with a small picture.
So for the rest of their items, I will be including their full names.

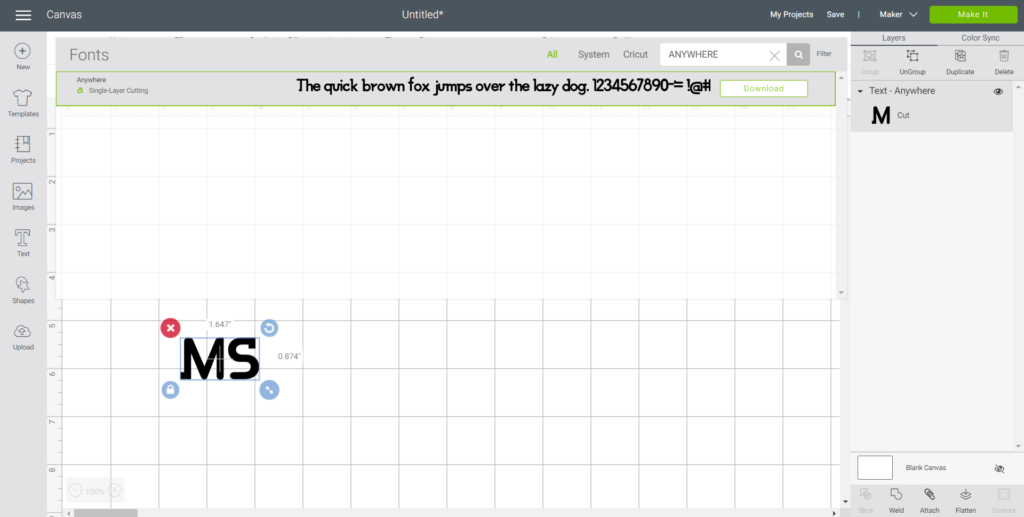
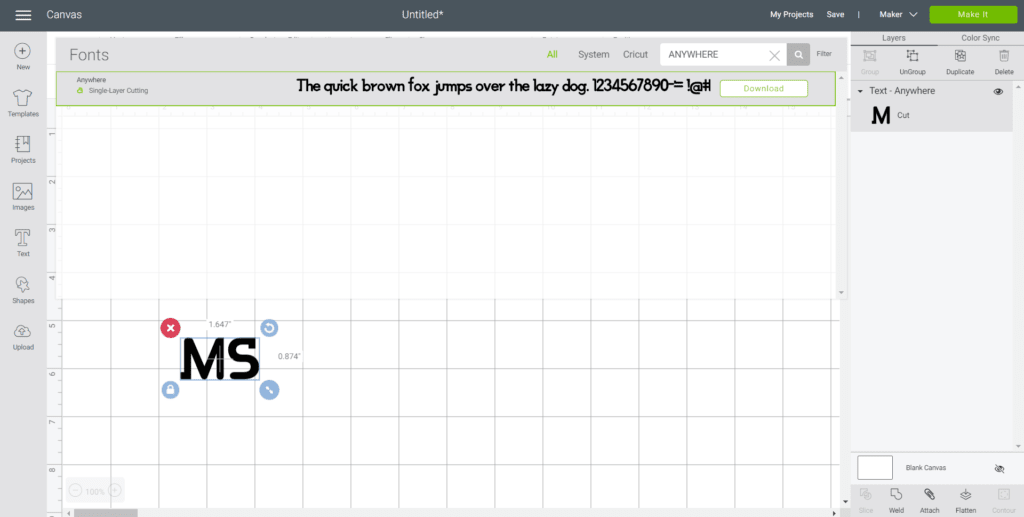
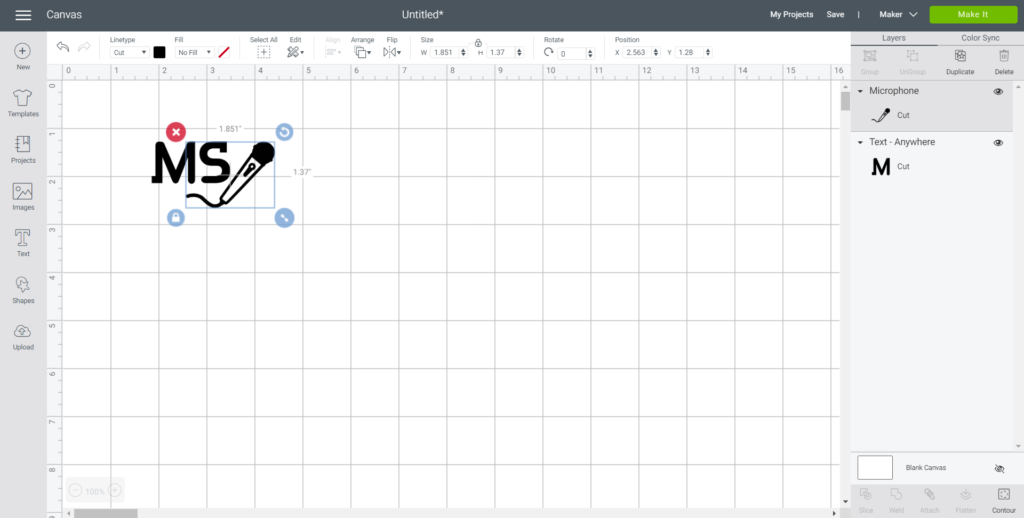
On a blank canvas, press text button in the toolbar.
throw in out your childs name (or initials) and change the font to Anywhere.
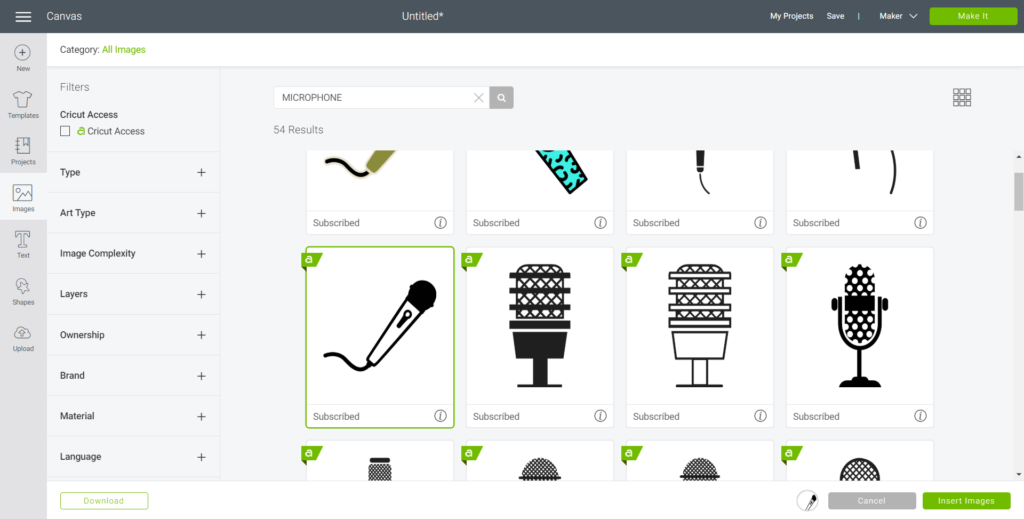
choose the image button in the toolbar and search images that your child will like.
In my case, I picked a microphone.
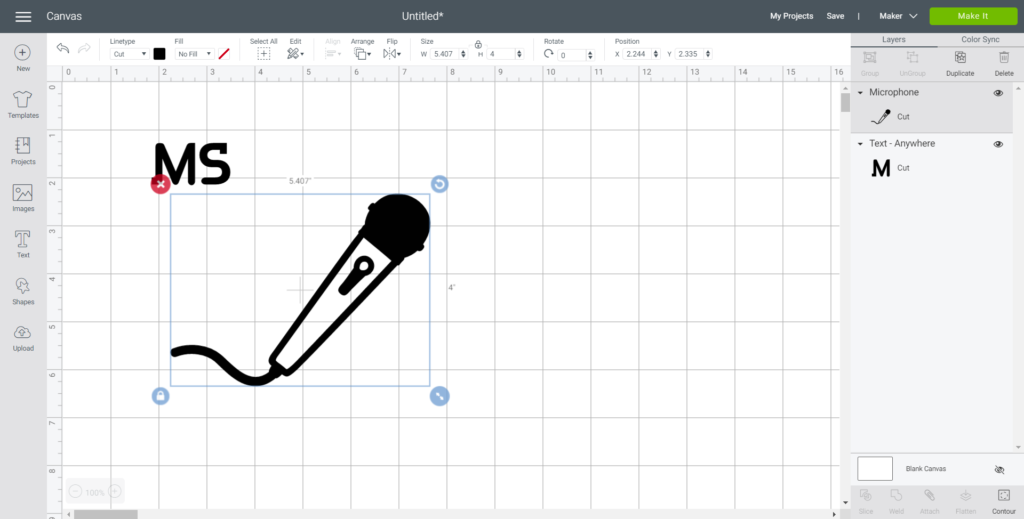
Insert the image on to the canvas.
Resize the image and letters and position together accordingly.

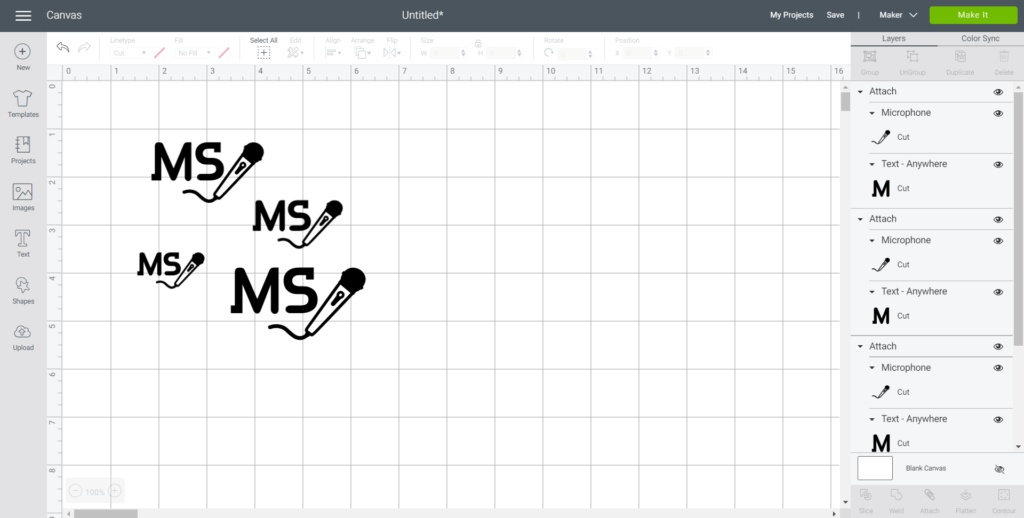
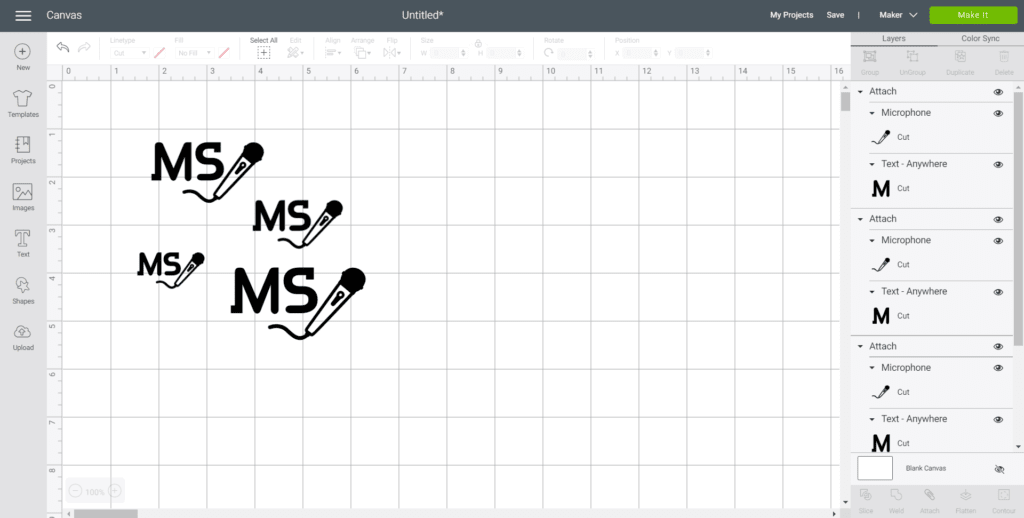
Highlight the image and letters together and select attach to group together.
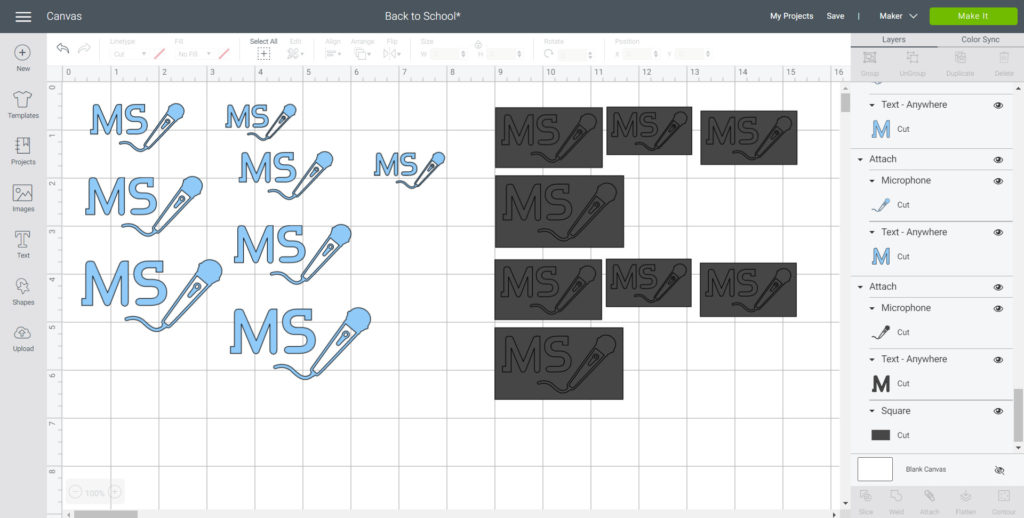
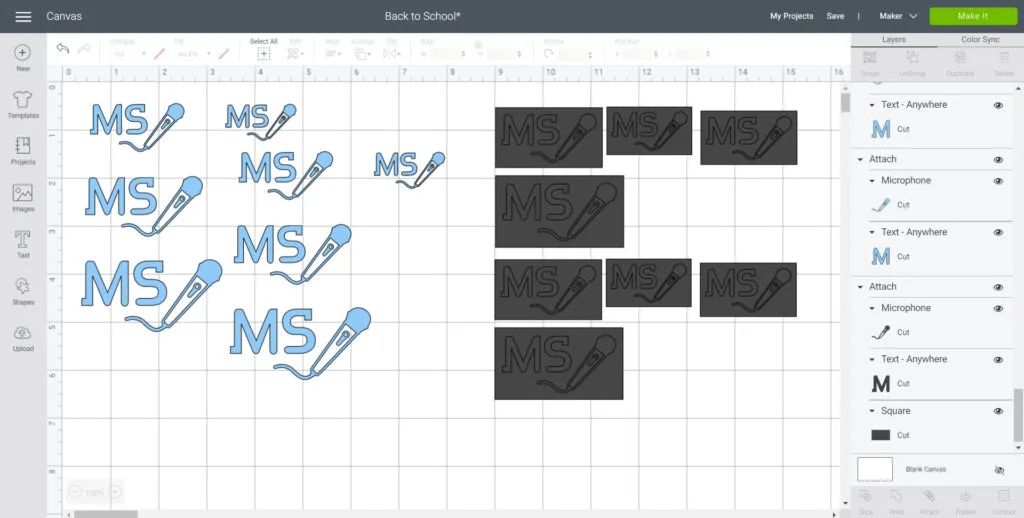
Duplicate the design multiple times.
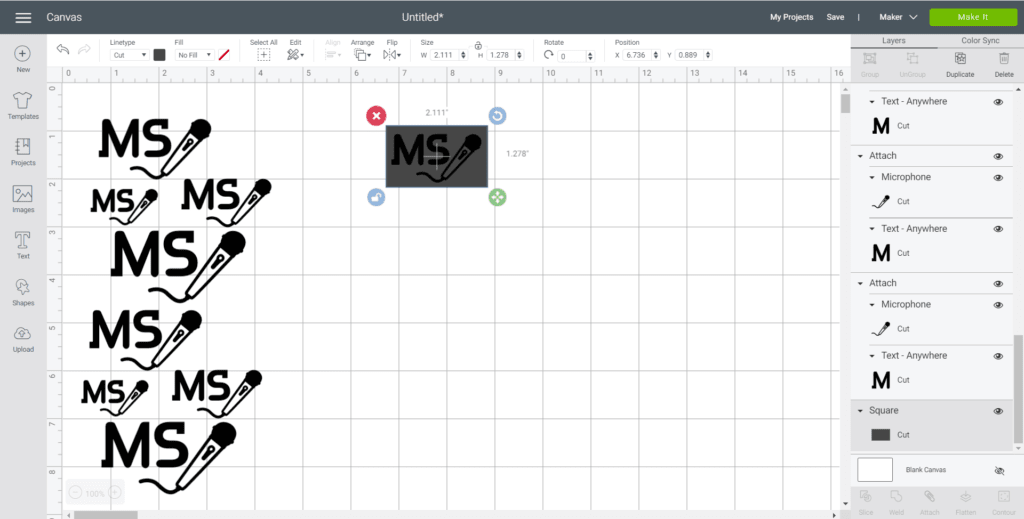
To do this, insert a square shape onto the canvas.

Adjust the size and shape to fit over the image and highlight all pieces together.
Change the color of the one set of designs to distinguish the different materials.
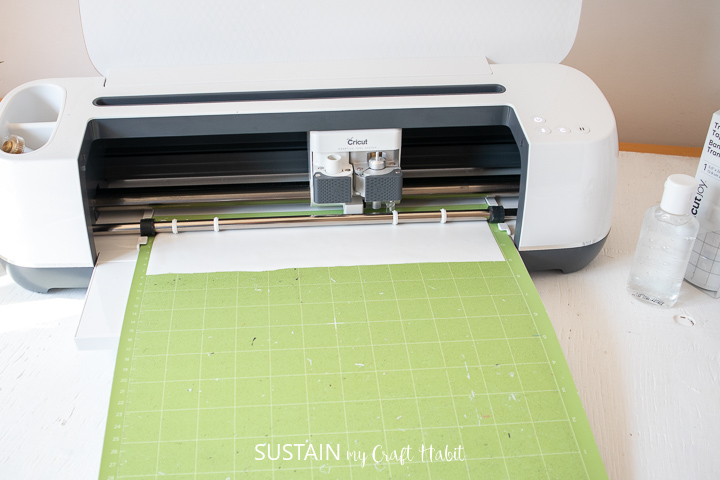
Select Make It in the upper right corner to proceed with cutting.
go for the Mirror toggle button to on.
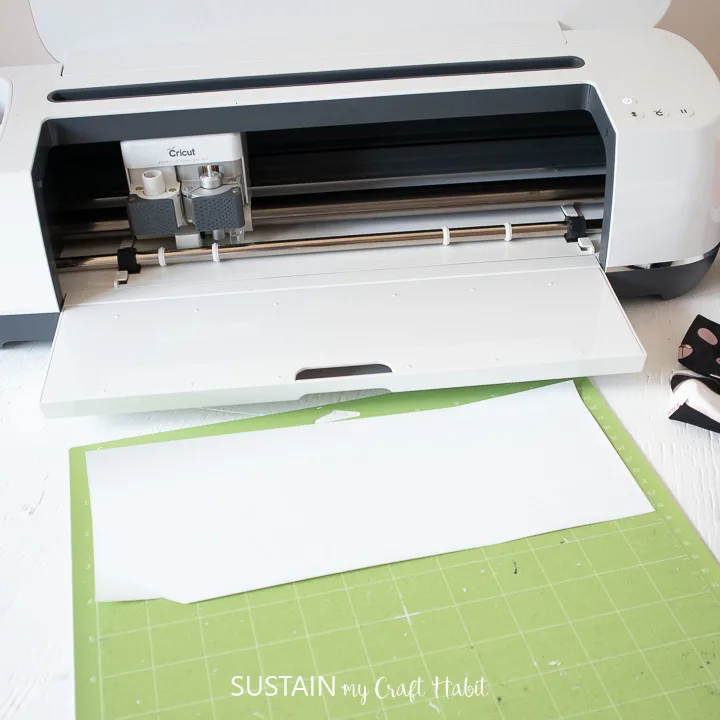
Choose Everyday Iron-On Vinyl from the list of materials and continue with the cut.
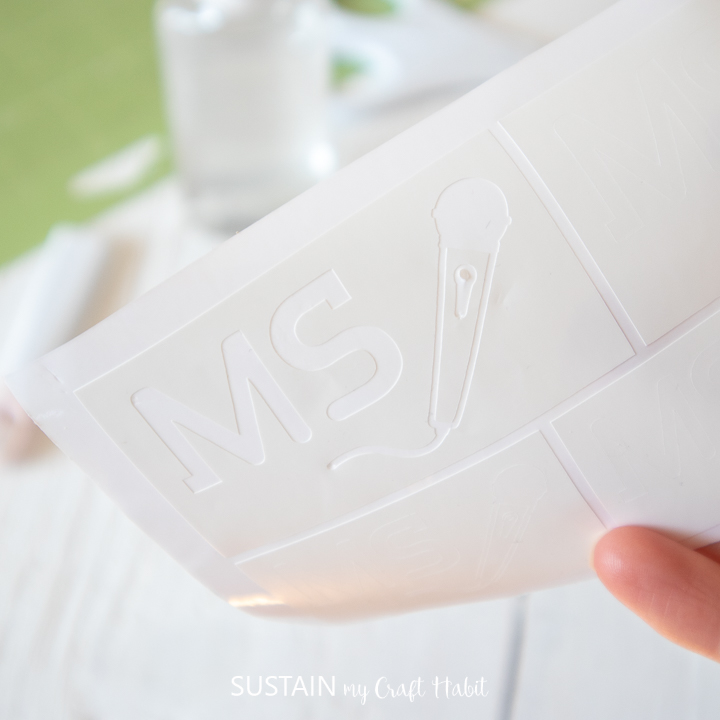
Remove the Everyday Iron-On Vinyl from the mat.
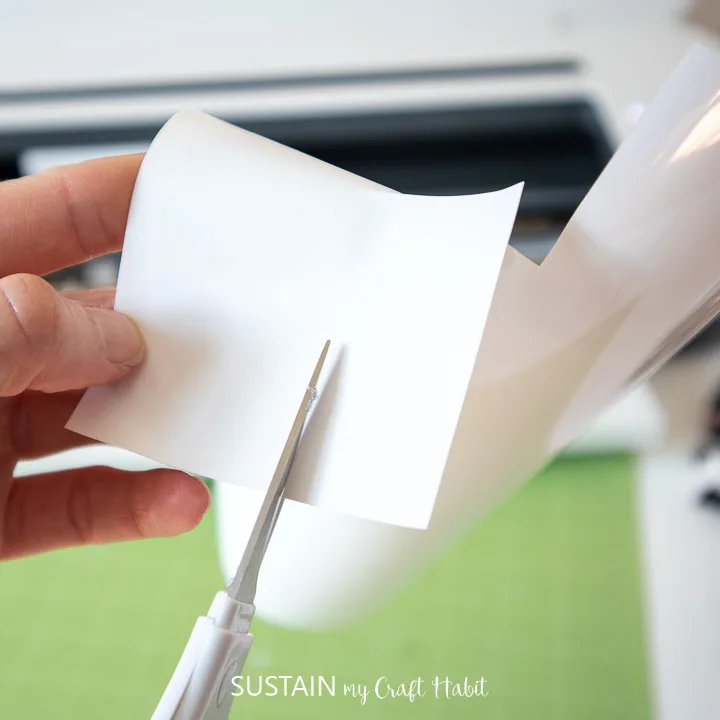
Cut around the image and put aside the left over vinyl for another project.
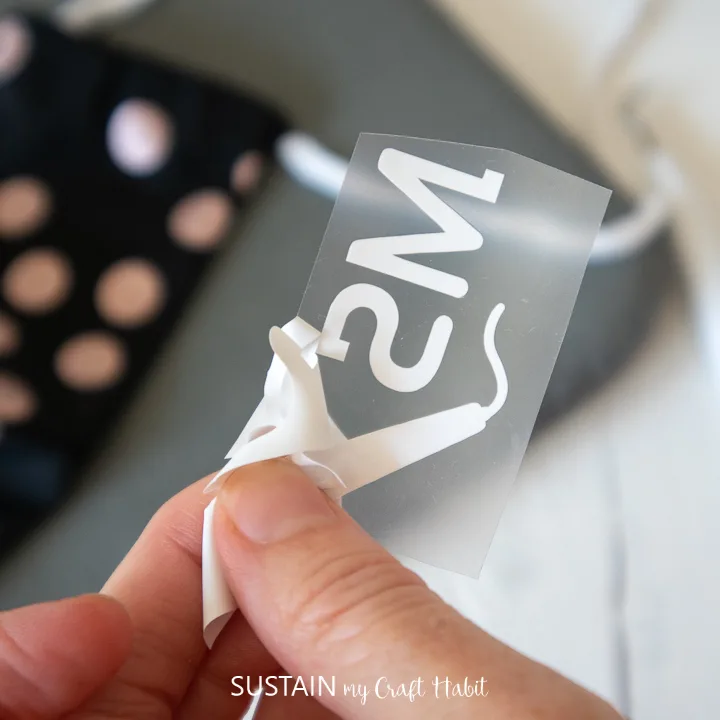
Using a weeding tool, peel away the excess vinyl leaving only the personalized image.
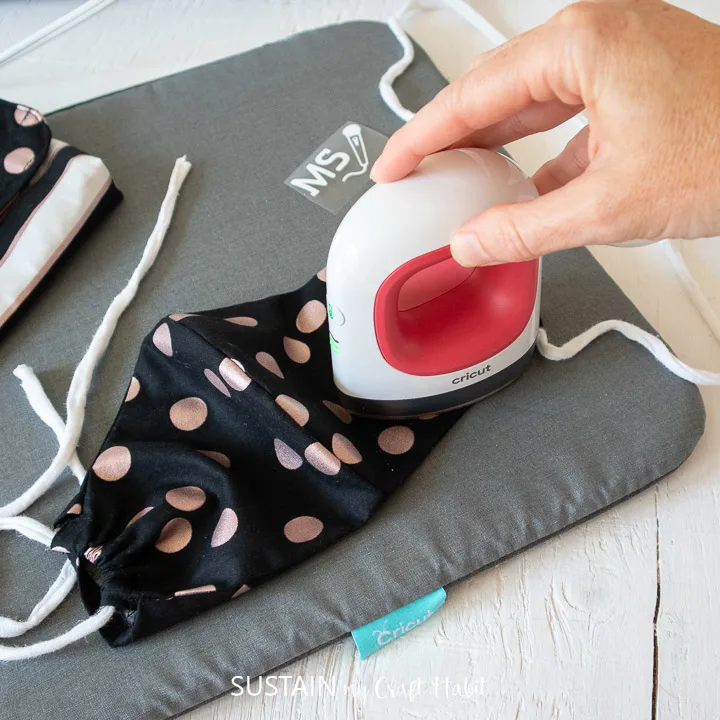
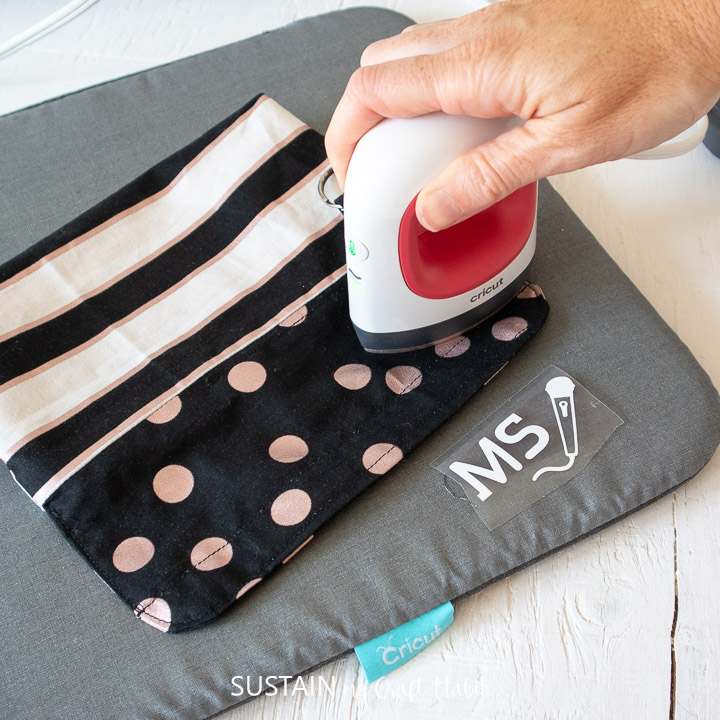
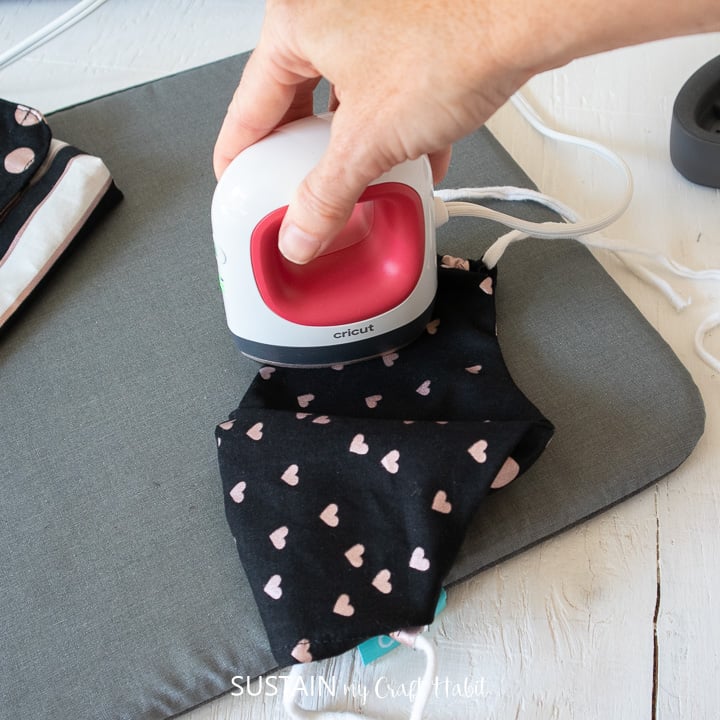
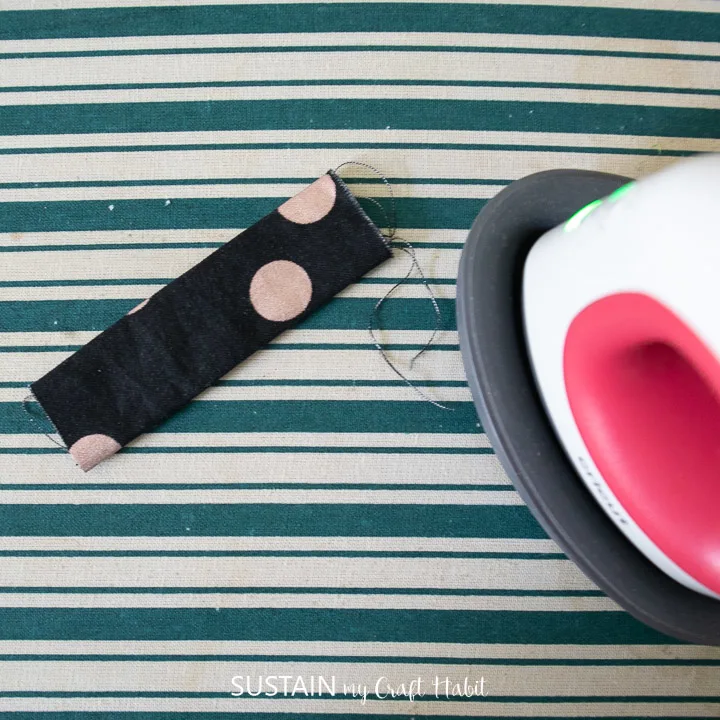
Position the Easypress Mat or a towel on a flat surface.

For a 100% cotton material and Everyday Iron-On Vinyl, set the EasyPress Mini to medium heat.
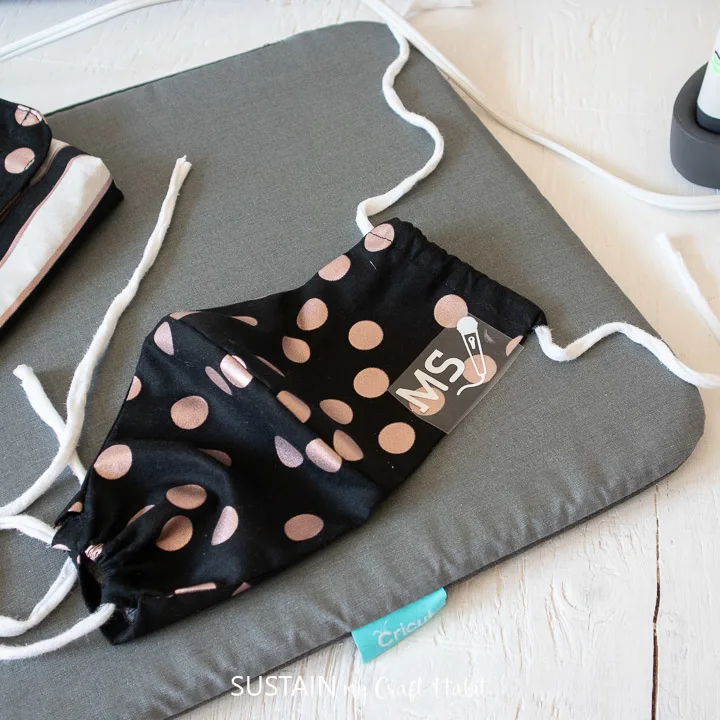
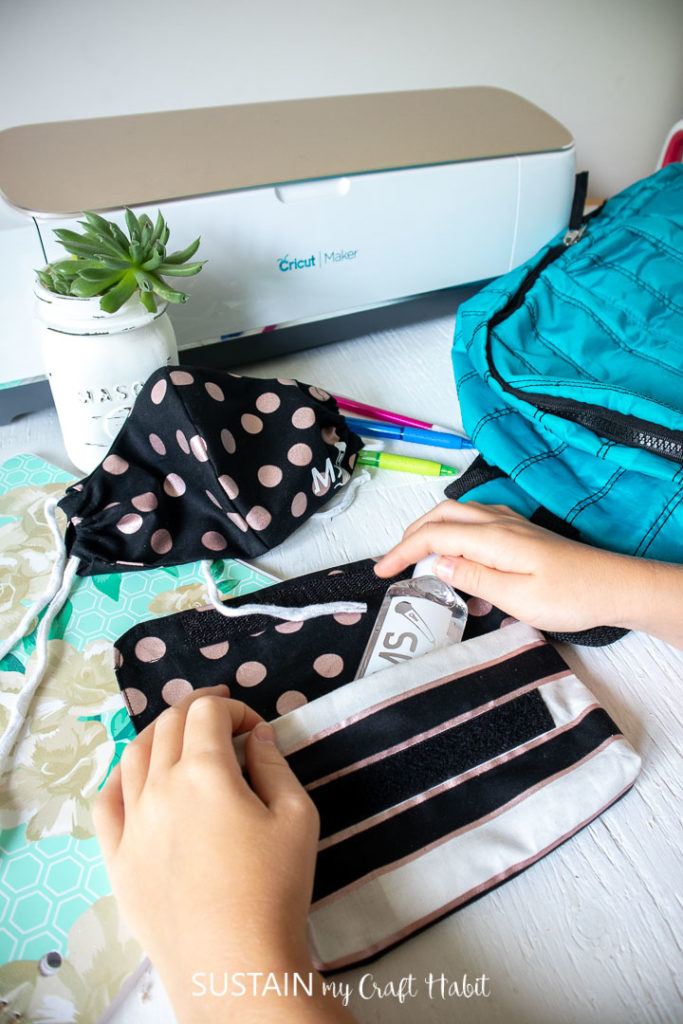
Place the image on the pouch (or mask) with the shiny side up.
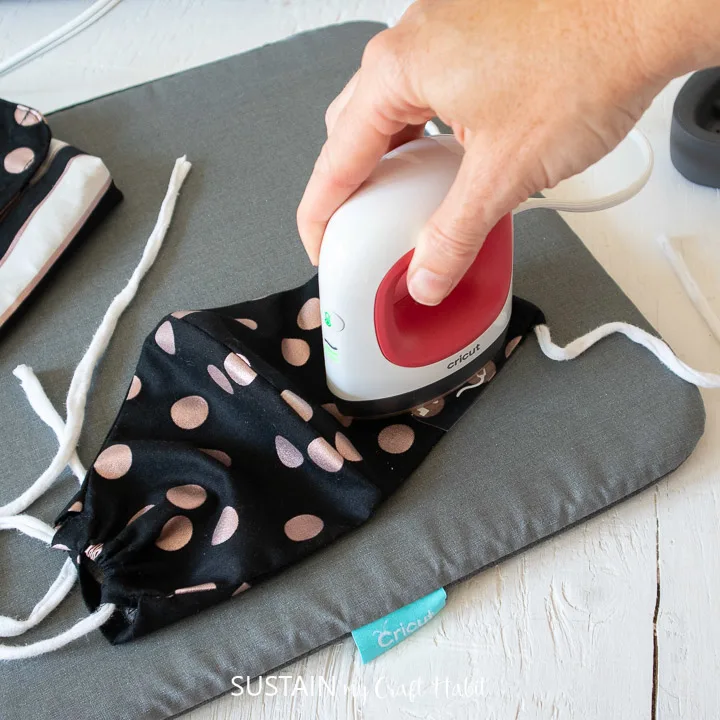
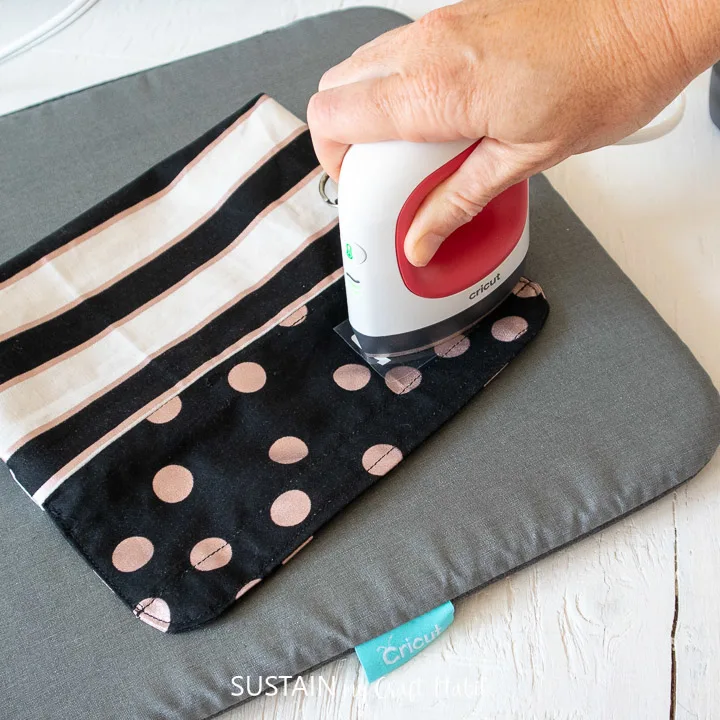
Turn the fabric pouch (or mask) upside down and apply heat for another 15 seconds.
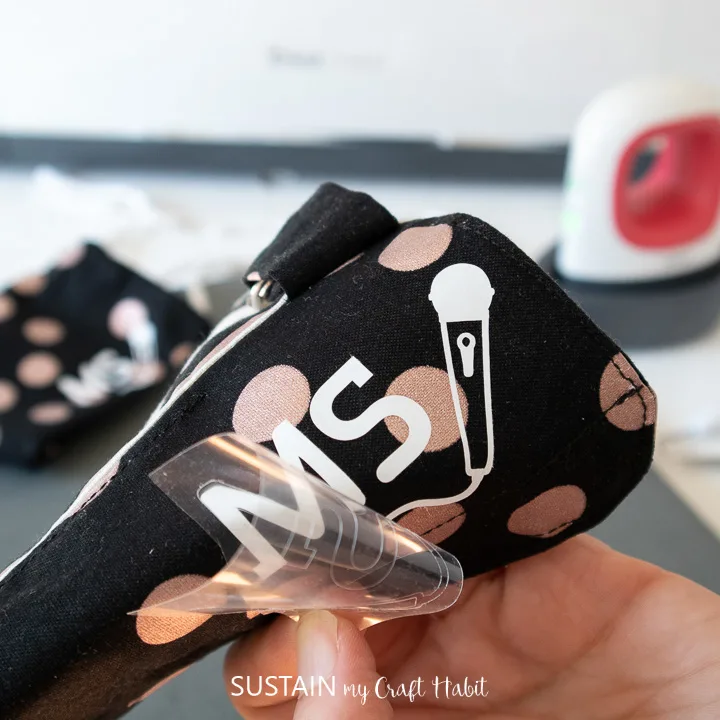
Peel the plastic part of the vinyl off carefully while its still warm and discard.
If vinyl is acting like peeling off, keep the plastic covering on top and re-press for longer.
The unprotected vinyl with melt and distort.

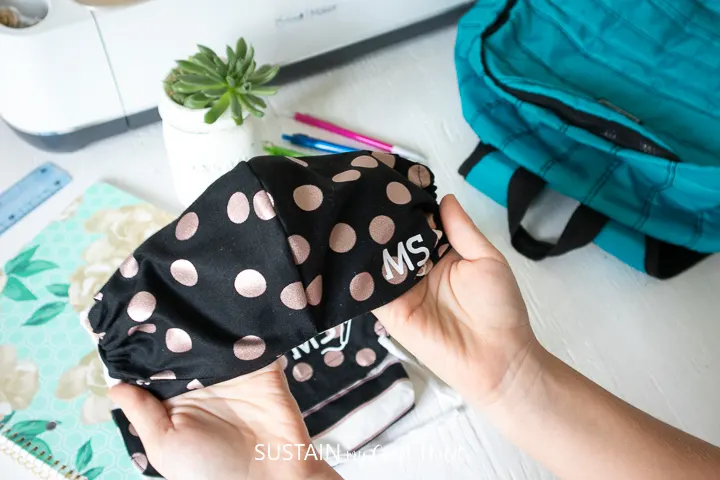
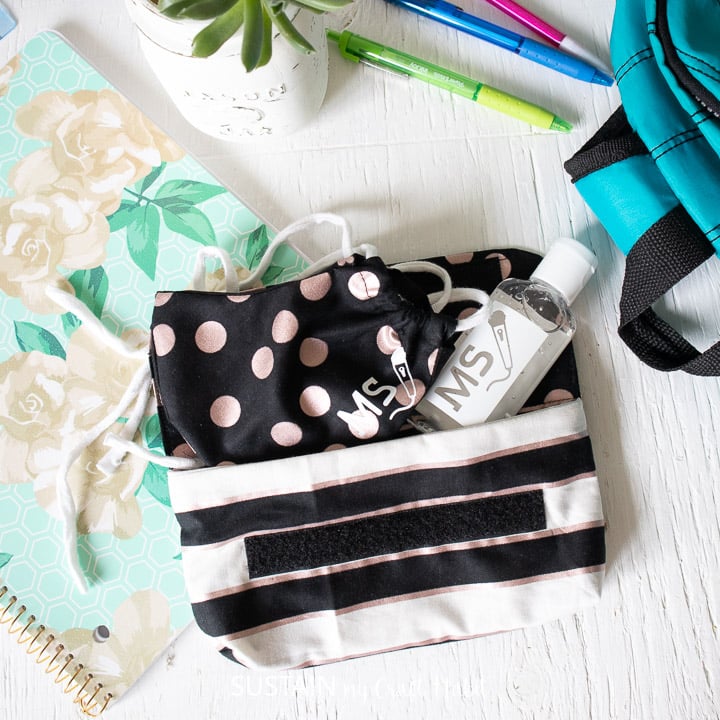
Now the items are finished and ready for use!
Select Make It in the upper right corner to proceed with cutting.
Choose Vinyl from the list of materials and continue with the cut.

Remove the Permanent Vinyl from the mat.
Cut around the image and put aside the left over vinyl for another project.
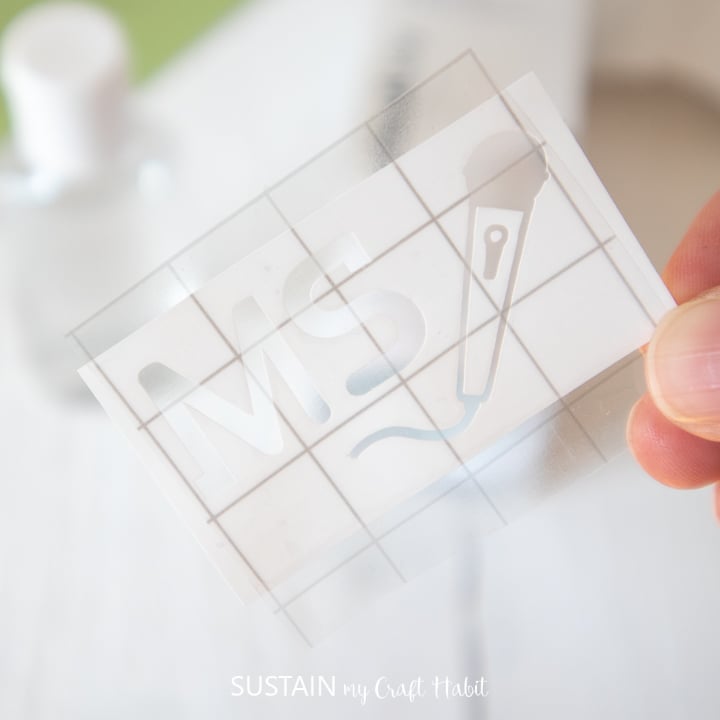
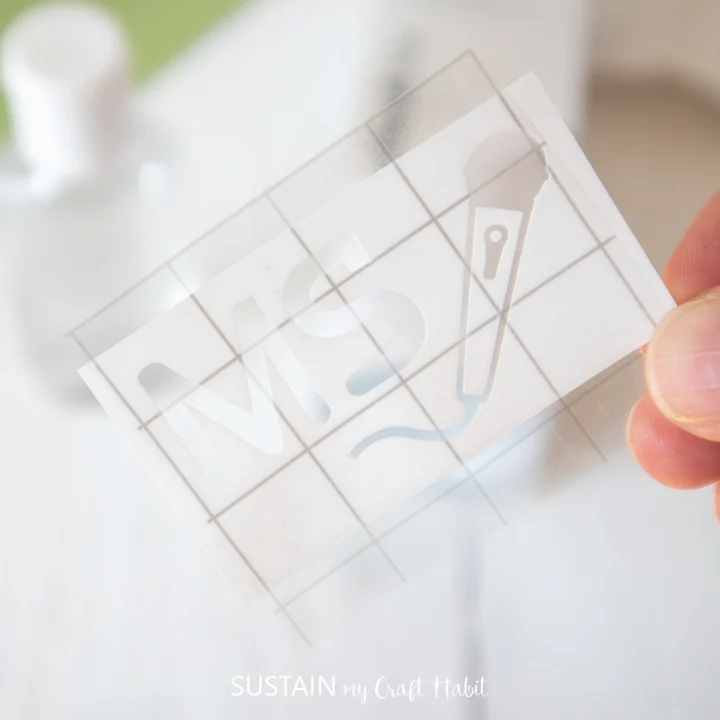
Cut a piece of transfer tape a bit larger than the size of the image.
Peel away the transfer tape backing and place the transfer tape overtop of the cut image.
Gently rub the vinyl to help it stick to the transfer tape and peel off the backing.
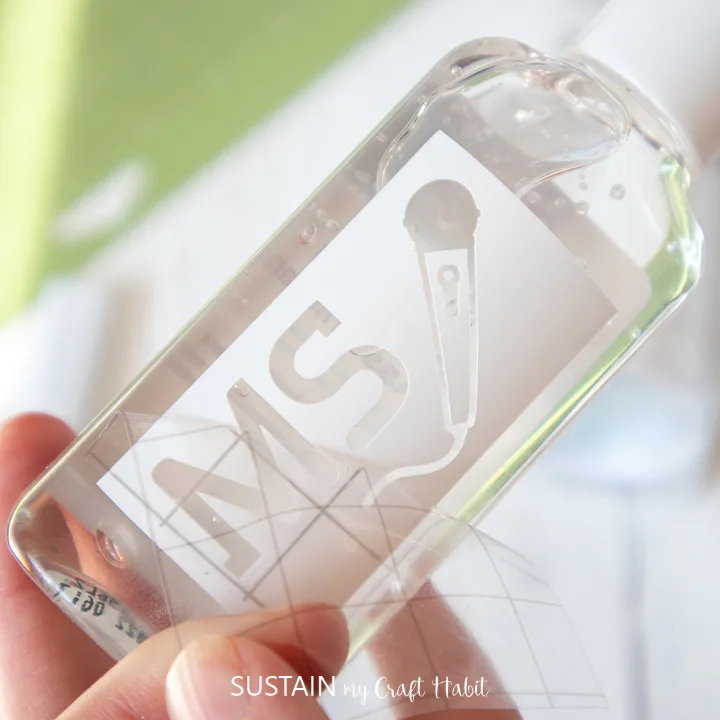
Place the image on to the one side of the bottle.

Gently rub the vinyl to help it stick.
Carefully and slowly peel away the transfer tape.
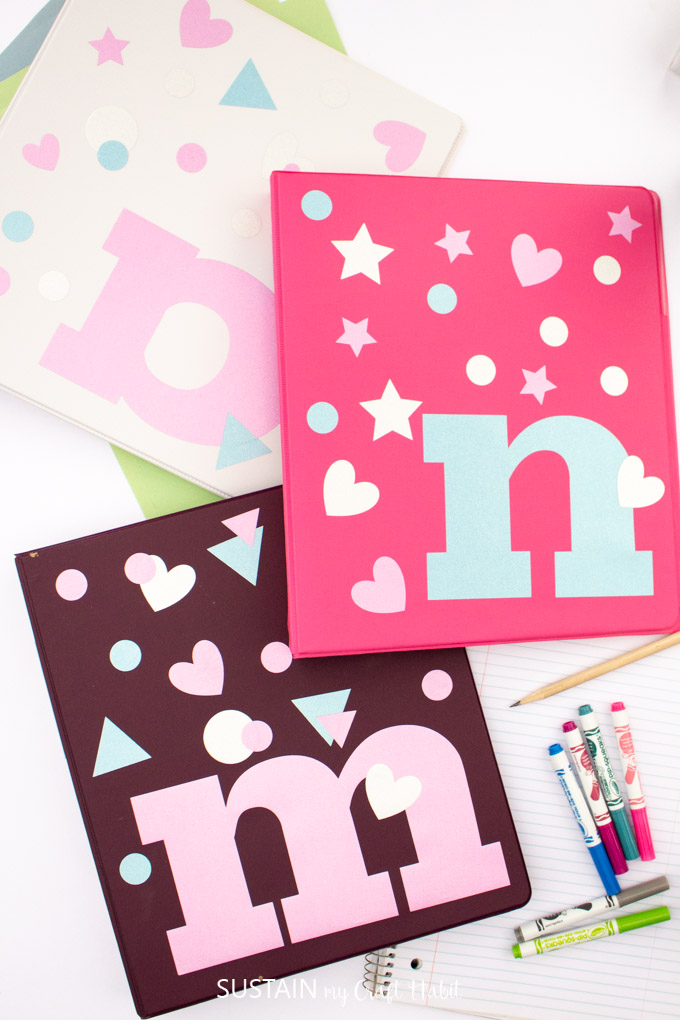
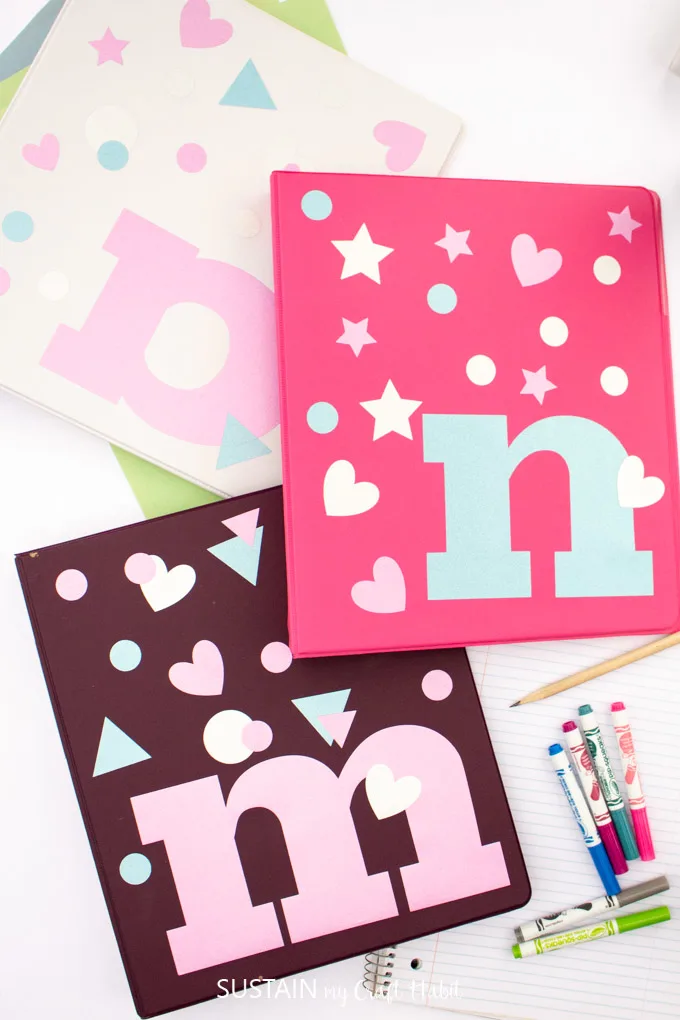
it’s possible for you to also see how we used shimmer vinyl topersonalize their binderslast year.
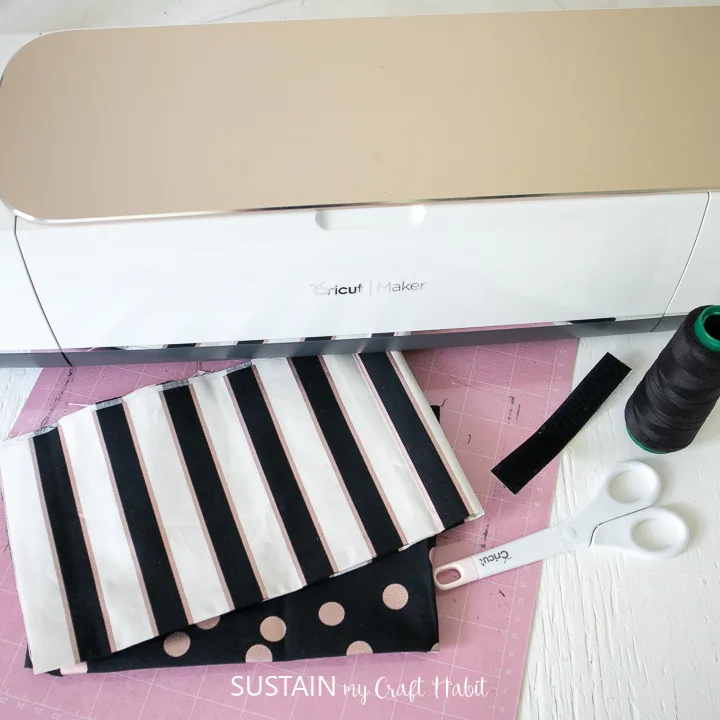
Were really been leaning on our Cricut supplies to help us get ready for back-to-school this year.
If you are new to Cricut, you might want to explore our collection ofCricut projects for beginners.
Or take a look at ourunboxing of the Cricut Makervideo.
How are you feeling about the kids going back to school?
Pin it for later!