Ready to embark on a step by step journey and learn how to paint mason jars like a pro?
In this article youll be guided through all the steps with tips and techniques along the way.
So whether youre a passionate crafter or have never touched paints before, get ready to be inspired.
Why Paint Mason Jars ?
Mason jars have become a beloved trend with DIY enthusiasts and in the world of interior design.
The allure to the painted mason jar is in their simplicity, cost and accessibility.
Many people often have them already at home and dont even realize it.
You know those glass jars of pasta sauce you add to your weekly grocery list?
Yup- theyre mason jars!

Simply remove the paper label with some warm water and soap and youre off to the races.
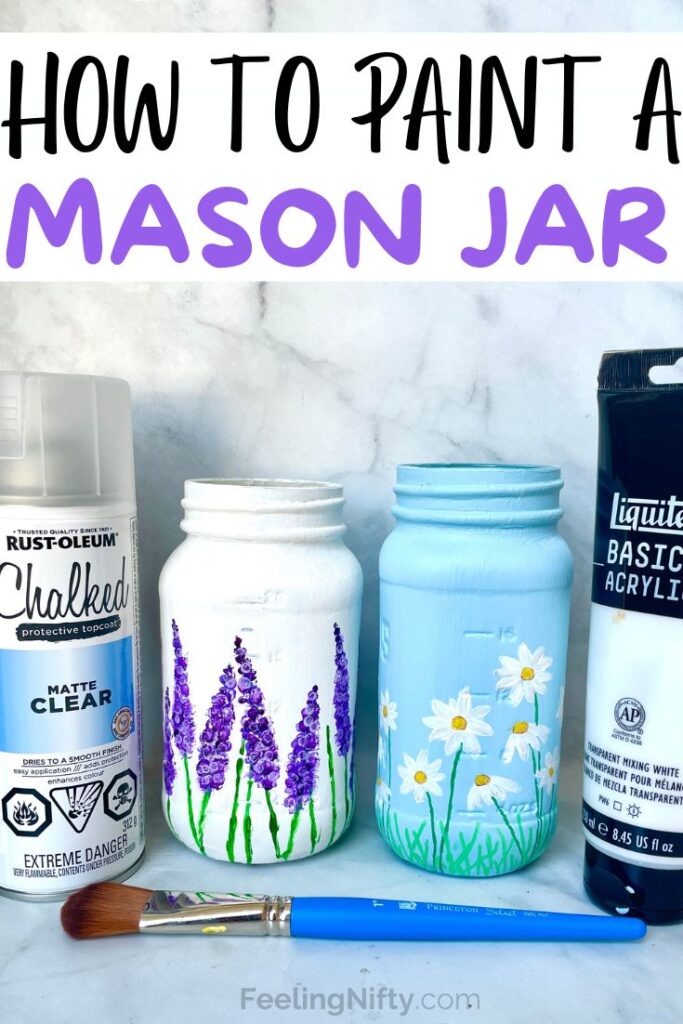
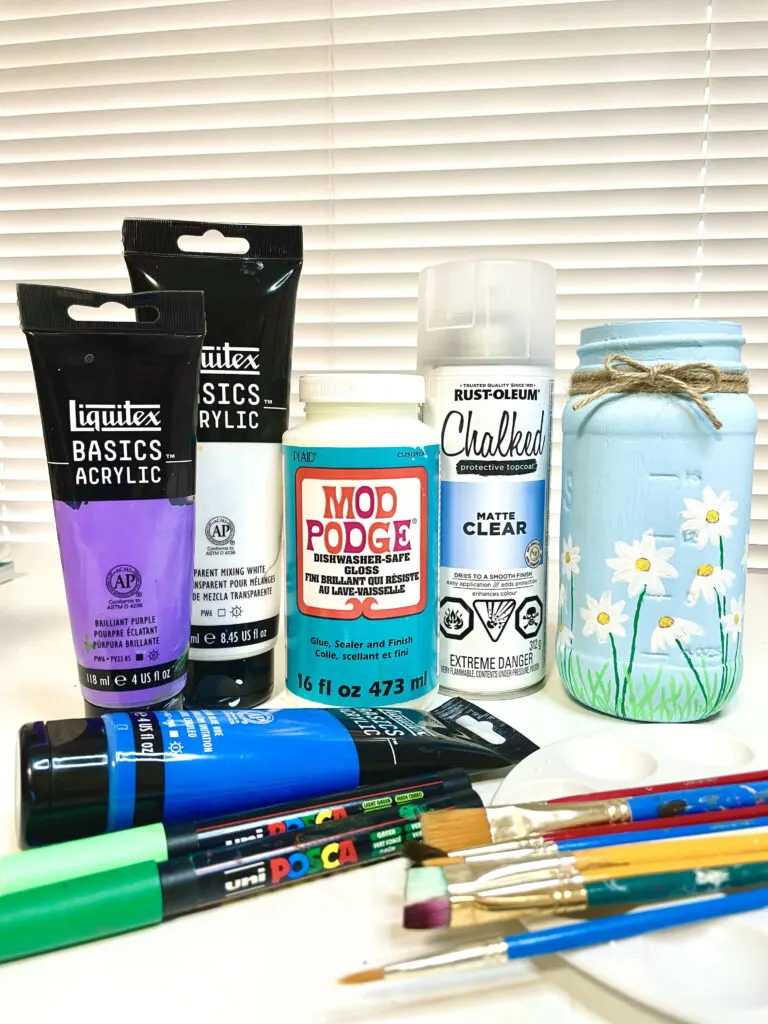
Heres the list of essential supplies for the painting process.
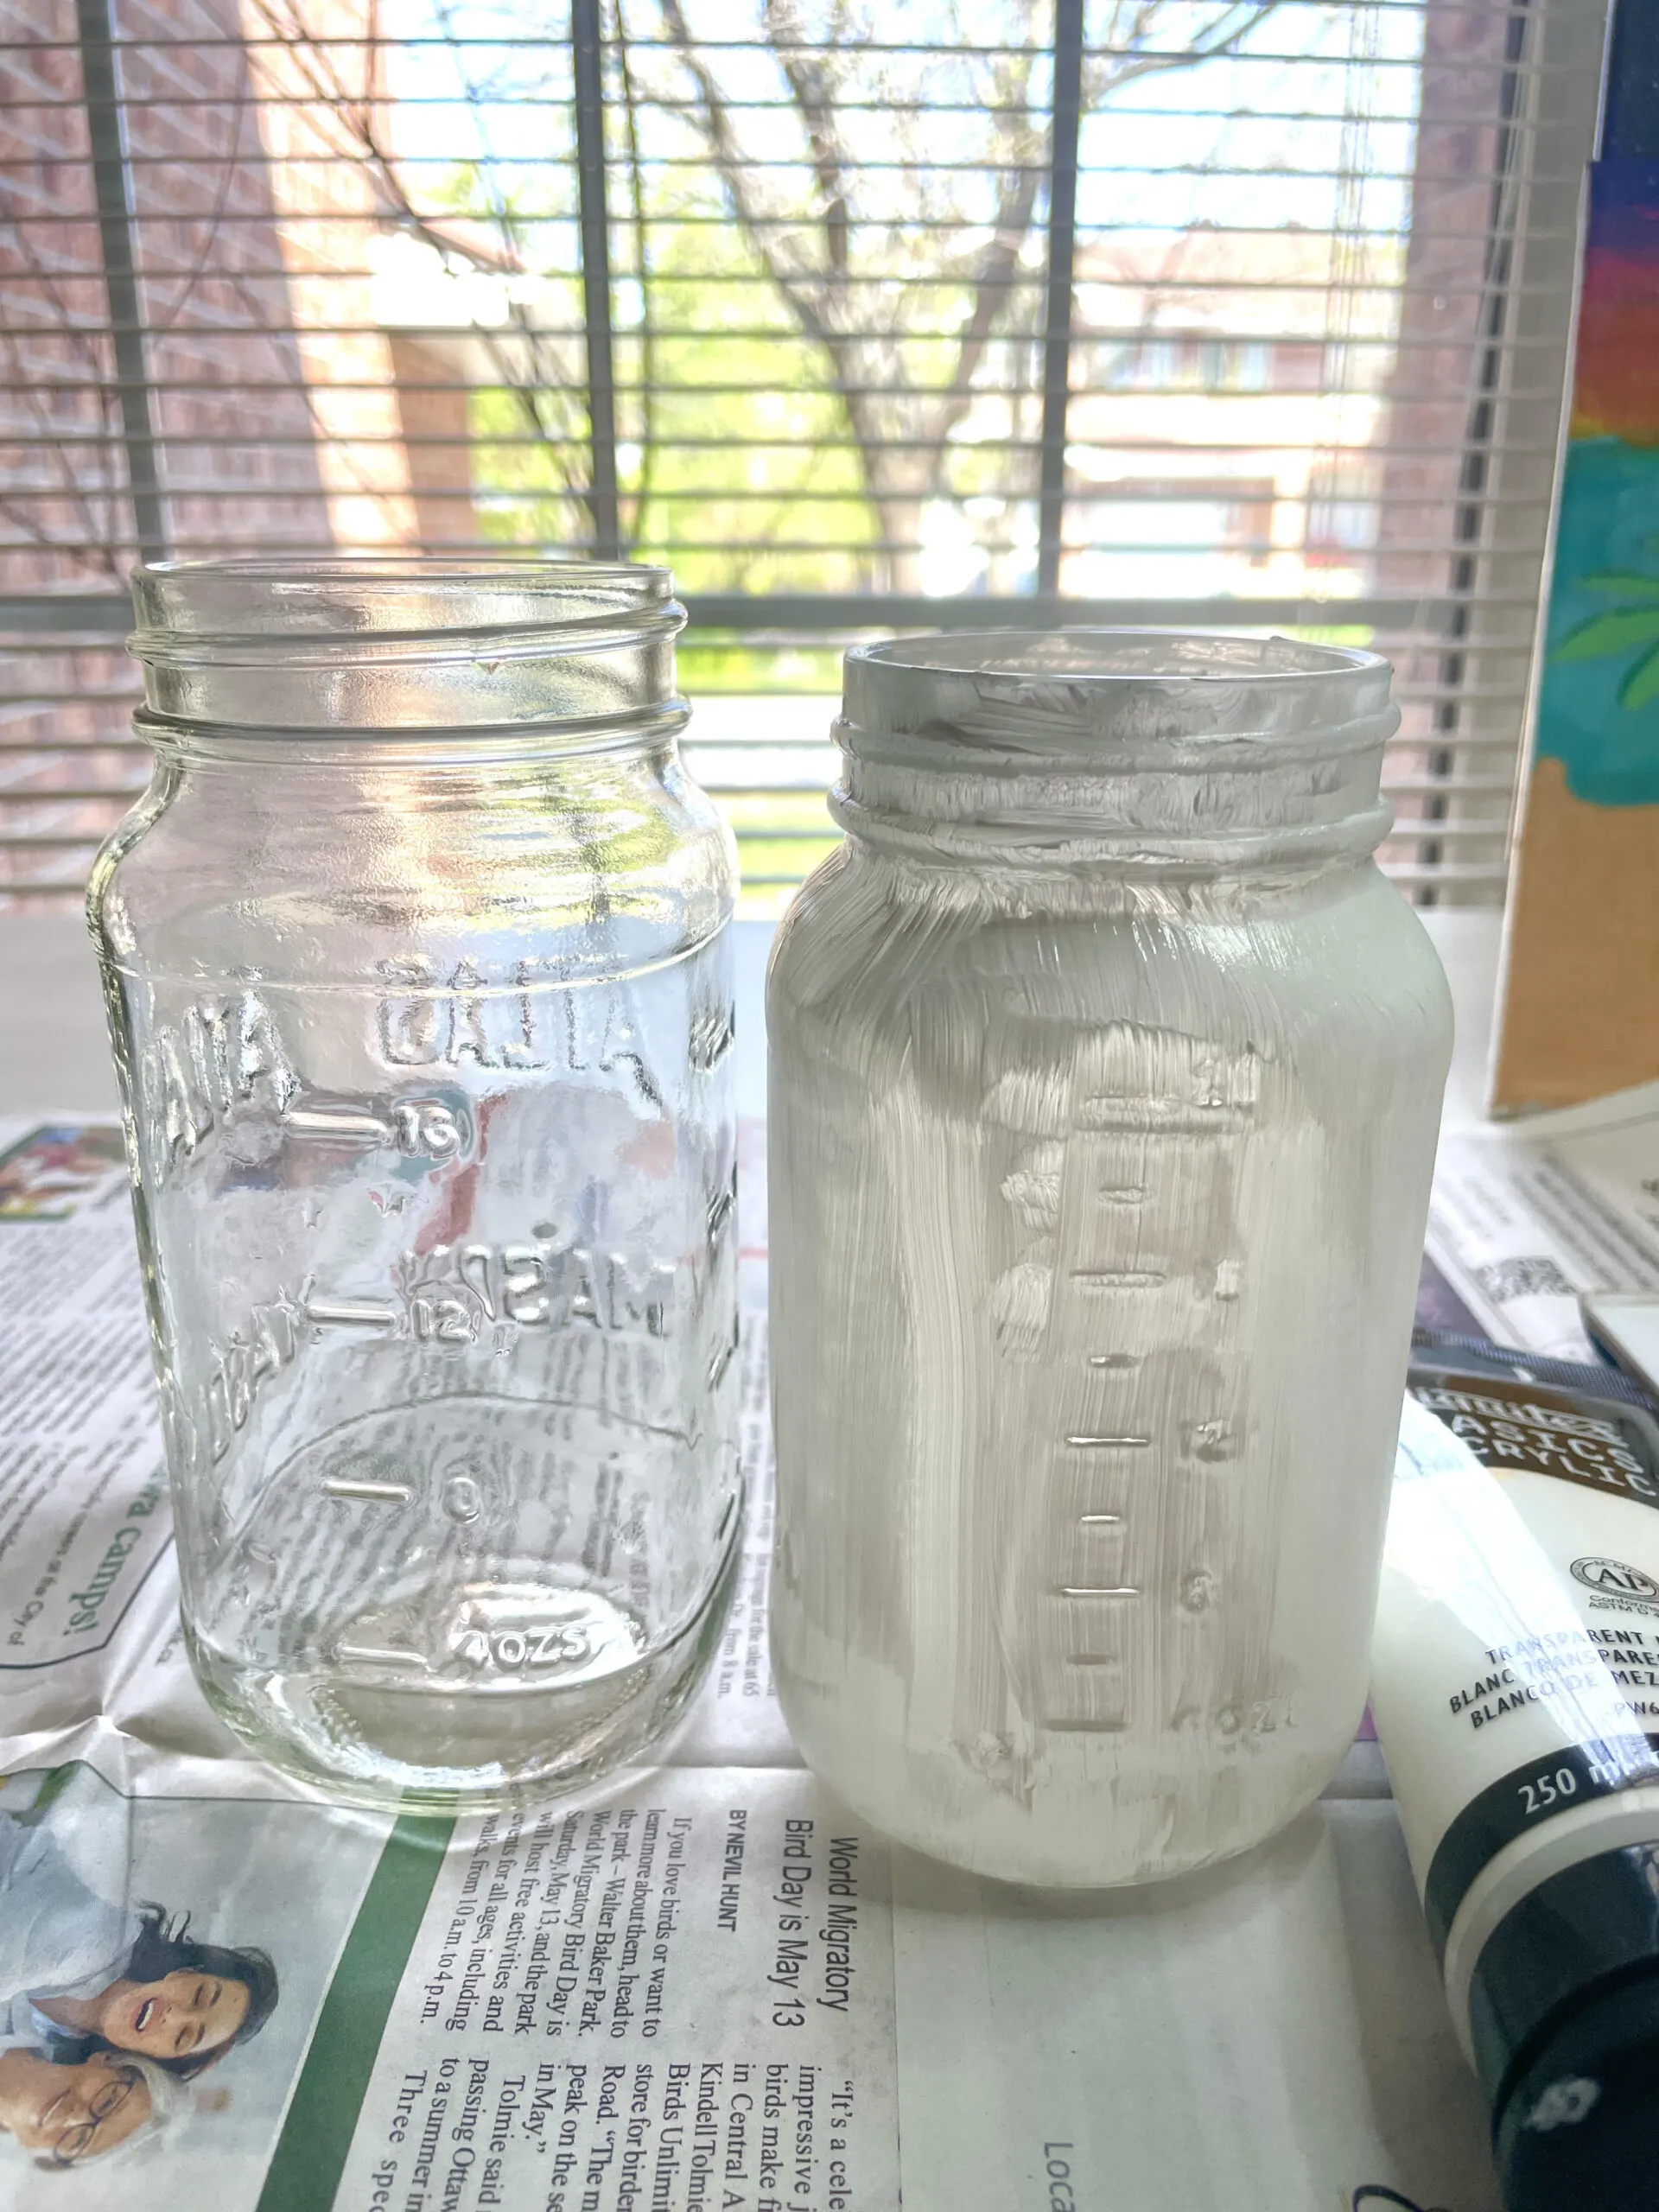
The easiest and most effective way to clean your jar is with warm water and soap.

Then leave jar to dry completely before painting.
There are a few options out there, and the punch in of paint will depend on your project.
The benefit of using a specialized glass paint is its often one step and done.
Theres no need to do a base coat, prime or apply a sealer at the end.
The sameacrylic paintyou use for yourcanvas paintings, or painting projects.
The benefit of chalk paint is its thicker consistency compared to acrylic paint which results in less layers.

Does paint stick on mason jars?
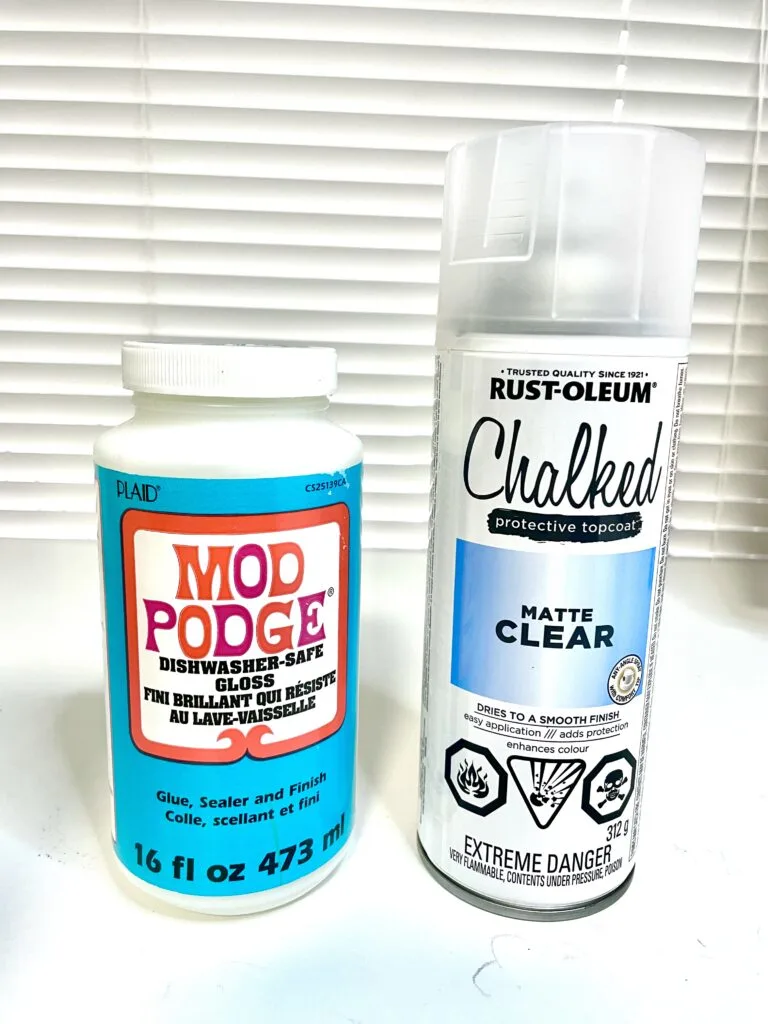
I you do decide to seal the jars, you might use a brush-on or a spray-on sealer.
Read next for instructions on how to seal your mason jars.

It also adds a professional and polished touch to your pieces if youll be gifting or selling them.
Once cured, you should be able to wash them or top-rack dishwasher safe in some cases.
The first step is to check that your paint is fully dried before sealing it.
Once fully dried it’s possible for you to use your choice of sealer.
Another benefit is that its very fast and you’re able to seal multiple pieces at once.
The brush-on sealer you could do indoors and you have more control as to where you apply it.

Read the label of your sealer for more information.
For some people this can be a welcome activity, but for some it can be overwhelming and nerve-racking.
This will help you start of your project with clear direction and confidence which makes it more enjoyable.

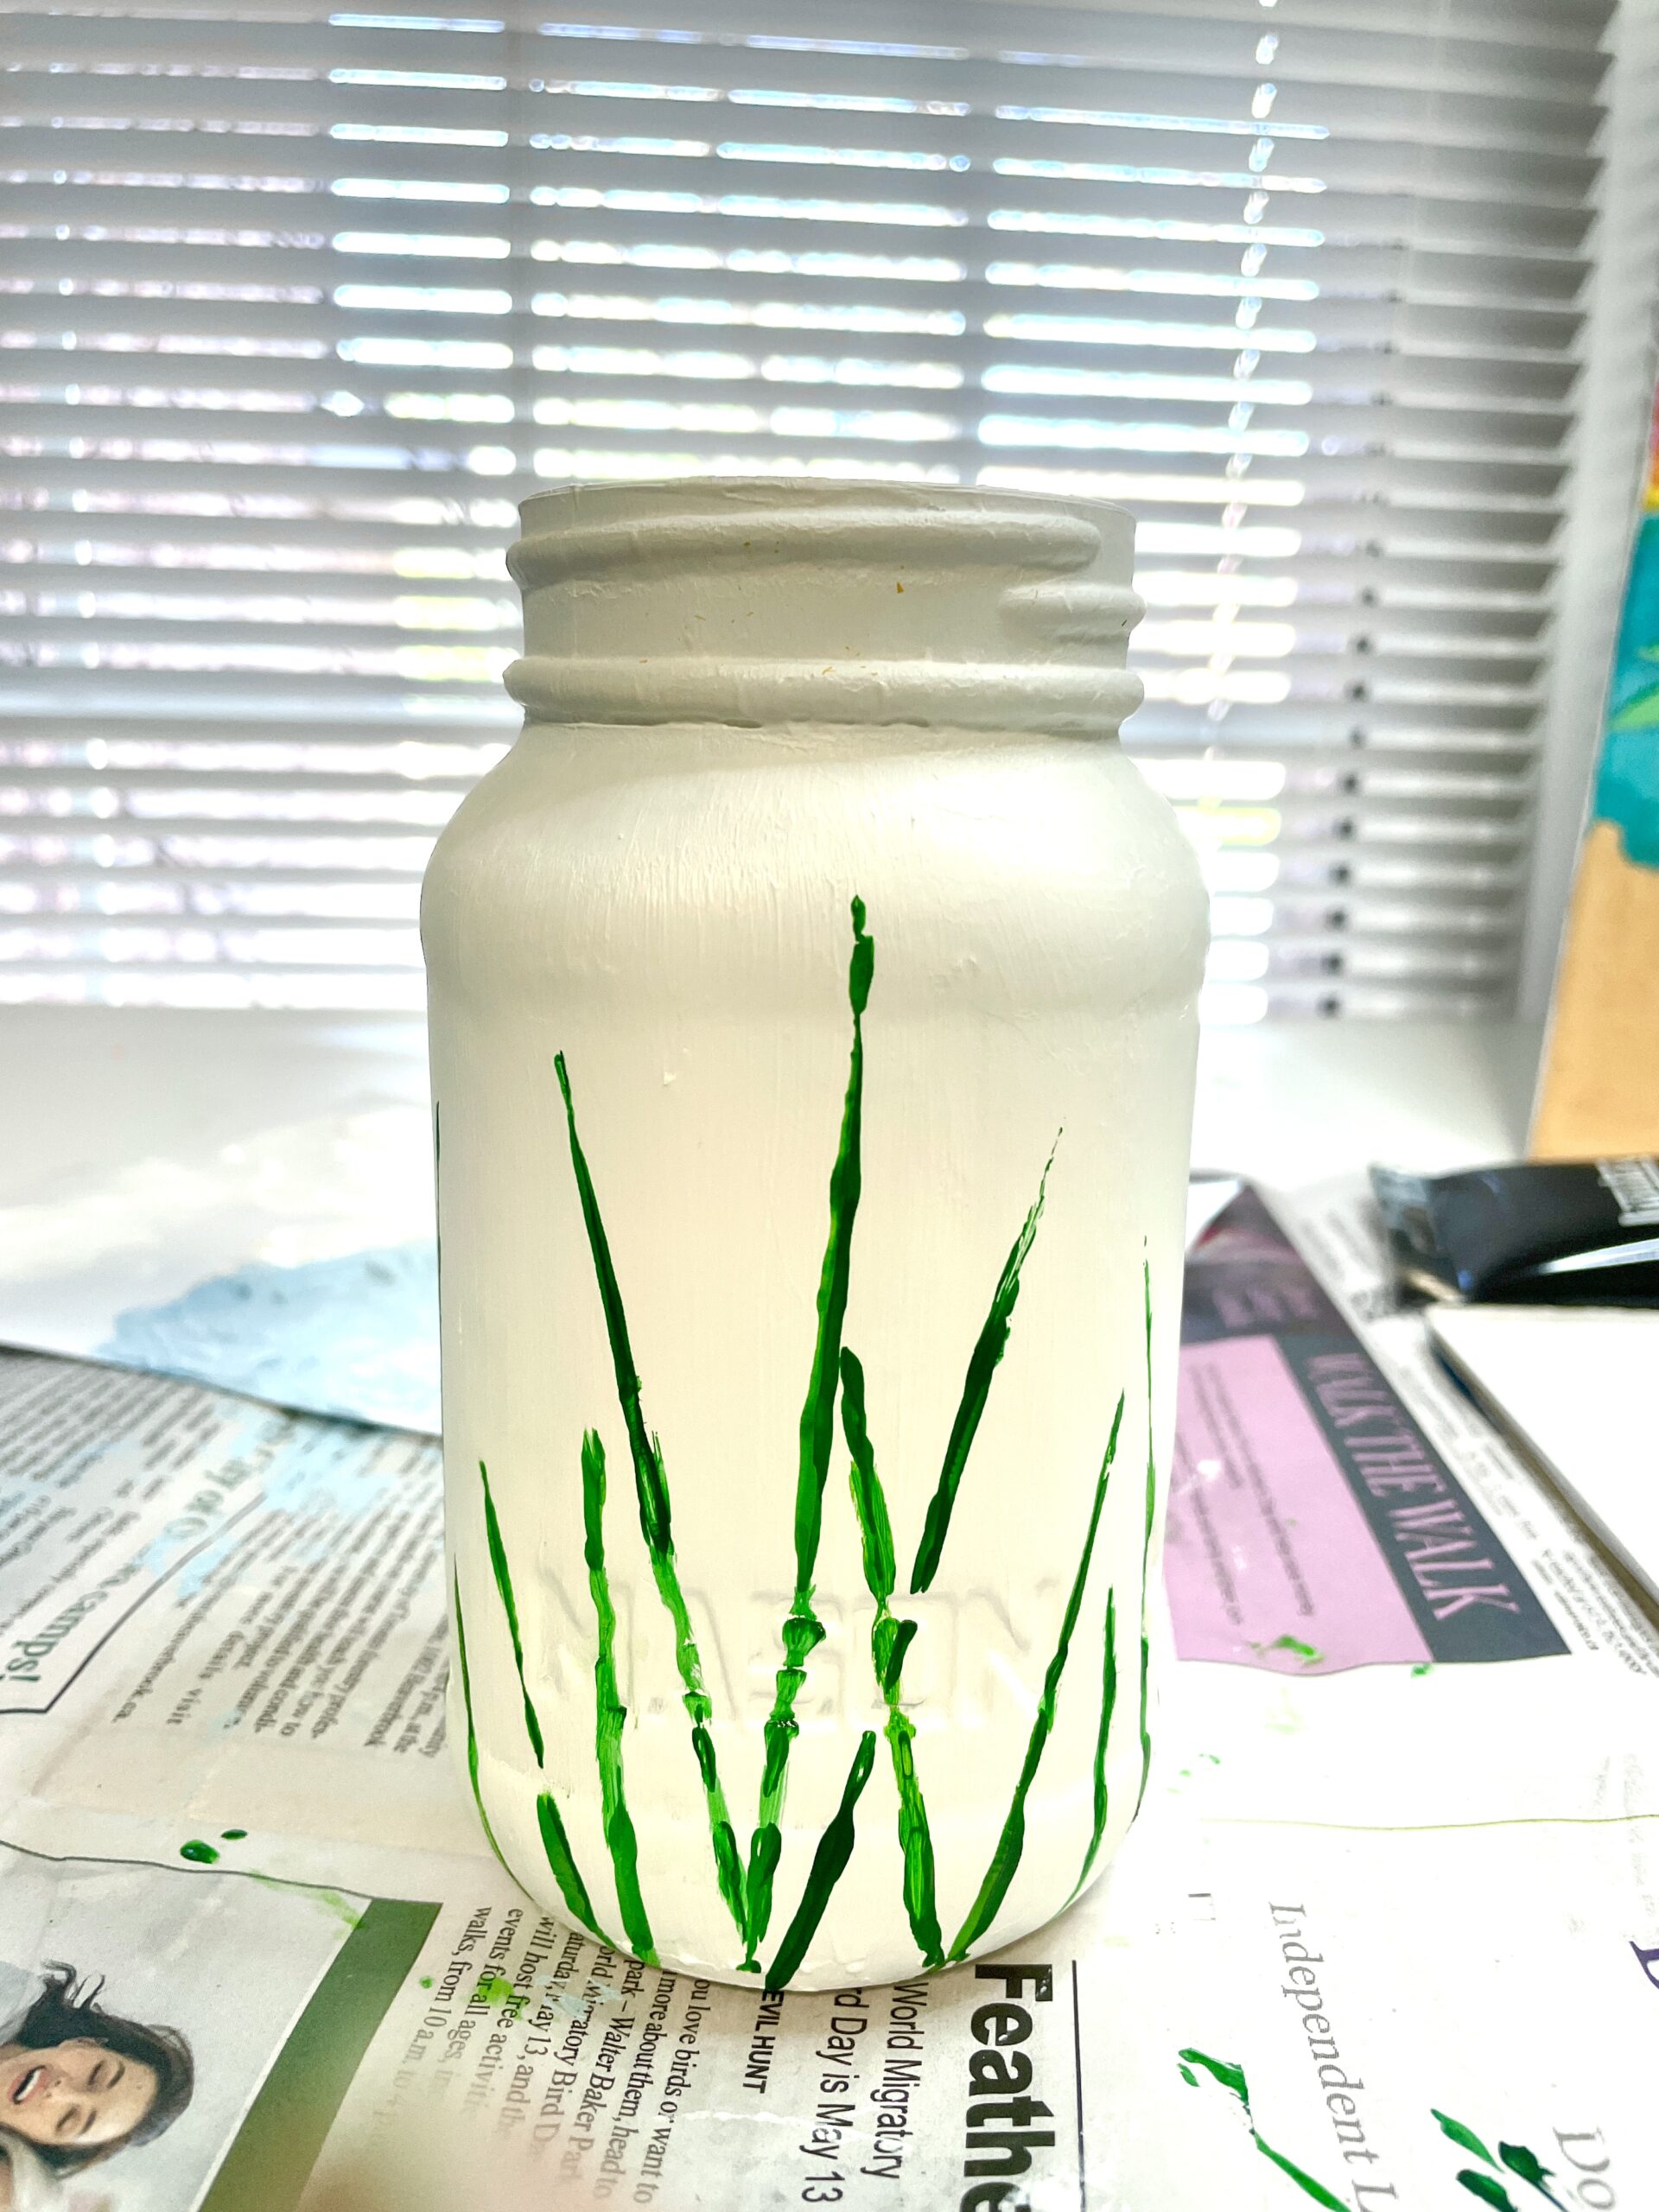
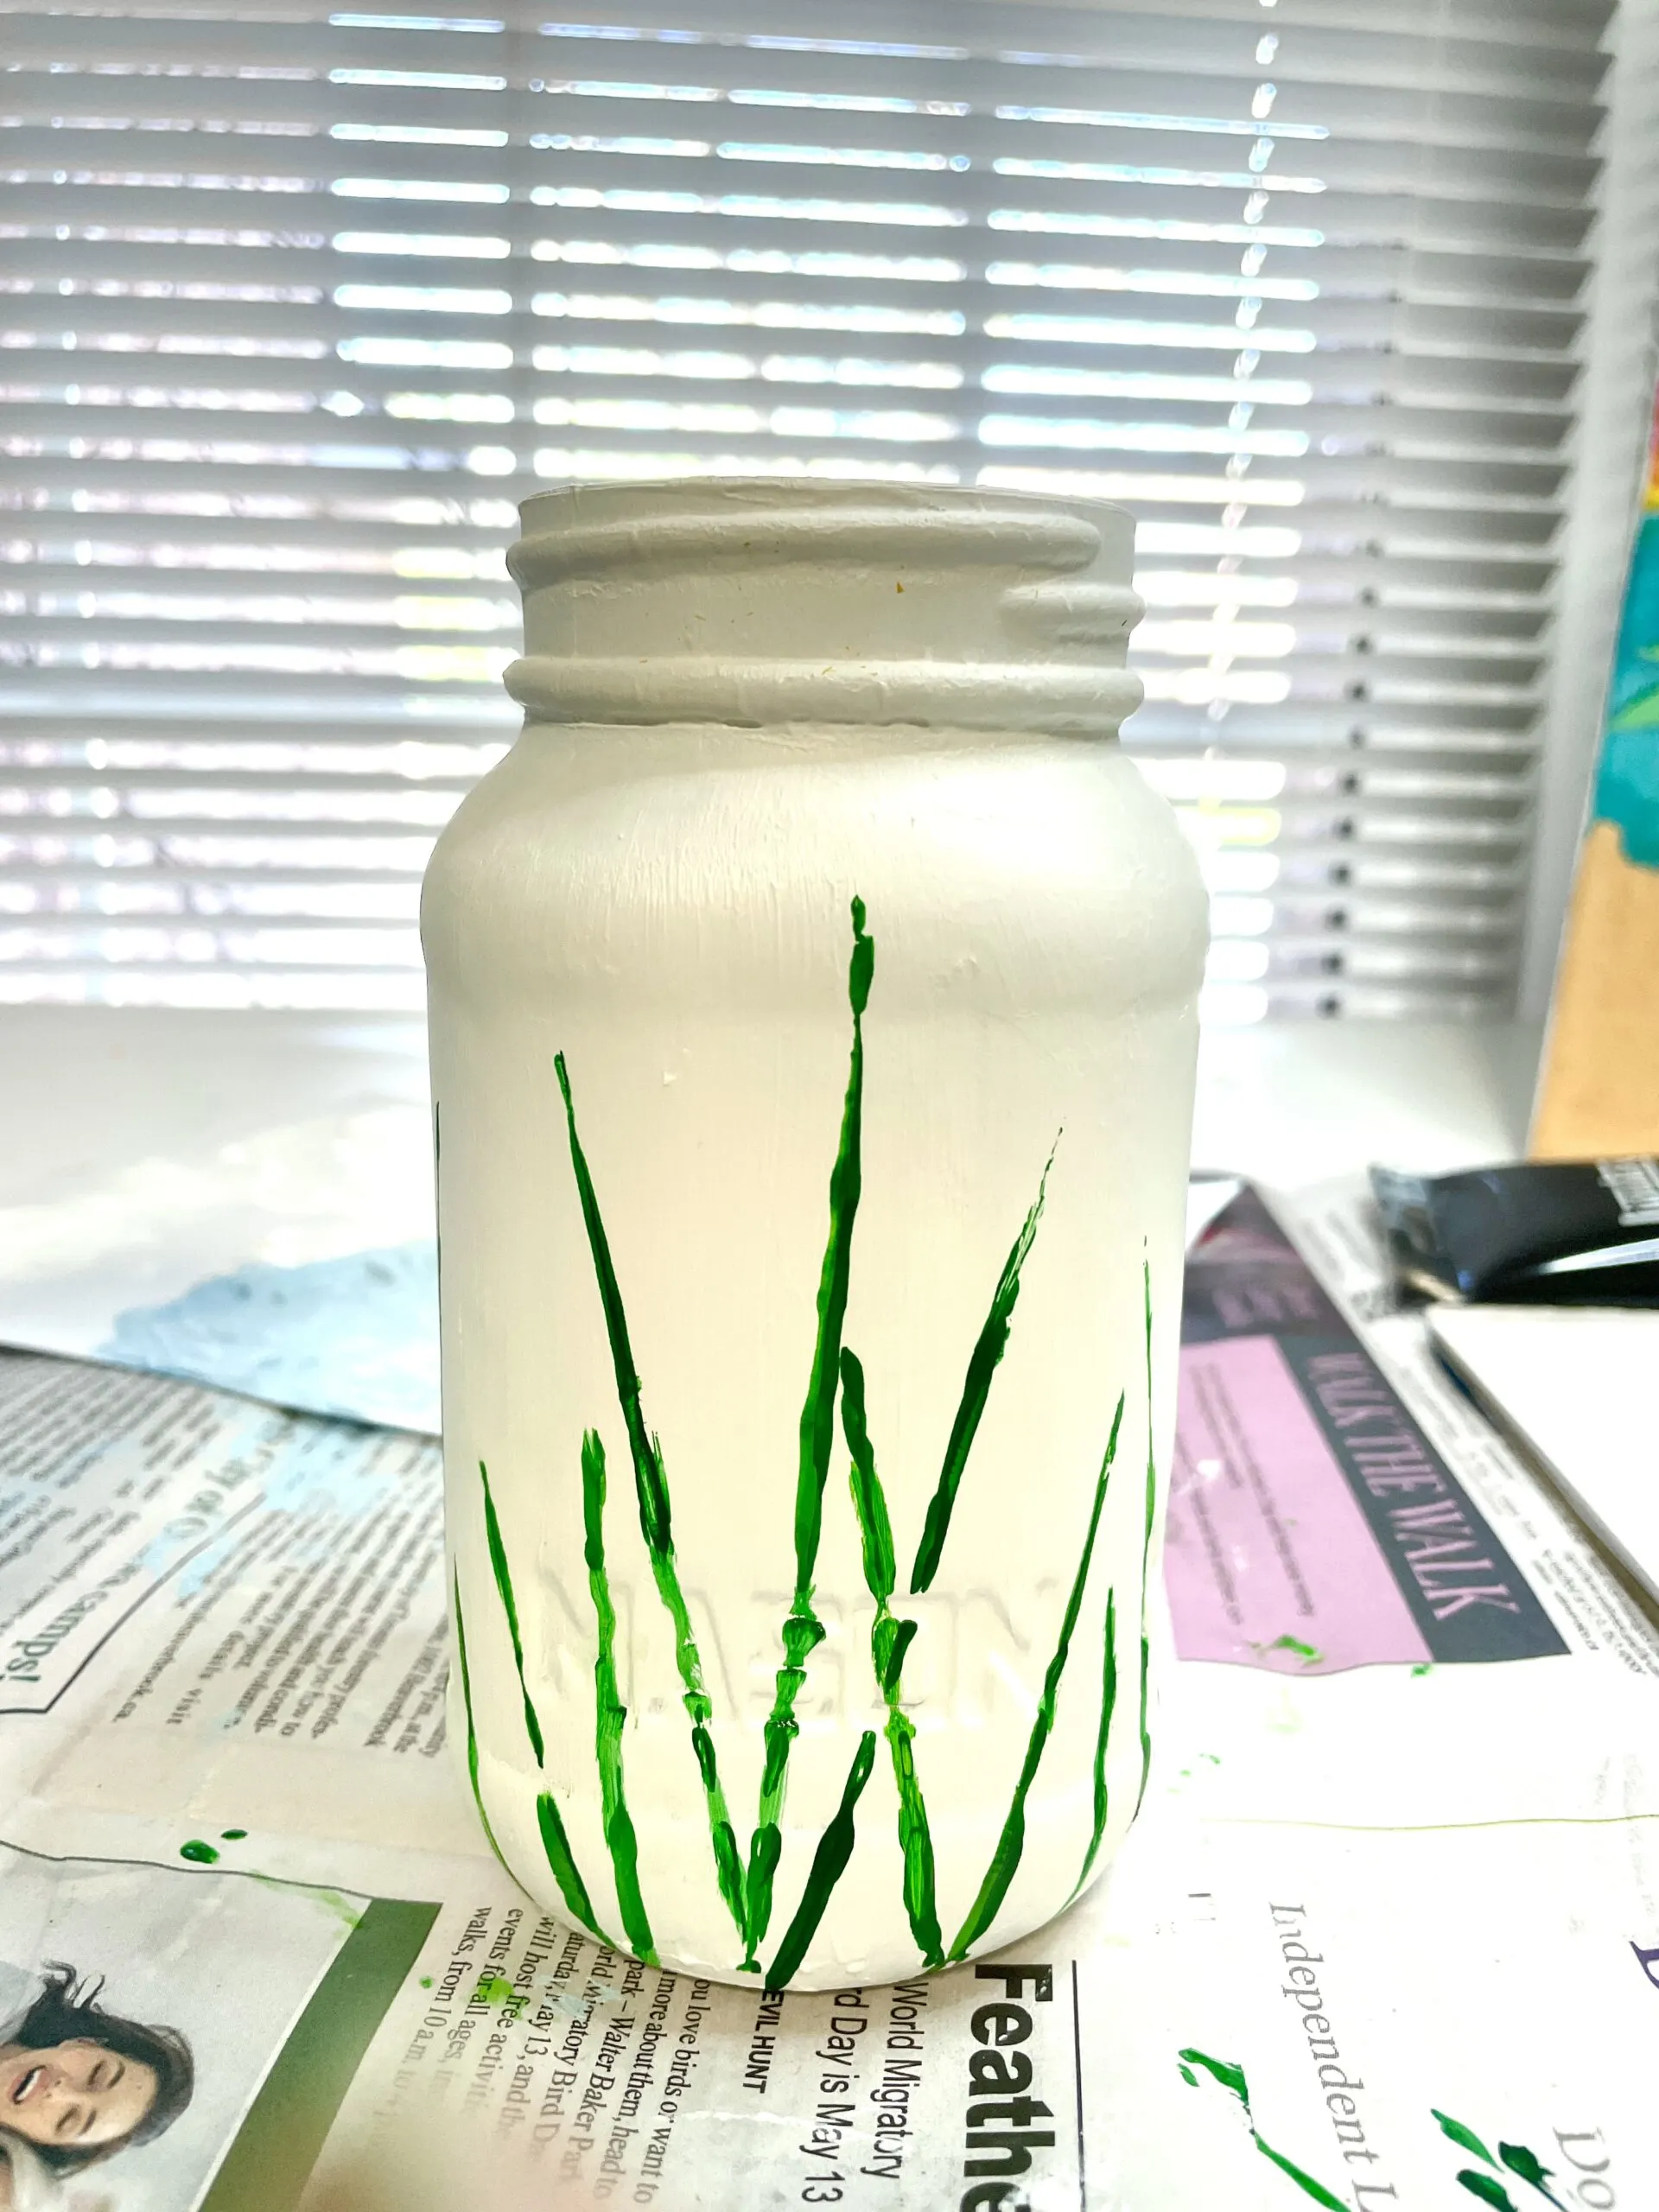
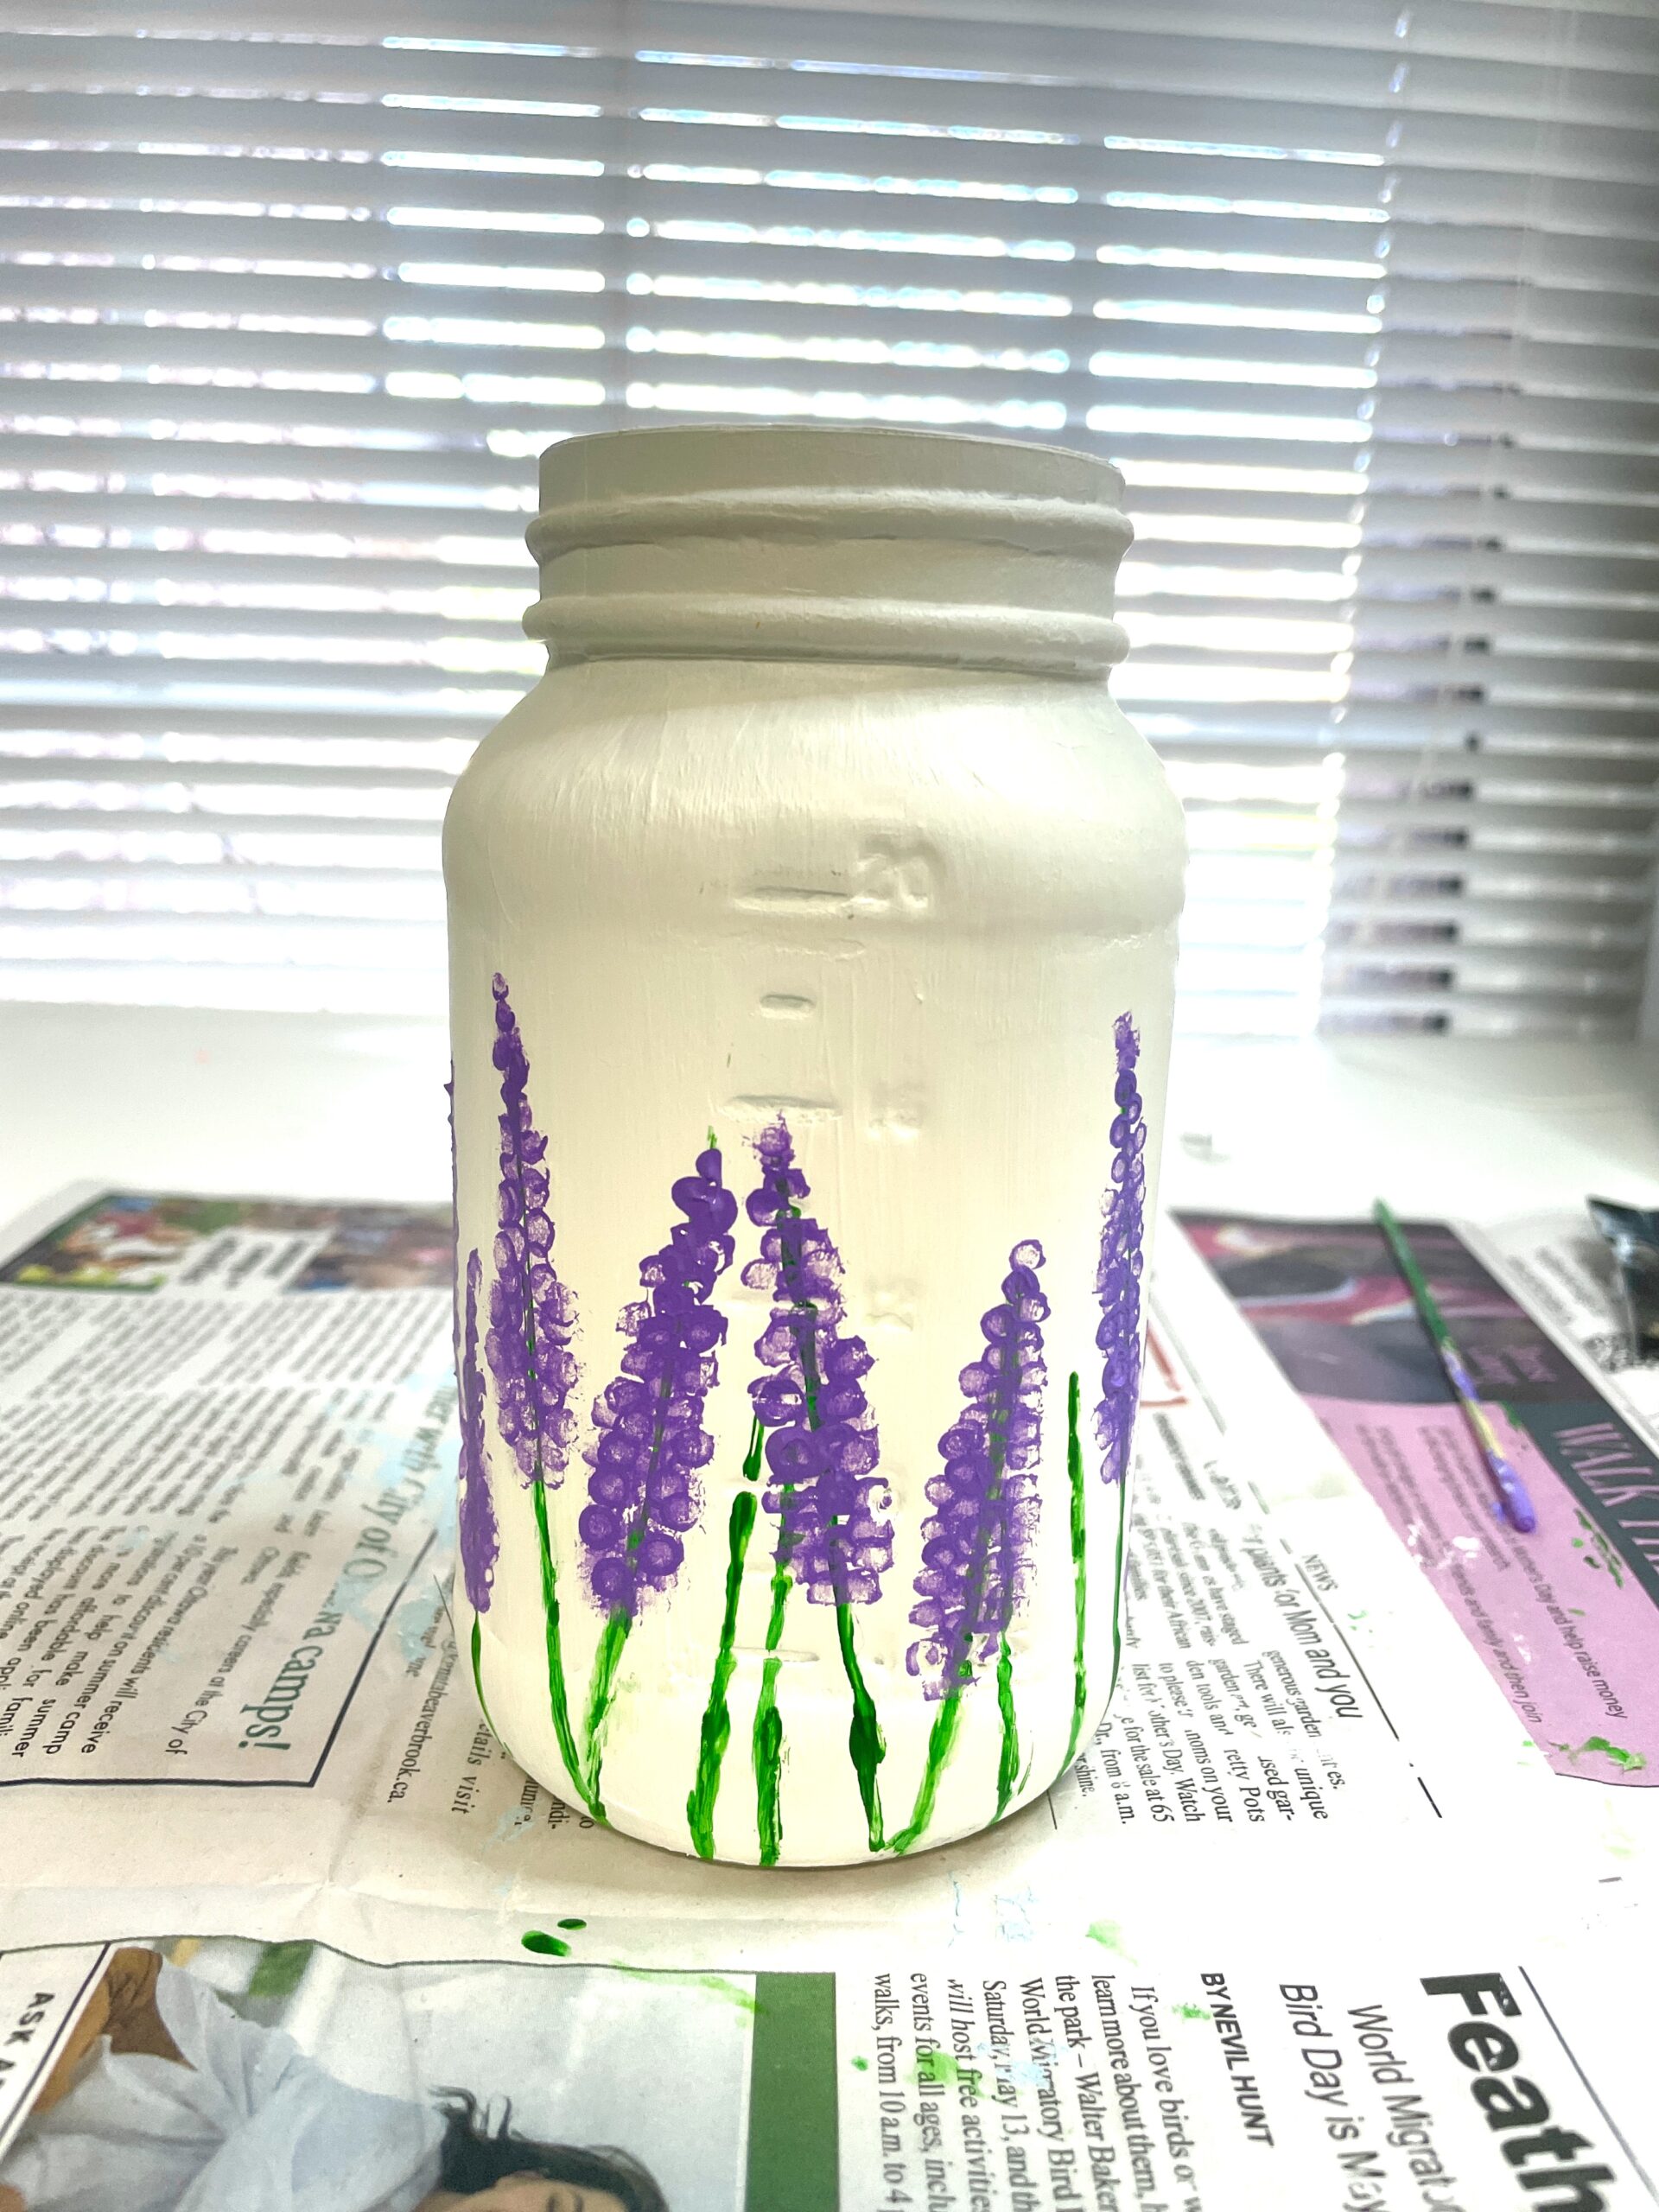
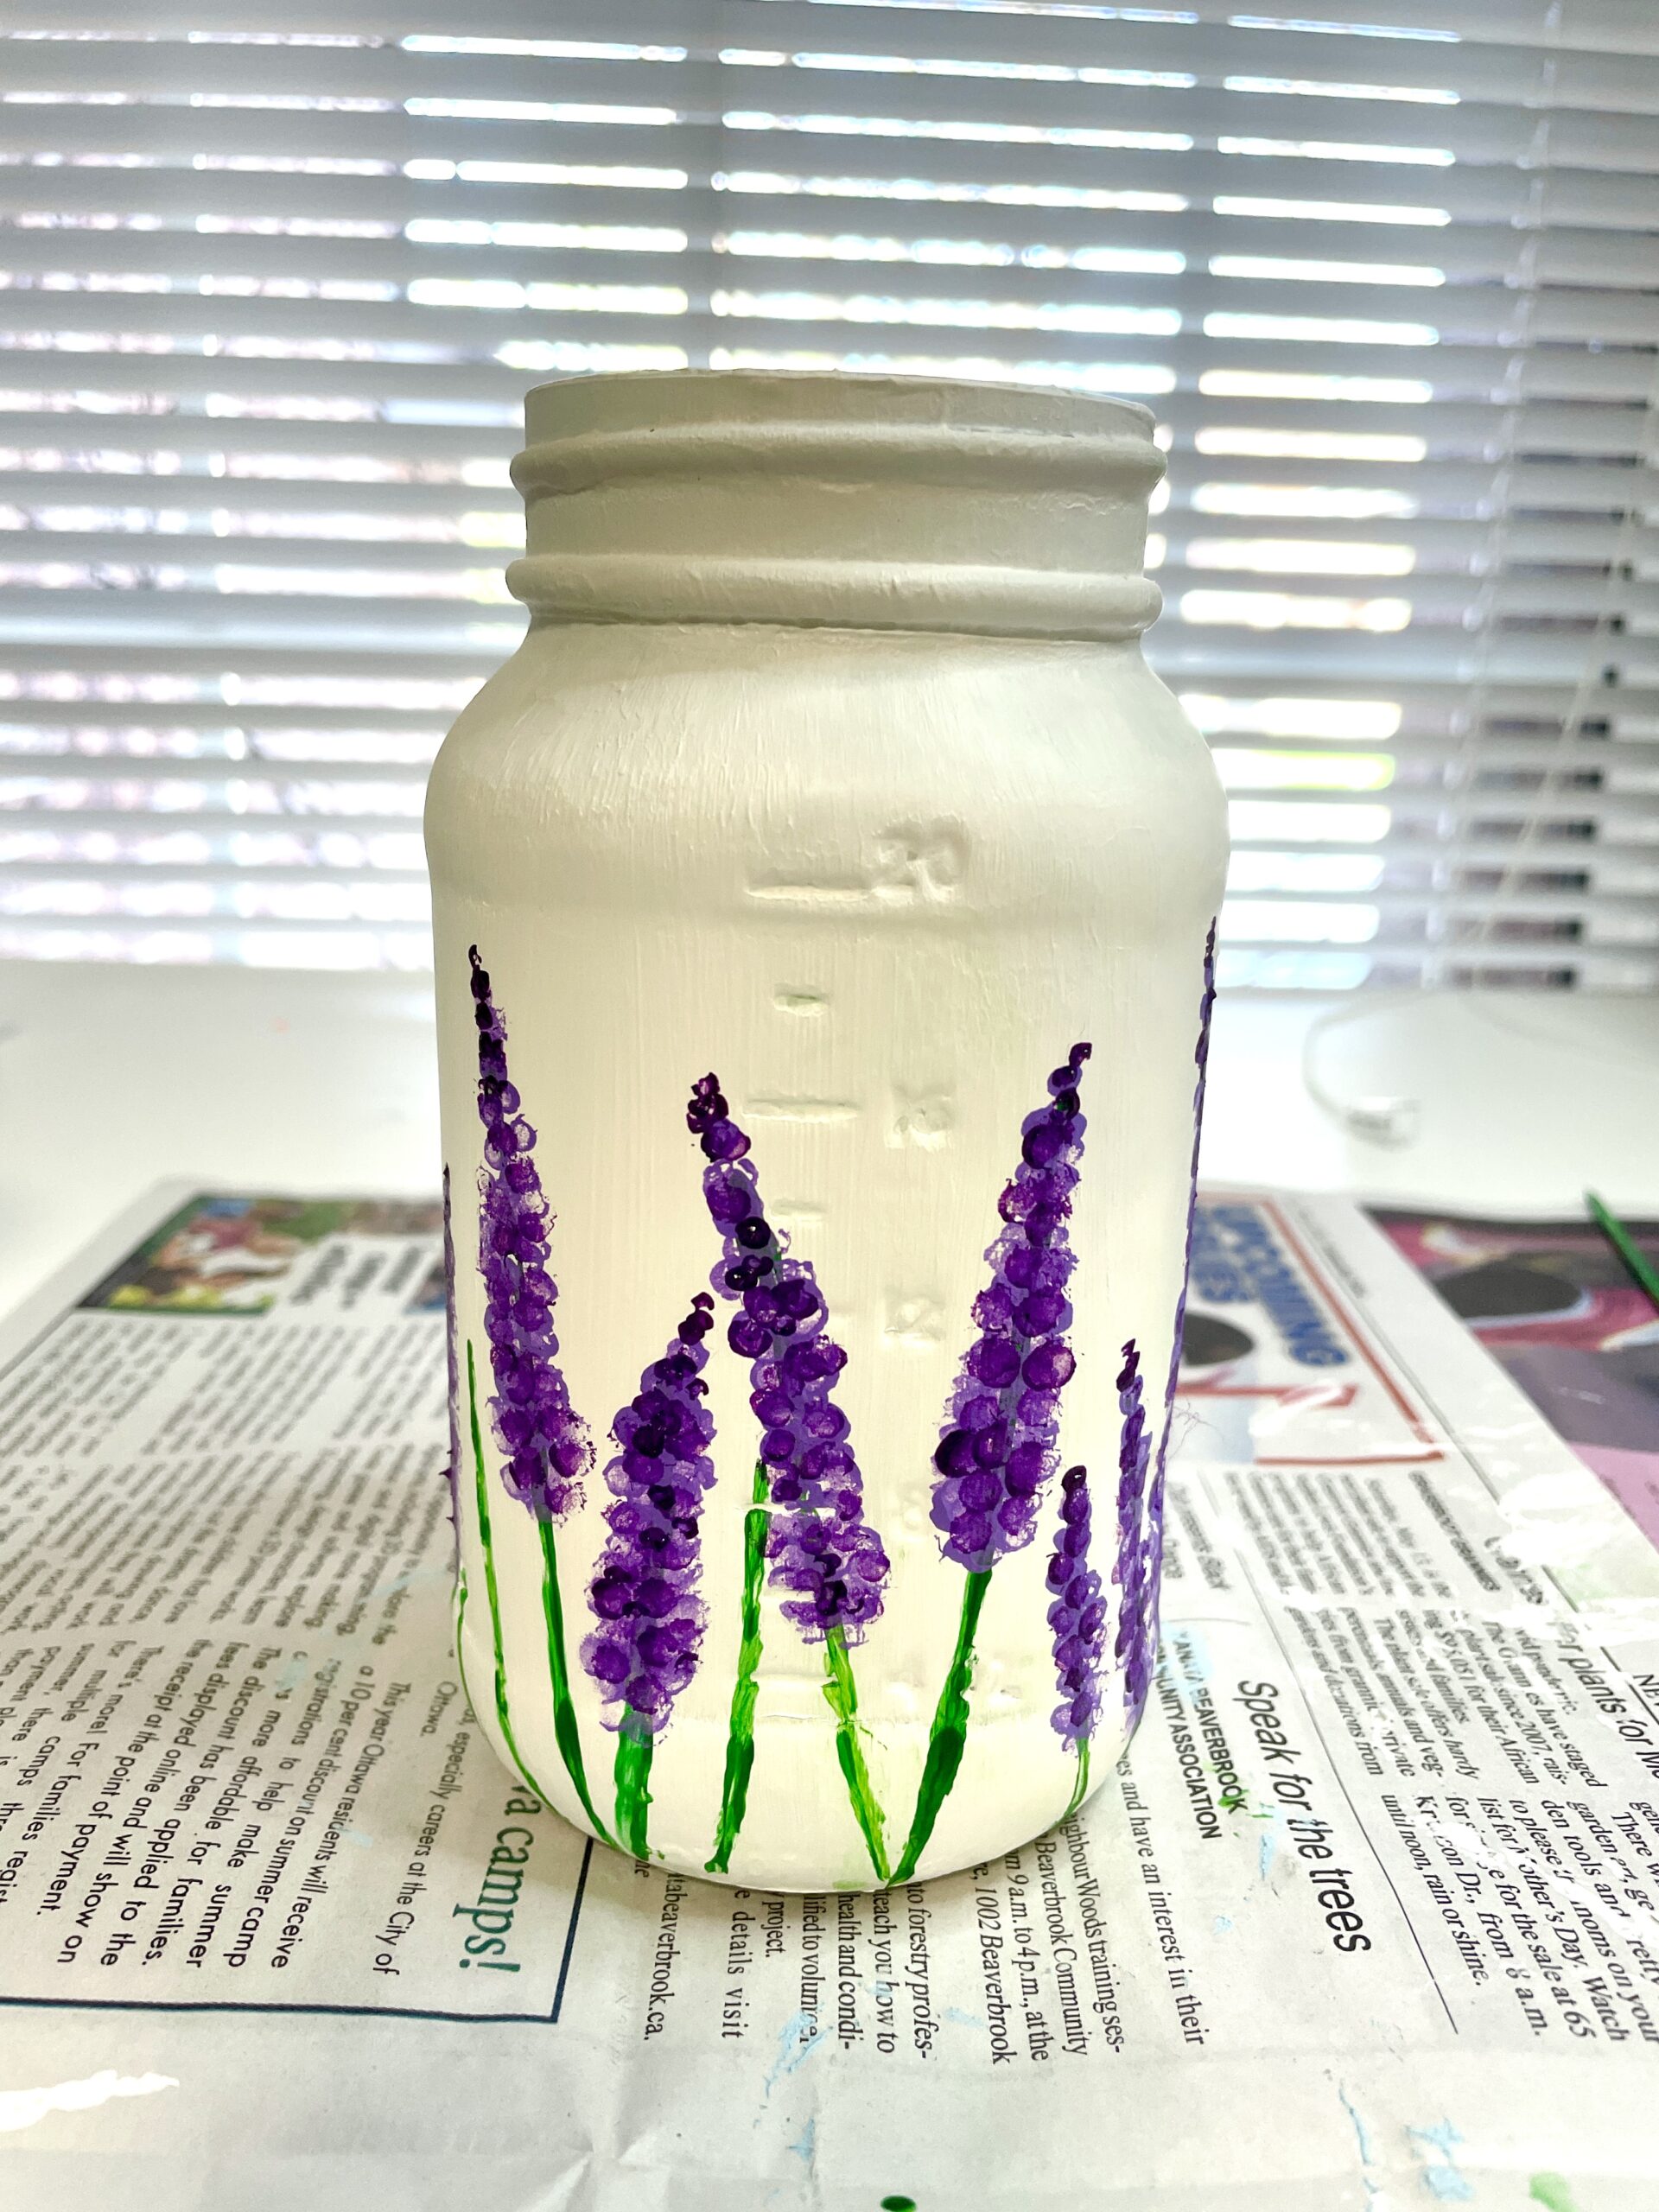
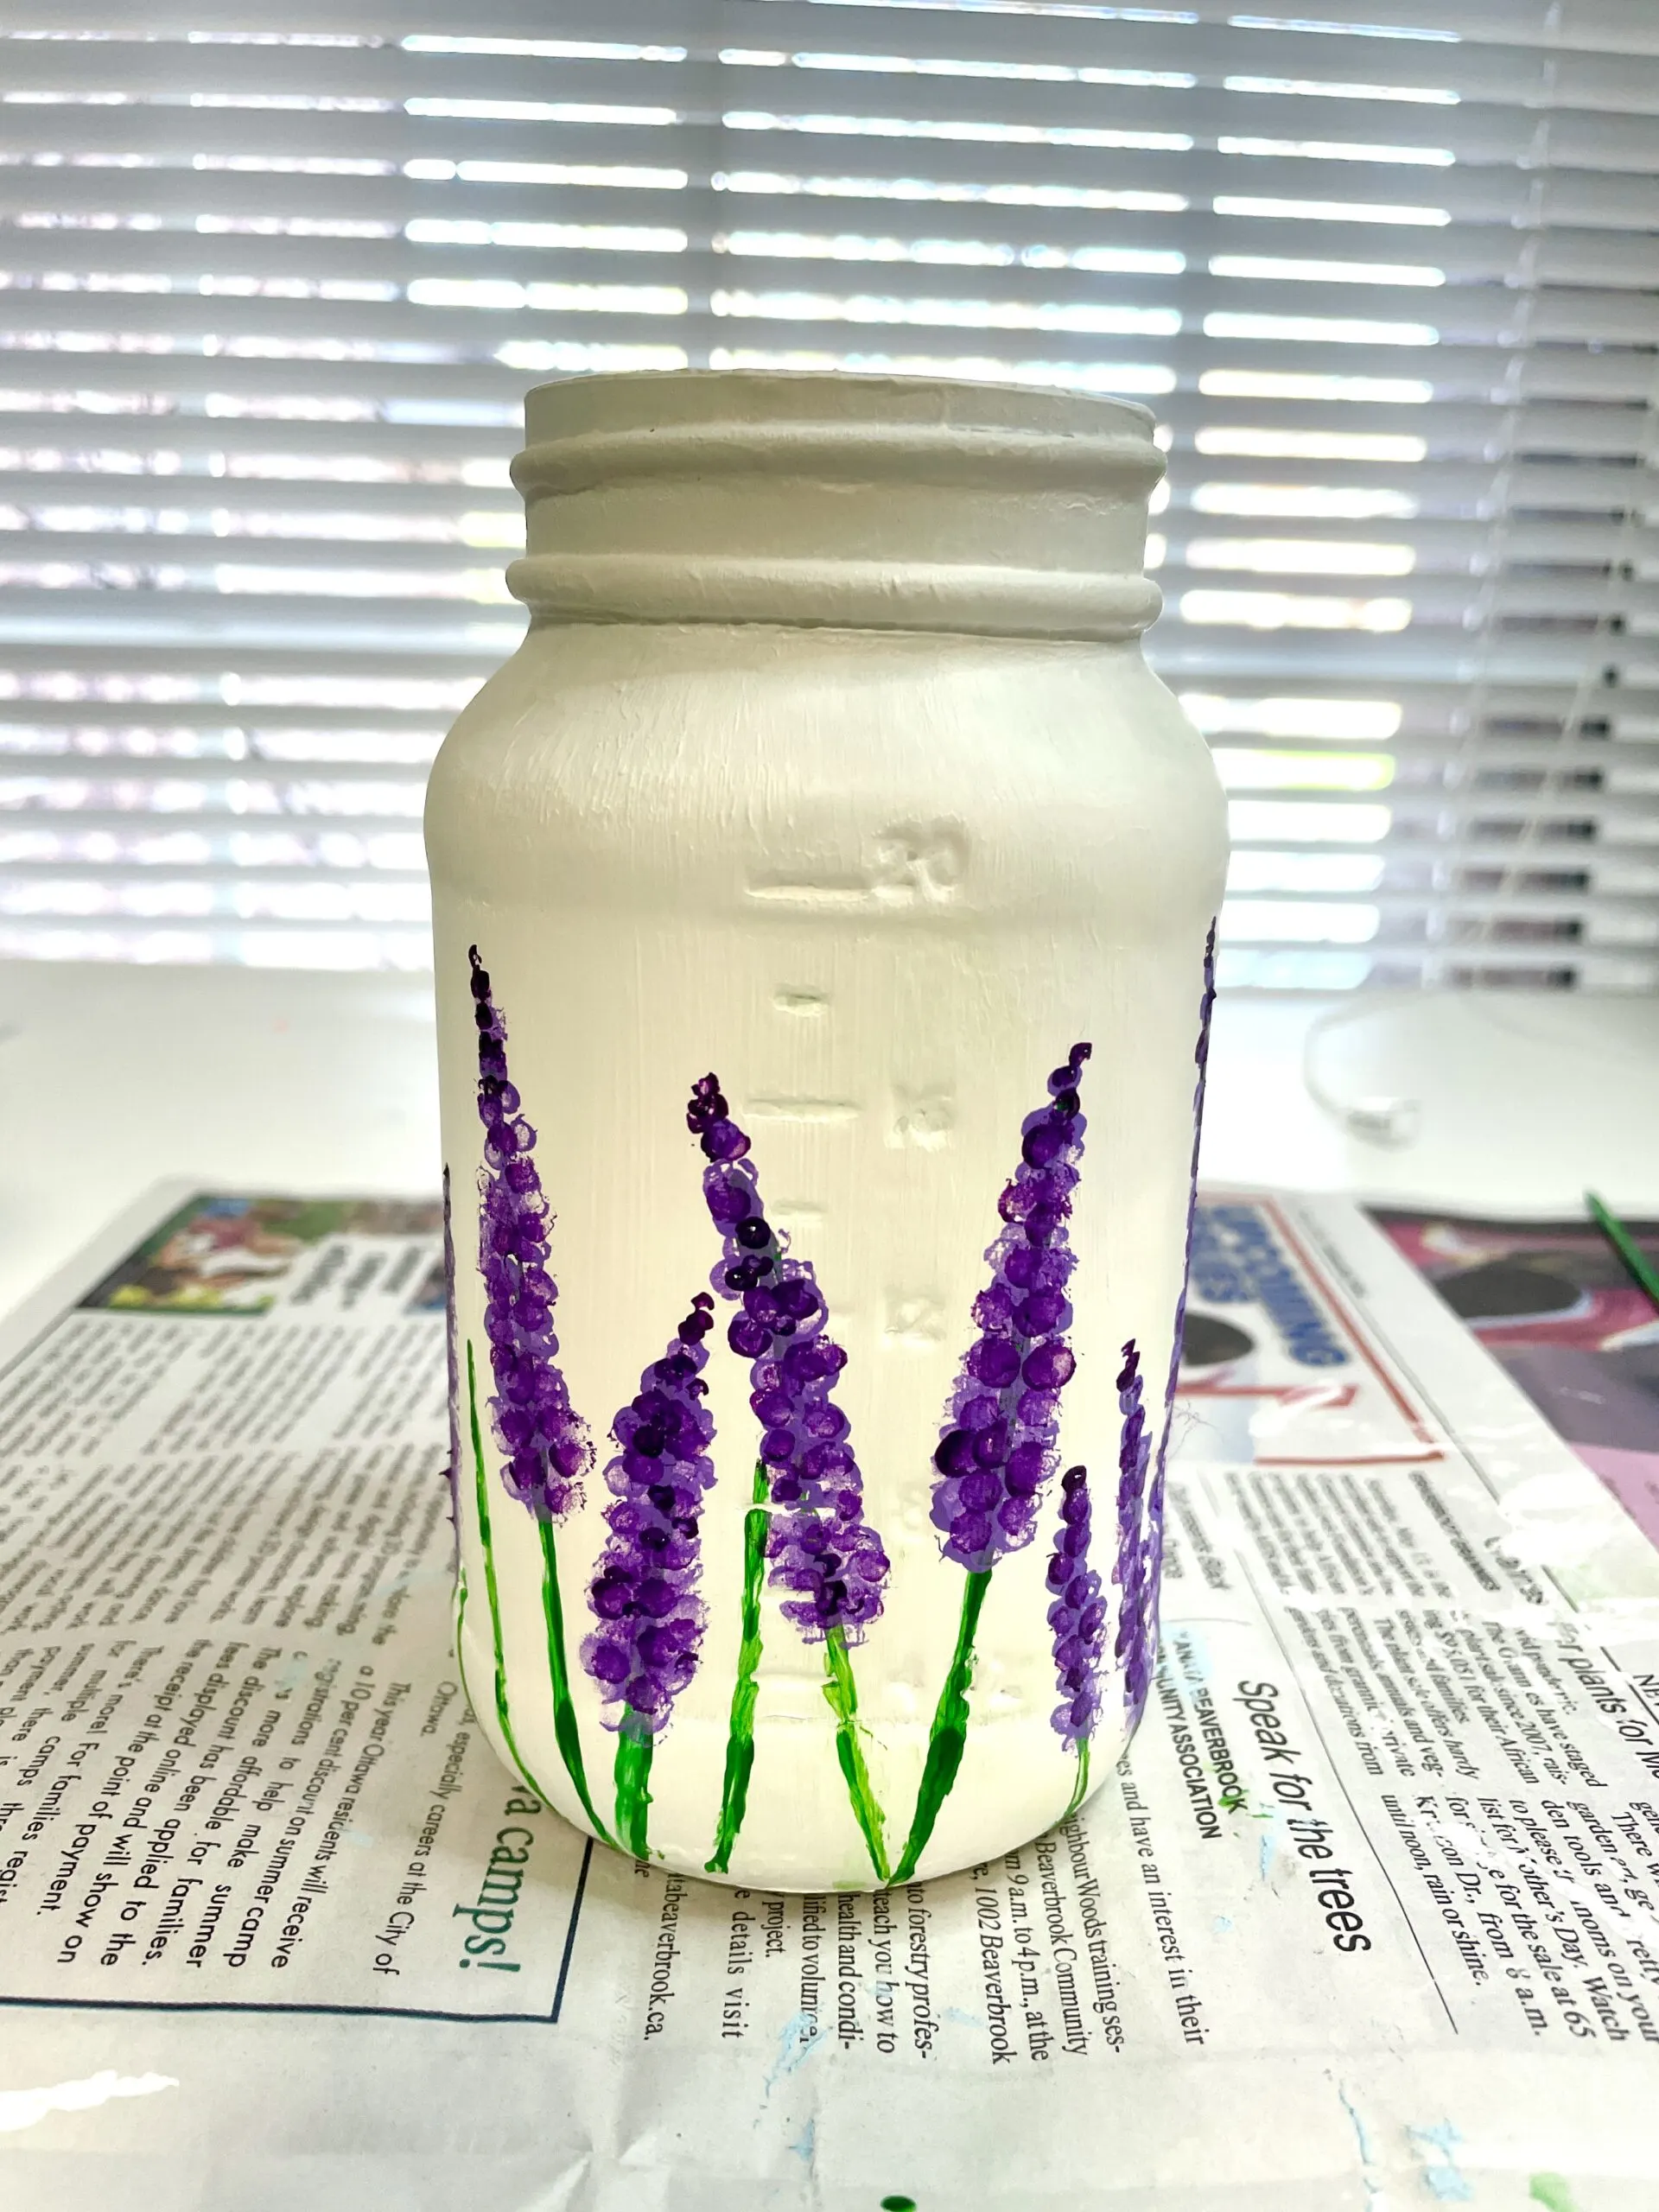
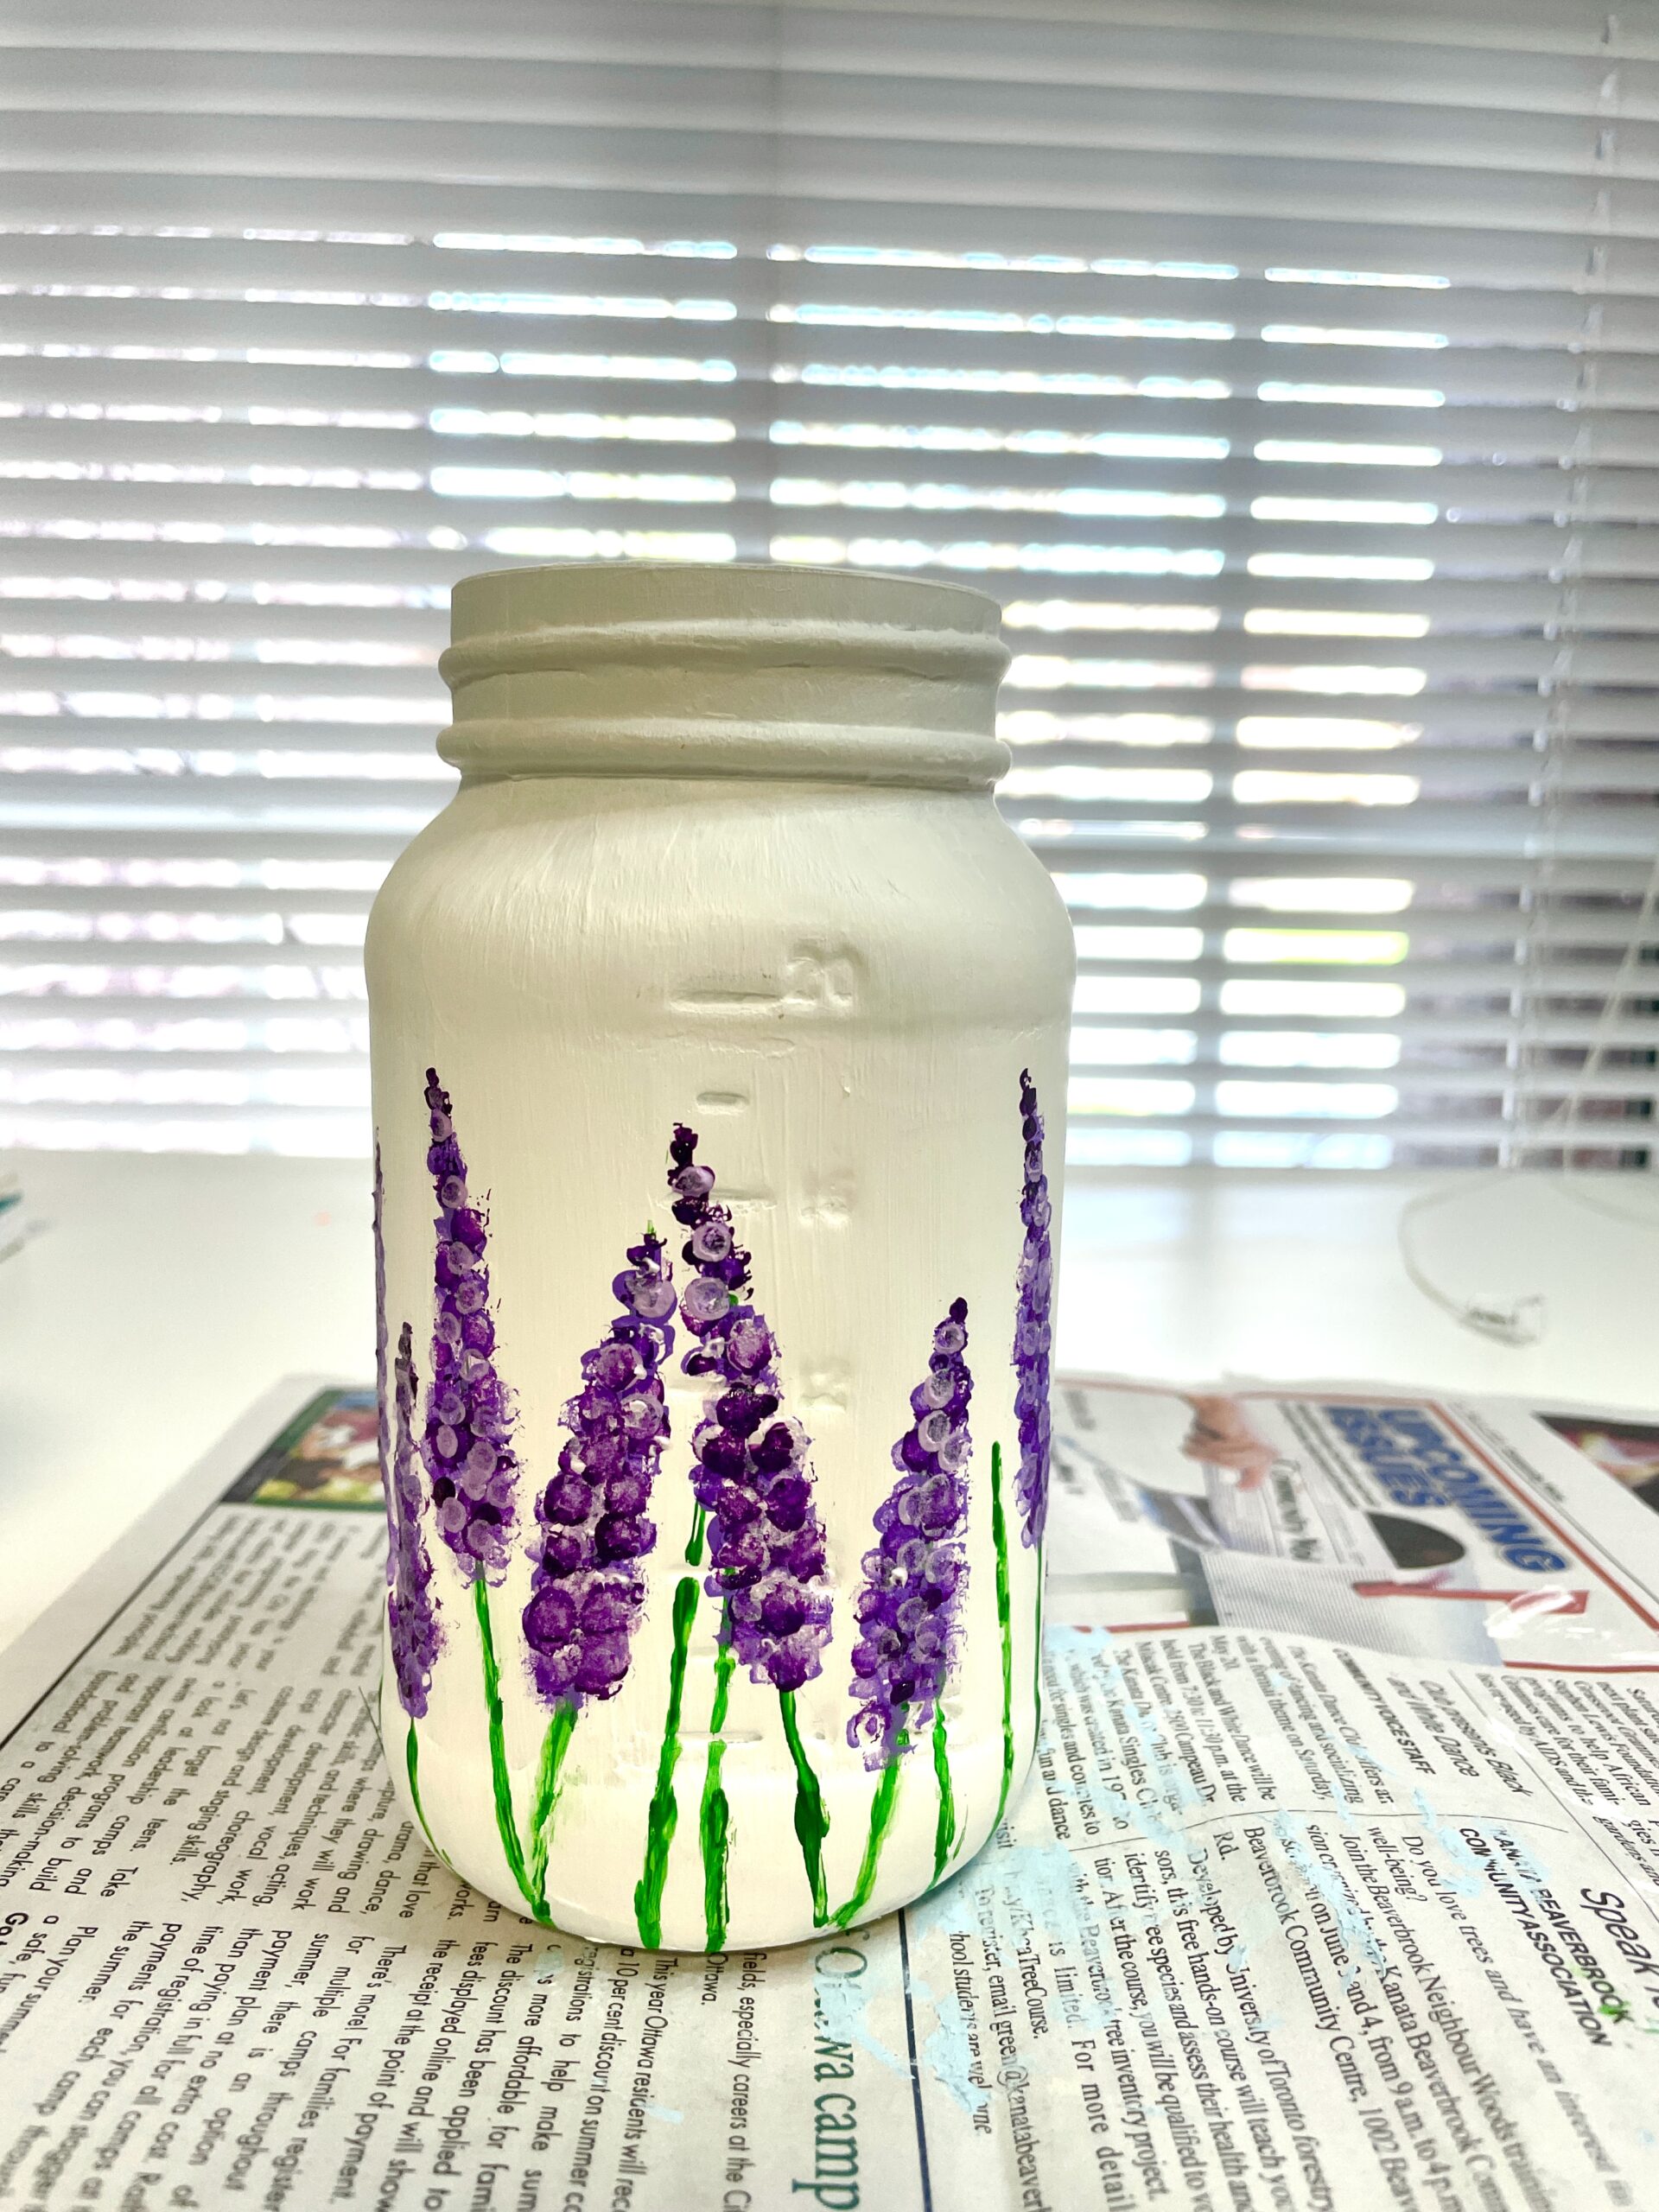
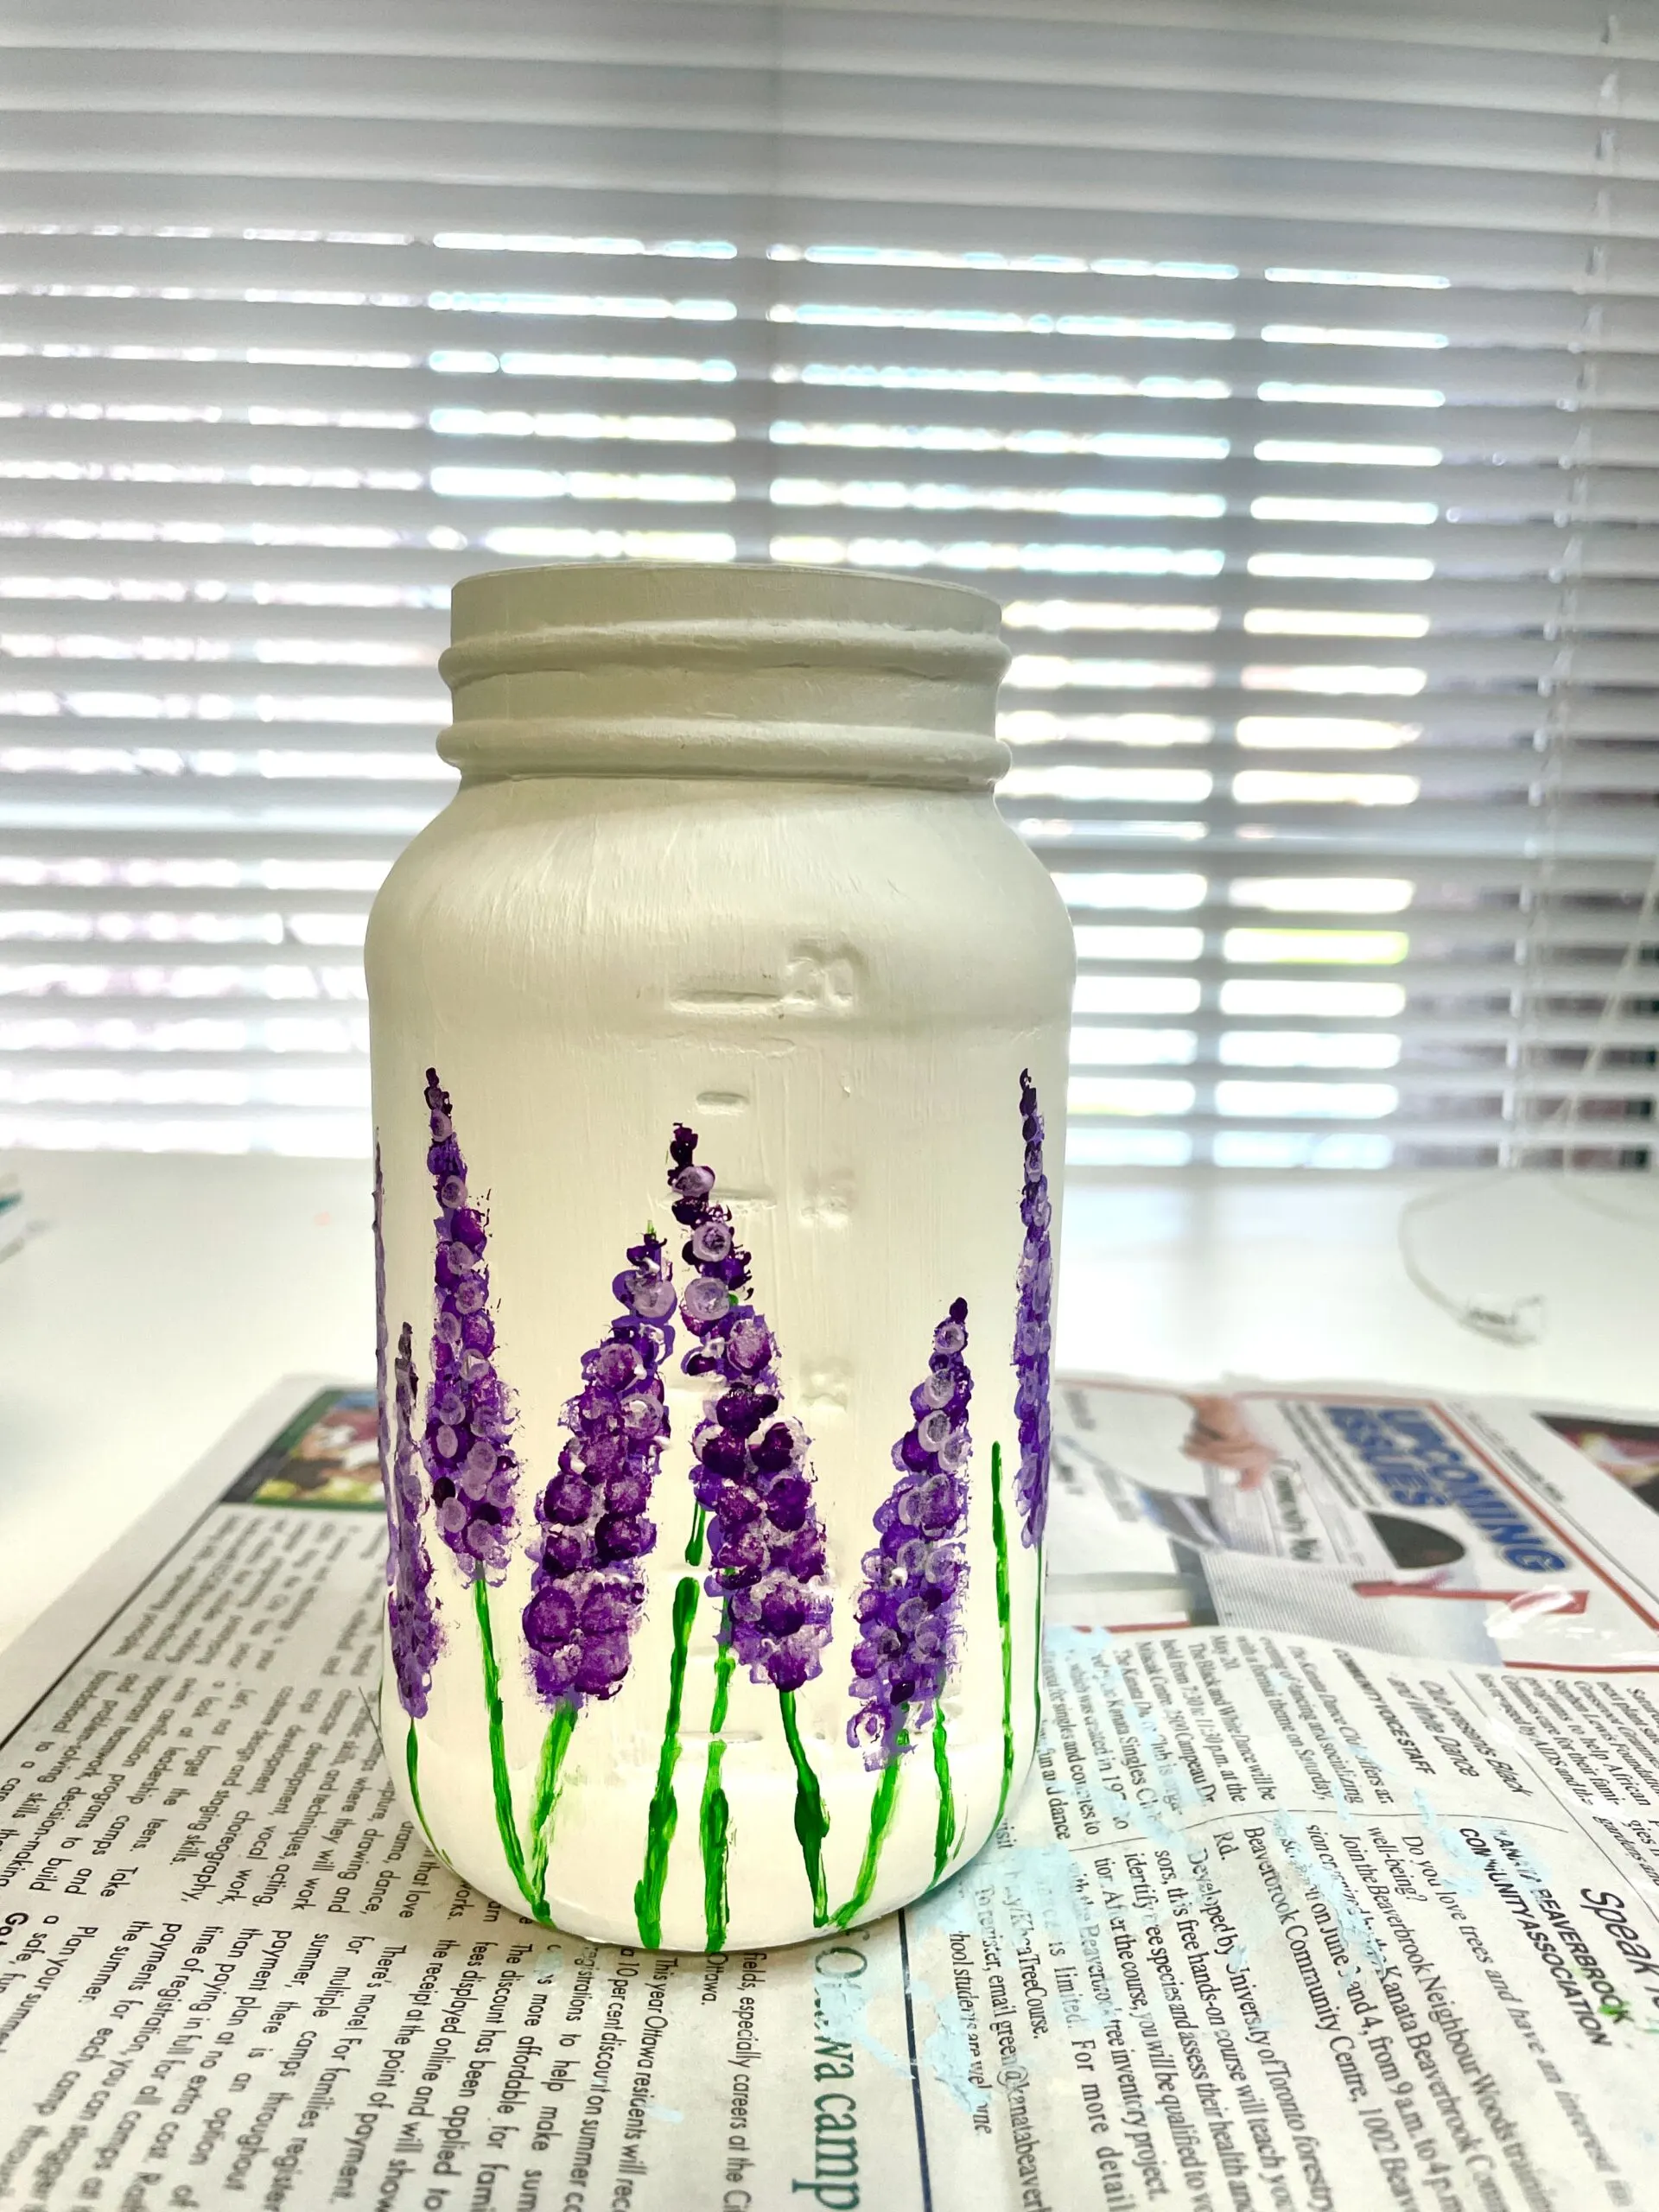
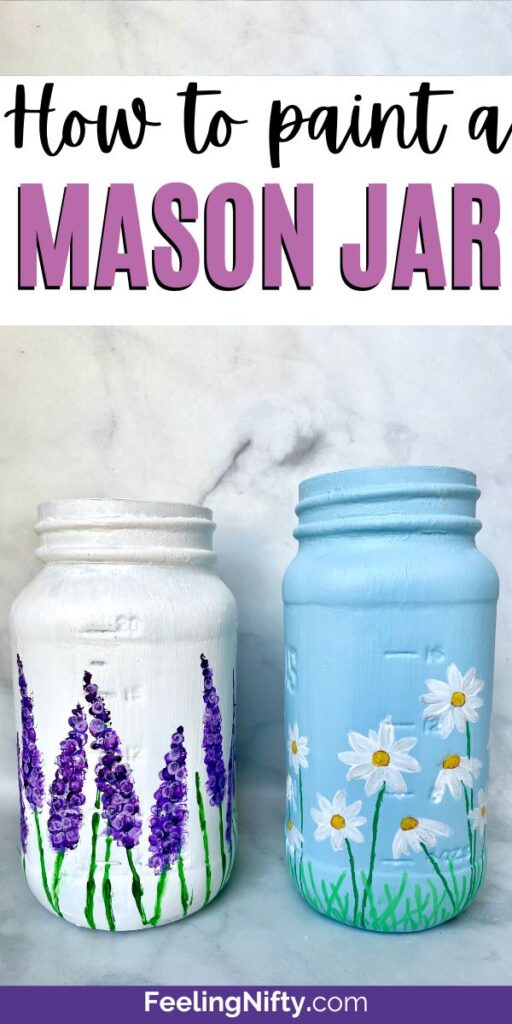
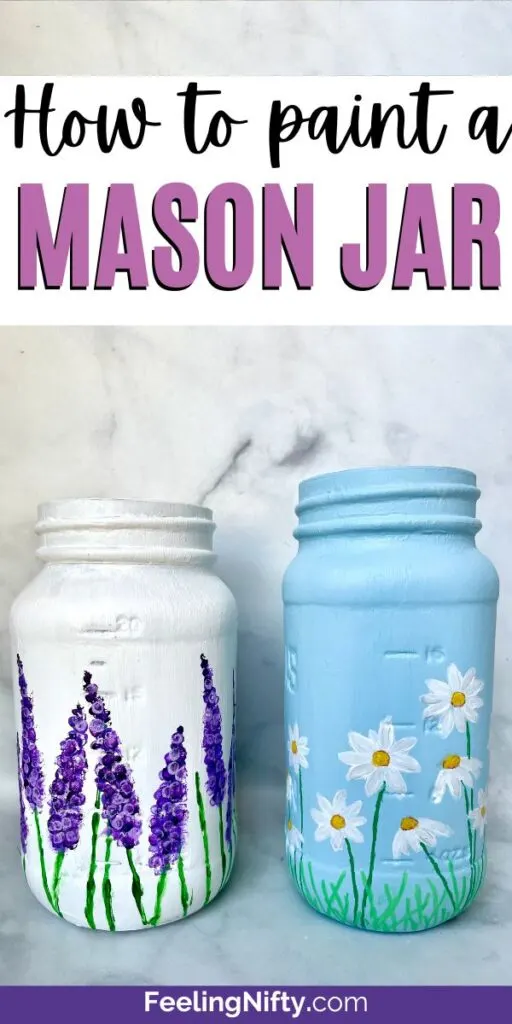
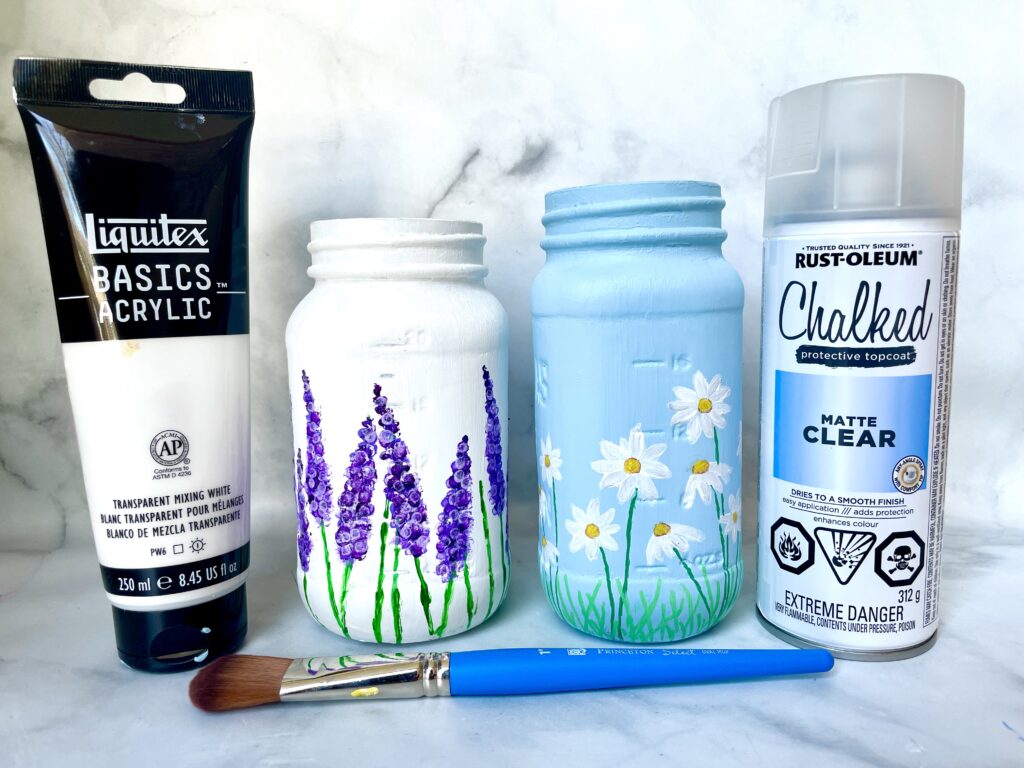
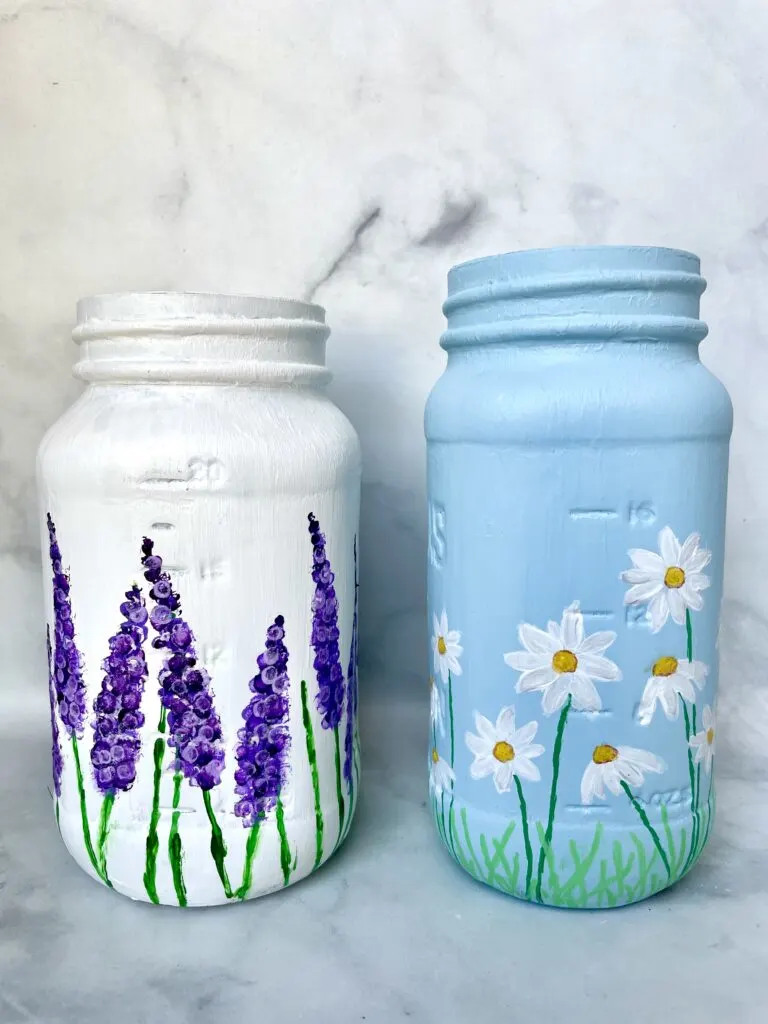
Tip # 3: Paint Flowers
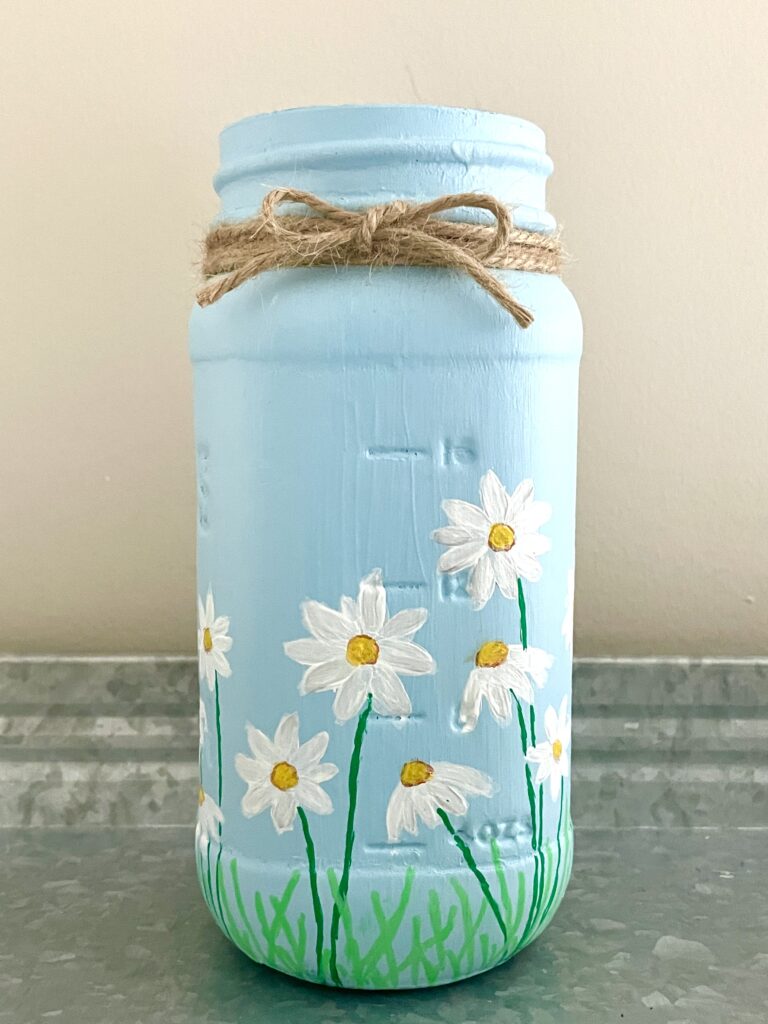
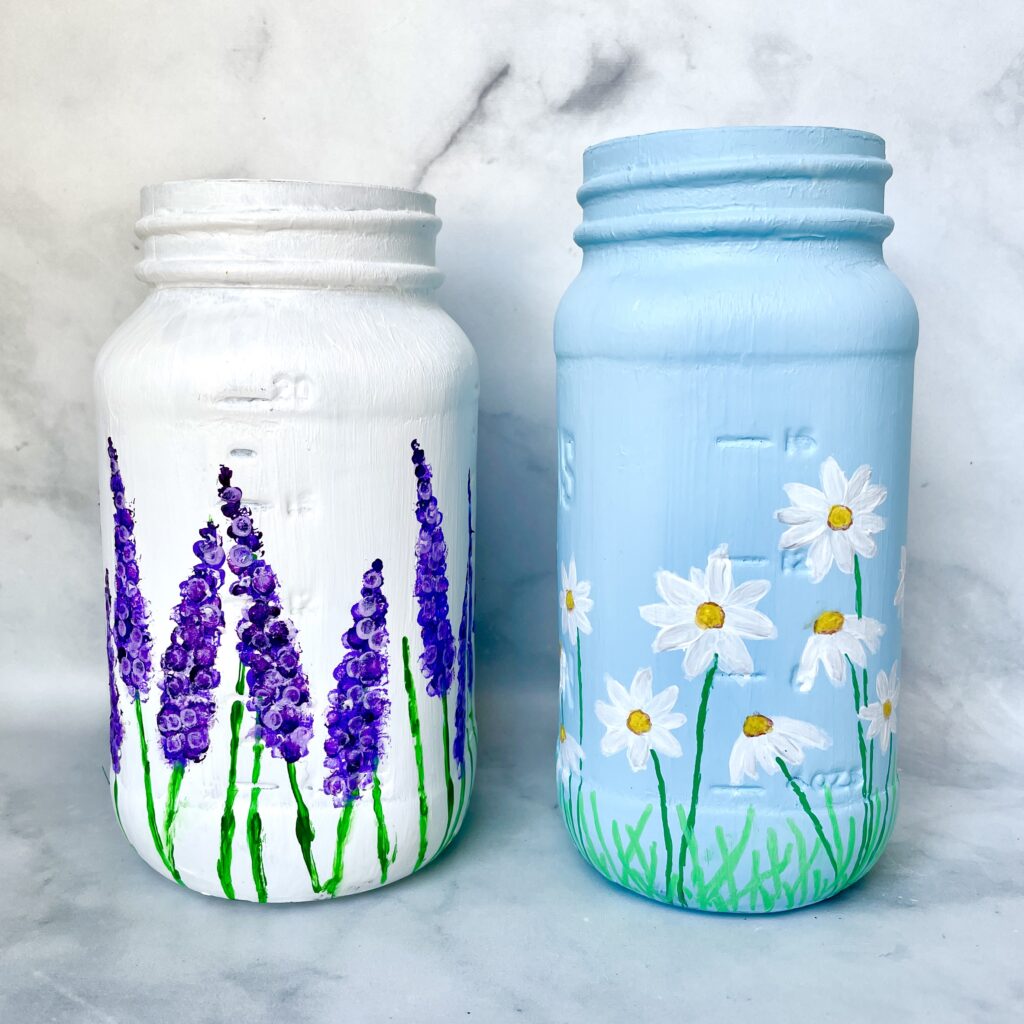
Flowers are always an easy and beautiful design to paint.
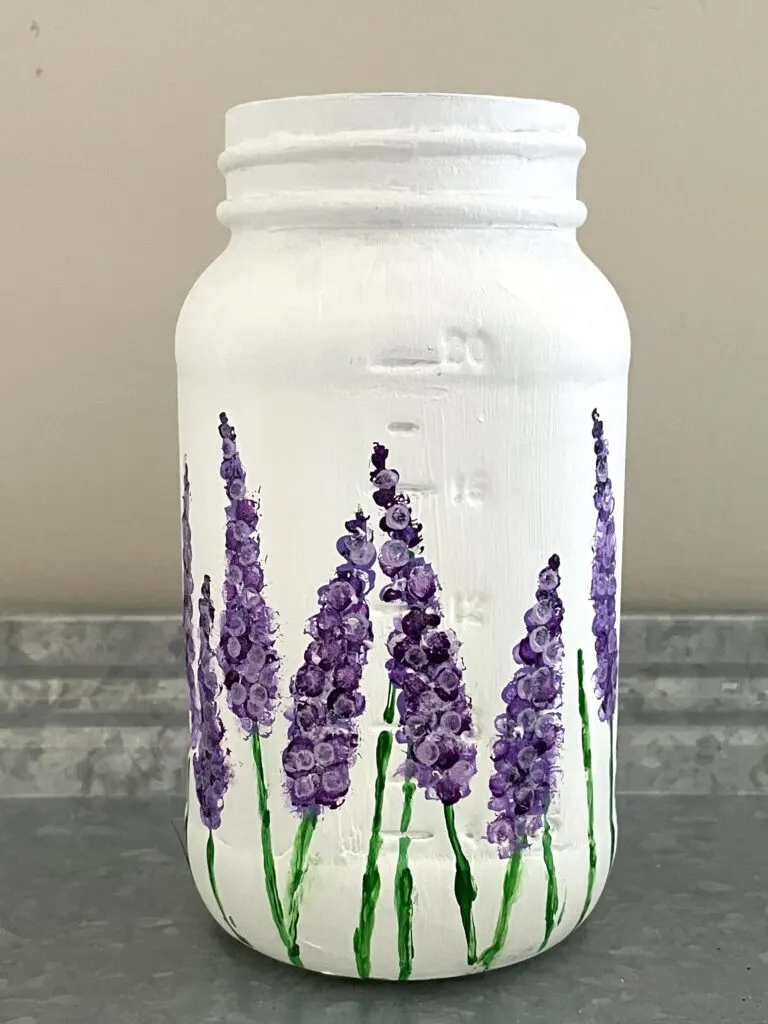
The easiest flowers to paint are thelavender flower(which you might paint with q-tips!)
Both of which I painted in the jars below.
The possibilities with flowers are endless.
This method is also easy enough for kids.
Check out thisSharpie mug tutorialthat used the pointillism method and a simple sticker to create the negative space.

Simply add a sticker of choice on a solid painted mason jar.
Remove the sticker when done and you wont believe your eyes with the awesomeness of this design!
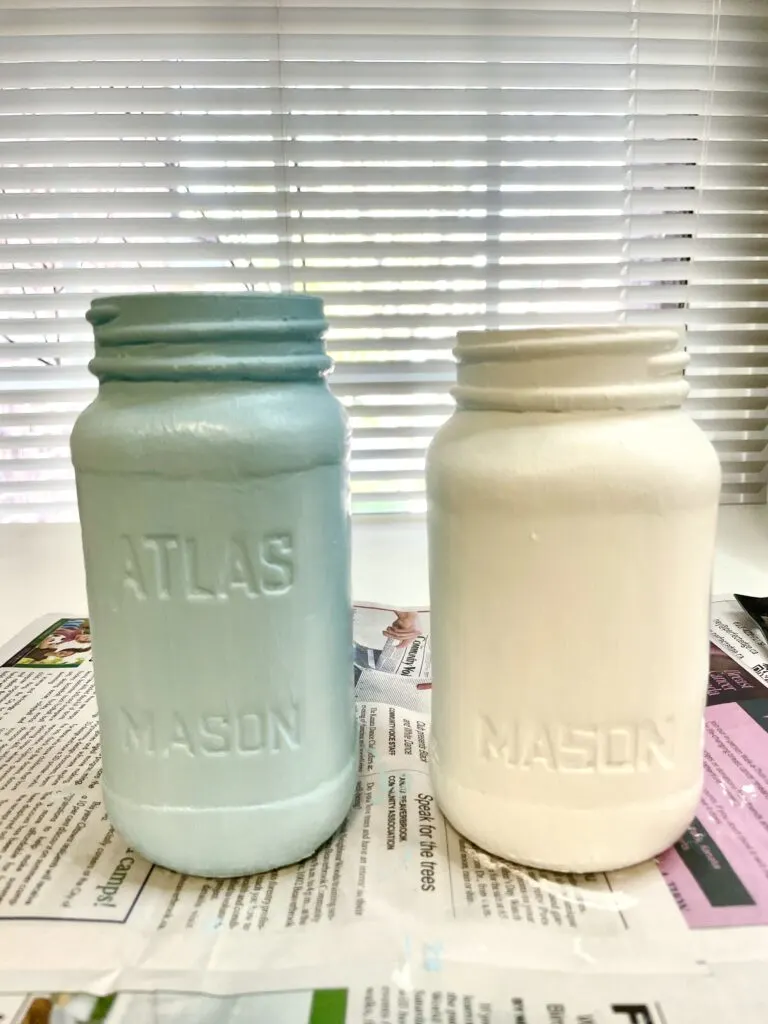
Use your wrist to rotate the jar as you paint.
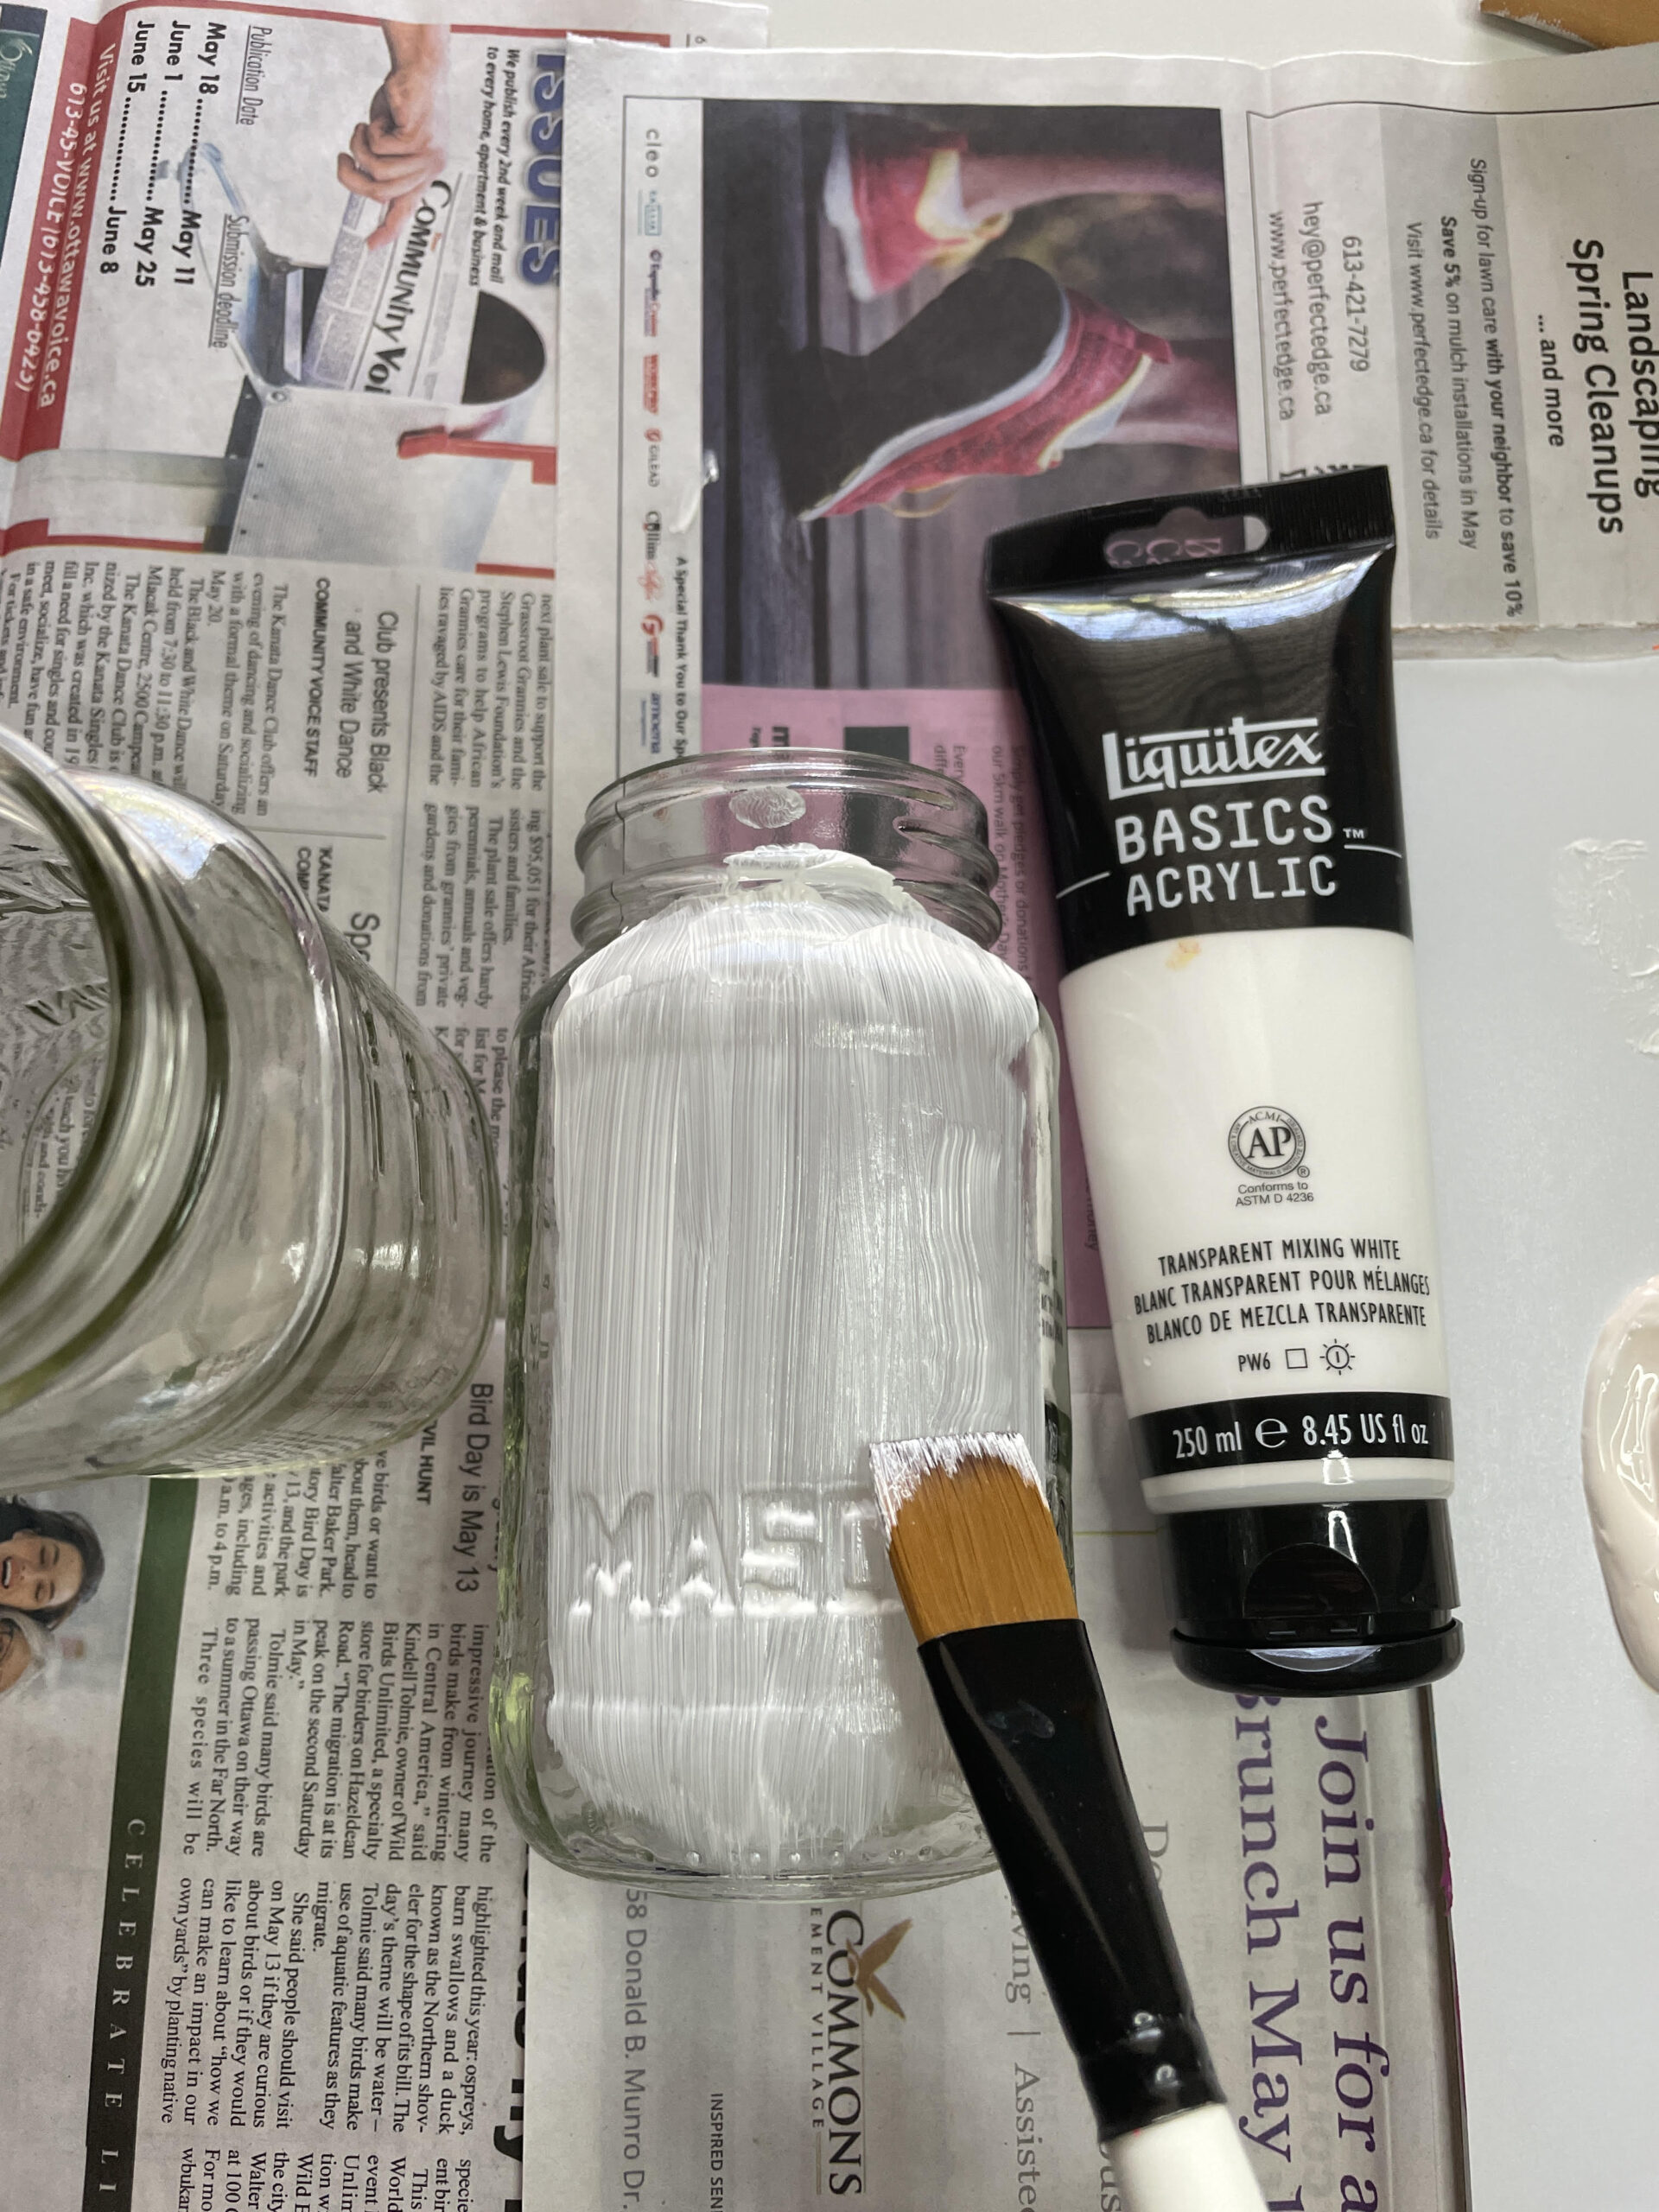
Use afoam brushfor smoothest paint app.
Use vertical, up and down, paint strokes to apply thin layers paint.
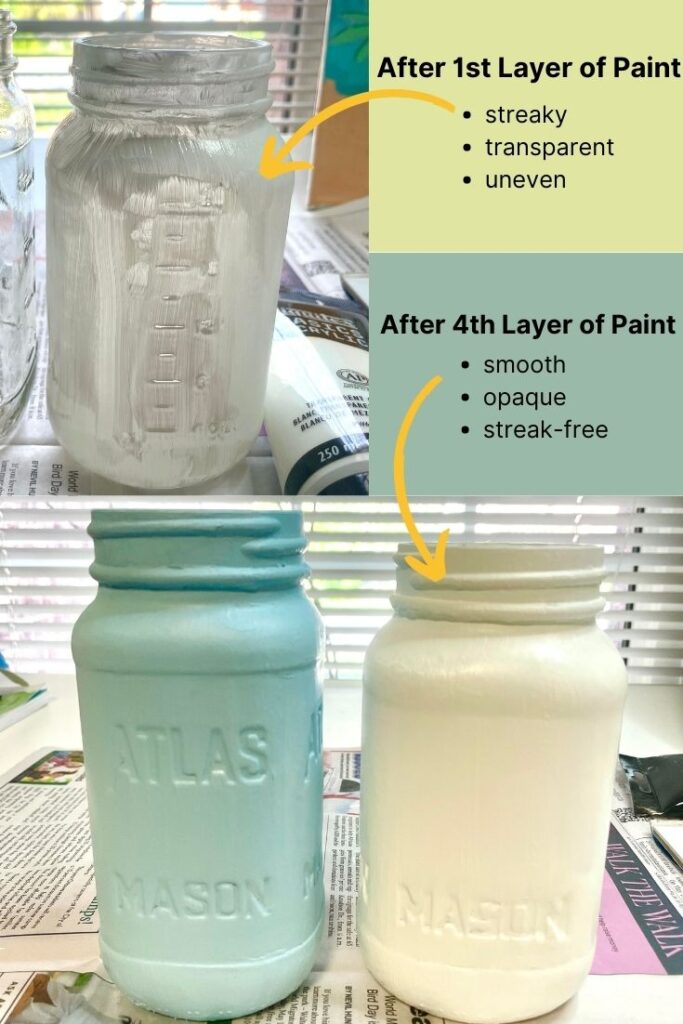
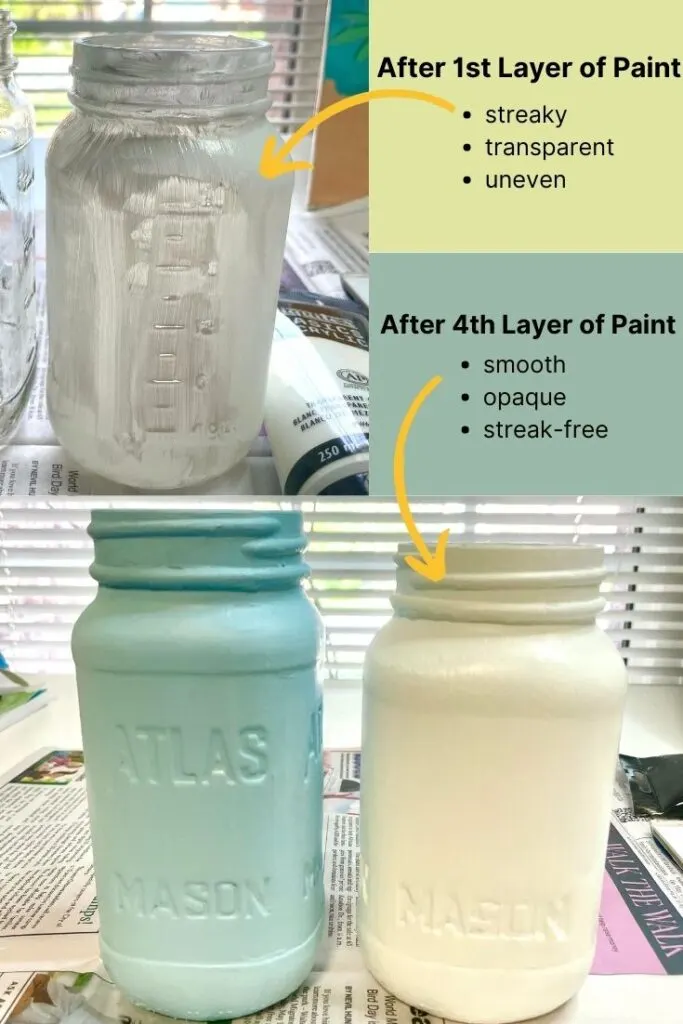
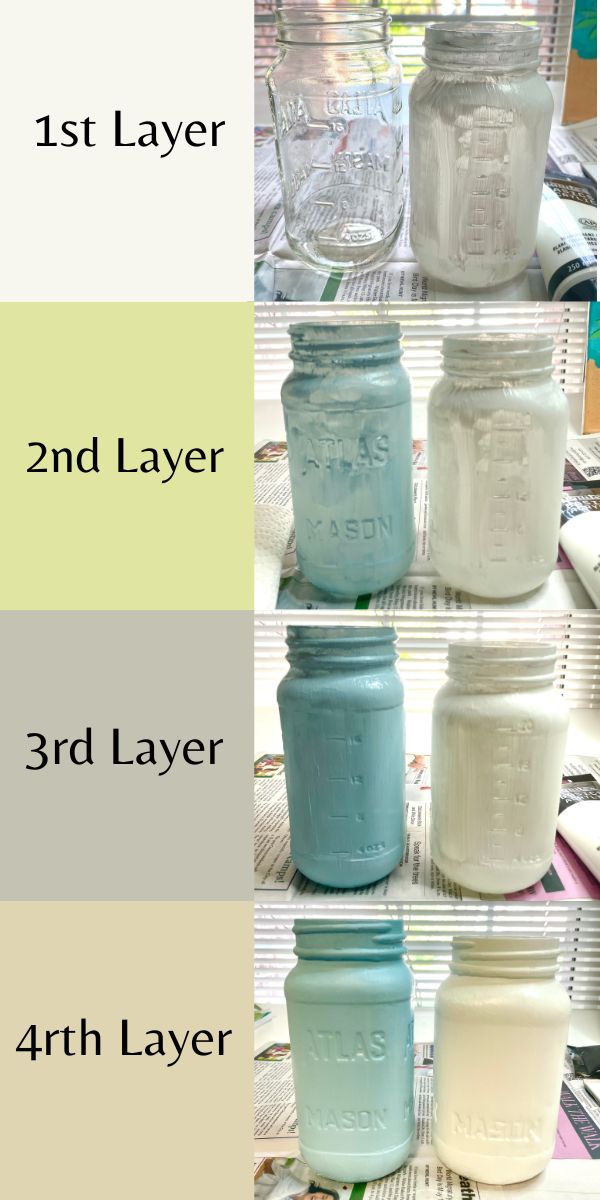
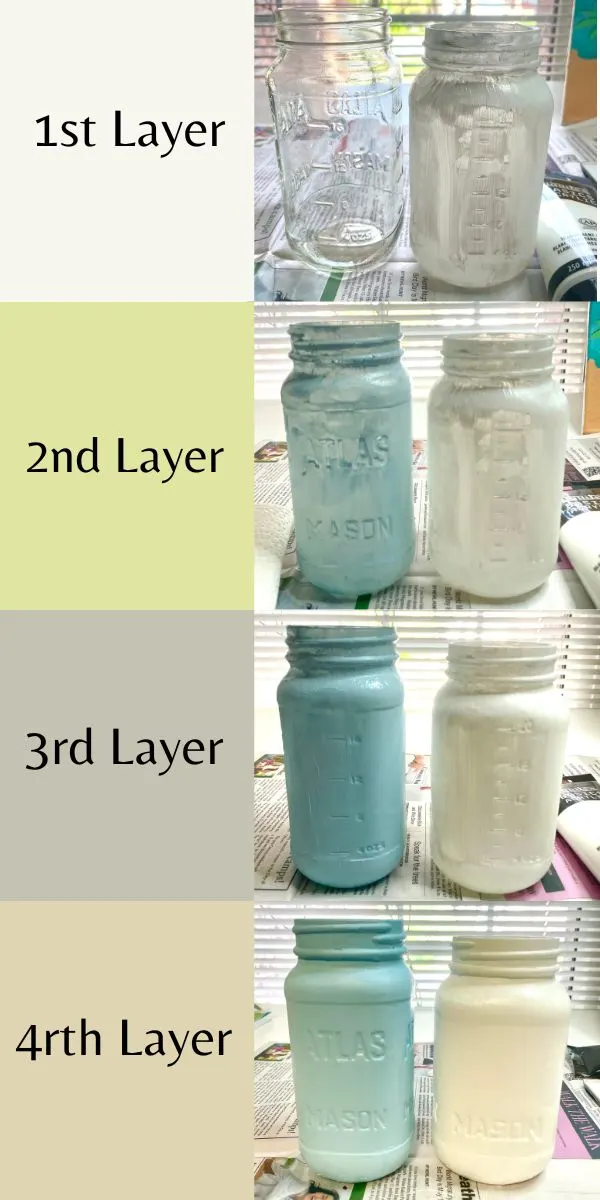
Another tip is to apply multiple thin coats of paint.

Leave each layer to completely dry before the next and work up to an opaque, smooth finish.
The initial 2-3 layers will appear streaky so dont fret!
Just continue adding layers and that streaky look will transform into smooth even paint system.
To speed up drying time en between coats, use a hair dryer.
it’s possible for you to also use painters tape.
Use it to add crisp lines and stripes as nifty design elements.

Or add the tape to the inner lip of the jar so excess paint doesnt get on the inside.
Learn how to paint a mason jar from start to finish with acrylic paints.
Learn what materials/supplies and tips and techniques to get your mason jars looking A+ !
Materials
Instructions
Did you make this project?
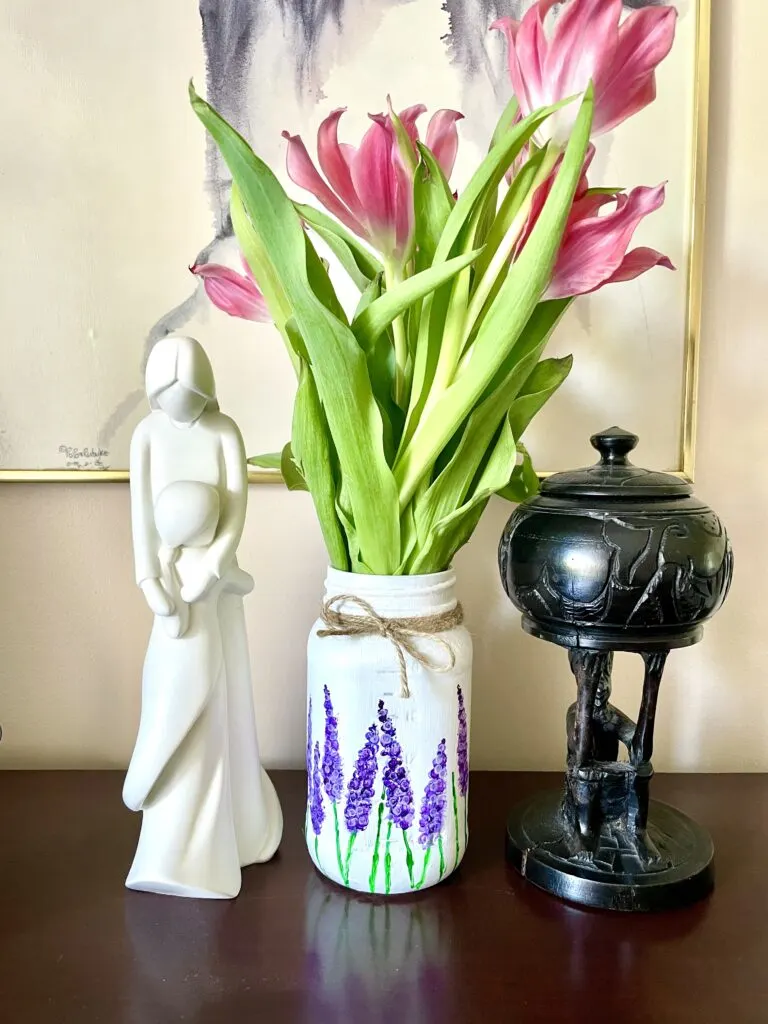
Below are just some ideas of how you’re able to incorporate your jar art into your decor.
When cared for and cleaned properly your painted mason jars should last a very long time.

If youve painted your mason jar with enamel paint and its properly cured then its top rack dishwasher safe.
For mason jars painted with regular acrylic paint and sealed c’mon read the label for cleaning instructions.
Sealing your painted jar makes it must easier to dust too thanks to its smoother, less-porous surface.
Just be careful as acrylic paint on glass without sealer can easily chip and scratch off.
Conclusion
Congratulations!
Youve now unlocked the secrets to transforming ordinary mason jars into extraordinary works of art.

So, dive into the world of painted mason jars and let your creativity flourish.
If you liked this post hey pin it!