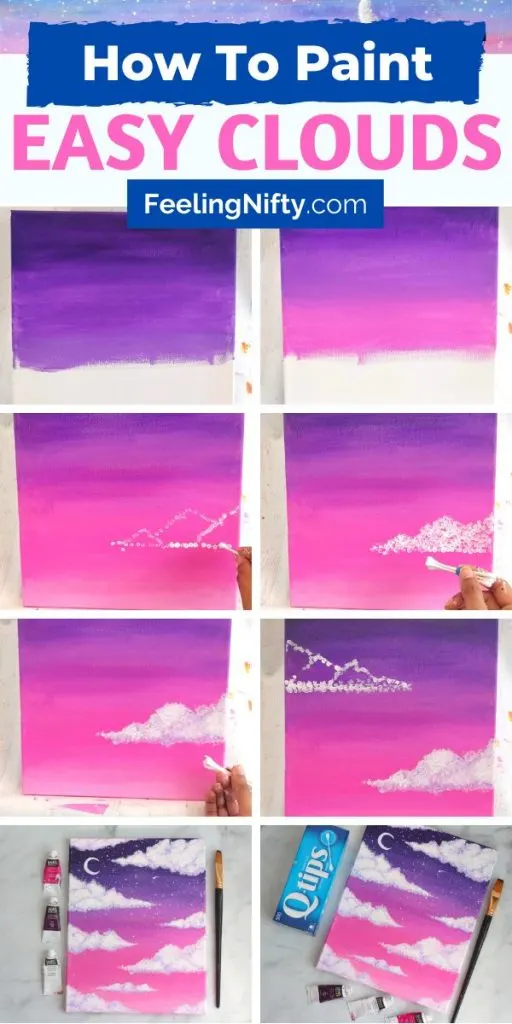
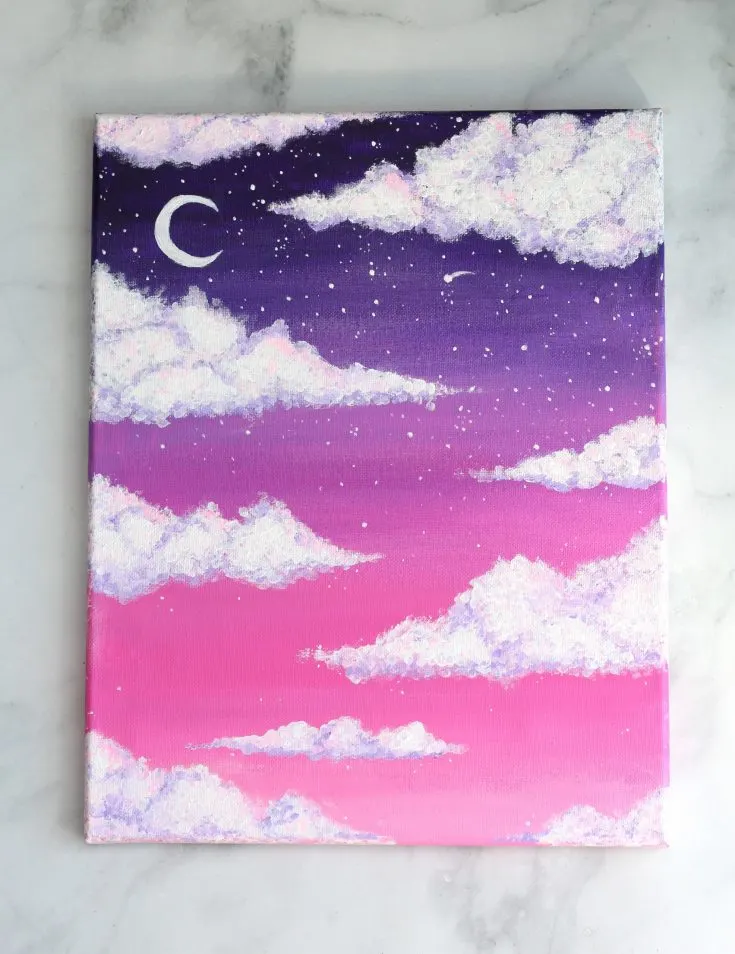
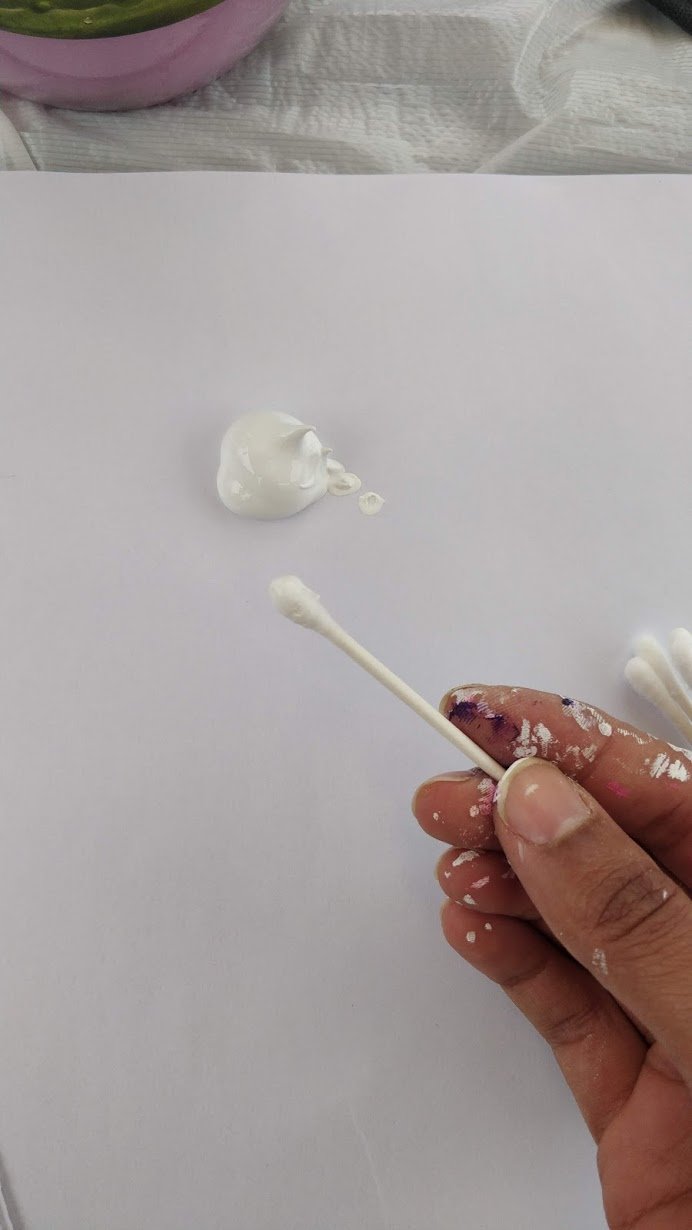
This fool-proof technique uses q-tips/cotton swabs and is relaxing to paint.
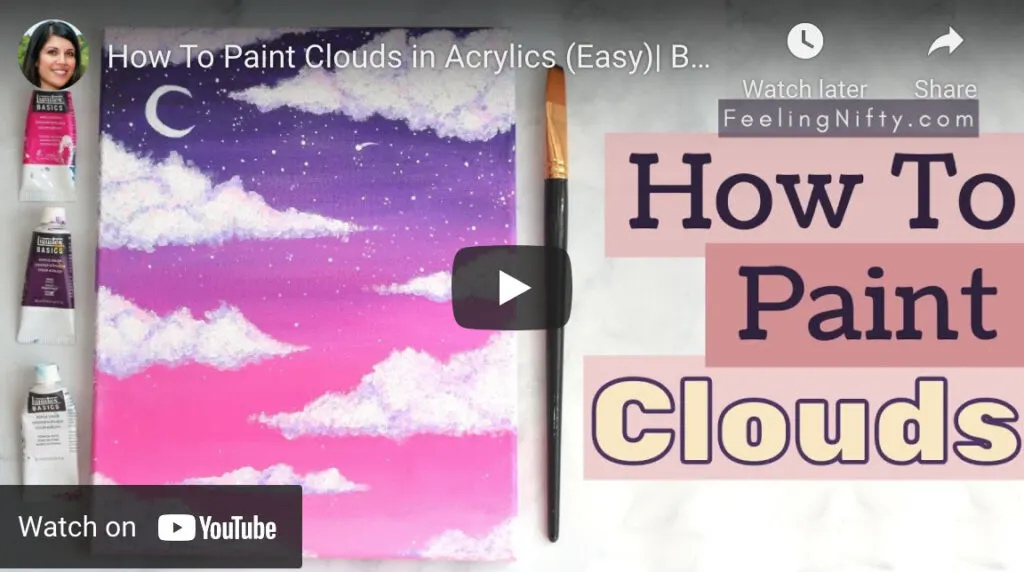
Youll learn this technique in the step-by-step tutorial below or a full length YouTube tutorial.
In my opinion, the end or final painting doesnt matter so much as the process does.
I had lots of fun making this cloud painting tutorial, hope you enjoy painting it too!
Now lets get ready to paint some clouds!
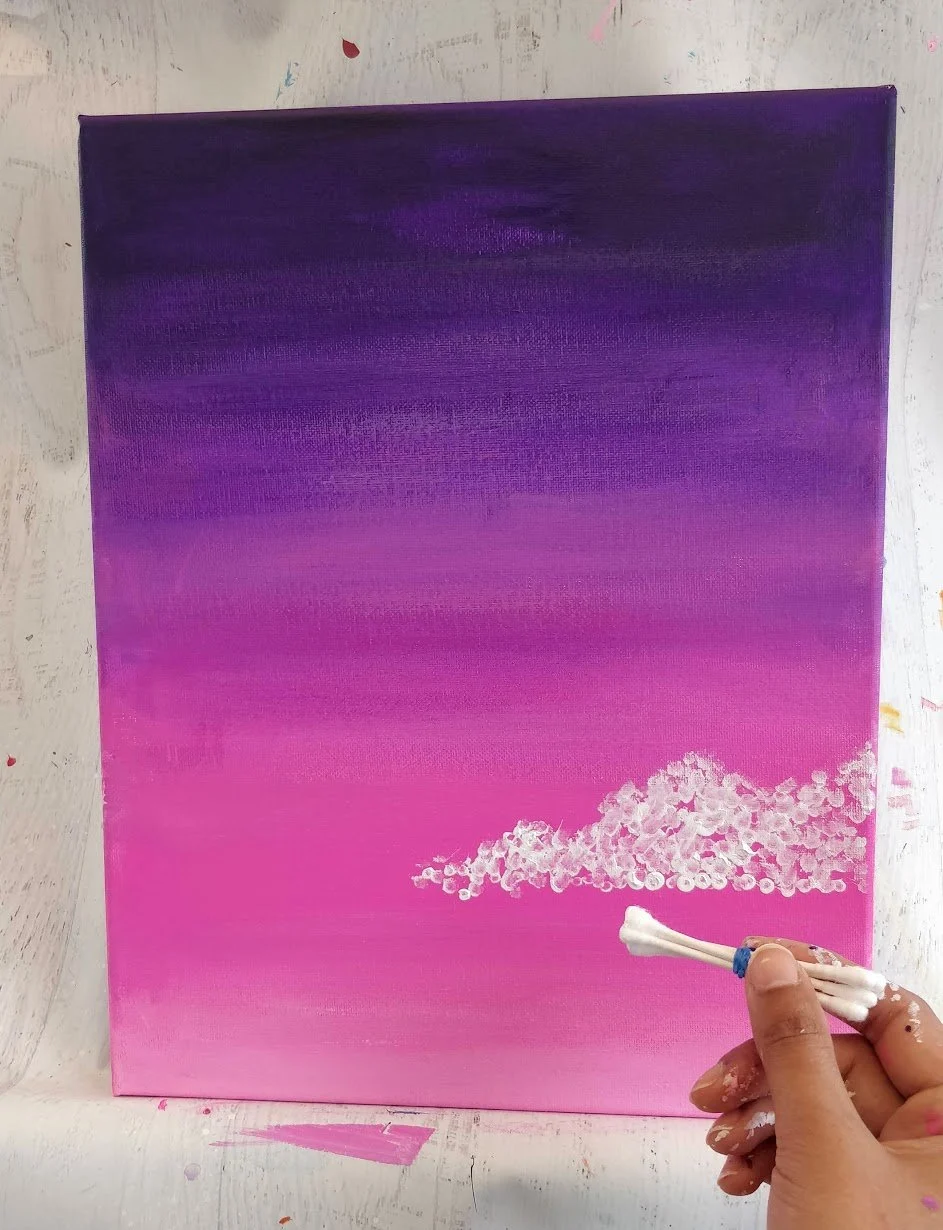
My technique uses another tool, a tool you probably already have at home right now!

Q-tips!..orcotton swabs, depending on where you live.
Yep, those nifty ear cleaning tools, can be doubled as a fun painting tool!
It allowed me to form the clouds faster.

Before starting any painting, this was an exercise all the students used to do.
Its a simple and nifty trick that you could use too!
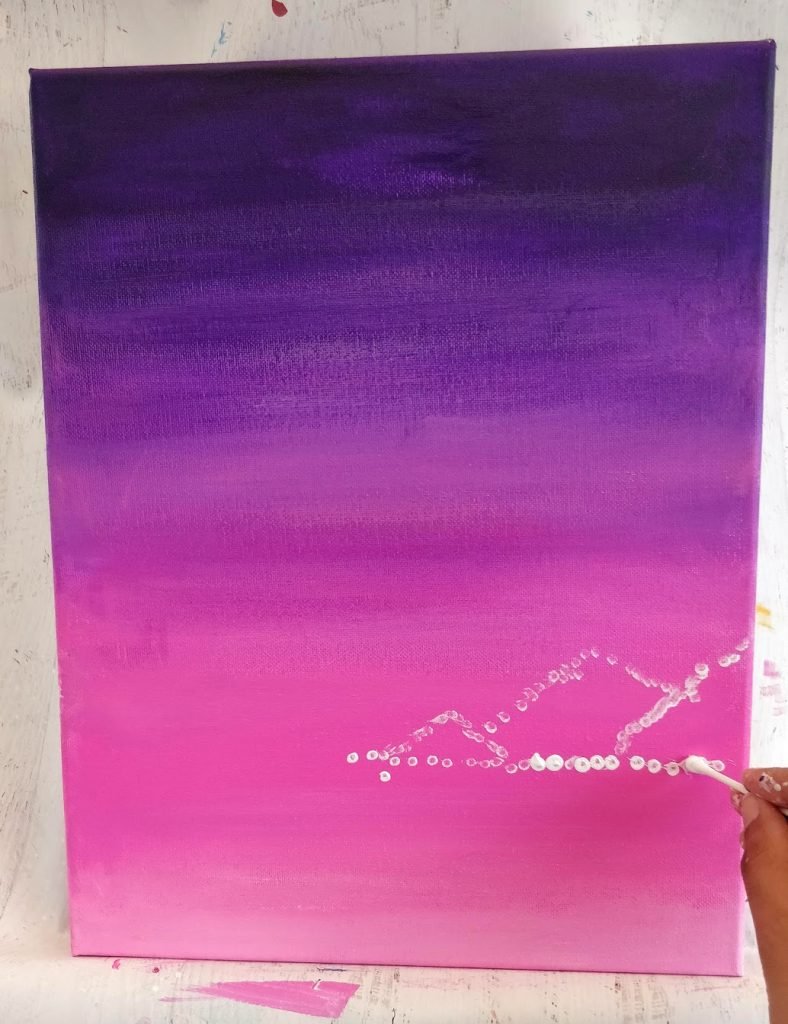
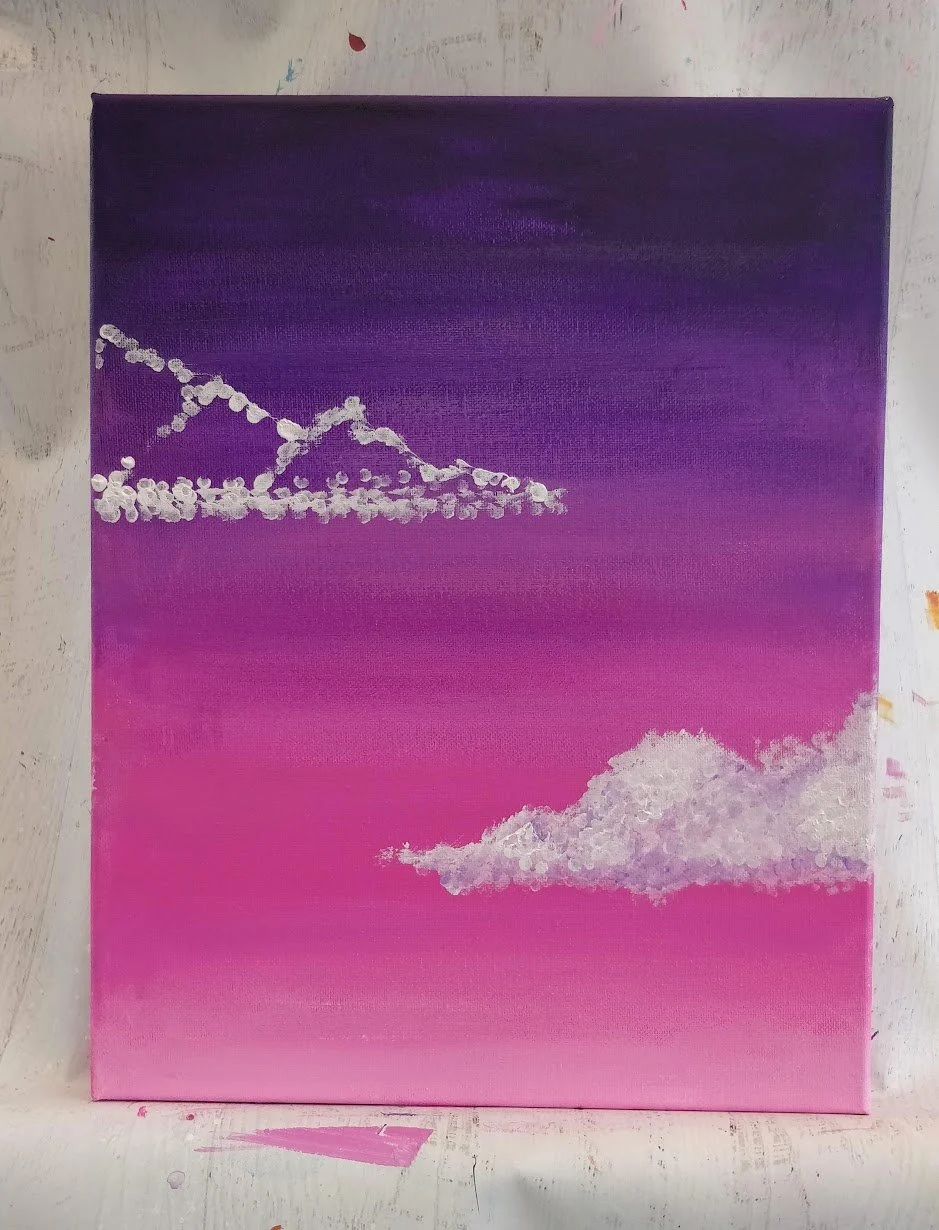
Clouds are a perfect example of how you might start looking at objects in terms of simple shapes.

And youve probably already done it as a child!
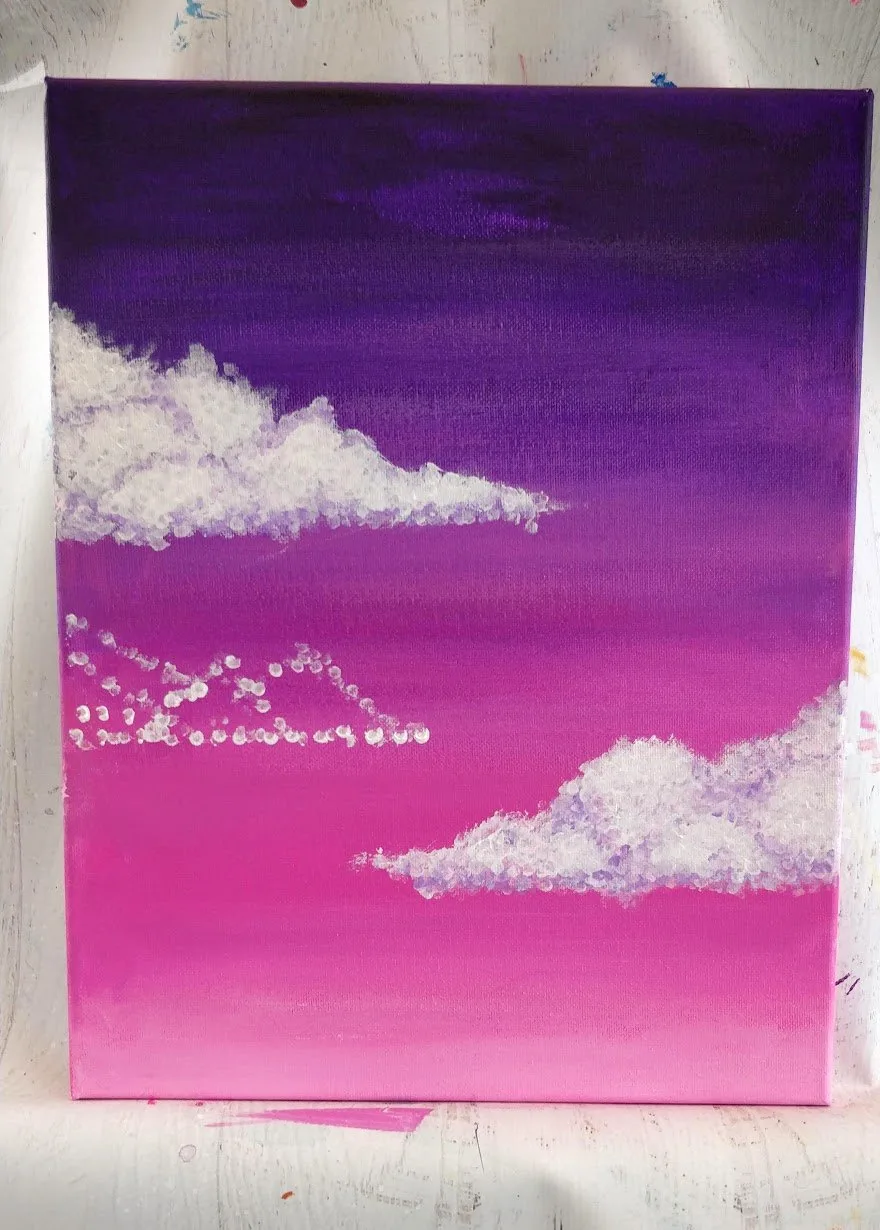
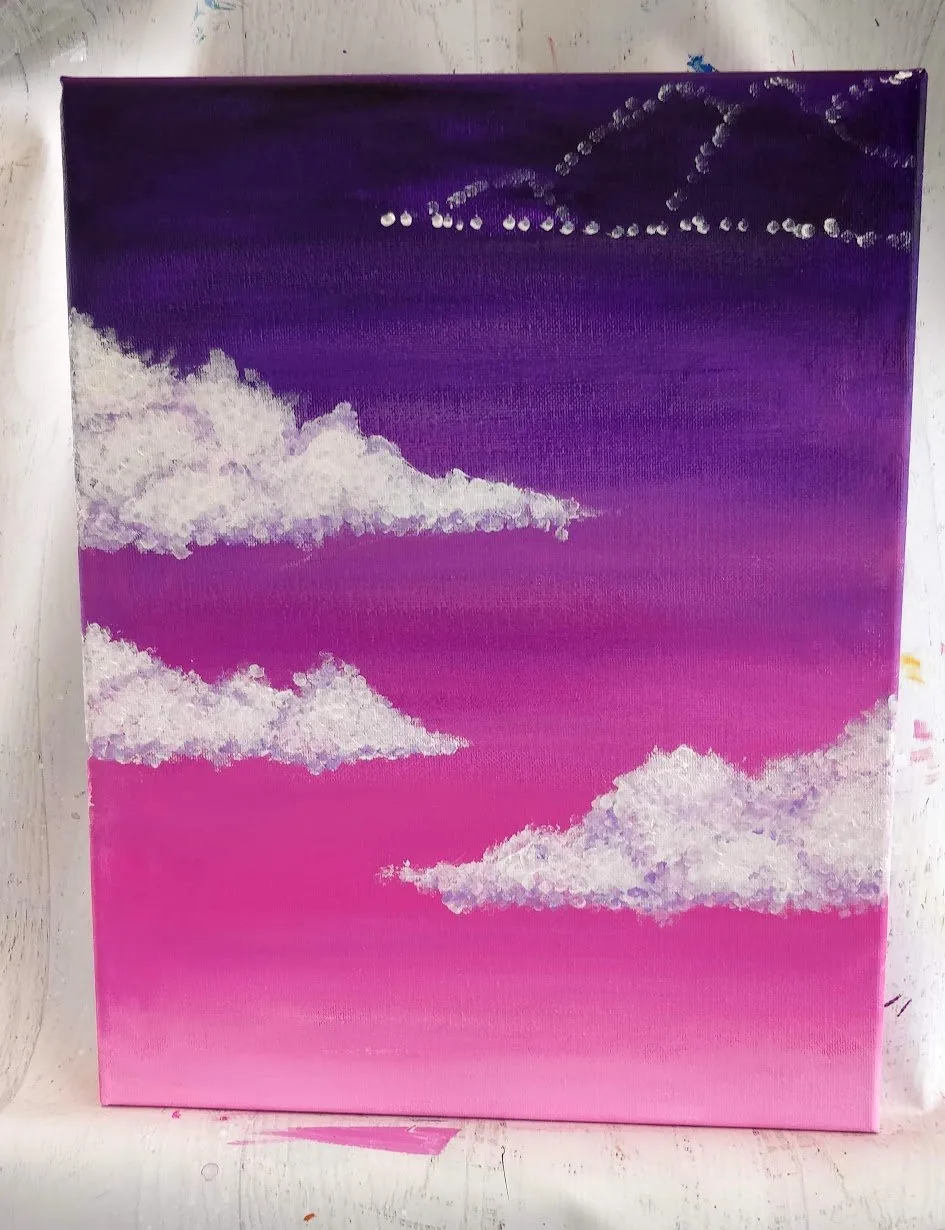
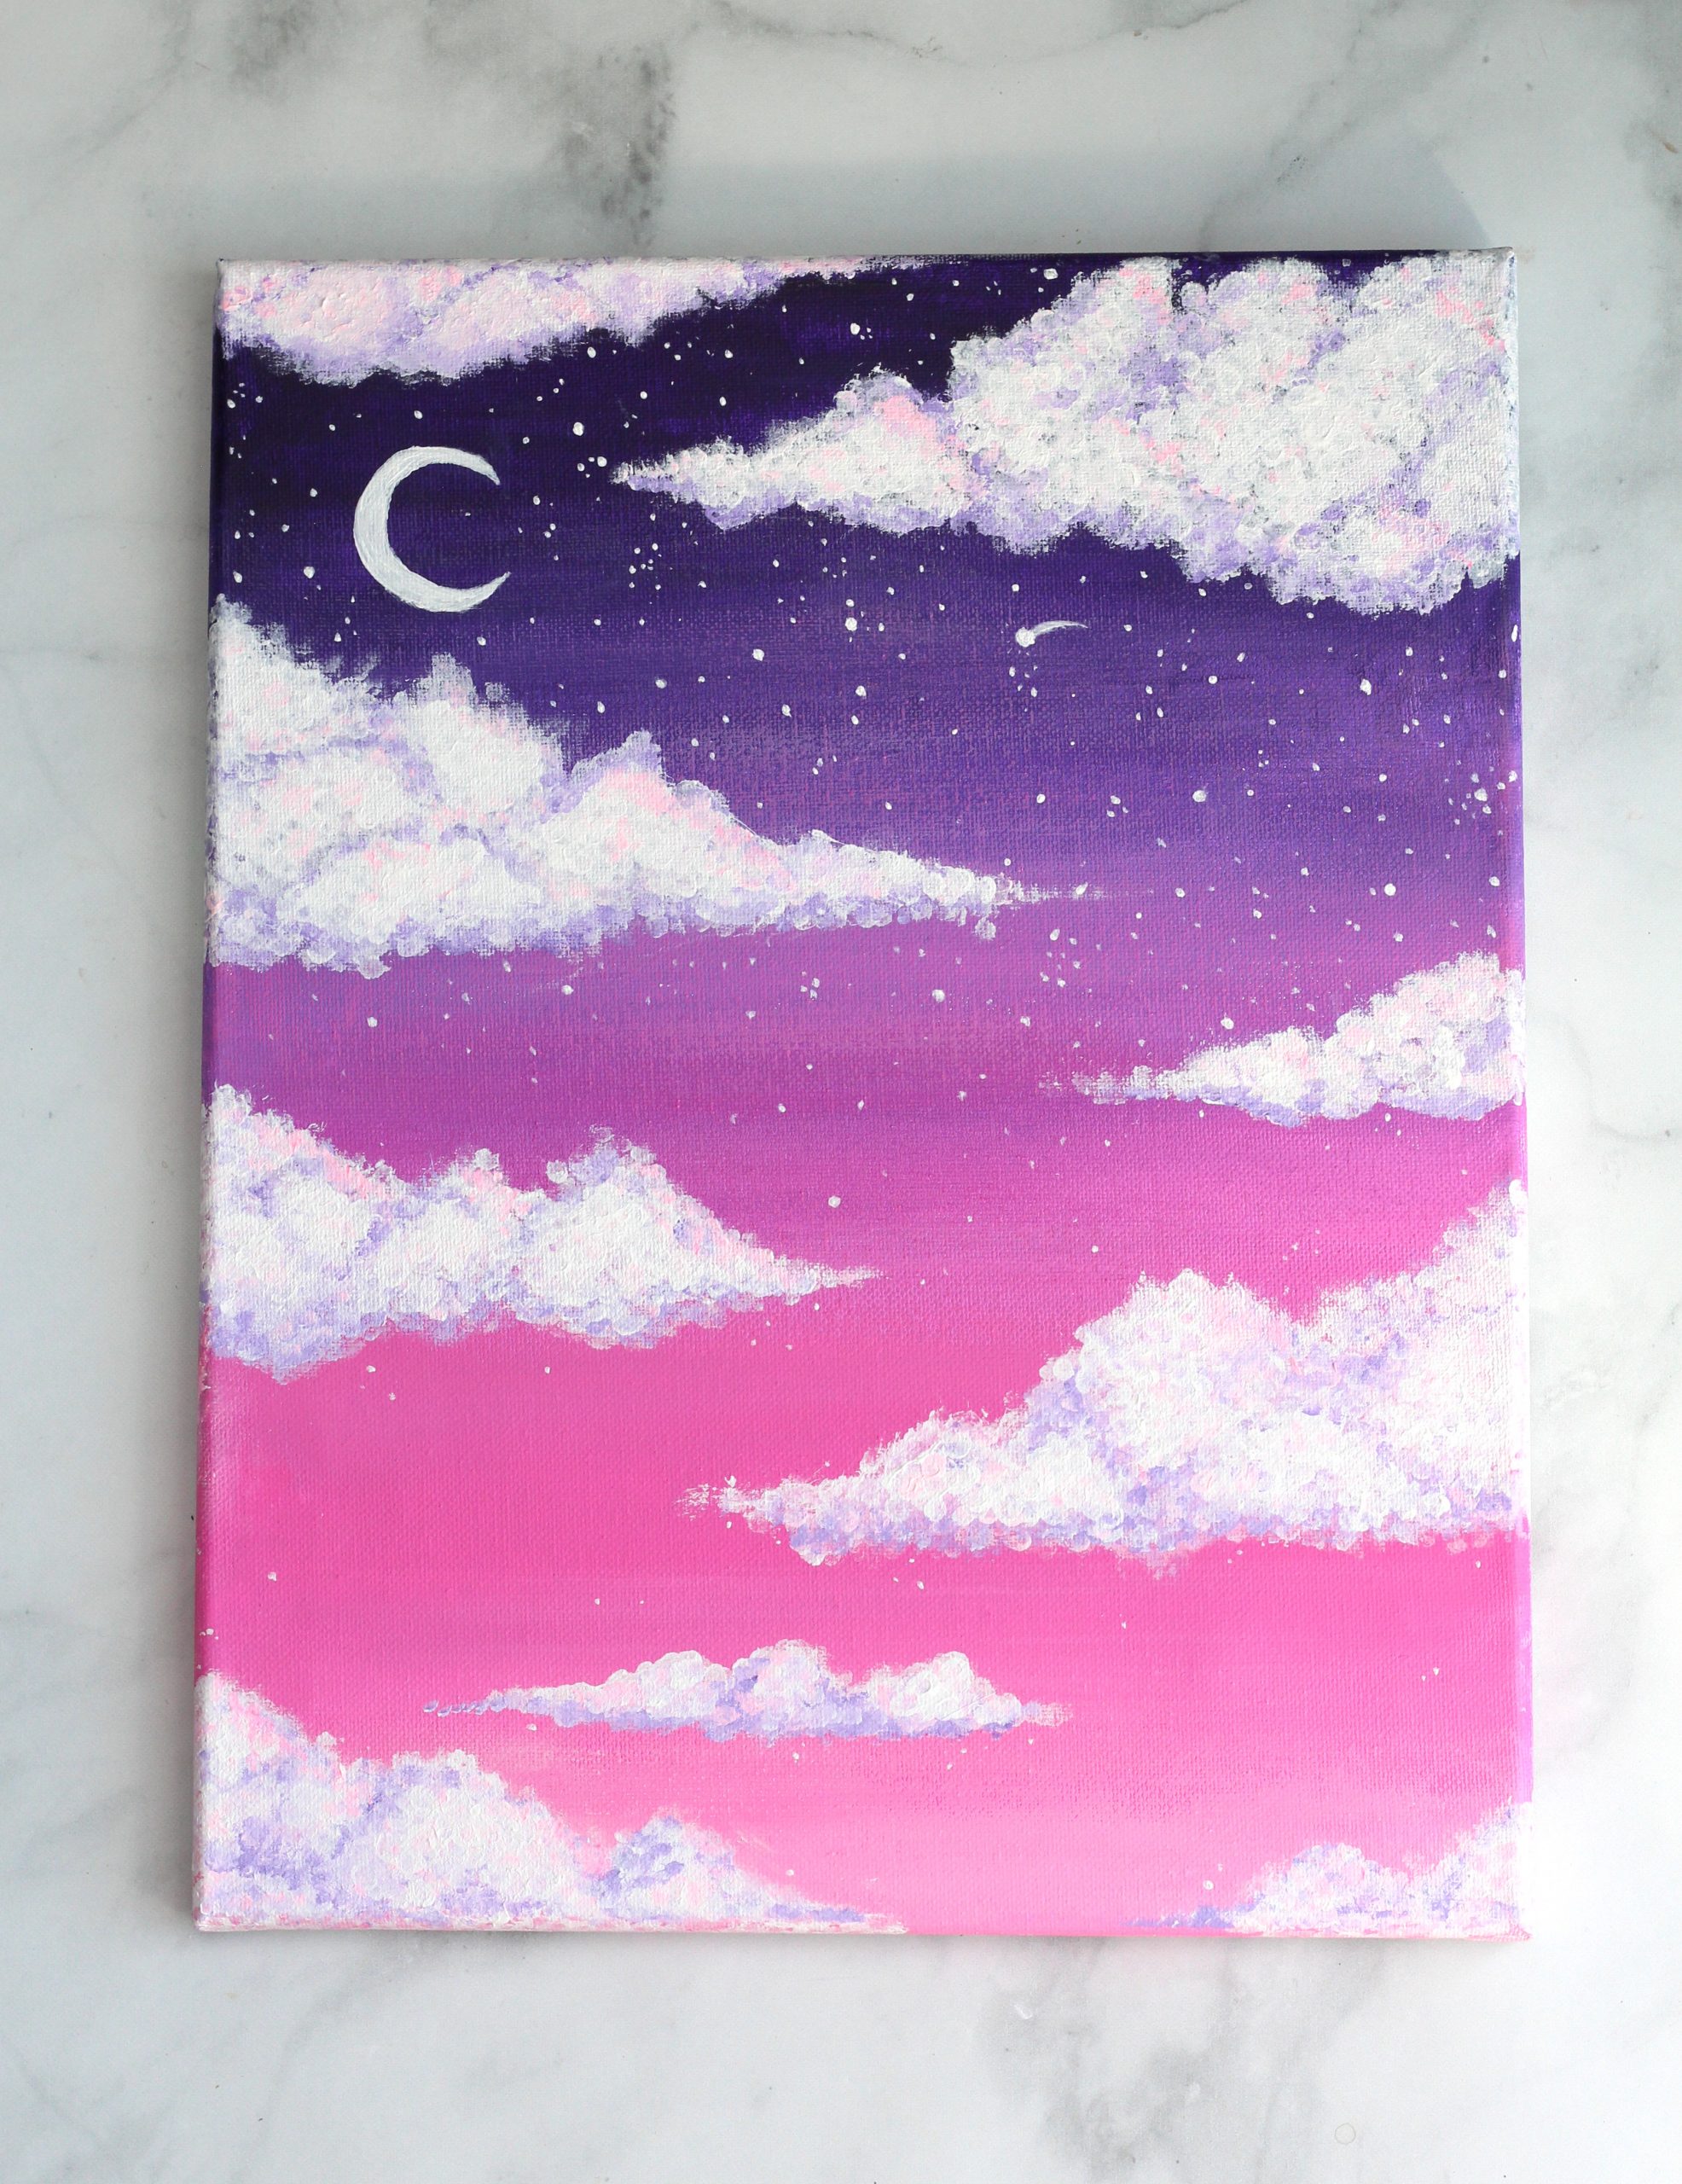
For the clouds in the painting below, I saw a triangle shape in them.
The shapes can overlap and can be as big/small as you like.

Comment below which shapes YOU found!
What Colors Do you should probably Paint Clouds?
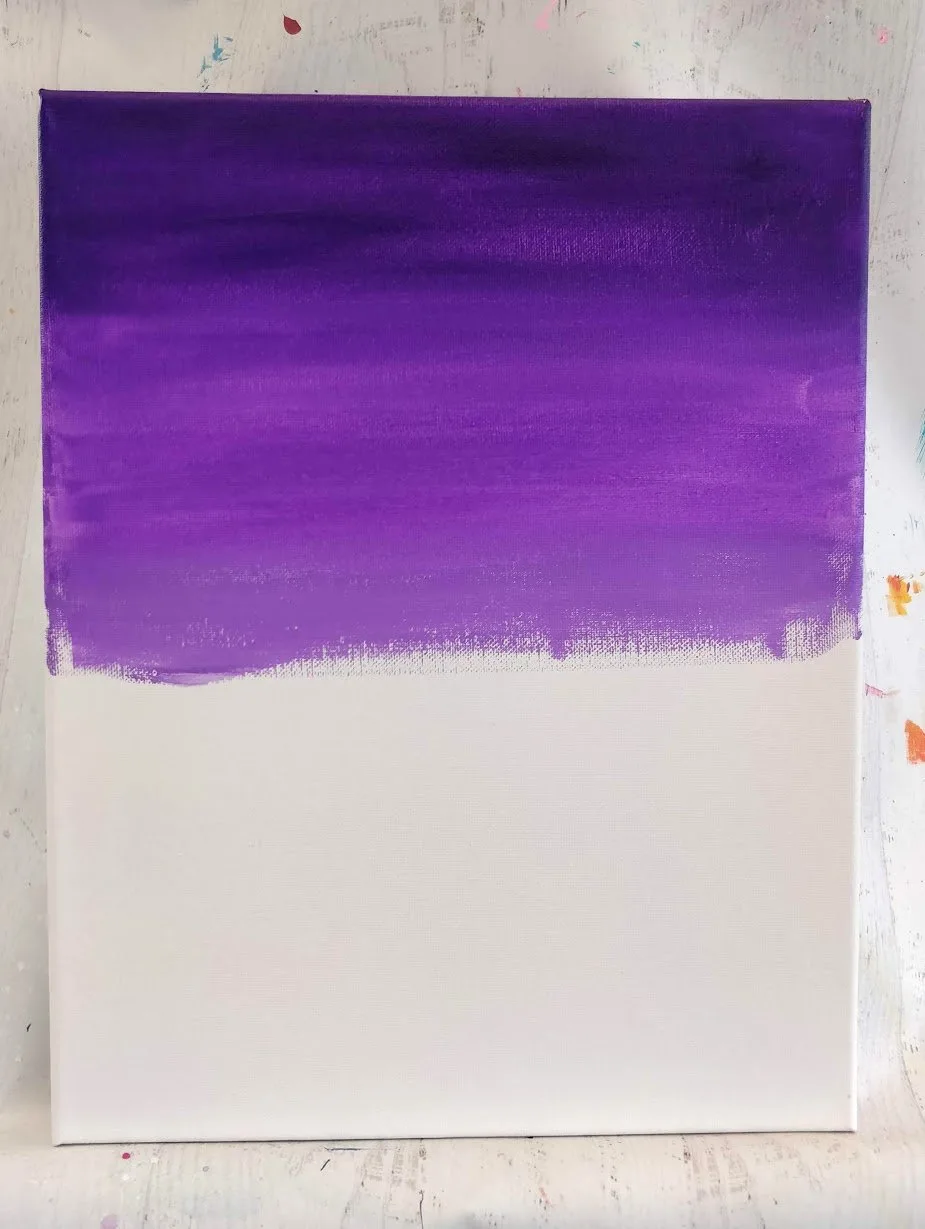
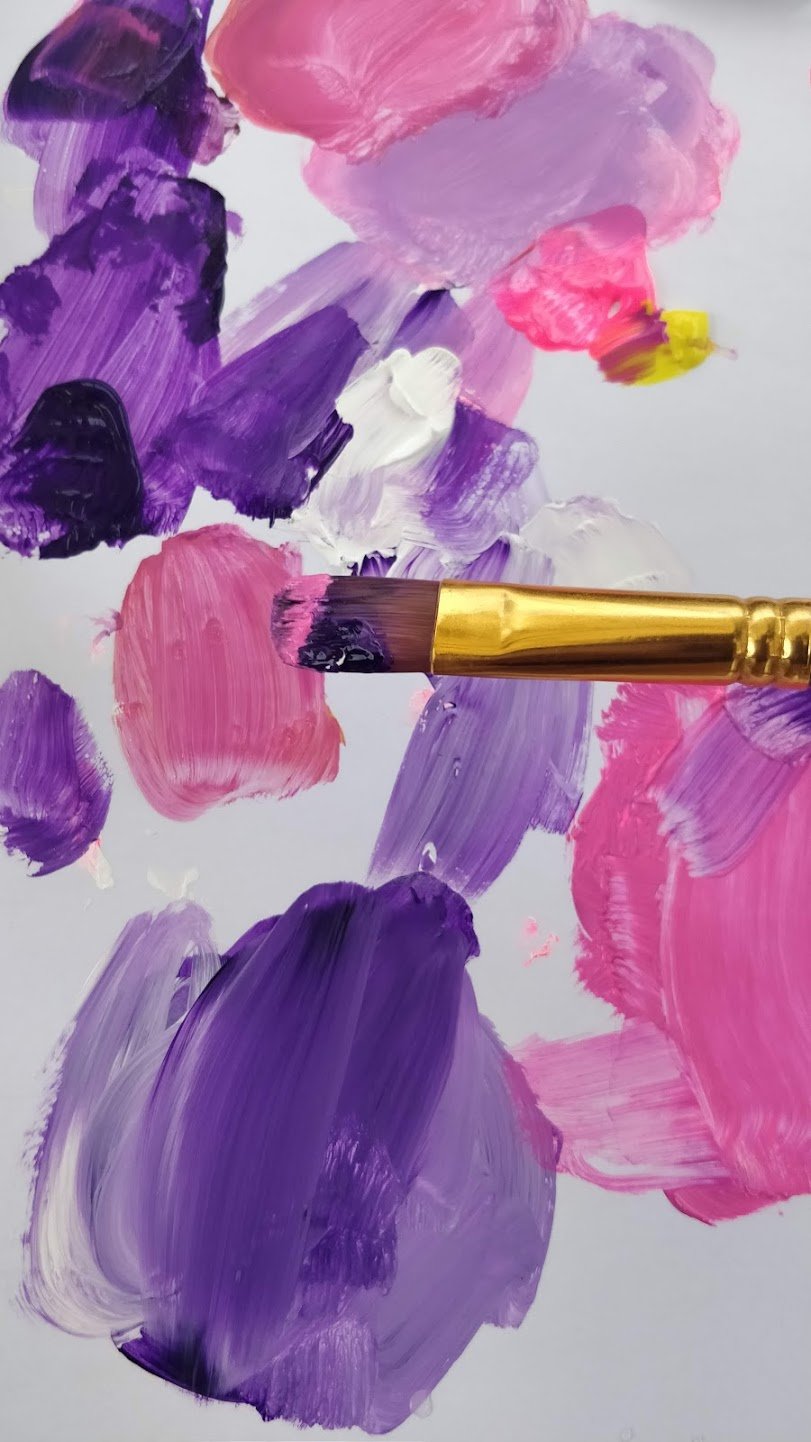
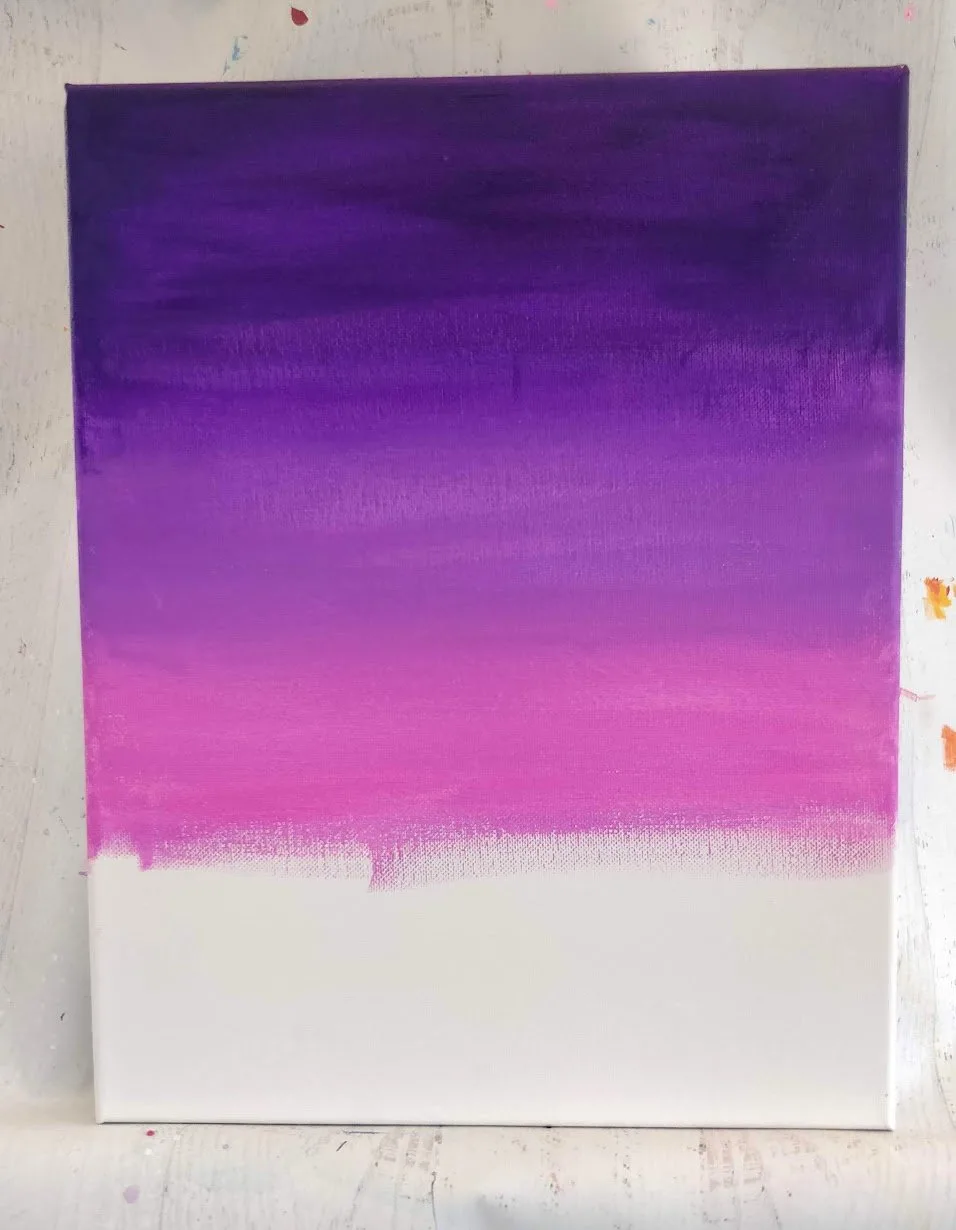
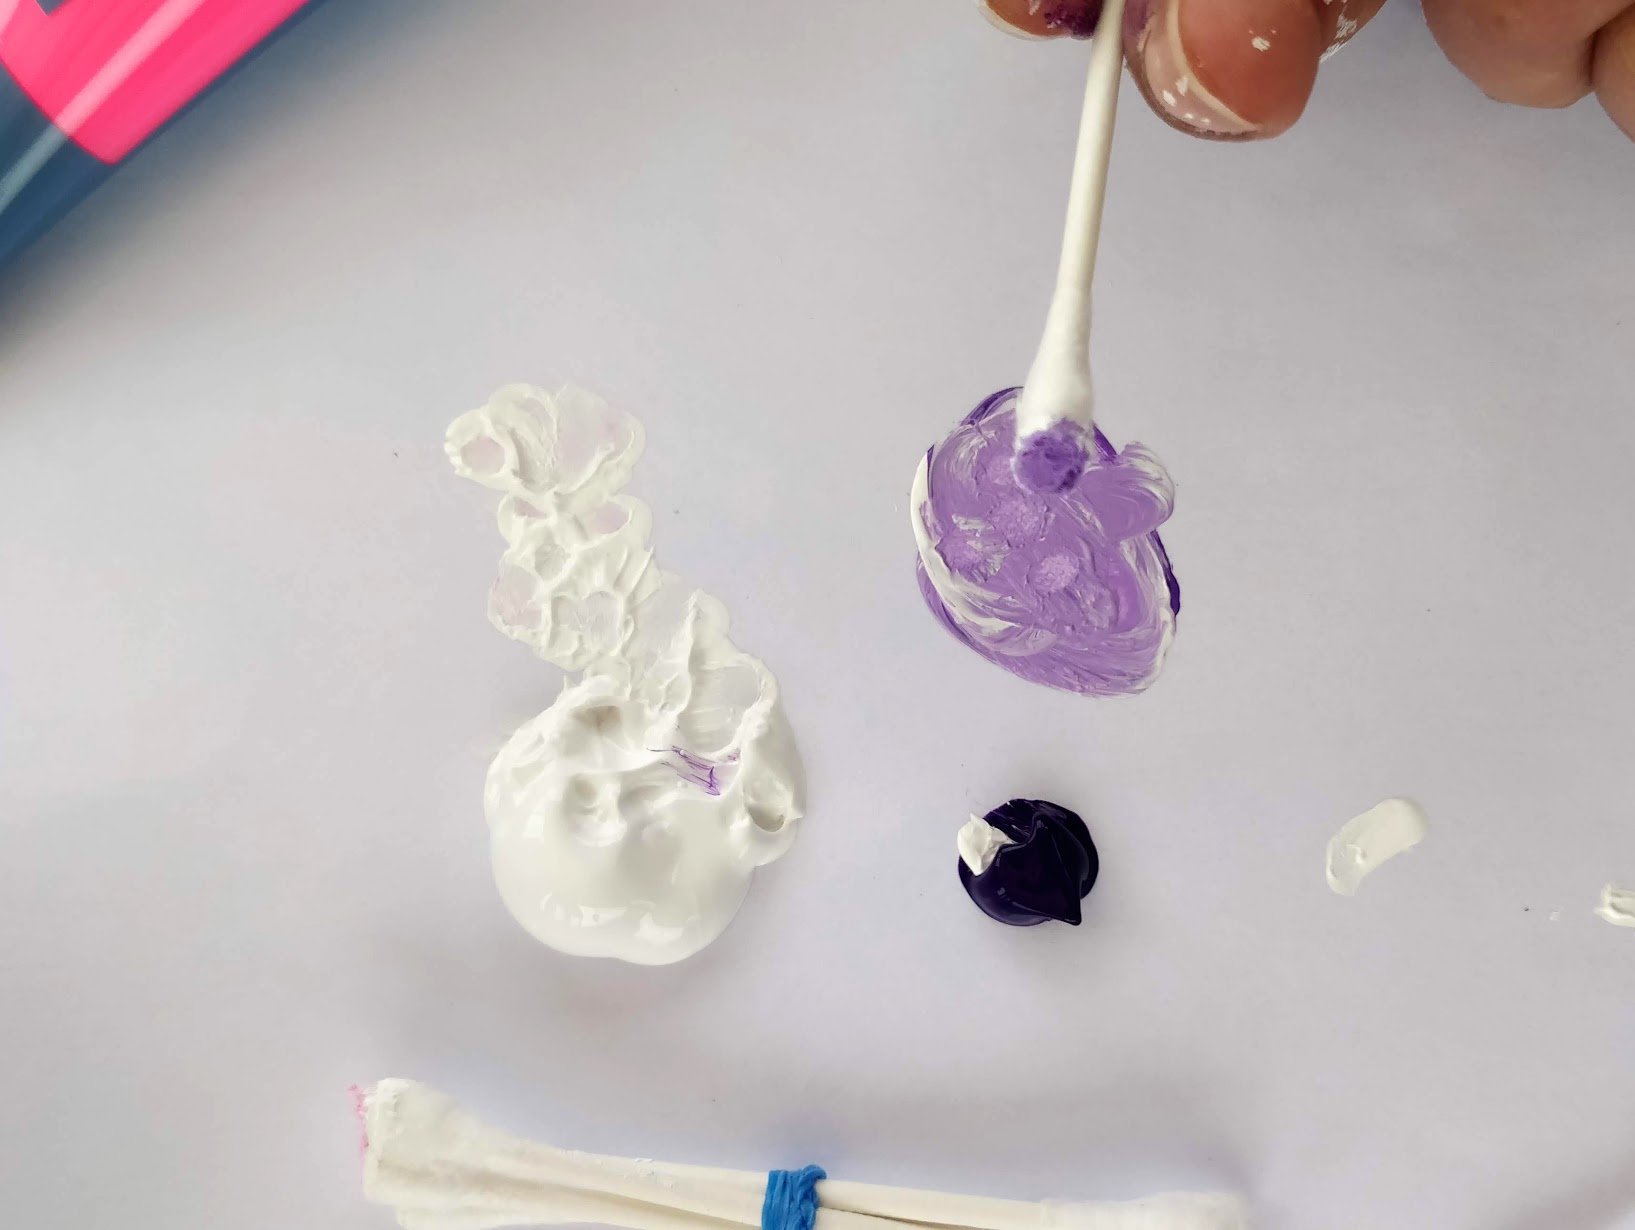
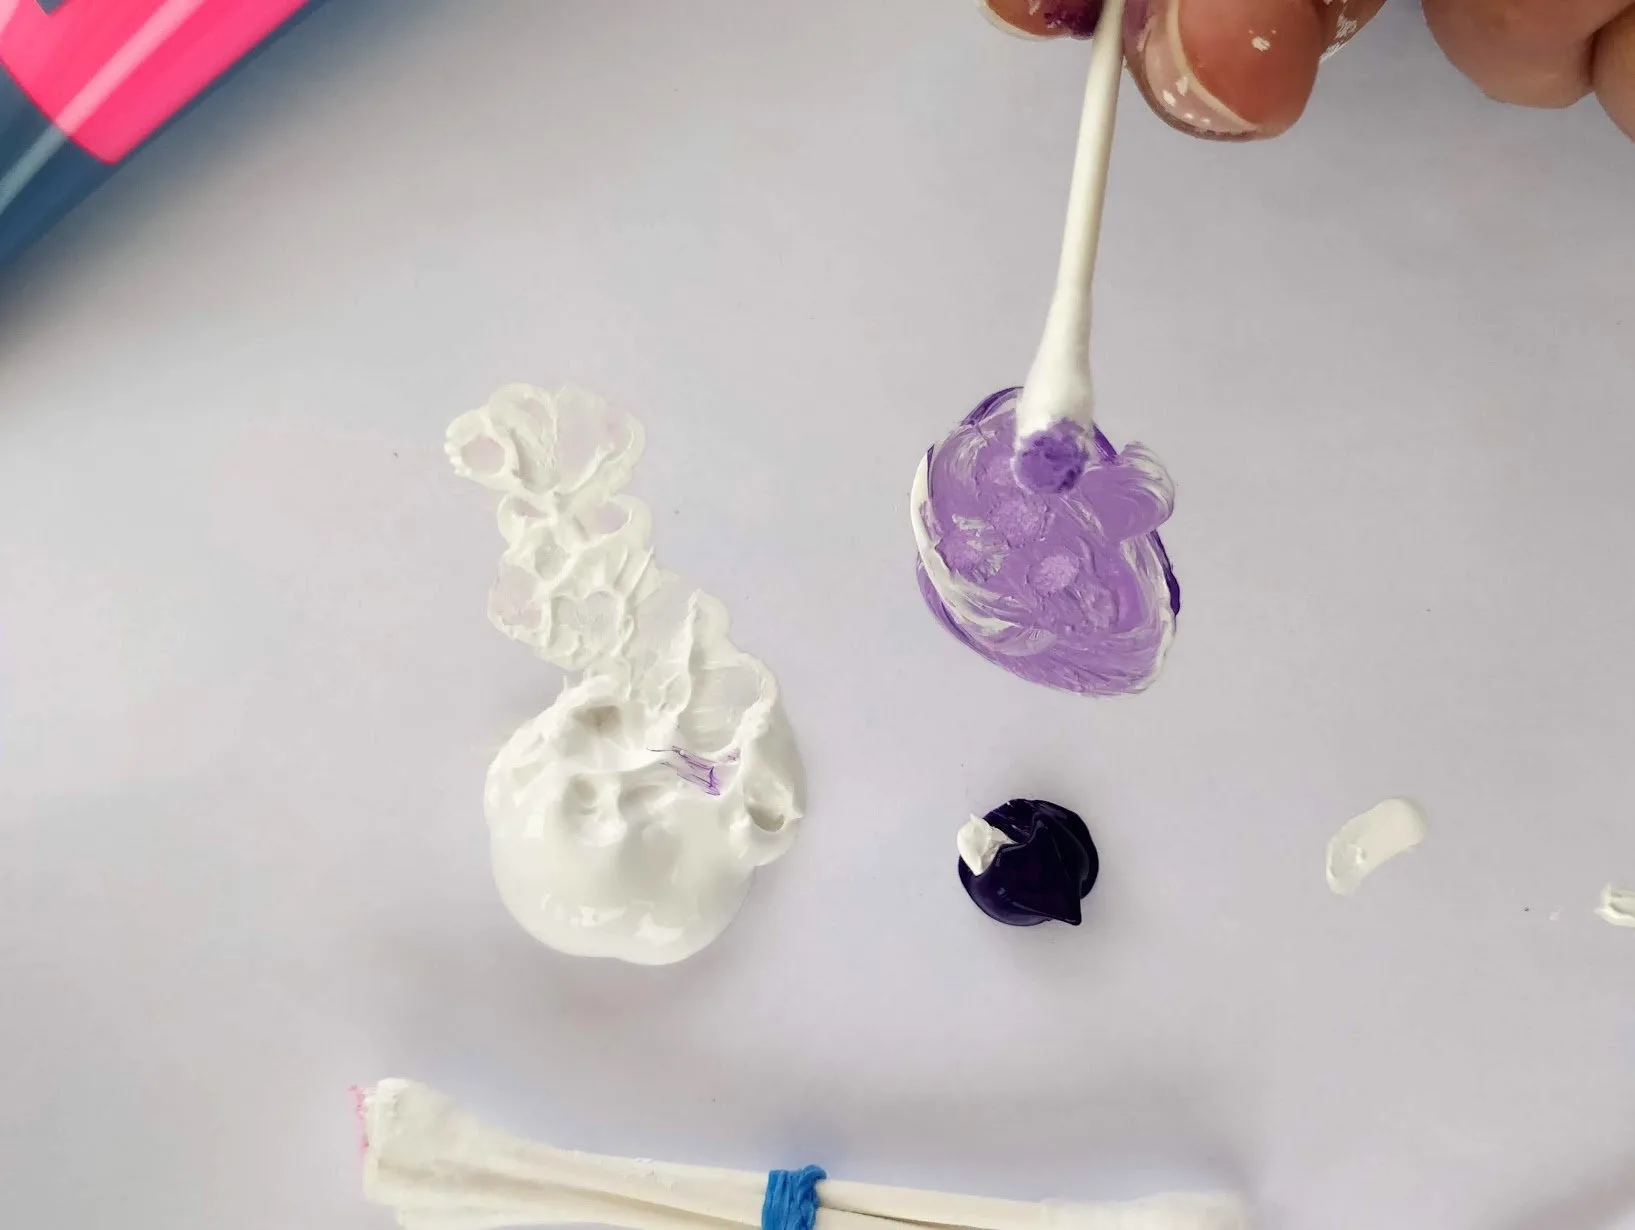
I used white acrylic paint as the base color for all my clouds.

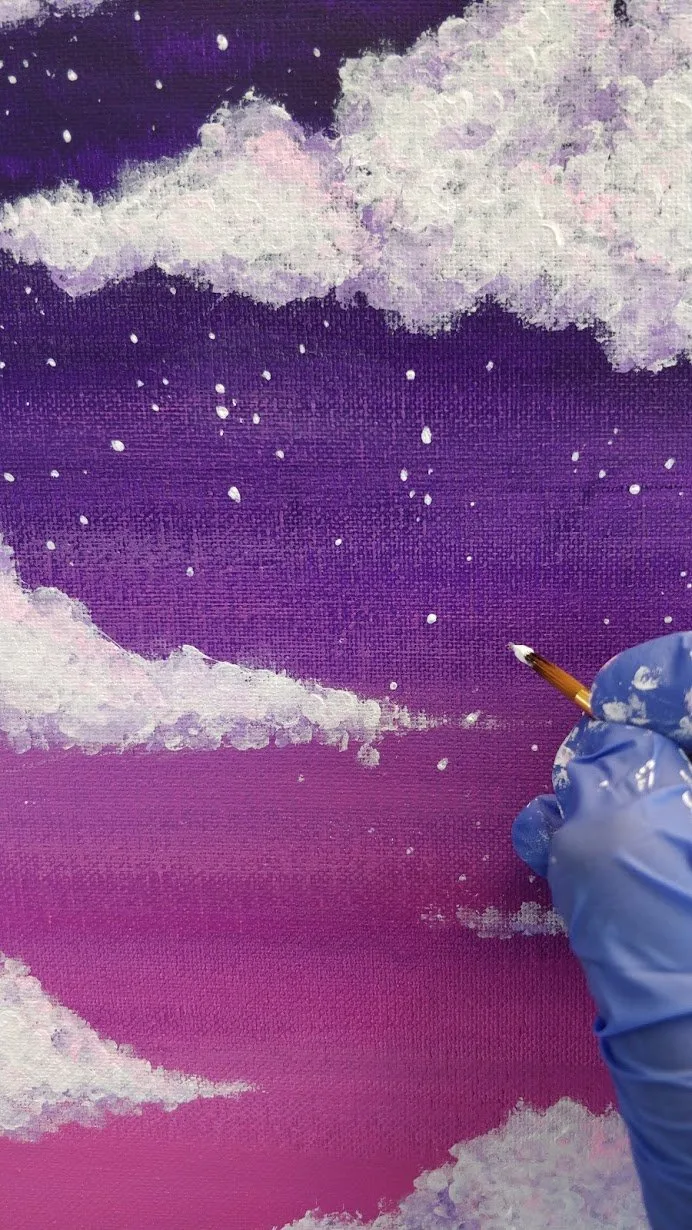
Clouds also have shadows in them, this gives them dimension and depth.
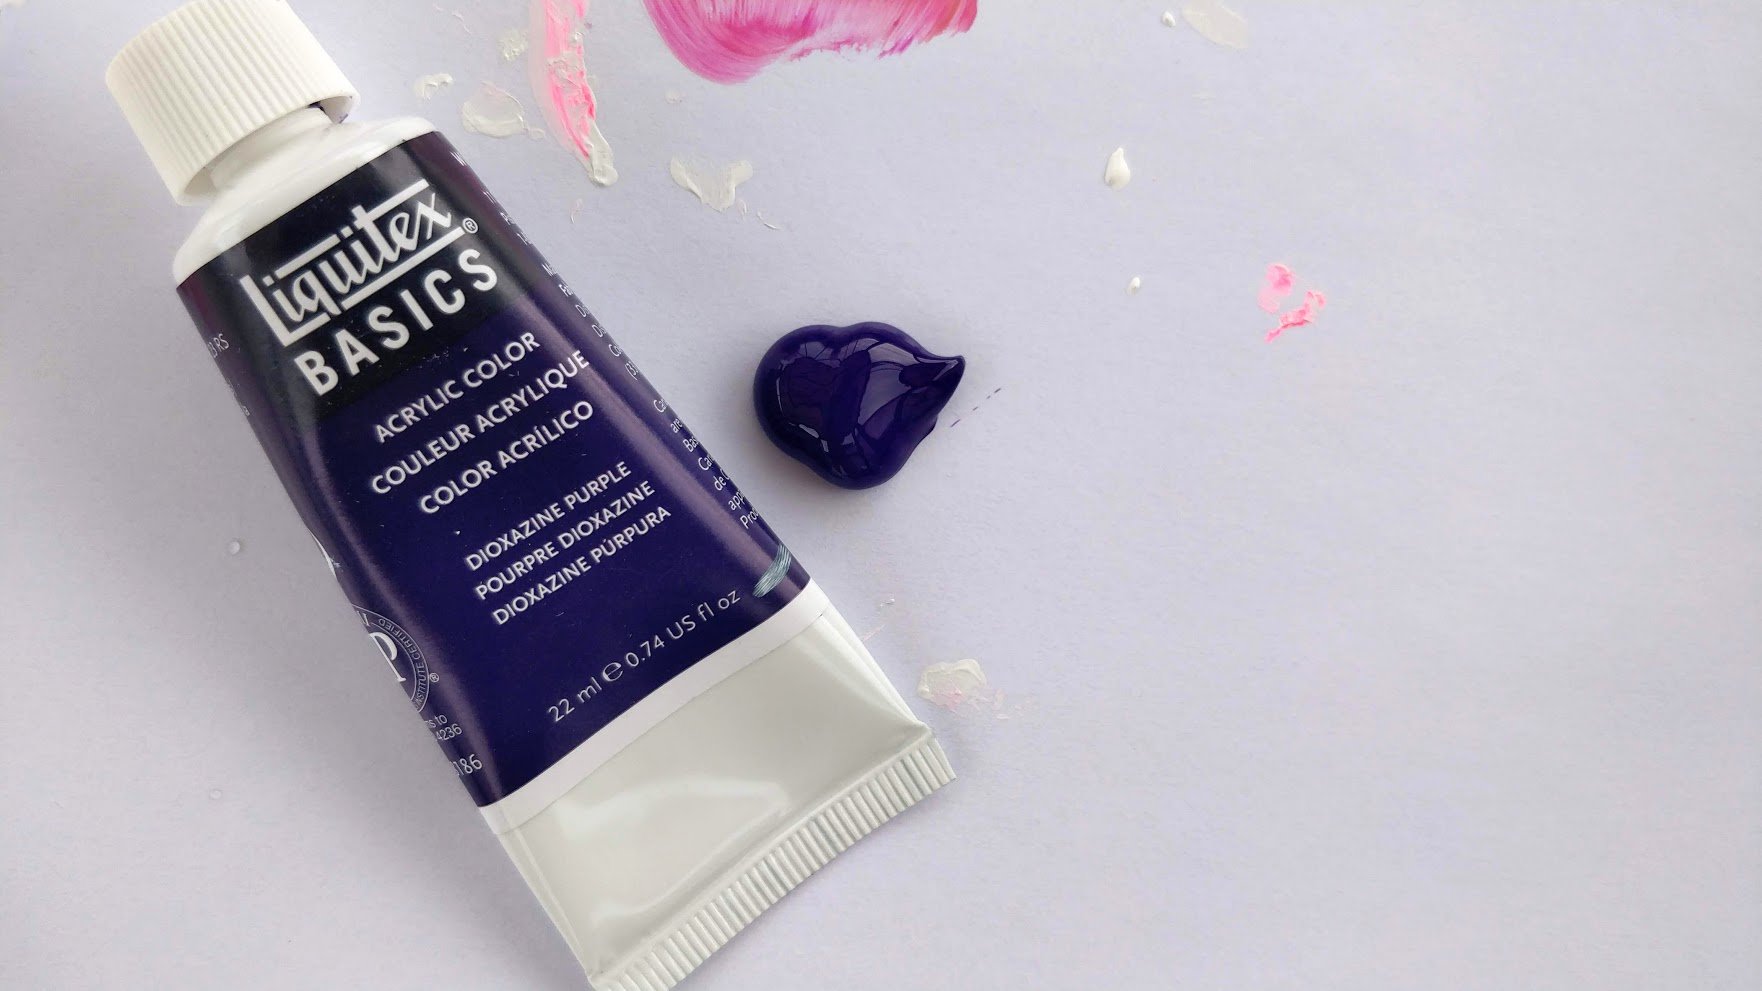
For the shadows portion, I used a lovely and soft lavender color.
I simply mixed a tiny bit of my Liquitexviolet prismintowhite paint.

This layering approach is super important in painting and really adds beautiful depth into it.
It is also important to paint each cloud while its still wet.
This ensures that each layer you add to it blends nicely together.
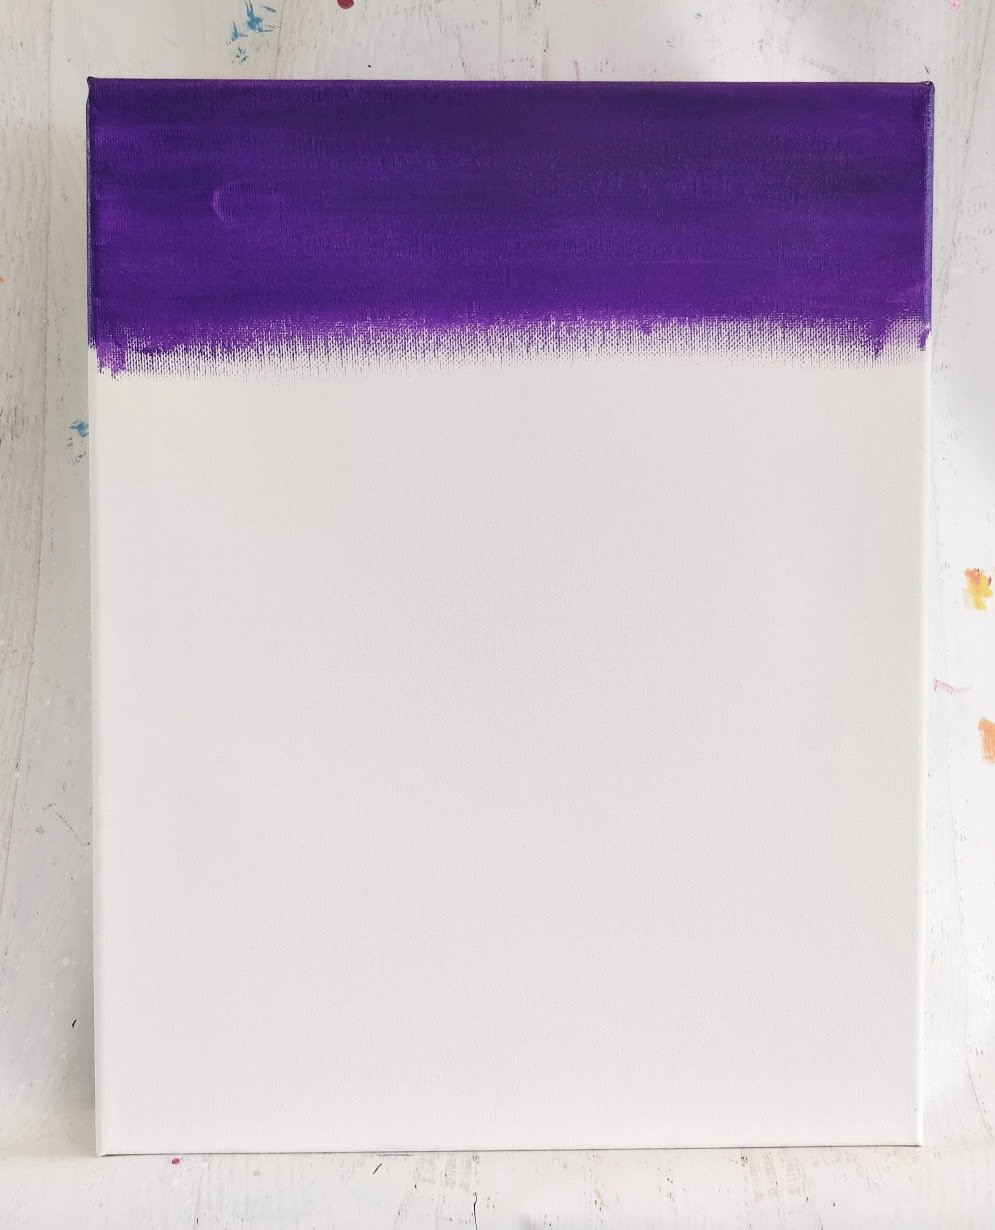
I encourage you to think of what color choices inspire you for your background.
Experimenting with color is fun, I hope youll give it a try!
Your painting will be that much more unique and more YOU!

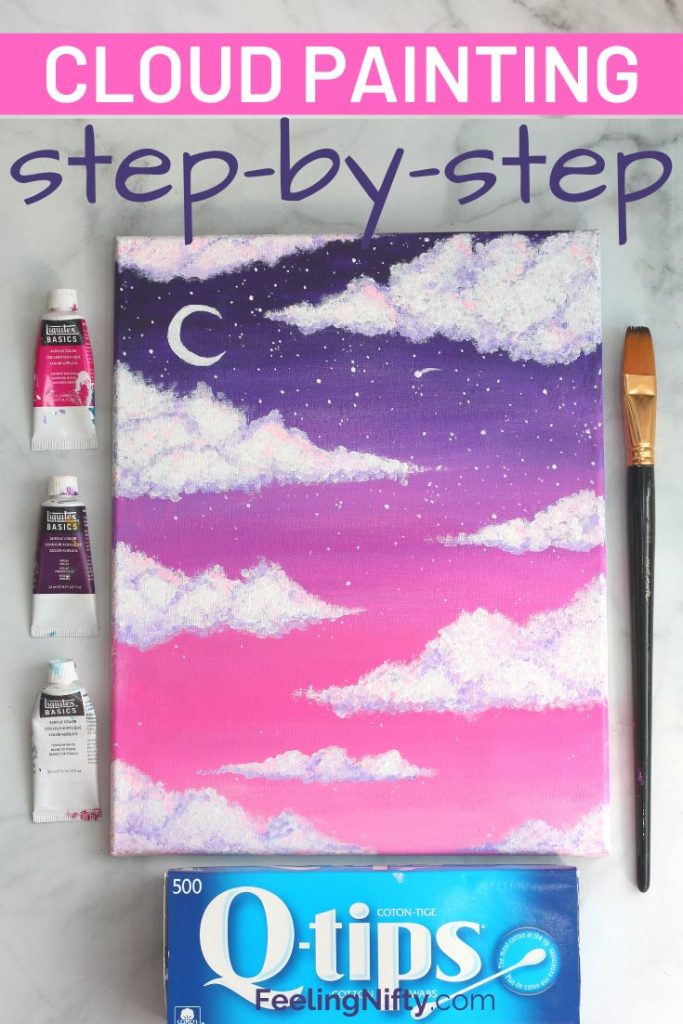
If you want detailed step by step written instructions (with pictures) they are below the video.
Learn how to paint clouds with acrylic paints- the super-easy way!
Did you make this project?

If you liked this tutorial, like Pin it!


![Liquitex Basics Acrylics Colors acra Magenta 4 oz. Tube [Pack of 3 ]](https://m.media-amazon.com/images/I/41MGkPxFfIL._SL500_.jpg)