Fall is my fave!
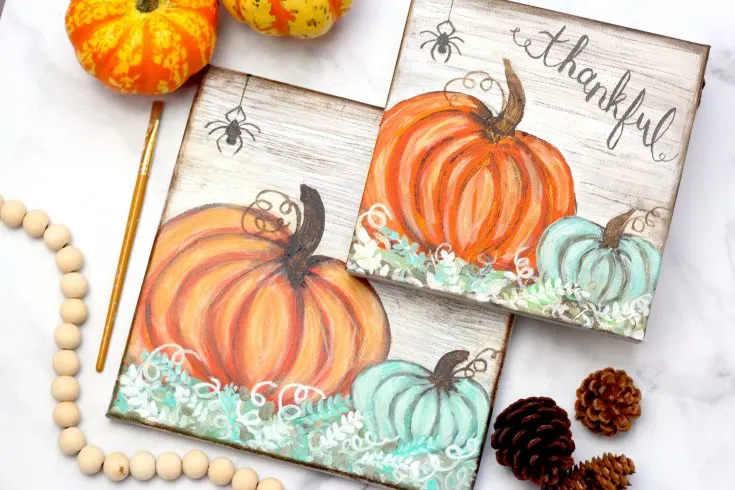
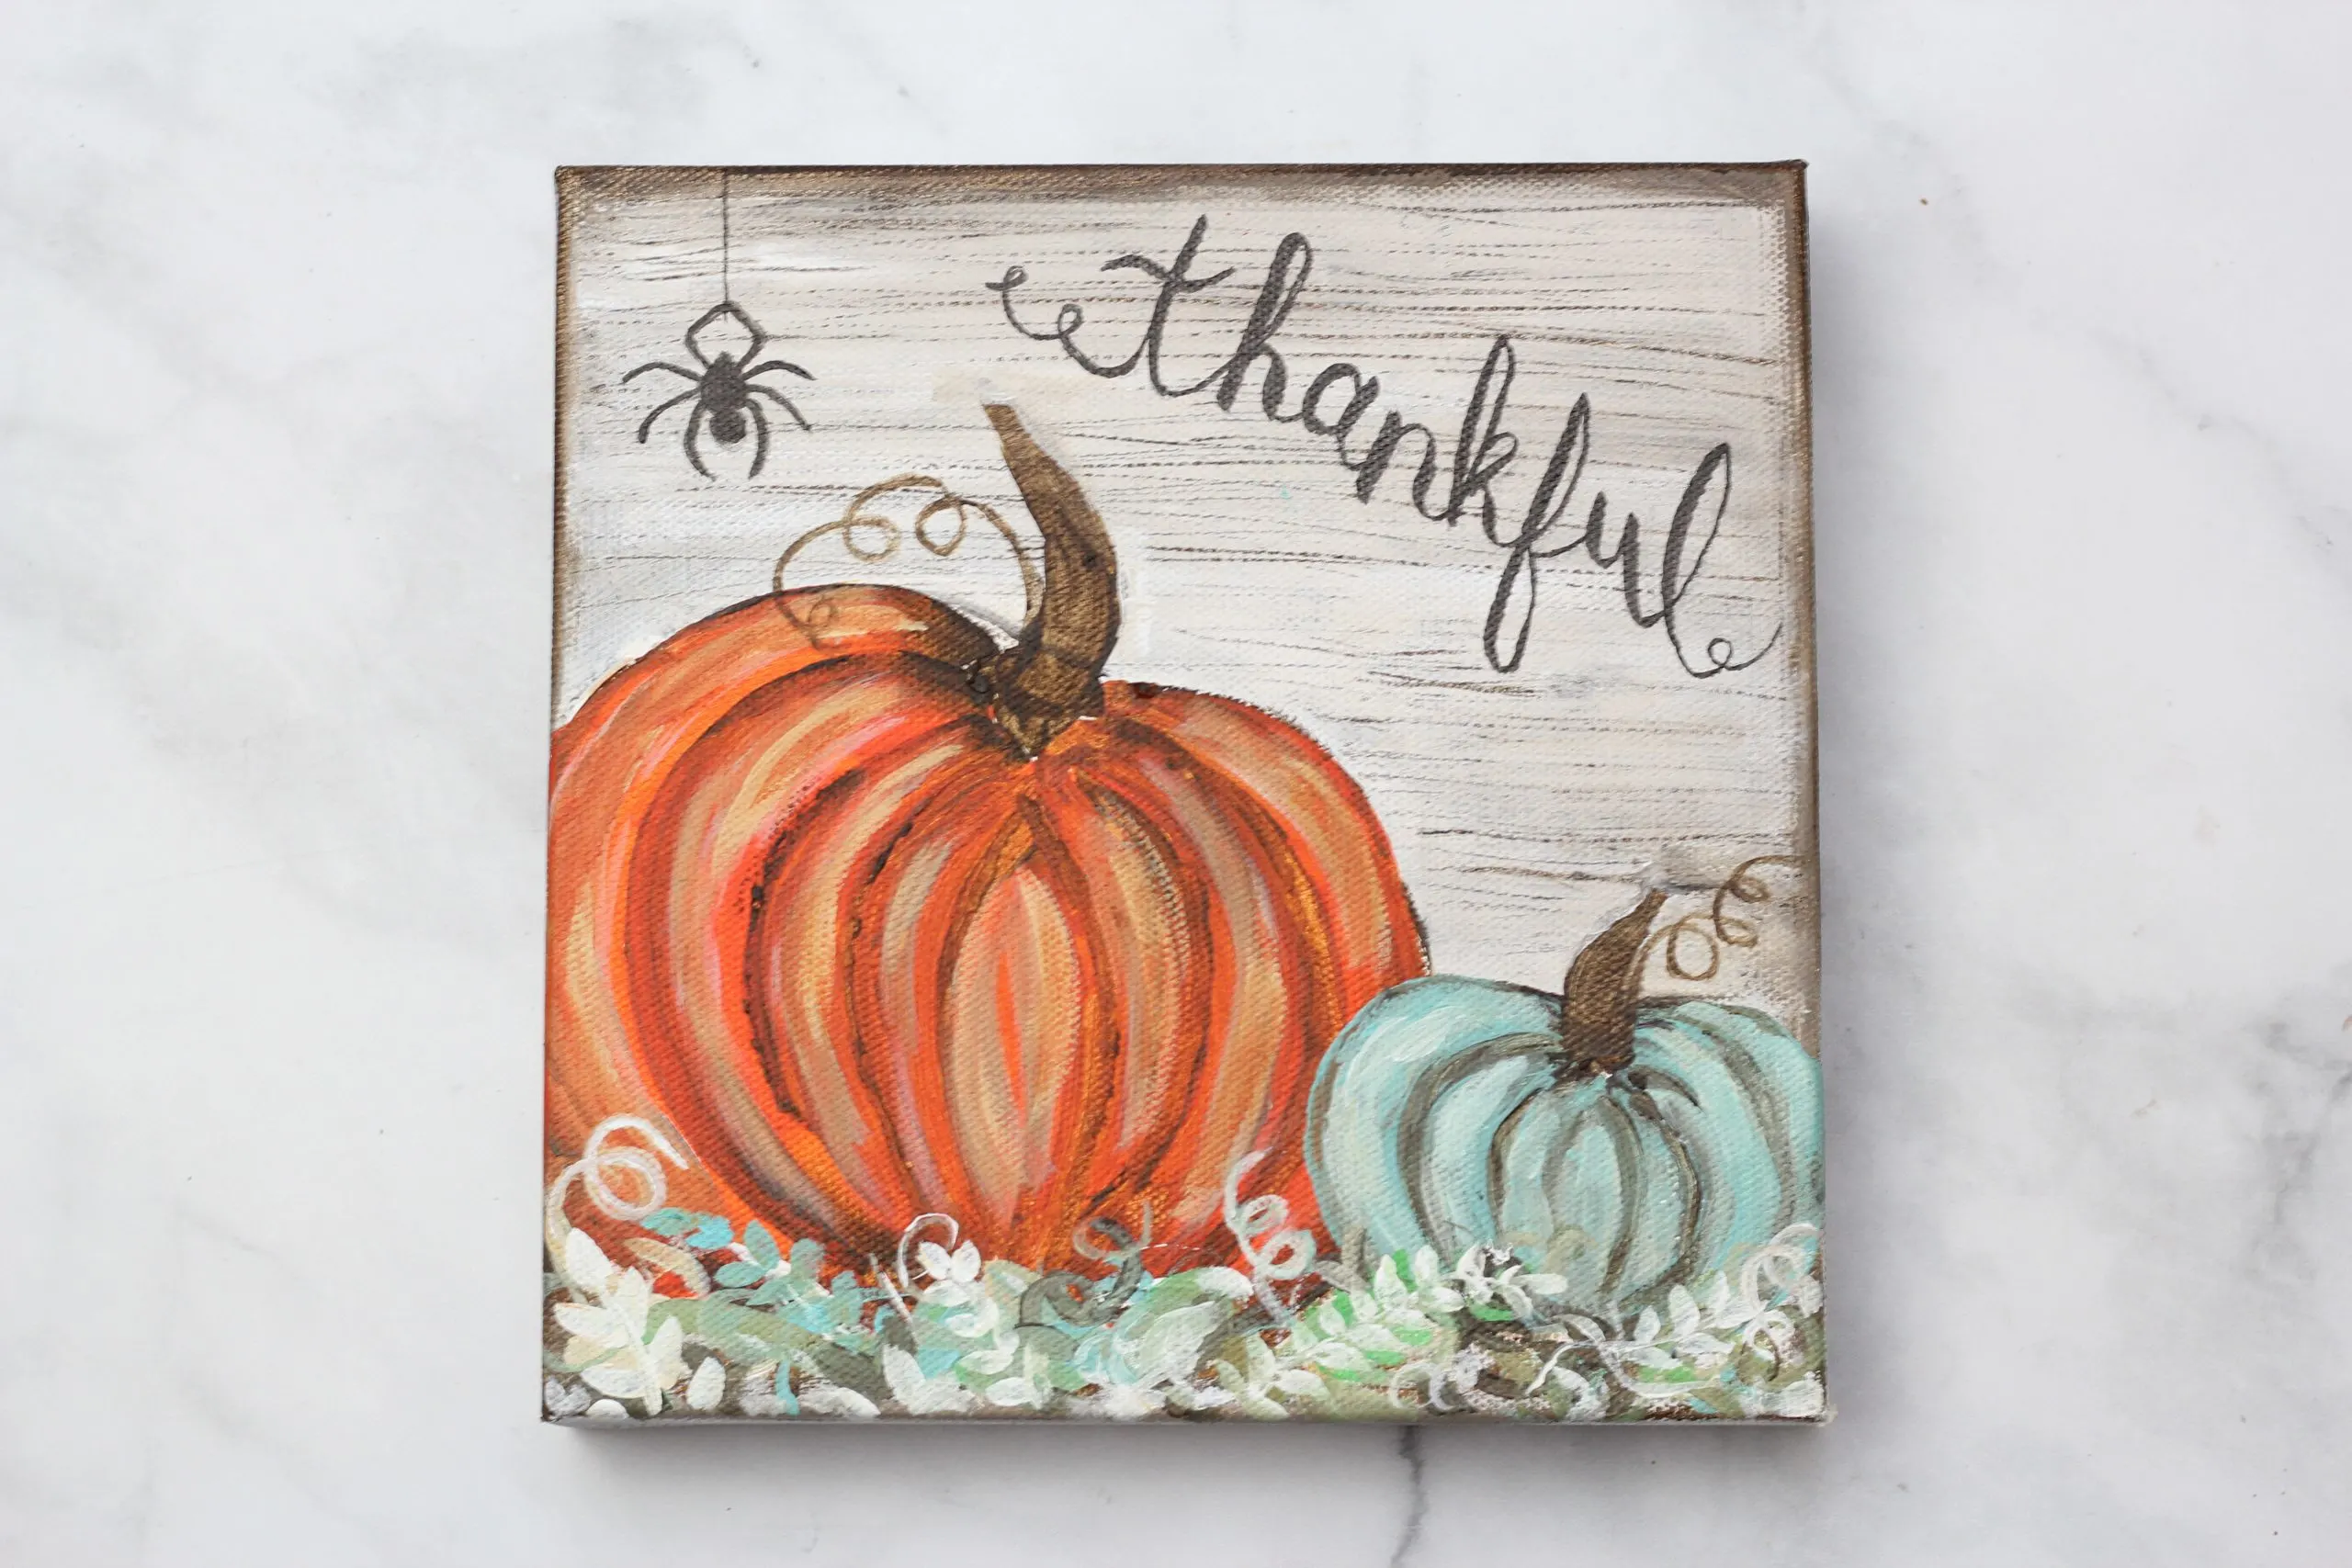
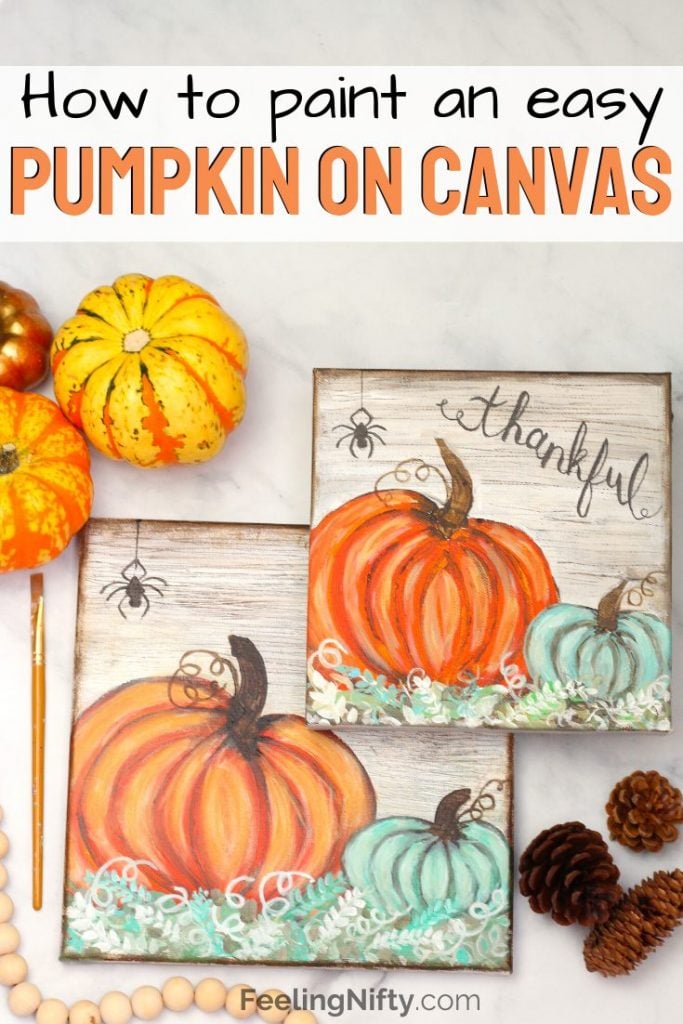
This easy fall pumpkin painting is a perfect project for beginners or even older kids!
Finally, youll learn how to paint a pumpkin on canvas with a double loading brush technique.
Hope you have a gourd time making this painting (haha) !
If youre looking for other fall crafts check out thispumpkin painting ideaspost.
How To Draw a Pumpkin on Canvas
How do you draw a pumpkin on canvas?

Easy as pumpkin pie!
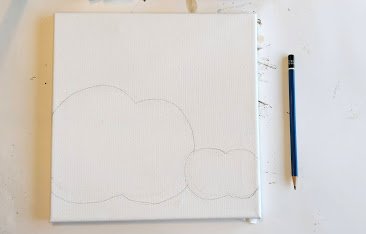
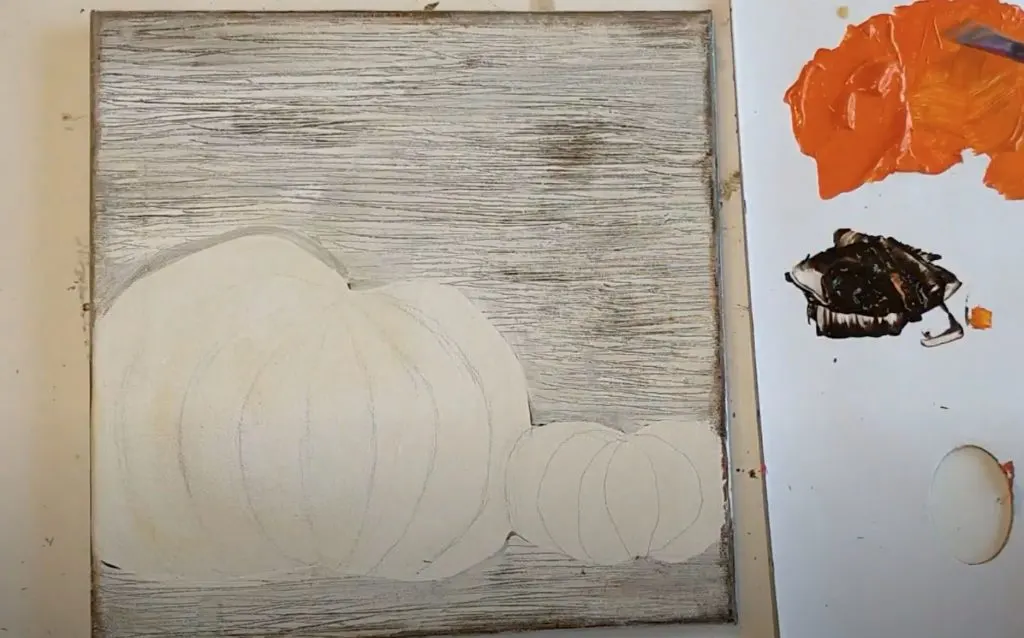
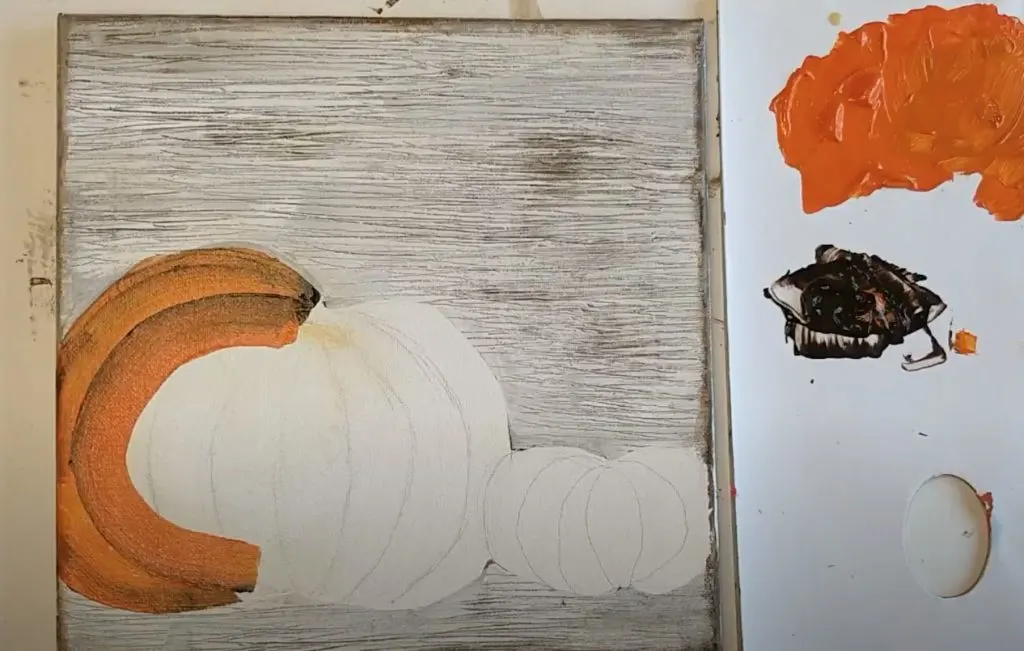
The first step is to grab any pencil and draw your pumpkin(s).
And in reality, many of them are not perfect, which I actually prefer.

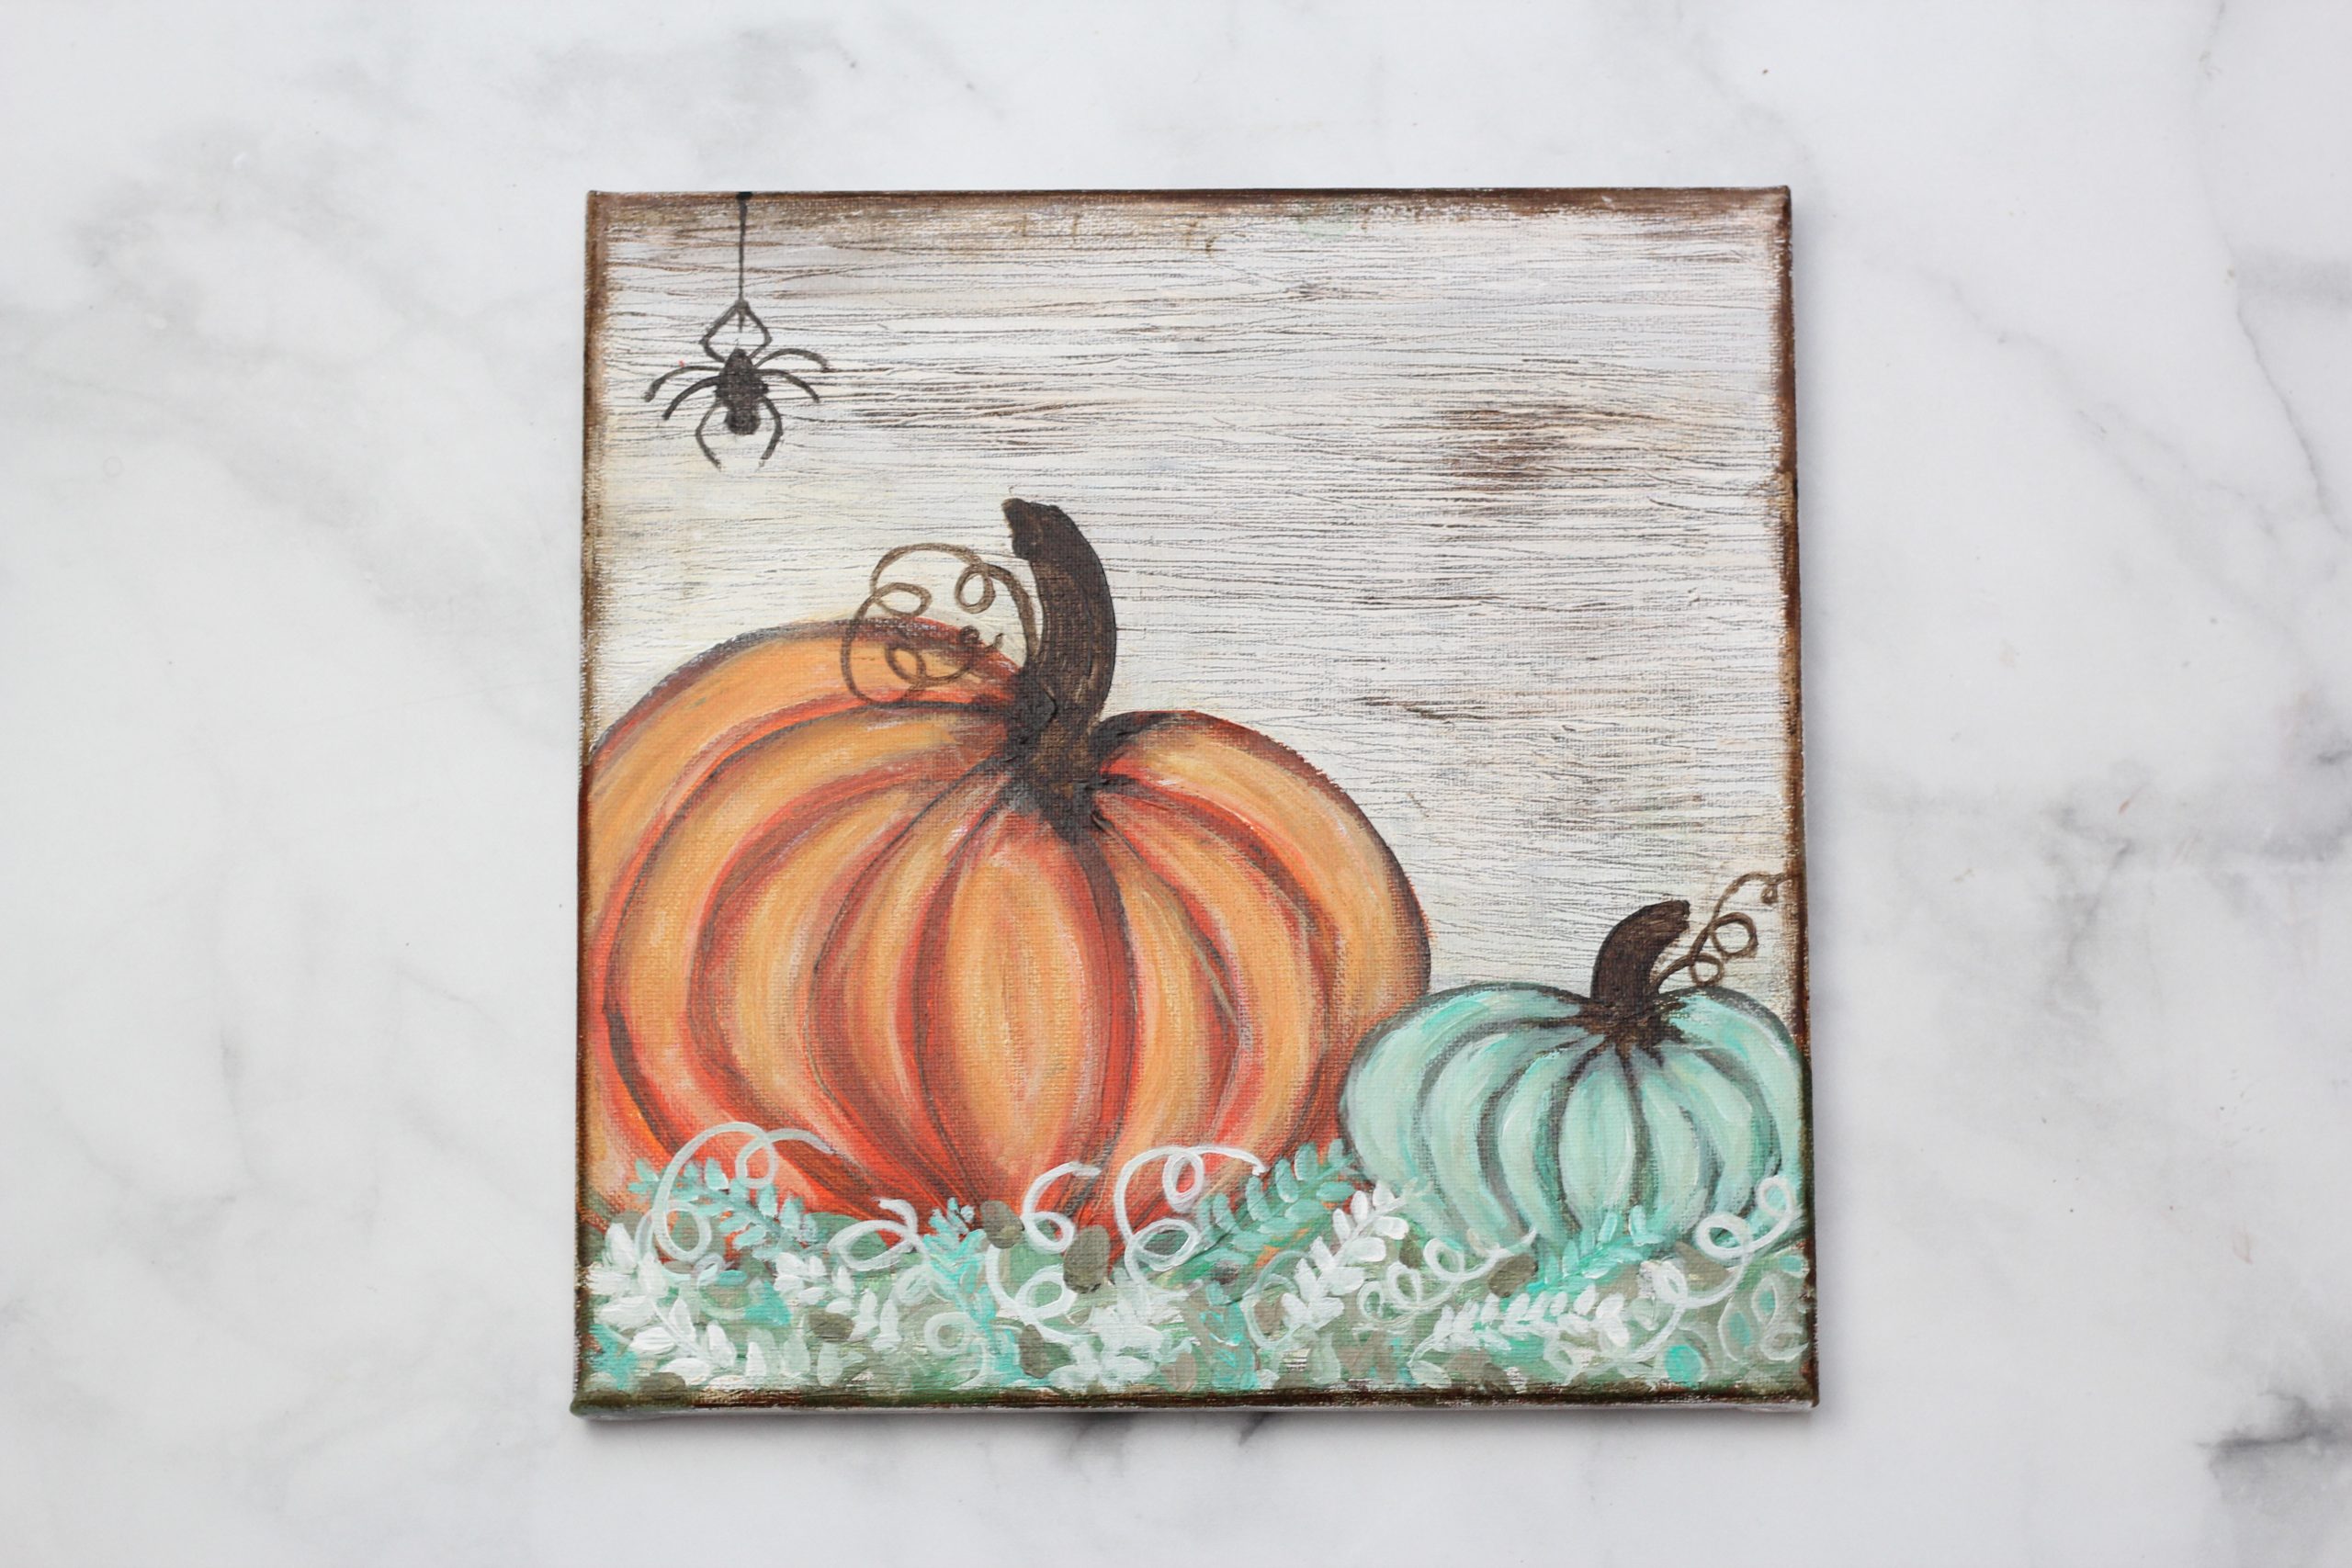
Heres my sketch with 2 pumpkins- one large one (my focal point) and one smaller one.
This will help know how to move your paintbrush when painting them in the steps below.
Its that simple to draw your pumpkins!

And now you are ahead of the carve!
Yes- I love my pumpkins, but this texture technique really struck a gourd with me.
I experimented with the different ways to make the background look like a piece of vintage/rustic painted wood.
The technique I ended up choosing doesnt use any special mediums or tools that you need buy.
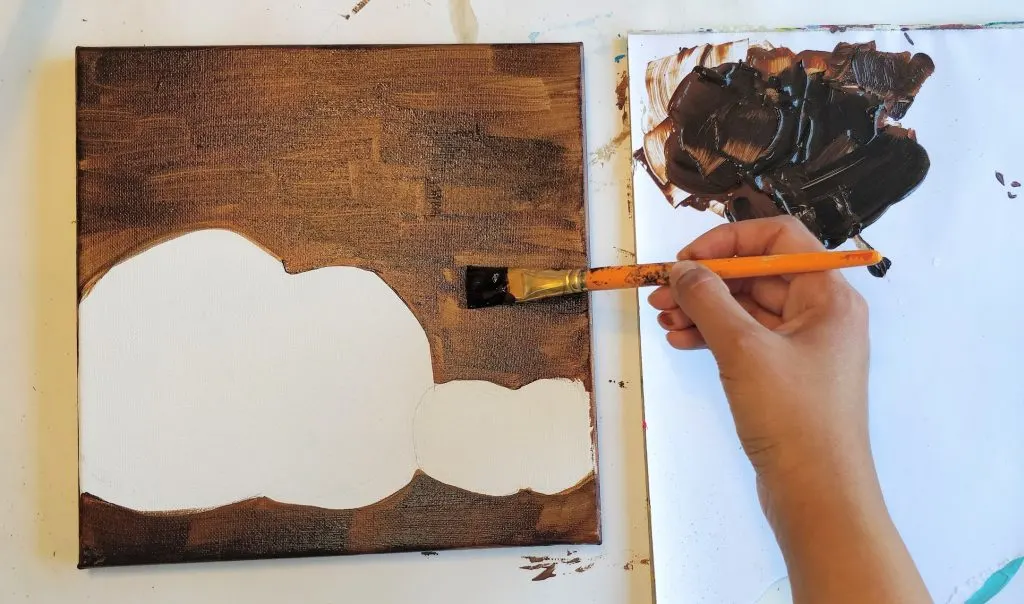
The first step is covering your canvas( outside of your pumpkin shapes) with your dark brown paint.
I used a 1 flat wash brush to paint on the brown.

Leave the brown paint to dry fully.
check that you have some white paint and a fork ready for the next step .
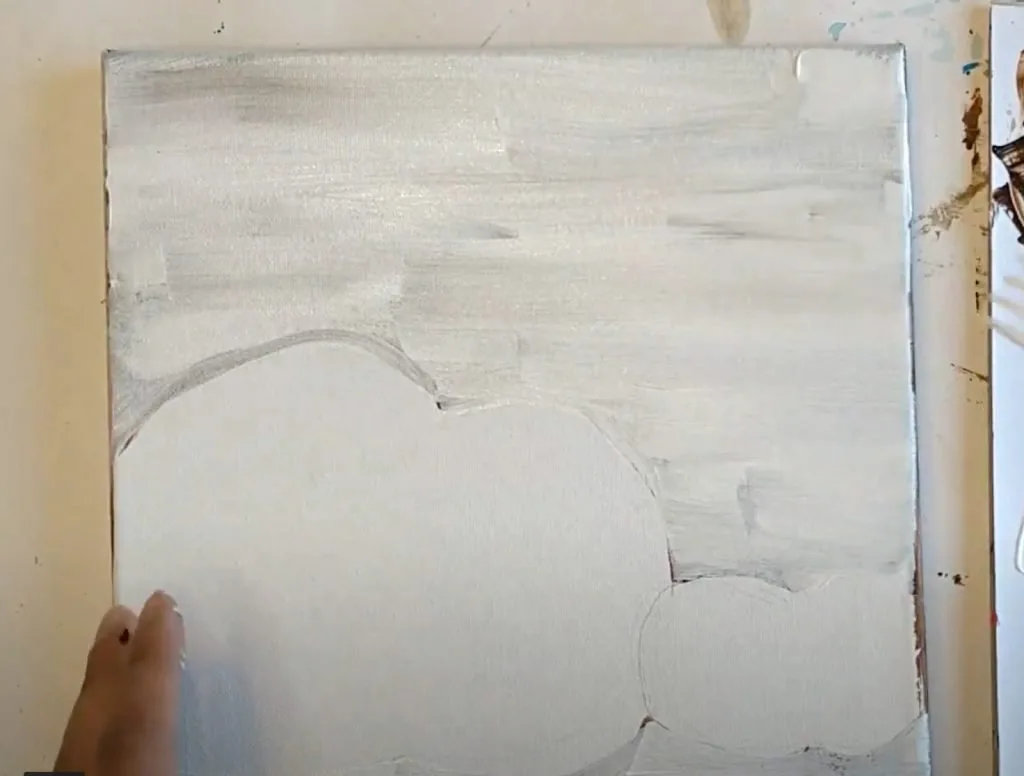
Take your 1 flat wash brush and white paint (titanium white) and paint over the brown.
You will have to work fast in this step.
This will imitate the texture or look of wood grain.
When the paint dries it will also feel and look bumpy which brings the background to life!

My biggest tip for this step is to do it standing up.
Youll have more range of motion.
Loosen up, have fun, and do it without thinking too much!
The more imperfect and loose/free you make the marks, the more character it will have.
Youll be getting your fingers into the paint and getting a bit messy!
Its something that all artists and crafters should try at least once!

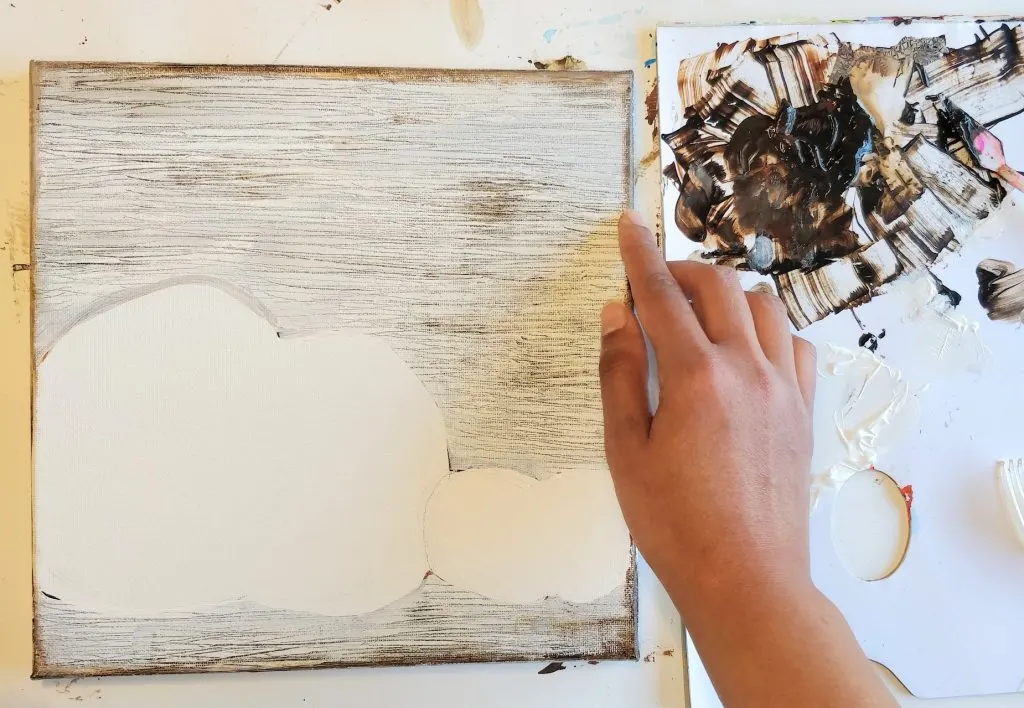
Dip your finger in some of your brown paint (not too much just a bit).
Now take your finger and smooth it along all 4 edges of your canvas.
Enjoy this step and dont aim for perfection.

The beauty in vintage/aged wood is that its worn, much of the time unevenly worn.
Paint with that in mind.
Tip:Dont be scared to use your finger and add some brown areas on your white background.

It will make the faux wood look more chipped and aged.
For this pumpkin painting technique youll learn a really fun paintbrush technique called double loading.
This will make it flow better from the brush.
Use a sweeping back and forth motion to load paint.
And verify that the paint is loaded all the way up the metal ferrule.
Next, dip one corner of your flat brush in the dark brown paint.

It should look like the picture below.
Tip: If you run out of paint half way through the stroke, no worries.
Simply flip your brush on the other side and paint bottom up towards the center.

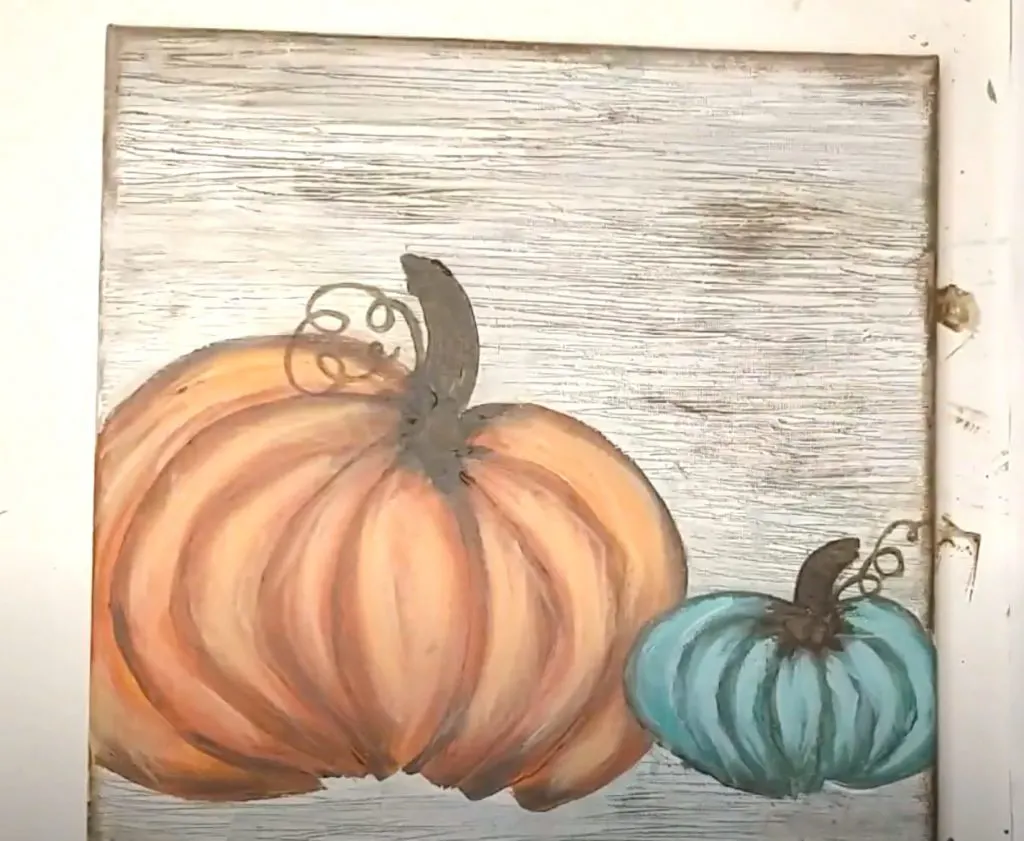
We are going to repeat the same double loading C stroke for each pumpkin ridge across.
The brown will create shadows where the ridges are so it will automatically give your pumpkin dimension.
And the C shape will give the illusion of curvature across your pumpkin.

This will really bring your pumpkin to life!
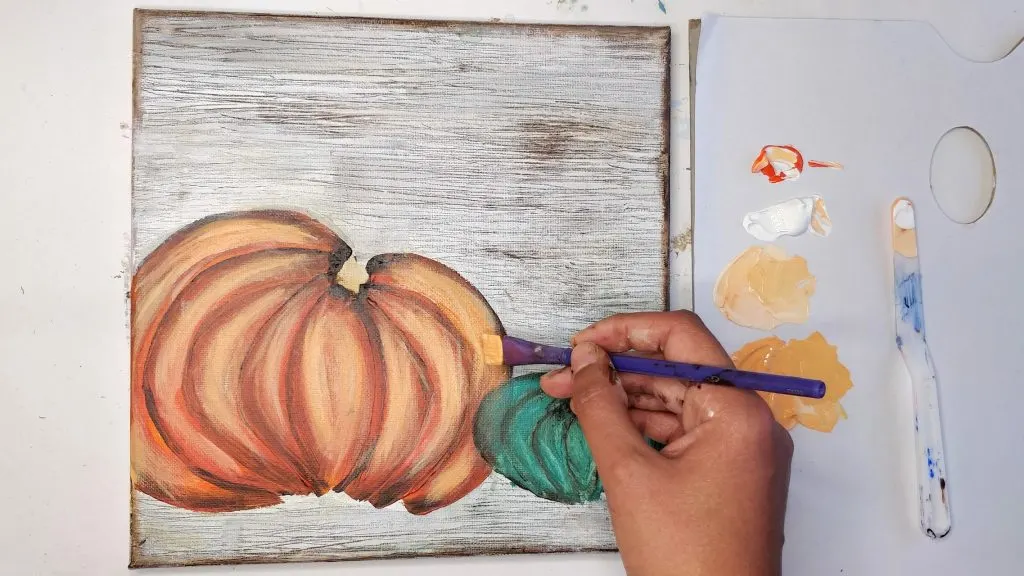
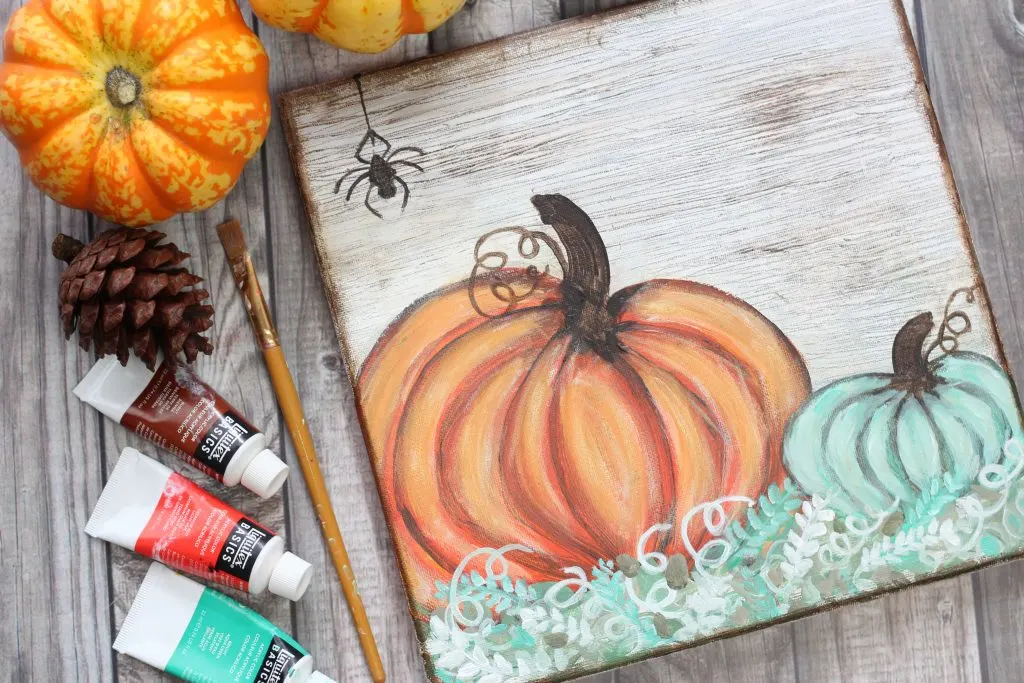
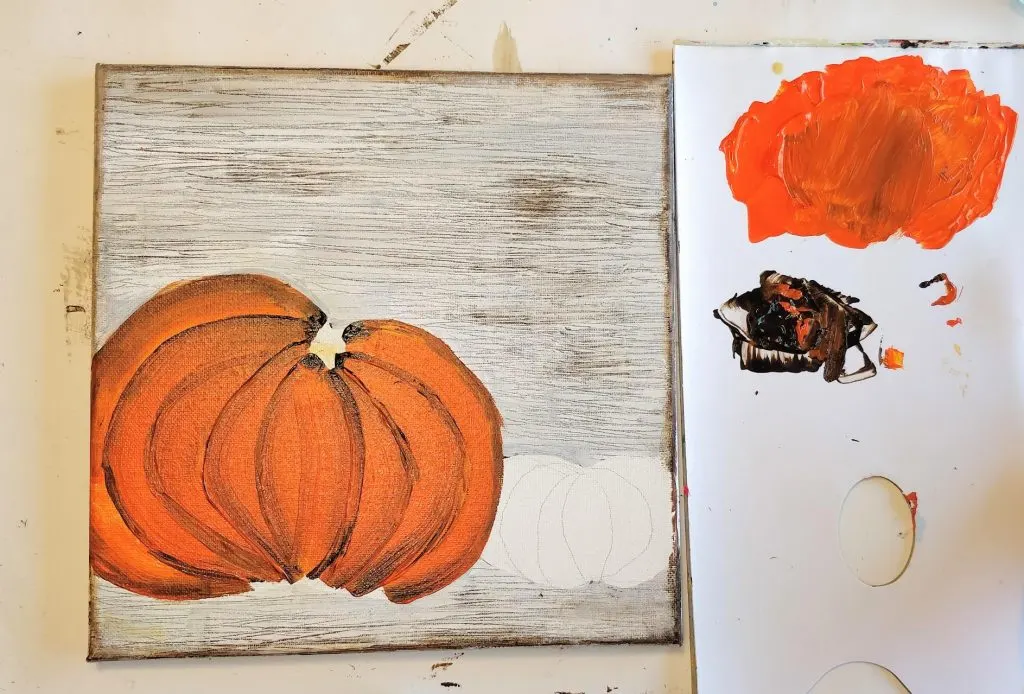
First, take your orange paint and create 2 piles.
Mix a bit of white paint into each piles.

ensure one of your piles is a lighter orange and one is slightly darker orange.
We are going to use a dry brush technique to apply the highlights.
For the technique to work you will need to see to it your brush is completely dry.

Use a paper towel to dry your brush so there isnt any moisture on it.
Using your brush paint a few highlights on each pumpkin C stroke on your pumpkin.
Next, take your lightest orange color and add more highlights to each C pumpkin stroke.
However, this time dont add as many highlights.
have a go at imagine where the light would hit on your pumpkin, and add your highlights there.
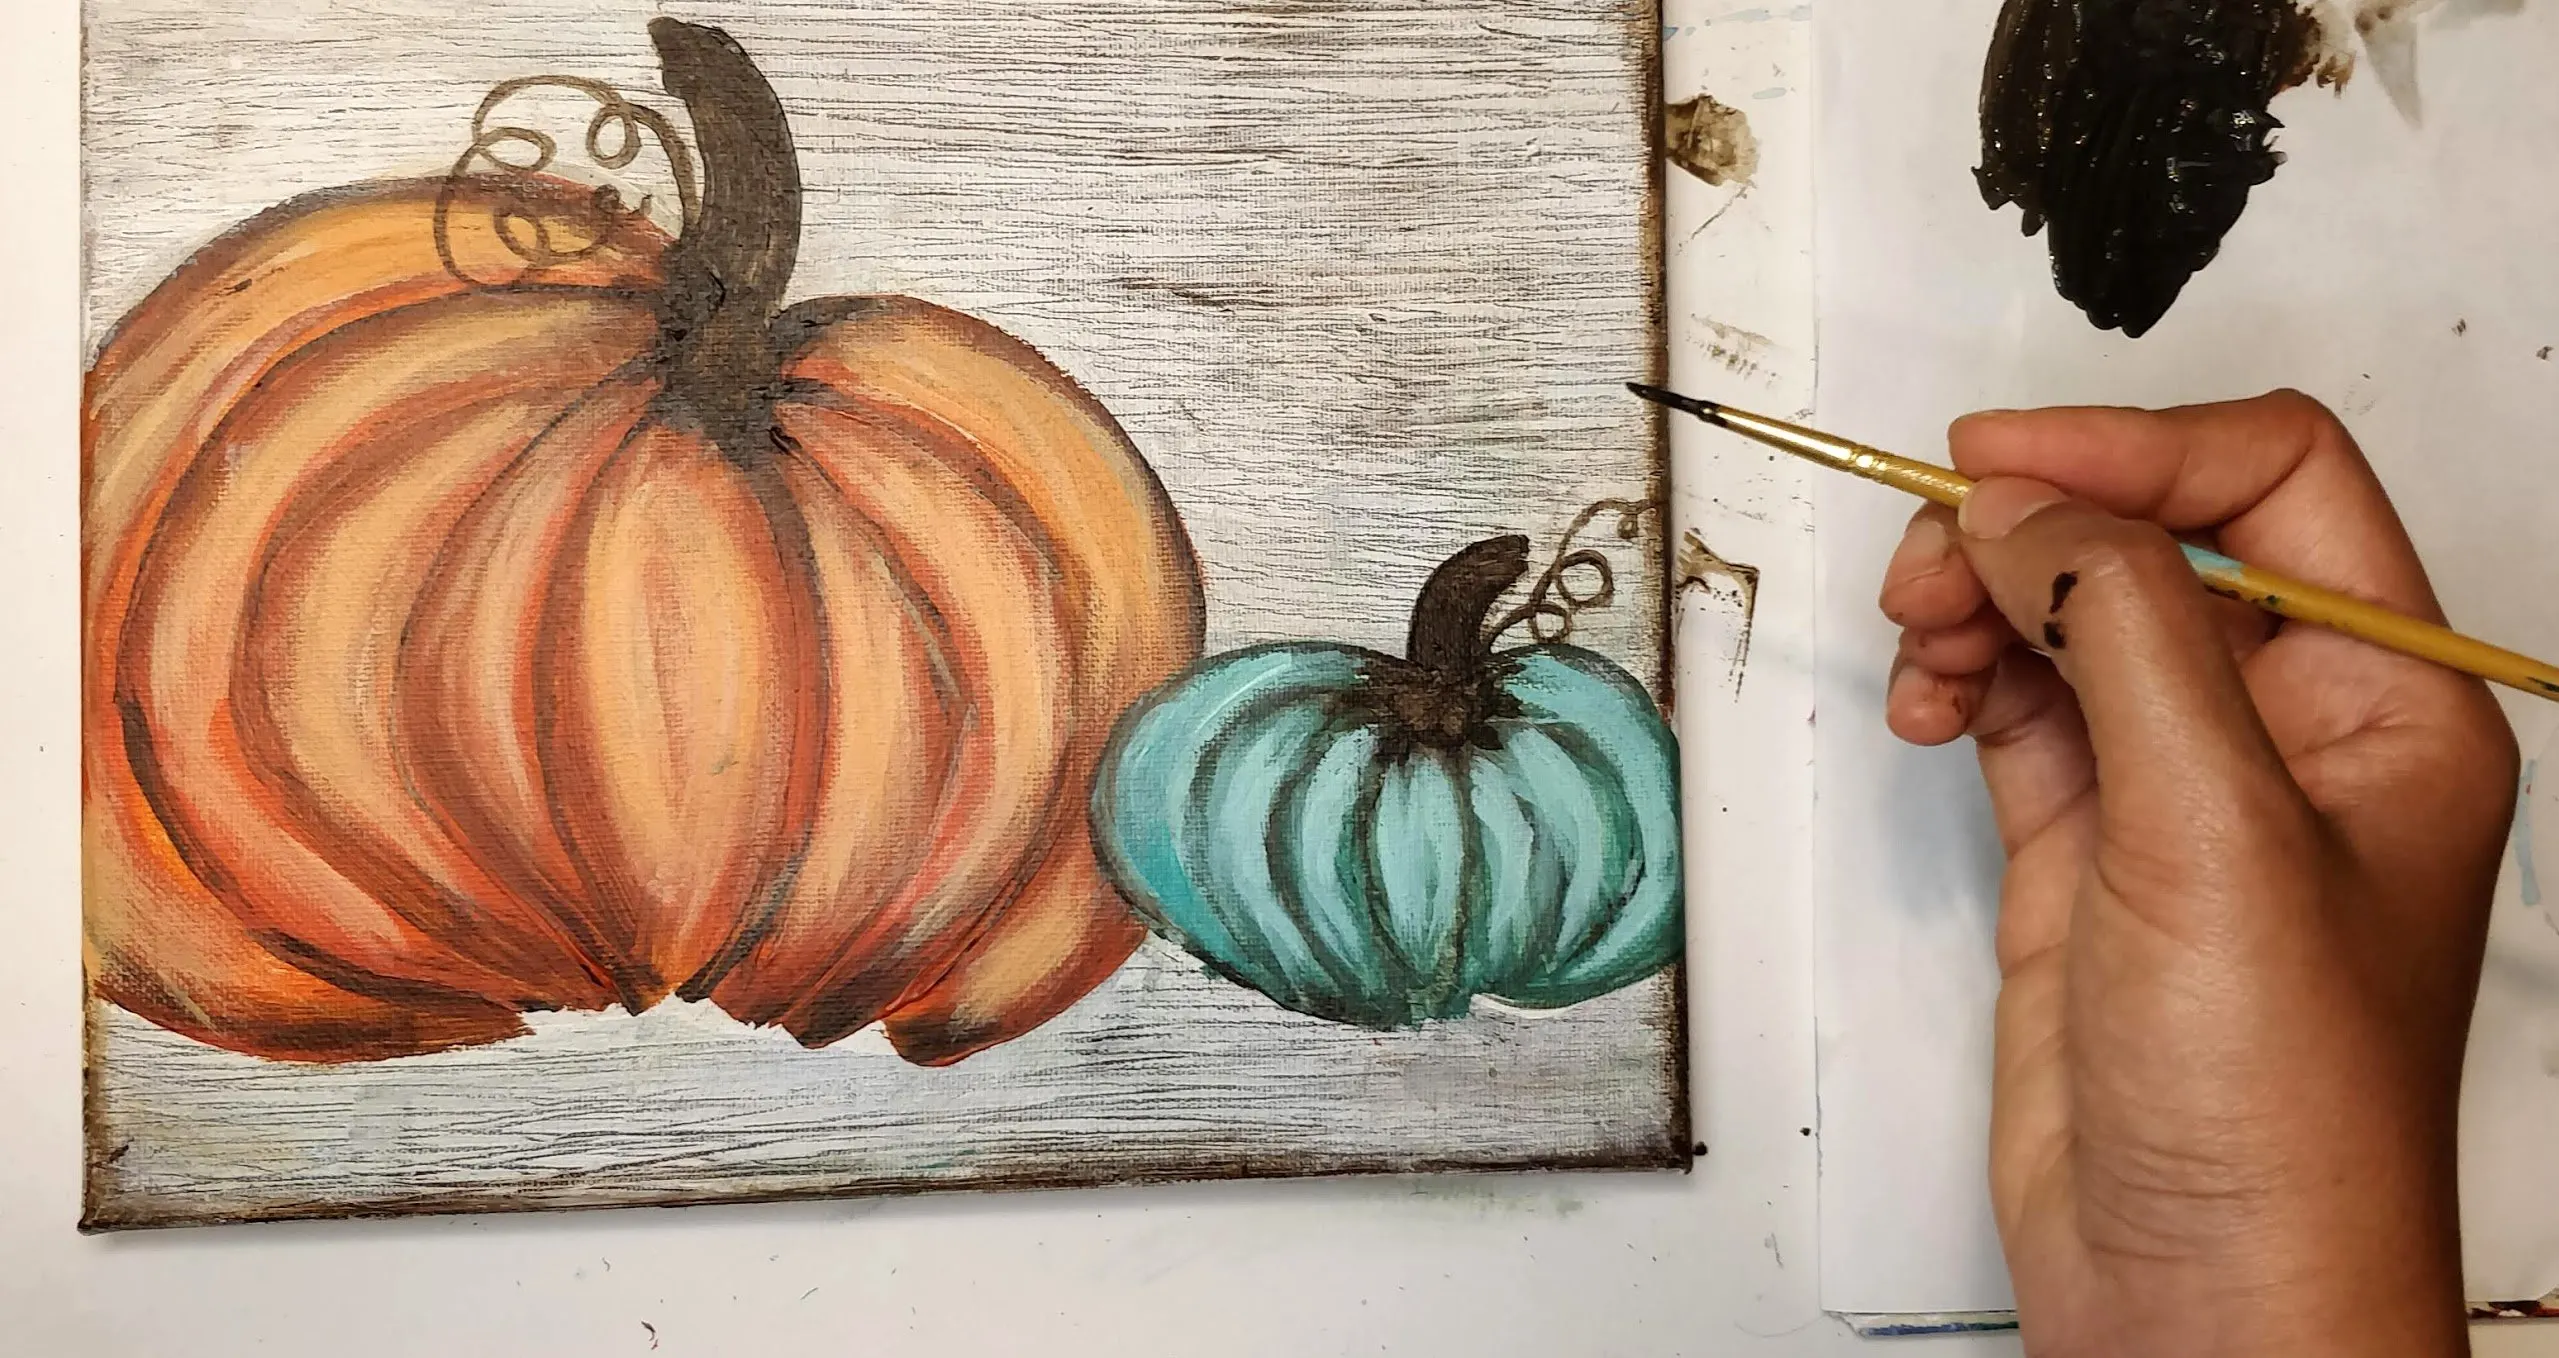
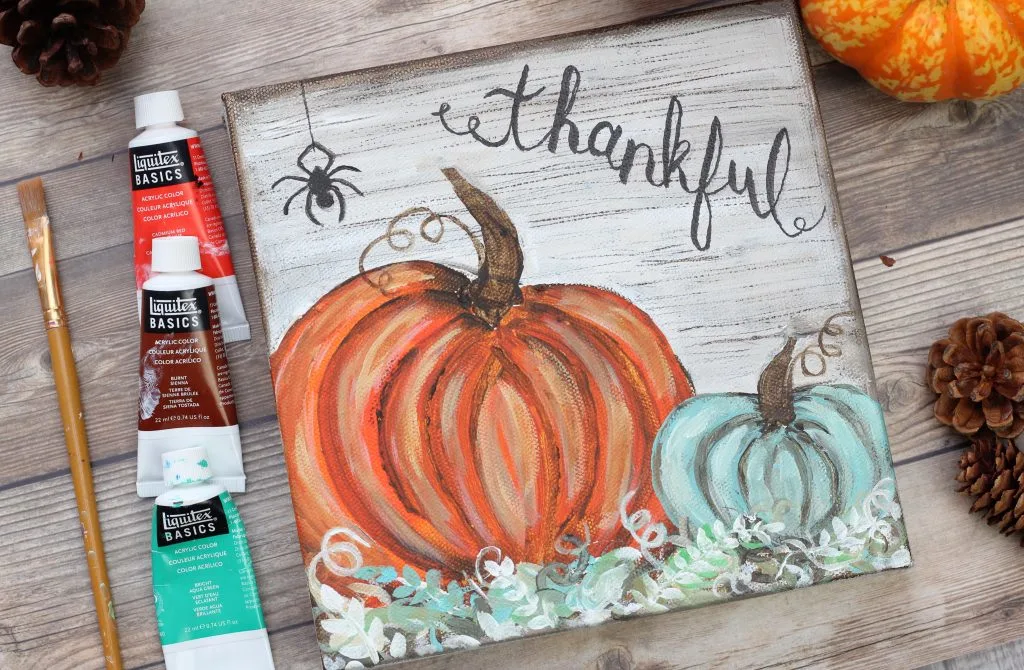
Next you will use your flat brush and paint in a stem with your same dark brown paint.

It should be the consistency of a thick ink.
you’re able to repeat the same steps as above for the smaller pumpkin.
I decided to make the smaller pumpkin with a teal/aqua green color.
But you’re able to choose any color youd like!
Also learn how to paint a vintage rustic wood background.
Did you make this project?

Enjoy friends, and hope you carve out some time to make this fun fall pumpkin art!
xoxo,
Jasmine
If you liked this tutorial, c’mon pin it!