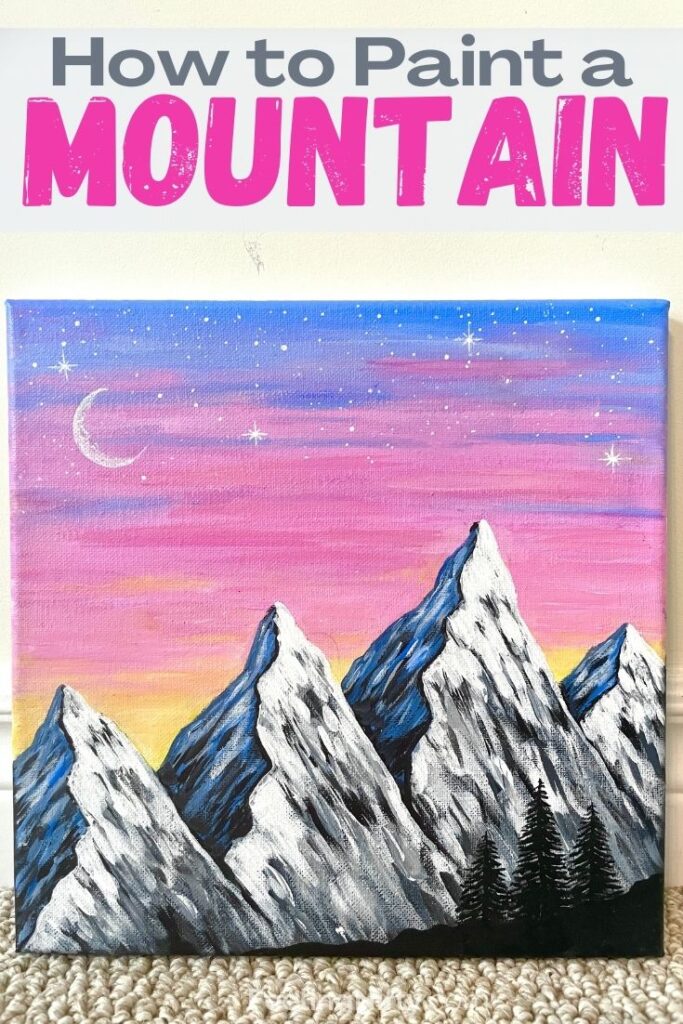
What to learn how to paint a mountain in acrylics?
For all skill levels, even beginners.
These mountains are realistic looking and can be recreated in any mountain landscape, scene.
It would even look fabulous as a part of a wall/mural.
Lets get started with those majestic mountains, shall we?
Use it to recreate any mountain of any shape, size and orientation.
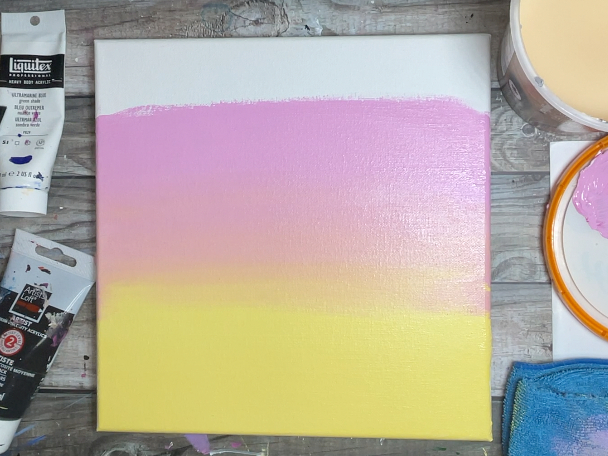
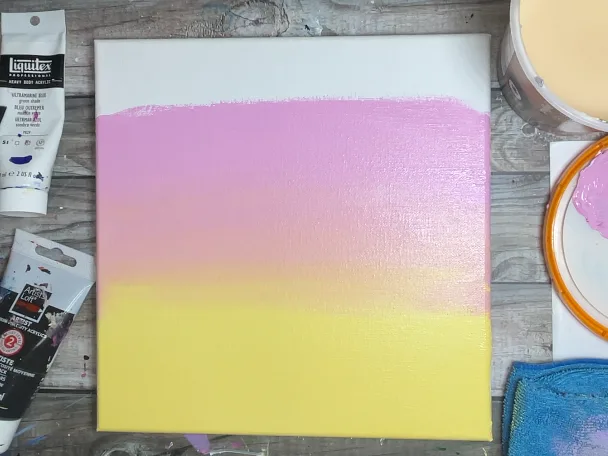
Before starting the first step, paint in the background sky in any color.
Leave to dry before painting your mountain scene.
This will make it easier and make the sky look more realistic and in the background.
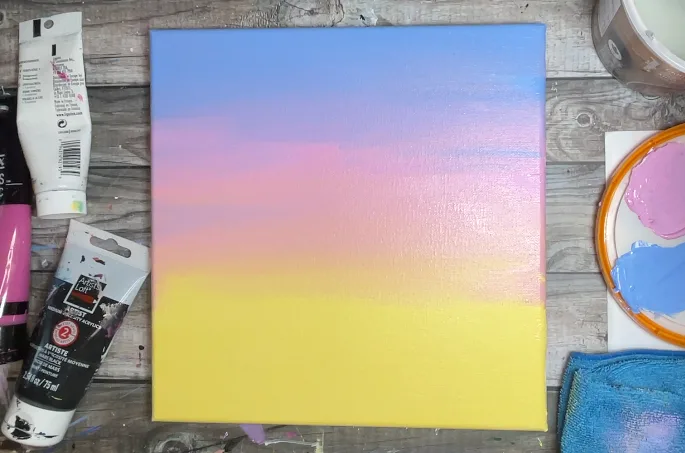
See the step by step tutorial below where I will show you how to recreate the pink sunset sky.
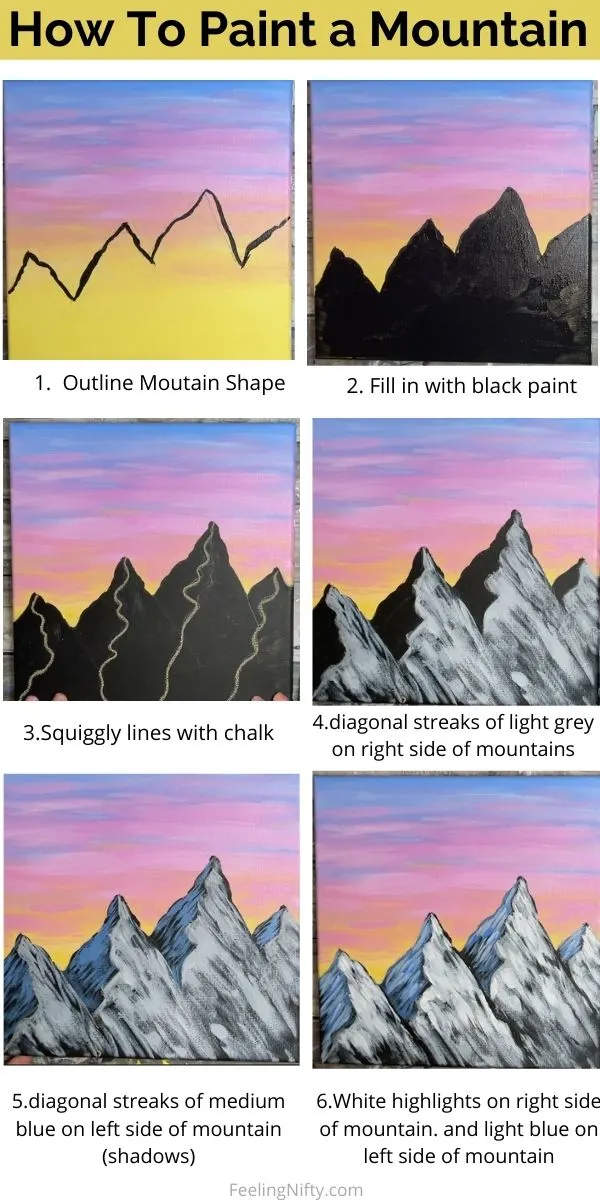
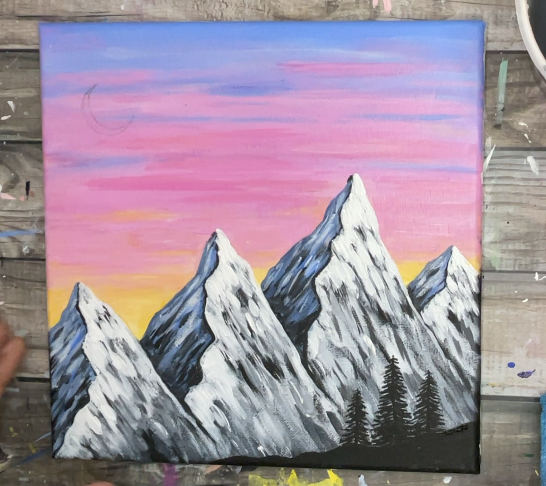
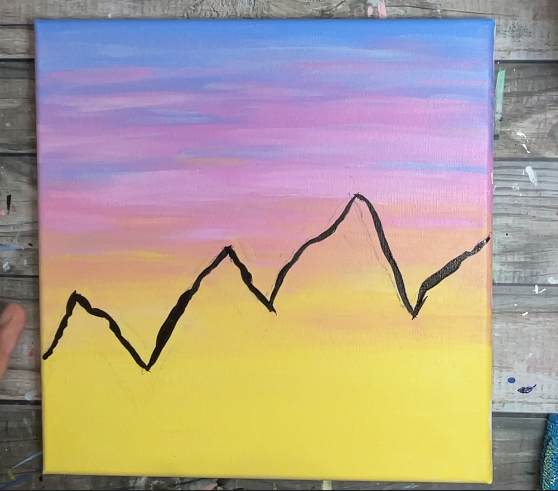
Mountains are not straight angular triangles like most of us (including me) would draw one instinctively.
Instead they are jaggedly/wobbly lines that form peaks.
And each mountain has a different shape too they are not identical in shape.
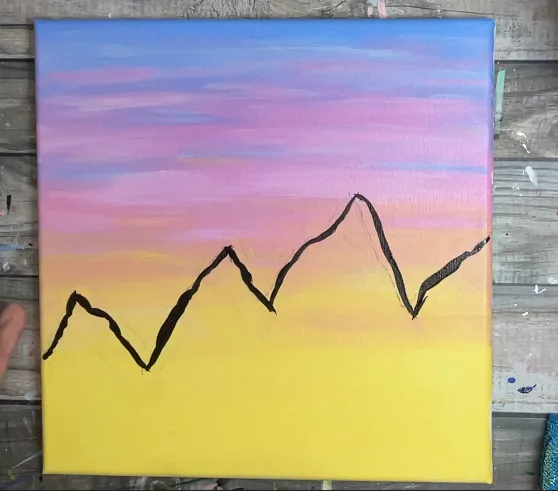
Keep your strokes nice and loose.
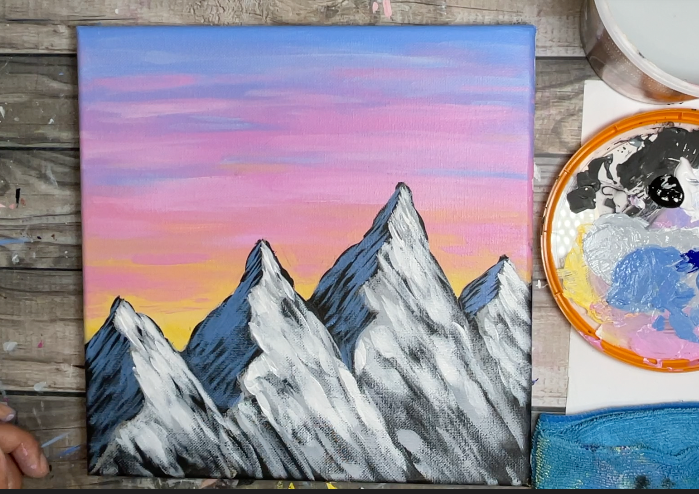
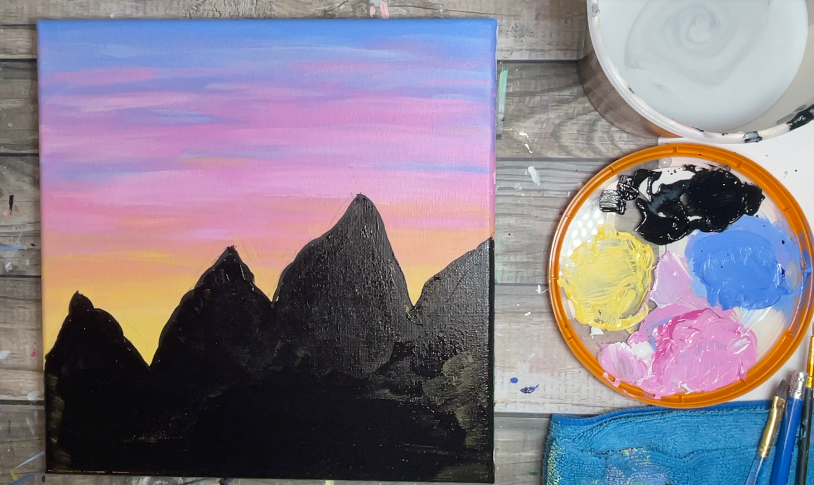
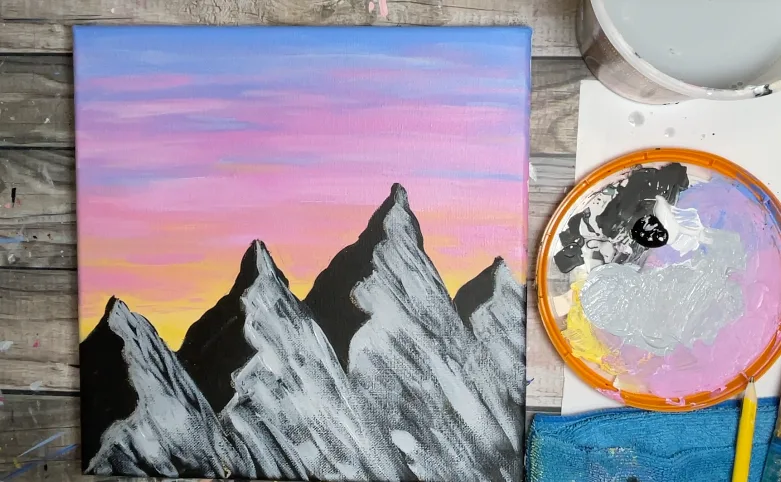
when you obtain your rough shape of the mountains, fill in with a basecoat/undercoat of black paint.

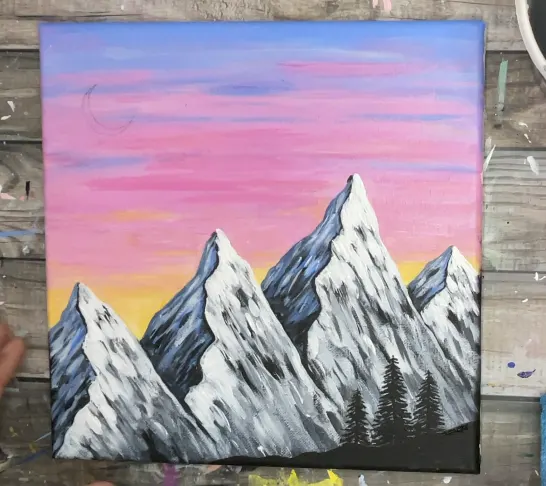
With diagonal strokes paint in streaks of grey on the right side of every squiggly line on each mountain.
This method is called dry brushing.
We want a streaky look with some of the black still there and showing through.
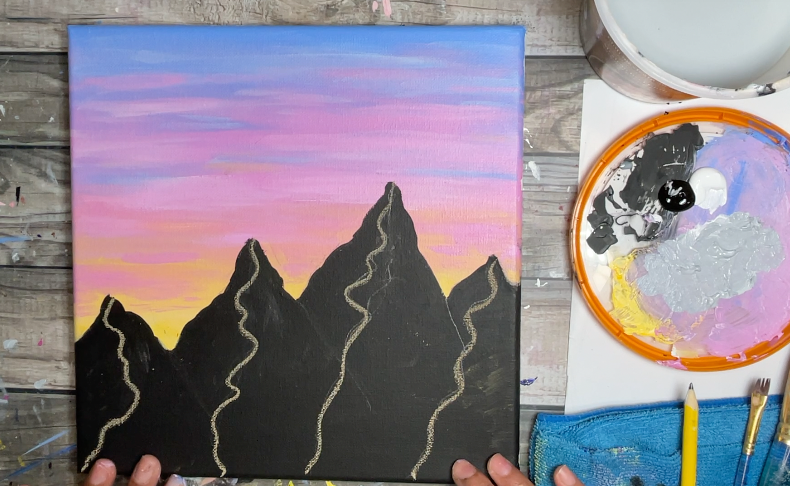
verify not to cover all the black.
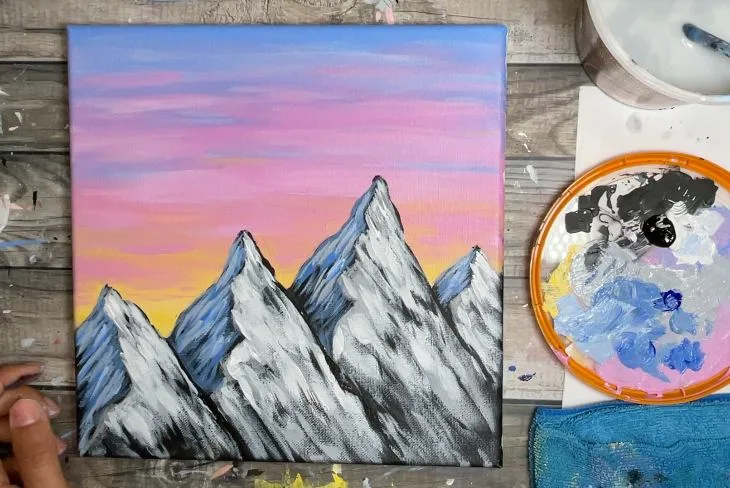
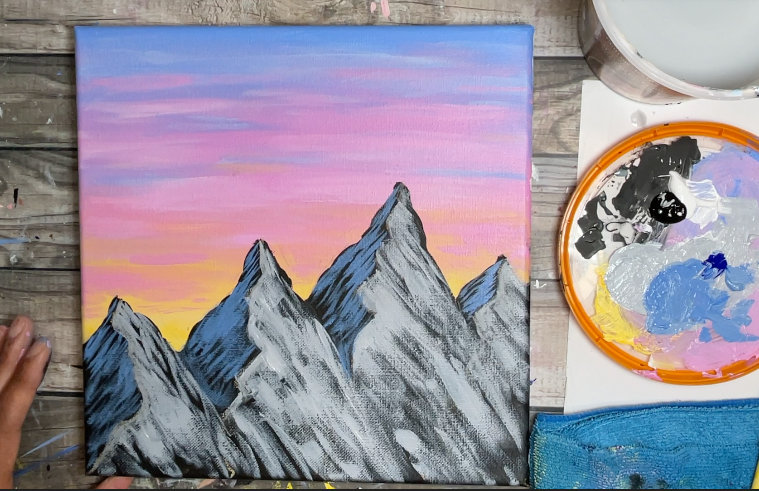
Now mix in a tiny amount of Ultramarine Blue in your grey mixture to make a blue/grey color.
Use diagonal strokes in the opposite direction.

And remember not to cover all the black underneath.
Use the same diagonal strokes.
Do this sparingly so you dont cover all the grey and black mountain below.

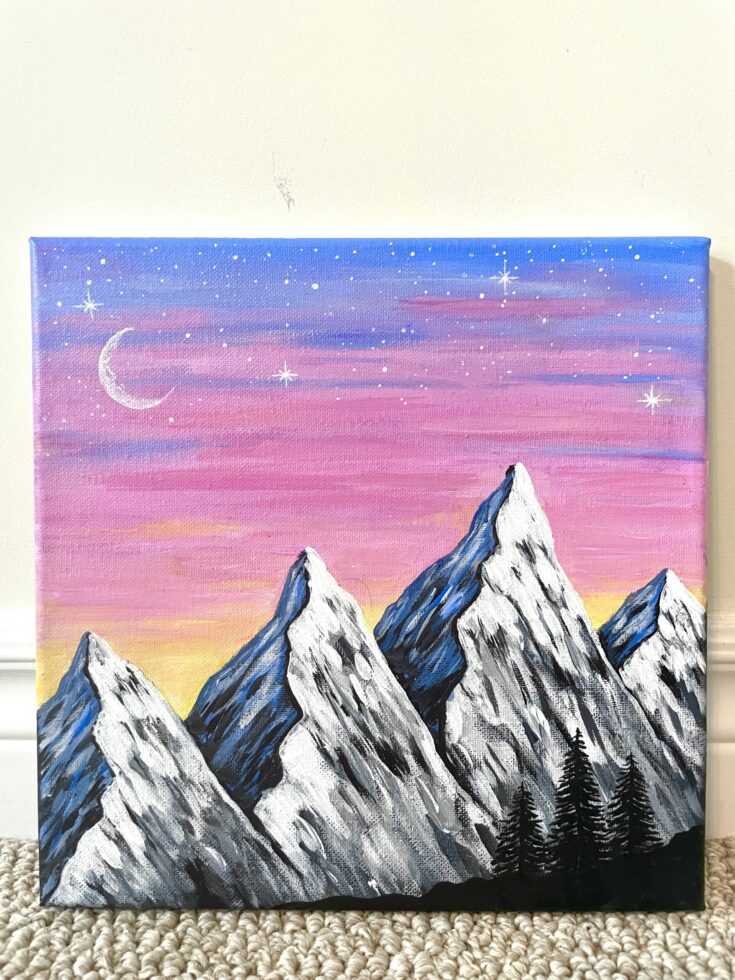
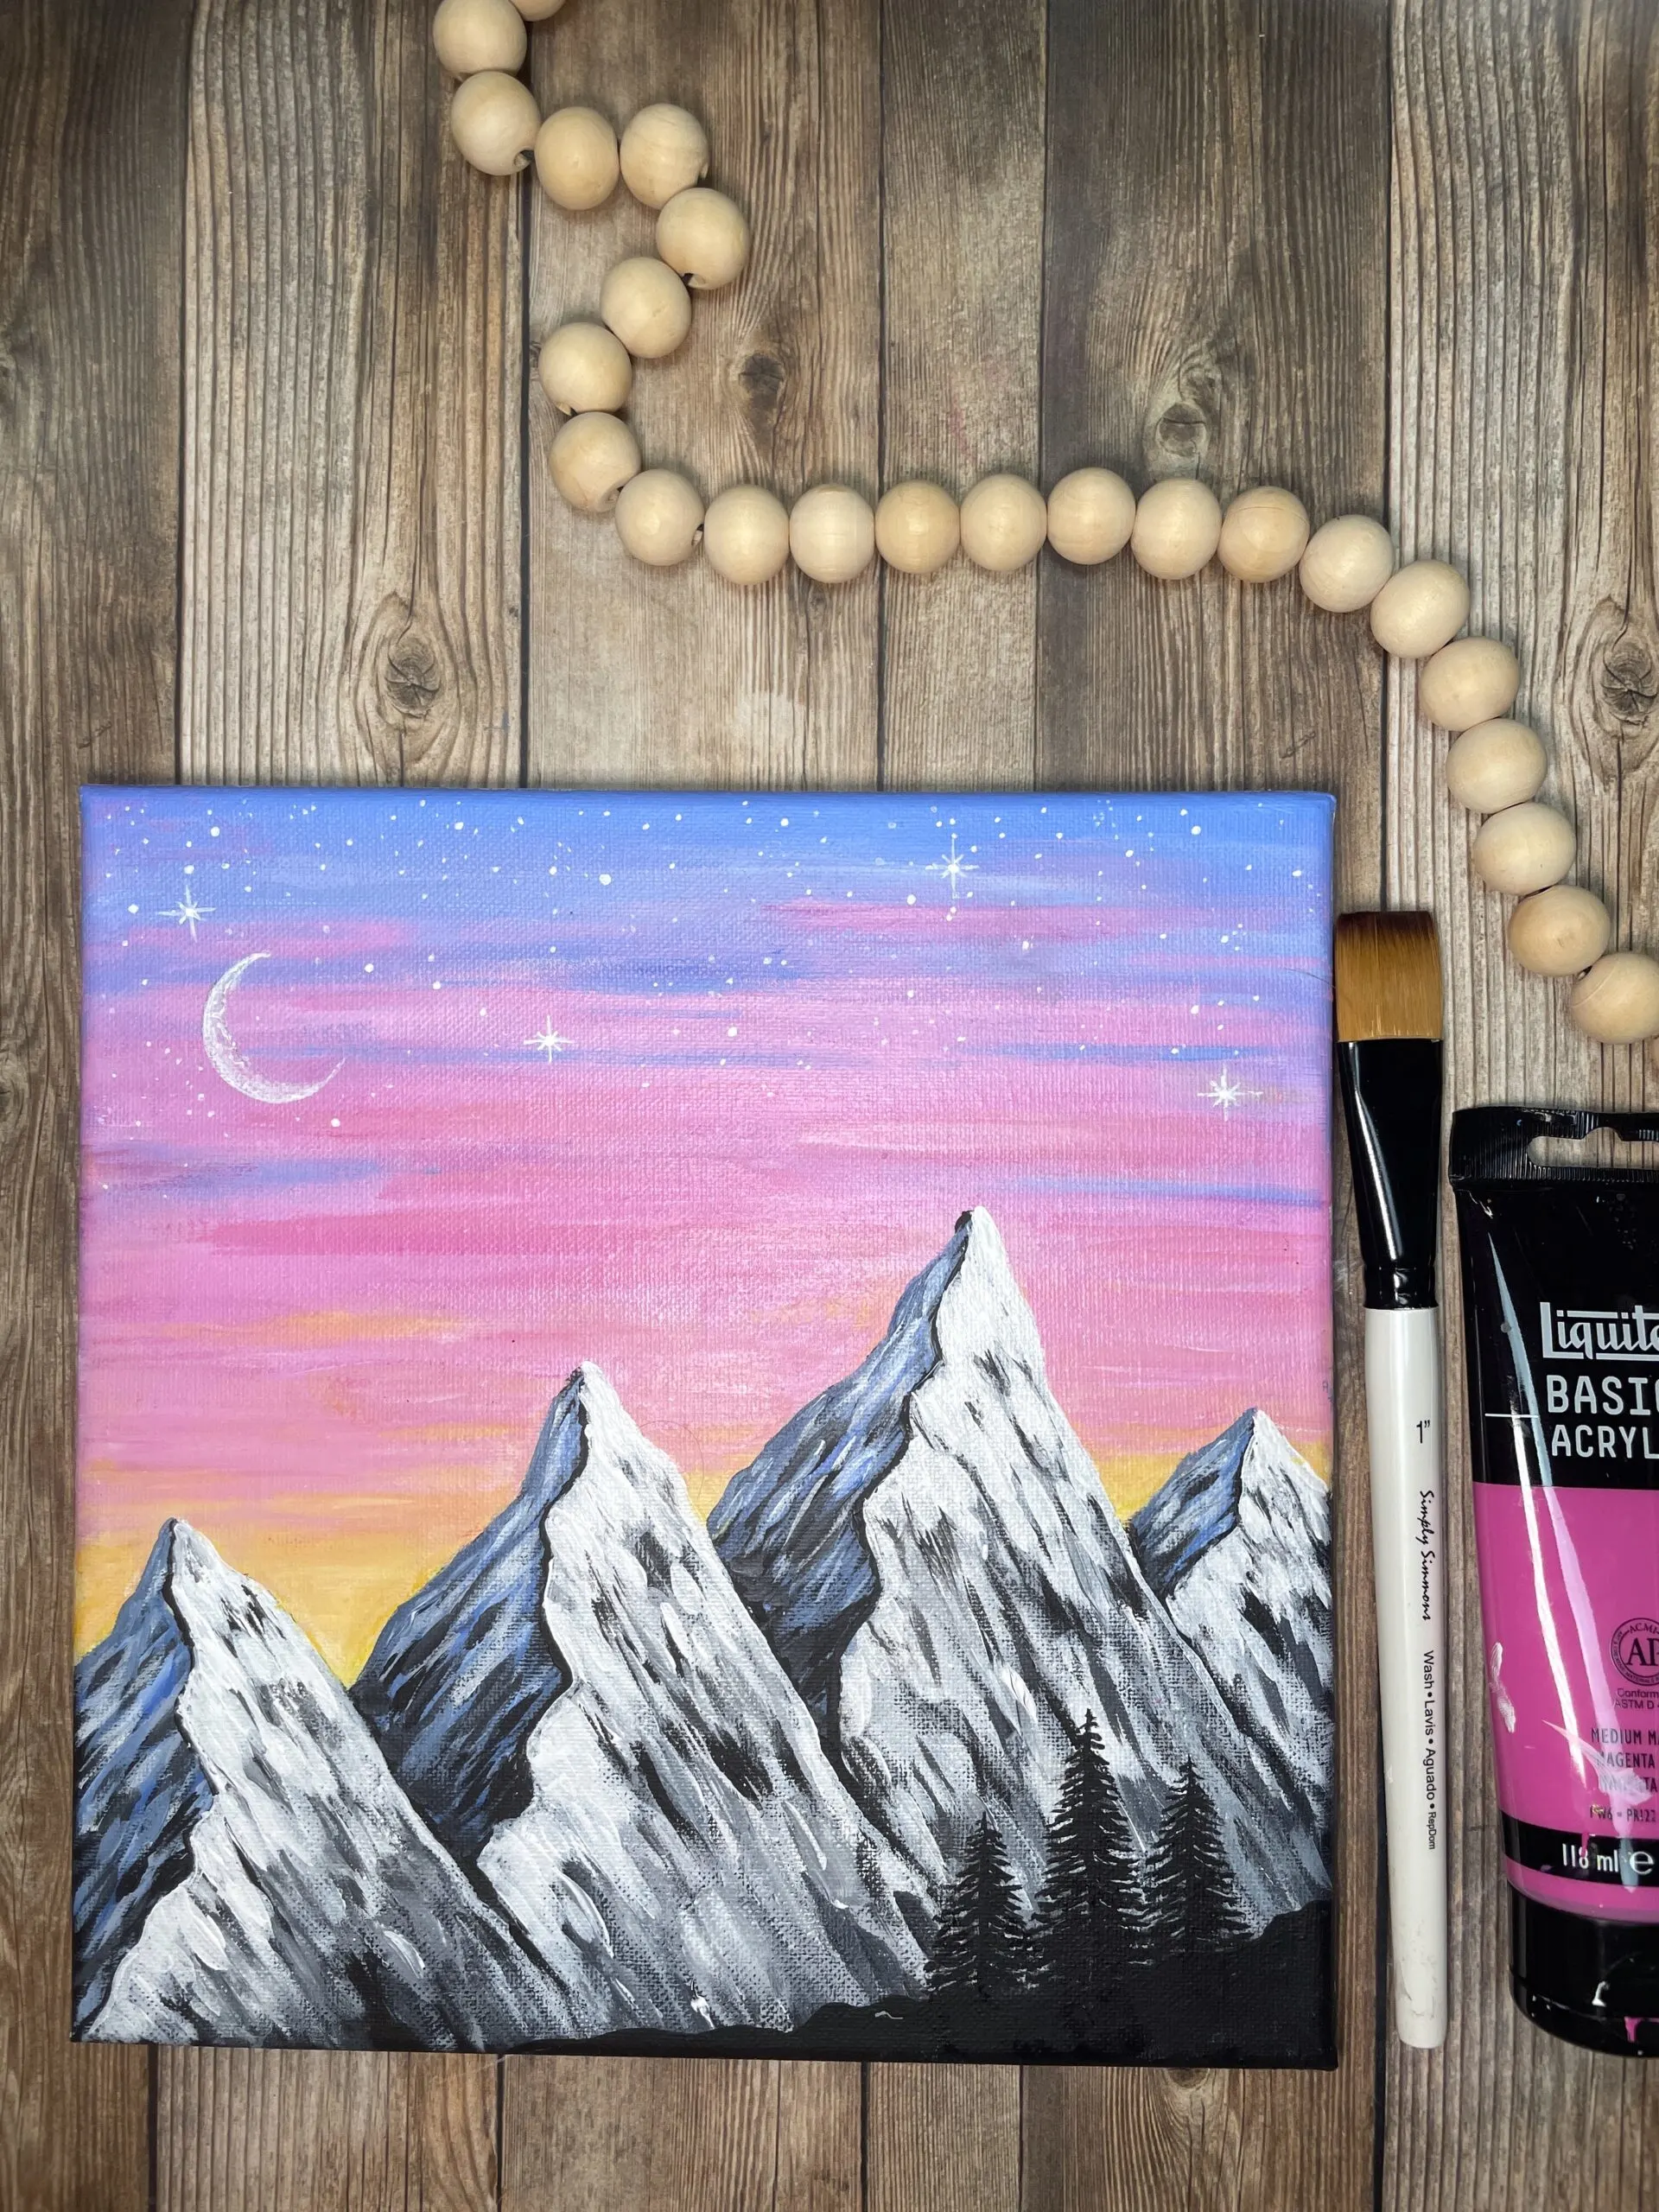
Mix in some white into the blue/grey mixture from step 3.
Do this sparingly so you dont cover all the black and blue layers below.
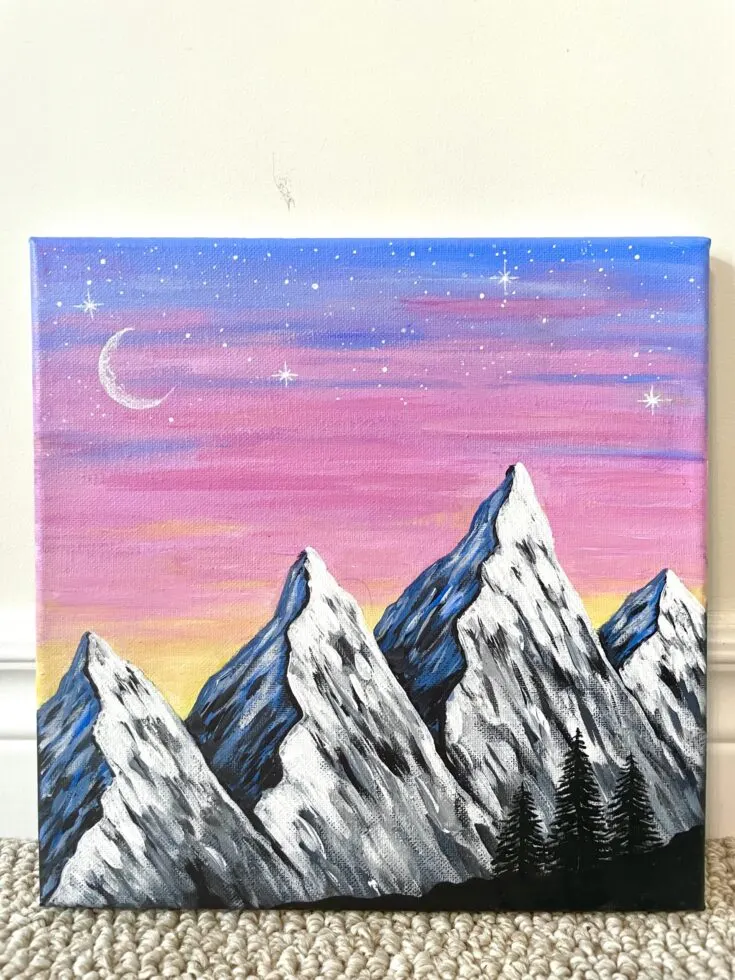
you’re able to make any mountain painting using the 4 step process above as your guideline.
This can be done to make small paintings, large paintings and even murals on a wall!
The sky is the limit with mountain technique.
Materials
Instructions
Did you make this project?
If you like this post c’mon pin it!