But youre scared its too hard for beginners or you dont know where to begin?
And the secret is in a simple tool that Ill share with you below… ## What Colors Make a Galaxy?
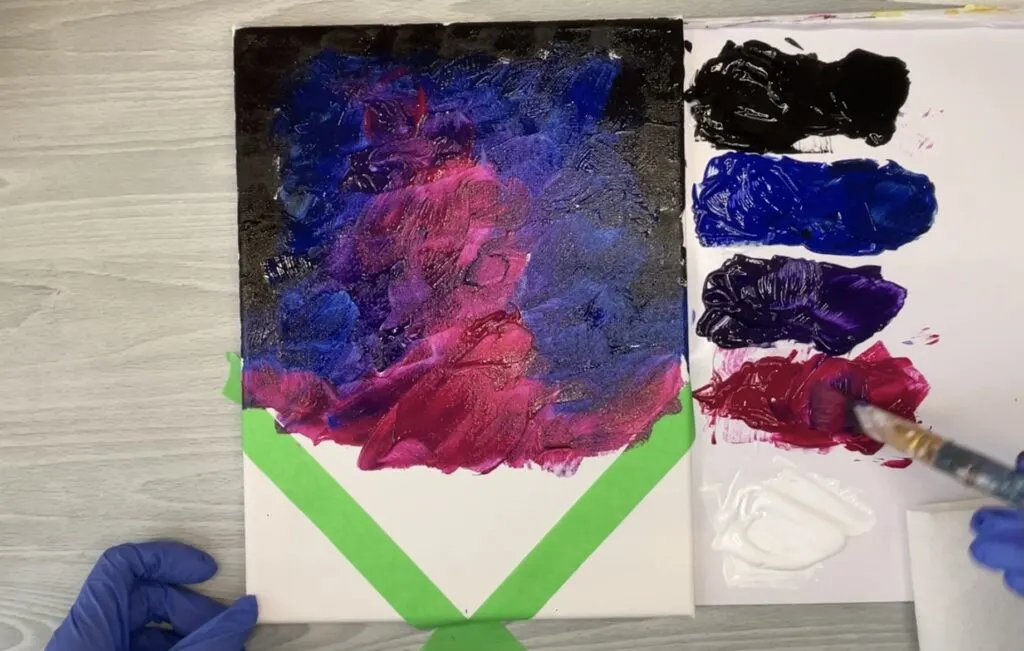
One of the first question you might have is what colors should you use in a galaxy?
Black is the first color that comes to mind when you think of galaxies or space.
But galaxies also contain some vibrant clouds of dust and gas which are known as nebulas.
The colors in nebulas range between red, magenta, blue, teal, green and white.

Need Galaxy Night Sky Inspo?
One of the best ways to get galaxy ideas is to look at high quality pictures from professional photographers.
Using a picture as inspiration can help you add some interesting features to your own painting.
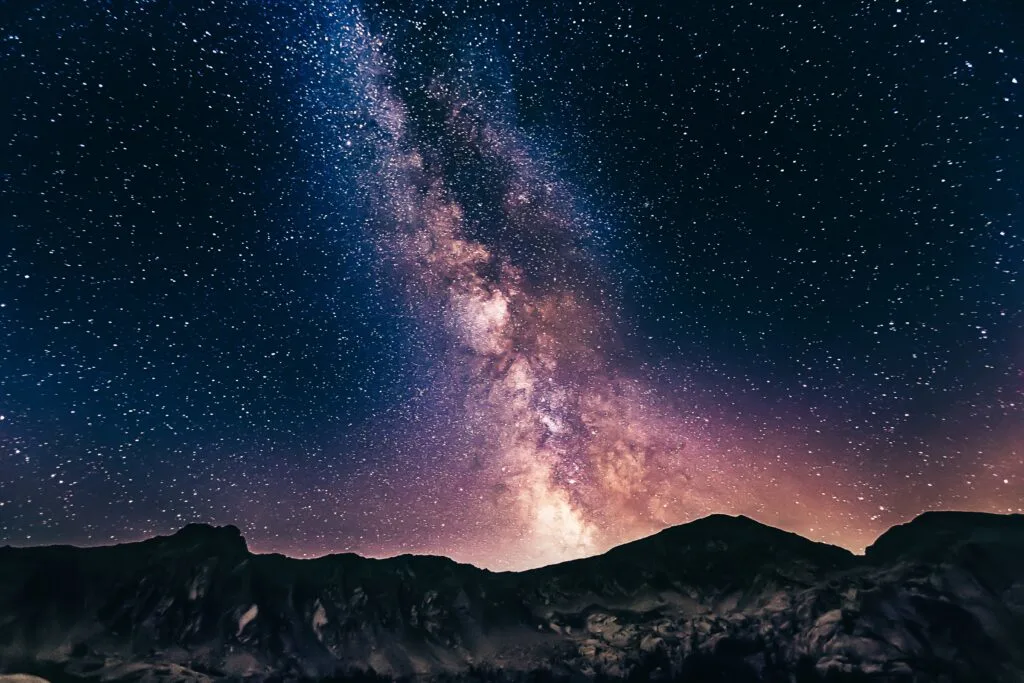
This can also help you with the shapes/proportions and even colors of your painting!
The picture I chose for inspiration is this picture of the Milky Way taken byDenis Degioanni.
you’re able to use the websiteUnsplashto search for more pictures.

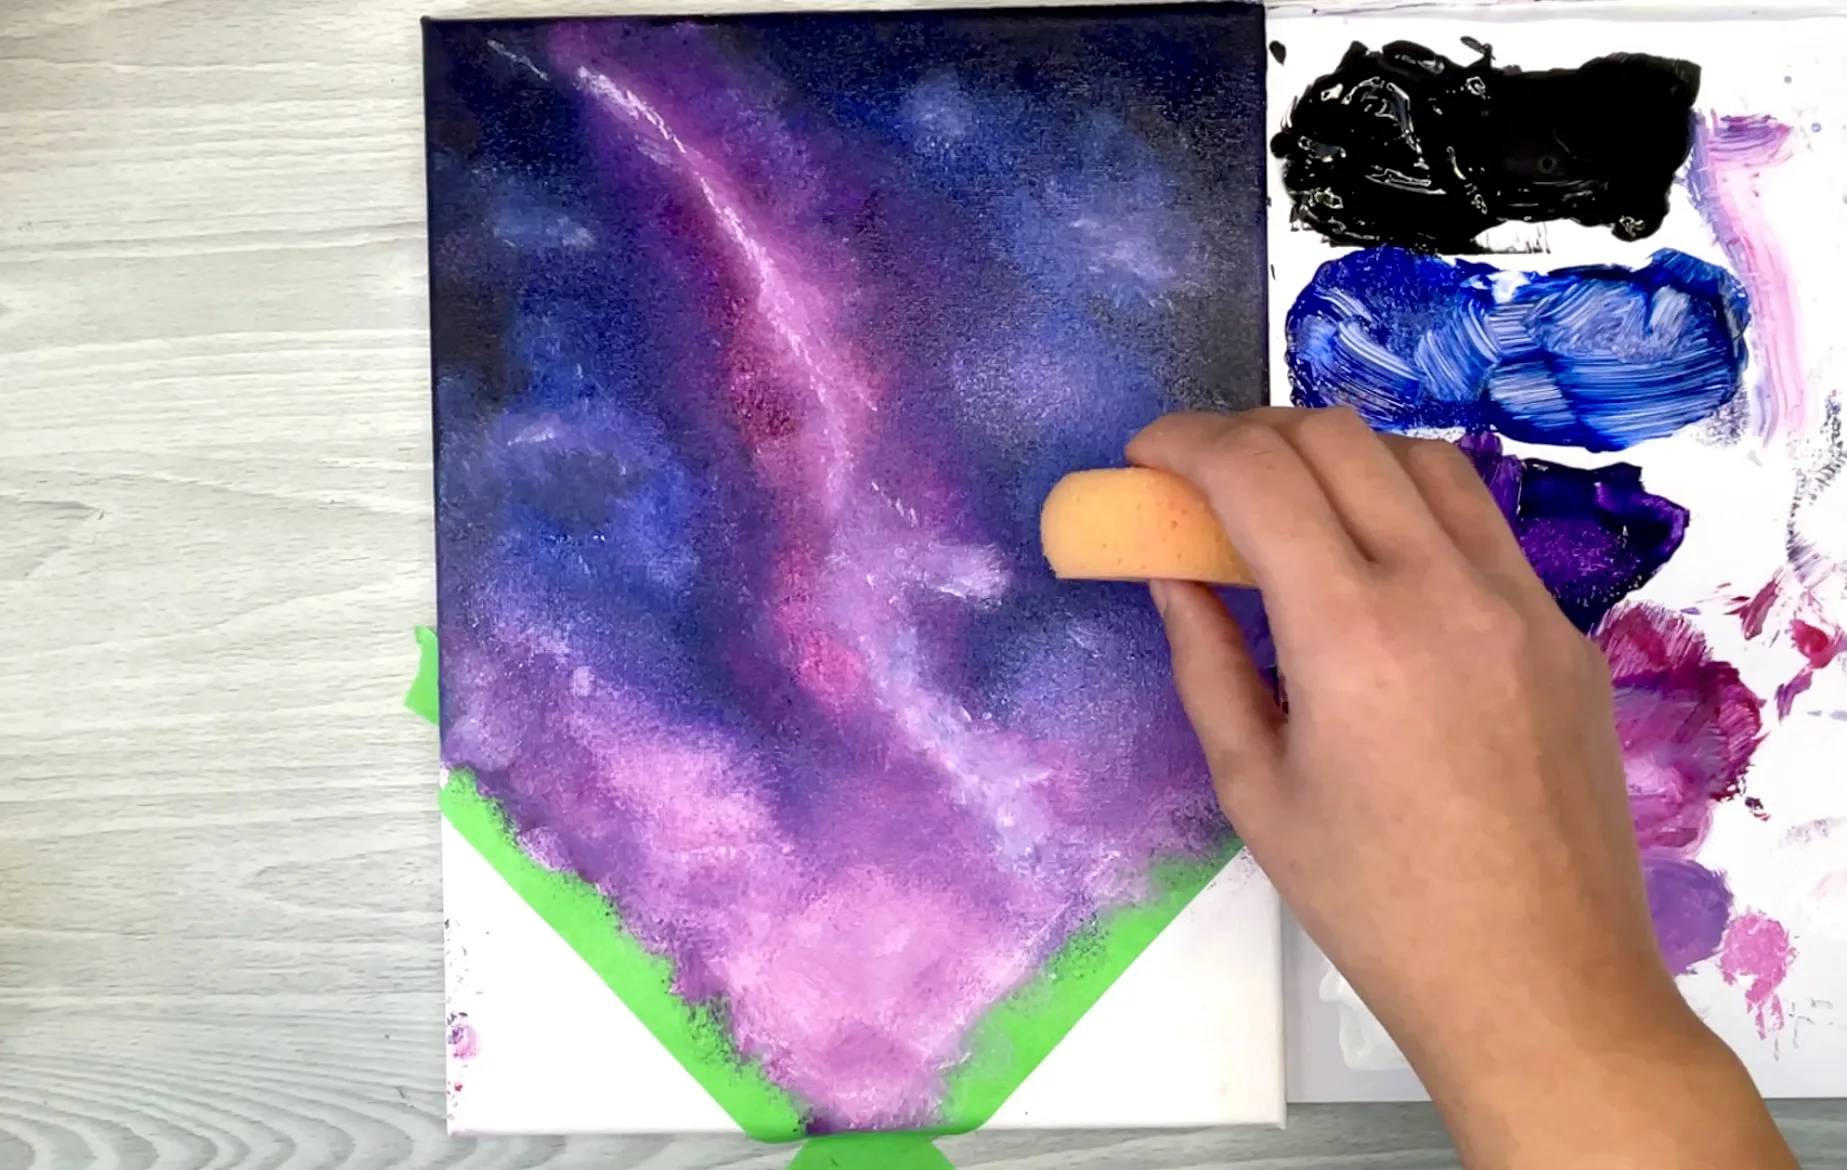
In this section I will go in depth on how to use your sponge to blend.
For the full step-by step tutorial check out the guide at the end of this post.
Using a sponge is surprisingly easy and a great tool for beginners.
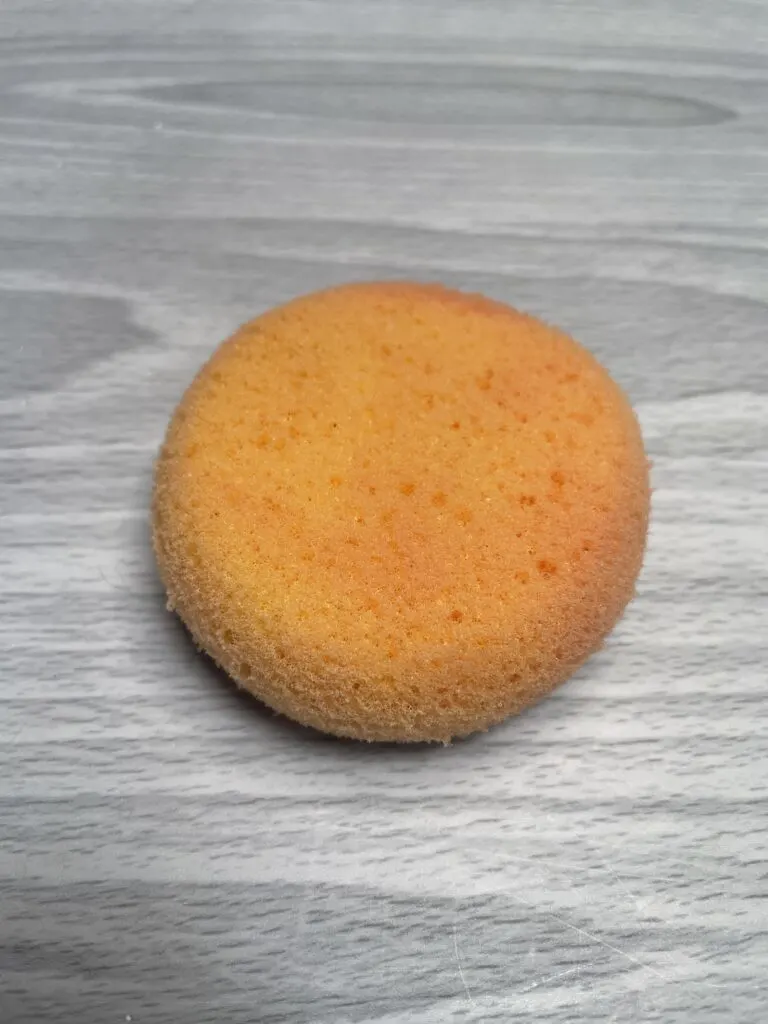
Sponges will help you create foolproof and AMAZING blends without much effort.
They are especially useful for beginners who might find it challenging to blend paint with a normal brush.
I find using a sponge to blend paint is way easier and requires less skill than using a brush.

And its fun to use.
What kind of sponge works best?
Before using the sponge, youll use a 1 inch flat brush to put your paint down.

Just have fun and get your paint on the canvas as messy as youd like!
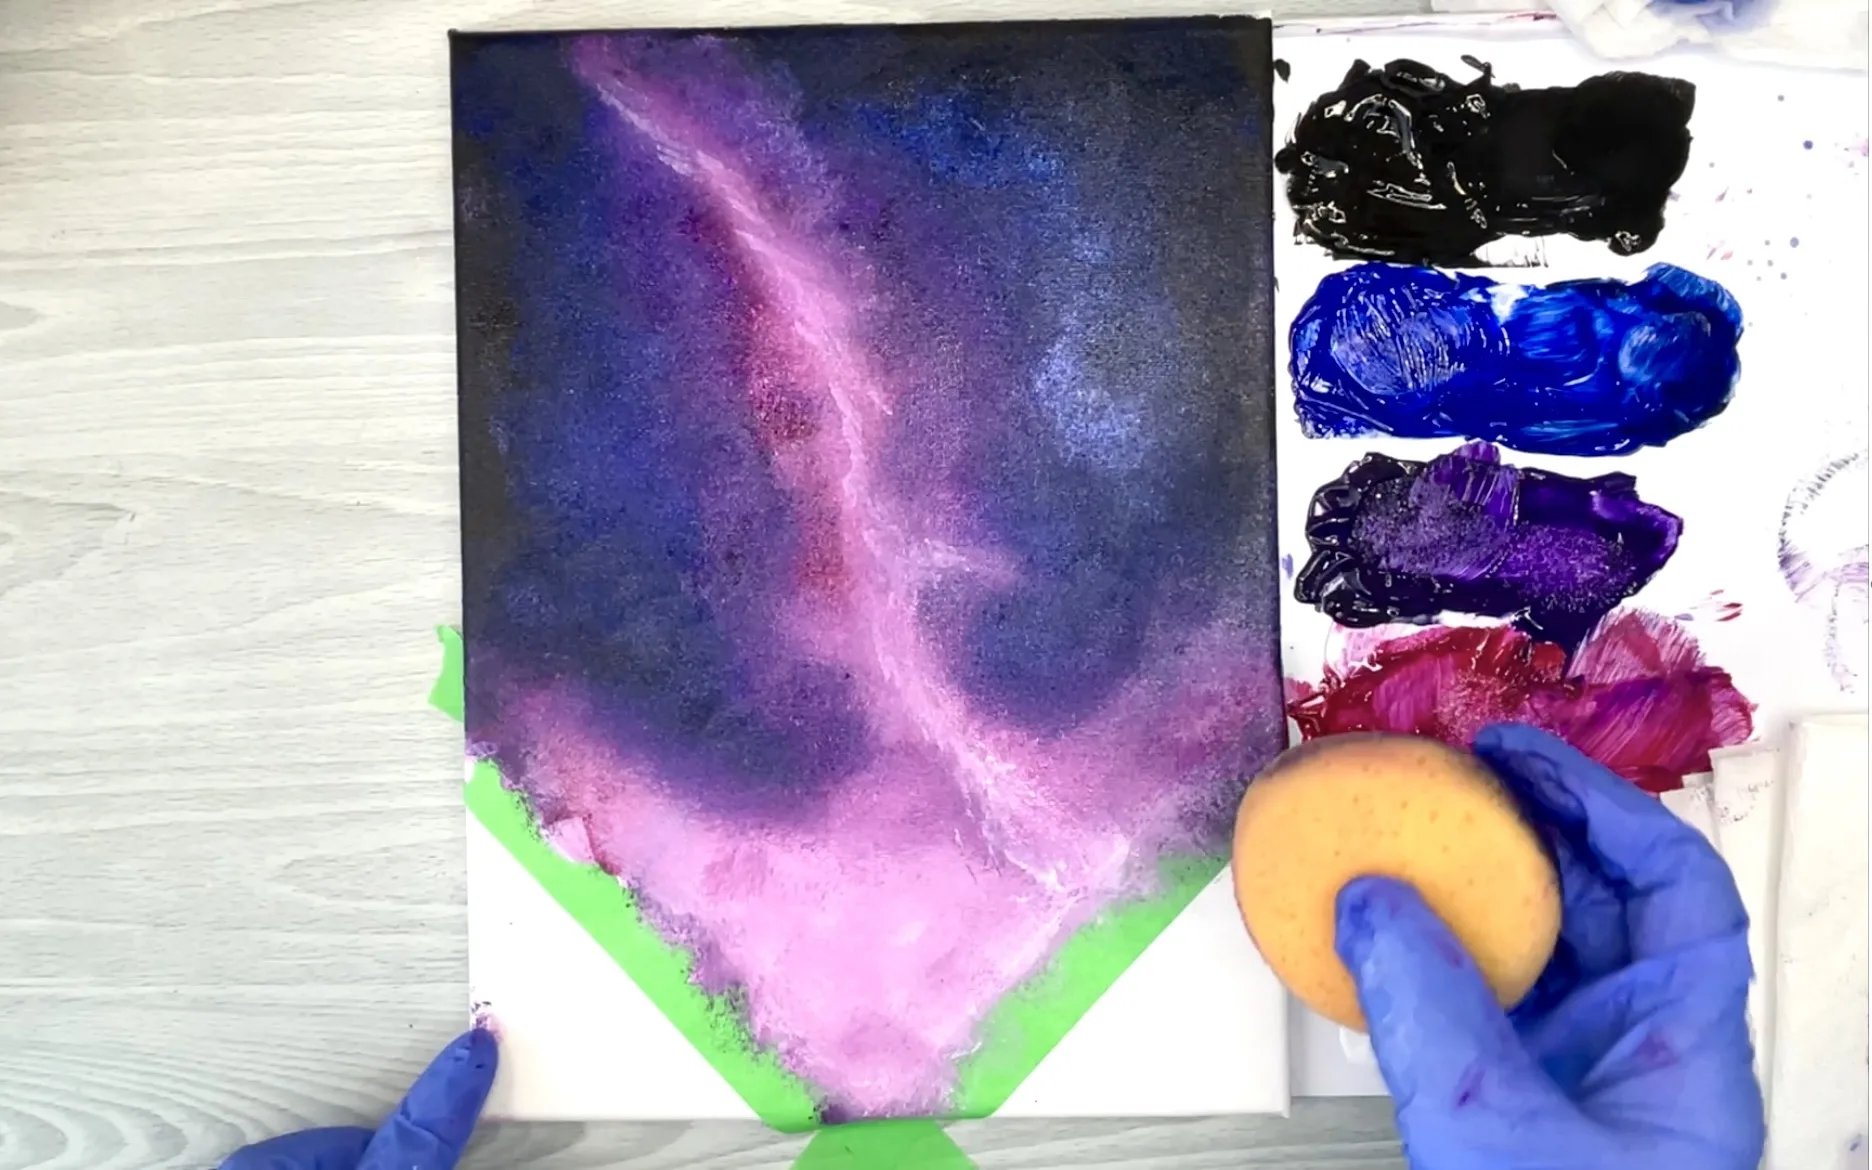
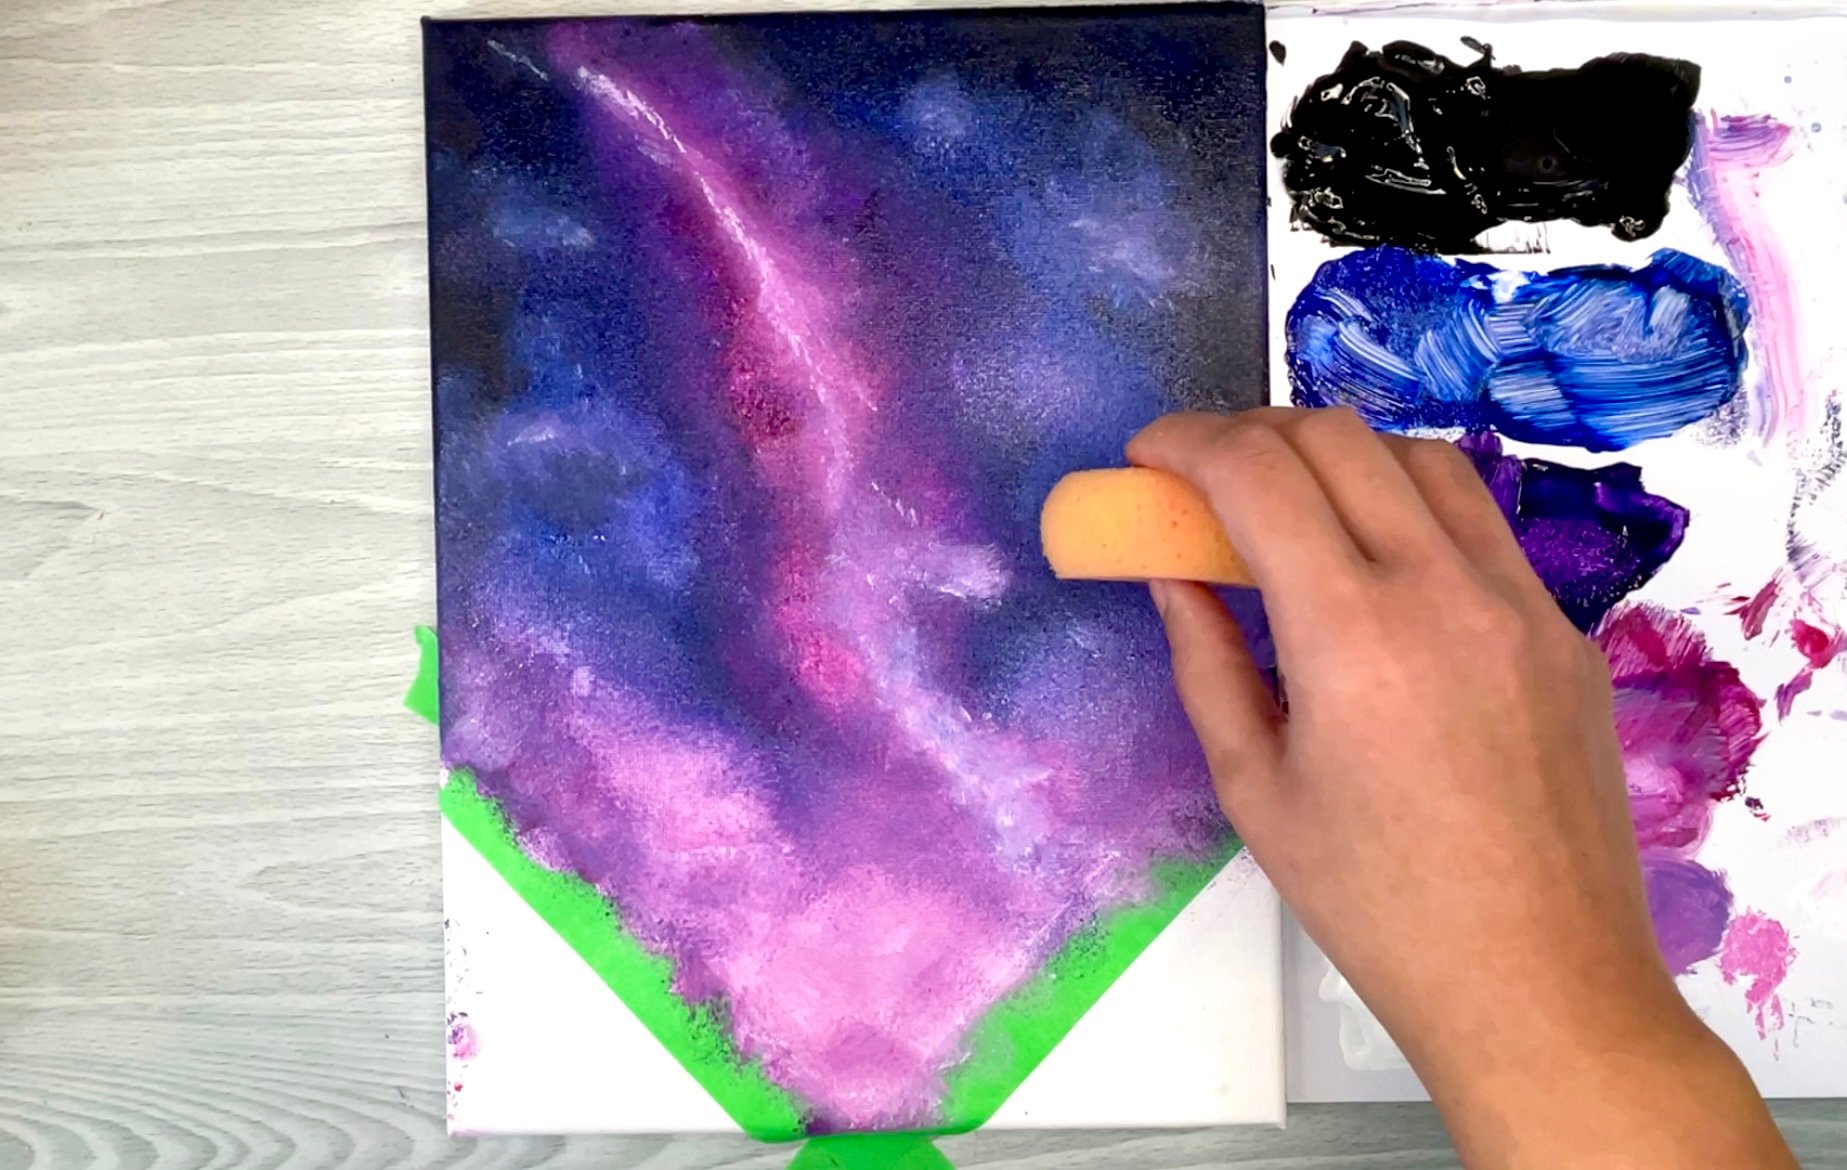
Using your sponge of choice, blend the borders between each color.
Start with the lightest and work your way to the darkest (order below).

To blend with a sponge use a light up and down dabbing motion like youre stamping.
Dont press too hard or youll remove paint from the canvas.
Here is the blending order (to keep dark colors from muddying the light colors).

venture to use a clean part on your sponge for each color blend.
Once the sponge no longer has clean areas, rinse it off with water.
If you dont have a sponge, you could blend with your brush using the same order above.

you’re able to clean off your brush with each blend.
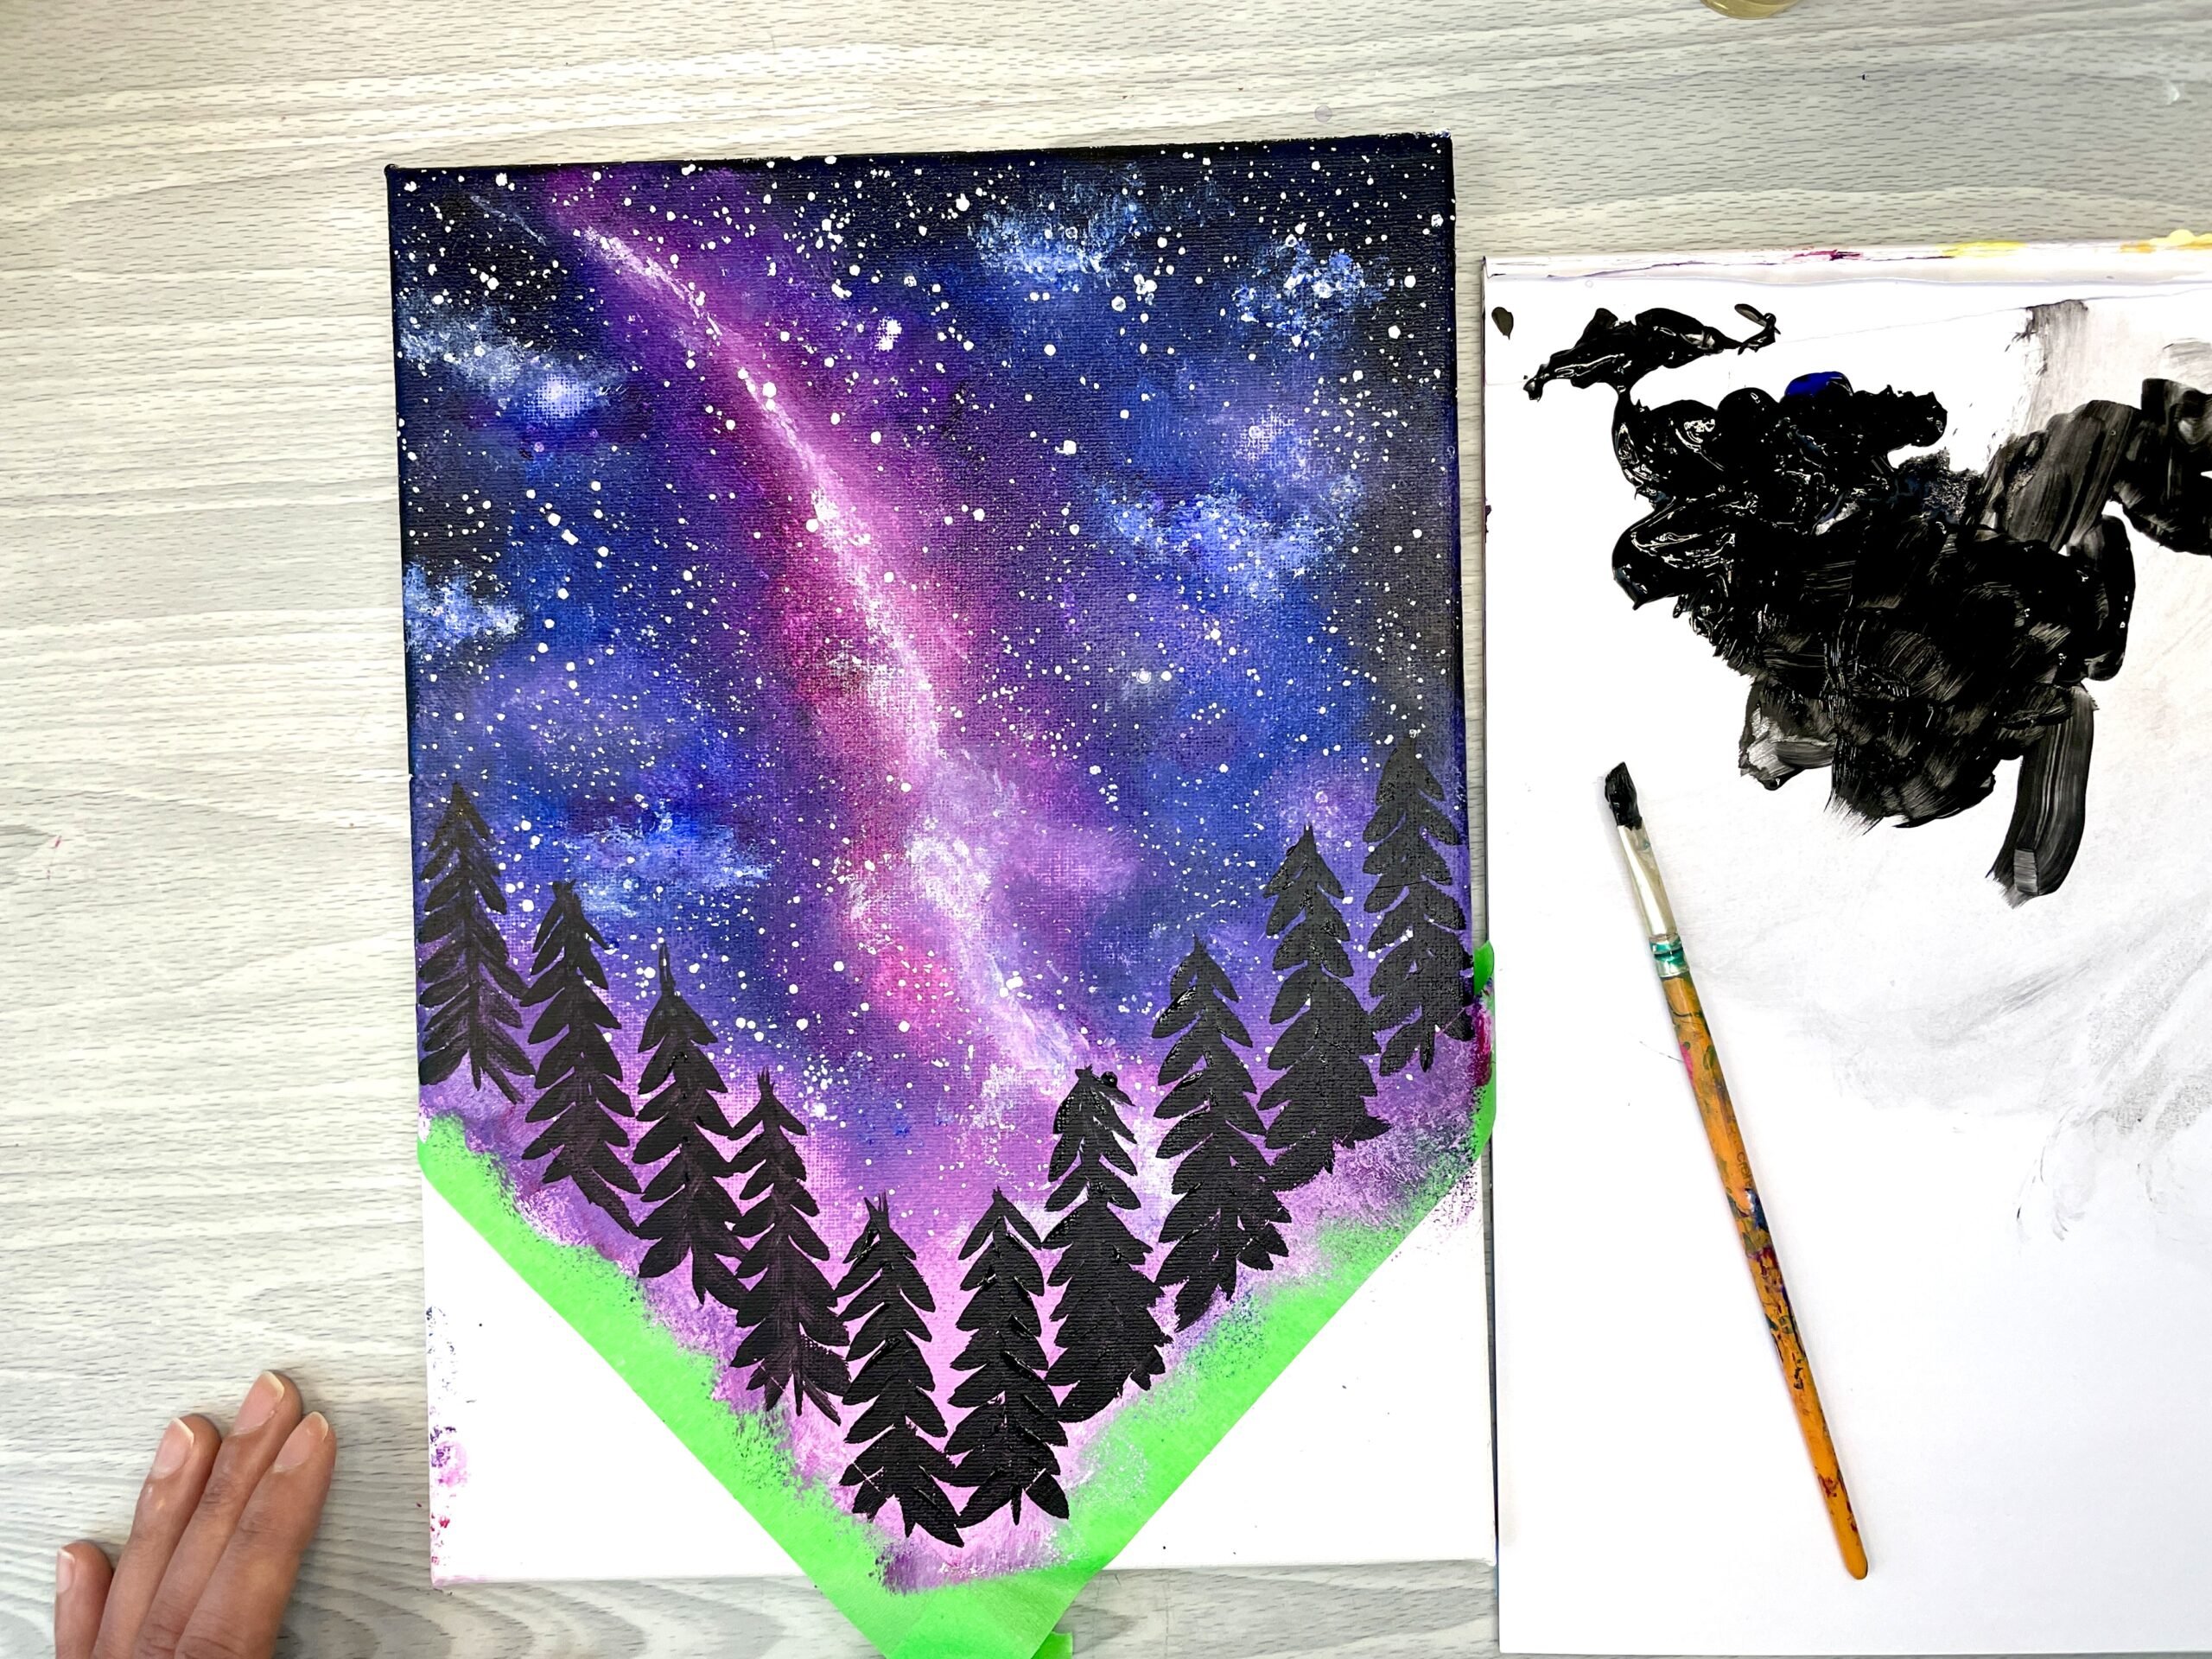
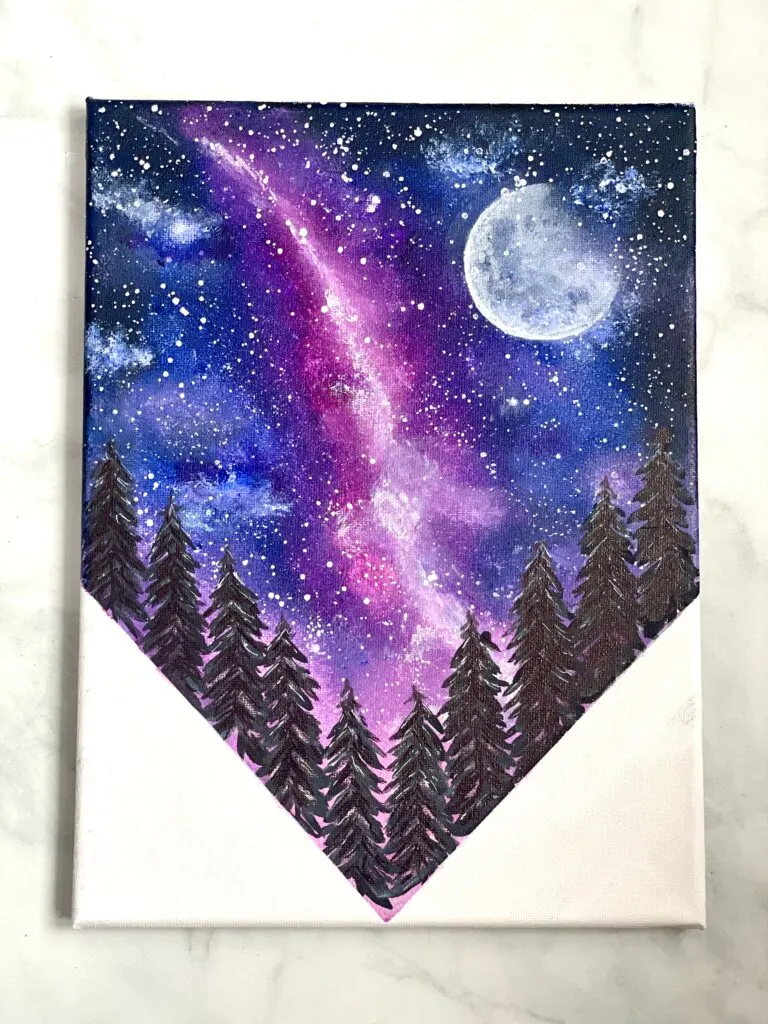
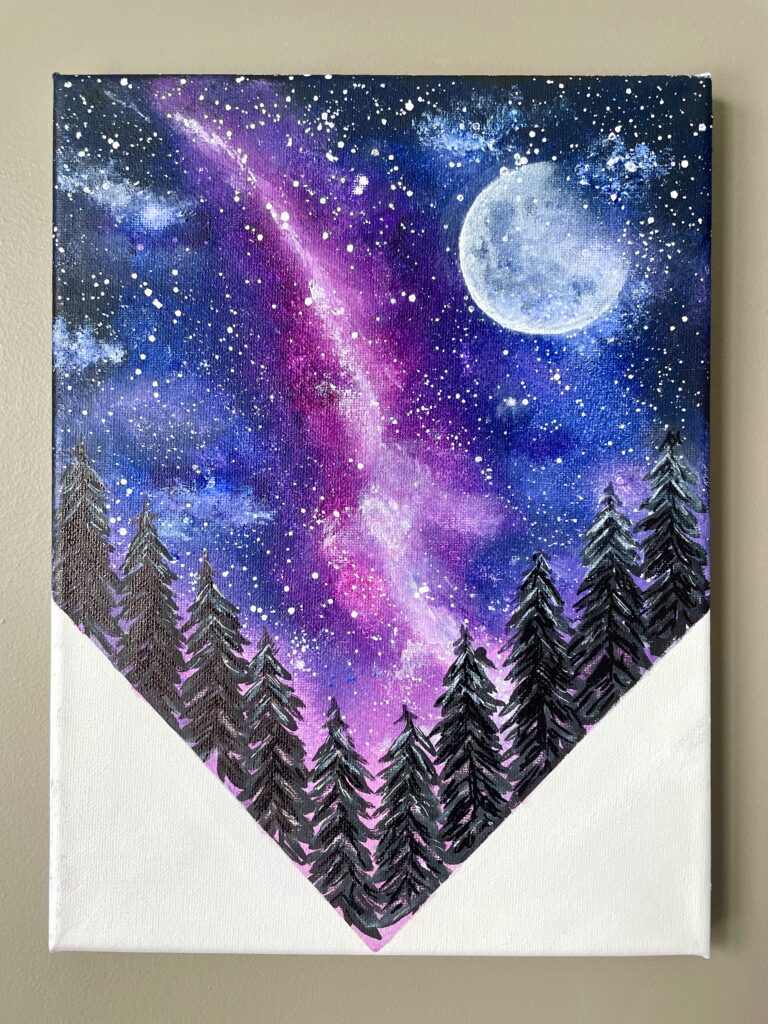
This first layer gives you the shape and color of your milky way galaxy sky.
For the rest of the painting steps check out the full tutorial below.

There are a few different ways you’re free to do it.
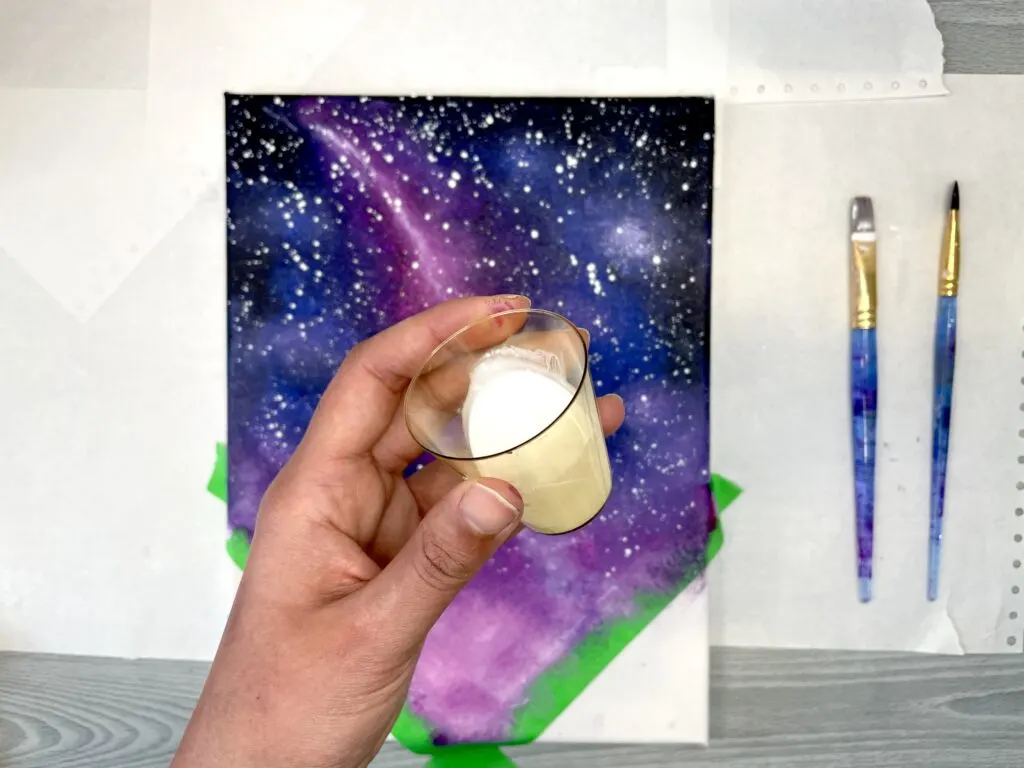
First youll want to thin down your paint.
How do you thin out acrylic paint?

Simply mix 1 tablespoon water with 1 small dollop white paint.
The consistency should be a thin liquid (like skim milk).
Then youll simply dip any brush (I use a wide flat brush) in the thinned paint.

Next youll hold the brush over your canvas and start tapping it on another brush.
Youll want to move your brush around your canvas to create splatter stars all over.
The first few flicks will give you bigger stars.

For very small stars splatter stars you could also dip an old toothbrush in the thinned down paint.
With your toothbrush faced bristle side down, use your thumb to flick the bristles back and forth.
Youll get tiny splatters of paint on your canvas.
This will allow you more control and add in stars in your sky where its more bare.
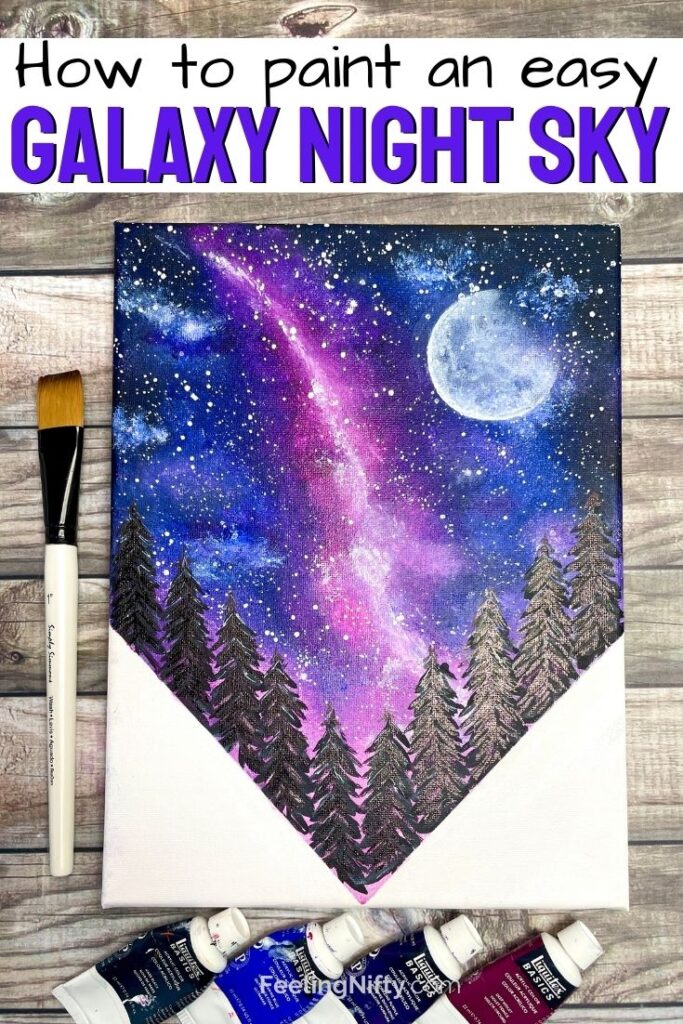
Below is the full YouTube Video if you prefer video instructions.
Easy painting tutorial for beginners.

Did you make this project?
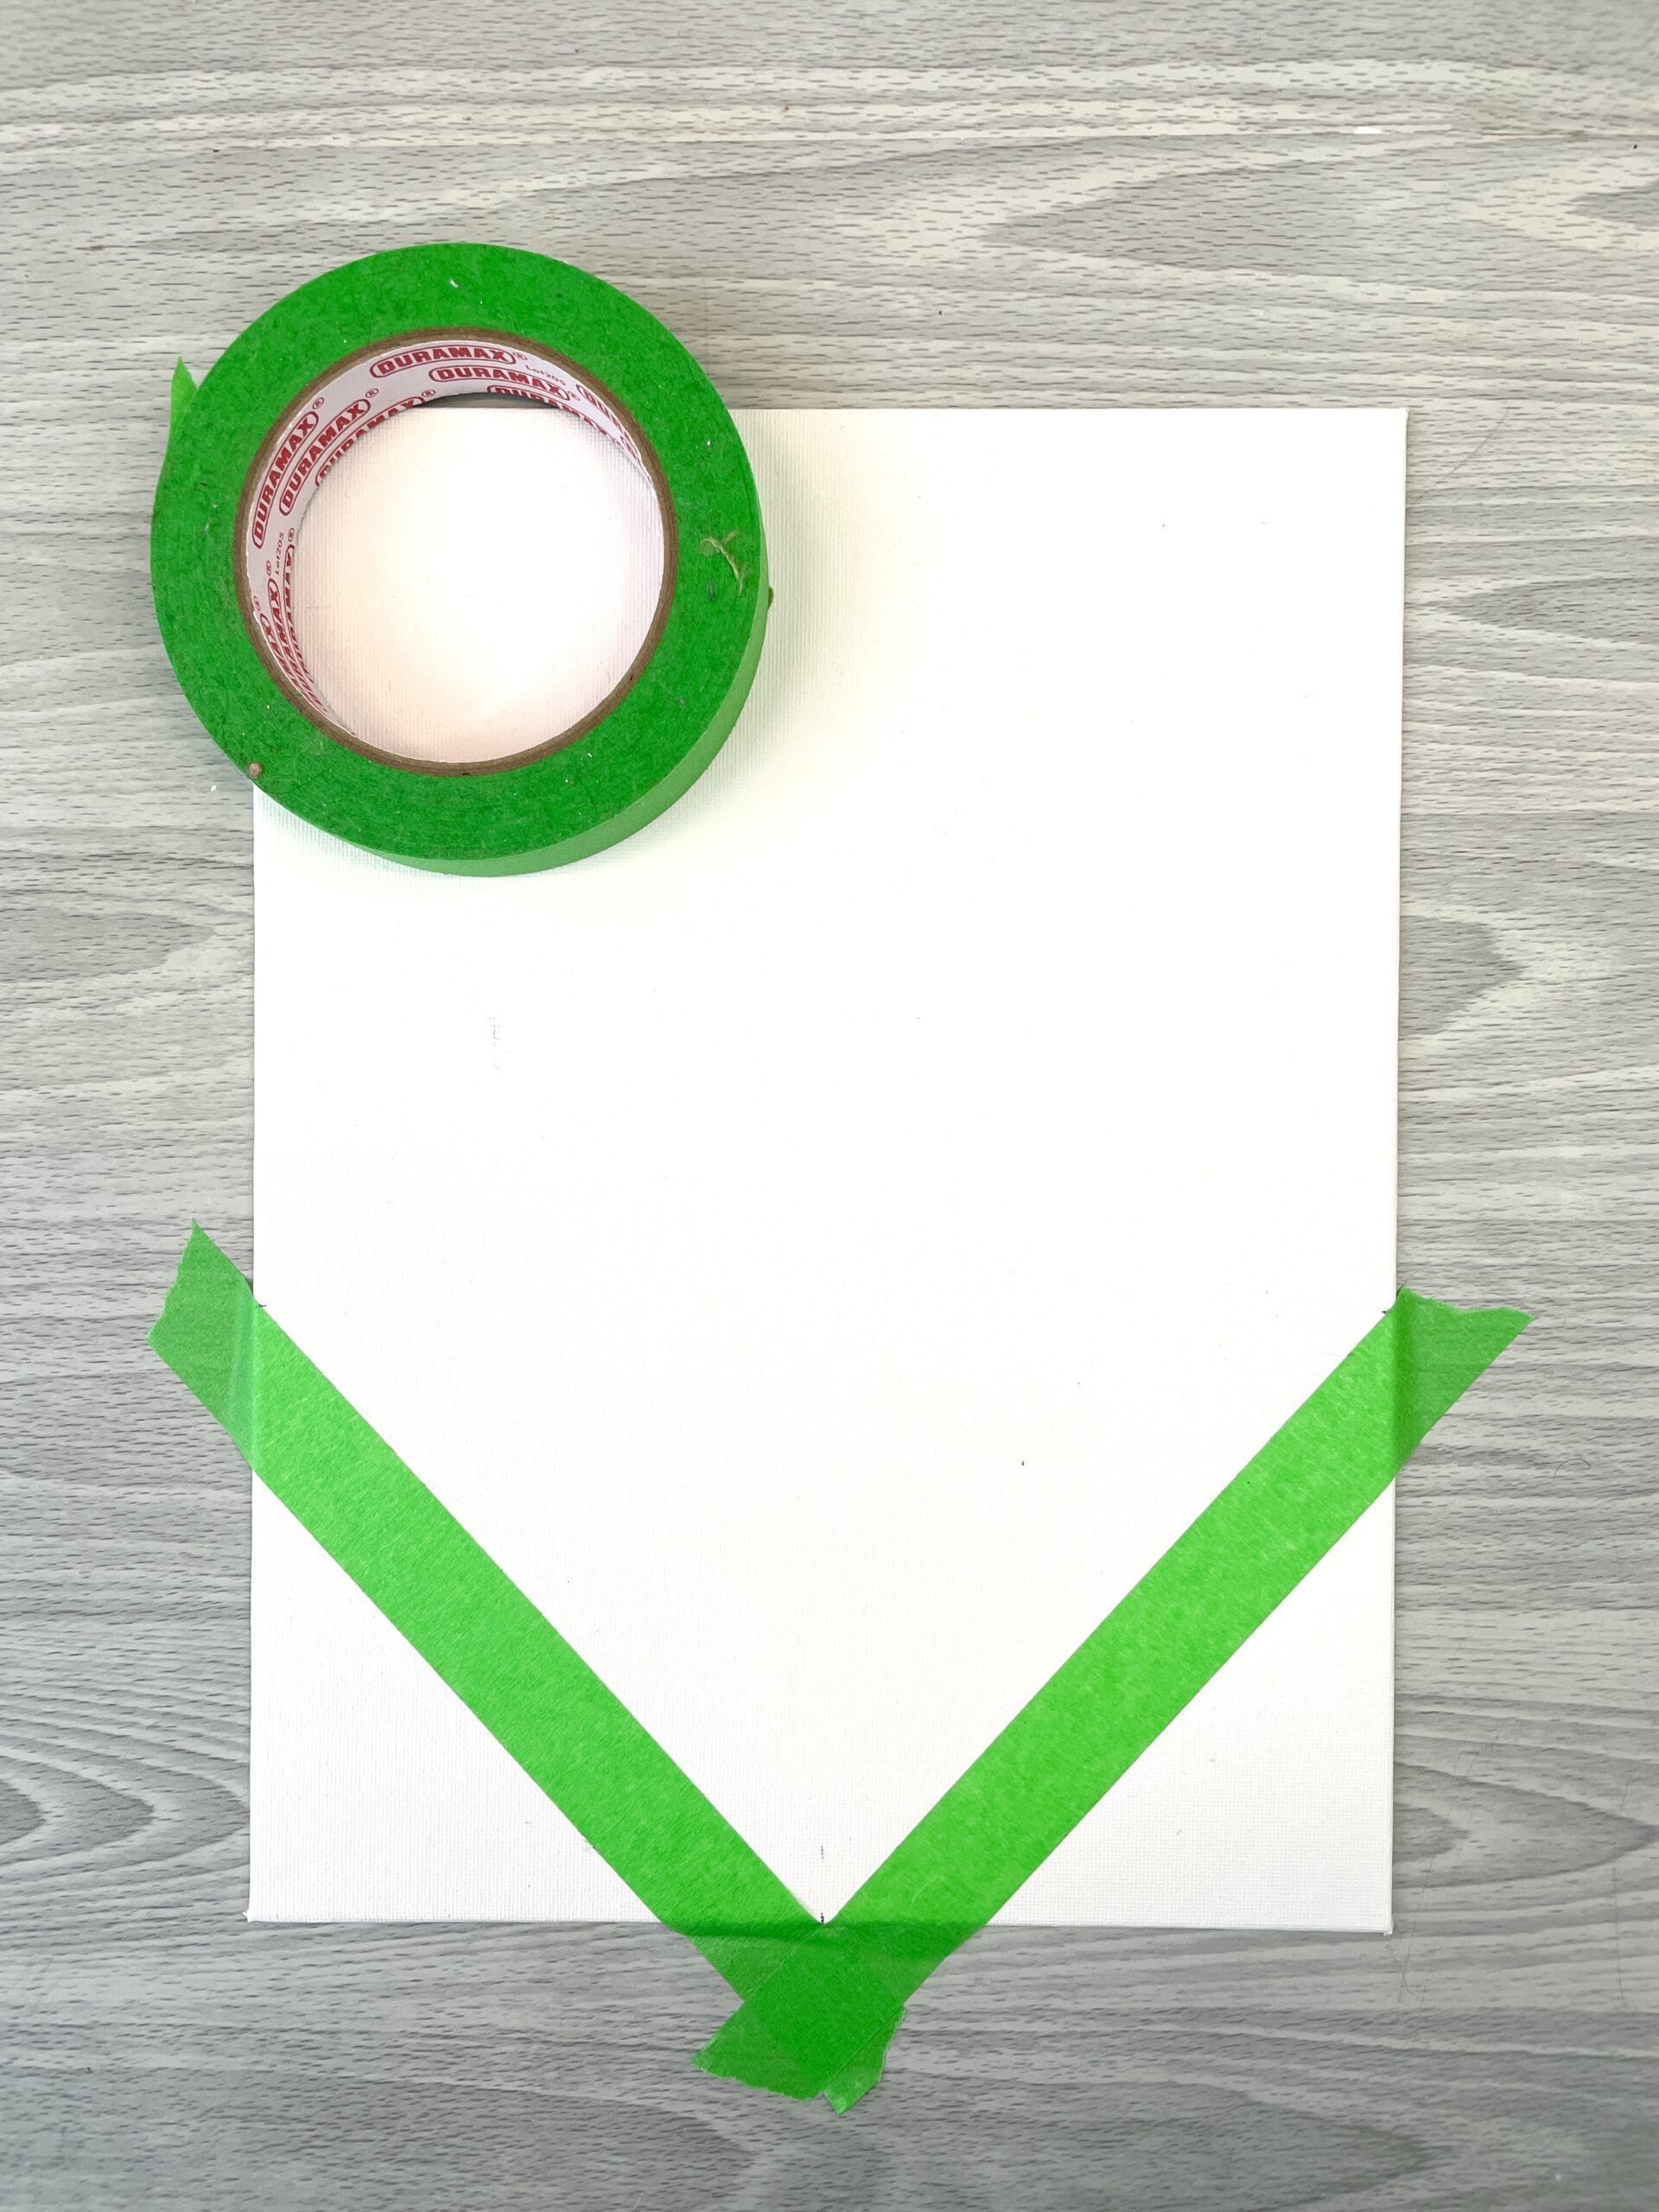
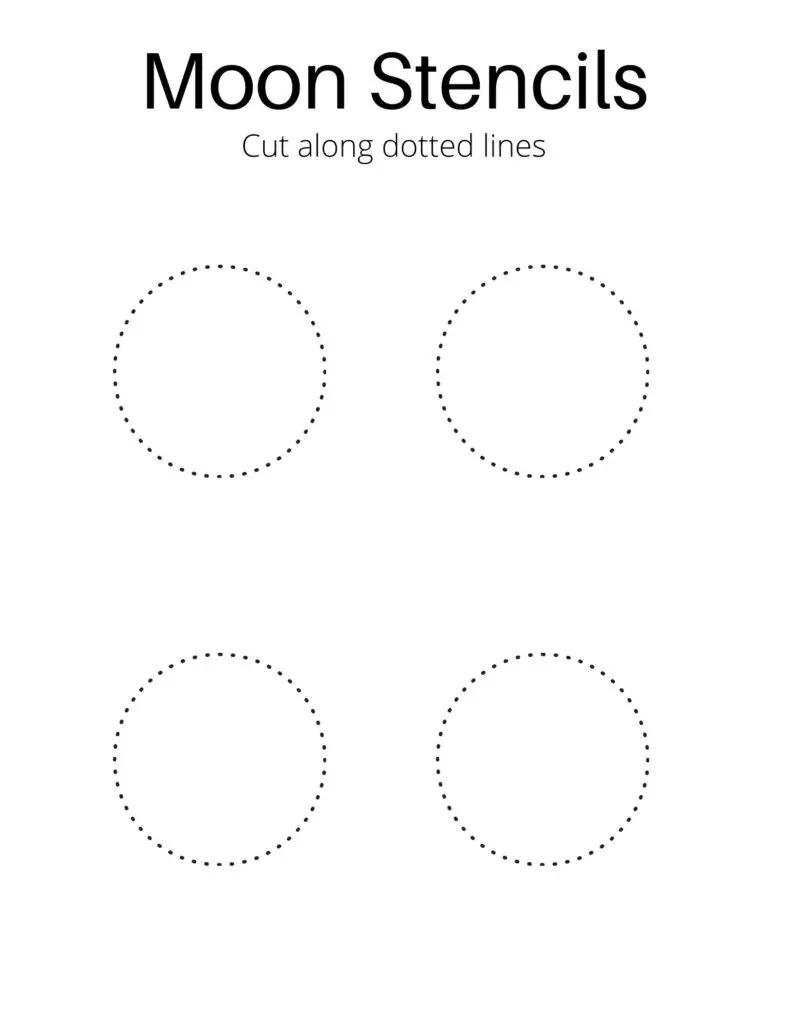
There are 4 moon stencils per sheet.
Cut along the dotted lines to get your moon stencil.

If you liked this tutorial hey Pin it on Pinterest!