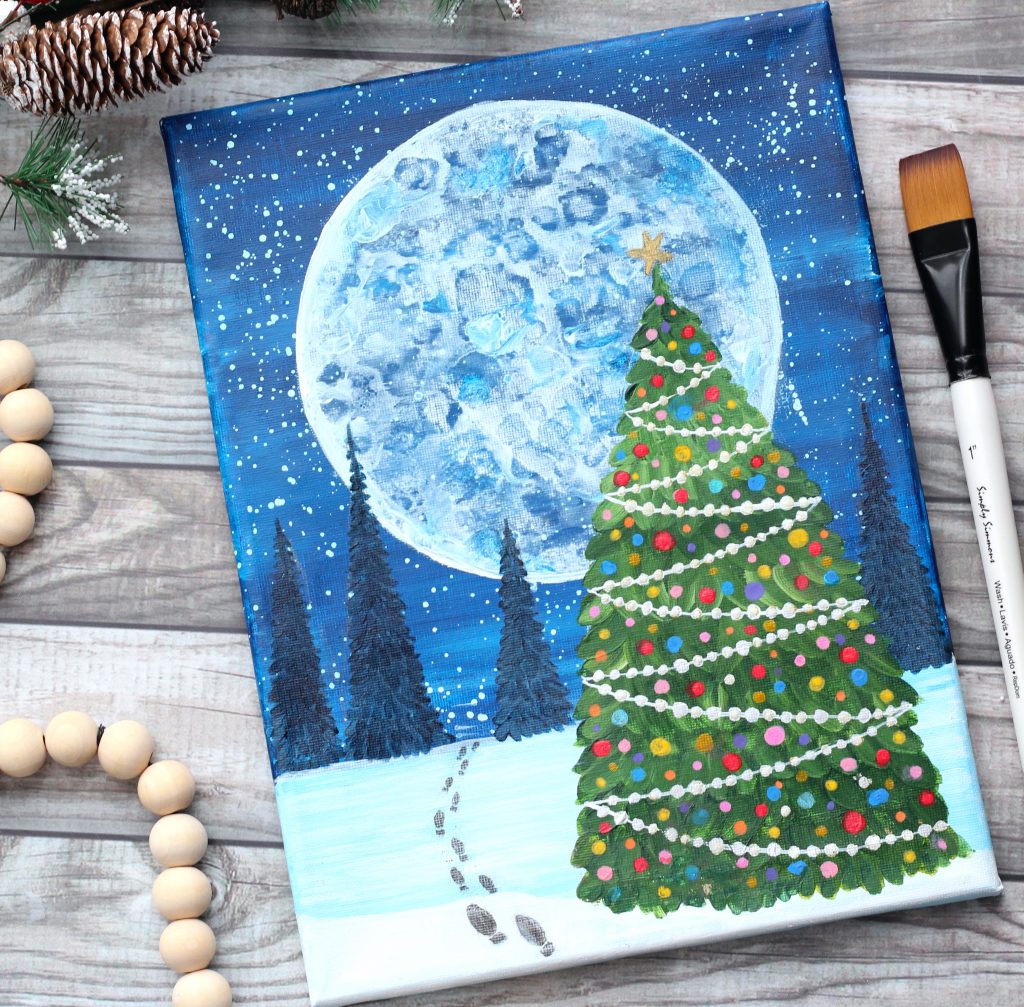
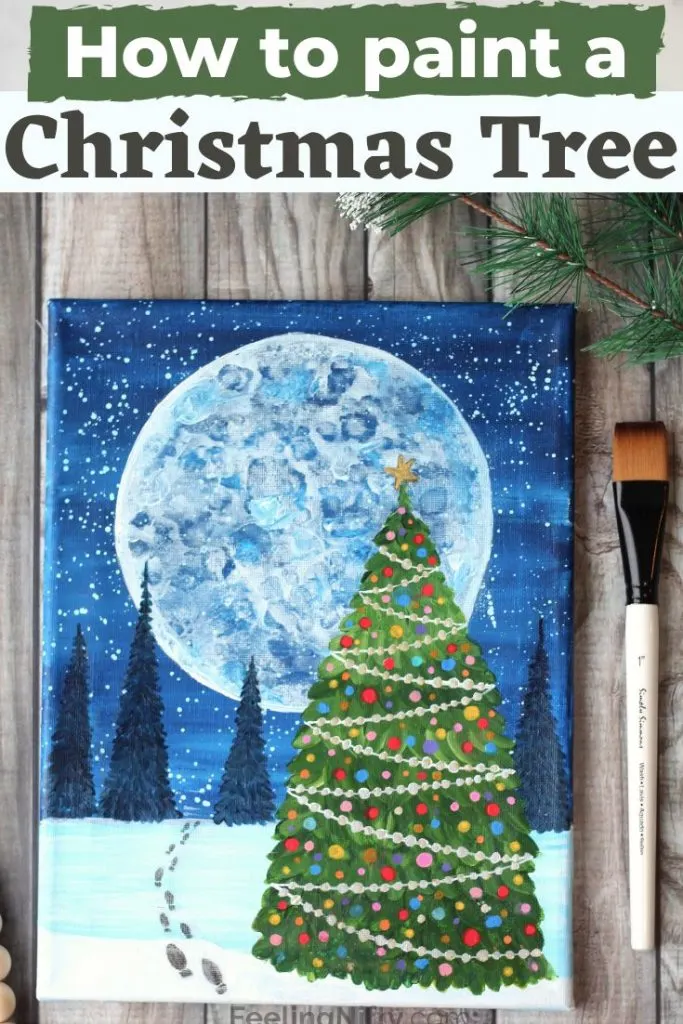
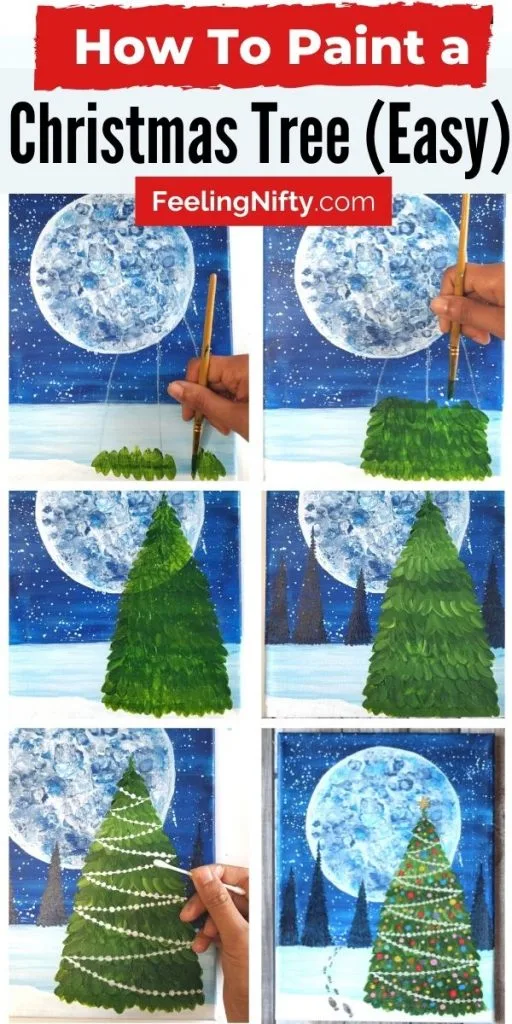
Learn how to paint a Christmas tree on canvas/wood.
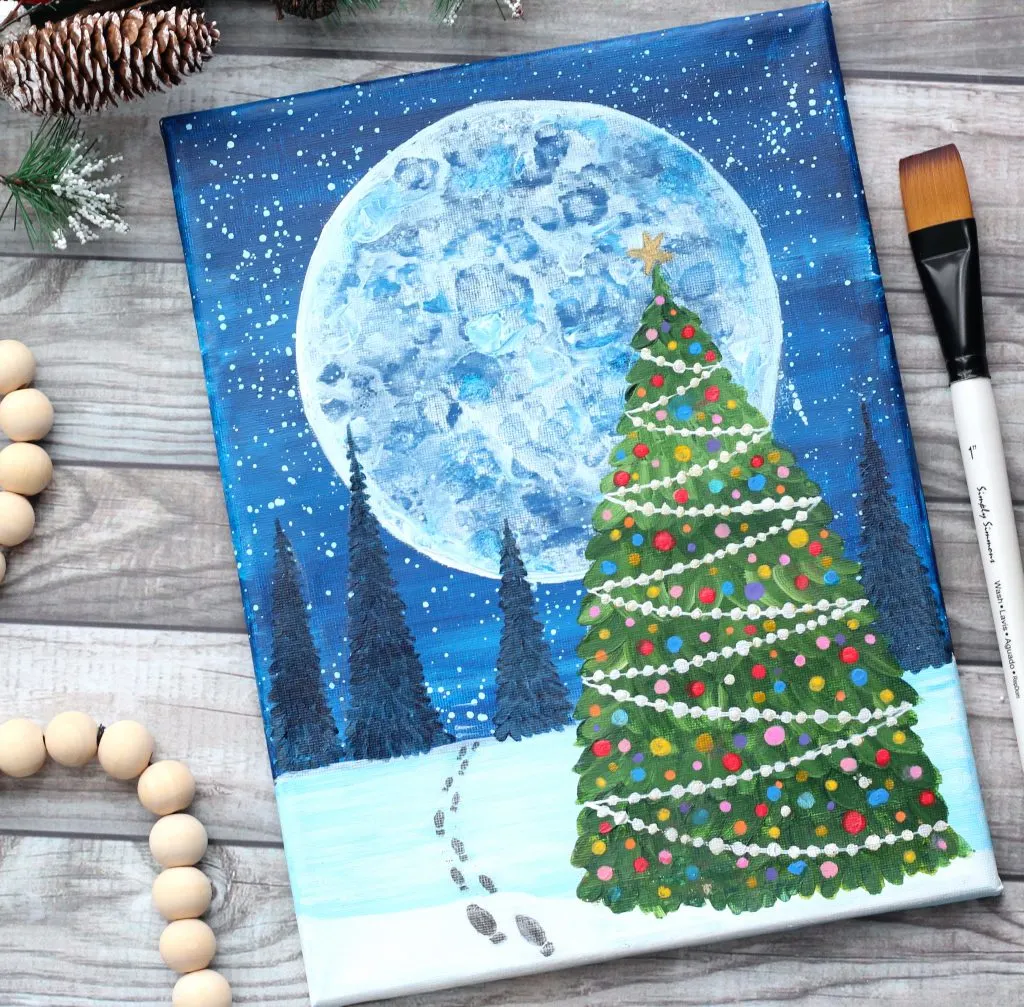
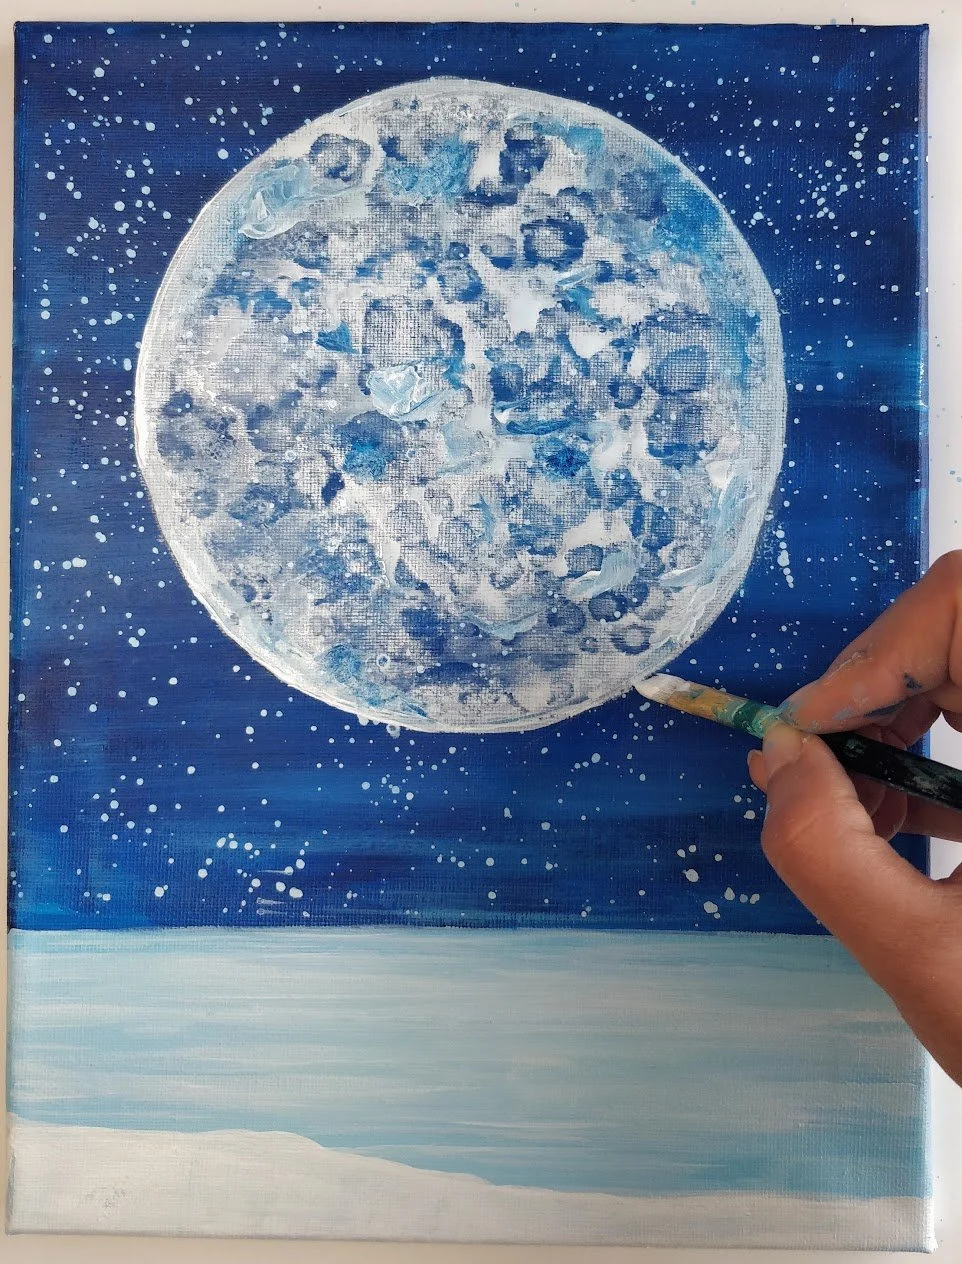
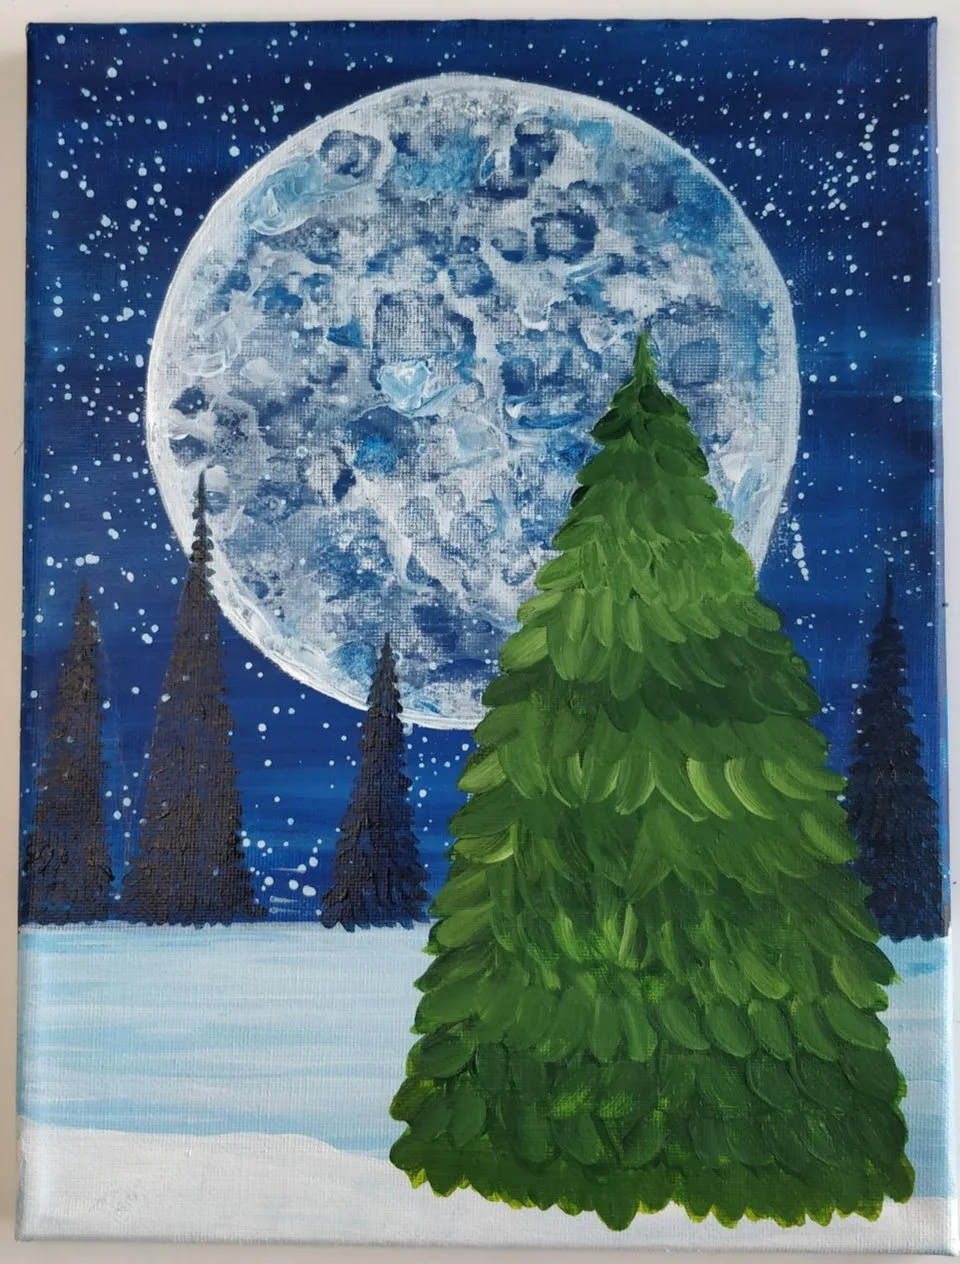
A giant blue winter moon completes this Christmas painting with a bit of Christmas painting magic!
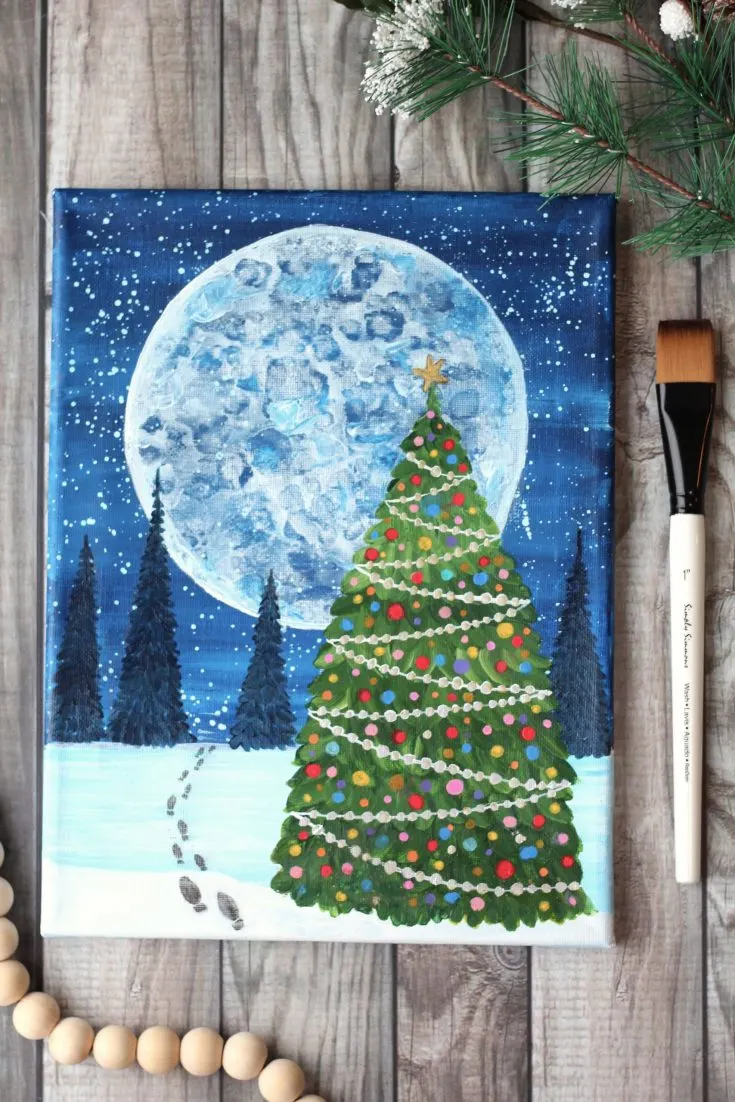
Theres plenty of magic hidden in this Christmas tree / winter scene painting tutorial .

Youll learn an easy one-stroke technique how to paint Christmas trees that everyone can do (even kids).
It will guide through the entire painting from the beginning to the end.
Looking for more ideas to paint?

Check out this list of65+ Painting Ideasthat any beginner can tackle.
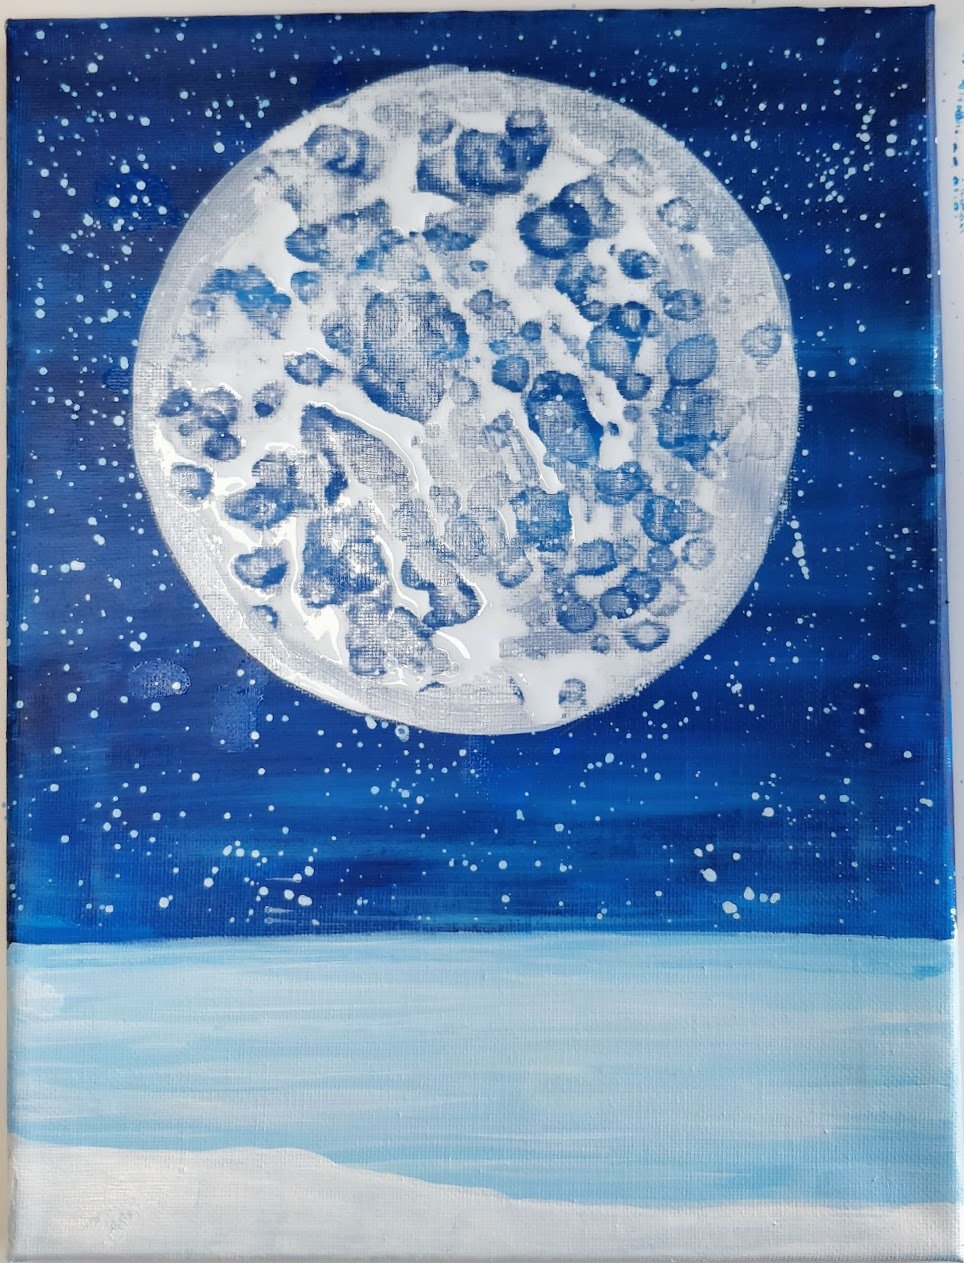
The alcohol drops will dissolve the white paint on contact, leaving the blue background show beneath it.
These drop shapes will be your moon craters.

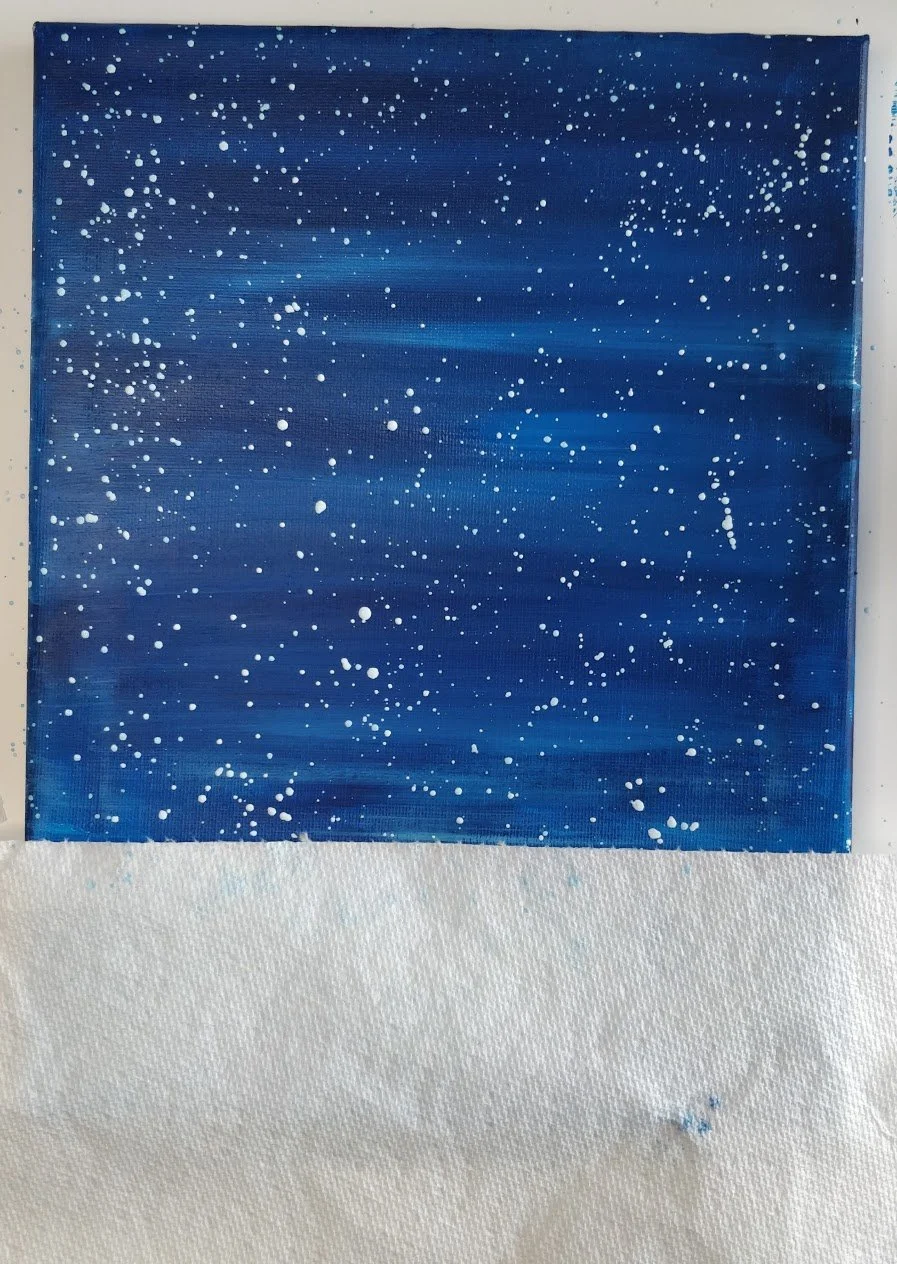
The first step is to double-check your blue background is fully dried (including stars).
This is super important step.
If your paint is not thin enough, the technique wont work as well.

The white paint should be a thin liquid consistency and very transparent when painted on canvas.
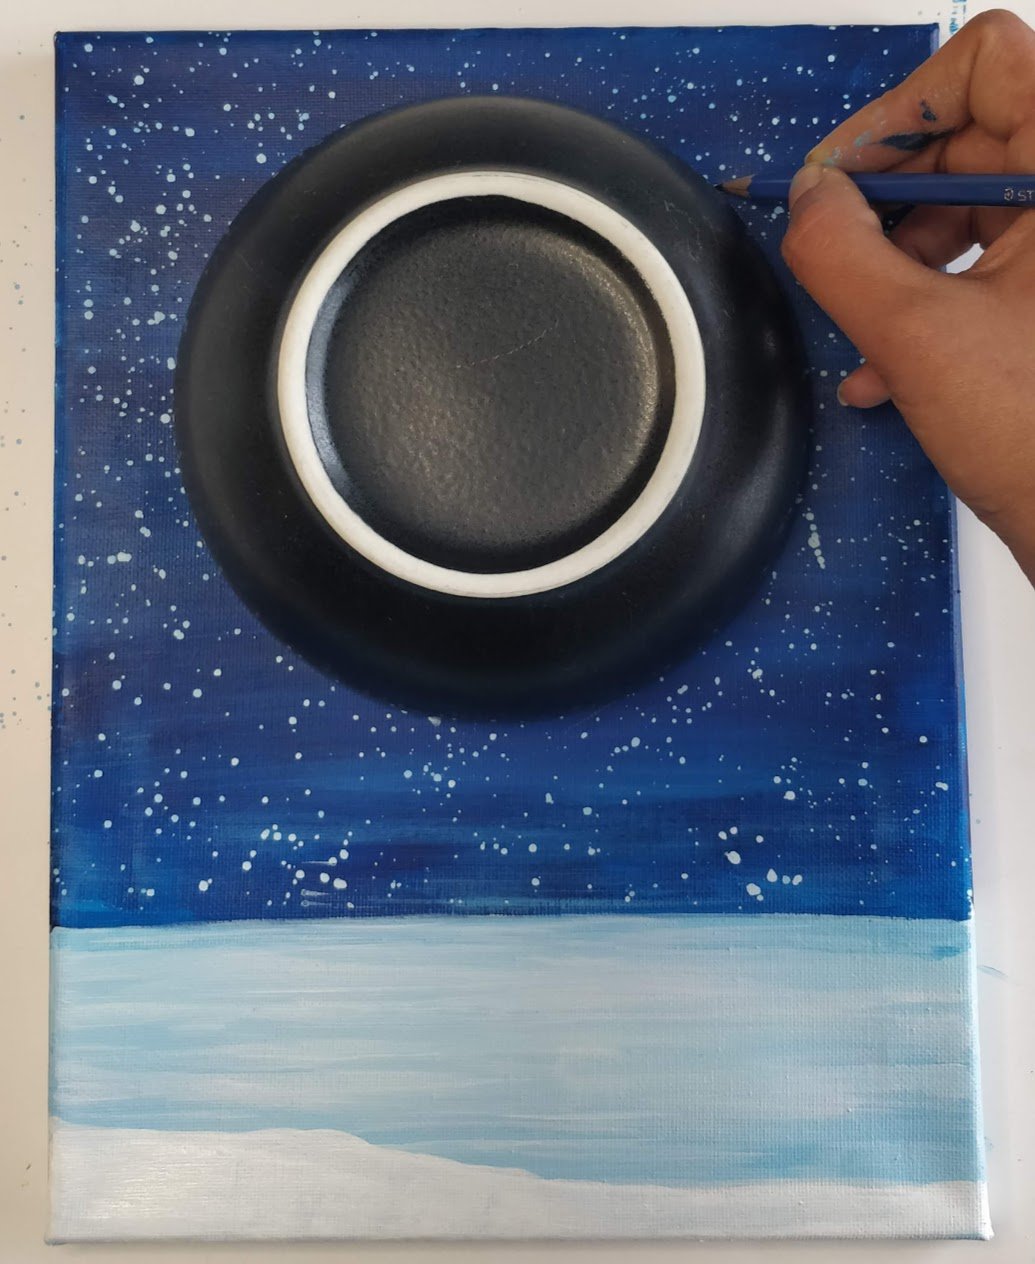
Fill in the moon with a very thin layer this white paint using a 1/2 wide wash/flat brush.
Youll have to work fairly fast in the next step because you dont want the white paint to dry.

The alcohol effect wont work on dried paint (read tips below).
As the alcohol drops hit the white moon.
you should see the white paint being dissolved in drop like shapes.

Oh, and you dont have to worry about the blue background getting dissolved since its dry.
If you get some alcohol outside the moon shape no worries, just wipe away.
This youtube videoinspired this technique.

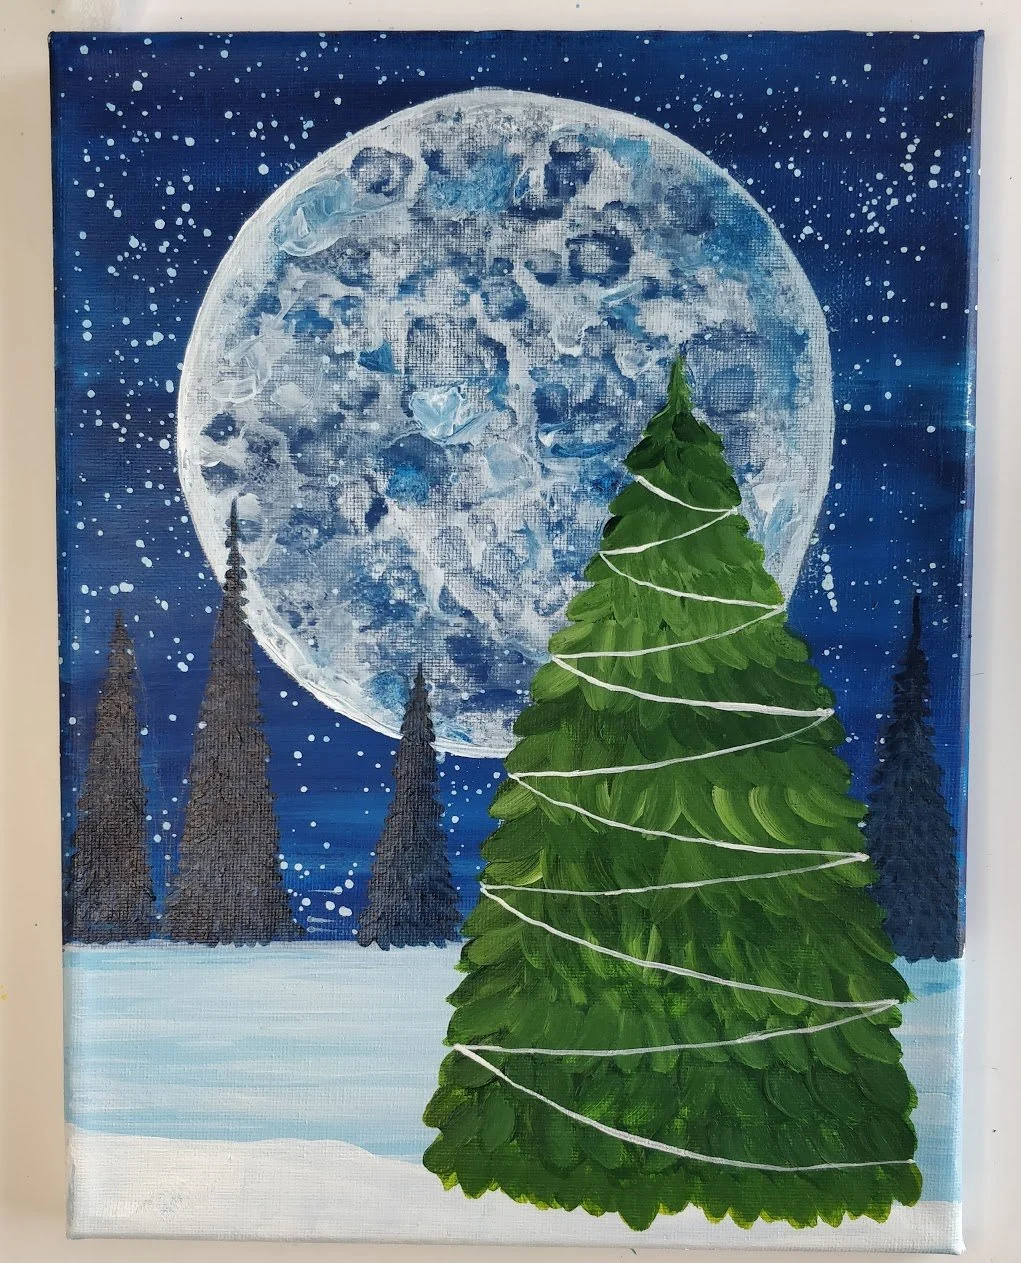
I outlined the left half.
You dont have to do this step, but I find it brings the moon to life.
This one-stroke brush technique can be used on canvas, wood or any other surface.

To make this technique stress-free, outlining your tree shape with a pencil really helps.
In the picture below Ive used pencil/chalk to outline my Christmas tree shape.
I also marked the middle of the tree with a vertical line.

This will help you angle your strokes toward the middle- if you want a more rounded looking tree.
Next, lets paint it in!
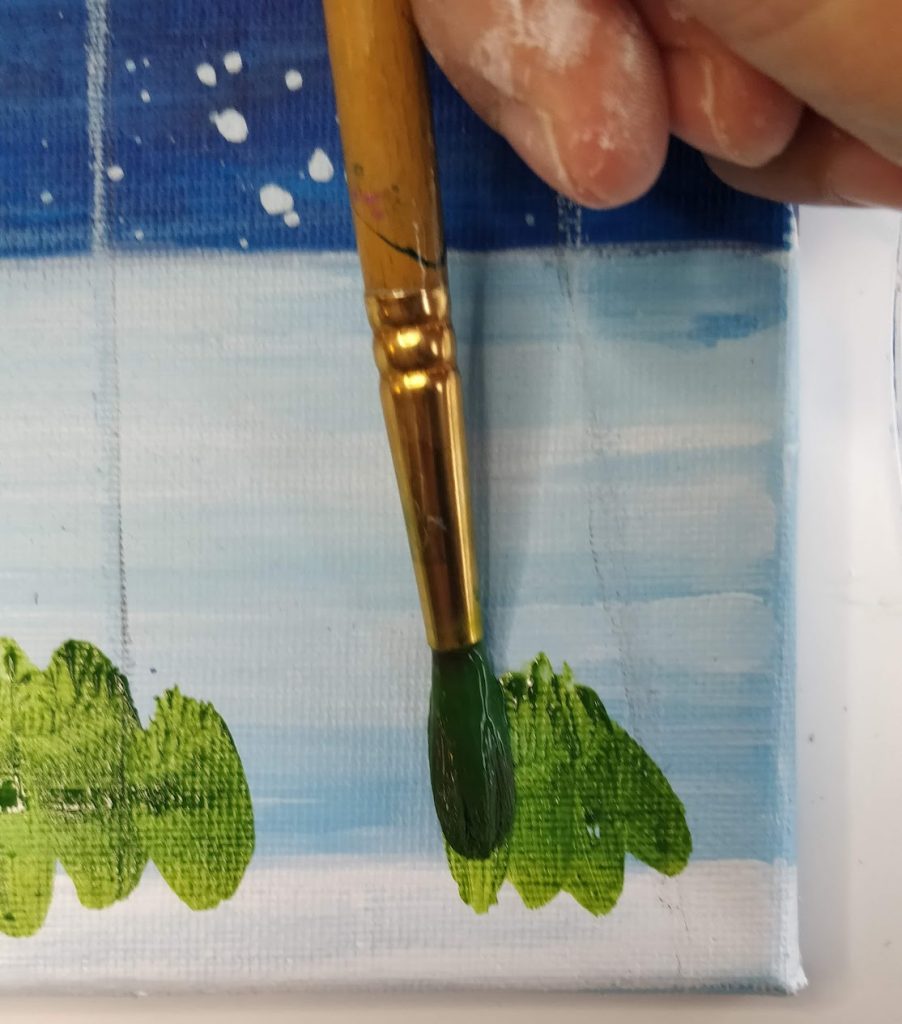
Youll need a round brush (size 4 or 1/2 diameter wide) andhookers green paint.

Load the brush in a rotating twisting motion.
This helps load your brush properly and evenly, keeping the pointed end staying sharp.
Starting at the bottom of the tree, point the paint brush tip down on the canvas.

Apply heavy pressure on the brush and sweep up to create your one-stroke tree branch.
Repeat this stroke across the entire bottom row of your tree.
Your branches will look more flared out and the tree will look more dimensional.

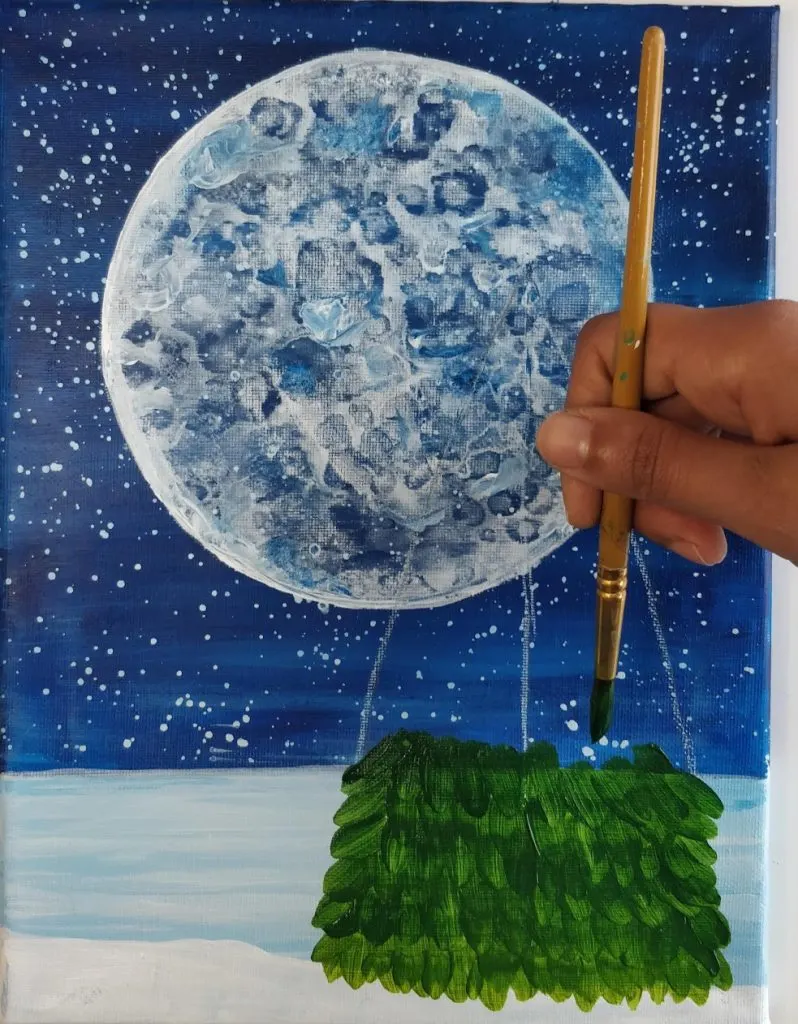
Once your first row of branches is complete, repeat the same steps on you second row.
see to it you overlap the first row.
This will make it look like the branches are sitting on top of each other.

Also, you dont have to wait for the paint to add a new row.
Its so hard waiting for paint to dry, so I made sure this technique worked with wet paint.
Now repeat this one-stroke technique on the remaining rows all the way up your tree.

Using your pencil tree sketch to guide you where to start and end each row.
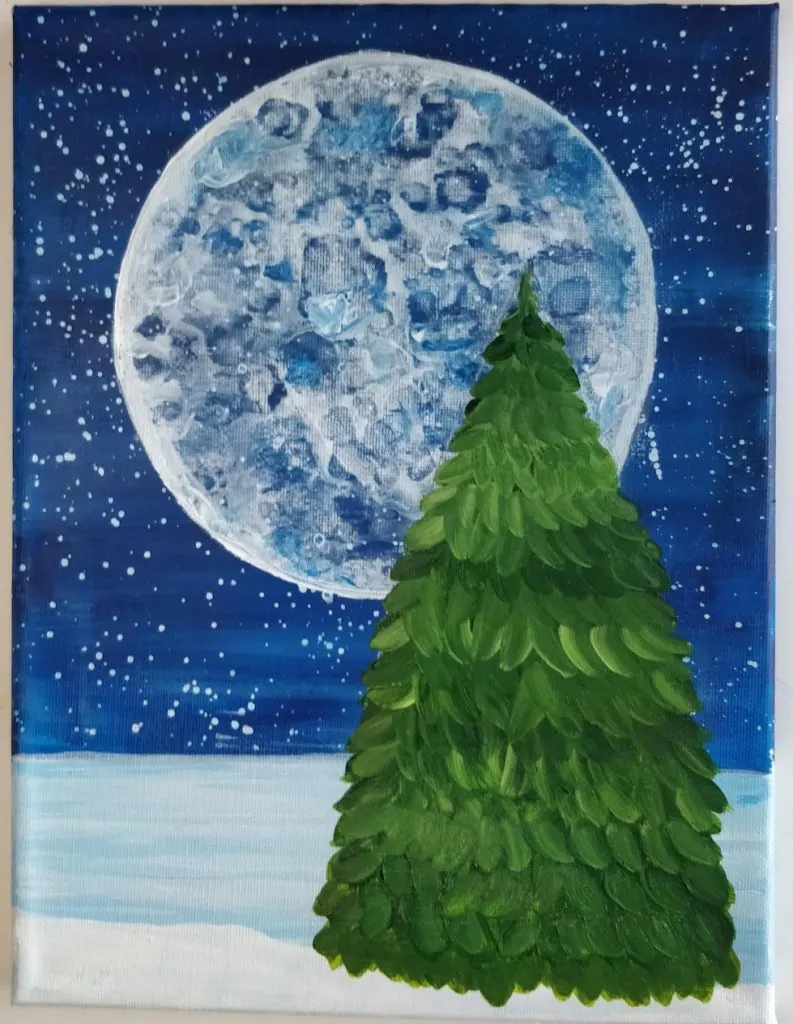
Once youre done, if your green is transparent like mine, youll need a second coat.
If you want to bring more dimension to your tree, you might use 2 colors in this step.

Your hookers green and a lighter green color (add a little bit of yellow with hookers green).
The more random the better.
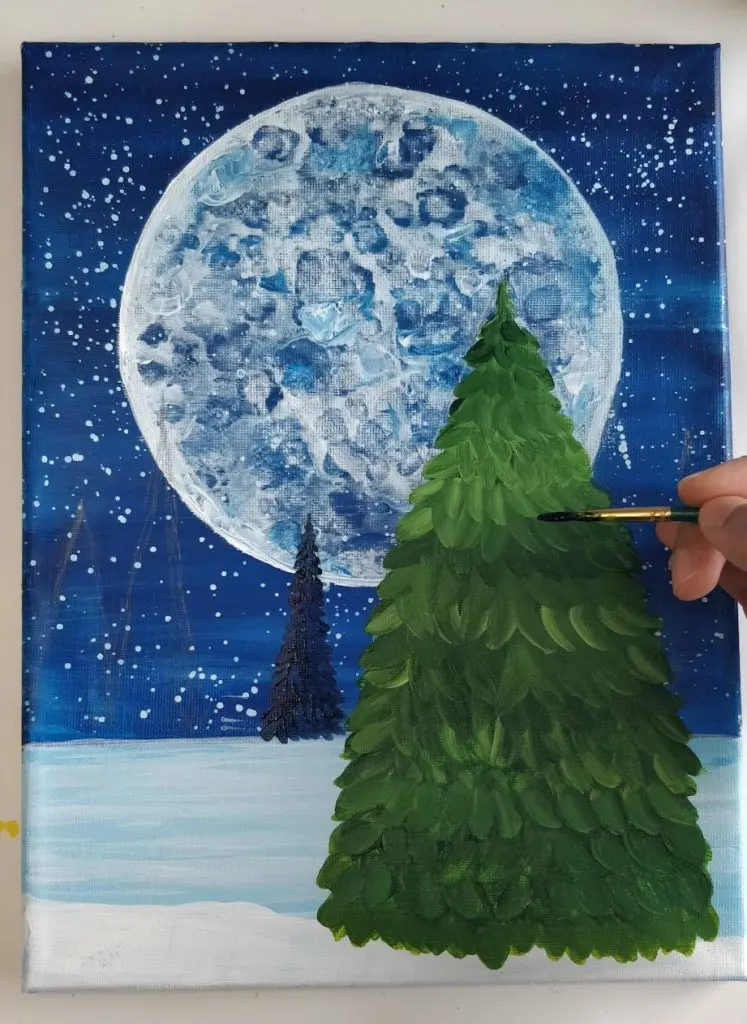
Except youll use a smaller round brush (I.e.size 1 or 2) and use a darker colored paint.

So using a deep/dark blue just made the painting look more cohesive.
If you dont have prussian blue, theres an alternative.
Mix your phthalo blue with some black to darken it up.

The blue will be dark enough that you dont need 2 coats on the background tree.
Did you make this project?
And hope you loved the magic of making the giant winter blue moon.

If you liked this post kindly pin it!