HomeDIY
This post may contain affiliate links:full affiliate disclosure.
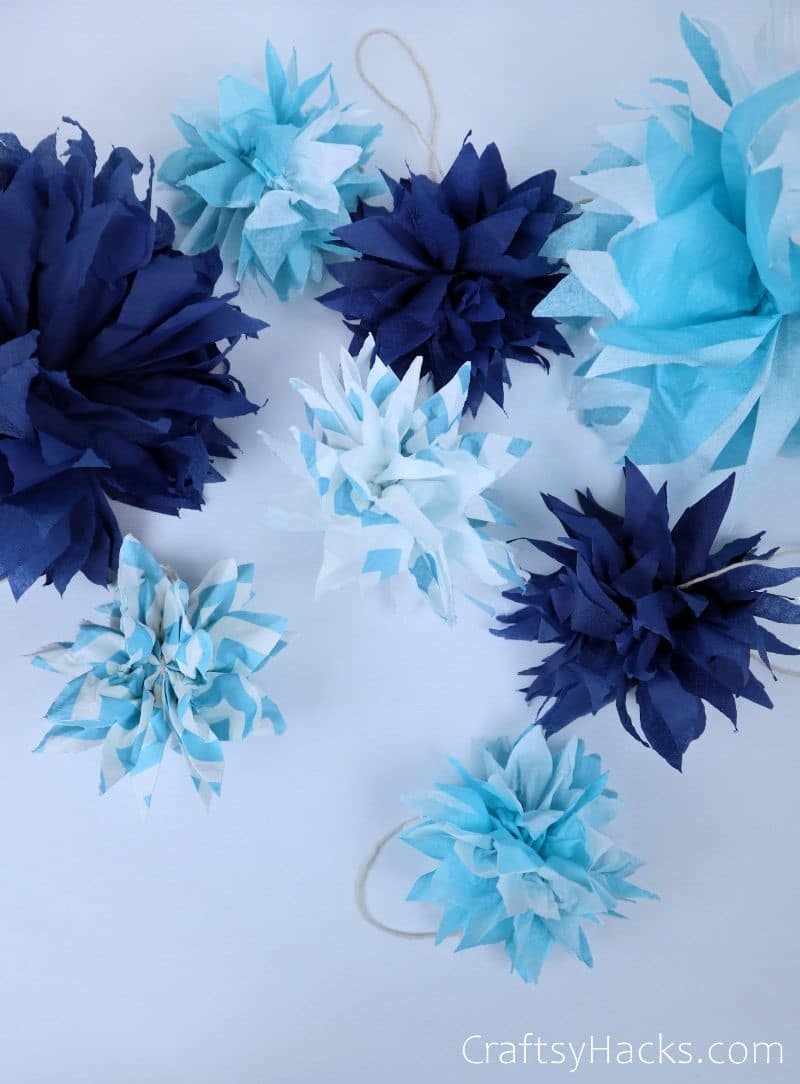
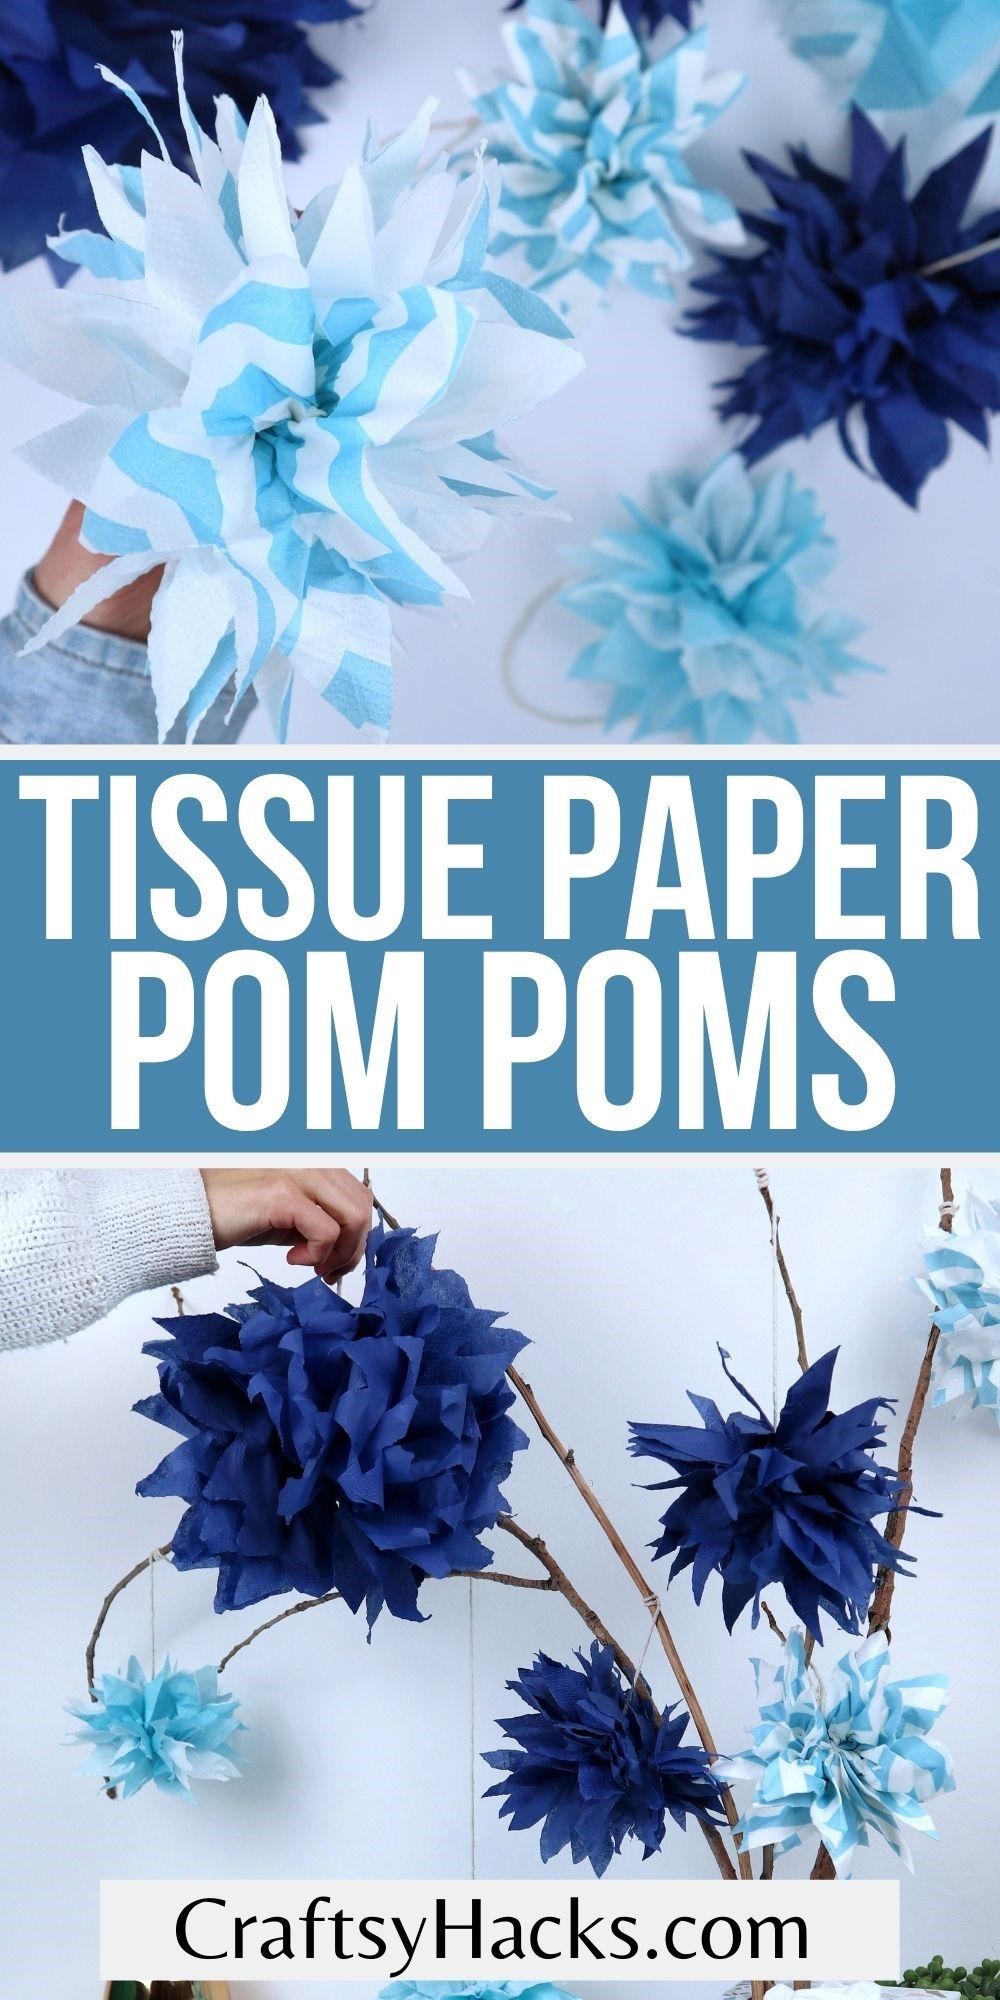
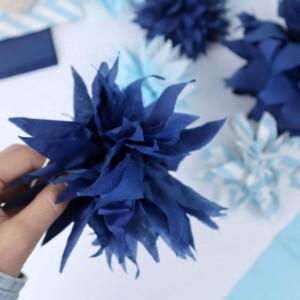
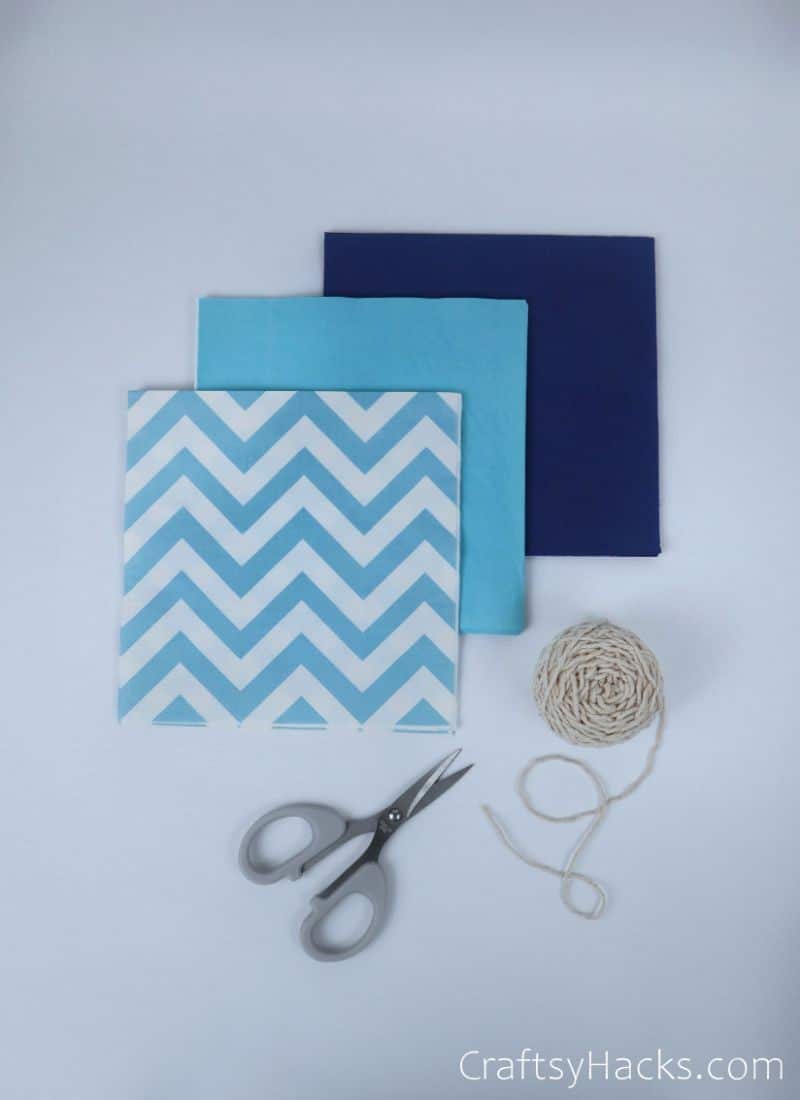
Tissue paper pom poms are a fun, cheap decoration that anyone can make.
Today Im showing you how to make paper pom poms step-by-step.
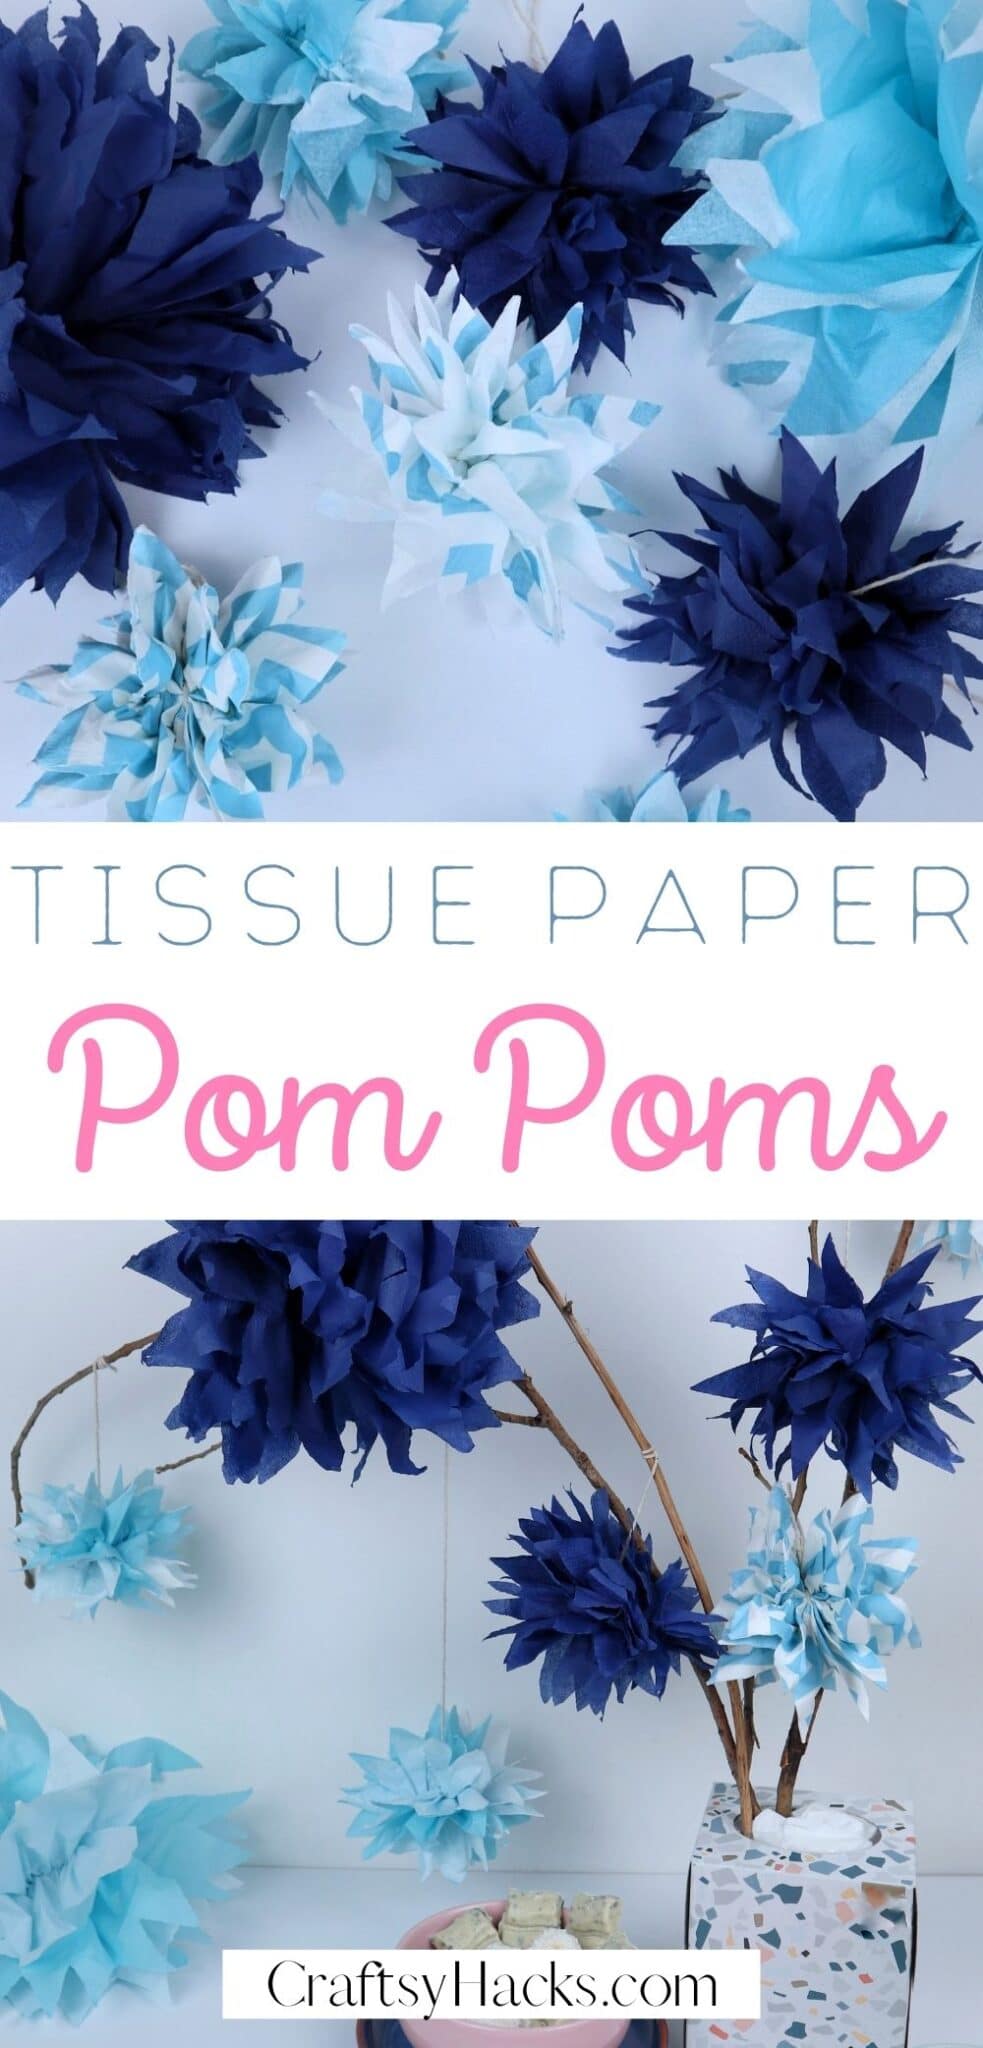
From little tots to teenagers, these paper pom-poms fit into any age bracket.
In fact, making these decorations is the perfect way to spend a family afternoon.
Ready to get stuck in?
And make this tissuepaper craft!
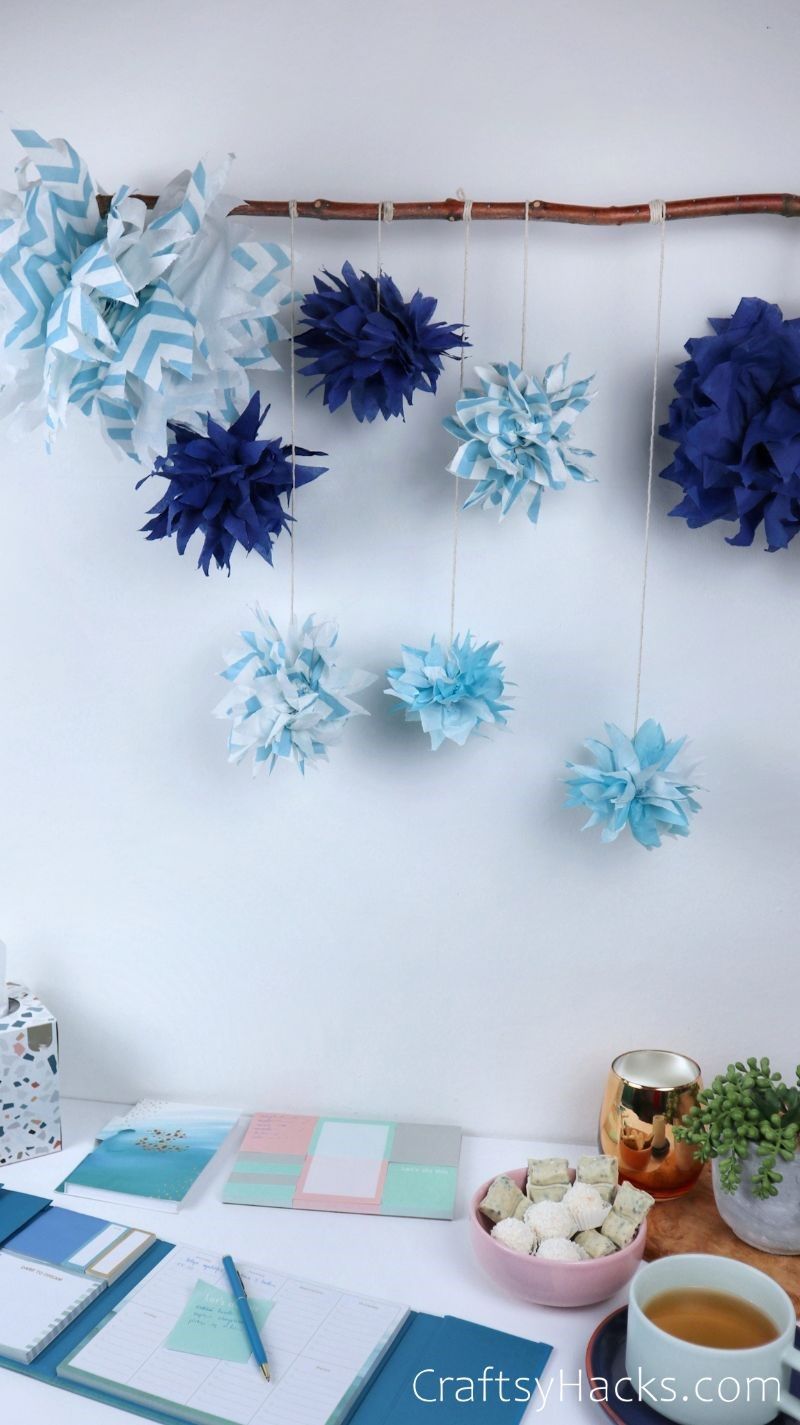
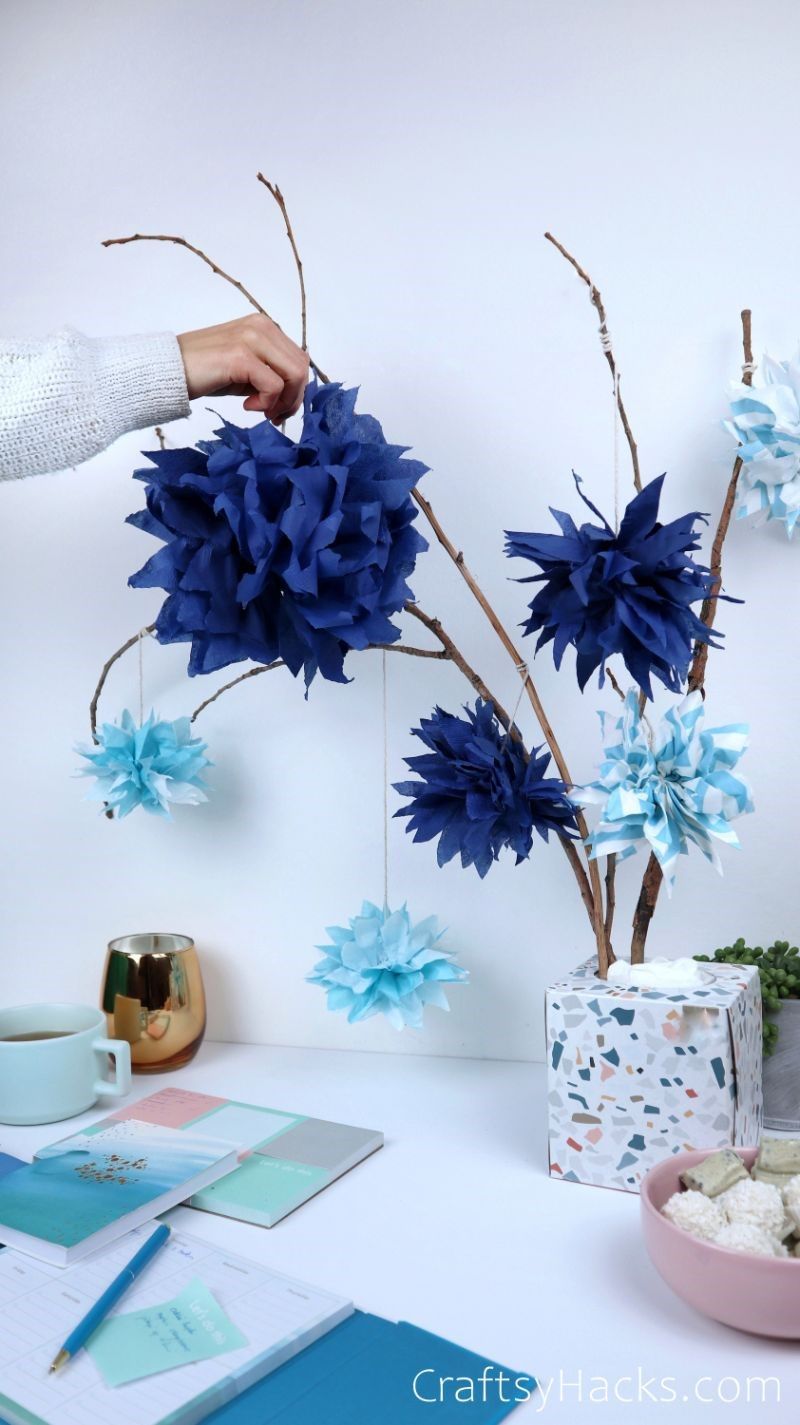
That way, theyll look interesting when hung together.
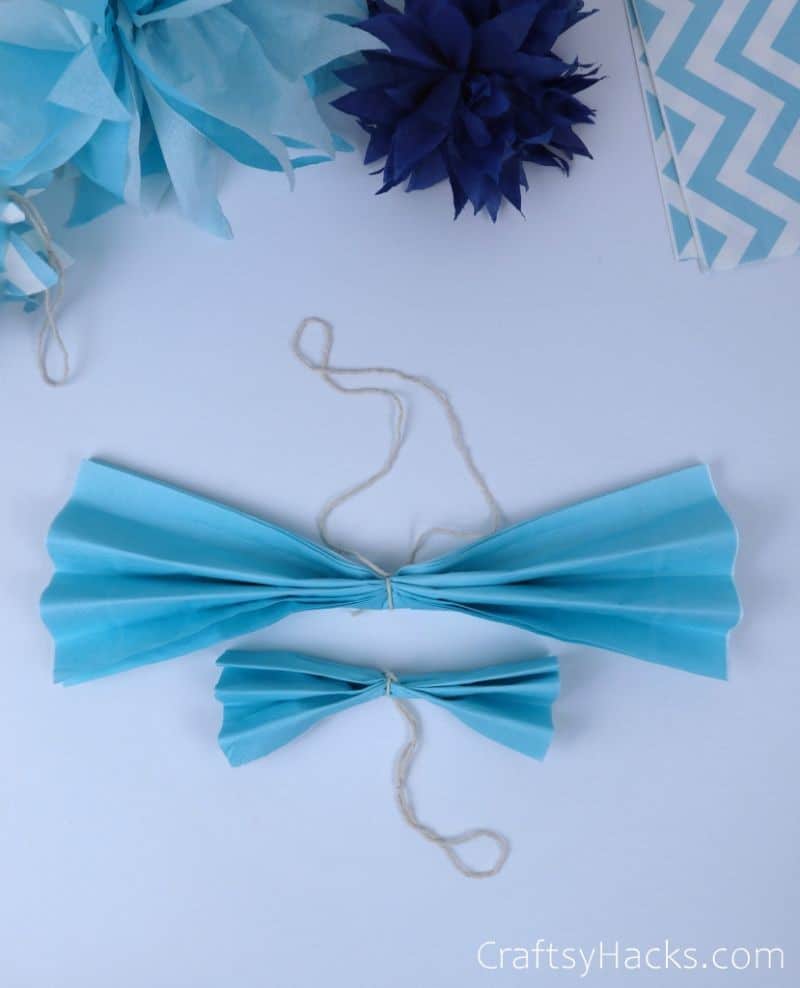
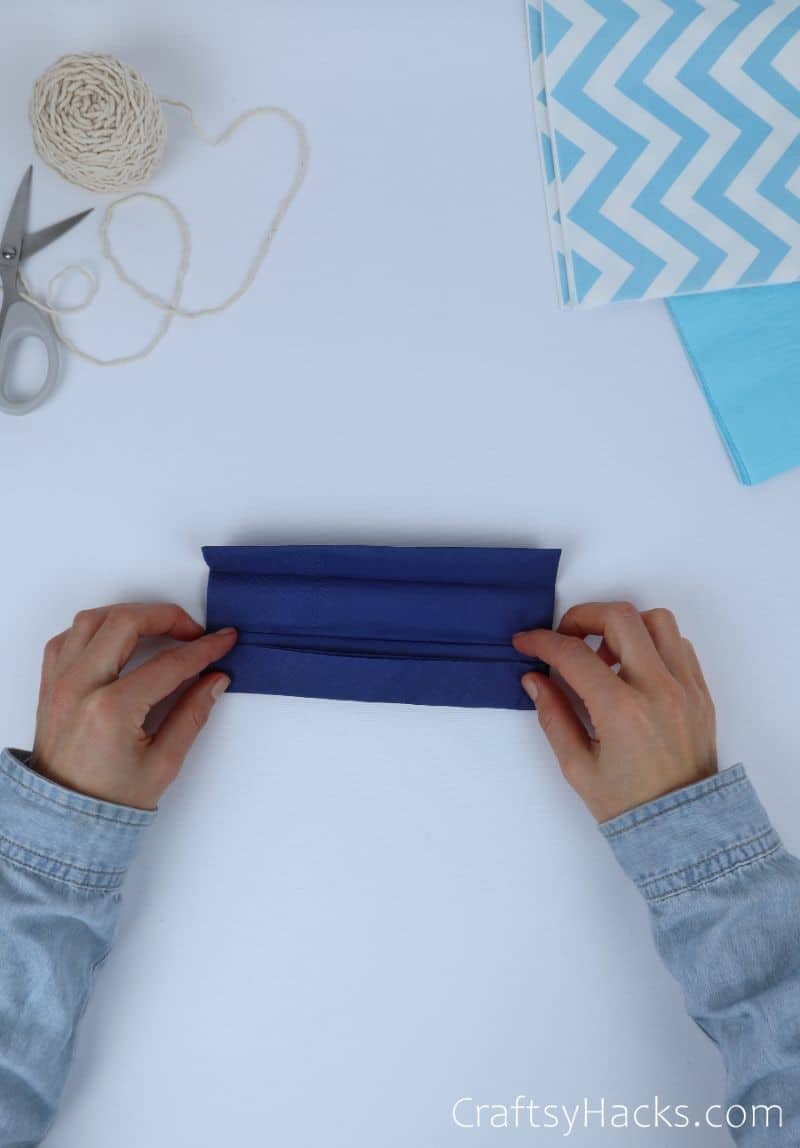
Step 2
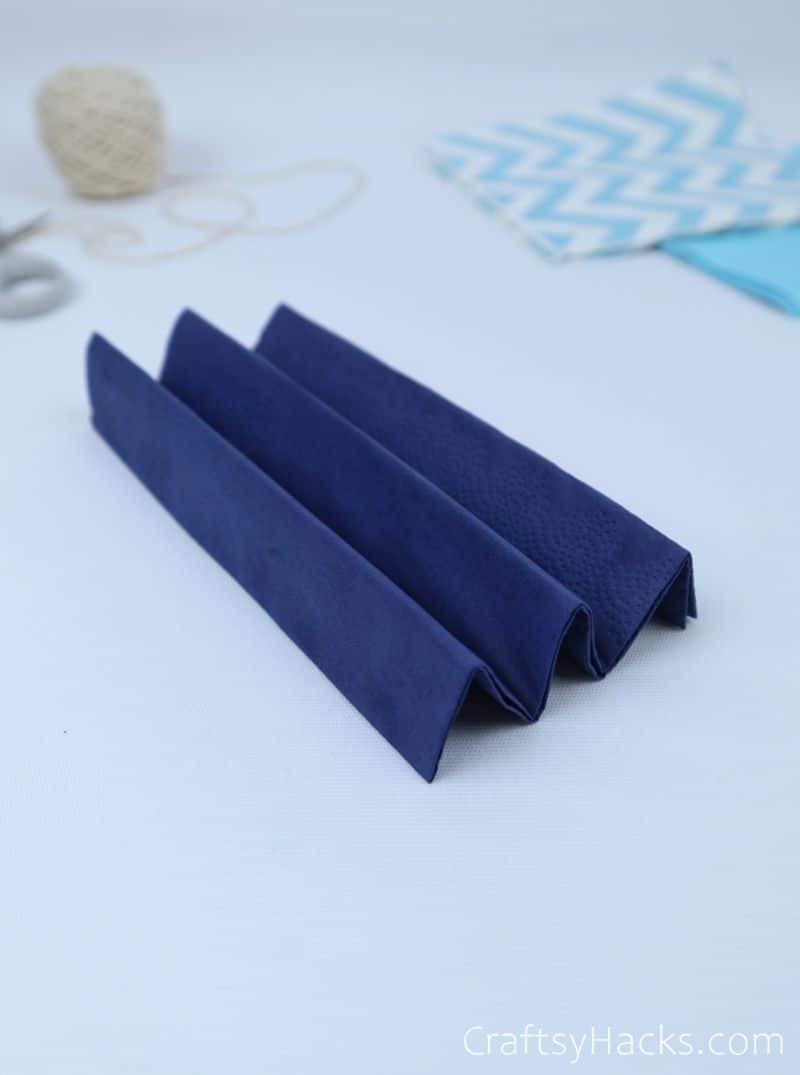
Take a folded square of tissue paper and do a fan fold.

Continue doing this until you have a corrugated shape.
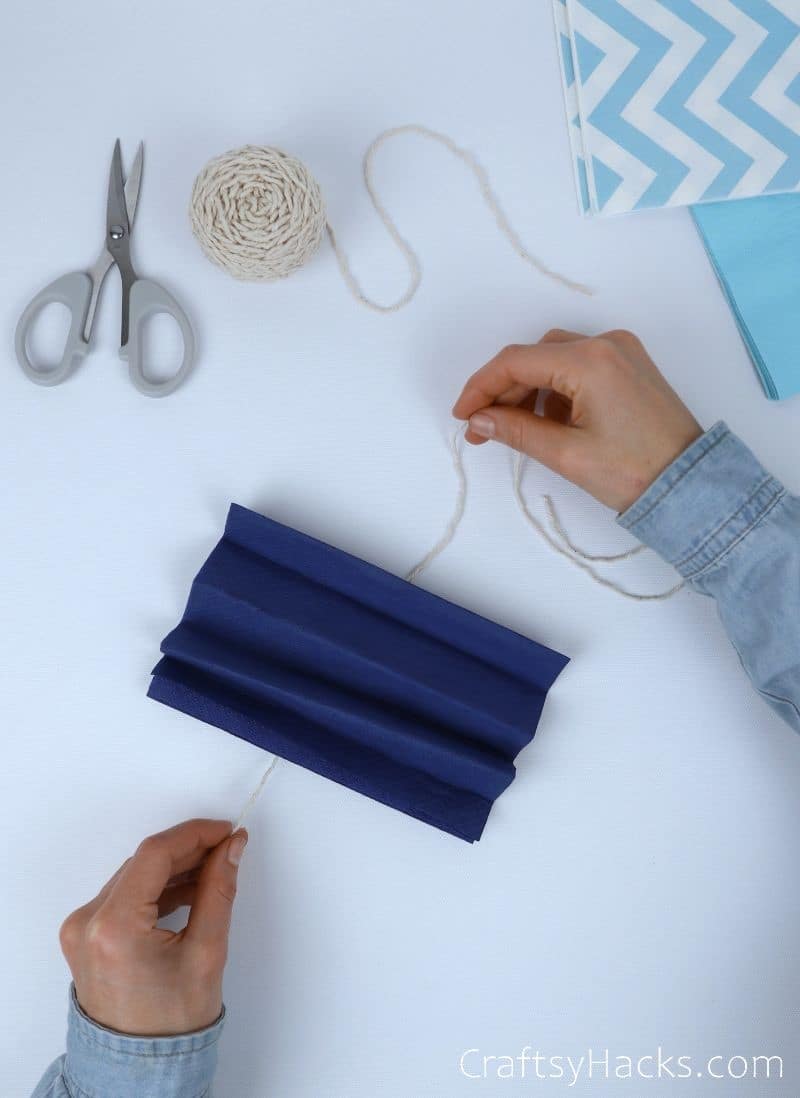
Step 3
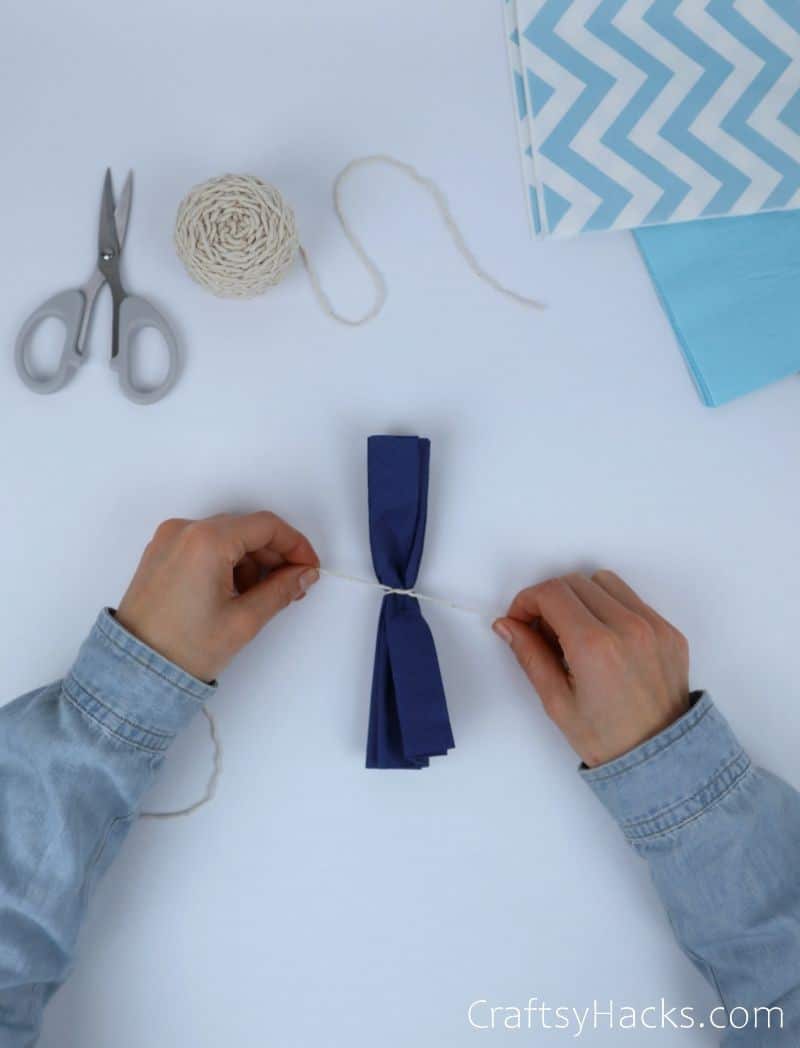
Next up, whip out your yarn and cut an appropriate length.
I went with a piece of string the length of my forearm.
Better to have more than you need than not enough, am I right?
The ends of the tissue paper should be fanning out on their own just a bit.
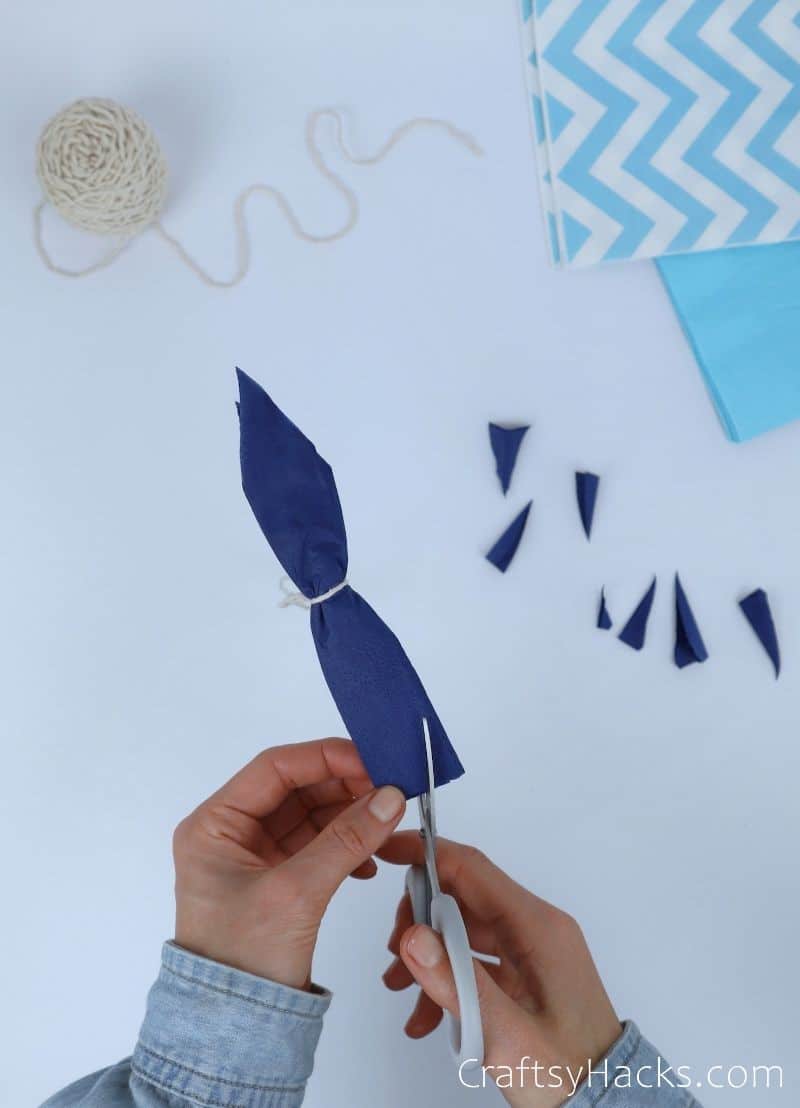
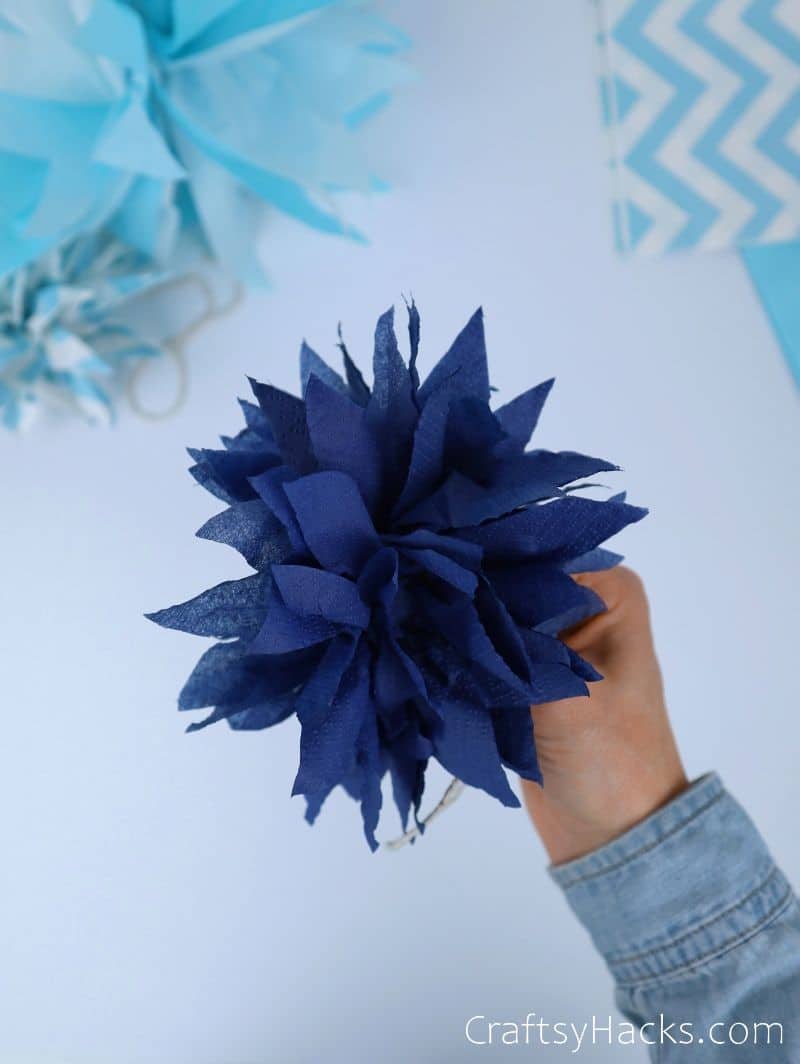
Step 6
Now, its time to add some flair!

Grab your scissors and get to work on the ends of the tissue paper bundles.
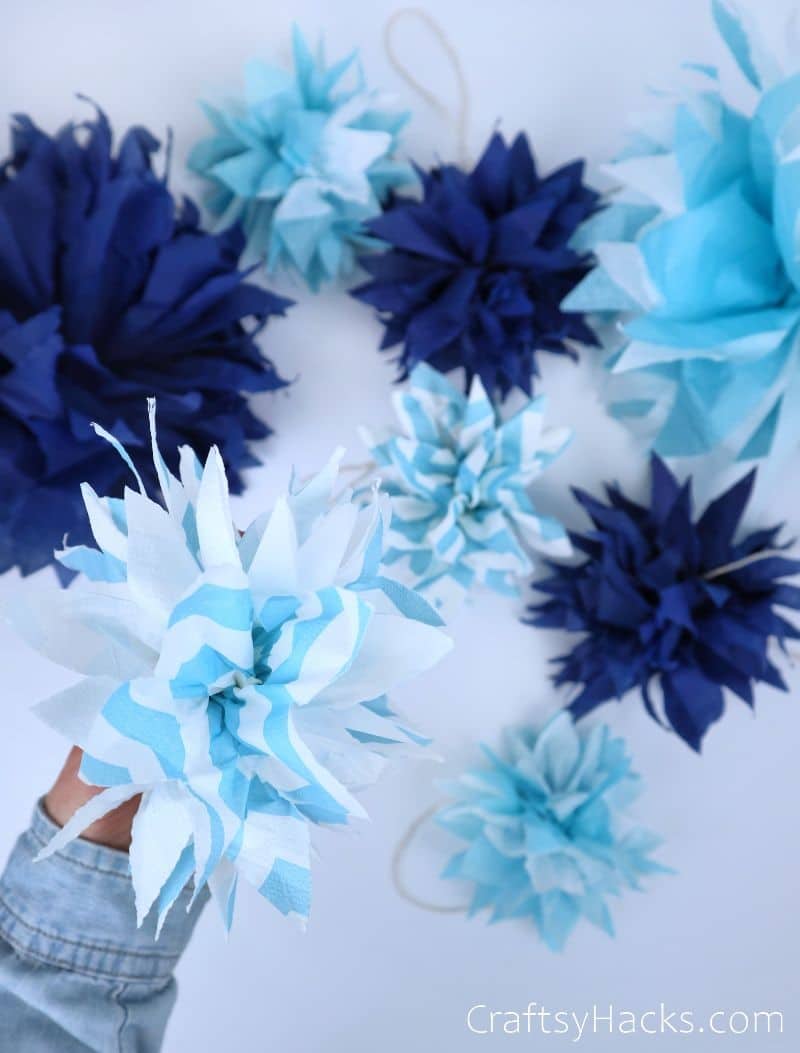
Slice it any way you want to create some interesting shapes.
Once the pom poms are flared out, these shapes will take on a whole new dimension.
So, dont be afraid to experiment!
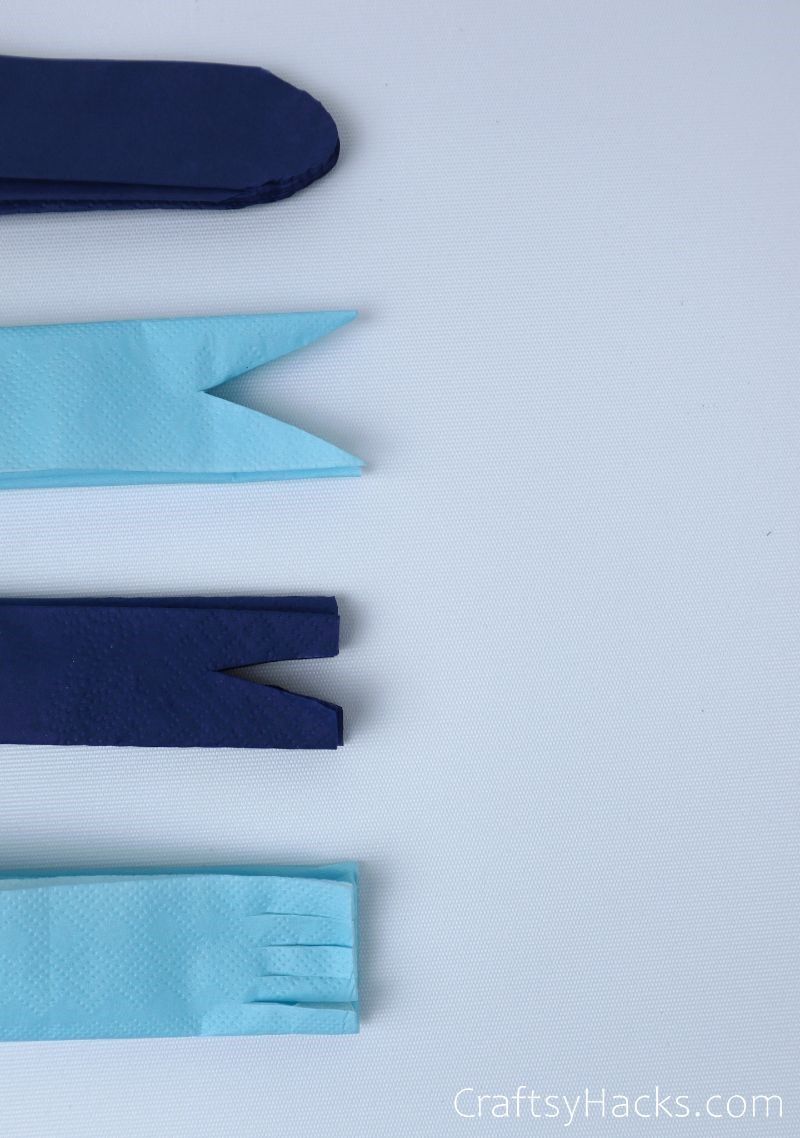
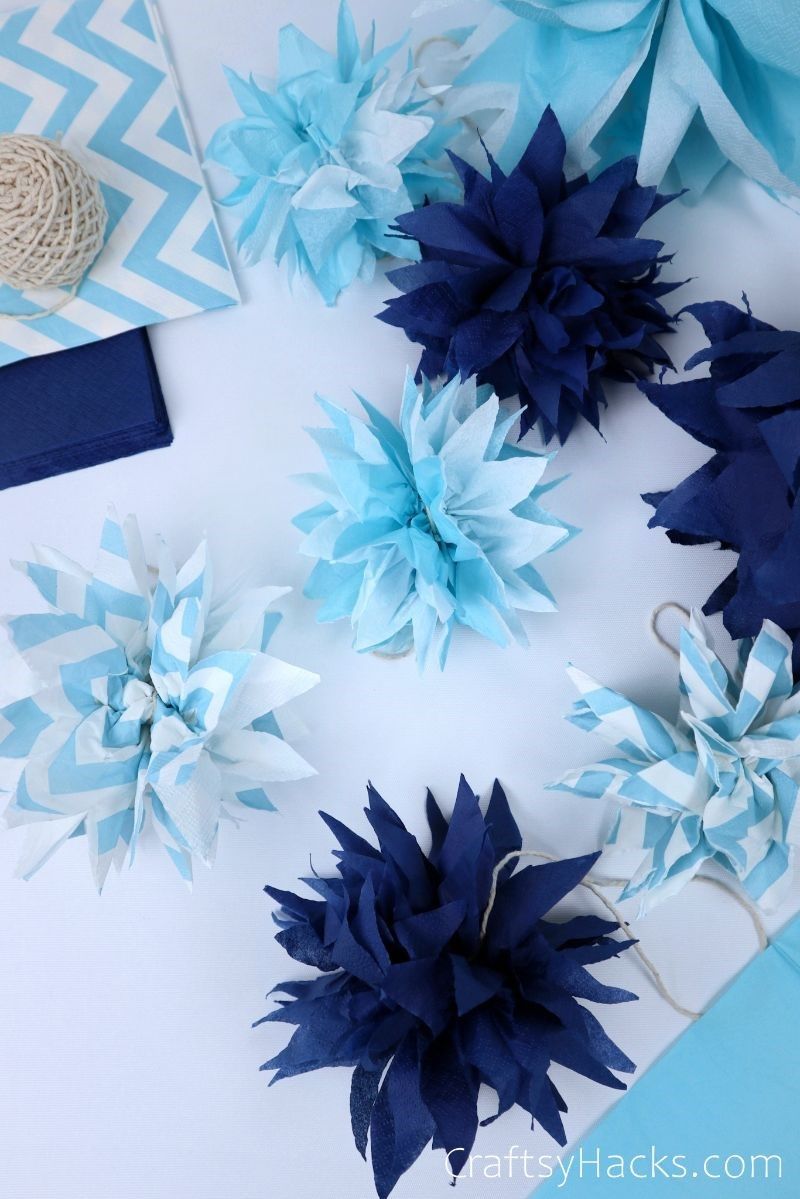
If youre stuck on some ways to trim the ends, I tried four different styles below.
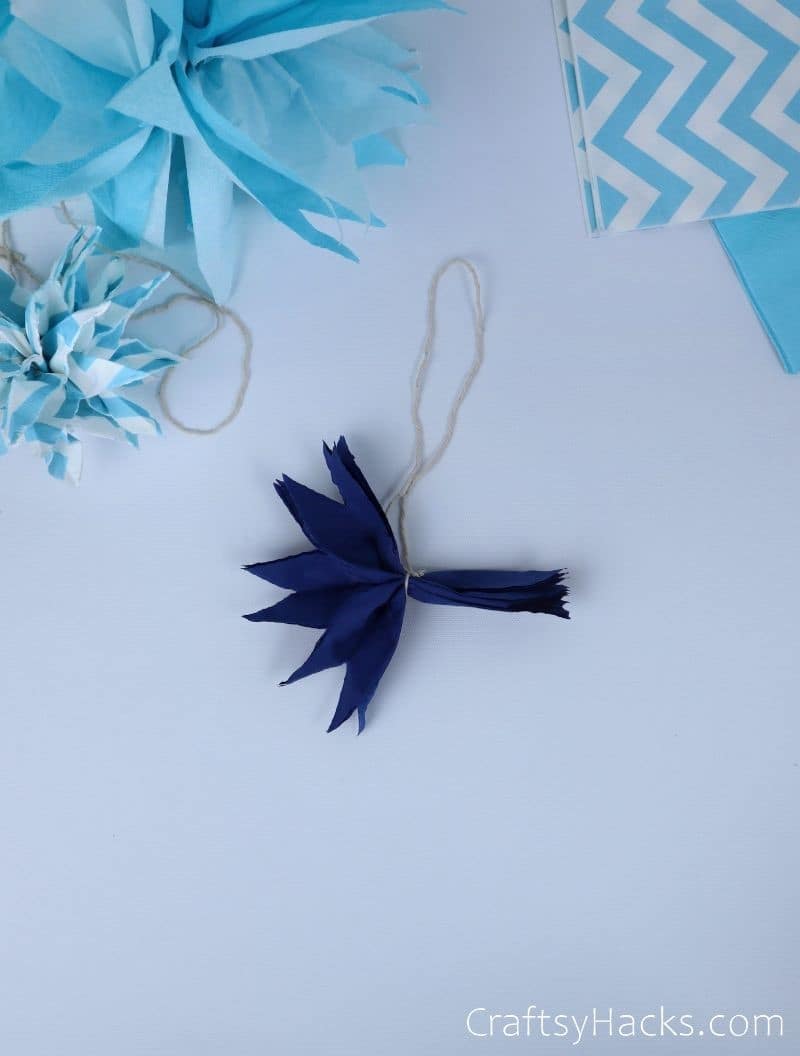
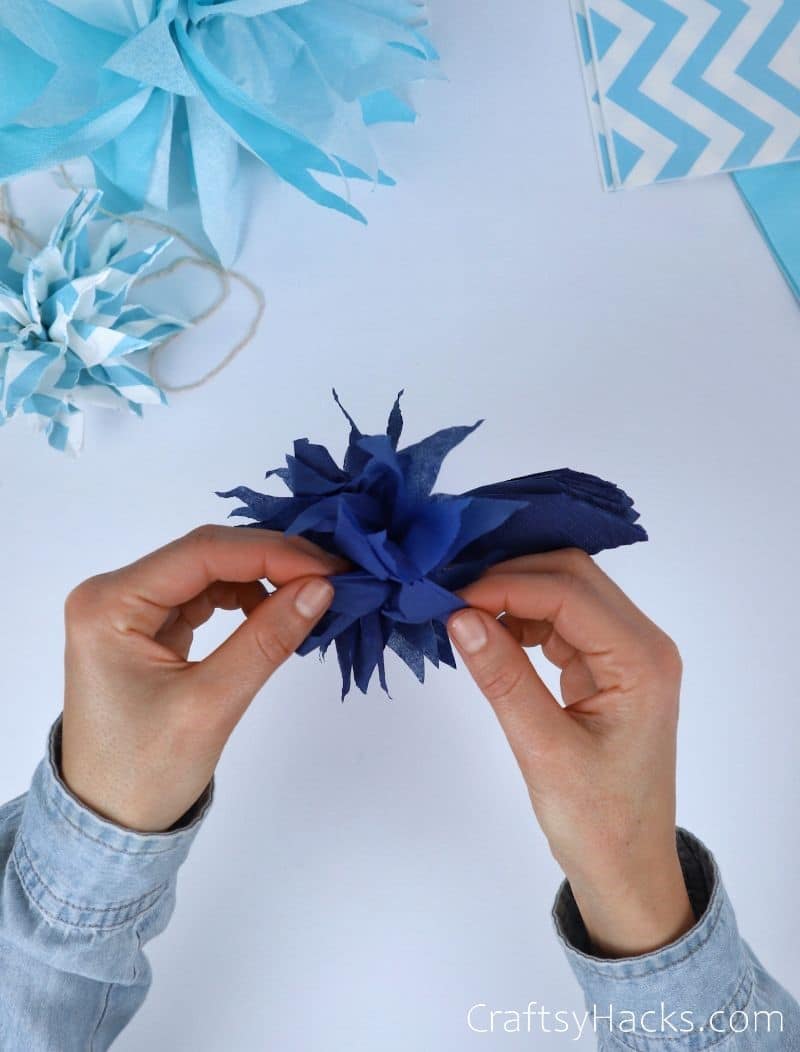
Step 7
Now, its time to give our pom-poms some of their characteristic fluff.
The shape of each sheet is how we get that coveted feathered pom-pom effect!
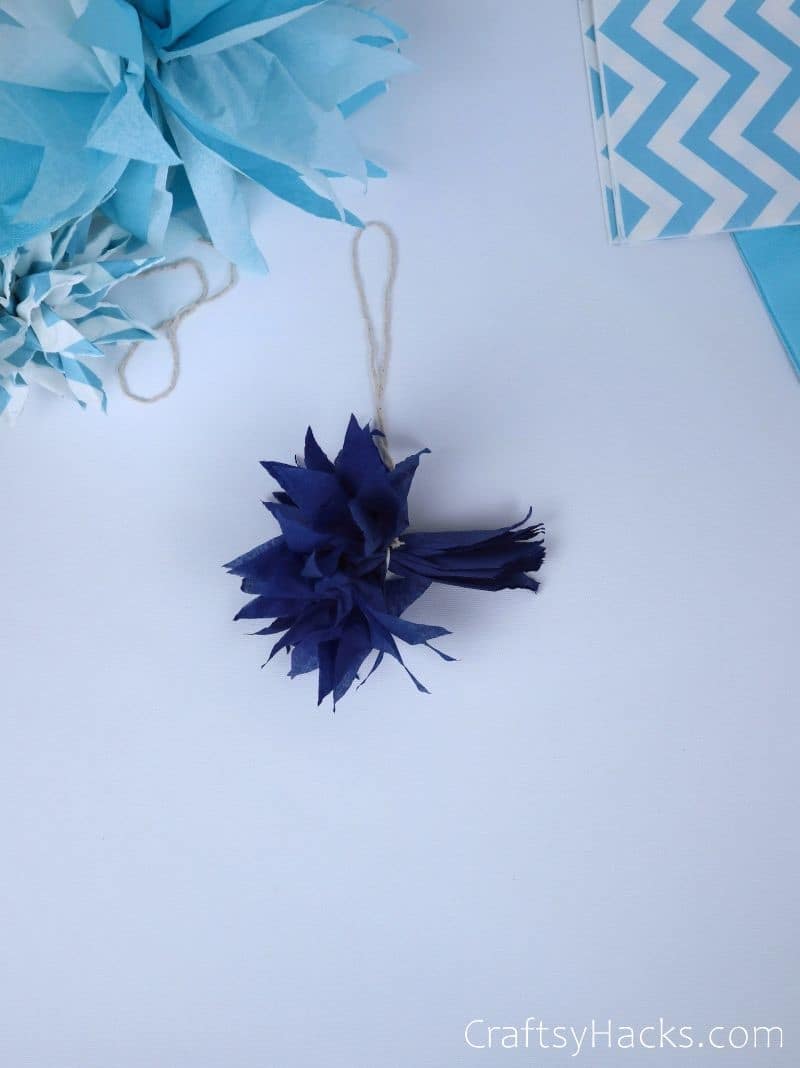
Step 8
Once youre done with the first side, get cracking on the other side.
In other words, a pom pom!
How to Make a Paper Pom Pom of a Different Size?
If youd like to try it, simply spread out your tissue paper and layer it.
This should give you a lot more volume to work with.
The skys the limit!