HomeDIY
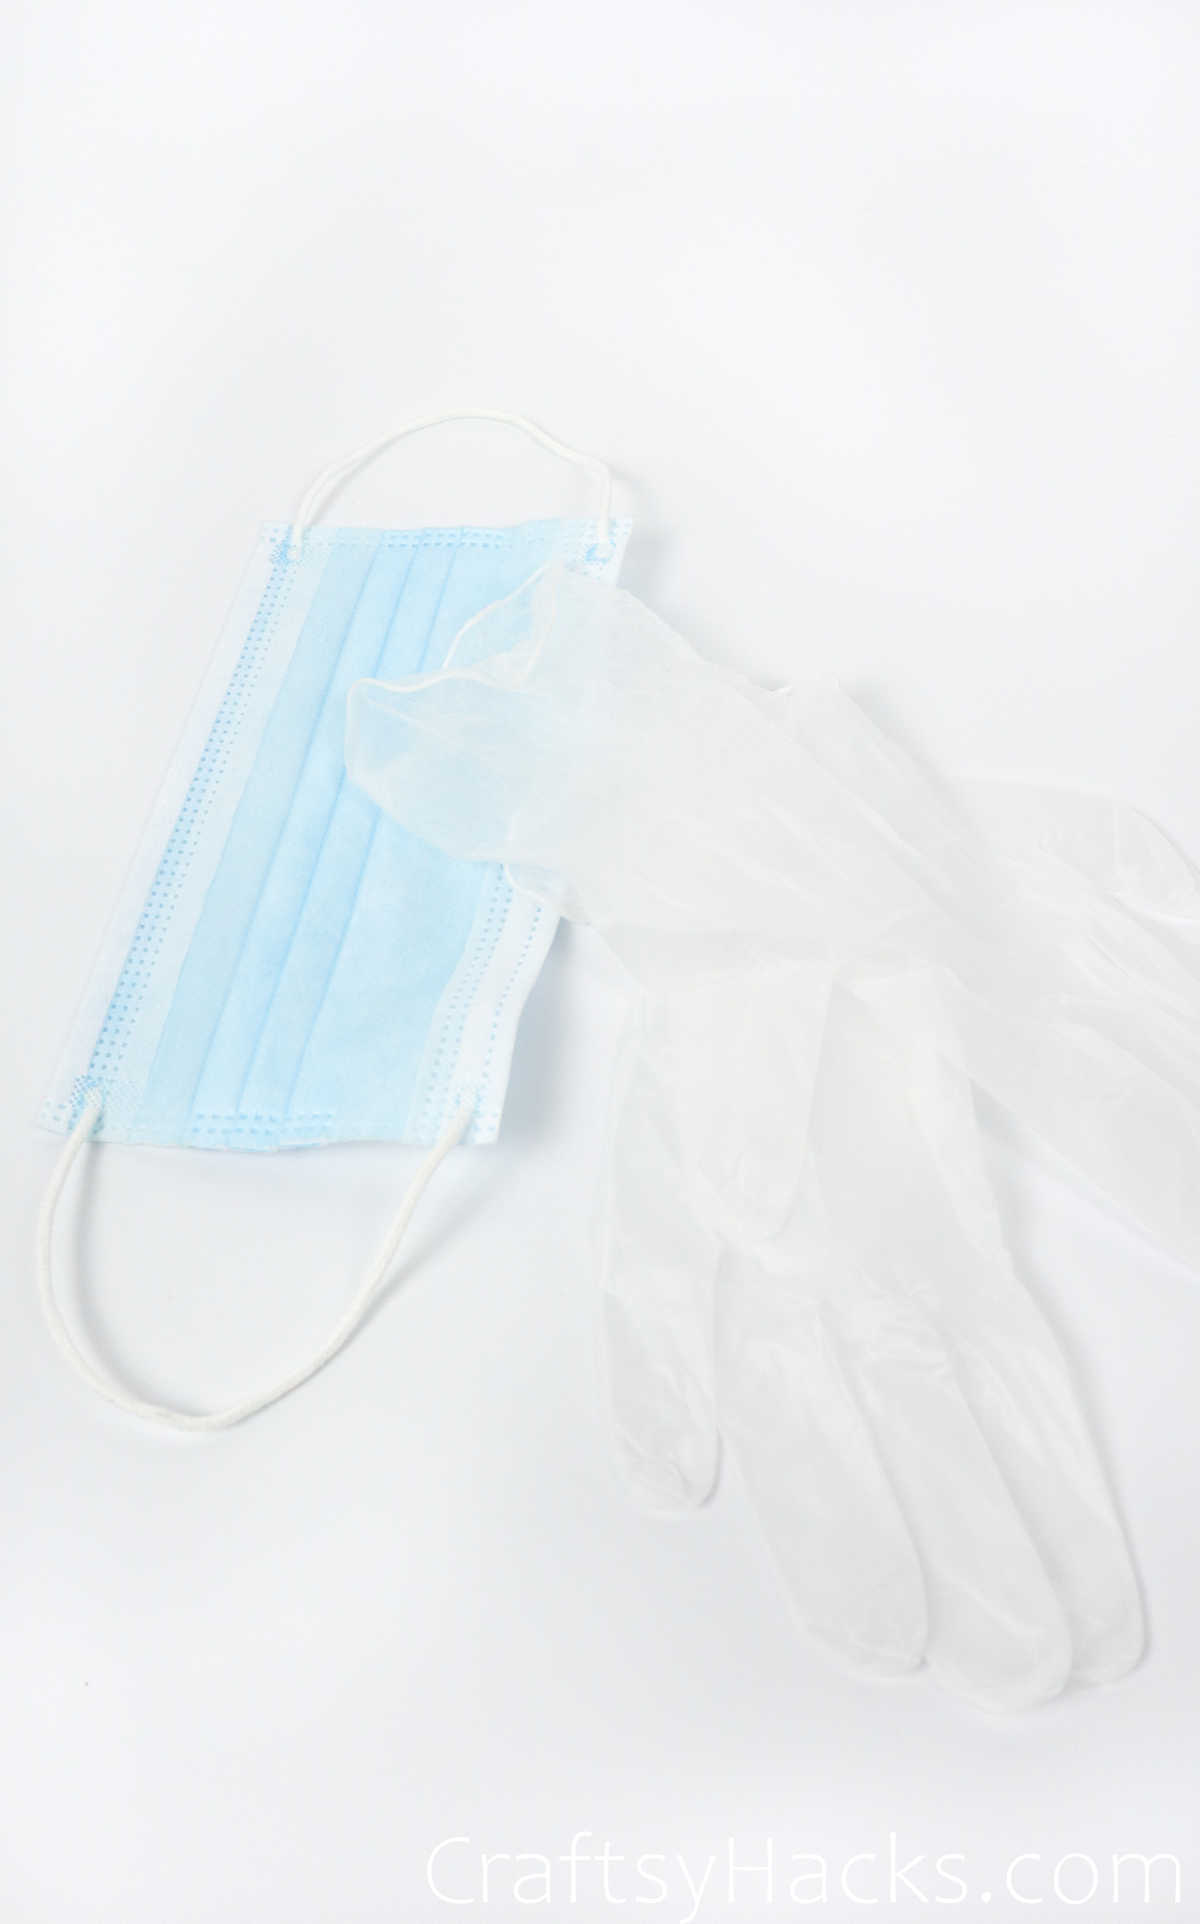
This post may contain affiliate links:full affiliate disclosure.
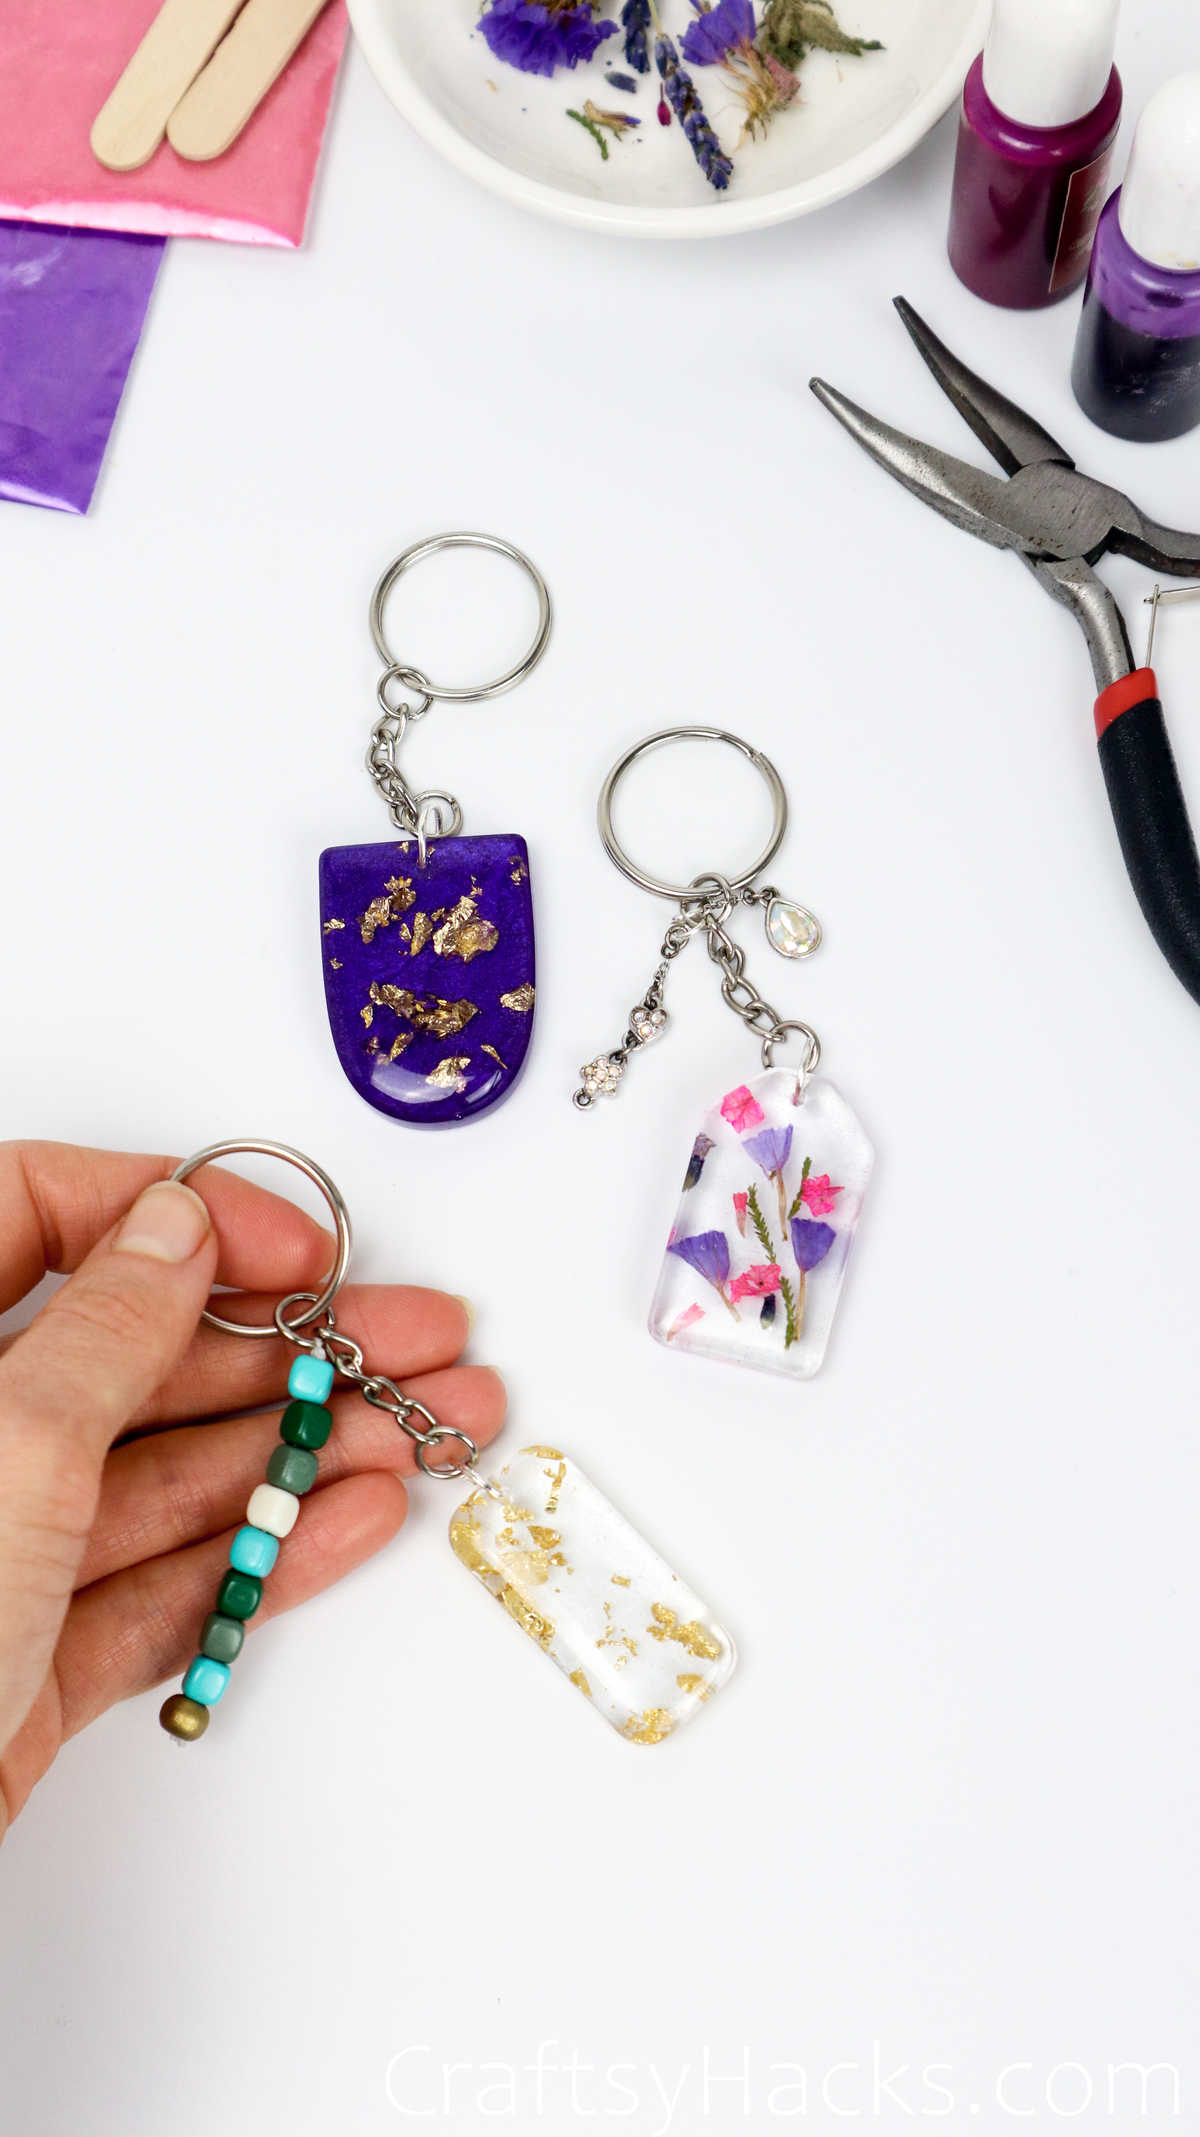
Love to work with resin?
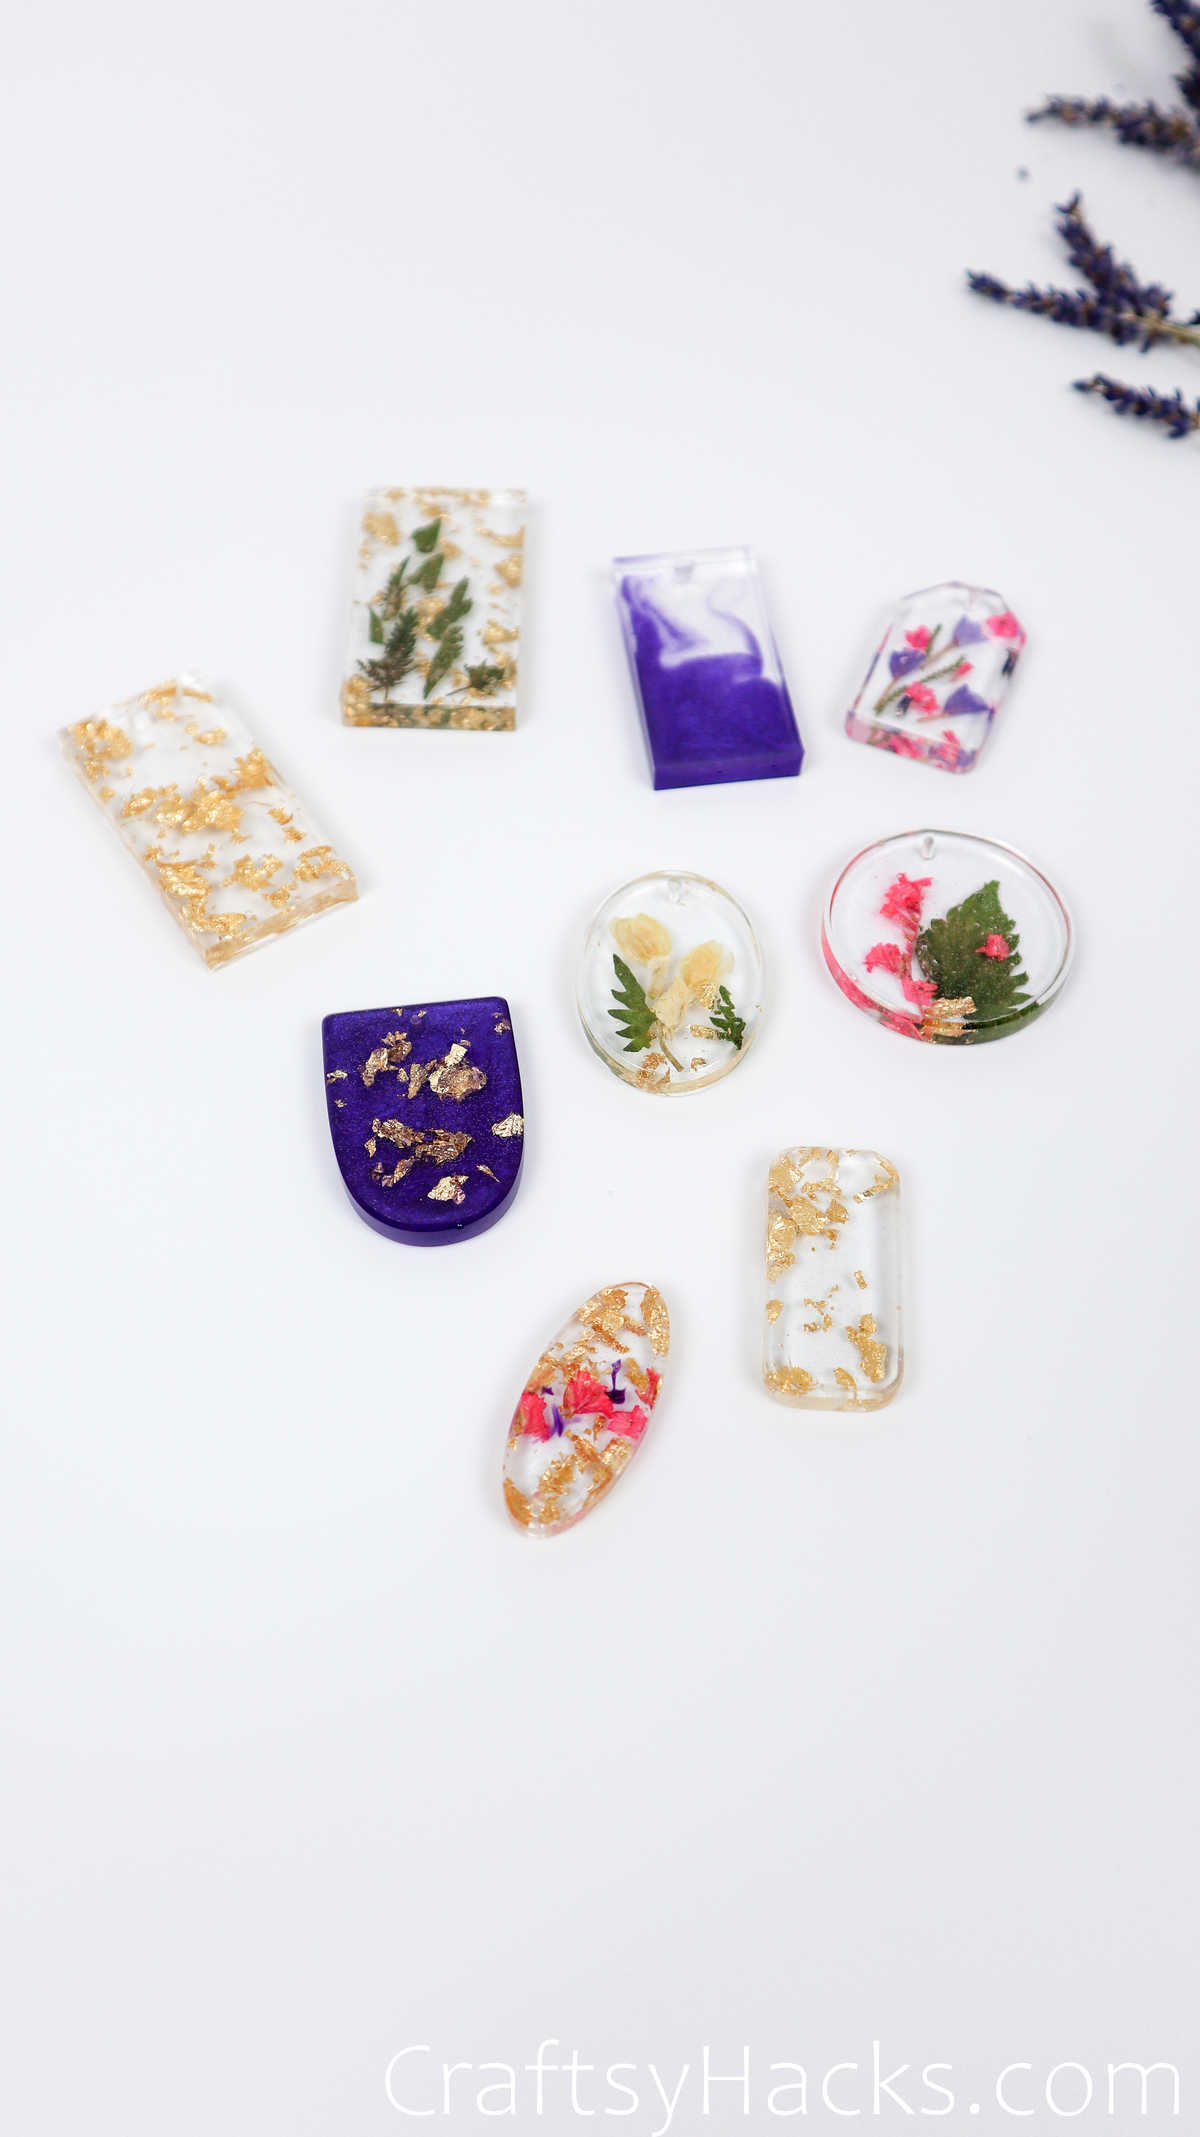
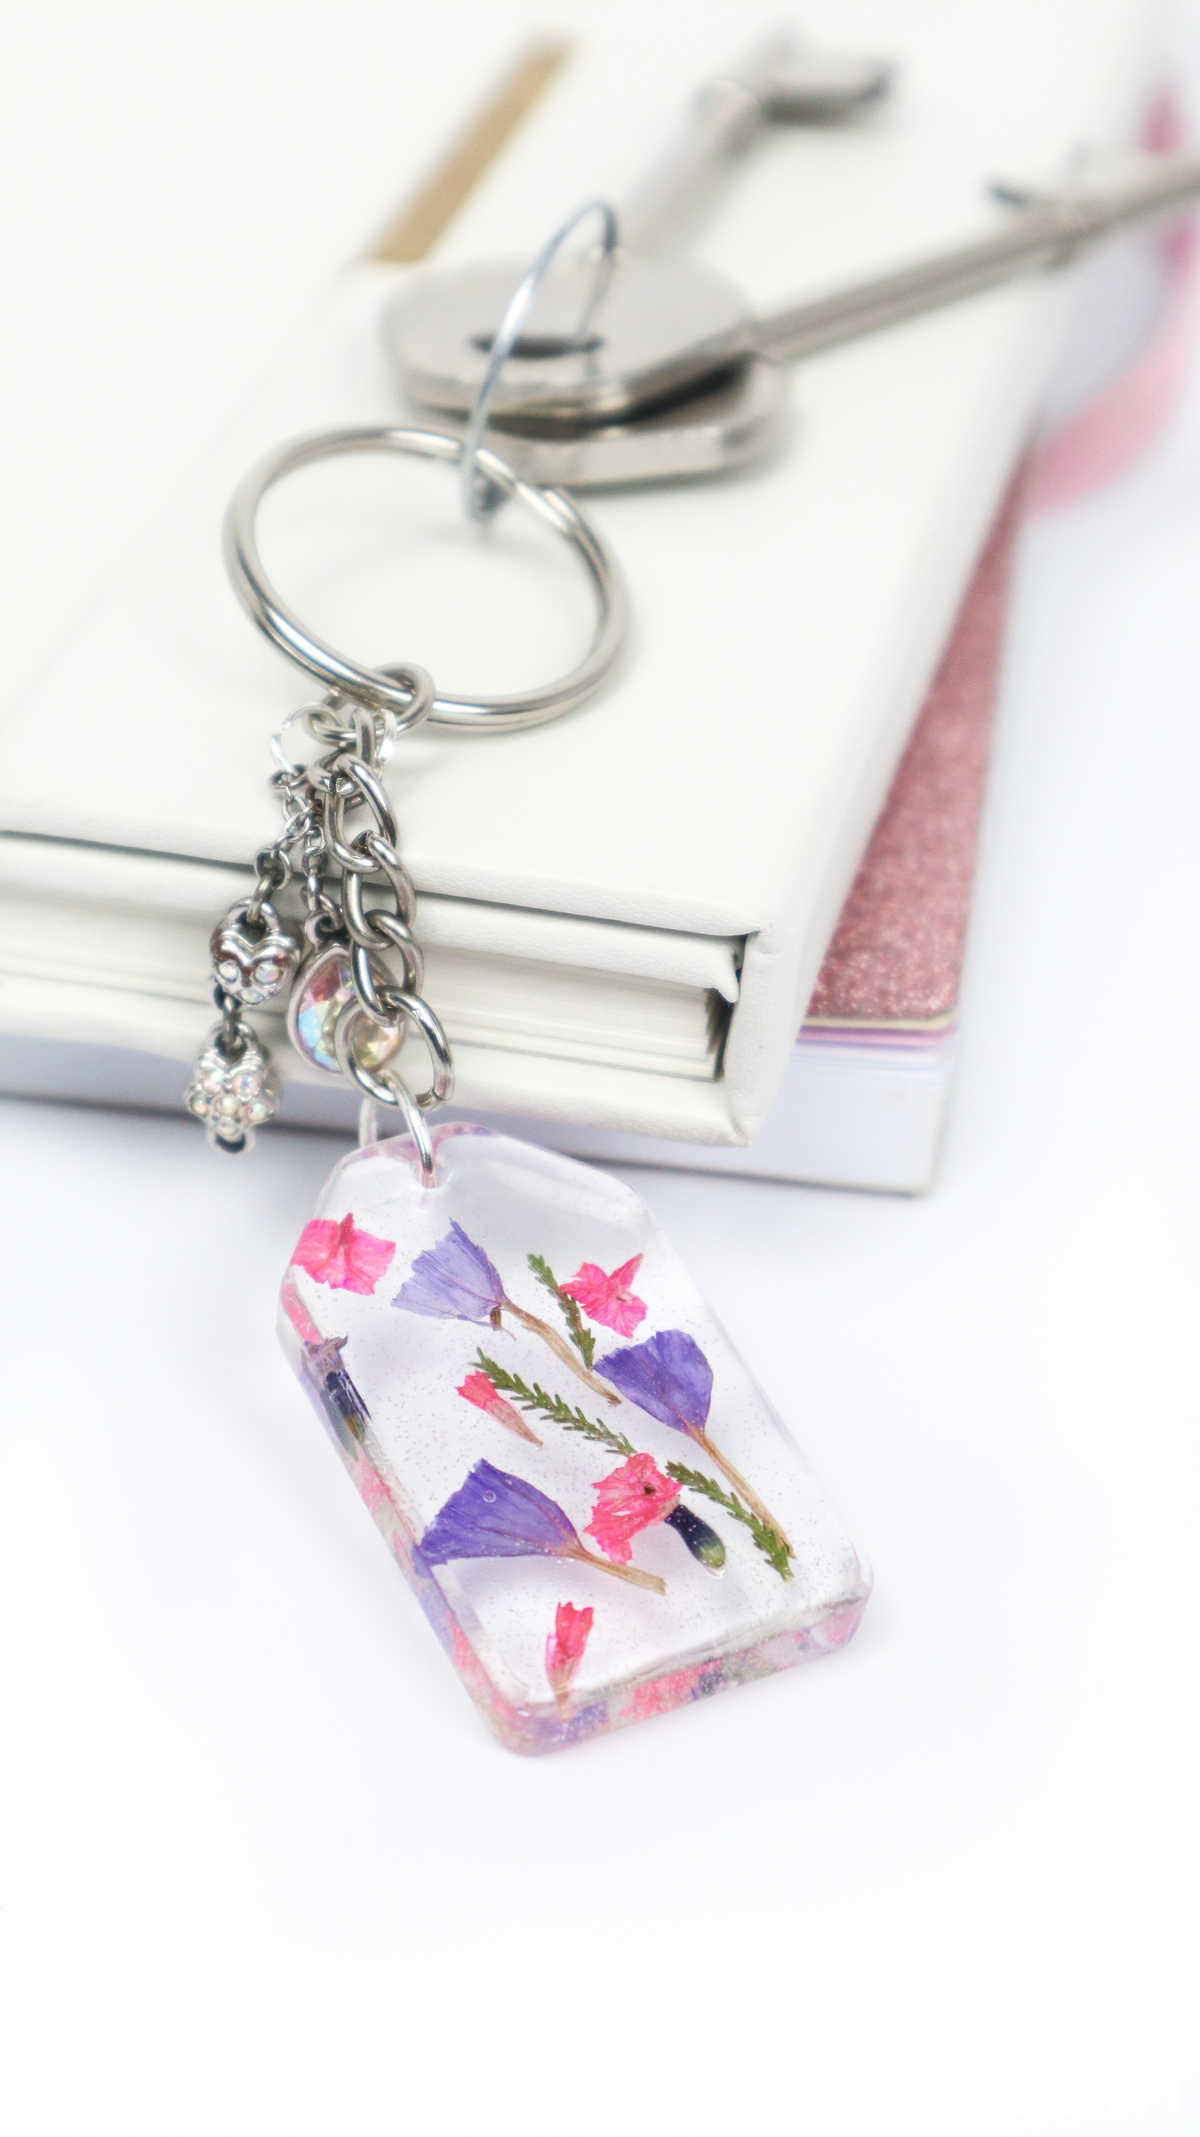
TheseDIY resin keychainsare a perfect craft for teens and adults to make!

Resin crafts are just the absolute best.
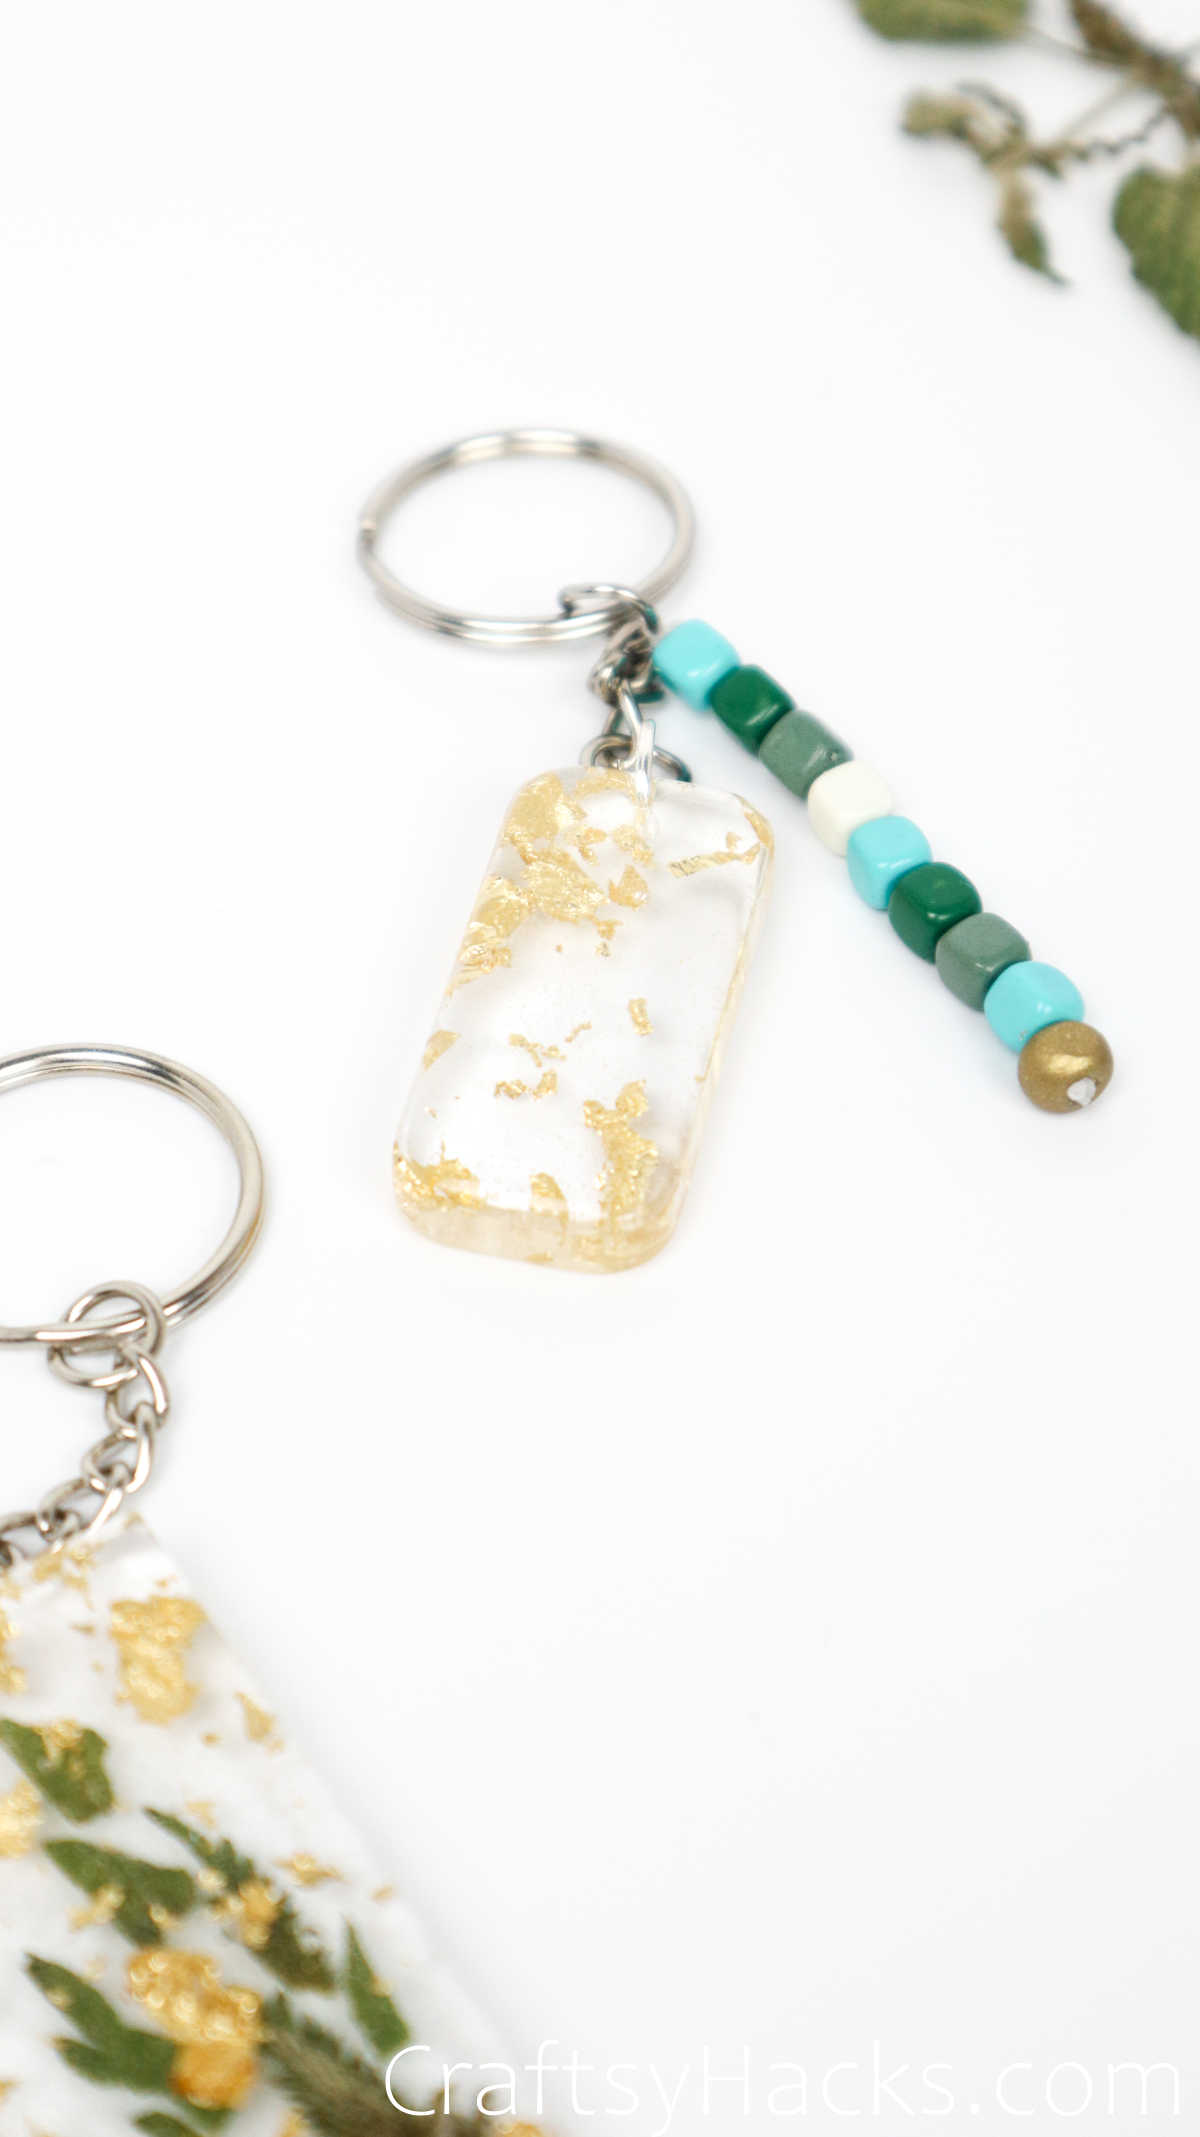
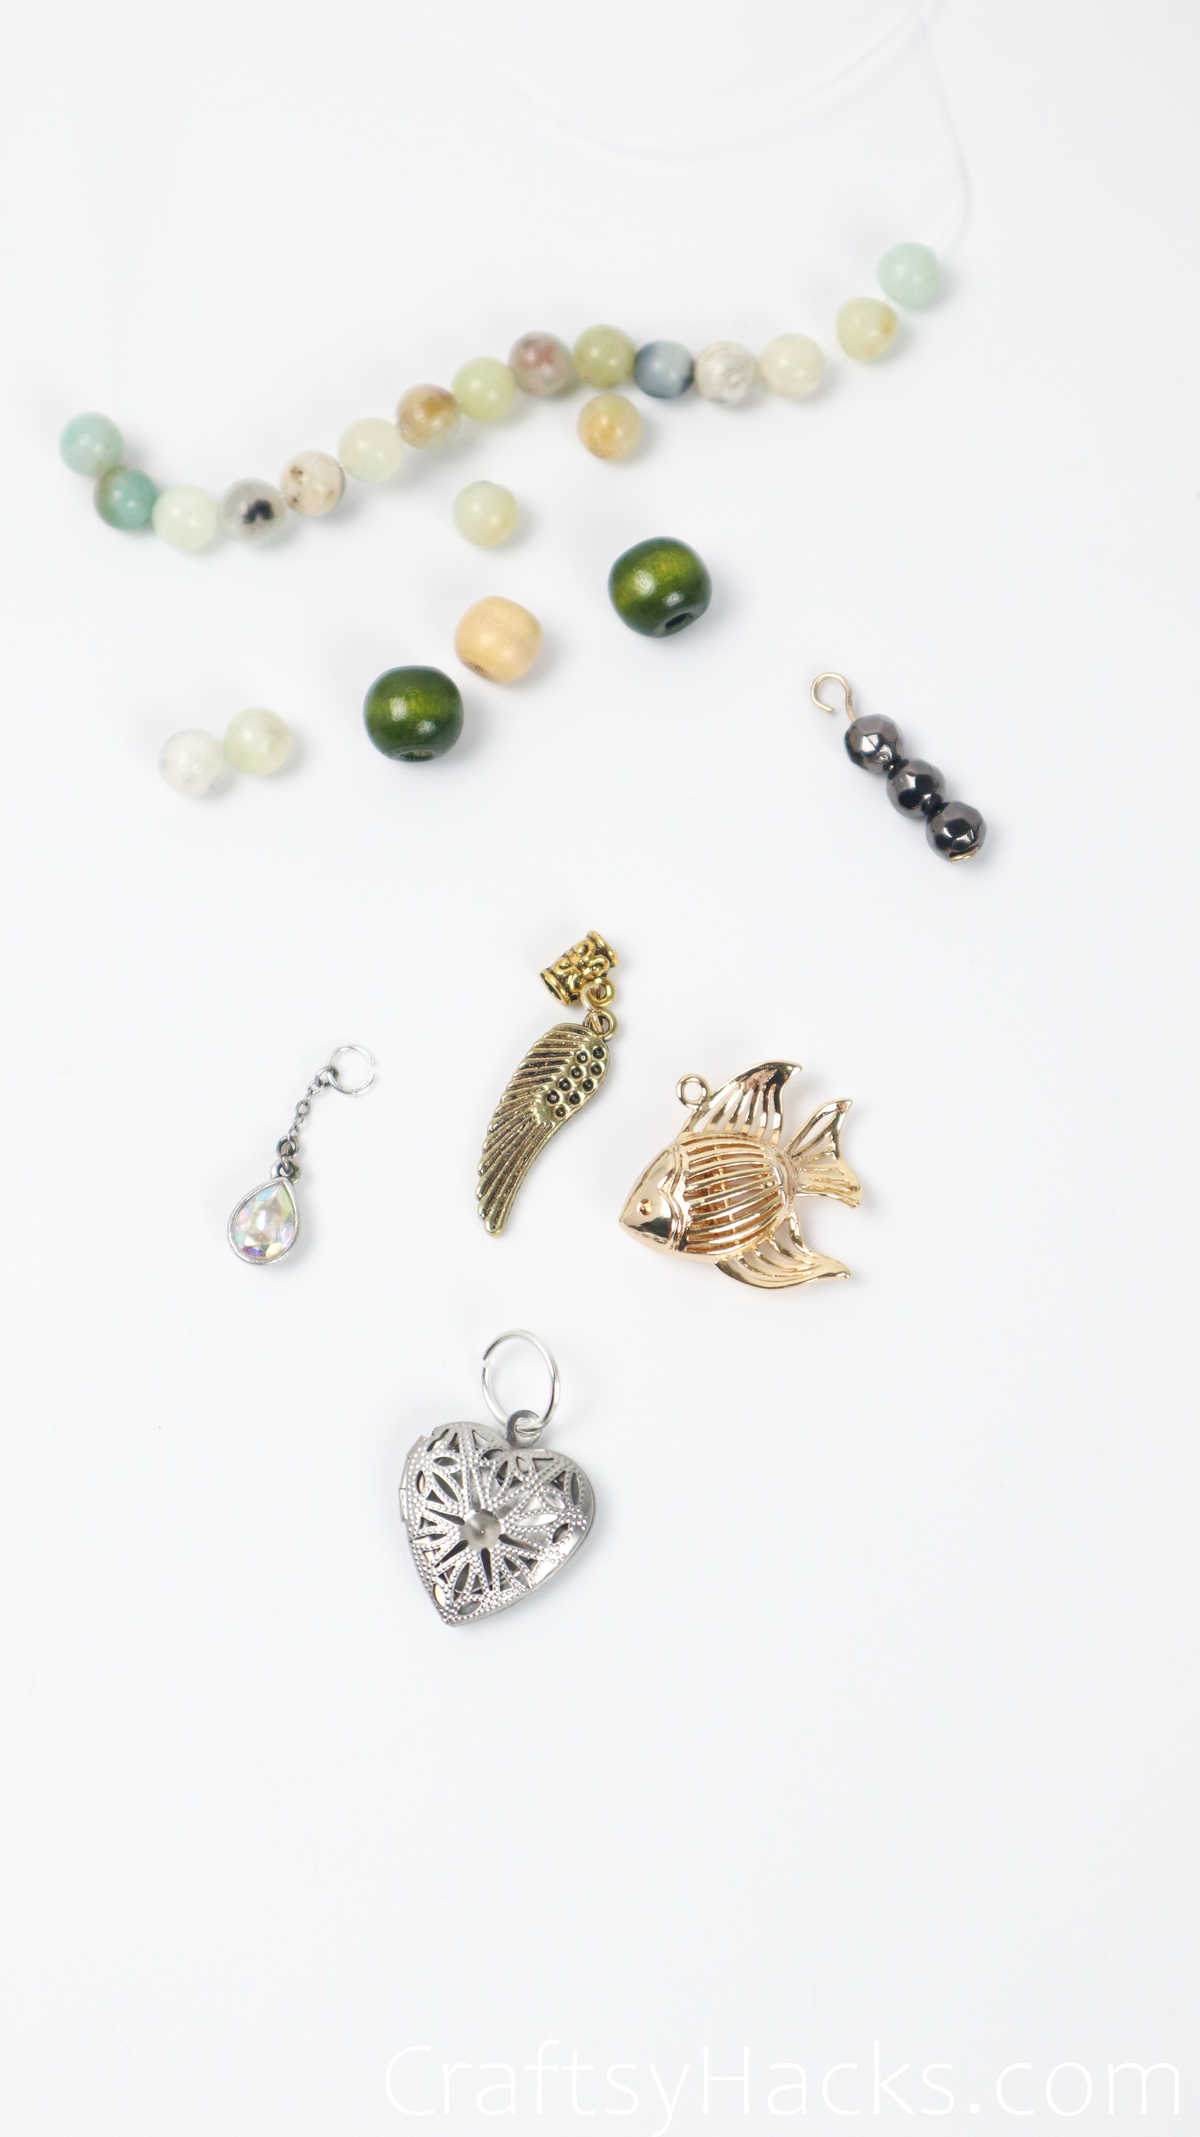
Theres just so much room to experiment, to customize play around with color, style, and more.
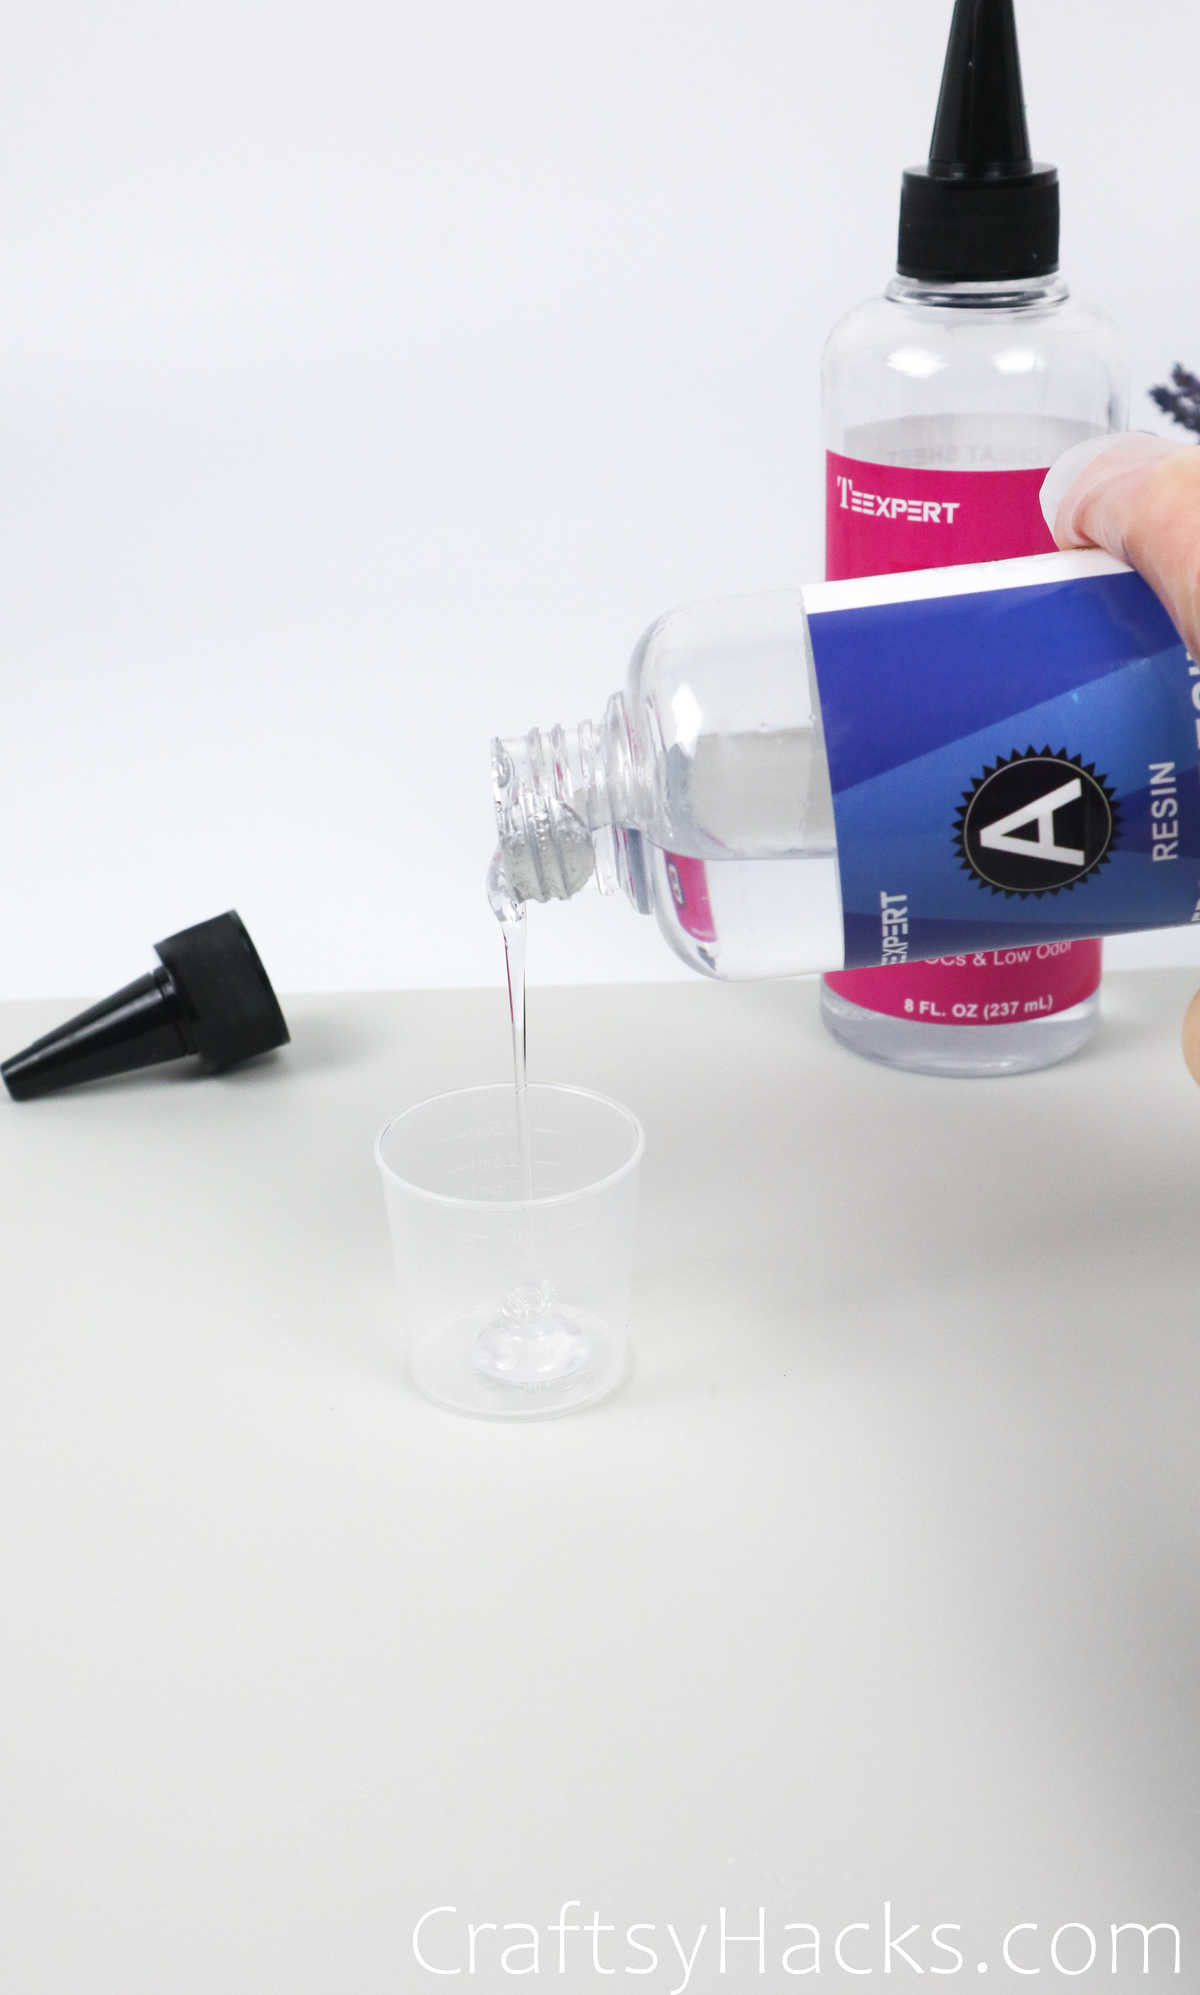
So, without further ado, take a look at the first step!
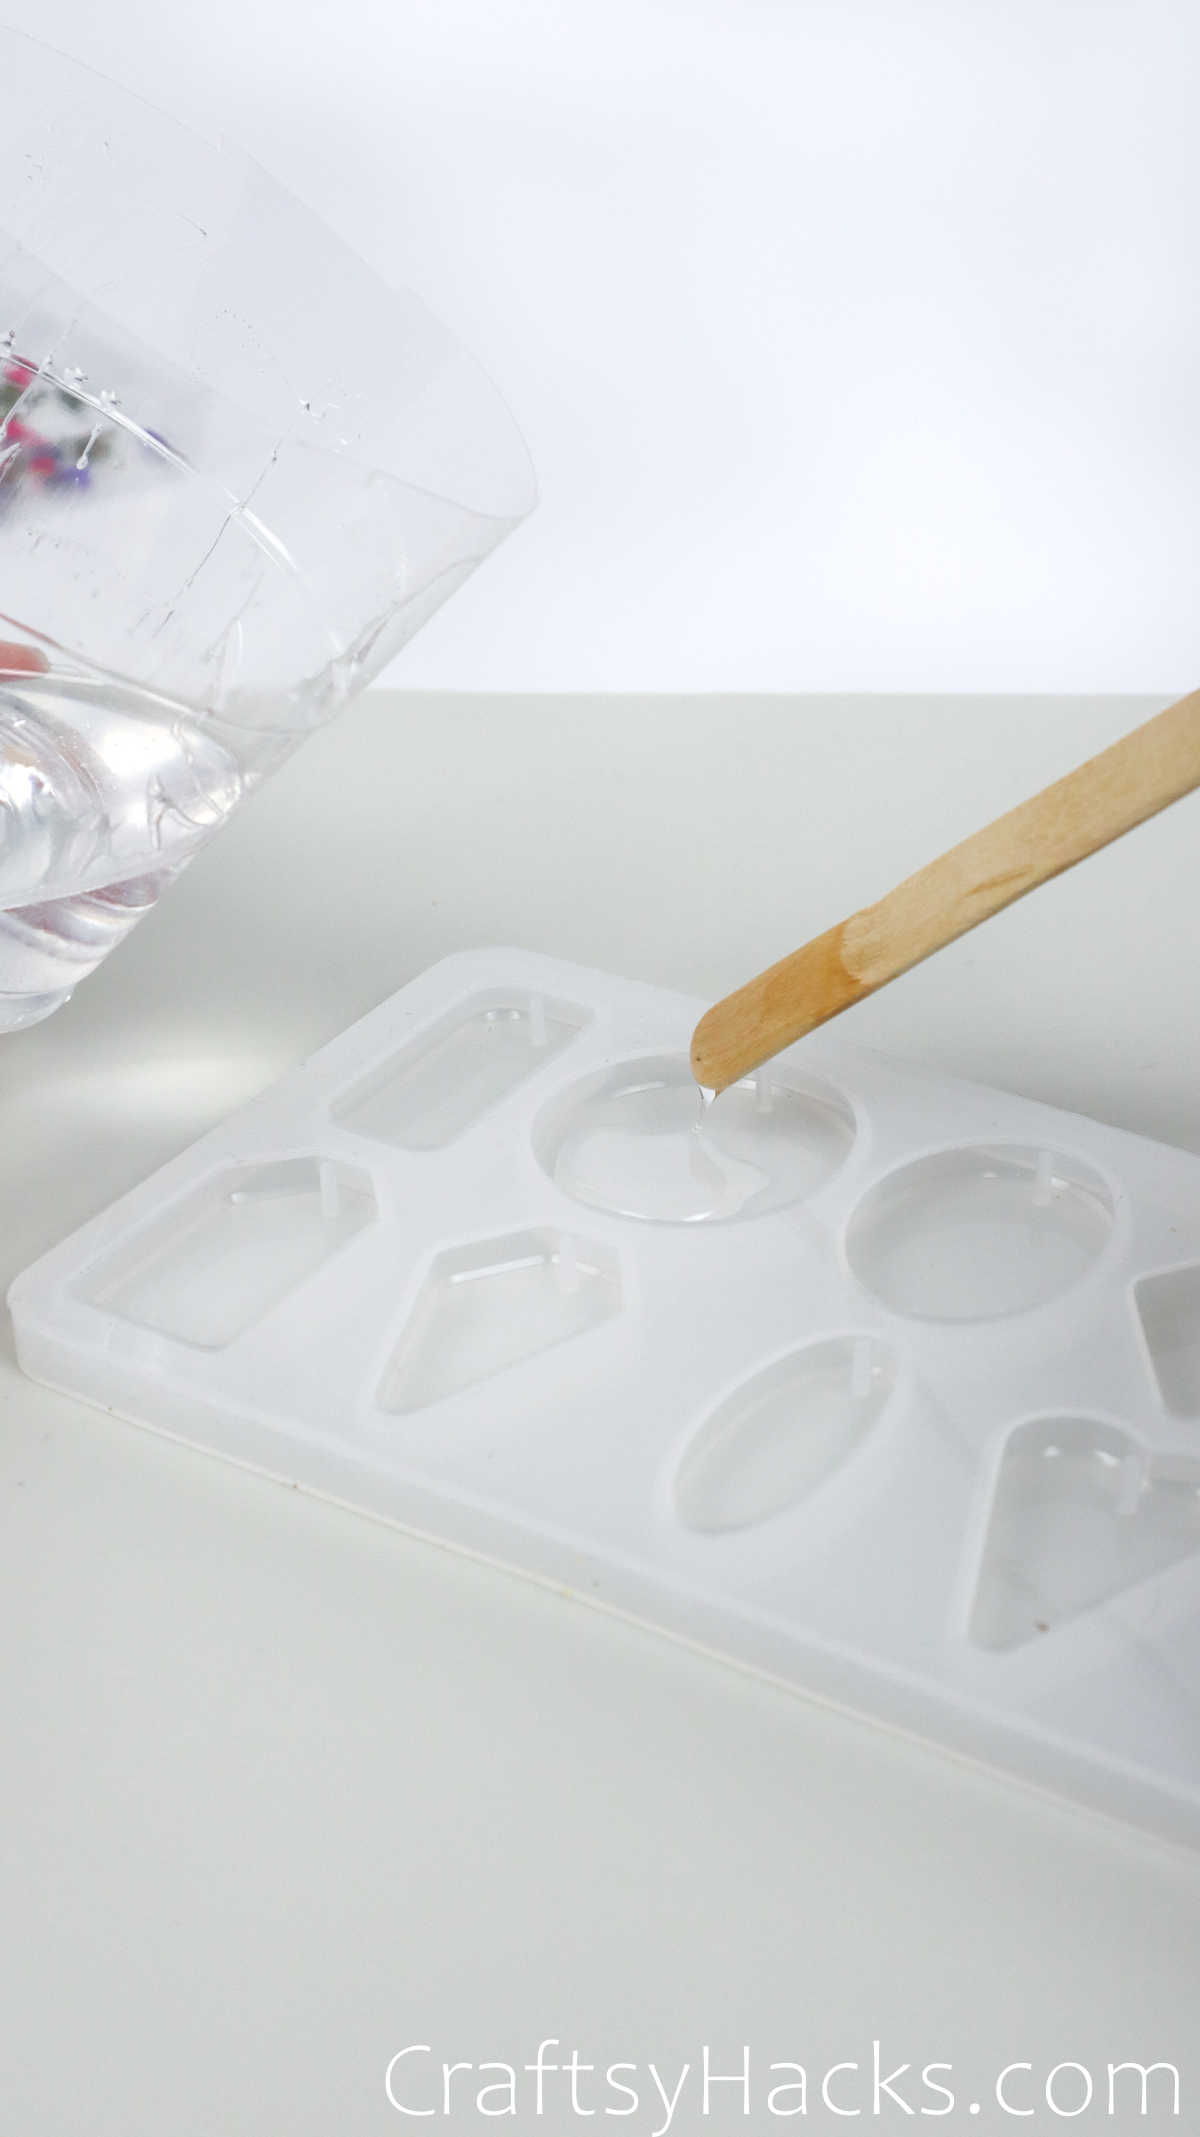
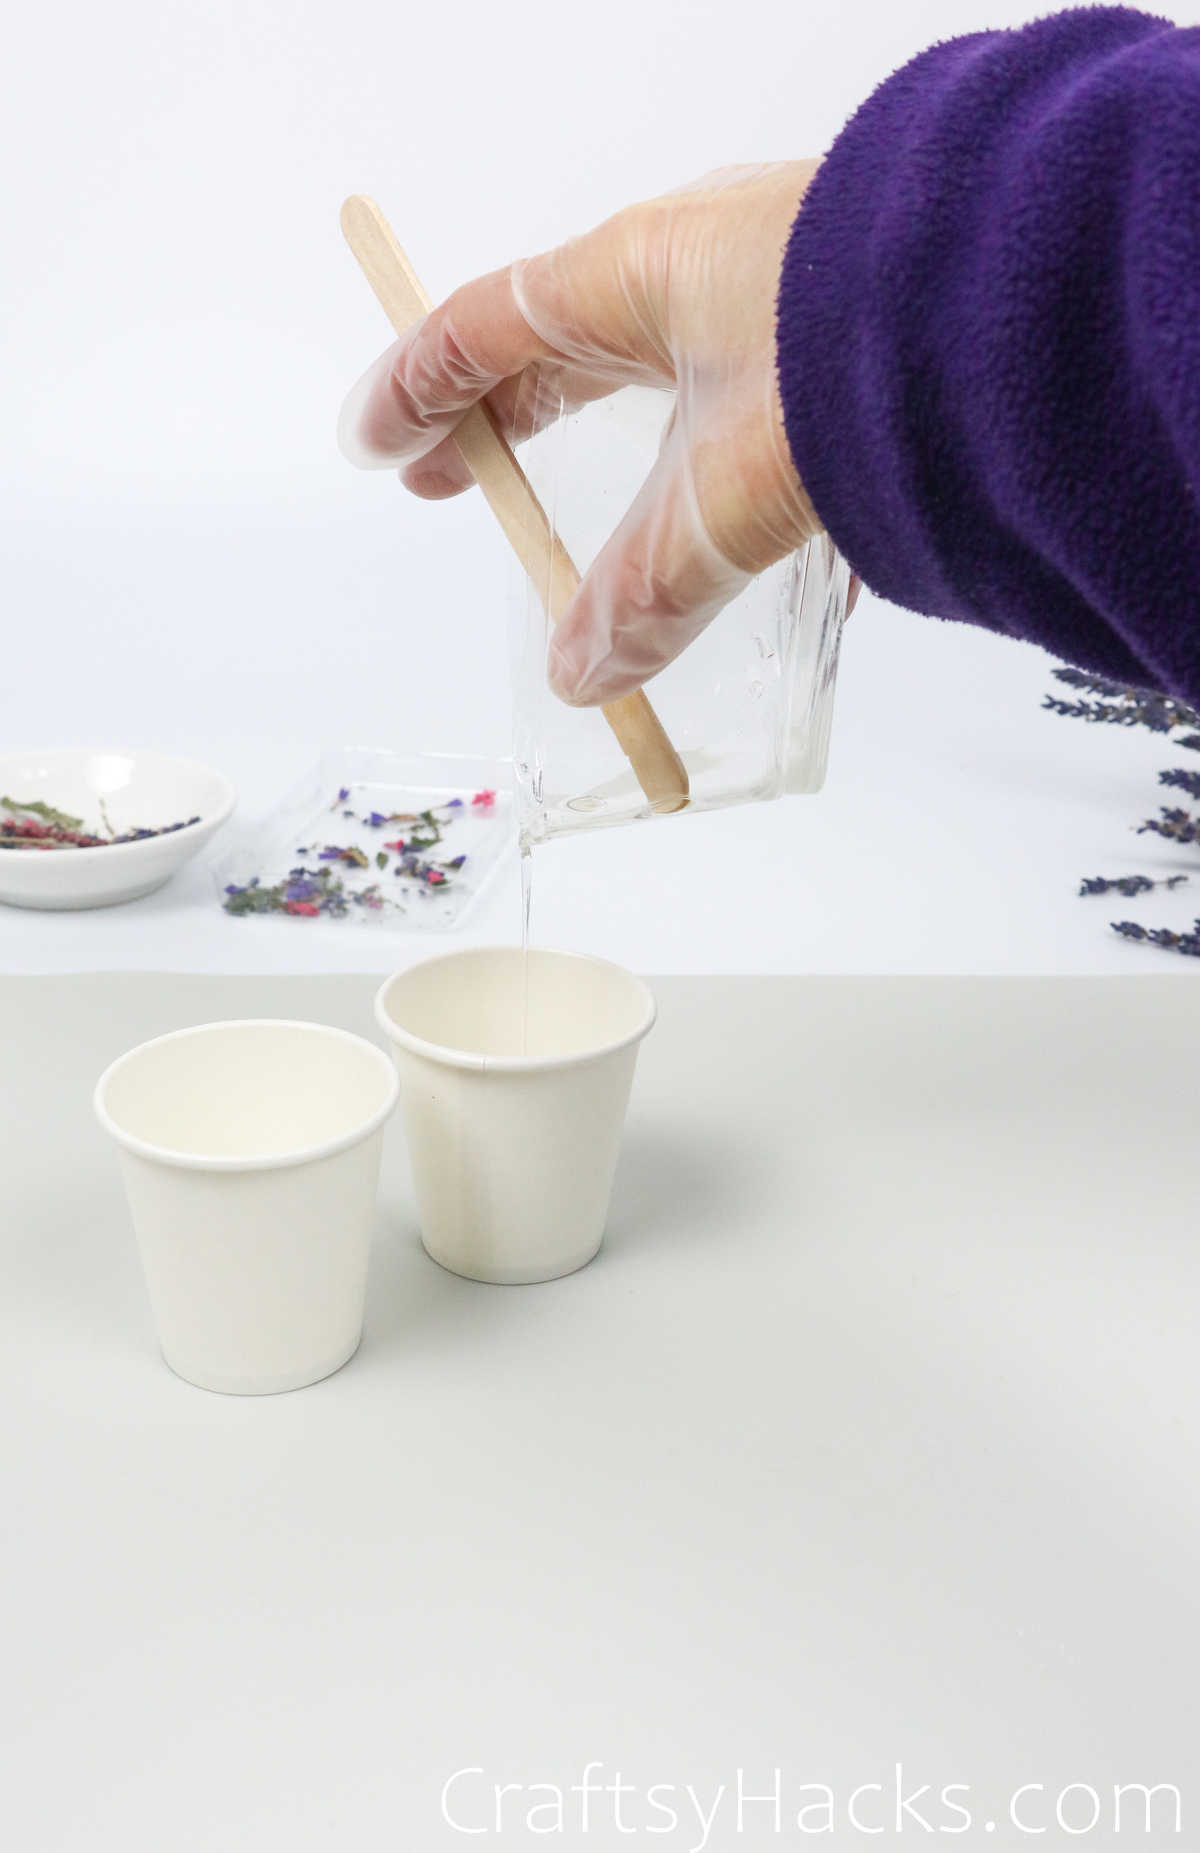
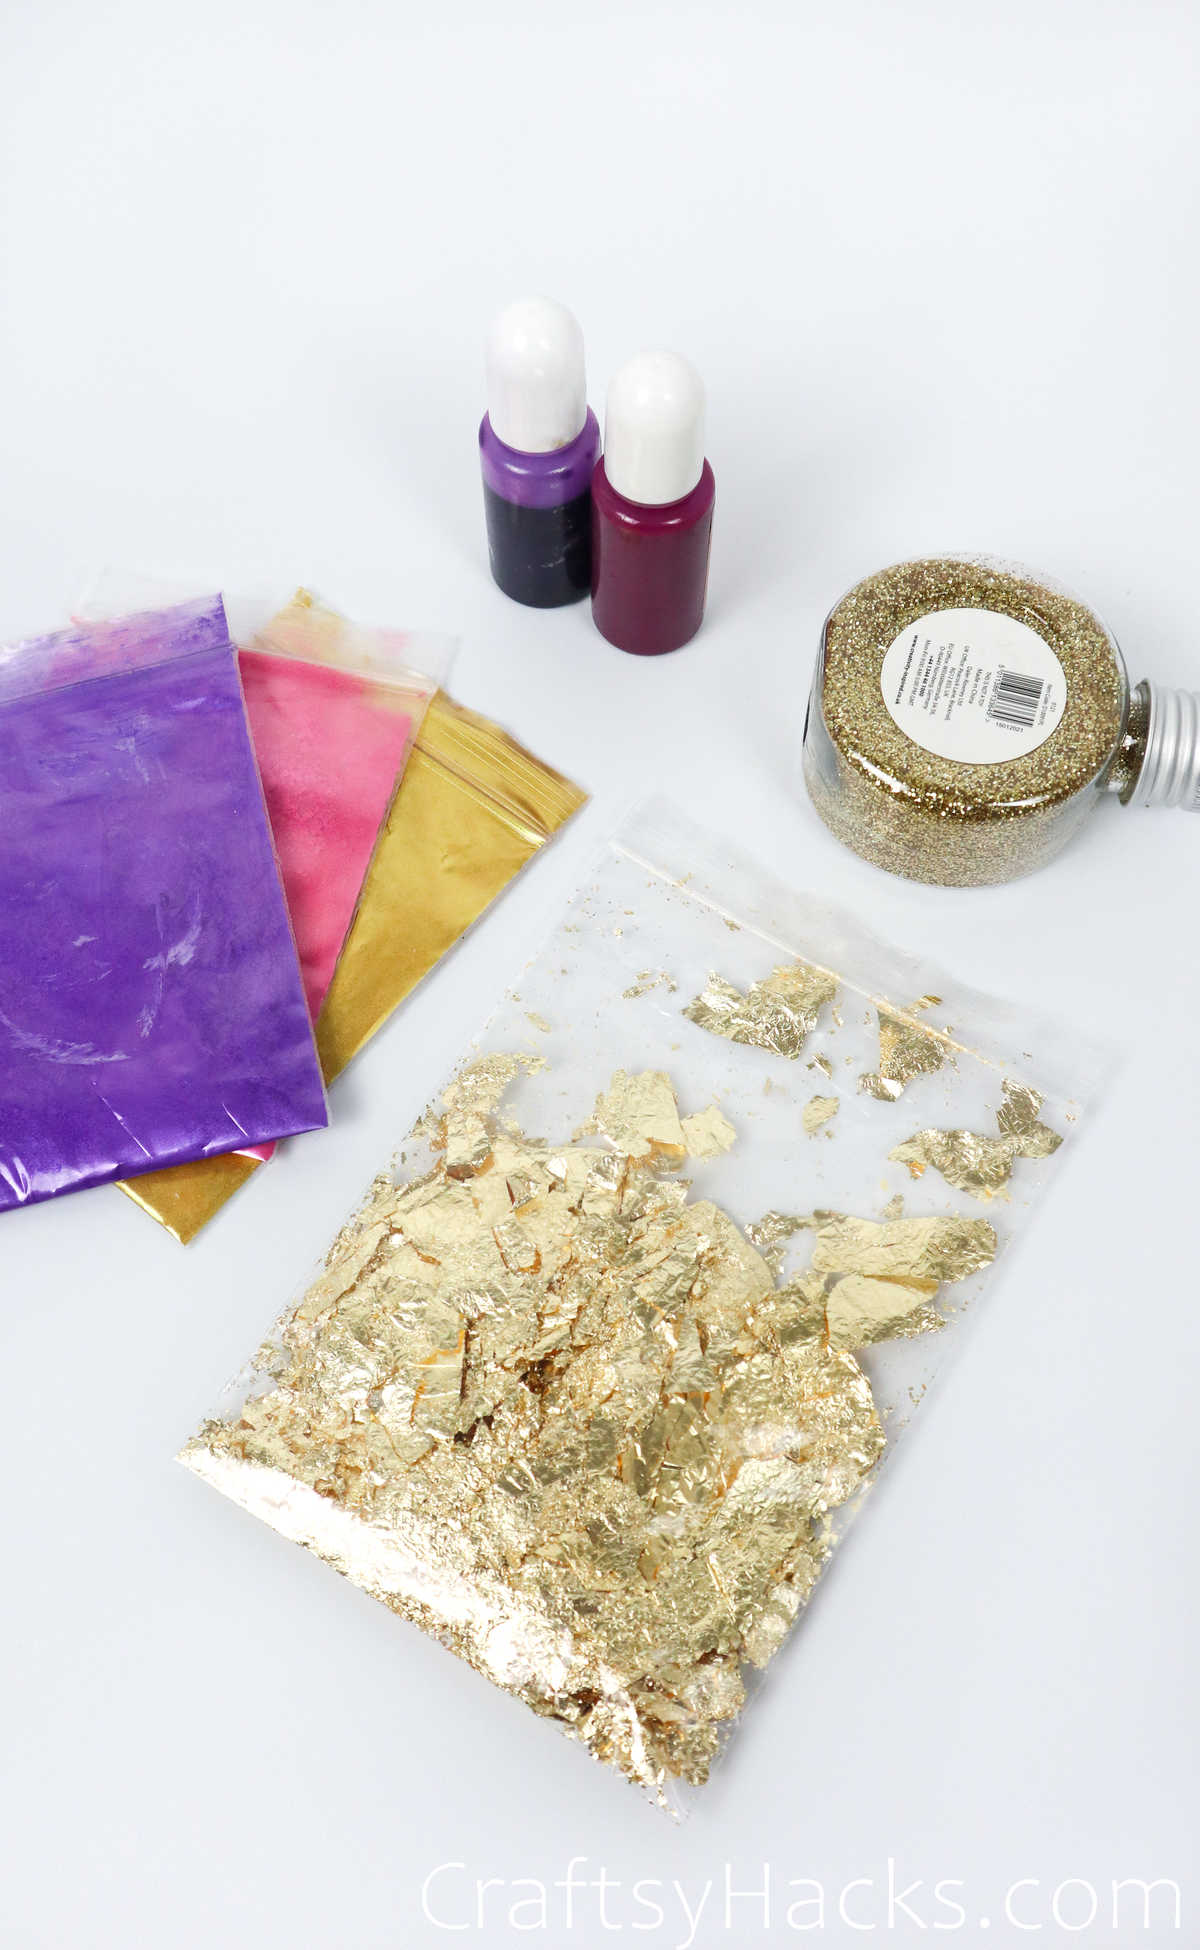
After thats done, you’ve got the option to get down to working with your resin.
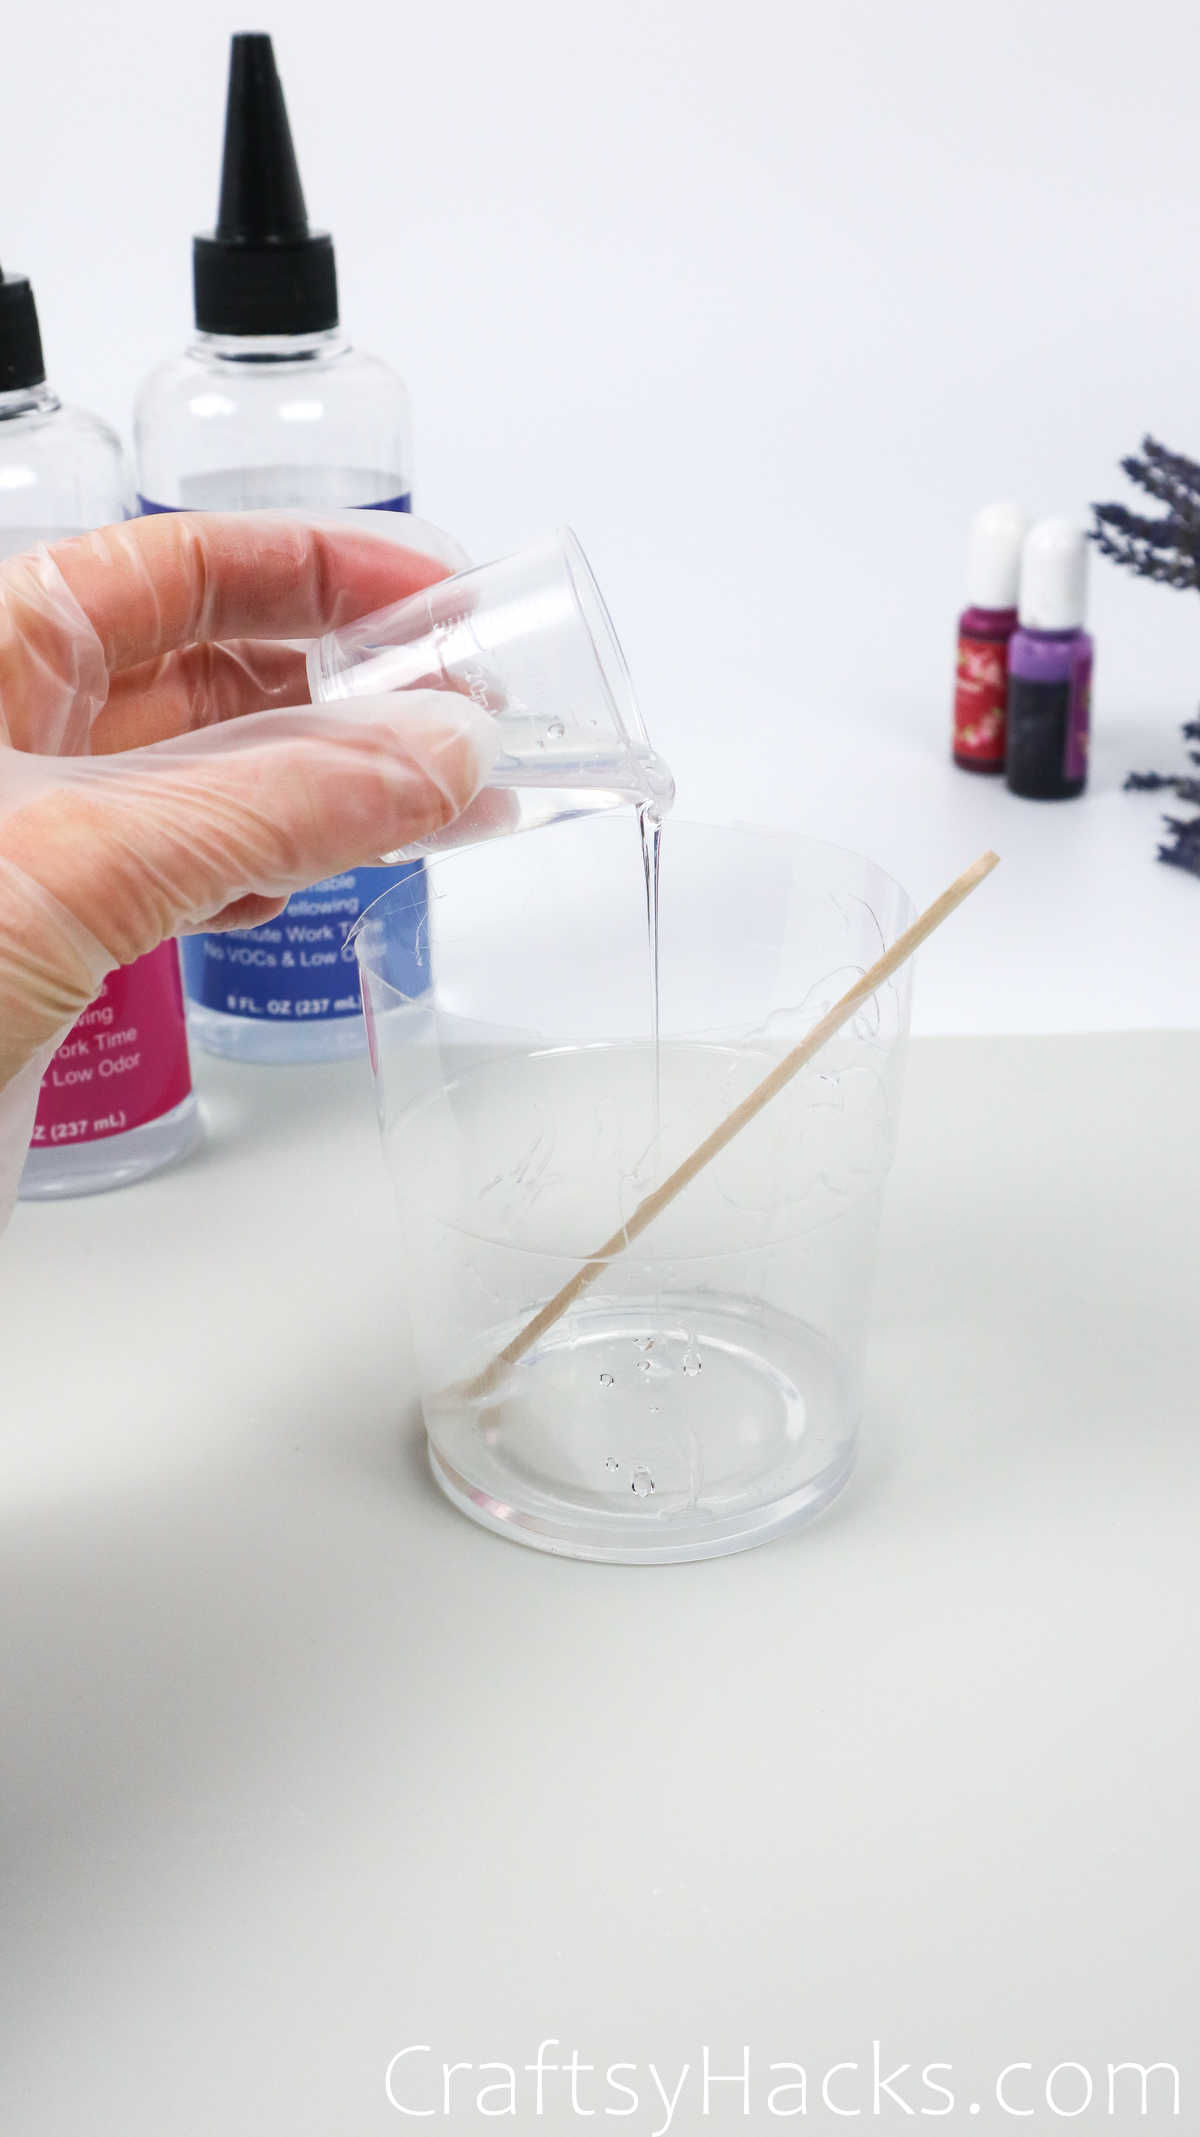
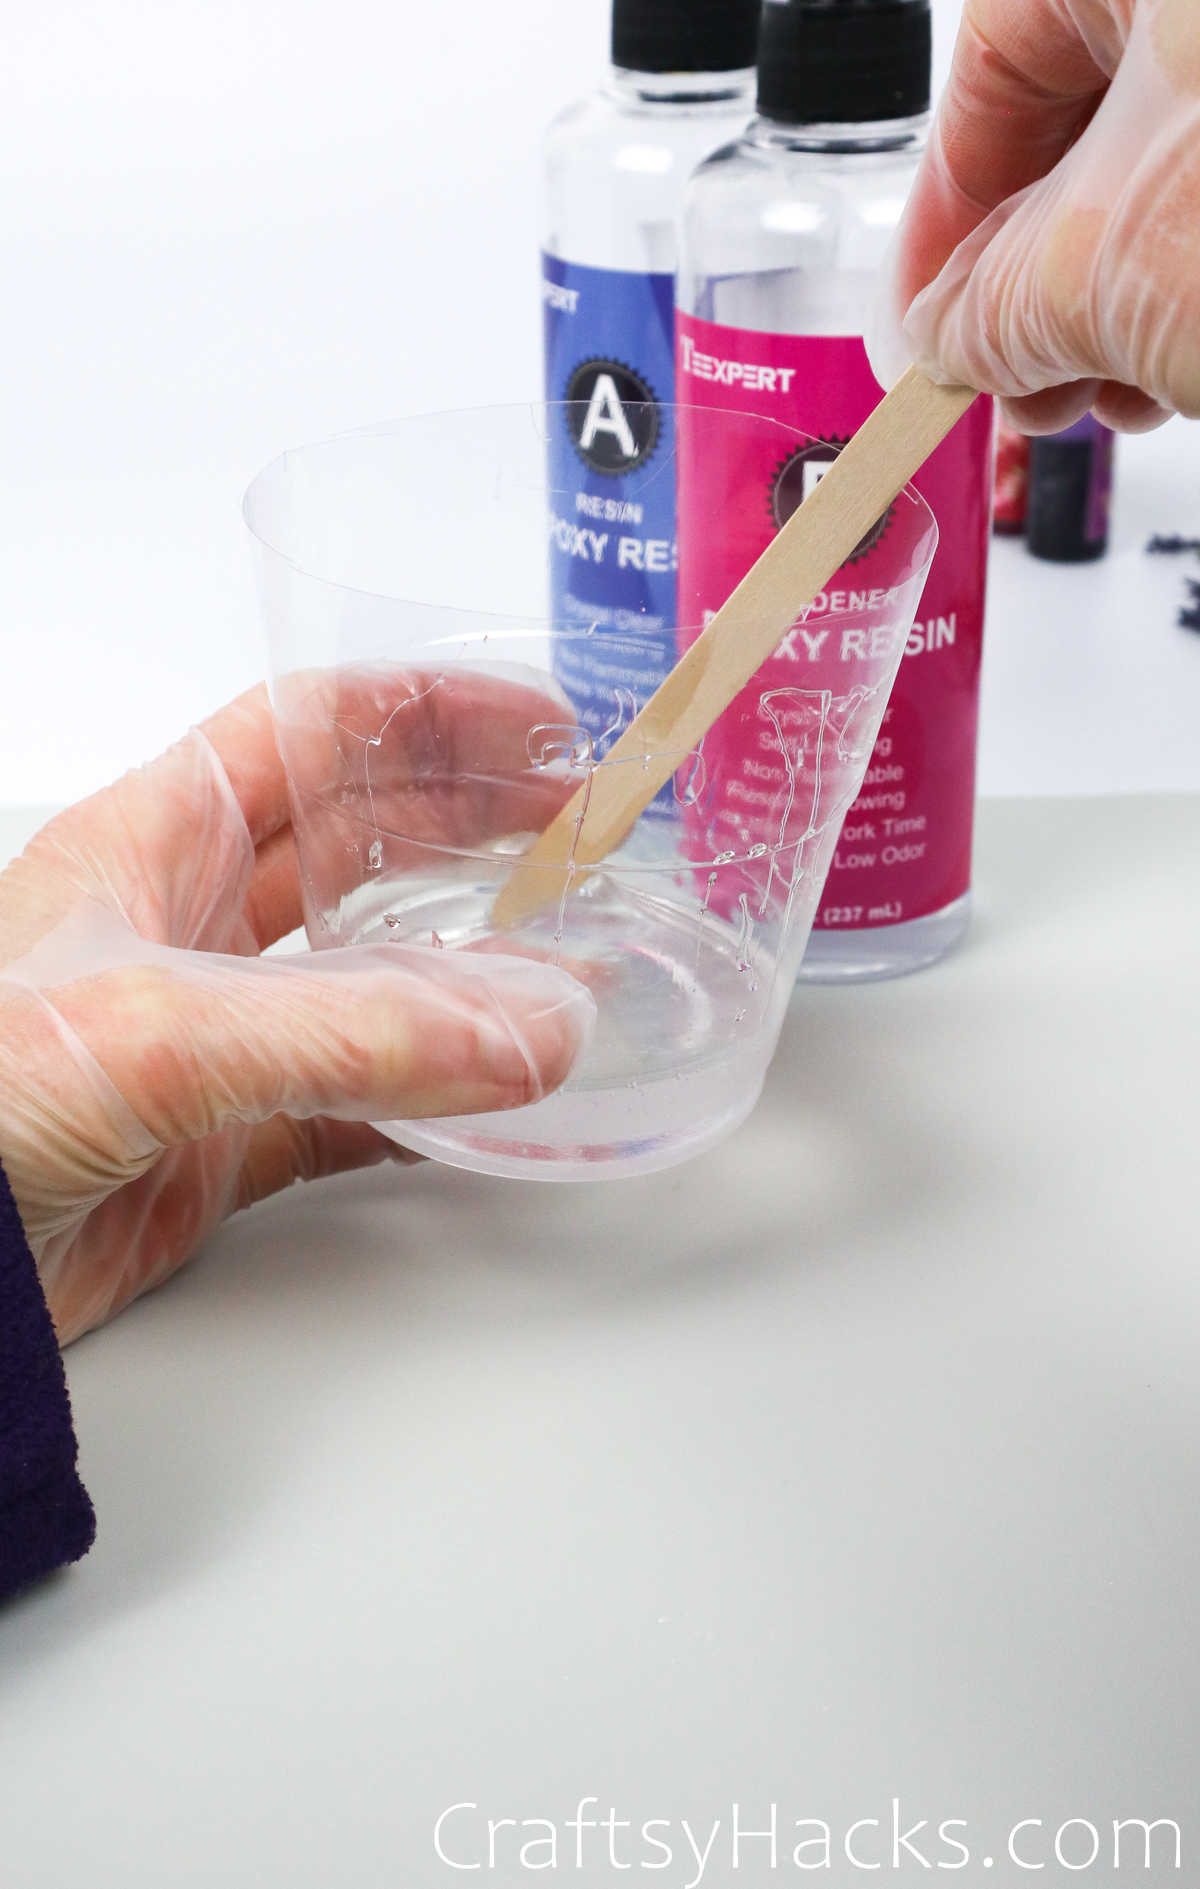
it’s possible for you to use a craft stick to stir the two substances together.
youll find a ton of air bubbles emerging as you mix the two together, and thats completely normal.
Just remember to mix the twothoroughlyso that when it sets, it sets evenly.
The whole step should take you 2-3 minutes.
Step 3
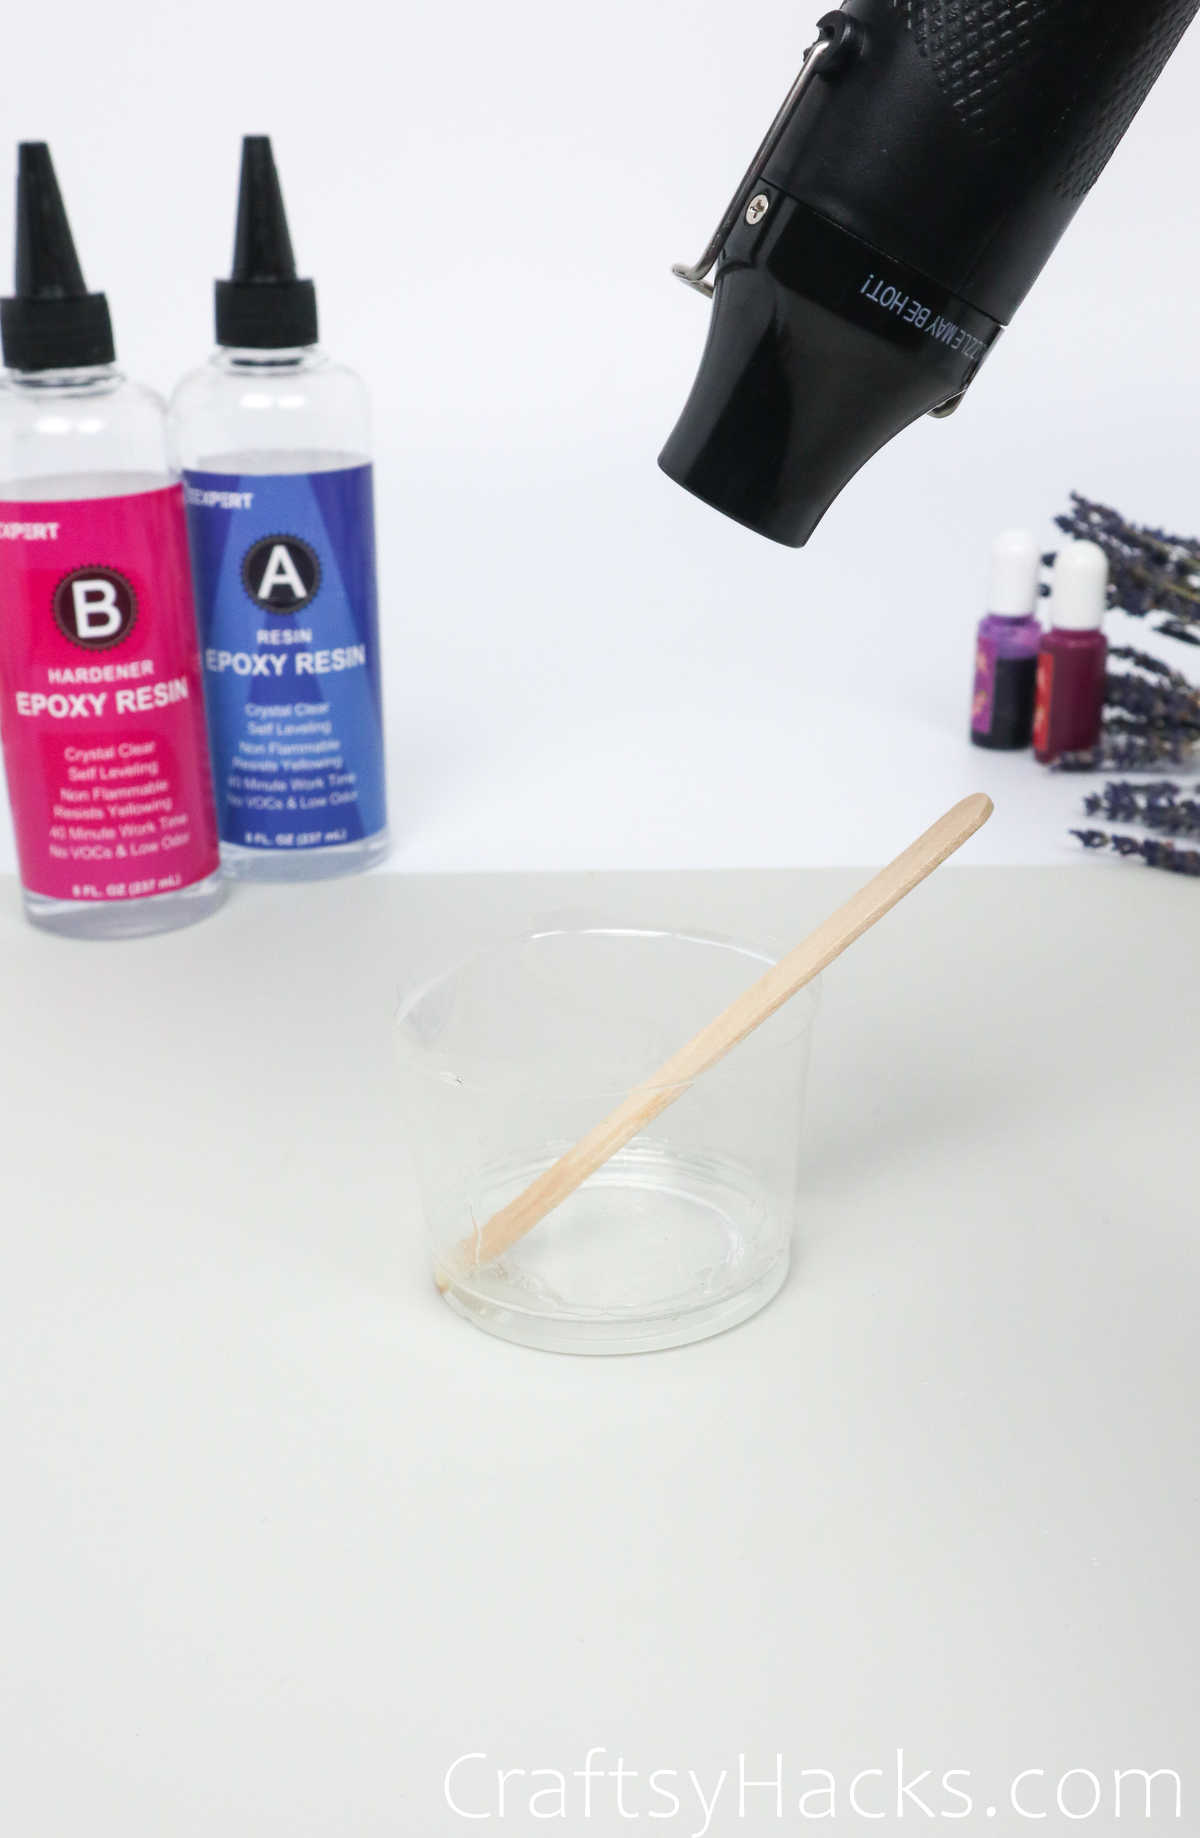
Remember all those air bubbles?
Well, its time to pop them!
Get moving once you get started because the resin will harden and become tacky.
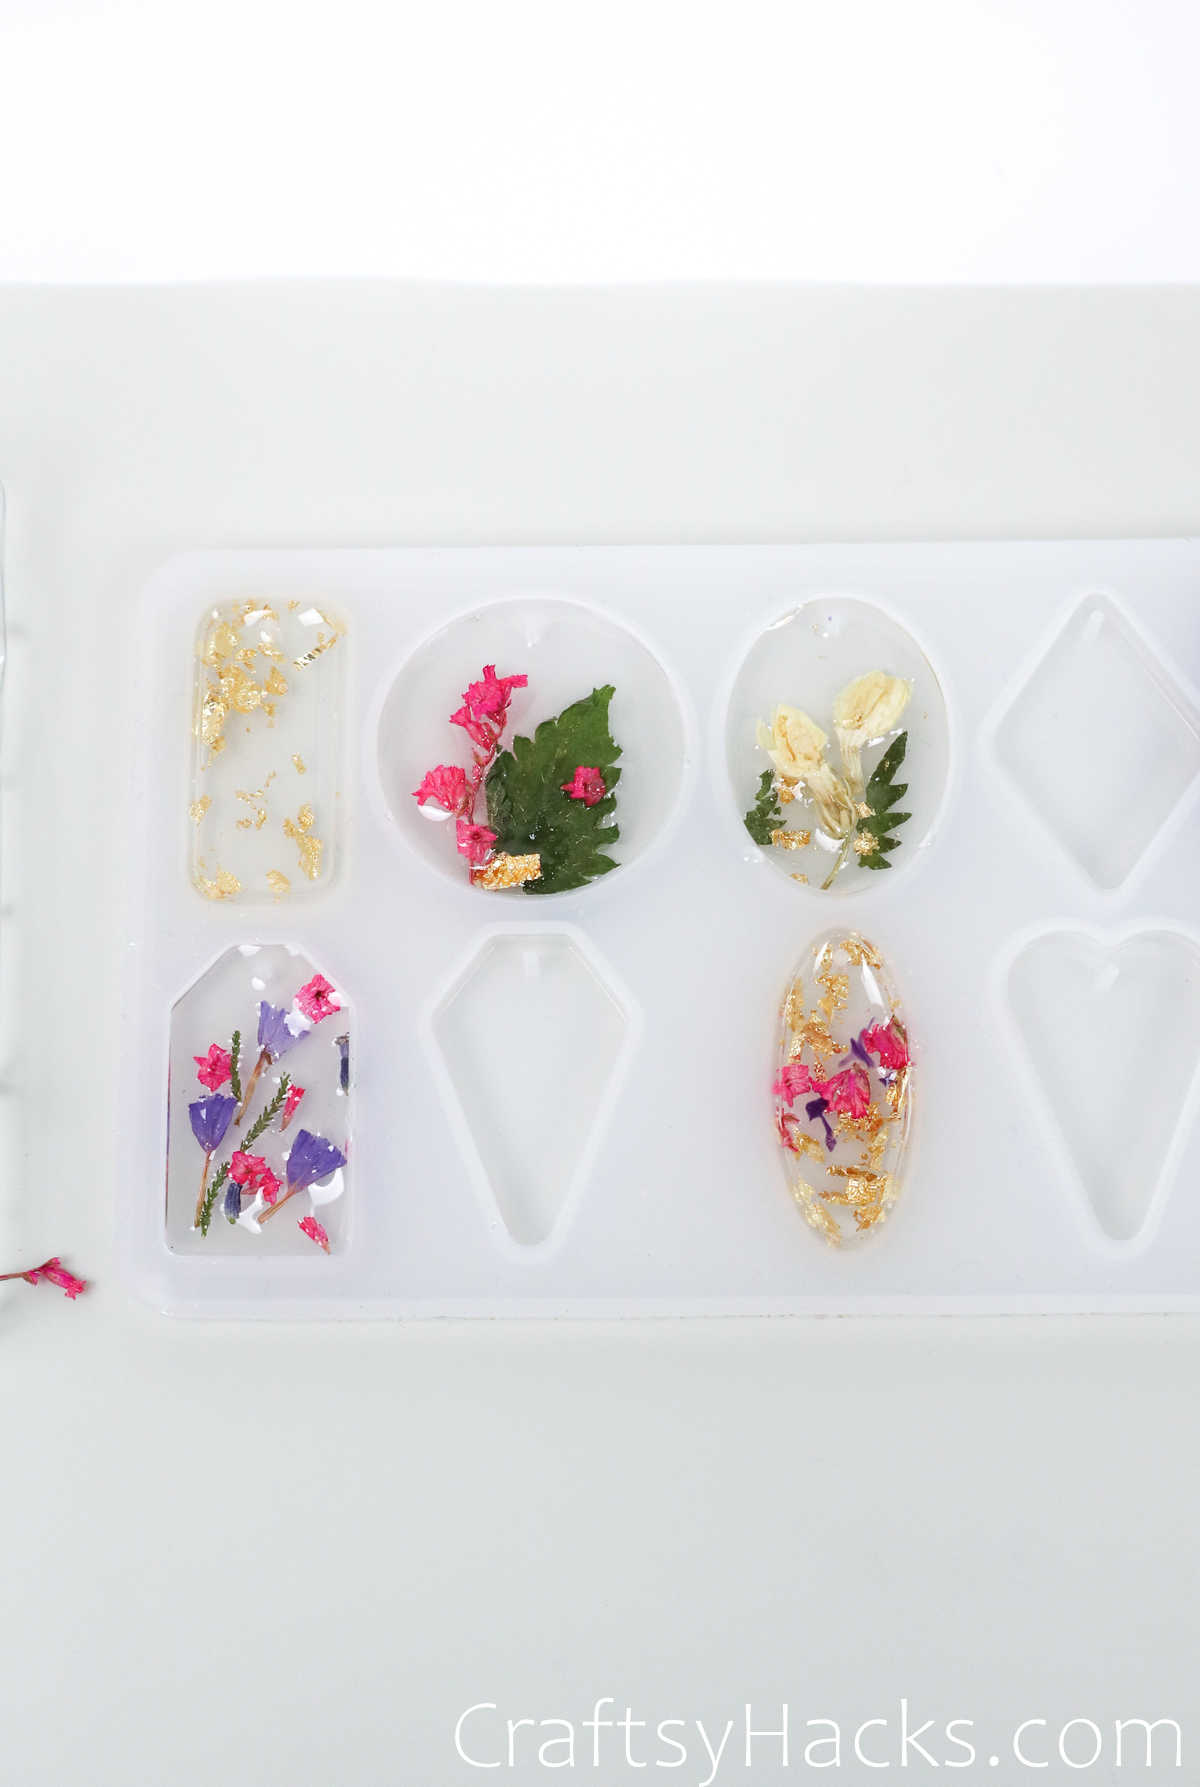
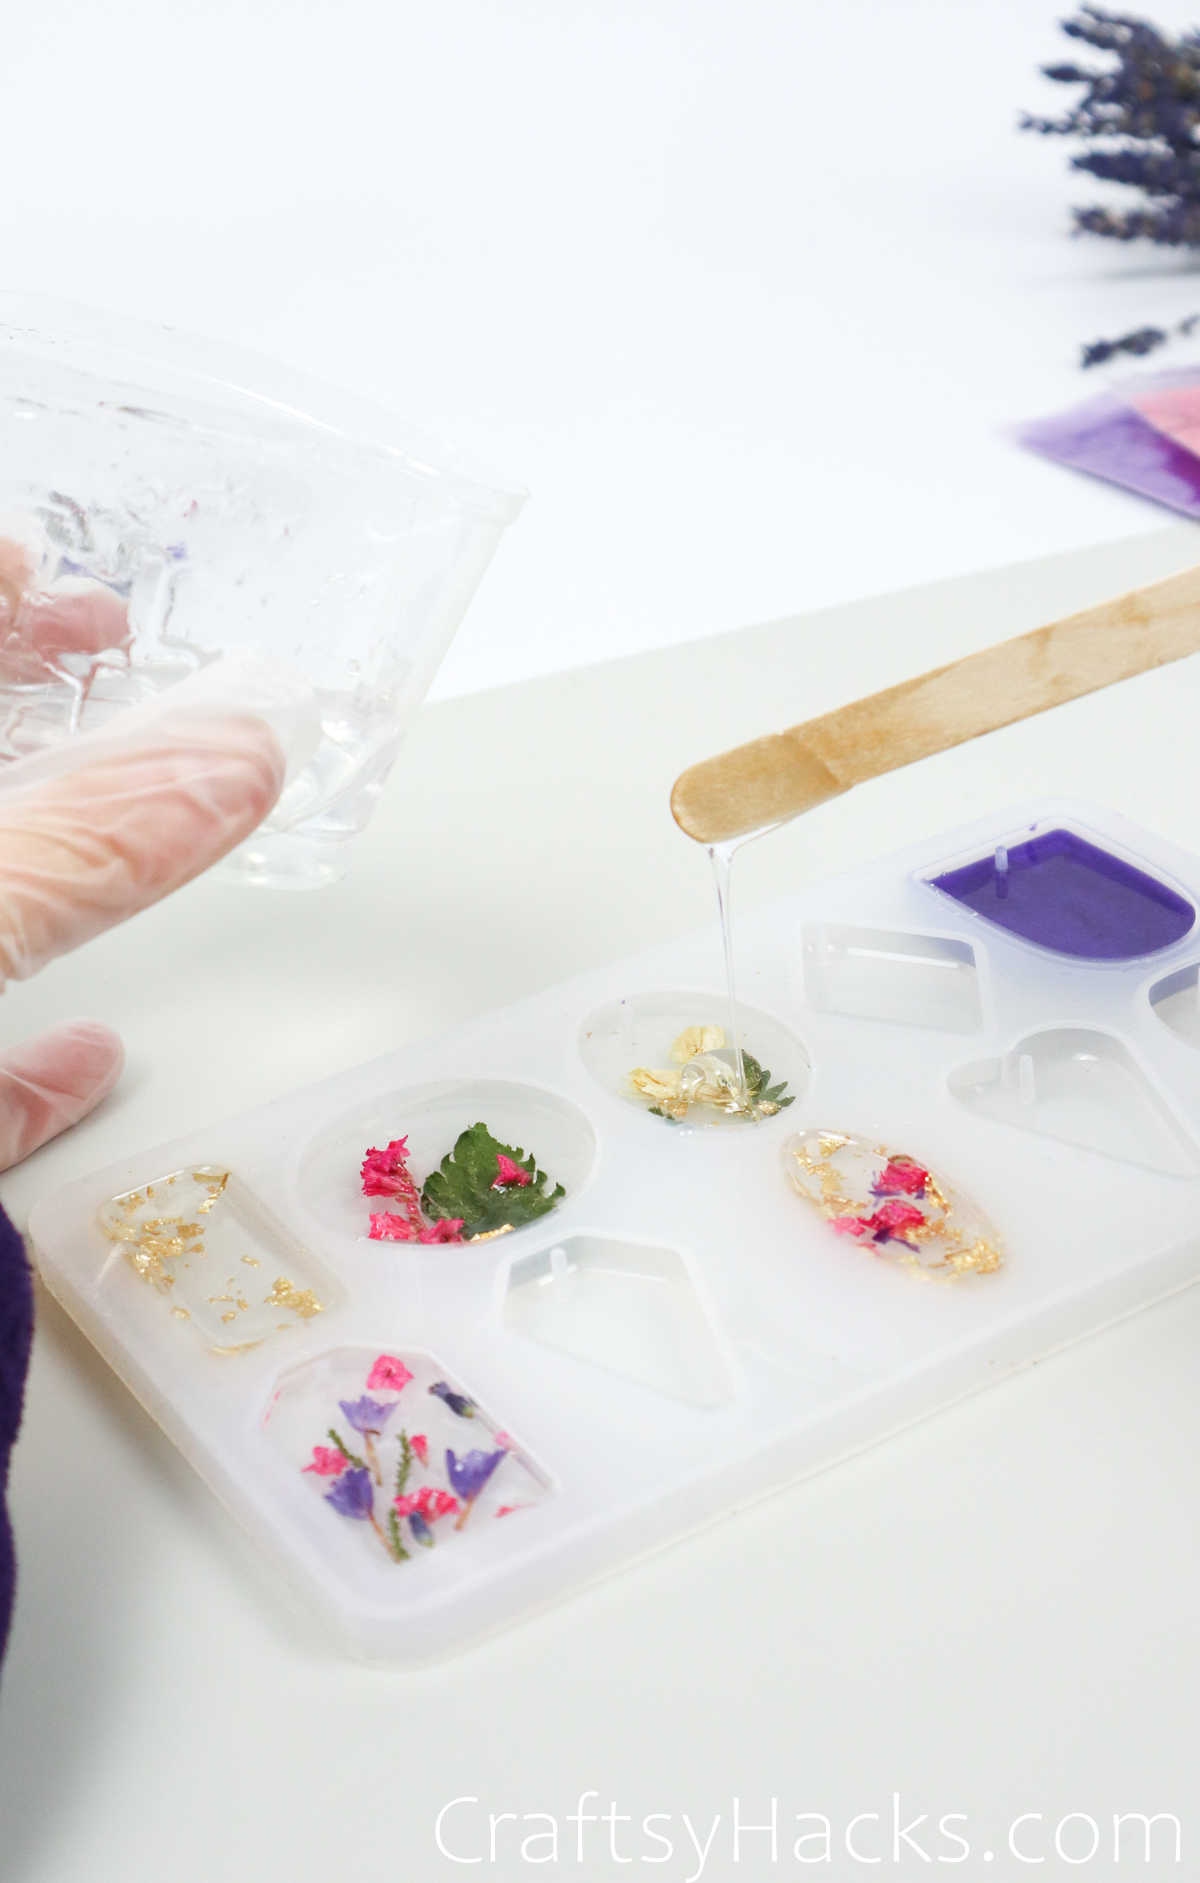
Pour a layer of the resin into the molds, as seen below.
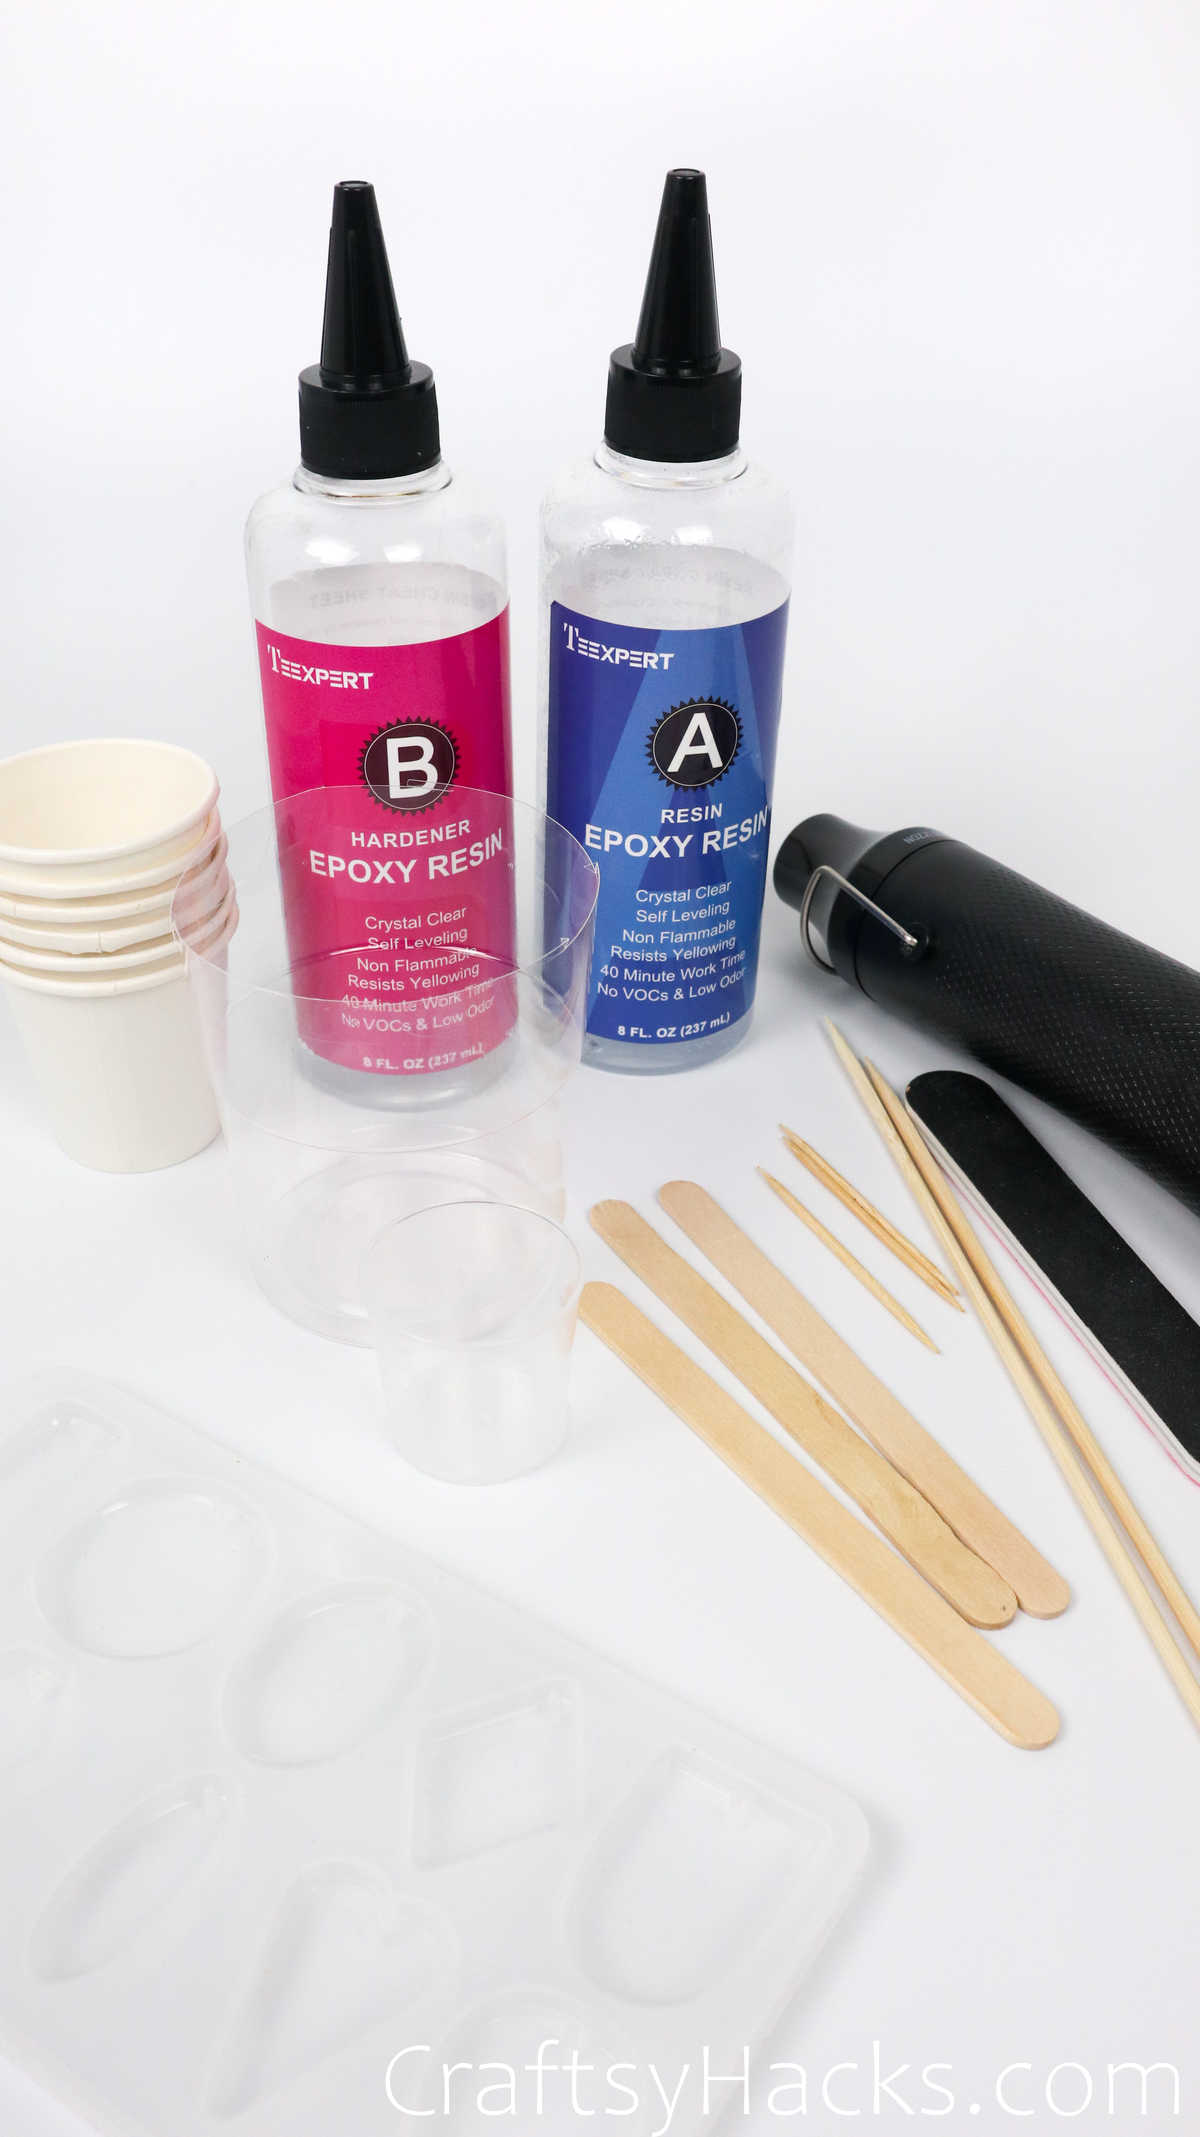
If bubbles appear again, use the heat gun to level the surface.
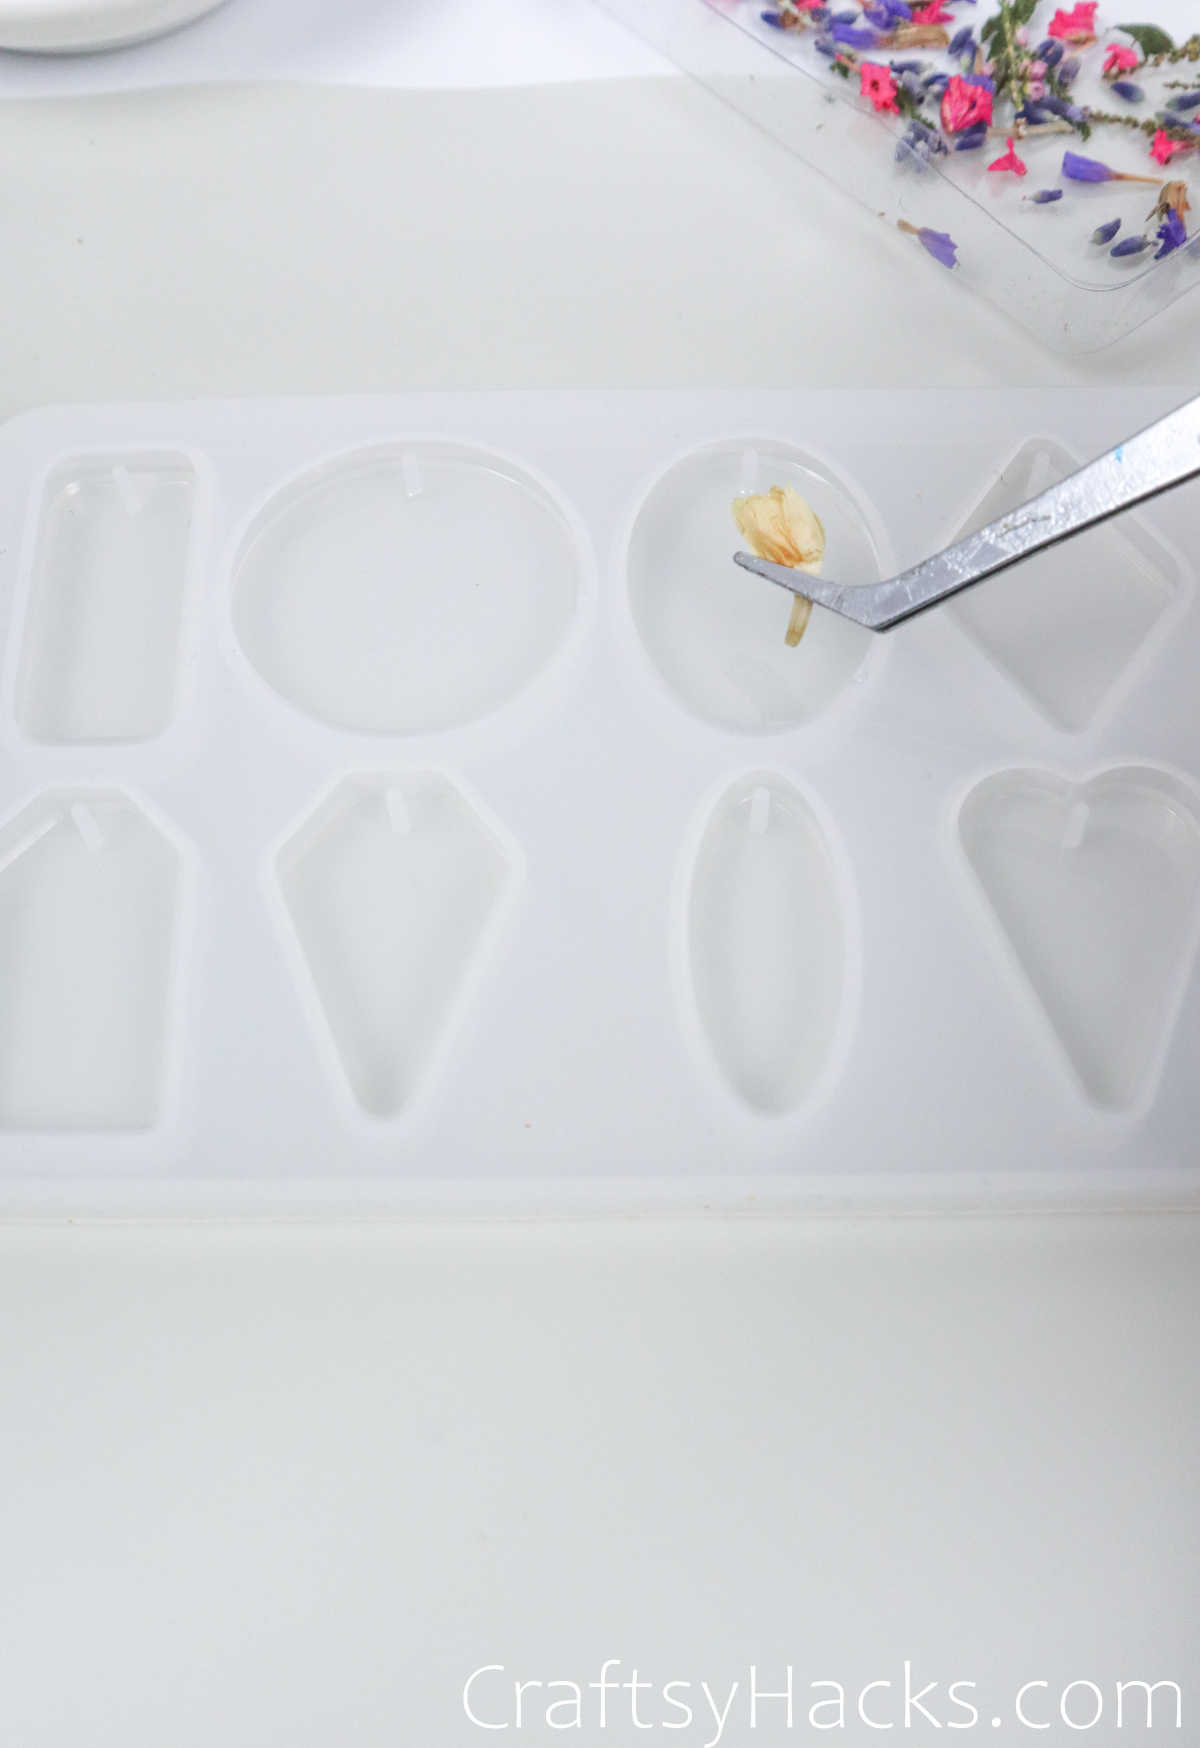
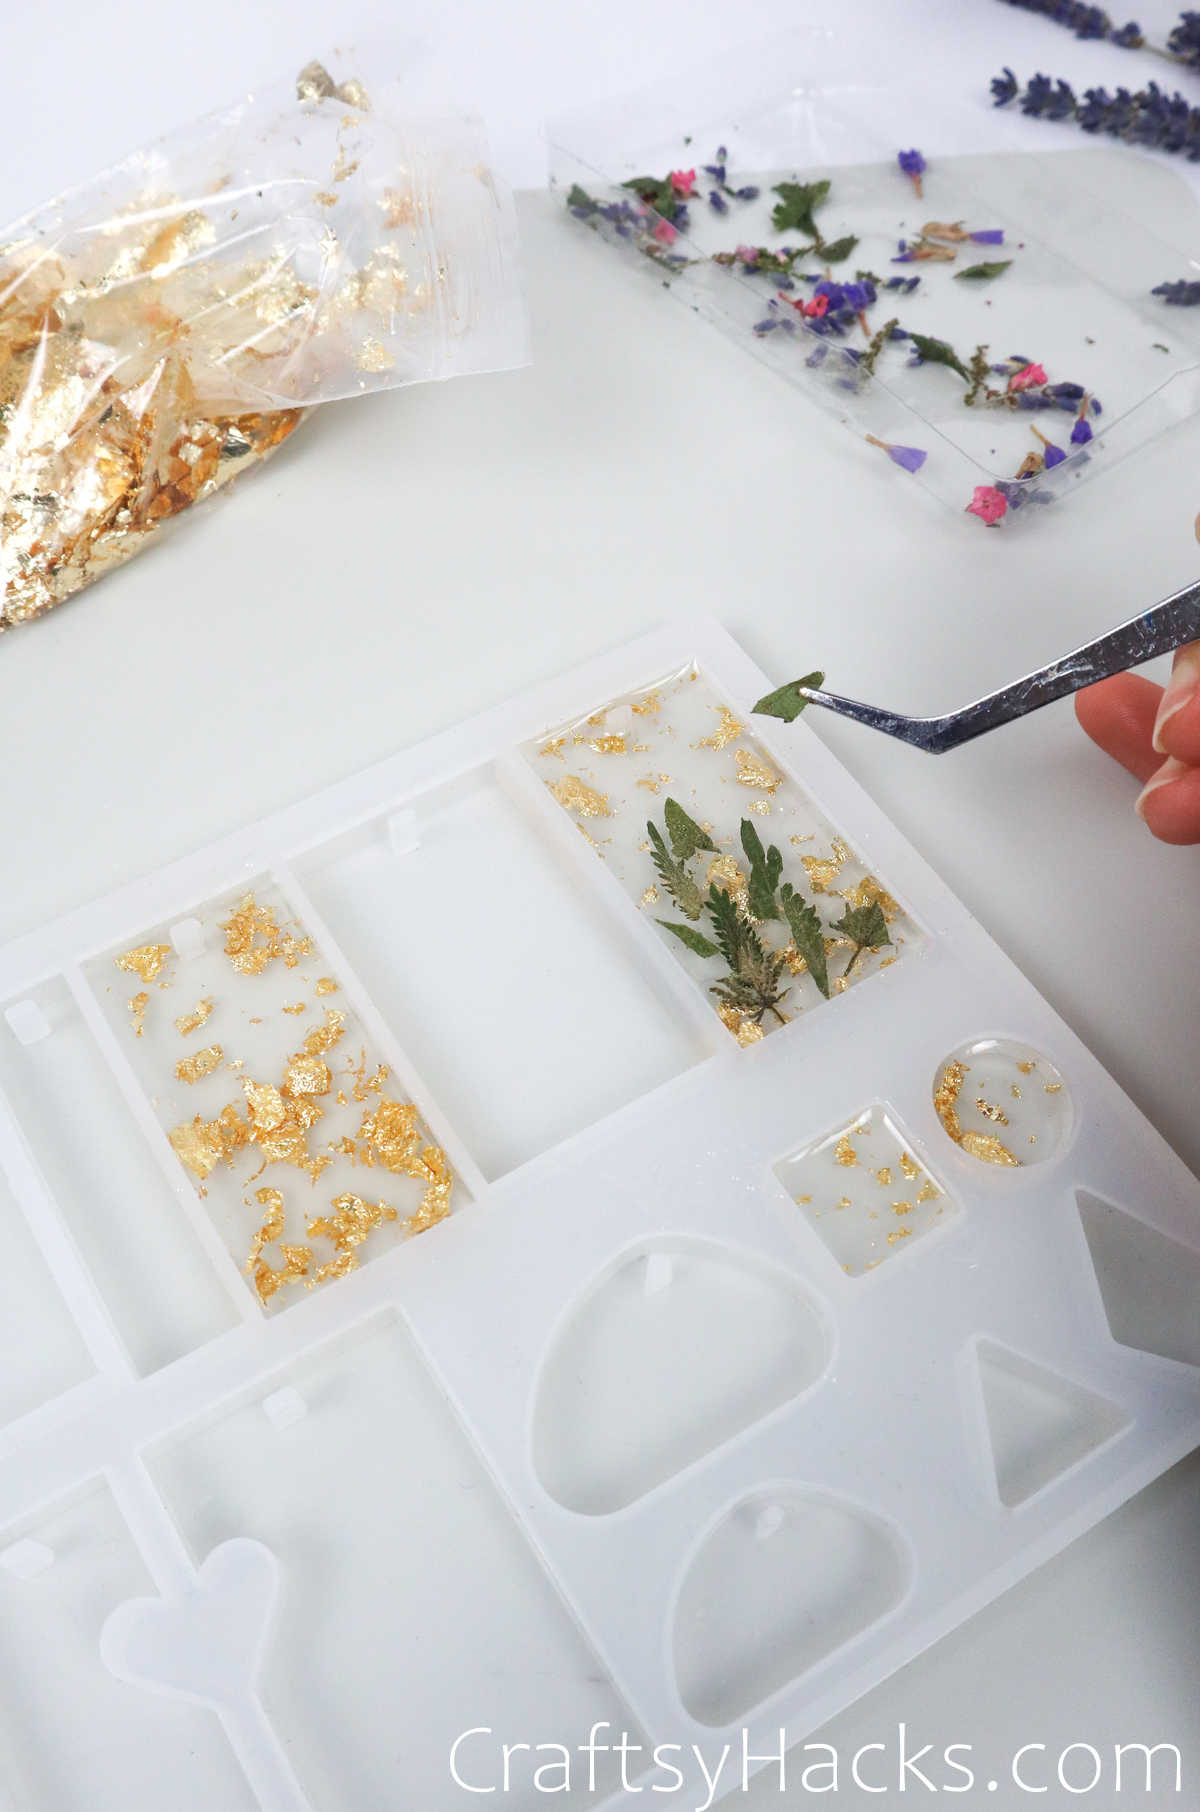
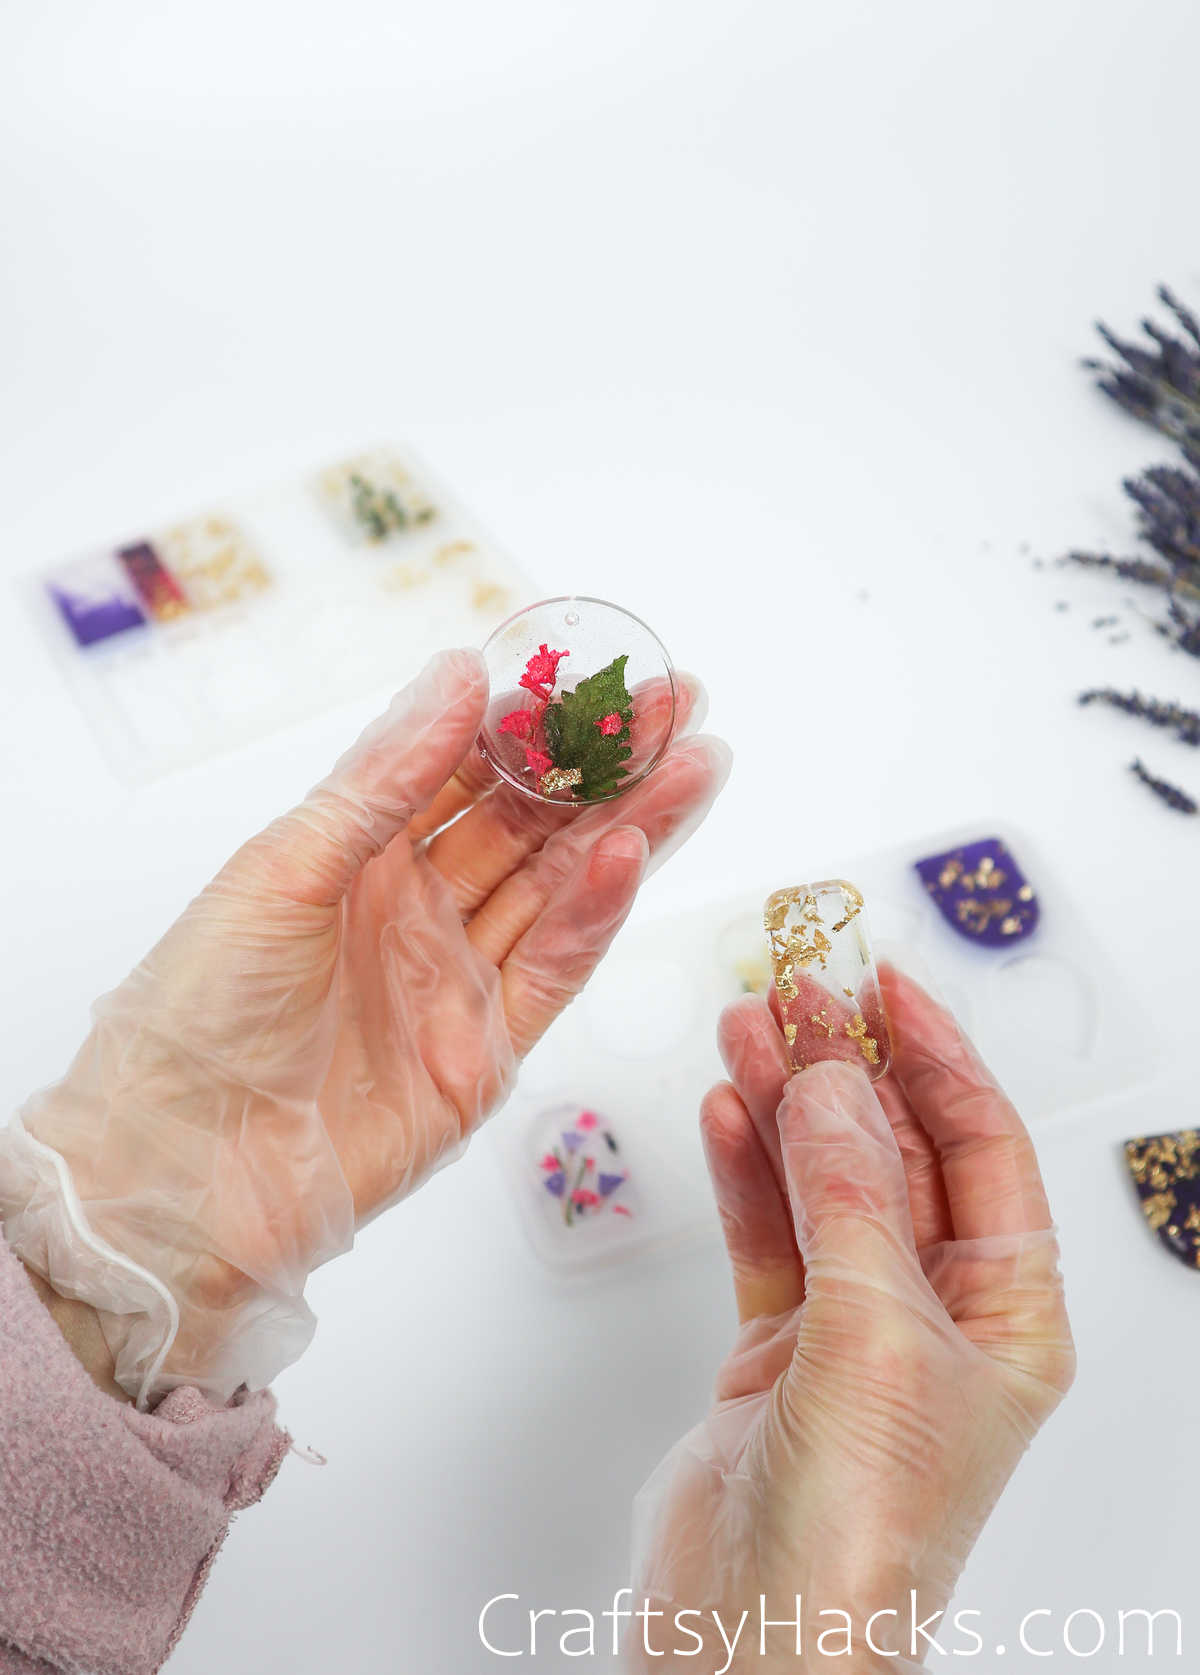
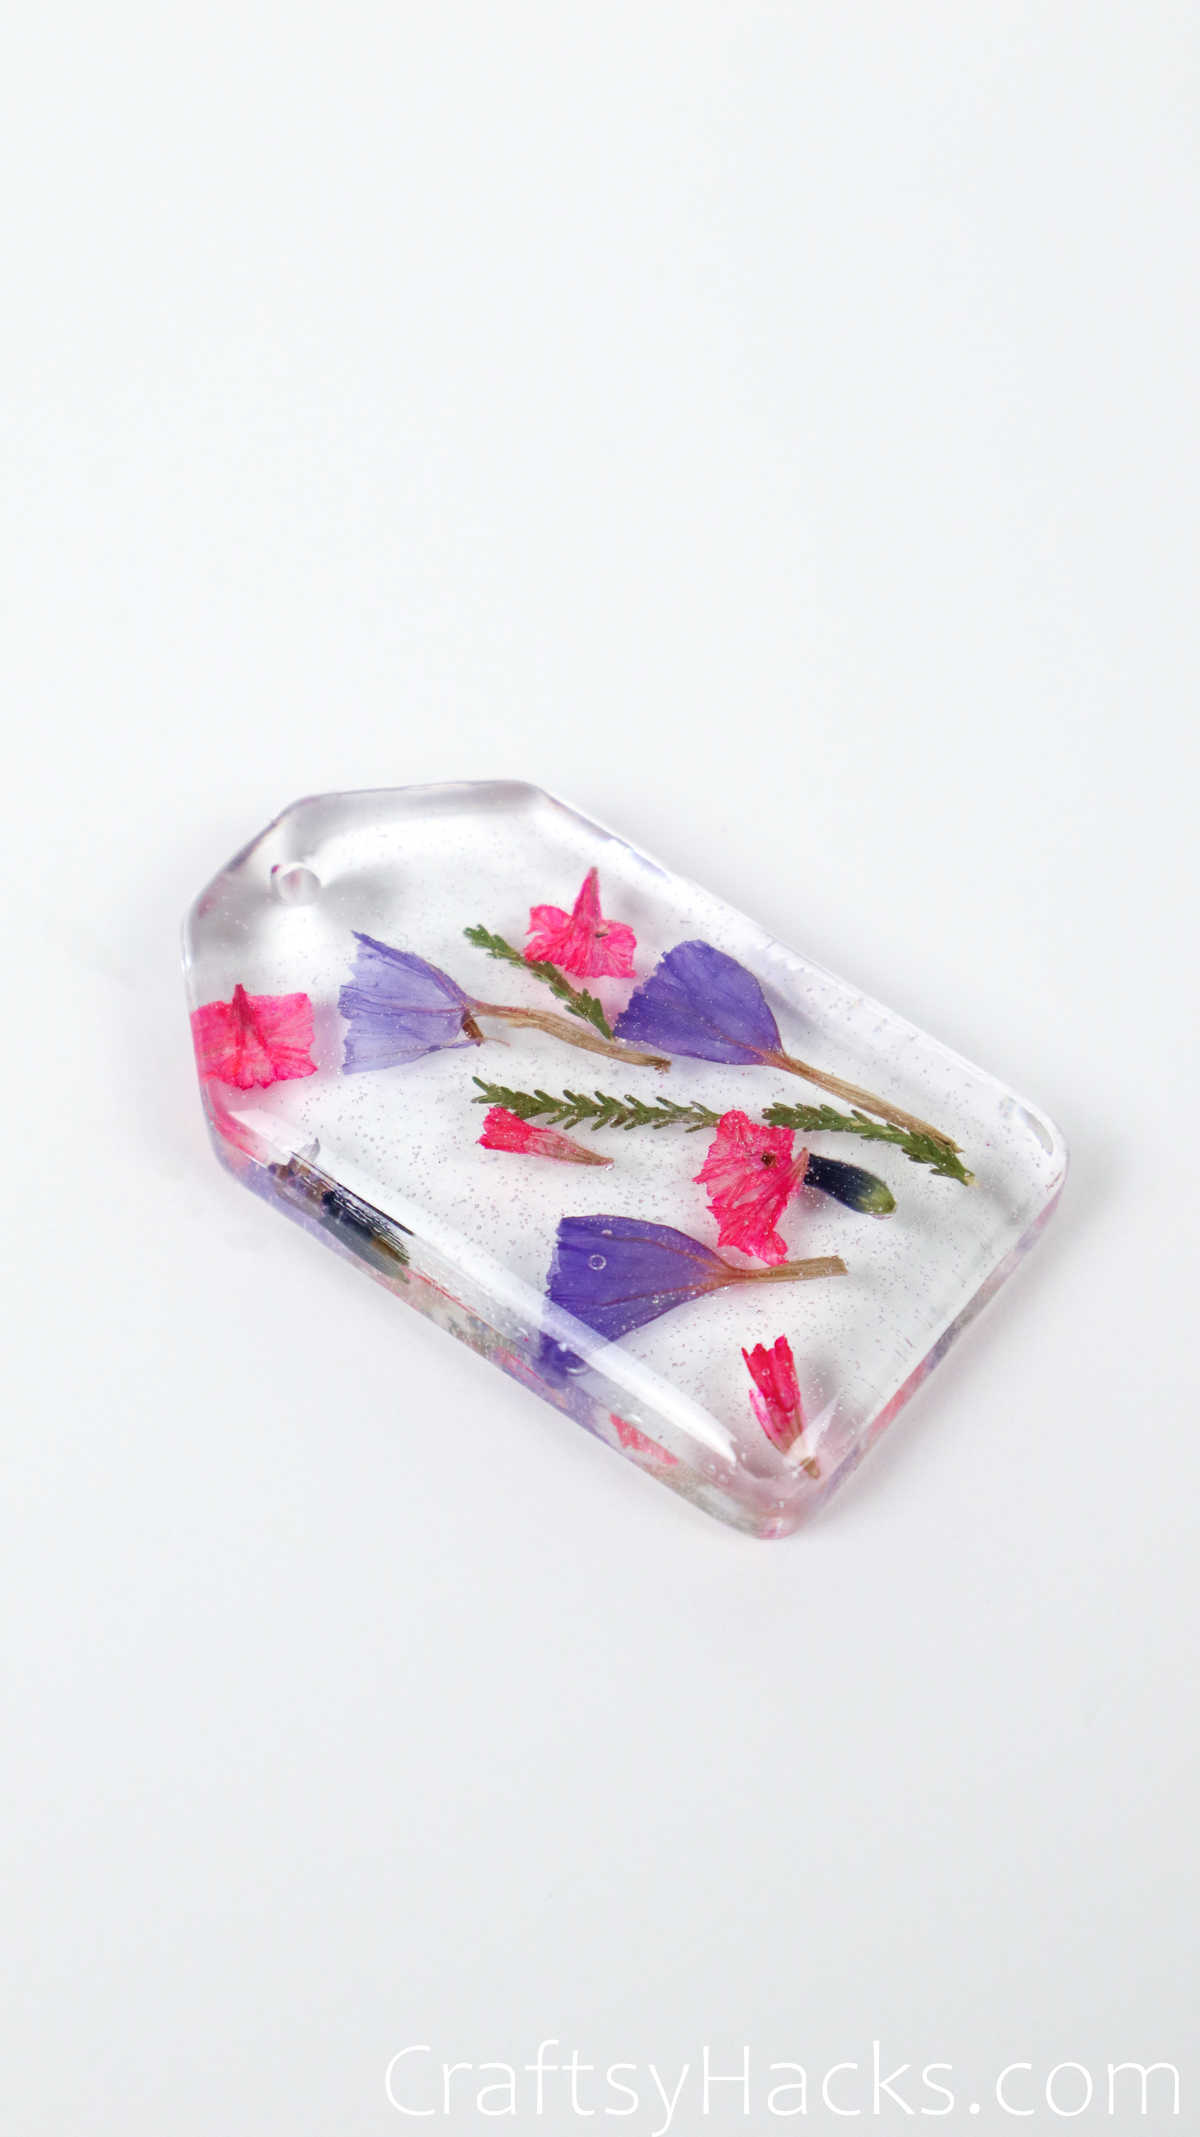
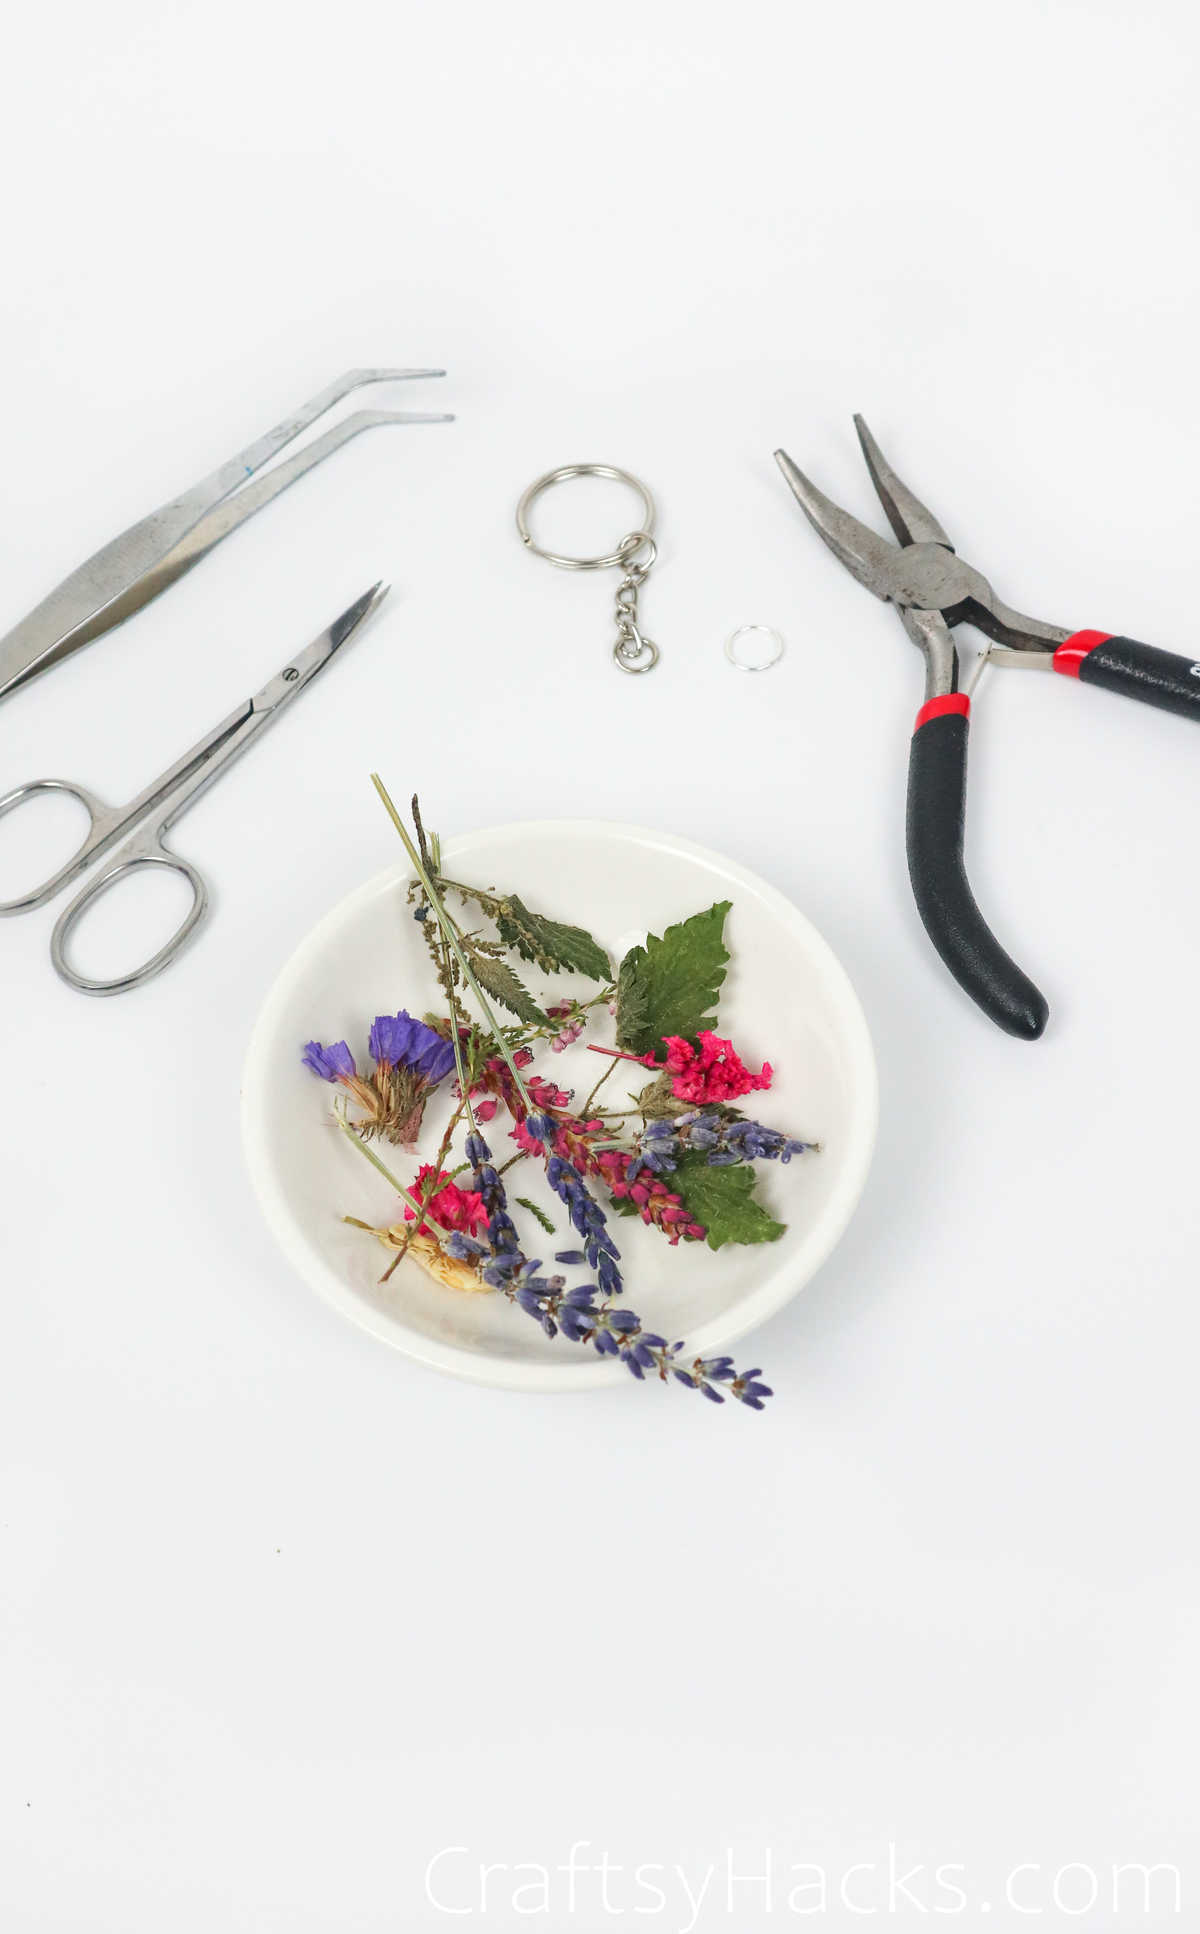
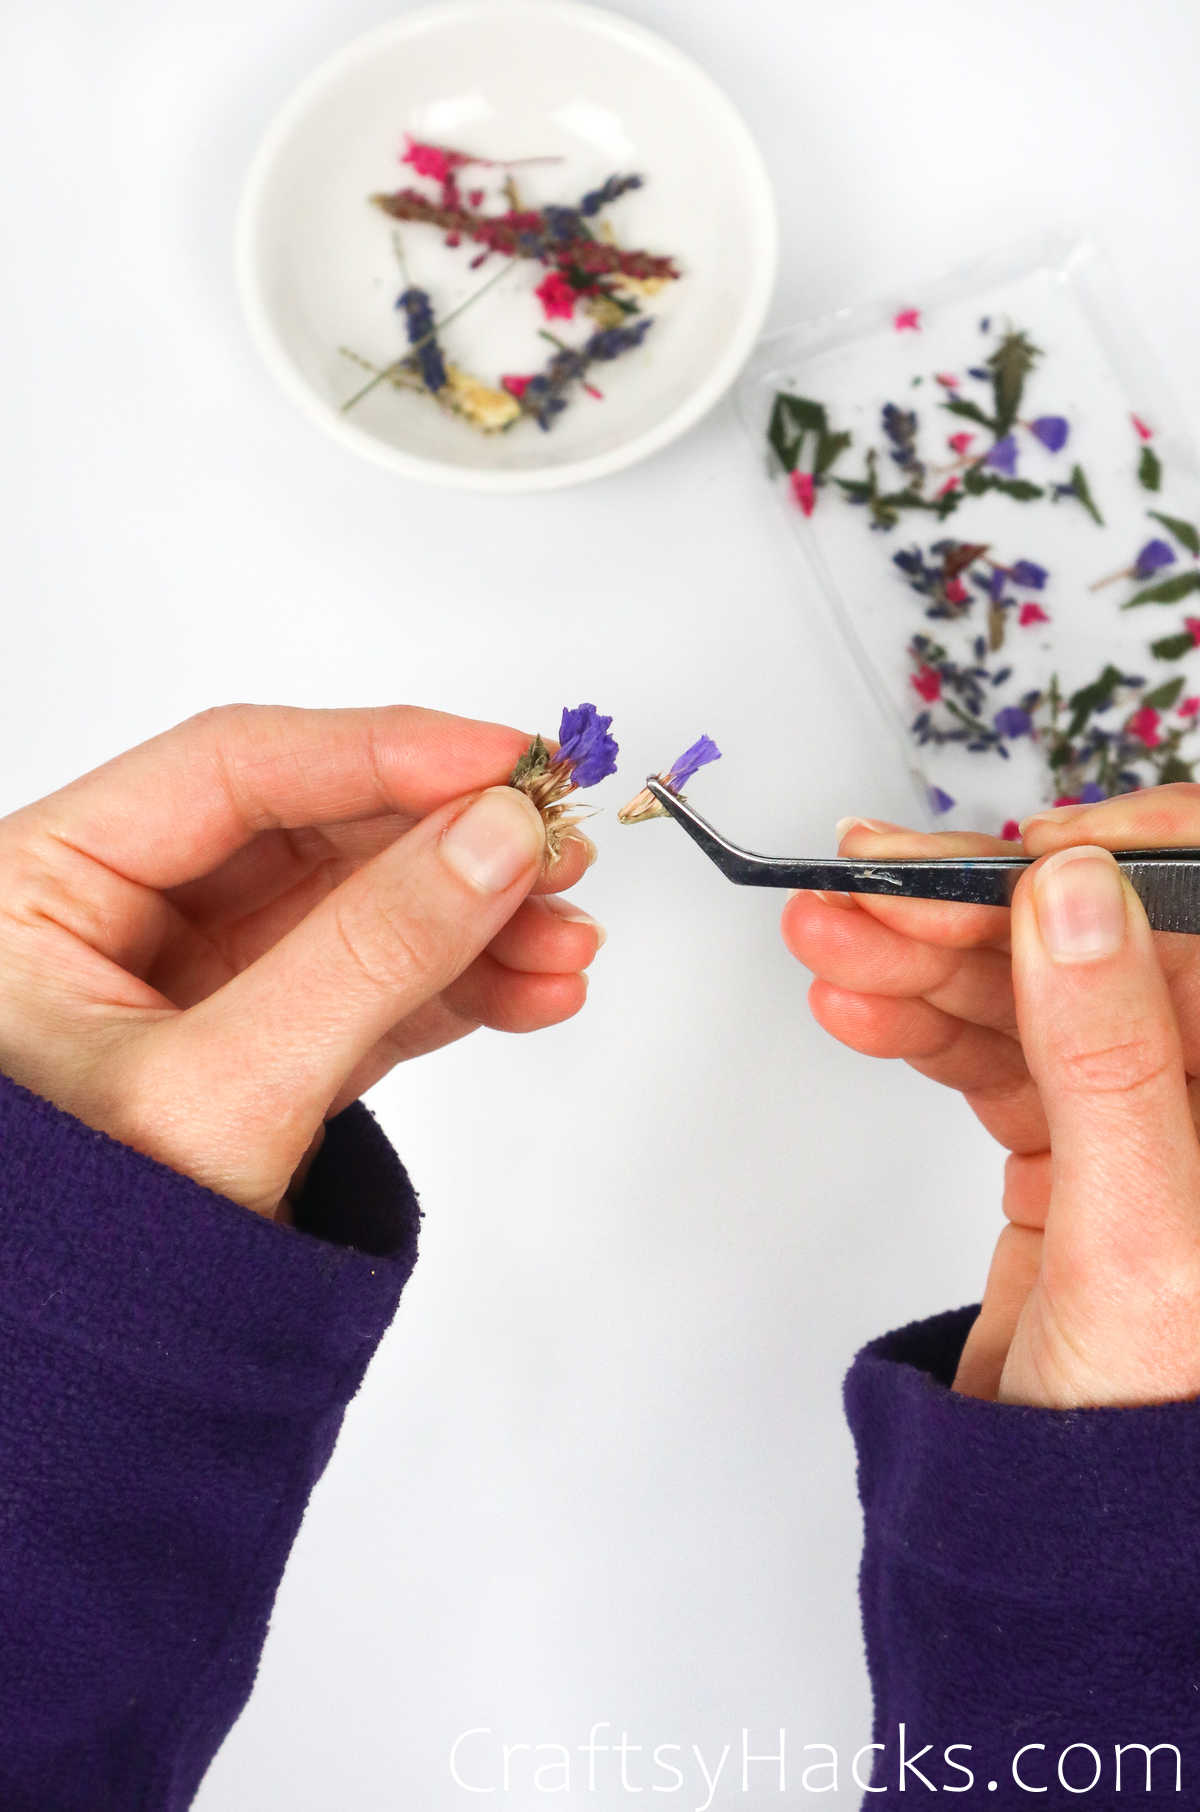
Use a stick or the tweezers to help you place the flowers over the resin.
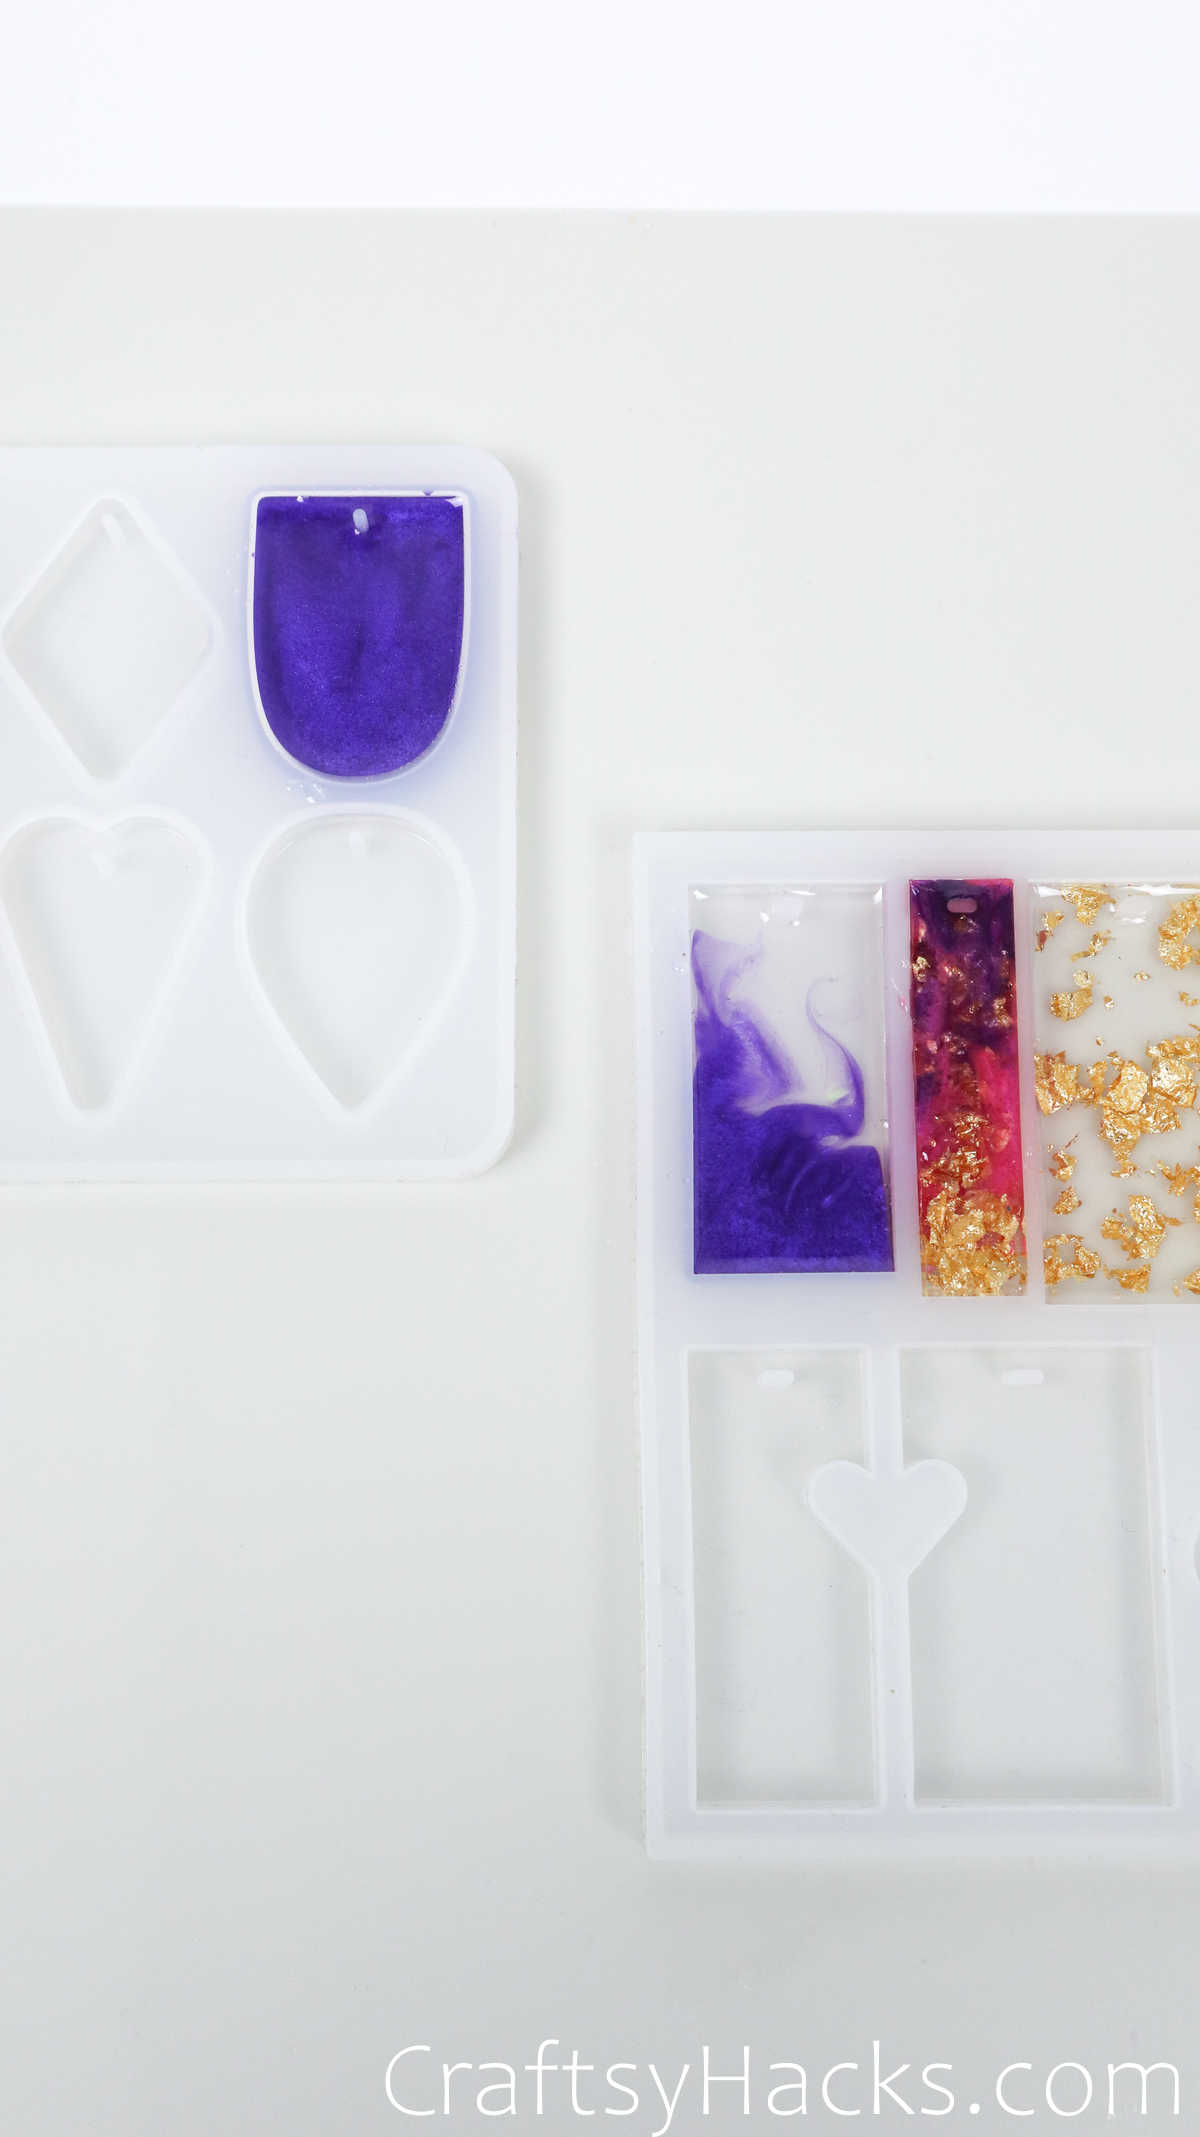
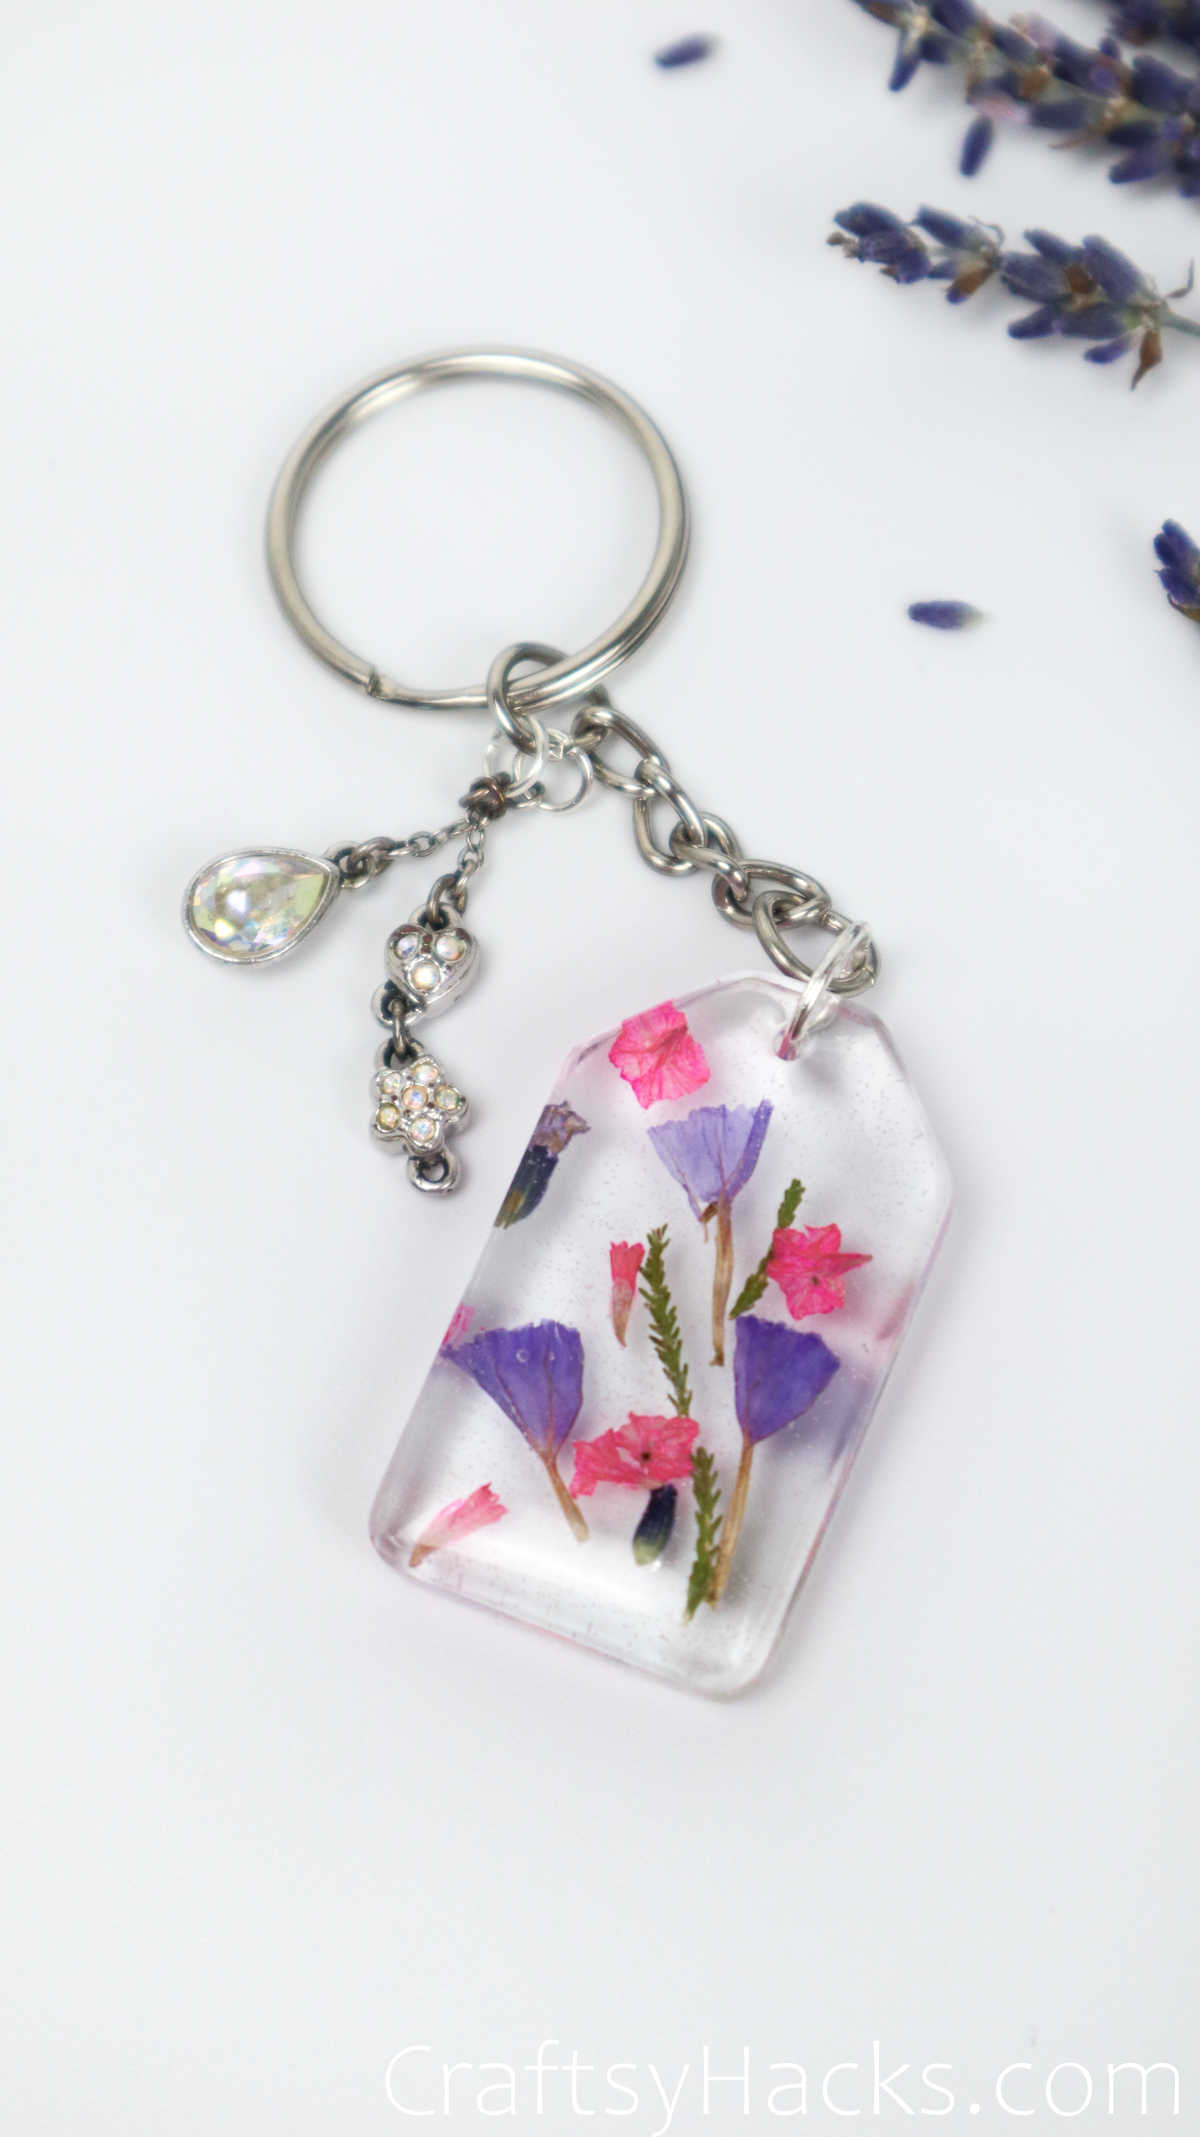
This is how your resin keychain will look at the end of layer 2!
Pretty, isnt it?
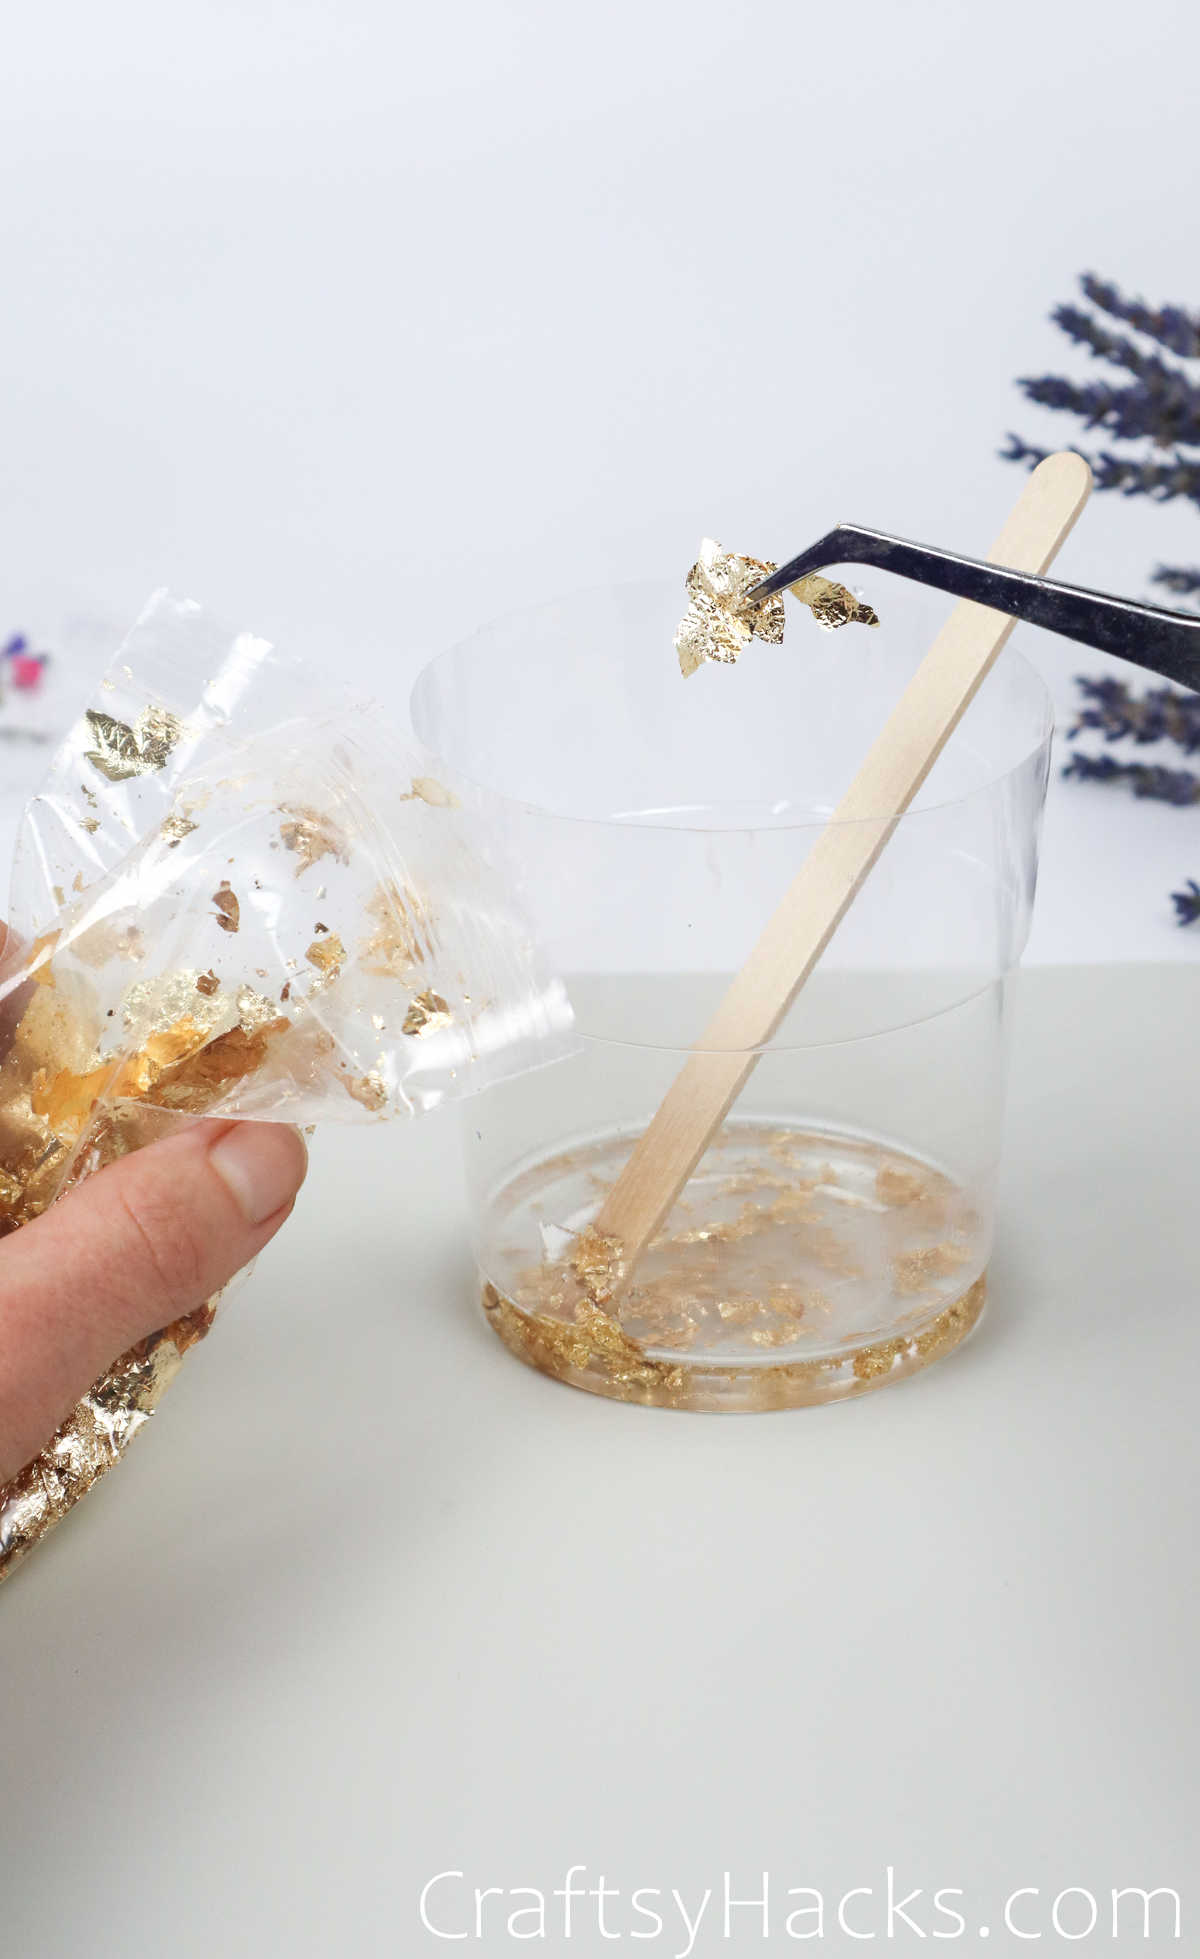
This step can be experimental.
Step 6
Before you proceed, you better let this layer setorcurefor around 6-8 hours.
Just place a container over it to protect it from dust or dirt and let it sitpreferably overnight.
Step 7
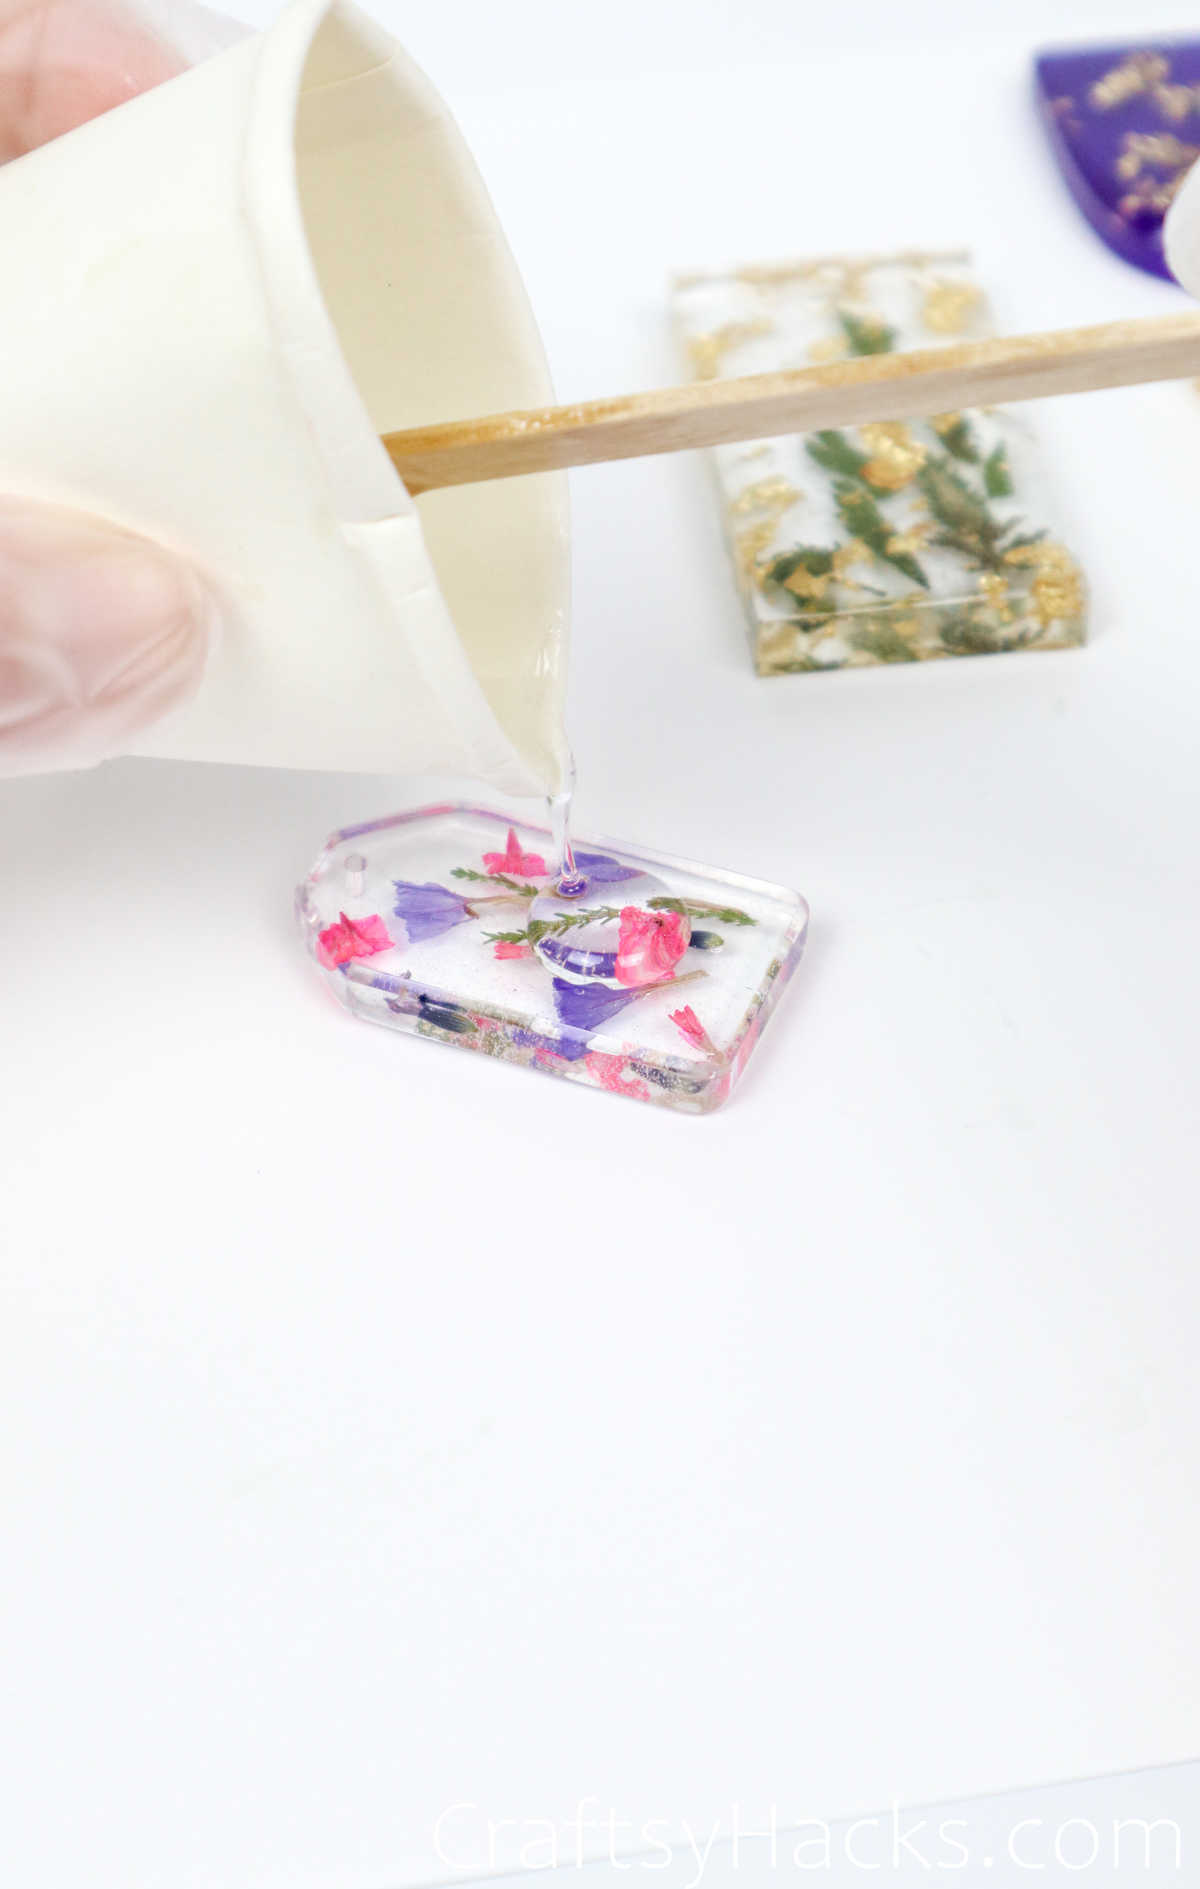
When your resin hardens, youre all set to pour in the third layer.
You know the drill so go ahead and start stirring the next batch of resin.
Pour this layer over the flowers and cover them evenly.
you’re free to use a stick to stir the bubbles away or use a heat gun again.
Step 8
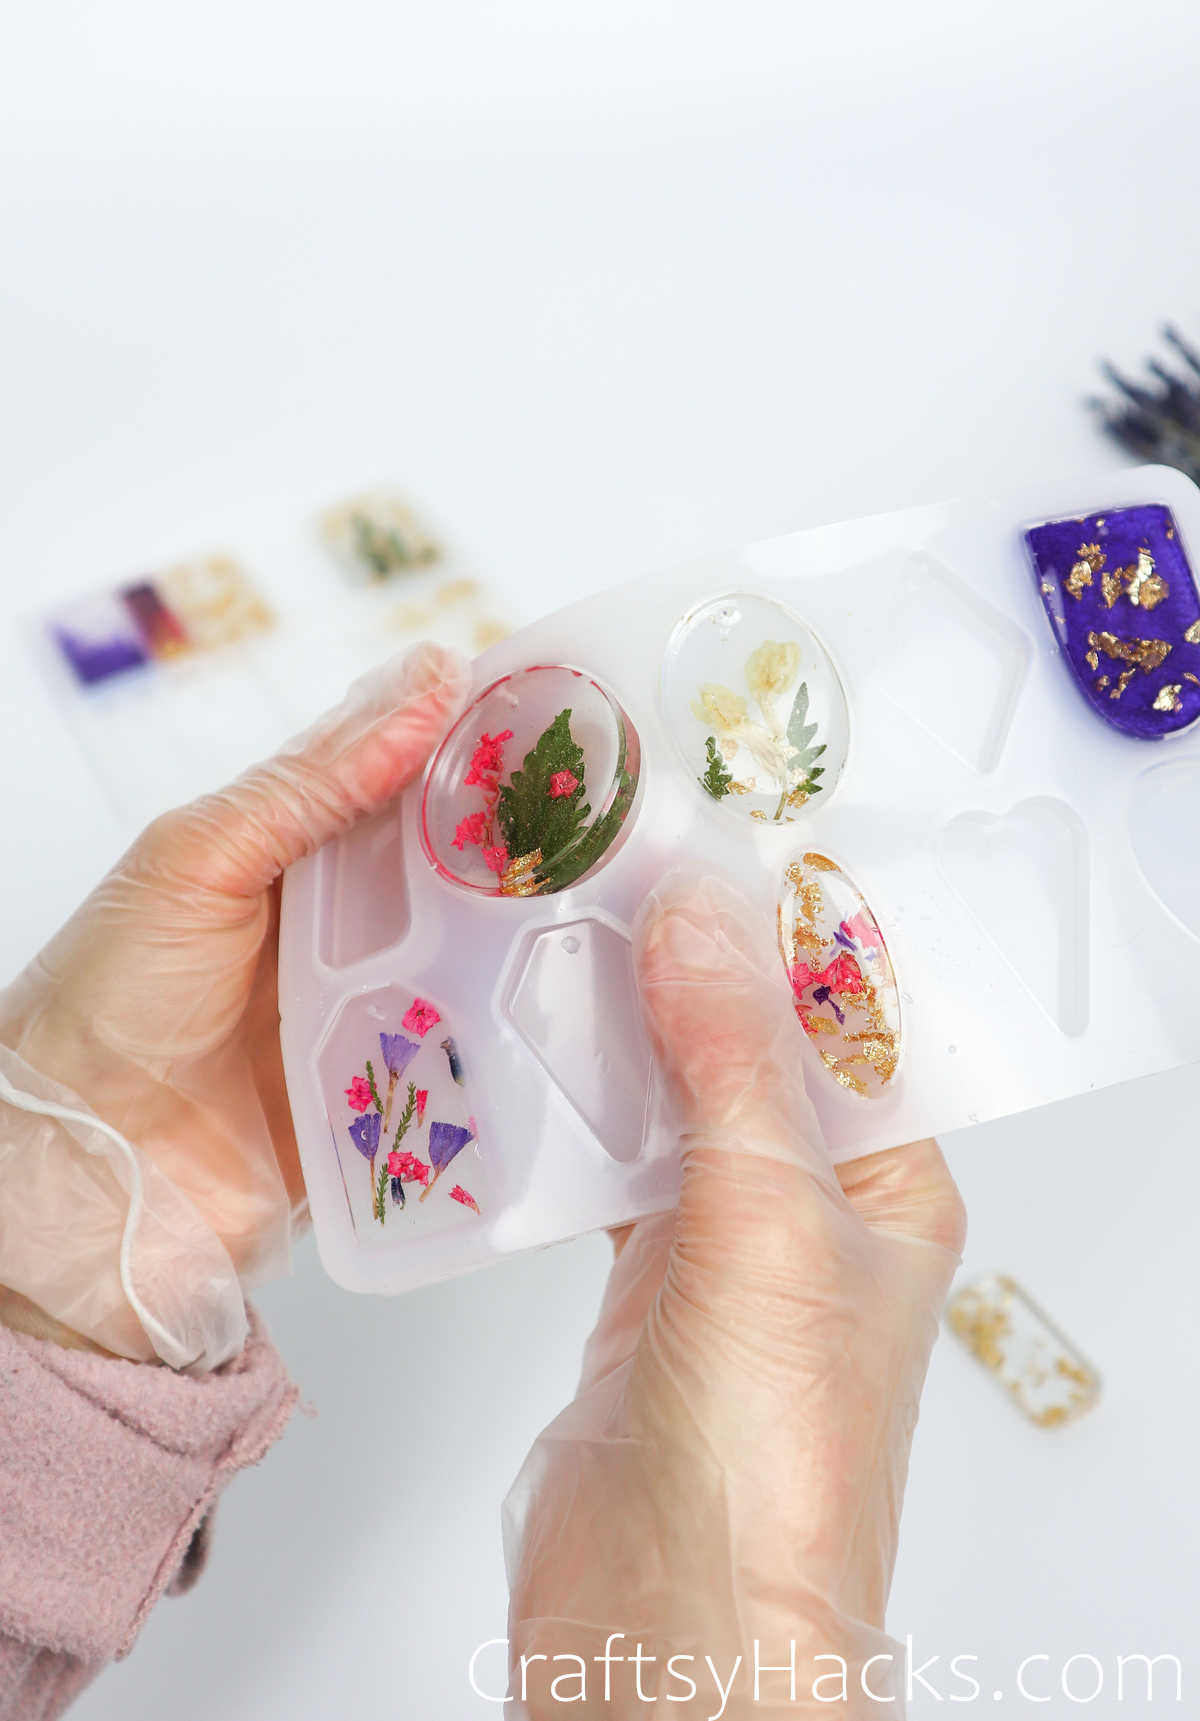
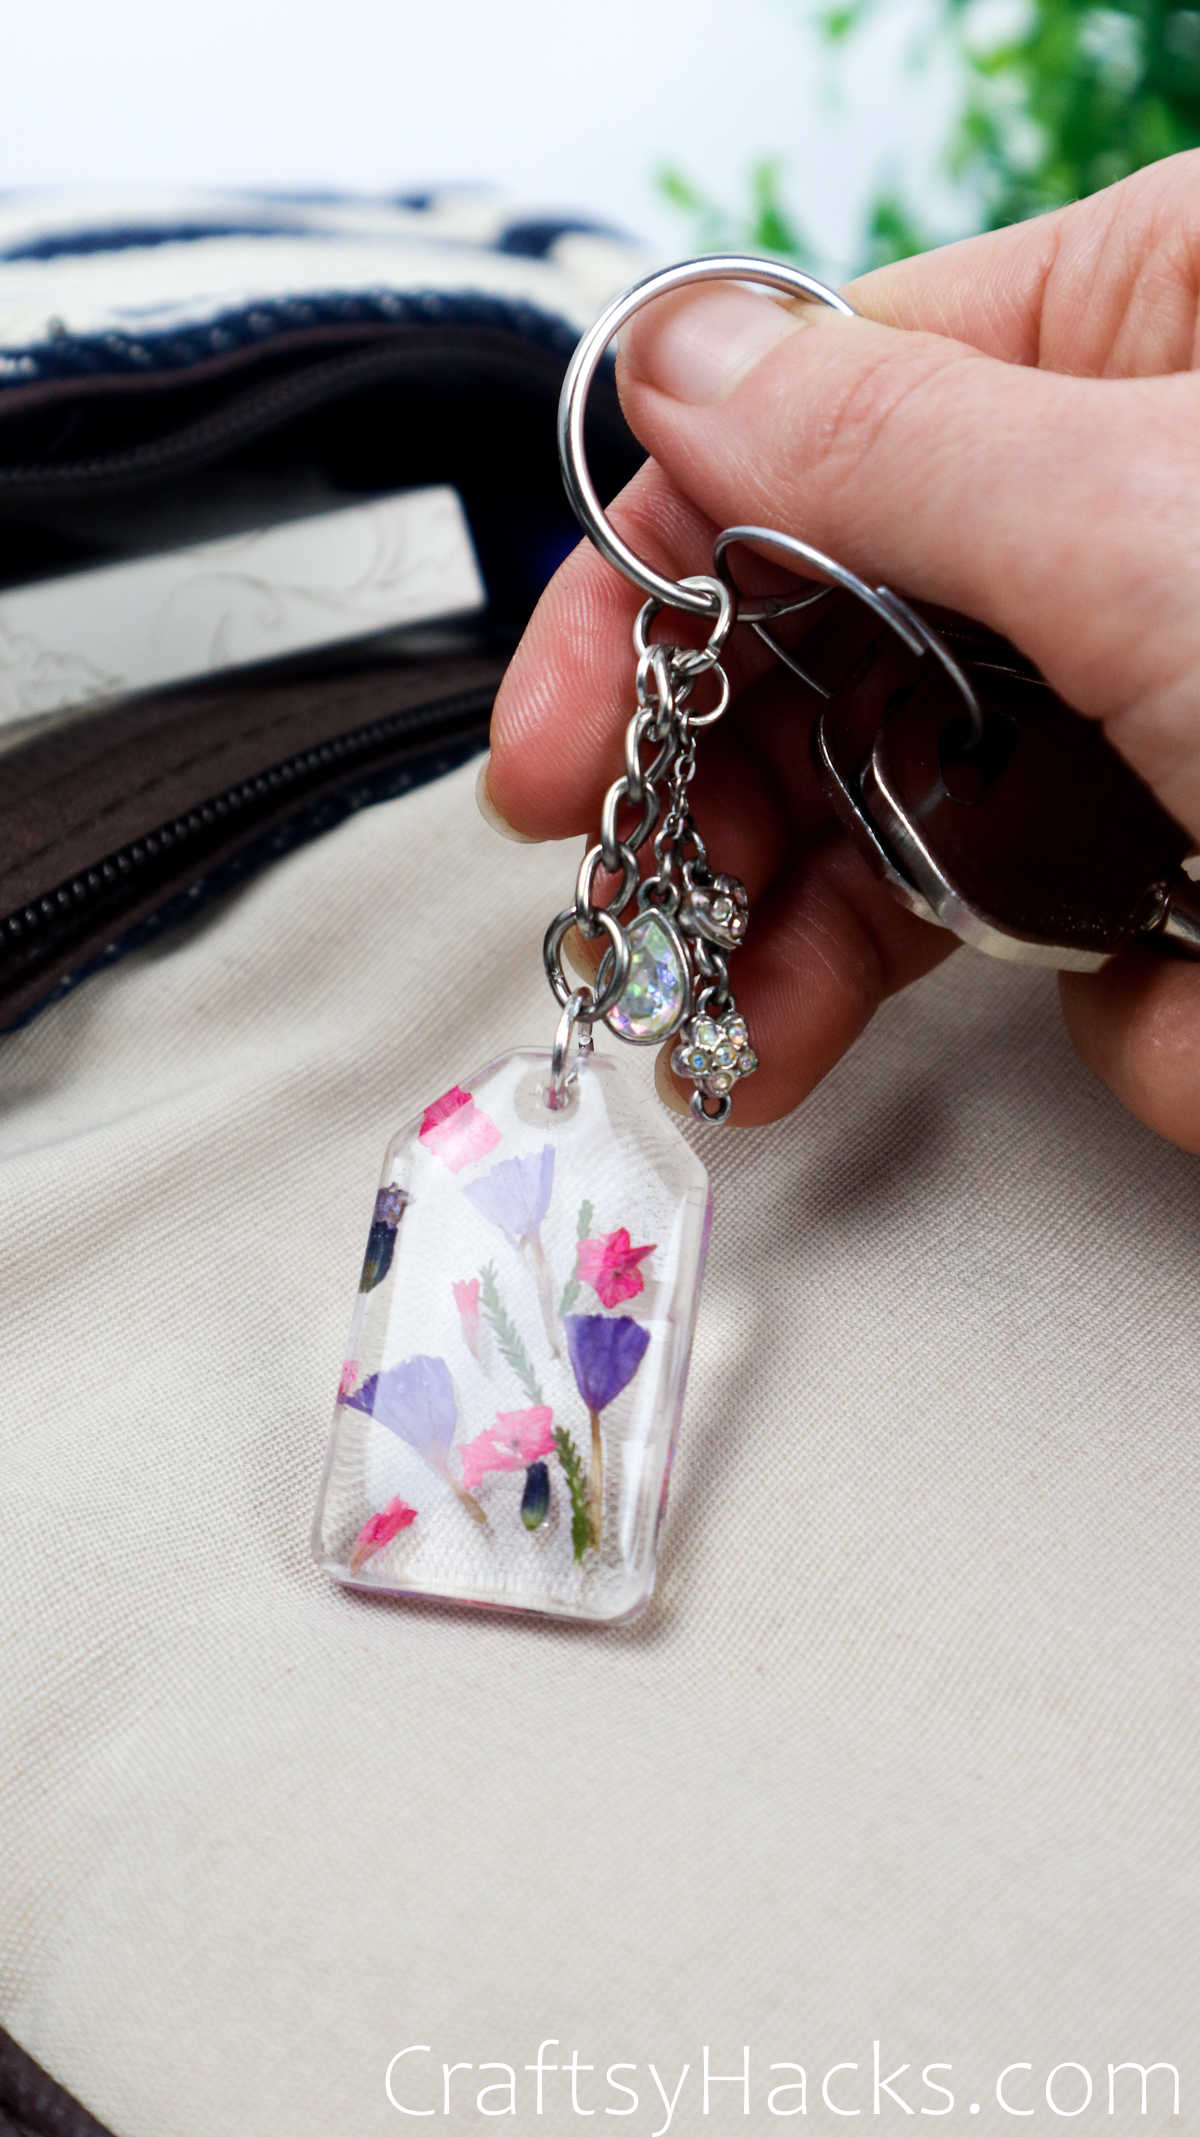
Let the keychains cure in their molds and under a protective cover for 24-48 hours.
When youre happy, just pop them out of the silicone molds.
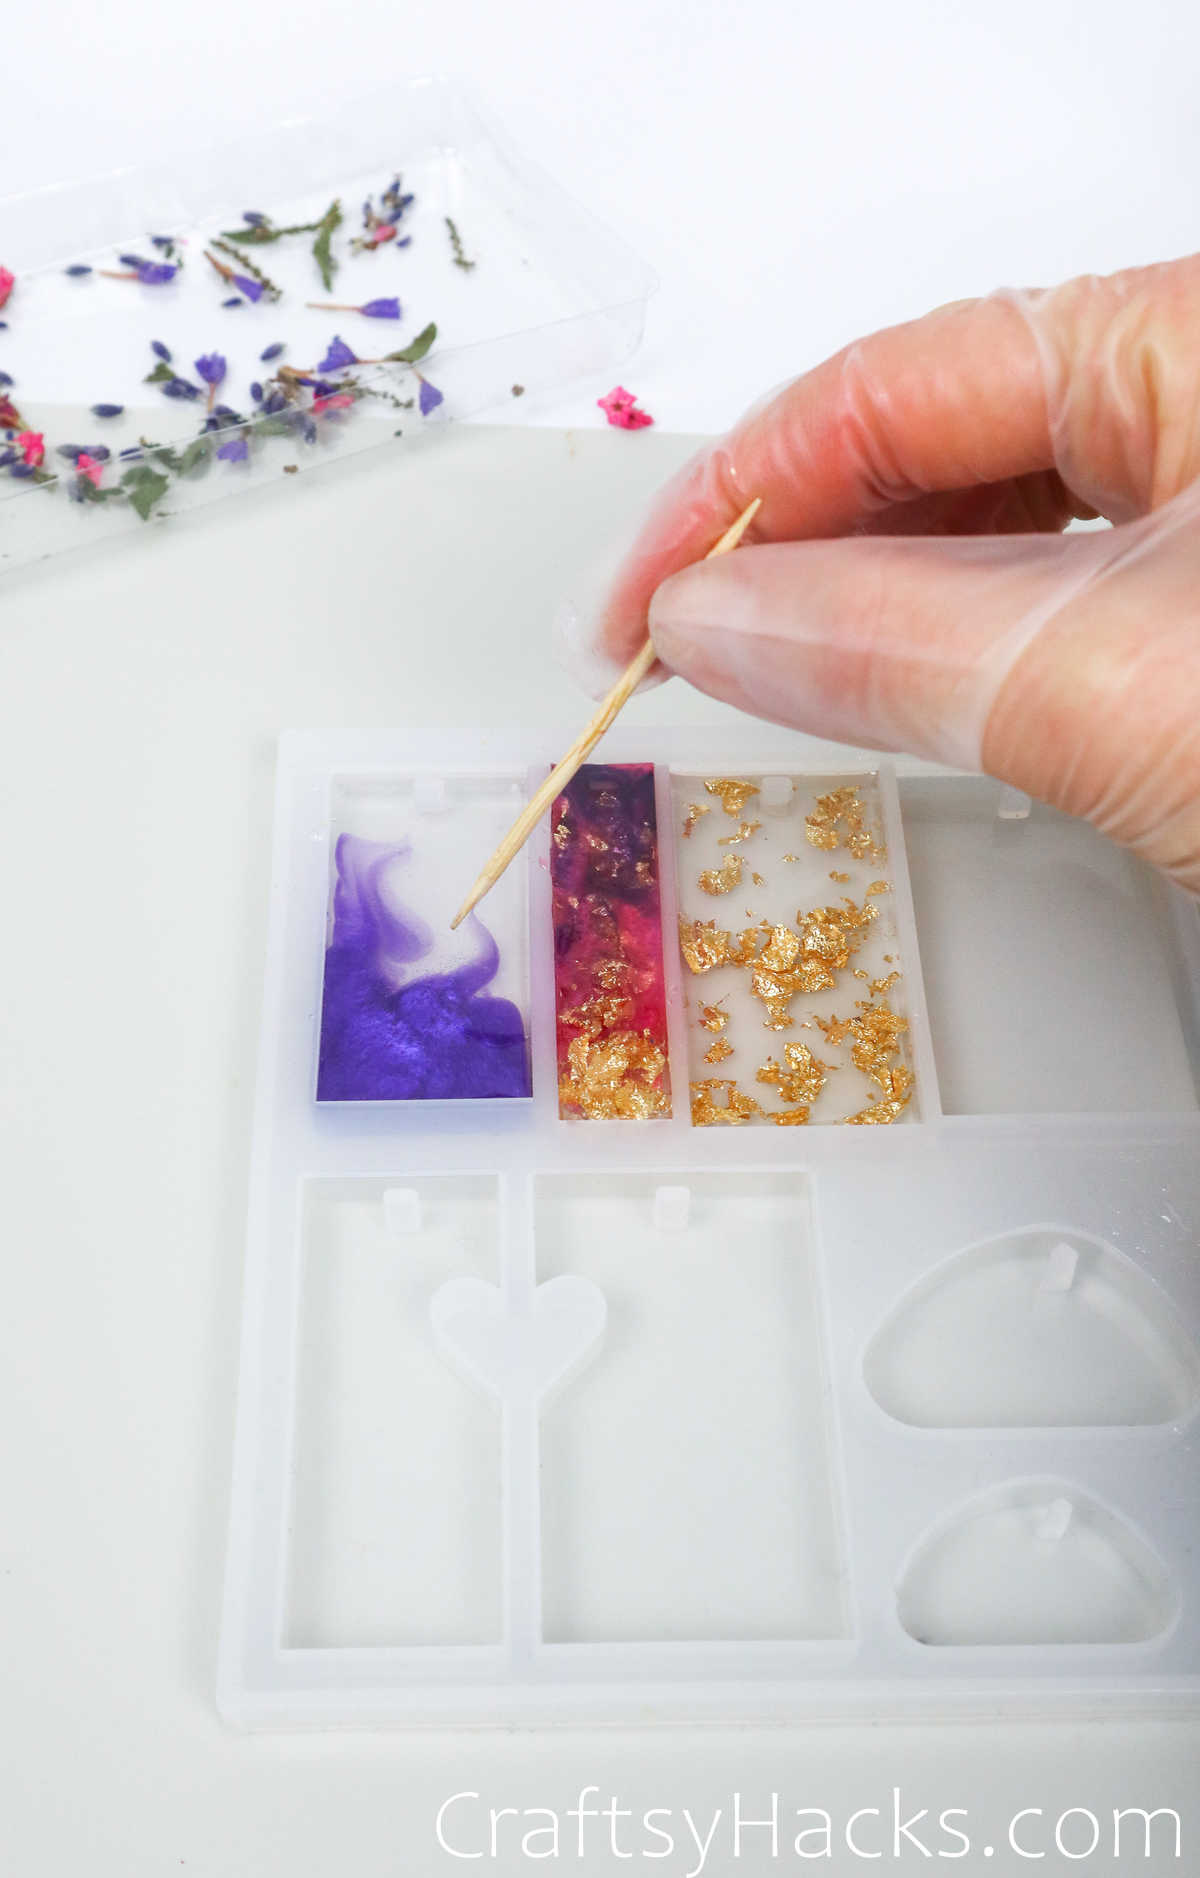
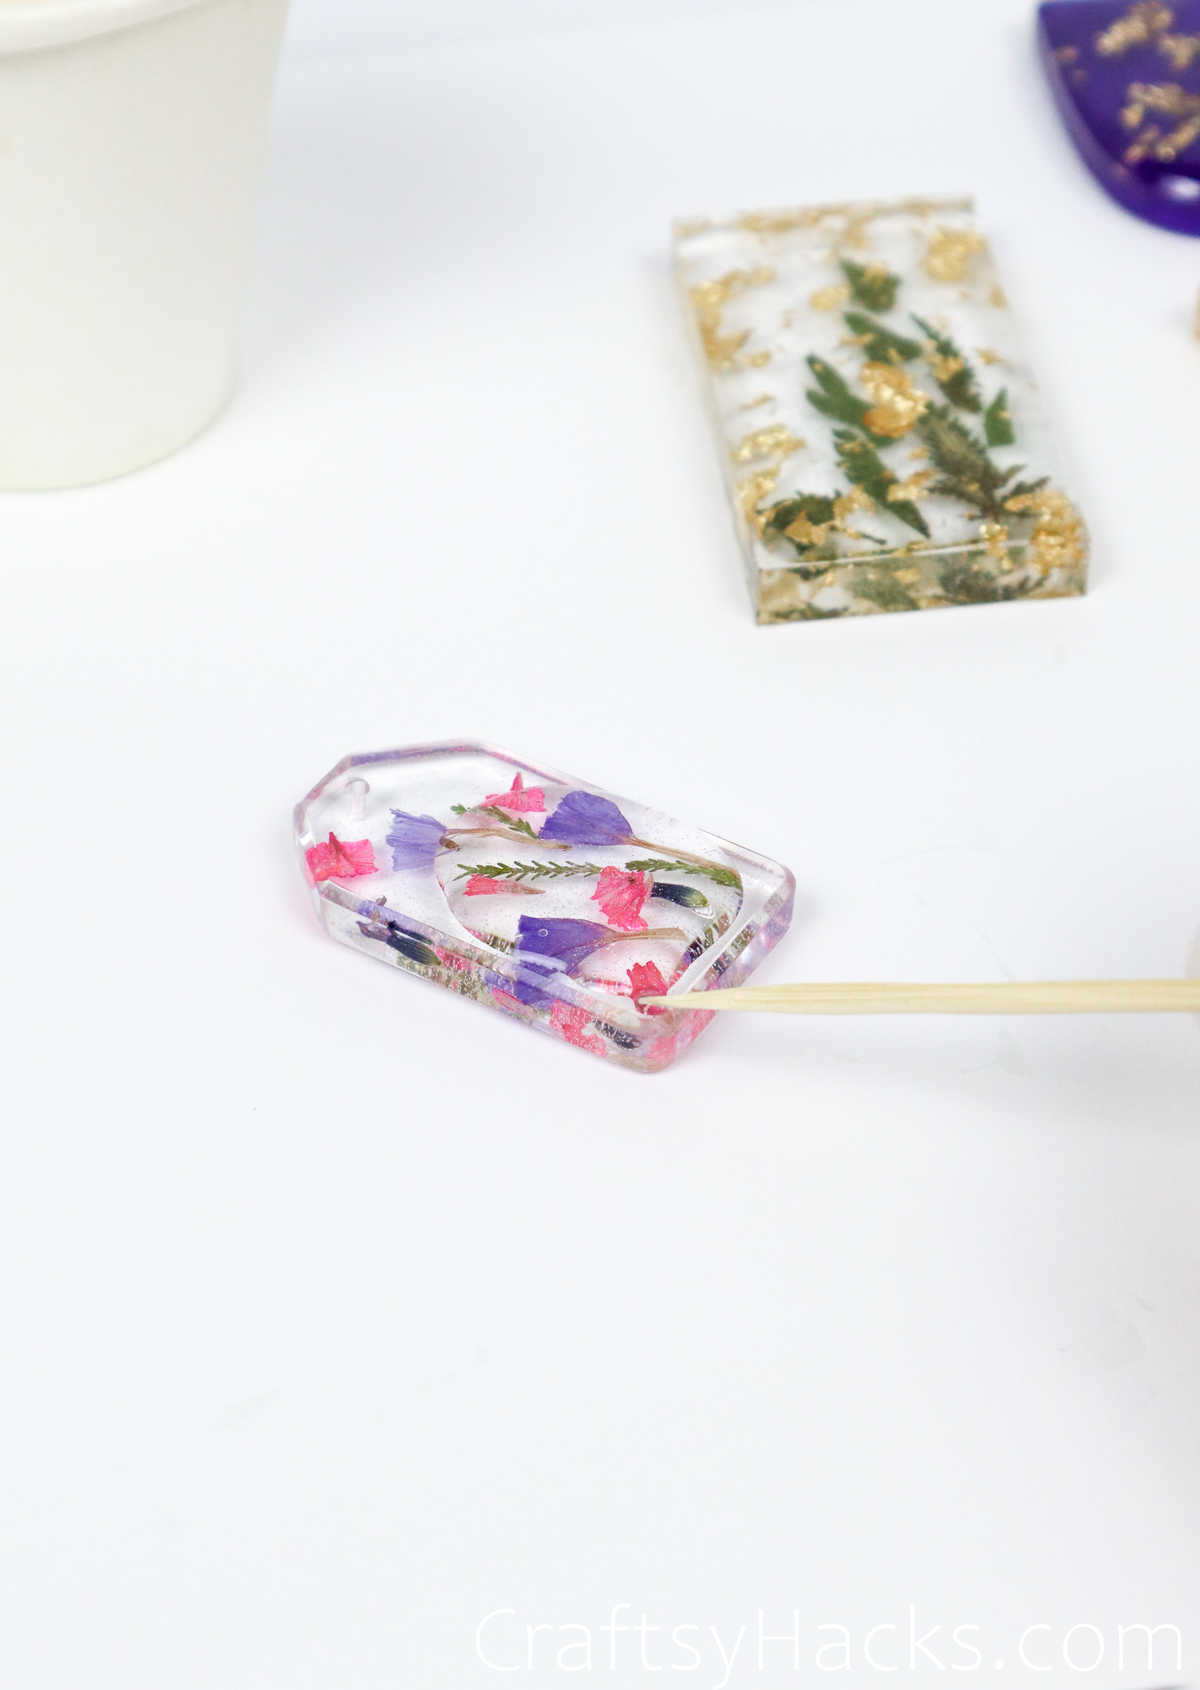
Then just pour alittleover the surface, just enough that it doesnt overflow or run over the edges.
Use a toothpick to spread the resin around the surface.
This will need to sit for atleast 12-14 hours, so go ahead and let it cure.
Other Crafts You Might Like
Equipment
Materials
Instructions
Video